Almost every florist, both an ordinary amateur and an experienced professional, once decides to grow various fruiting crops. These include coffee, citrus fruits, vines, etc. And many of the specified "caste" are wondering - how to grow kiwi in their apartment?
In fact, there is nothing difficult about it. True, you will need to strictly follow certain recommendations. For example, not everyone knows that kiwi belongs to fruiting vines, otherwise called Chinese gooseberries. Accordingly, to obtain fruits, the cultivation of 2 plant varieties (female and male) is required. This is the only way to hope for a result in the form of aromatic, tasty fruits.
Main requirements for growing
Despite the simplicity of the process of growing kiwi at home, you still need to follow certain rules, which include patience, care and accuracy. The bulk of flower growers use the following options for growing kiwi:
- seeds;
- adventitious rhizome buds;
- cuttings.
Each of these methods has its own subtleties, pros and cons, which will be discussed below. However, there are basic requirements for growing kiwi. Not everyone knows that this plant is a distant relative of grapes. For this reason, an identical growing method is used here.
The plant in question belongs to light and heat-loving crops. In other words, the kiwi pot should be installed in a place with excellent lighting, where there are absolutely no drafts. At the same time, one should not forget that kiwi leaves can get serious burns from strong sunlight. This means that the light must hit the plant at an angle.
The most optimal is artificial lighting, placed vertically. At different stages of kiwi development, the pot of the plant will need to be turned clockwise. This procedure should be done once every 2 weeks. Thanks to this, the crop will become straight, with a uniform and dense crown. As noted at the very beginning, kiwi is a dioecious plant. In other words, to get fruit, you need to have a pair of female and one male plant. When the crop is grown by seed, about 80% of the plants are males. For this reason, there should be as many seeds as possible.

Selection and preparation of seeds
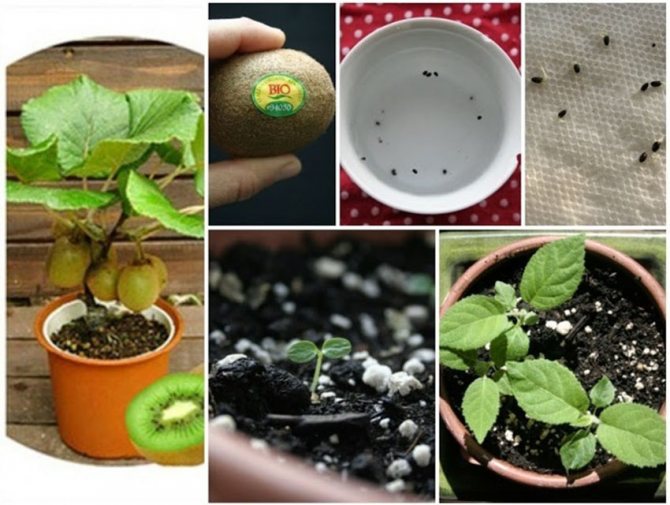
You can grow kiwi from both cuttings and seeds. In planting seeds, it is very convenient that propagation material can be taken even from a purchased fruit. However, the growing process will be much longer and more difficult than with cuttings.
Tweezers are the most convenient way to get the seeds out of the fruit. If you don't have a tool at hand, you can simply crush the pulp in water - the seeds will float to the surface and you just need to collect them. The seeds are put in mini greenhouses, which you can make yourself from a plastic lid, rags and cling film.
The process of growing kiwi at home
So how to grow kiwi at home on your own? Optimally, the process of growing kiwi should be started with the onset of the first spring days. This moment is perhaps the most crucial, for this reason, you should not delay sowing.Do not forget the fact that the described culture grows in areas with warm, long summers. Therefore, it is necessary to create the most favorable growing conditions for kiwi.
Most often, experienced growers begin the process of growing kiwi with preliminary preparation of the required components. Below, the main phases of growing the described plant at home will be described in maximum detail.
Preparing the necessary components
In order for the process of growing kiwi to start correctly, you need to stock up in advance:
- one ripe kiwi;
- neutral or slightly acidic soil specially used for citrus plants;
- sifted river sand;
- mini greenhouse (replaced with PET film);
- small expanded clay as drainage.
Purchased soil can be replaced with self-prepared potting soil. It should consist of black earth soil, sand and peat (in the same amount). When picking seedlings in a pot is carried out, the resulting soil mixture will also be useful, however, the volume of peat in it must be reduced.
Seed preparation
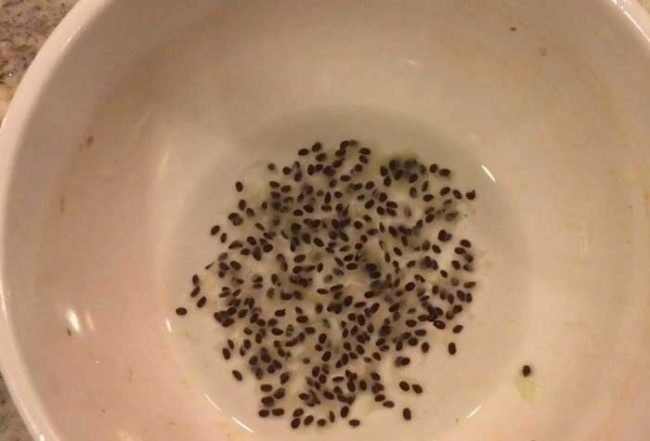
A well-ripened kiwi is taken, cut into equal halves. One part can be eaten, while about 20-25 seeds should be extracted from the other. The seeds must be peeled from the pulp, otherwise they can rot in the soil. This procedure must be done as carefully as possible, otherwise the seed shell may be damaged.
To somehow simplify the procedure, you can place the seeds in water, stir thoroughly and let them settle a little. This procedure should be repeated 2-3 times. This will greatly reduce the risk of seed rot. Then the seeds are laid out on a napkin for drying for 3-4 hours. Below will be continued consideration of the question - how to grow a kiwi plant at home.
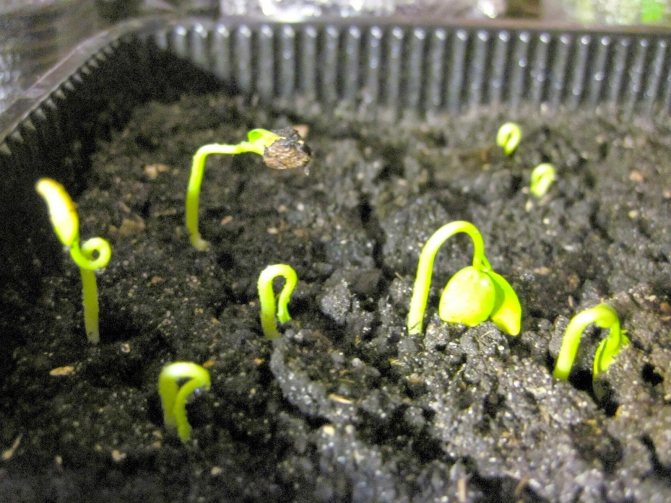
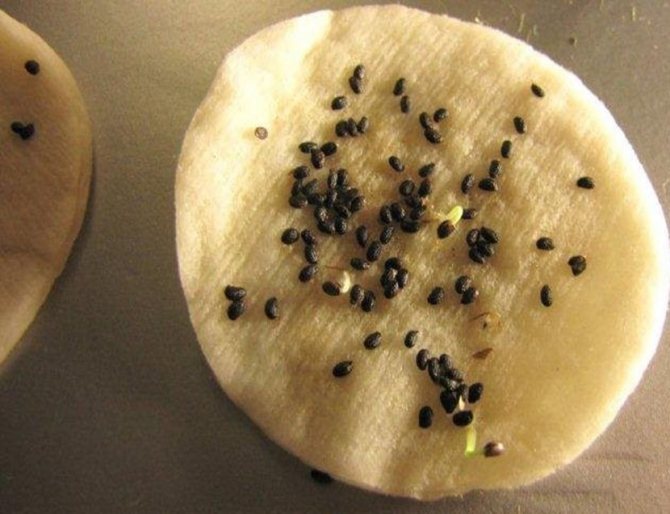
Germinating Kiwi Seeds
To obtain high quality seeds, the following sequence should be followed:
- a piece of cotton wool is placed in a saucer, which is poured over with boiled water. The volume of water used should completely saturate the piece of cotton wool, but not fill the entire saucer;
- the container used is covered with a piece of film, after which it is placed in the lightest place in the room;
- in the evening of each day, the film is removed, and in the morning it is put back in place with the simultaneous addition of a small volume of water. Those. cotton wool should be wet all the time;
- after about 1 week, after the first shoots appear, the seeds should be planted in prepared soil.
After that, you can move on to the next phase.
Transplanting seeds into the ground
The composition of the soil should be exactly the same as described in one of the above paragraphs of the article. The finished mixture is poured into a pot or other container. In this case, the bottom should be pre-covered with fine expanded clay, which acts as a drain. On the ground, it is necessary to make small pits, no more than 1 centimeter deep. Germinated seeds are placed in the prepared holes, and then covered with soil, without tamping.
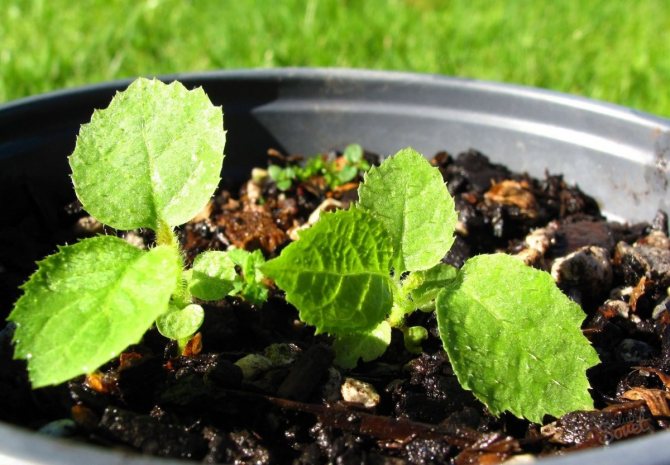
The container used must be covered with foil or glass and placed in the warmest place. You can also put the pots in a mini greenhouse. Now you need to water the soil every day. Do not allow the soil to dry out, otherwise the sprouts will die. For irrigation, you can use a conventional spray gun, or you can simply put the containers on pallets with water poured into them.
It should be remembered that after the first sprouts appear, they need to be gradually accustomed to fresh, open air. For this purpose, film or glass should be removed every day, gradually increasing the ventilation intervals.
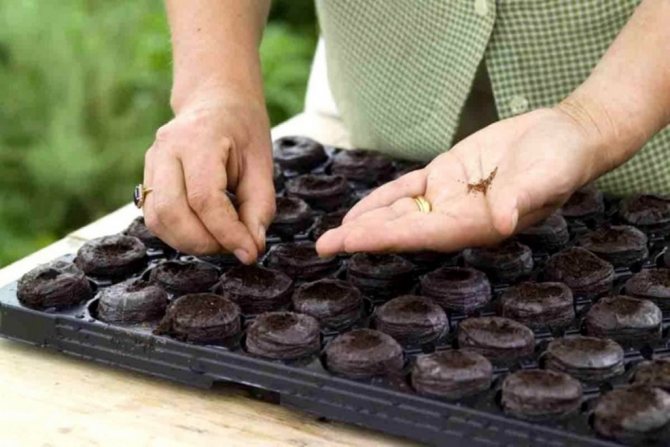
Picking
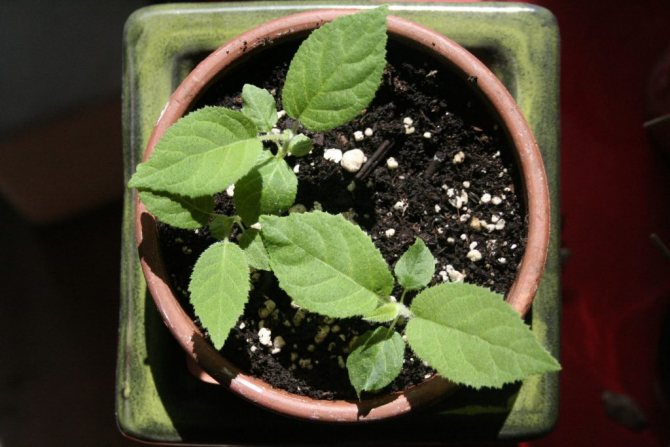
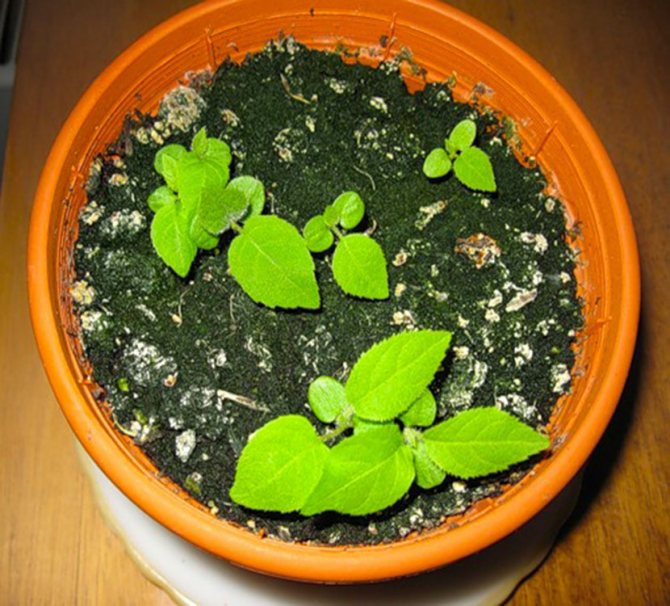
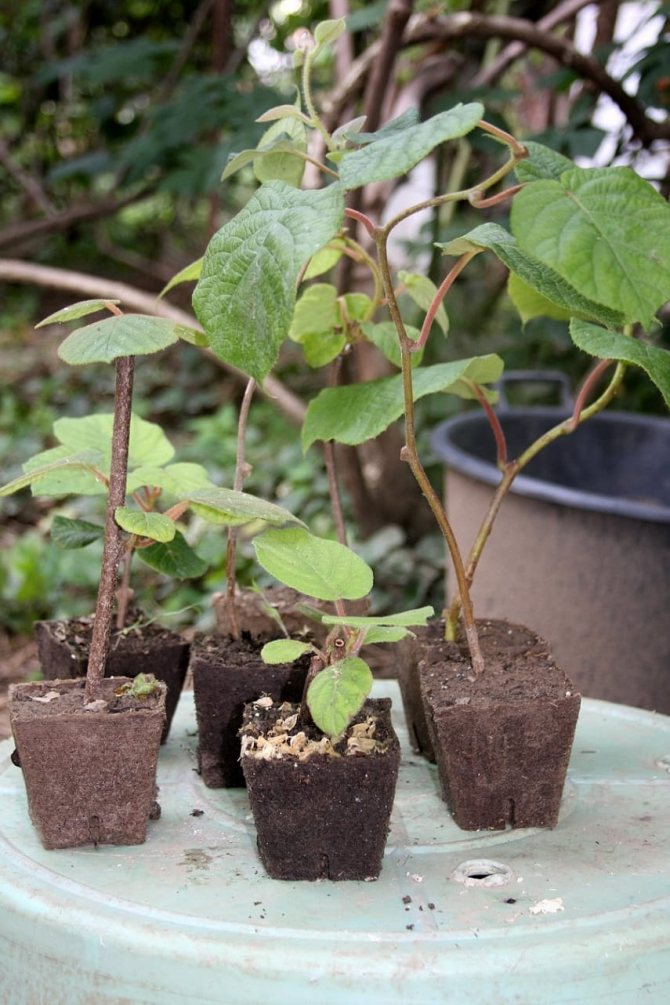
After 1 week after planting the seeds, when the seedlings have already acquired several true leaves, it is necessary to make a pick.This procedure consists in transplanting cultures into separate containers. During this phase, the composition of the soil should be represented by a smaller volume of peat, while the black soil should be more.
During the execution of the described action, you need to work as carefully as possible, since the root system of the plant is very fragile. In addition, the roots are located at the very surface, which can lead to their damage. Continuing to consider the topic of how to grow kiwi at home, we will answer a logical question - why do you need to transplant a plant at all?
This is due to the fact that the described culture has rather wide leaves, which can subsequently shade each other. All this can negatively affect the further growth and fruiting of the culture.
Further care
In order to create conditions that are more similar to natural conditions, several rules must be followed. These include:
- uniform watering of the kiwi must be ensured, because the earth should not dry out;
- the upper part of the kiwi should be pinched periodically to stimulate the formation of lateral processes;
- ensuring long daylight hours by placing a pot with a plant on the south side of the room or by artificial lighting;
- you need to feed the culture annually. For this purpose, you can use vermicompost or compost.
In addition to all of the above, in the summer period, mineral fertilizers of a complex type should be applied. This procedure should be carried out every 7-10 days.
Description
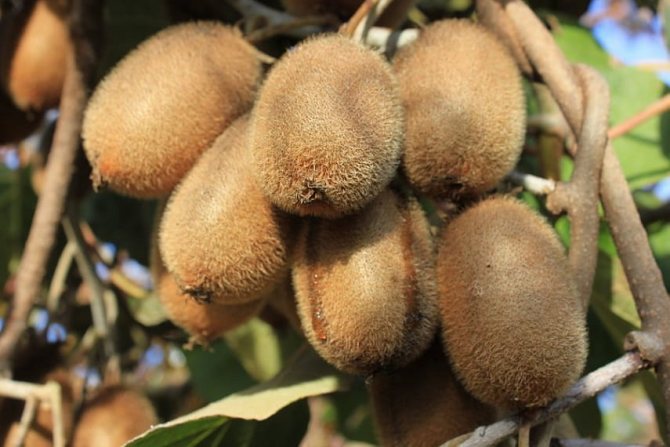
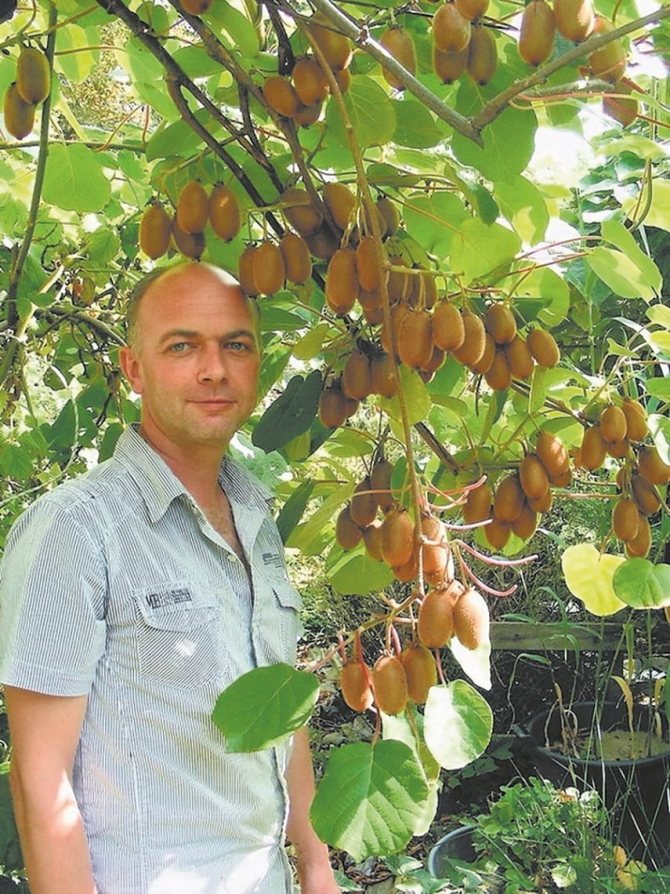
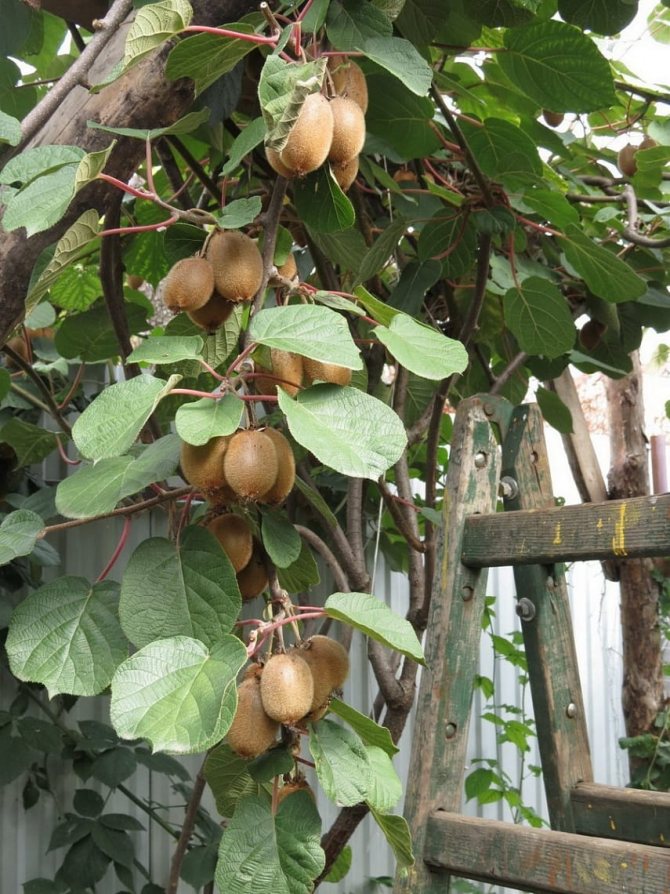
Actinidia is not quite a tree, it is a treelike vine. These are climbing plants with thin trunks. In natural conditions, vines twine around trees, capturing nearby areas. They can rise to a height of over 7 meters. In nurseries, artificial supports and a system of horizontally stretched garters are made, along which vines crawl. The leaves of Actinidia are oval, large in size - up to 20-25 cm. The trunks of young plants and their leaves are edged with reddish hairs. In adulthood, the color of the leaves becomes dark green, and their upper part is smooth.
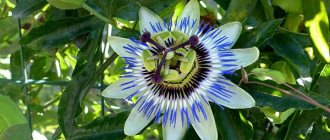
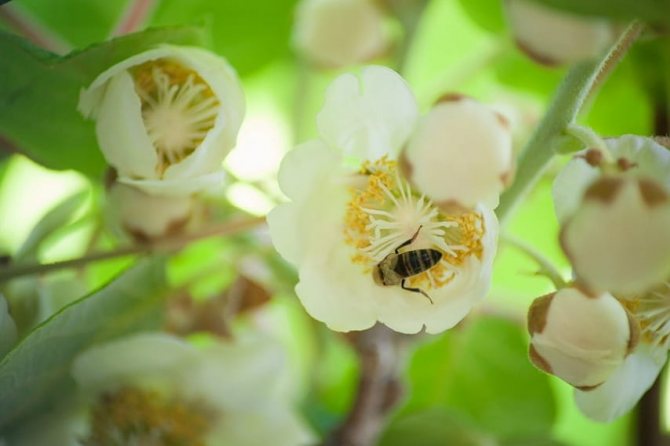
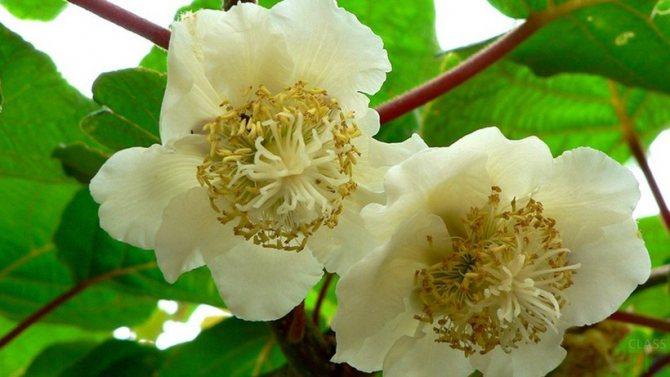
Kiwi blooms with beautiful white flowers similar to jasmine. The cups are large - up to 5 cm in diameter. The flowering period is 4-5 weeks, from the first decade of May to the beginning of June. The flowers are dioecious (there are only male plants or only female plants), this must be taken into account when growing Actinidia in a summer cottage.
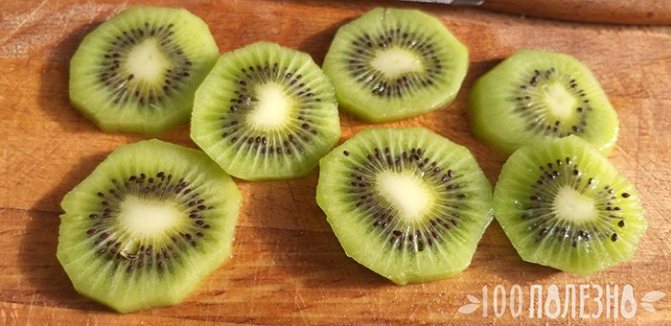
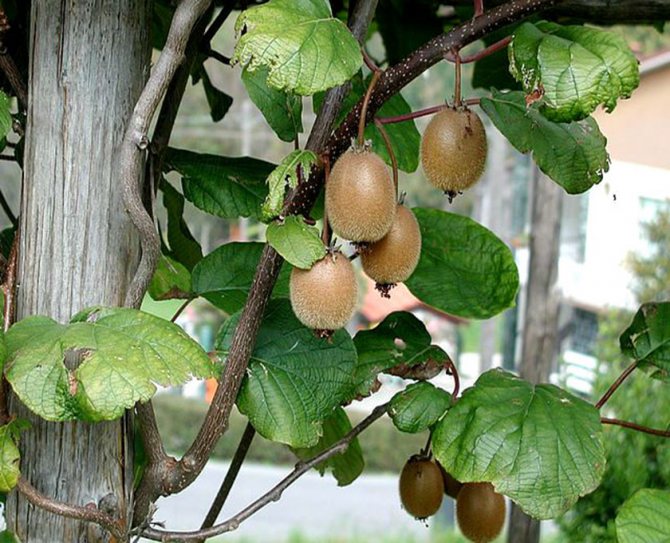
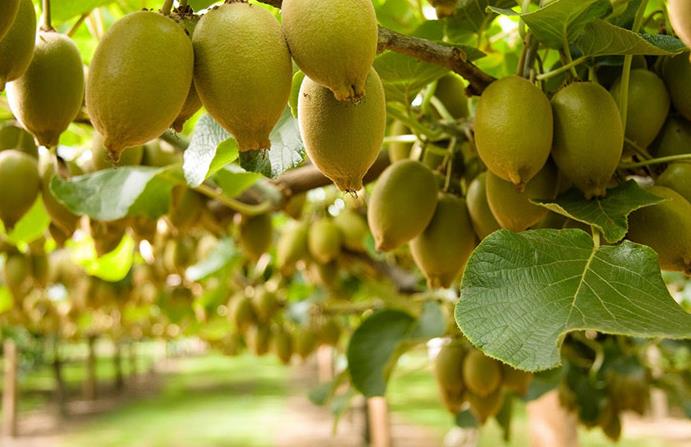
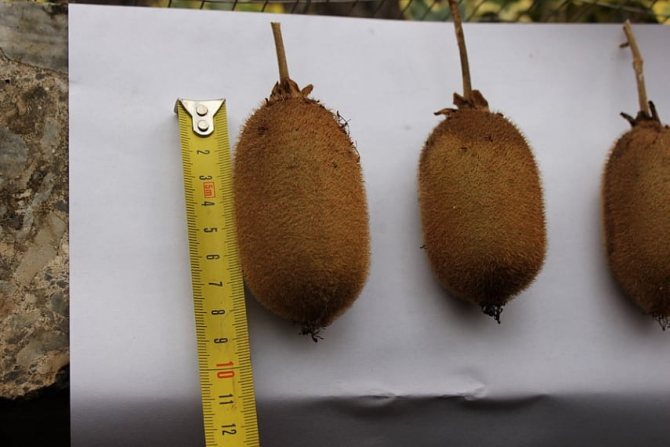
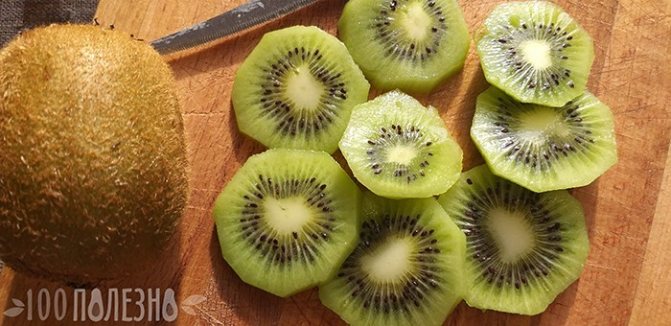
Vines give a rich harvest, during the ripening period whole clusters are formed on them. Kiwi fruits are 5-6 cm long, weight is 60-70 g. Olive brown skin, covered with fine hairs. The interior has a beautiful emerald color with a light center. The center is surrounded by many small dark purple seeds. The pulp is translucent, jelly-like. Although many people call kiwi a fruit, it is actually a berry.
The kiwis are surprisingly beautiful when cut. Their structure and combination of shades are so harmonious that there is a desire to admire them endlessly. Fruit slices are often used to decorate a variety of dishes: salads, cakes, bruschettes, cocktails.
The specifics of the vegetative reproduction method
To obtain kiwi seedlings, you must use the technique described above. However, there is one nuance here. Seeds should be sown in January. After 2 years, a kiwi of any kind is grafted onto the grown and strengthened seedling.
Vaccination can be done in such ways as:
- budding;
- cleavage by means of a green cutting;
- cleavage by means of a lignified cutting.
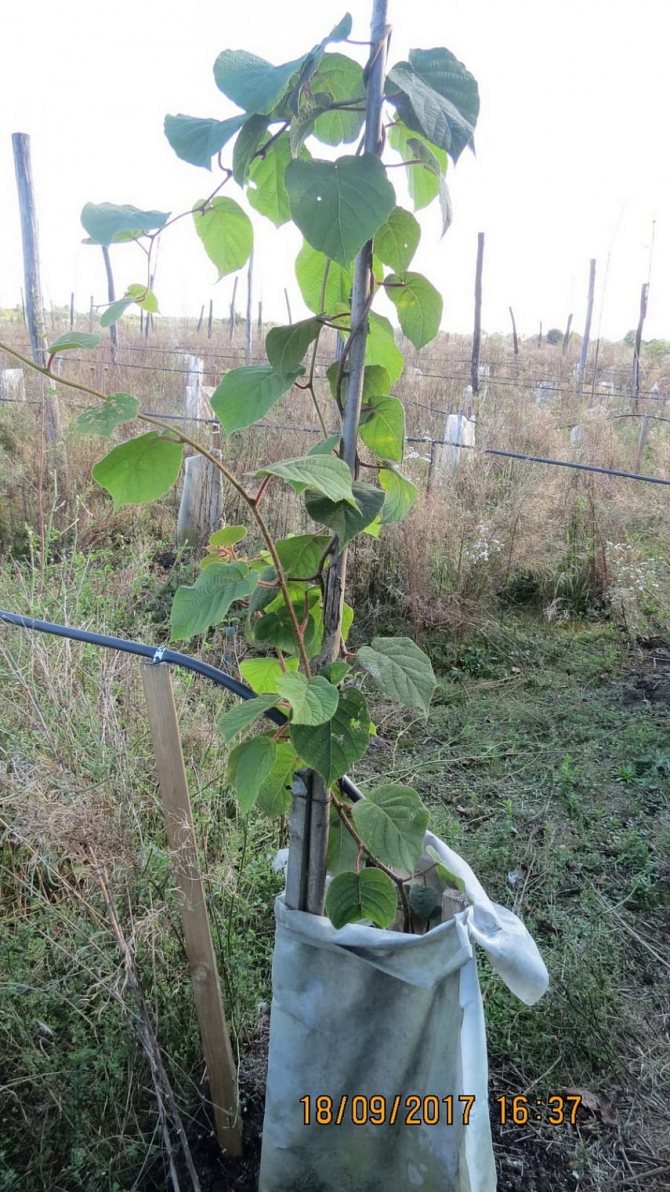
After that, the plant is planted in a previously prepared soil. In the case of growing at home, the container for planting should be roomy and deep. This is necessary for the full development of the root system.
In addition to the described method, seedlings can be obtained from shortened cuttings. True, this option has one significant drawback - when grown at home, there is a very low percentage of germination. The rest of the care of the crop is the same when growing it by seed.
How to choose a place for planting actinidia
Planting actinidia can be carried out both in the fall (before the onset of the first frost) and in the spring - the latter is preferable.
It is better to buy seedlings of varietal plants only in reliable places - nurseries or botanical gardens.
The site for actinidia should be chosen carefully. It must be remembered that this plant prefers fertile soil that can pass moisture and air, but does not like high groundwater.
Actinidia thrives on buildings and fences, on their southern side, but a young tree is better protected from the open sun. With age, it begins to love direct sunlight.
Increasing the yield of kiwi
In conclusion, considering the topic of how to grow a kiwi culture on your own, it is necessary to add - in order for the end result to please with a bountiful harvest, first you should correctly position the kiwi in the room. Since the plant needs a lot of space, it is best to grow it on an insulated balcony. In addition, you need to mount props that will allow the plant to rise.
To get at least some fruit at all, you need to take care of the pollination process. In natural conditions, insects perform this function. At home, such a procedure falls on the shoulders of the grower. In the fall, you need to cut off old shoots, i.e. fruiting branches are best removed. This will not only make room for new shoots, but will also allow the crop to bear fruit for several years.
Where grows
From China, Actinidia was shipped all over the world. The largest plantations are found in the homeland of the plant, as well as in Italy and New Zealand. In Russia, the berry is cultivated in the Kuban, in the Krasnodar Territory. Frost-resistant varieties bred by biologists make it possible to grow it even in the middle zone of our country. These types of plants can withstand cold temperatures down to -30 degrees. Popular varieties:
• Bruno. High-yielding species with good commercial qualities; • Hayward. Large-fruited, late ripening. Fruits are juicy, well transported; • Allison. Fast growing, with high yields. • Abbot. Produces numerous fruits of medium size, high in ascorbic acid; • Matua, Tomuri. These are male pollinating varieties. They are placed in a nursery for the fertilization of female plant species.