05/12/2016 There are five varieties of De Barao tomatoes and this is perhaps a record. There are only three varieties of Bovine Heart tomato, if we count those registered in the register at the time of writing the relevant material. And then as many as five.
It might make sense to write five short stories for each grade, but then readers will be uncomfortable comparing them. In addition, the varieties are similar in many ways. Therefore, we have placed 5 descriptions of De Barao tomatoes on one page.
- De Barao (red)
- pink
- gold
- Orange
- the black
Description of tomato variety De Barao
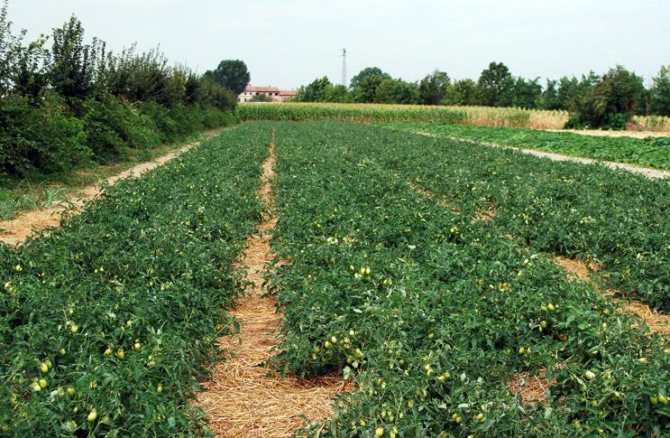
The variety has been known among gardeners since the end of the last century and still conquers with its unpretentiousness, the ability to grow in the shade, in the open field, giving a luxurious harvest from a bush up to 15 kilograms.
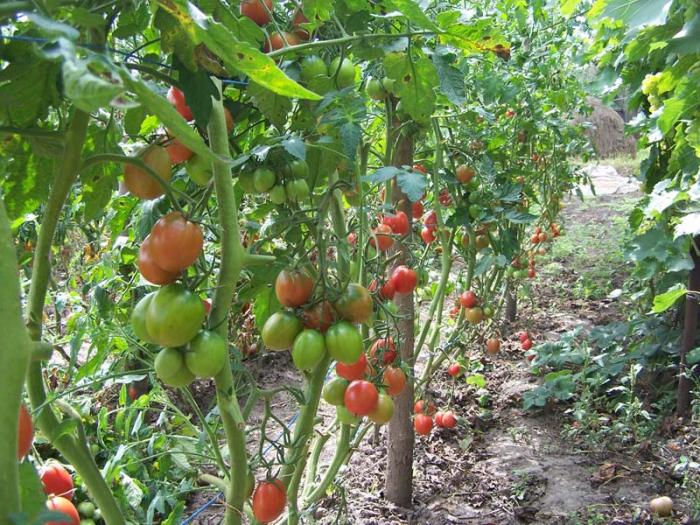
Tomato De Barao grows up to 4 meters as it is an indeterminate variety. Recommended for growing in greenhouses, but also feels good in open beds. An obligatory requirement is to tie the bushes to supports or trellises. Tomato variety Budenovka can reach the same size.
There is a good resistance to the main diseases of the nightshade.
The bushes are powerful, the stems are prone to constant shoots, the leaves are ordinary, green with a dark shade. Formation of a bush into 1 or 2 stems.
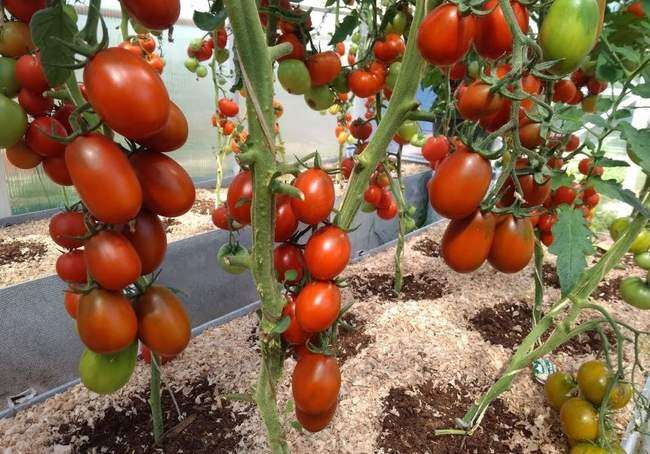
Inflorescences are formed after 9 or 10 leaves, depending on the variety, and each subsequent after 3 leaves. Fruits are formed in one cluster - up to ten pieces.
This variety is medium-late, that is, the ripening of fruits begins from 120 days, for different varieties the timing may vary, after the appearance of the first shoots. De Barao bears fruit for three months.
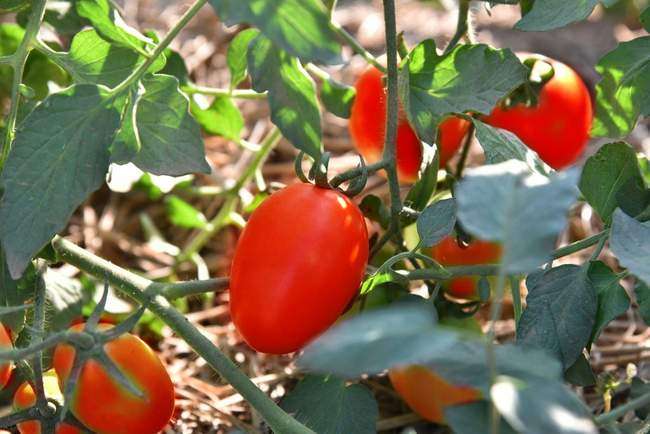
Fruits of various colors, depending on the species: from pink to reddish-purple, almost all small ovoid, elongated oval. Fruit weight 50-95 gr. Taste qualities are considered average, but many note a gentle sourness against the background of a sweet tomato flavor.
Due to the fact that the fruits are neat plum-shaped - very good keeping quality and transportability. For the same reason, housewives love canning De Barao tomatoes.
The fruits ripen perfectly in a warm place, sheltered from the light, when removed green.
Advantages and disadvantages
Experienced gardeners must have the De Barao tomato variety in their greenhouses. This is because it has a number of advantages:
- not capricious, not picky about care;
- excellent productivity;
- tolerates partial shade well;
- frost-resistant;
- tomatoes can be stored after removal for up to two months;
- tolerates drought well;
- even an inexperienced gardener can grow it;
- very disease resistant variety.
This variety has practically no drawbacks. Sometimes it is affected by fungal diseases.
Characteristics of the variety
The De Barao tomato variety was included in the State Register in 2000, however, data on its yield in many sources and reviews differ. This is due to the fact that key parameters differ slightly in different species of this variety.
Yield
From one bush remove from 3.5 to 10-15 kg or up to 40 kg from 1 m2. It depends on the conditions in which the bushes are grown. In greenhouse conditions, the yield is higher.

Disease and pest resistance
De Barao tomatoes are considered very resistant to diseases of the nightshade, especially resistance to late blight is noted.
But if there are prolonged rains with a general cold snap, it is quite difficult to protect the plants. If you notice a diseased plant, in order to avoid spreading the disease to other tomatoes, you should destroy the diseased bush.
Therefore, preventive measures are important - spraying the bushes with antifungal drugs. A popular way to combat late blight is garlic infusion and spraying with fermented milk products.
In case of violations of feeding and insufficient watering, tomato bushes can get sick with apical rot. Therefore, fertilizers, including those containing calcium, and the normalization of watering are so important. Tomatoes should be treated with an ash solution.
Important measures for the prevention of diseases are:
- Loosening and it is very desirable to mulch the ground near the roots of the plant
- Tearing off the bottom rows of yellowed leaves.
- Spraying the bushes with Bordeaux mixture.
- Spraying the bushes with antifungal drugs.
Regarding pests, De Barao tomatoes are most of all attacked by wireworms, bears and slugs. Before fruit setting, insecticide treatment should be carried out. If the plant is already bearing fruit, then try non-toxic pest control products:
- Ash.
- Ground hot pepper.
- Lures in the aisles.
When growing tomatoes in a greenhouse, regularly ventilate and monitor humidity to avoid aphids.
Advantages and disadvantages of the variety
Benefits:
- Undoubtedly high yield (from 4 to 15 kg per bush).
- Excellent keeping quality of fruits.
- Excellent ripening of green tomatoes removed before frost.
- The possibility of growing in the open field, in shady places. It is very convenient to grow near fences and attach bushes to them.
- Unpretentious care.
- Resistance to disease, subject to preventive measures.
disadvantages:
- Tall bushes require mandatory tying, and in greenhouses - high, at least 3m, ceilings.
- Abundant evening watering.
Care for adult tomatoes in the greenhouse
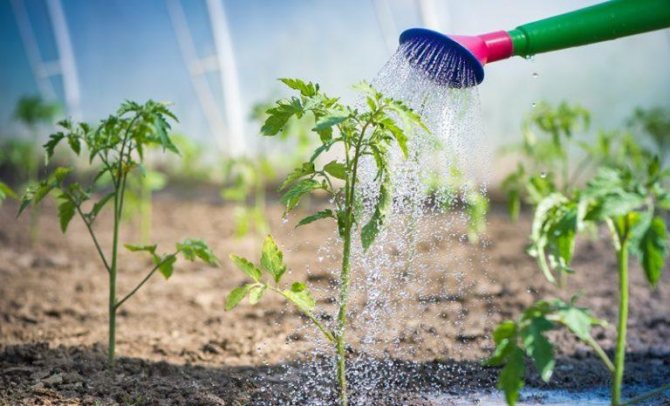
Pink tomatoes love abundant watering. But do not overmoisten the soil, it is important that the water does not stagnate in the beds.
Tomatoes "De Barao" are distinguished by strong branching. To get the maximum yield from one bush, it is necessary to carry out pinching and form plants into two stems.
In the period when the ovaries appear, the lower leaves of the plants can be removed. This will provide better ventilation and good fruit growth.
Top dressing of tomatoes is carried out in the following order:
- the first top dressing is the addition of ash to the hole when planting seedlings. The ash contains enough macro- and microelements necessary for active plant growth;
- two weeks after planting the seedlings on the garden bed, a second top dressing is carried out, using "green tea" for this. Fertilizer is prepared from nettle, plantain, garden weeds and mullein. Up to 5 kg of grass is placed in a 50 liter barrel, a glass of liquid mullein is added and water is poured. The fertilizer will be "infused" for several days. Stir before use. 2 liters of "green tea" are poured under each bush;
- the third top dressing is recommended to be done during the flowering period of tomatoes. Under each bush, 1 liter of fertilizer is poured, consisting of liquid mullein (0.5 liters), bird droppings (0.5 liters), potassium sulfate (1 tbsp. Spoon). You can replace this fertilizer with nitrophos, stirring 1 tablespoon of powder in a bucket of water. The consumption of the finished solution is 1 liter per 1 bush;
- fourth feeding during the appearance of ovaries. The working solution is prepared from wood ash (2 liters per 10 liters of water) and boric acid (10 g). Before use, the mixture is infused for 24 hours. Solution consumption - 1 liter per 1 bush;
- the last fifth feeding is necessary so that the tomatoes ripen faster and their taste is richer.During the period of active ripening of the fruits, the bushes are watered with a solution of superphosphate and liquid sodium humate (for a ten-liter bucket of water, respectively, 2 and 1 tablespoons of fertilizers).
Disease prevention
- To prevent late blight, it is necessary to frequently ventilate the greenhouse.
- Spraying the plants with a solution of wood ash will help from top rot.
- To exclude the colonization of thrips and aphids on the leaves, it is worth treating the bushes with the Zubr preparation.
De Barao varieties
The De Barao tomato variety has varieties for all tastes in color and fruit size:
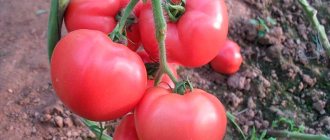
- Red De Barao - you guessed it, it is characterized by a pink-red color. Tomatoes ripen on 120-125 days, therefore, they are classified as mid-ripening. The shape of the fruit is oval, weight up to 95 g.
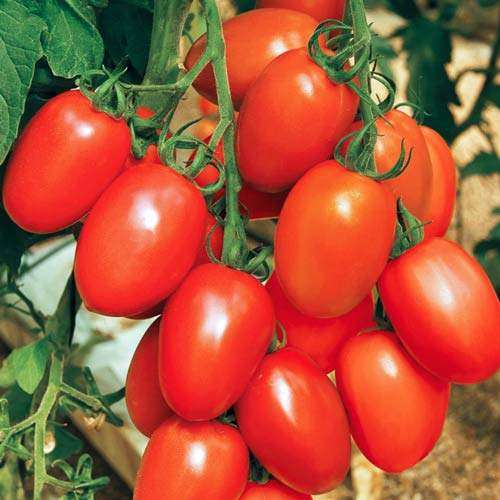

Tomato variety - Red De Barao
- Golden De Barao - dense and yellow-golden tomatoes ripen on 110-115 days, refer to medium late ripening. Pleasant taste characteristics and original color of the fruit is very good for fresh consumption, as there is a lot of pulp in tomatoes.
Golden De Barao
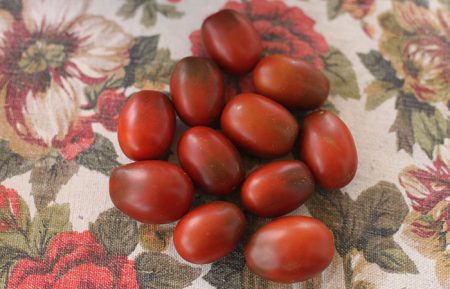
- Black De Barao - not completely black, but very original: maroon with dark green and purple blotches. Ripens at 115-120 days. It is very popular in canning, jars in combination of black, red and golden De Barao look especially beautiful.
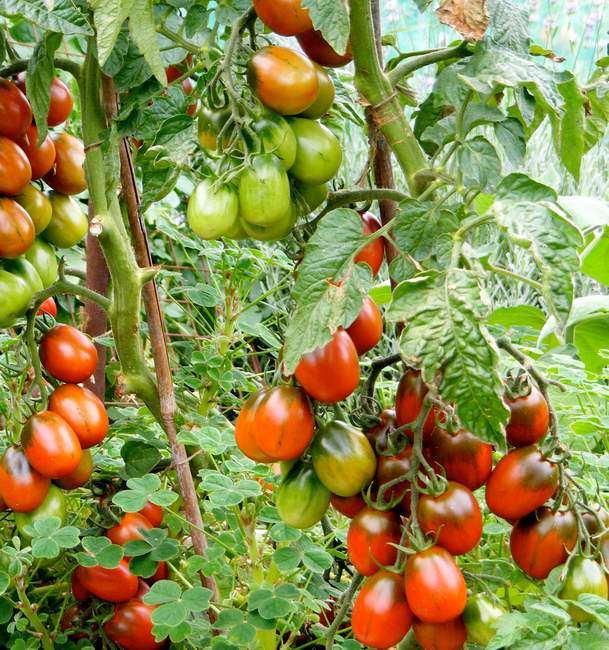

Another variety with dark fruits - Striped chocolate
- Pink De Barao - characterized by a pink-raspberry-colored fruit with a dense skin. Ripen for 115-120 days. They have a particularly sweet taste.
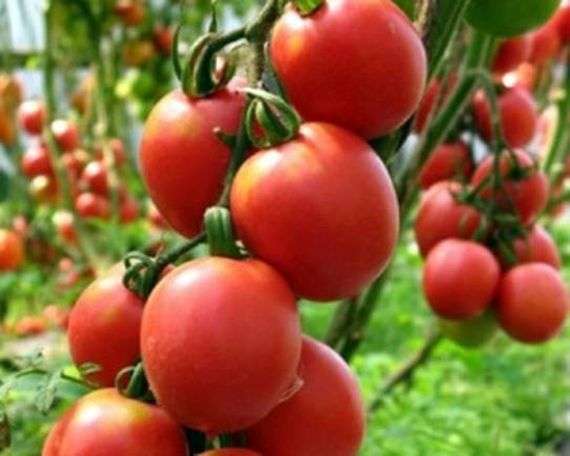

- Giant De Barao - refers to late-ripening varieties, ripens no earlier than 125 days, gives the best yields in greenhouse conditions. Fruit weight reaches 190 g, very dense, oval in shape. The color is red and a small green spot at the base. Excellent taste, excellent transportability, high keeping quality.
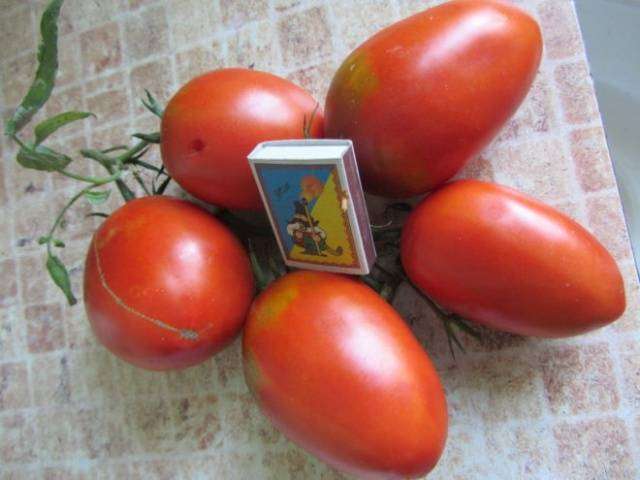

Did you like the Giant variety? We advise you to look at the article about Minusinsk varieties of tomatoes.
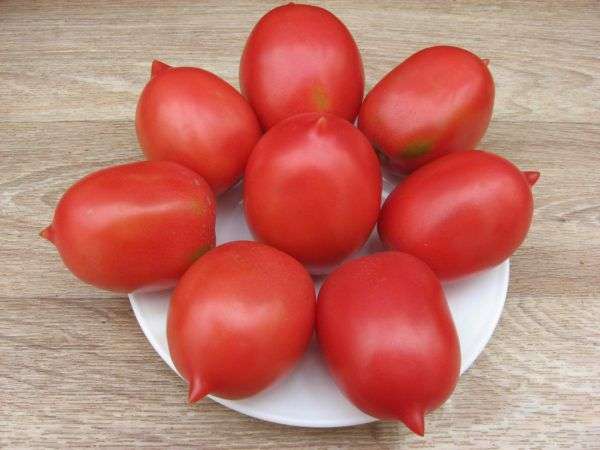
- Tsar's De Barao It is famous for its very aesthetic fruits of the original shape: balanced (100-110 g), oval, with a sharp nose. The species is resistant to bad weather and diseases.

Harvesting
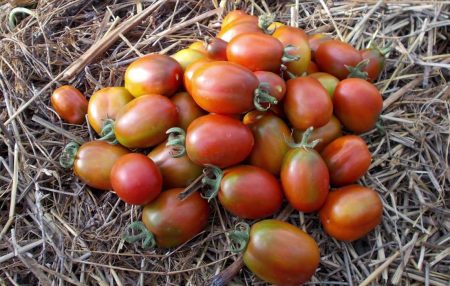
The variety is distinguished by long-term fruiting, harvesting begins in June and ends in September. If it gets cold outside, and there are unripe tomatoes on the bush and they are picked and sent to ripen on the windowsill.

The variety is more suitable for experienced gardeners, as they know many of the nuances of caring for tall varieties. Tomatoes will definitely charm anyone with their wonderful taste and unusual color.

Alevtina 46 years old
I always dreamed of growing an unusual tomato variety, I tried once, but nothing came of it. And that year, a neighbor shared the seeds "De Barao Black" I sowed them in March, the seedlings grew excellent, transplanted to the garden at the end of May. A very tall variety in open field conditions, the plants grew 2.5 meters. The yield is excellent, the tomatoes are very tasty. I collected seeds from the harvest the following year.
Maria 58 years old
An excellent variety, resistant to late blight and many other diseases. The only drawback, "De Barao Black" is very picky about fertilizing, if you do not fertilize the bushes, you will not see high yield rates. She picked the last tomatoes at the end of September before frosting, kept them until mid-December, if desired, you can store them until the new year, but we ate them faster, they are very tasty.
> A beautiful giant in your garden - De Barao Pink tomato
Growing and care
As already mentioned, De Barao tomatoes give the best results in greenhouse conditions, while the ceiling height should be at least three meters. For planting in a greenhouse, seeds are prepared and sown in the last days of February.
In this variety, the usual for most gardeners manipulations for the preparation and sowing of seeds, seedlings and planting can be attributed to the cultivation features:
Seedling and planting in a permanent place
- It is necessary to check the seeds for germination. Soak them for a quarter of an hour in water. Throw out the floating seeds.
- Then they need to be disinfected in a weak solution of potassium permanganate for half an hour.
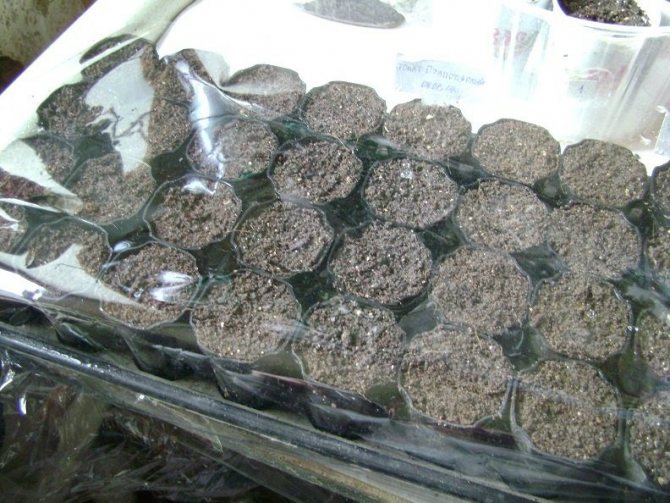
- Plant the seeds in a standard way in a soil prepared and fertilized with humus in high containers (about 12-13 cm) and germinate at a temperature of 23-25 ° C under film or glass
- After the first shoots appear, after about 6-7 days, remove the cover and transfer the seedlings to a bright place, at a temperature of 17-18 ° C.
- 2 weeks after the appearance of the first shoots, apply the first feeding with nitrogenous and superphosphate fertilizers.
- Dive by transplanting at the phase of 2 true leaves into deep containers
- A week before planting in a permanent place, hardening of seedlings in cool temperatures is required.
- Planting in a permanent place should be done at 65-70 (a little later in open beds) a day from the moment the first sprouts appear, in warm soil, without the threat of frost, placing seedlings of 3-4 bushes per 1m2 according to the 50 * 40 scheme. At the same time, it is better to do this in the evening.
- Cover the seedlings with foil material for the first week.
Care
In the growing season, before the start of fruiting, it is required to follow some recommendations for growing:
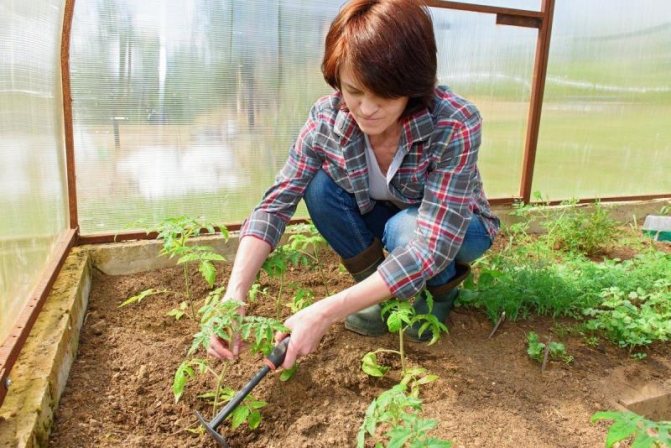
- De Barao has a strong root system and loves watering. Every four days, three buckets of settled water should be poured onto each bush. The next day after moistening, it is good to loosen the soil and it is advisable to mulch the area around the stem - this serves as a good prevention from pests.
- Pickling is required to form a bush of 1 or 2 stems The frequency of pinching is 1 time in 2 weeks with the removal of all unnecessary shoots. Only eight leaves are left at the top.
- Tying is mandatory, since the plant is tall and productive. Tie up with synthetic material to a metal support. You can go to the wire fence - De Barao gets along well in a shaded place.
- Do weed removal regularly.
- Tear off two rows of lower leaves avoiding thickening of the bushes.
- Top dressing with complex fertilizers for tomatoes must be done at least 2 times per season.
Growing seedlings: step by step instructions
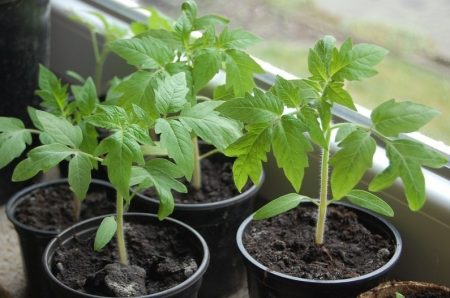

When to plant seeds for seedlings? You can do this from the first days of March. But if the tomatoes will grow in the open field, it is better to postpone it until the first days of April. You should not rush to plant seedlings, if you plant seeds in February, there is a risk that the plants will freeze in the future when the temperature drops at night.
On a note! It is very convenient to store seed bags in a regular photo album. This is especially true if the plans are to grow several varieties of tomatoes. The planted seeds can be marked with a number, put the same number on the seed package, and then remove the bag in the photo album.
Step 1. Germination of seeds on toilet paper.
Before starting work, you need to prepare:
- non-foil laminate underlay 2 mm thick;
- good quality toilet paper, preferably two- or three-layer;
- syringe;
- the drug "Epin";
- warm water - 0.5 - 1 l;
- sharp knife;
- stationery gum or scotch tape.
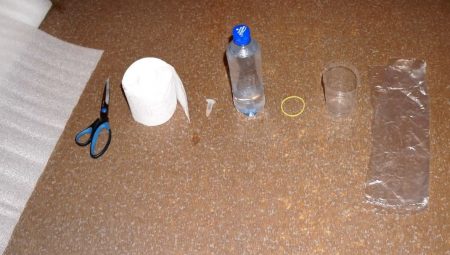

Laminate backing is sold in rolls. From this roll, it is necessary to cut a tape 14-16 cm wide. It is most convenient to measure the required width from the edge of the roll, put a mark with a marker, and then cut it with a knife without unrolling the roll in advance.
The cut tape must be placed on the table. It is advisable to pre-cover the table with oilcloth or put a large gap for work.
The edge of the backing tape should be aligned with the edge of the toilet paper roll, and then both rolled out to the edge of the table or slightly less.
It is necessary to dilute "Epin" in water. For 0.5 liters - 2-3 drops of the drug. The solution should be mixed well and drawn into a syringe.
From the syringe, the solution must be evenly poured onto toilet paper so that it is well saturated.
Now you can start unfolding the seeds. It is recommended to grab them one at a time with tweezers or a wet toothpick and lay them on the paper, stepping back 5 cm from the short edge of the substrate, 1.5 cm from the top and observing an interval of 1-3 cm between seeds.
When all the seeds are planted, all that remains is to cut off the excess substrate, and then roll the tape into a tight roll that can be fixed with an elastic band or tape.
On a note! If there are a lot of prepared rolls, they should be placed vertically (seeds up) in a plastic fruit box. If there is only one roll of seeds, a food container or a 0.5 liter plastic cup will do.
The rolls must be covered with cling film, garbage bag or other similar material, and then put the box (glass) in a warm place for three days. During this period, the seeds do not need light.
After three days, you need to check how well the tomatoes are germinating. The film must be removed, the rolls must be unrolled one by one on the table. If the seeds hatch, green loops appear, you can proceed to the next stage of work.
Step 2. Growing seedlings in rolls.
You do not need to remove seeds that have hatched from toilet paper. Directly on the toilet paper, you need to sprinkle a two-centimeter layer of loose soil with a spoon or spatula.
On a note! It is recommended to use a mixture of garden soil from the garden bed and humus as a soil (proportion 2 to 1). There should be no large lumps, debris, mold in the soil.
It's okay if germinated seeds are covered with soil. For convenience, it is worth simultaneously pouring soil and twisting the roll.
When the whole "snail" is covered with soil, rolled up and fixed with an elastic band, it must be placed vertically, and more earth must be added on top so that it covers all the turns of the roll.
It is advisable to put the roll in a box, on the bottom of which a layer of sawdust is poured. This material absorbs well and retains moisture, providing a comfortable environment for the growth of seedlings.
Important! There is no need to water the sawdust.
The box must be closed again with a bag and put away in a warm place. You can open the box when green shoots appear from the ground. After that, the seedlings must be transferred to a bright place, for example, on a windowsill, or a seedling rack.
Step 3. It is advisable to water the seedlings with a syringe without eroding the soil.
Step 4. Dive seedlings.
You can dive seedlings into any containers - cups, toilet paper rolls, boxes. But it is most convenient to dive the seedlings into the "diapers" of the film. Plastic food packaging bags are perfect for this.
You can dive seedlings when the plants have 2-4 true leaves.
On a note! If you do not want to dive seedlings, then the seeds should initially be laid out on toilet paper with an interval of 10-15 cm.
The procedure for diving from "snail" to "diaper" is as simple as possible:
- a roll of seedlings is placed on the table, the fixing rubber or adhesive tape is removed;
- the edge of the roll is unrolled. It is enough to bend the edge 15-20 cm;
- the first package is spread on the table;
- from the "snail" with a spatula remove the first sprout together with a lump of earth, trying not to damage the root system. The sprout is transferred to a spread bag;
- the sprout is covered with one or two tablespoons of soil so that it covers the root and stem to the very cotyledonous leaves;
- the bottom of the bag is folded over, after which the edges are twisted around the root with the covered soil. The edges can be secured with a piece of tape.
Seedlings in "diapers" are placed in fruit boxes tightly to each other.
Step 5. Hardening of seedlings.
When the cut seedlings are strong enough, they can be taken out to a polycarbonate greenhouse and covered with a covering material. If this is not possible, the seedlings can be hardened on the balcony or on the window, opening the window first for a short time, then increasing the airing time to 2-3 hours.
After hardening, the seedlings become stronger, less whimsical, "immunity" is formed to sudden changes in air temperature during the summer.
Transplanting seedlings into a greenhouse
Tall bushes "De Barao" are shade-tolerant, but you should not overly shade the plants, because this will affect the speed of their growth and the amount of harvest. It is optimal if there is from 90 to 120 cm of free space between adjacent bushes.
It is advisable to prepare the beds in advance by digging up the soil, adding humus to it. In order for the soil to warm up better, 3-5 days before planting the seedlings, the garden bed can be covered with a black film.
Seedlings are planted when the air warms up to + 20 ... + 22 ° С during the day, and at least up to + 15 ° С at night.
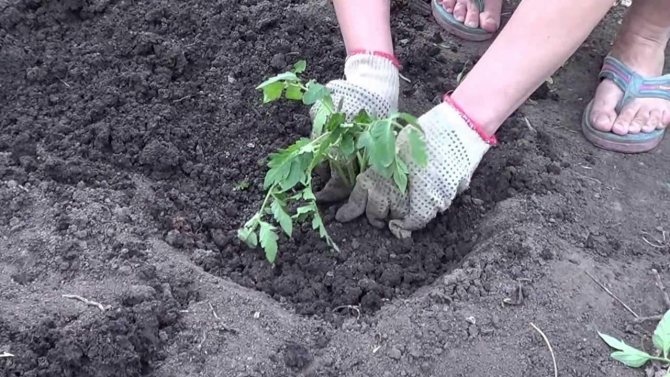
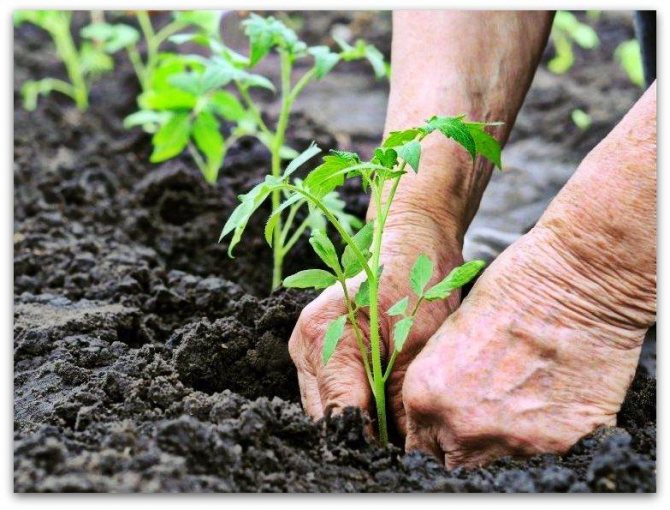
Only two holes are made on one square meter of the bed. It is advisable to add a tablespoon of ash to the hole. The sprout in the hole is placed vertically, without tucking the roots, after which it is sprinkled with earth and watered abundantly around the stem.
On a note! During the first two weeks after planting the seedlings in the greenhouse, acclimatization and rooting takes place. During this period, it is recommended to apply Superphosphate fertilizer to the soil.
Pegs for tying bushes are driven in simultaneously with planting seedlings in the ground. If this event is carried out later, then damage to the root system is possible, which is extremely undesirable for plants.
Reviews of gardeners
Since the De Barao variety has been pleasing gardeners since the 90s of the last century, there are a lot of reviews for these tomatoes. Negative and rare - relate to the height of the bushes, planting, cultivation characteristics, a large number of waterings. We can say that there were no such reviews, be everyone equally hardworking and diligent.
Most of the reviews are full of admiration and respect for the variety:
Vitaly December 15, 2015
I have been growing De Barao for about 15 years. There are no complaints about the variety.
Protection against diseases and pests
Although de Baraosorta tomatoes are immune to some diseases, the bushes still get sick. This leads to violations in the implementation of agrotechnical measures.
Ways to fight:
- Mosaic. Removing a diseased bush, treating the soil with a solution of copper sulfate. Preventive measures: spraying with a composition at the rate of a liter of milk per bucket of water.
- Late blight. Treatment with "Barrier" preparations at the rate of 100 ml of the preparation per bucket of water or "Oxyhom" - 2 tab. on a bucket of liquid.
- Spider mite. Spraying with Karbofos solution - 90 g of the drug per bucket of liquid.
- Colorado beetle. Treatment with Prestige according to the instructions.
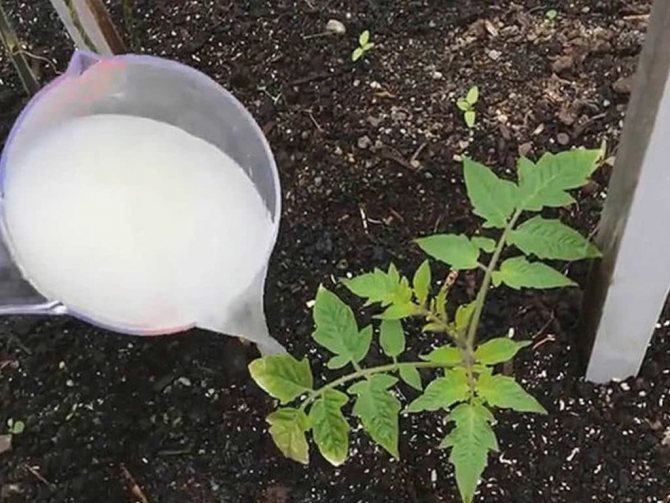

There are other diseases that are treated with folk or chemical means.
Description
The plant is indeterminate, the height sometimes exceeds 2 meters. In a greenhouse, a tomato can grow up to 3 meters, so sometimes you have to limit growth. De Barao bush is powerful, well leafy. The stalk is thick, not fragile, slightly pubescent. The leaves are arranged alternately. The leaf plate is large, dark green, with pronounced venation, wrinkled. The internodes are long. Inflorescences are compact, drooping, can be simple or intermediate. The first fruit cluster in the variety is laid over 9-11 leaves. The next ones appear every 3 sheets. On average, about 6 - 10 brushes are formed with 5 - 6 or more ovaries in each.
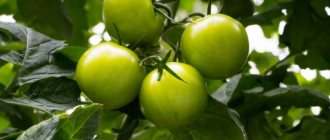
The fruits are beautiful, plum-shaped, with thick walls, fleshy. Average weight - 30 grams. The skin is glossy, firm and firm, but not thick. Unripe tomato is green, there is a dark green spot near the stalk. During ripeness, the skin turns red. The pulp is juicy and tender, aromatic.There are very few seed nests - 2 or 3. De Barao's taste is excellent. The juice contains 5% dry matter and 2.8% total sugars.
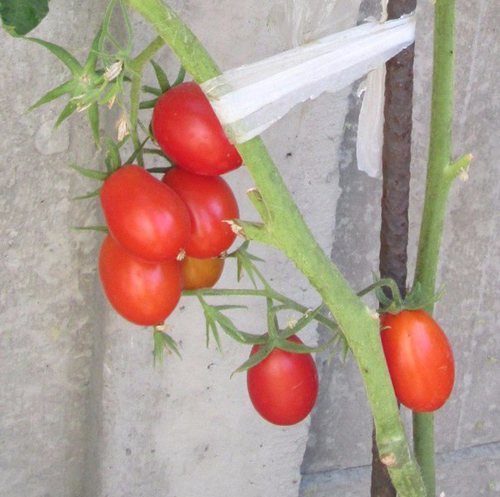

Red
We plant seedlings
To get the best result from the planted plants, you need to follow the growing rules, starting with planting.
Tomato seeds of this variety can also be planted in open ground, but this method is acceptable only in the southern regions of the country. Consider a seedling planting method. This will allow the plants to quickly bear fruit and increase yields.
When to plant seeds for seedlings?
First you need to correctly determine the timing of planting. The rules are as follows:
- Seedlings are planted in a greenhouse (in the ground) after it grows up to 30 cm, and expands 5-7 leaves, often tomatoes are planted with the first flower lash, seedlings ripen for 60-65 days.
- Seedlings are planted in warm soil when the temperature outside (in the greenhouse) does not drop below 15 degrees.
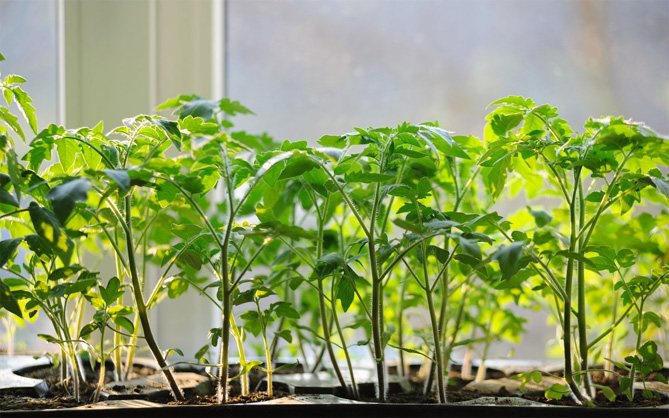

Let's calculate the time of sowing seeds:
In agroclimatic reference books or in the archives of weather forecasts, you can find out when the temperature is set to 15 degrees. Let's say it's June 1st. From June 1 back we count 60-65 days, it will be March 28. This is the time when you should plant seeds for seedlings.
Important! In different regions, the temperature is set in different ways, which means that the timing of planting will be different.
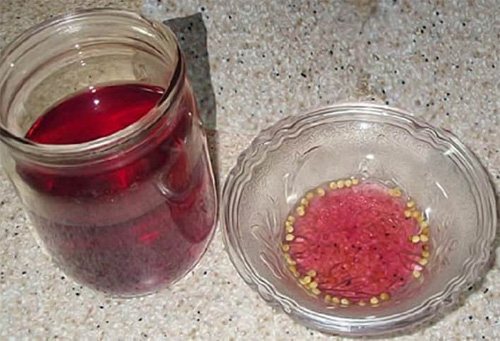
Seed preparation
There are several ways to prepare seeds, for example:
- you can soak the seeds for a day in a saturated solution of aloe juice - this will strengthen the future plant;
- you can shorten the time of entry into fruiting if you soak the seeds in a solution of soda - stir 2 g of soda in a glass of water;
- if you are not sure of the manufacturer, you can disinfect the seeds in a solution of potassium permanganate.

Soil preparation
In order not to complicate the task too much, you can buy a suitable soil at a seed store. But experienced gardeners make a soil mixture since autumn and leave it to freeze. Before planting, the land is brought home, warmed and laid out in planting boxes.
Landing
- Soil is poured into the landing boxes, leveled.
- When planting tomato seeds for seedlings, the seeds are buried to a depth of 1 cm.
- The plantings are moistened, but not poured, it should be borne in mind that there are no roots, moisture will not be absorbed, so you do not need to pour too much water, otherwise the soil may become moldy.
- You can cover with foil, then germination is faster. The film must be periodically removed, the planting must be ventilated, otherwise the soil may become moldy.
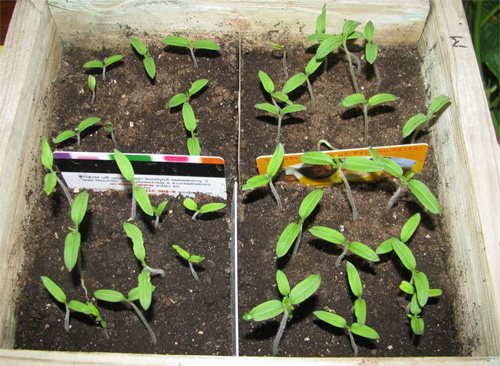
- It is necessary to provide the seeds in the soil with a warm temperature. At 20-25 degrees, seedlings will appear in 3-5 days.

Picking
When young shoots grow up and the plant throws out 3 leaves, the seedlings dive. A pick is a transplant of a plant in a separate container. A container is specially selected for this, which would provide more free growth of the tomato before planting in the greenhouse. Suitable:
- plastic cups;
- juice boxes;
- flower pots;
- special peat pots for seedlings.

