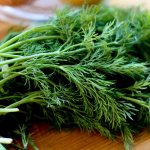
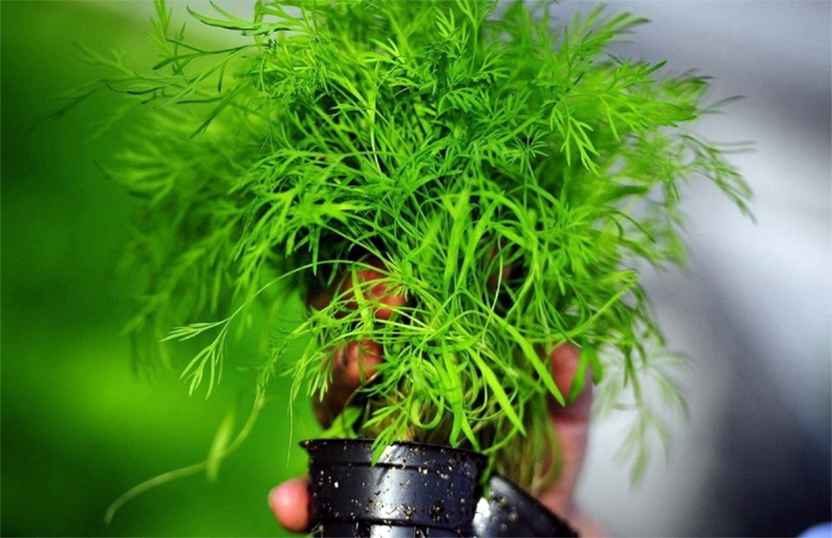
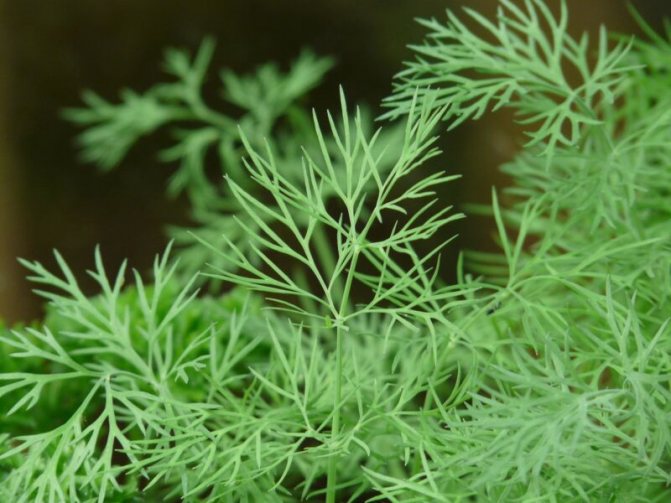
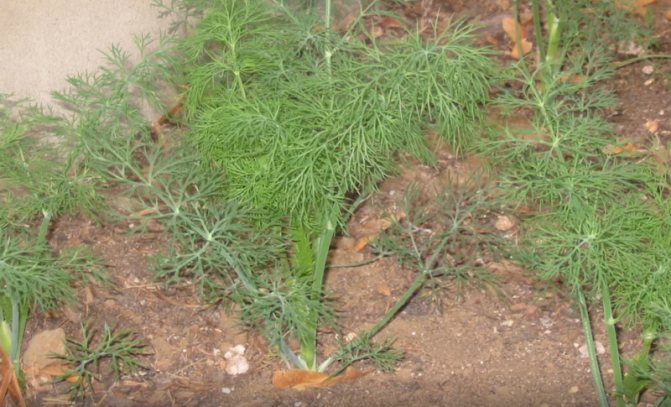
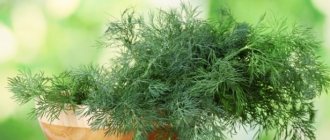
Dill is planted by almost all summer residents. Fresh herbs add a spicy flavor to the dishes. Umbrellas are irreplaceable in canning.
Seeds, stems and juice are still successfully used in folk medicine today. Growing dill is not a troublesome business.
Due to its vitality, it grows in almost any conditions.
However, not every summer resident knows about the varietal variety of annuals.
If you choose the right seeds of fragrant greenery, you can achieve a stable harvest for the entire season.
Optimal conditions for growing dill
Before sowing dill, you need to pay attention to the following conditions:
- Neighborhood with other crops on the site... Dill coexists well with almost all vegetables, but it is worth considering that greens cannot be planted very close to their stems, otherwise dill will take away all moisture and nutrients.
The predecessors of this greenery can be any crop, with the exception of celery. If dill is planted, including in order to get seeds from the bushes, then there should not be fennel nearby: these crops are freely inter-pollinated. - Temperature... Although dill seeds germinate at a temperature of 3-5 degrees, it is recommended to plant them when the air warms up to 16-18 degrees.
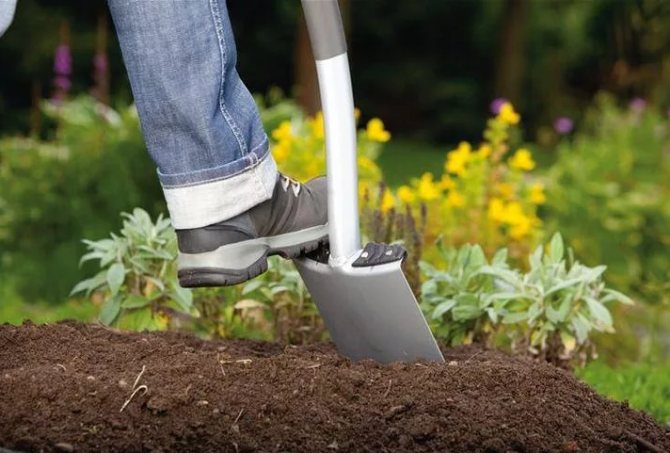
- Suitable soil... To get a generous harvest of greens, you need to plant dill seeds in well-moistened, previously deeply dug, loose, neutral soil. The acidity of the earth also matters: greens do not grow well if this indicator is below 6.3. For this culture, the soil into which dolomite flour or lime was added is not suitable.
- Illumination... When choosing a site for planting dill, you need to give preference to lighted beds, although the plant can develop in partial shade.
The advantages of growing dill outdoors include:
- ease of care and harvesting;
- unlimited space;
- getting the plant more vitamins and nutrients.
Do not plant early, rapidly maturing varieties of dill in late spring and early summer. The fact is that with a daylight duration of 15 hours, the culture immediately releases a peduncle.
Where is it better to plant dill?
In order to get a rich harvest, before planting dill, you should find an ideal, or at least an acceptable place for it.
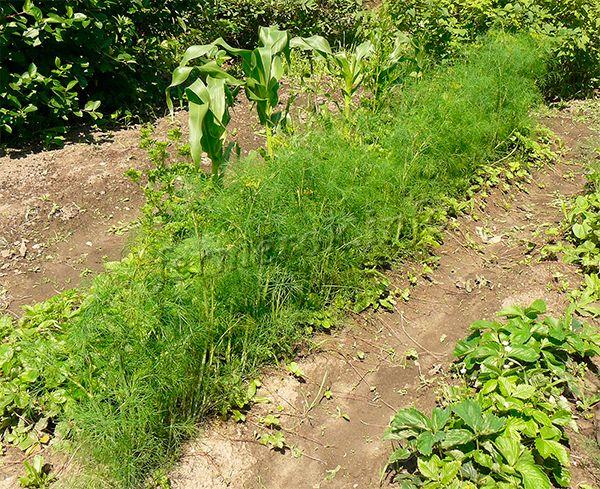
Dill loves the sun and a long sunny day
- Dill loves the sun and a long sunny day. That is why it does not grow or grow in the shade, but slowly and for a long time. So the sowing area should be as sunny as possible. Only a small shadow is acceptable for 3-4 hours a day.
- The land must always be moist, it can grow poorly on sandy soil. So, before planting, if necessary, they dilute the land with black soil, peat so that the water does not leave it very quickly.
- The soil must be fertilized. The opinion that dill does not grow on poor soils is wrong. It will grow, but it will grow unevenly, there may be a faded color or insipid taste. You can get a really good harvest only on fertilized land.
Landing dates
During one season, dill gives a crop several times, so you can plant a crop, starting in spring and ending in late autumn.The planting time depends on the goal pursued by the gardener: if fragrant greens are needed, then work is carried out in spring and autumn, and if you need umbrellas with seeds, then in summer.
Since dill seeds tolerate frosts well, they can be planted in open ground immediately after the snow melts at an air temperature above 5 degrees. You can start planting from the end of April and finish in mid-May. This can be done at any time in the summer.
In the fall, dill seeds are planted from October to November, before frost, so that they do not have time to germinate. Before winter, dill is planted in order to get the first greens as early as possible in the spring.
Overseeding can be done throughout the season.
Winter and subwinter sowing
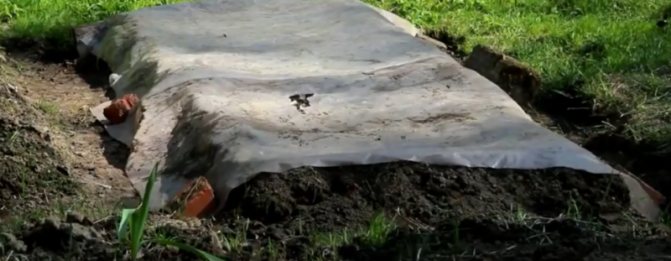
In order for fresh greens to appear on your table as early as possible, seeds are sown before winter. For this, the garden bed is prepared in the fall, filling with mineral and organic fertilizers. Before the ground freezes, dill is sown, while increasing the seeding rate by 25%, and the seeding depth by one and a half centimeters. The bed is covered with mulch to protect it from crusting, which will prevent the emergence of seedlings. It is not necessary to compact the soil when sowing greens in winter.
It is also possible to plant dill in winter:
- a bed prepared in advance is freed from snow;
- seeds are scattered on its surface;
- from above the crops are covered with a layer of humus or earth mixed with humus;
- during the spring melting of snow, the seeds are drawn into the ground along with the melt water and soon germinate.
For winter and subwinter planting, it is advisable to throw covering material over the crops in spring, securing it along the edges. Compared to spring plantings, dill sown in winter or autumn can be cut a week or two earlier.
Soil preparation
It is necessary to prepare the soil for planting dill seeds in several stages:
- In autumn Dig deep into the ground and apply fertilizers (humus, mullein or bird droppings at the rate of half a bucket per 1 sq. m). Use superphosphate or potassium salt as mineral dressings (200 g and 150 g per 1 sq. M, respectively).
- In the spring thoroughly loosen the beds so that liquid and air can freely flow to the seeds.
- A couple of days before planting seeds water the beds into the soil.
After the preparatory measures, you can start planting dill seeds of the selected variety.
Further care
For proper care of dill, you must:
- to carry out the cultivation process as needed;
- to obtain a proper harvest, feed the plant with ammonium nitrate twice a month;
- if the leaves in the dill begin to turn yellow, then the plant experiences a nitrogen deficiency;
- greens must be watered 2 or 3 times every seven days;
- watering in the evening with water heated in the afternoon in the sun;
- loosen the soil regularly;
- timely clean the garden from weeds;
- spud the crop once during the entire growth period;
- harvesting on time is important for the normal growth of dill.
Variety selection
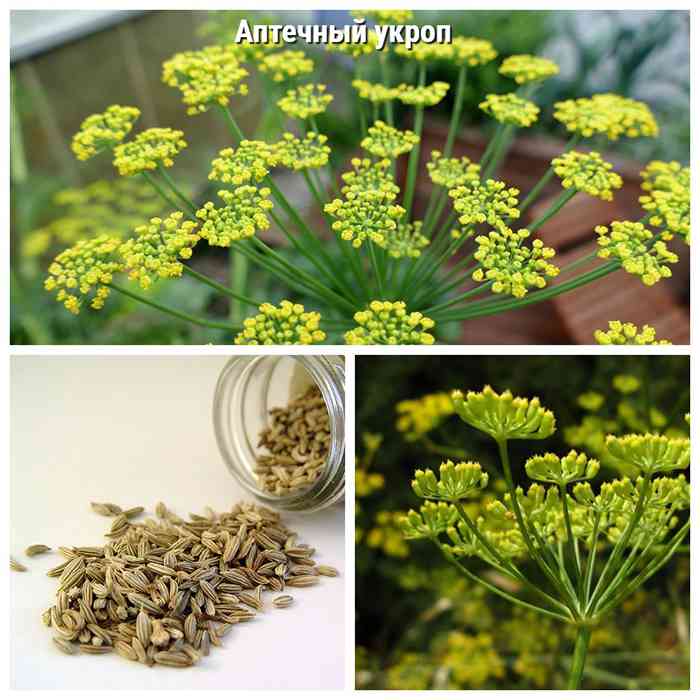
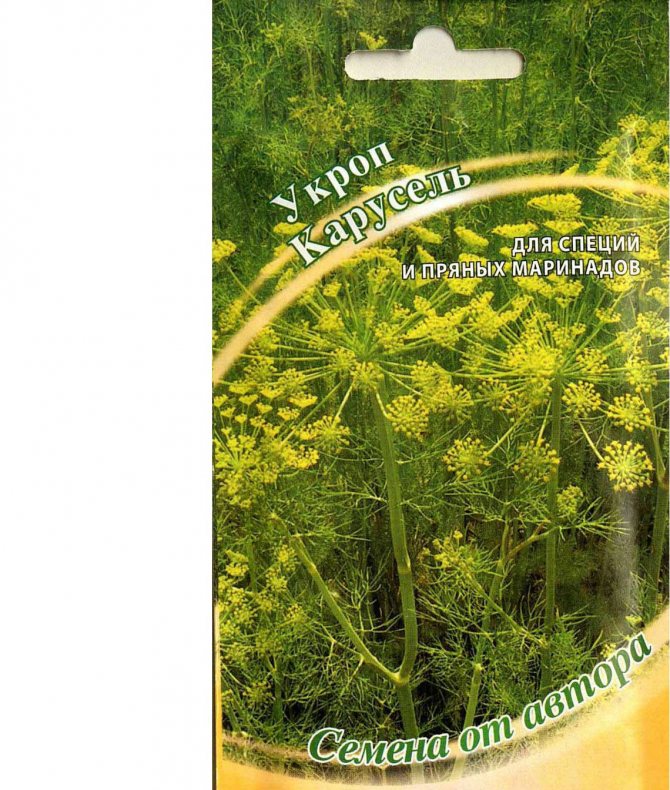
When choosing a variety of dill for planting, you need to carefully study its characteristics. The fact is that some varieties give abundant greenery, while others form flower stalks and are intended for collecting seeds. The types of this culture are distinguished not only by purpose, the height of the bush and the shape of the flowers, but also by the timing of ripening.
Early maturing varieties
These include:
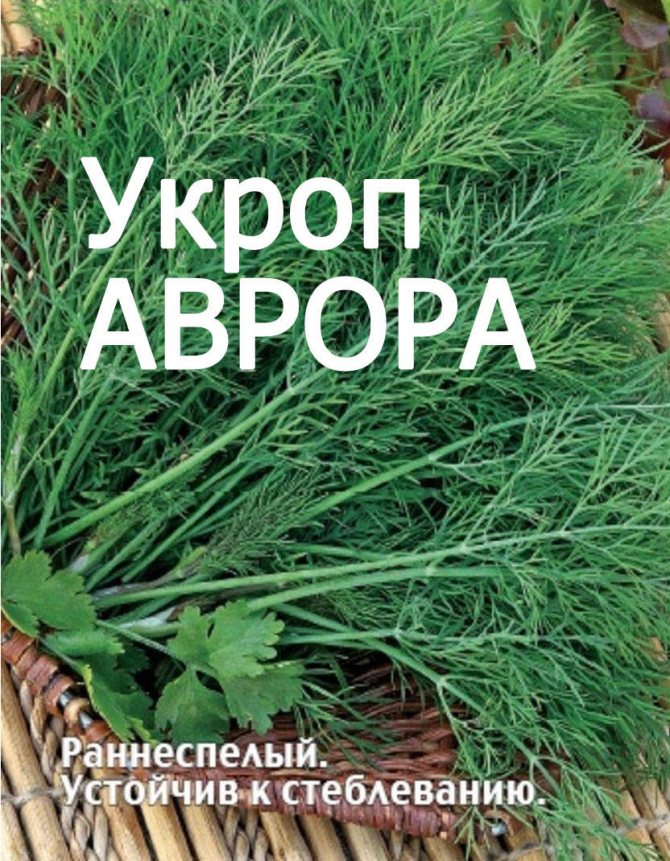
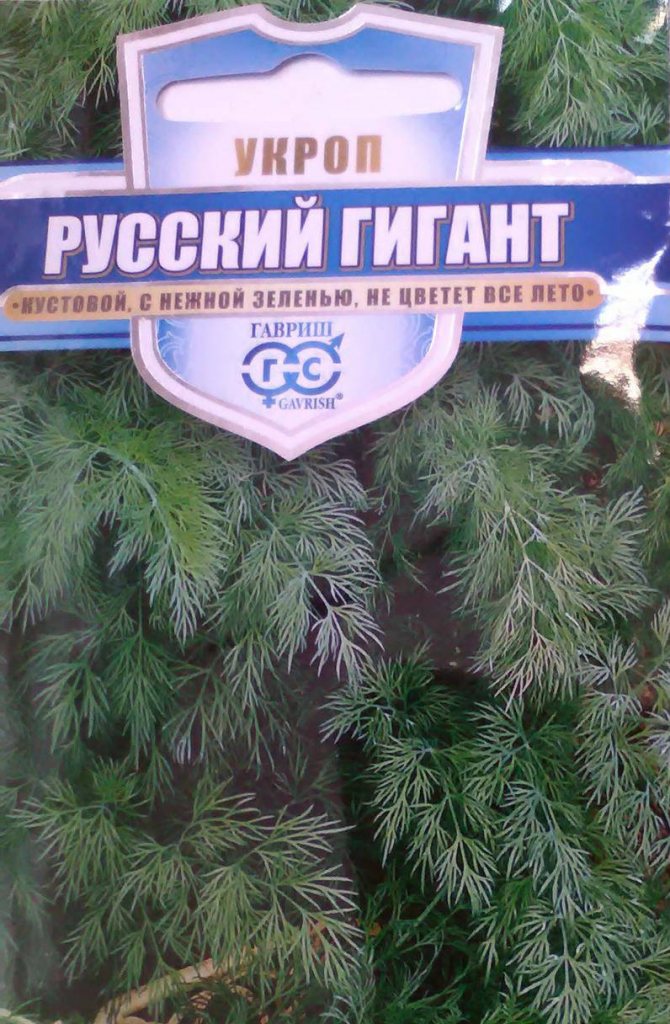
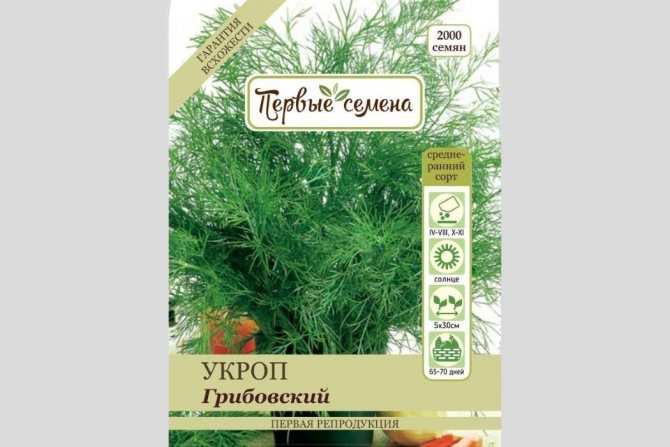
- Gribovsky (30-45 days pass from germination to the first harvest of leaves). The culture is undemanding to weather conditions: even in cold summers, the bushes give a lot of high-quality greenery. You can plant seeds of this variety, starting in April and ending in July, several times. The height of the rosette of Gribovsky dill reaches 25 cm. The leaf weight of one plant reaches 1 kg. The variety is resistant to many diseases and pests.

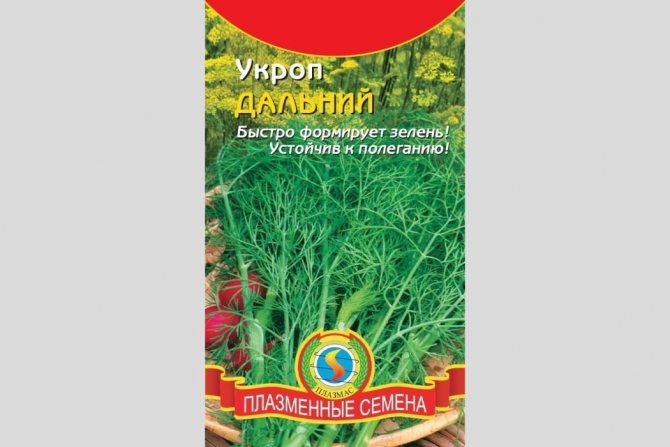
- Further (from germination to harvesting - 38-40 days). This is a productive variety: from 1 sq. m collect 2-2.5 kg of green mass.Dalniy dill is grown on an industrial scale for sale. A feature of the variety is the presence of a wax coating on the leaves. Distant is resistant to pathogens, tolerates showers without lodging.

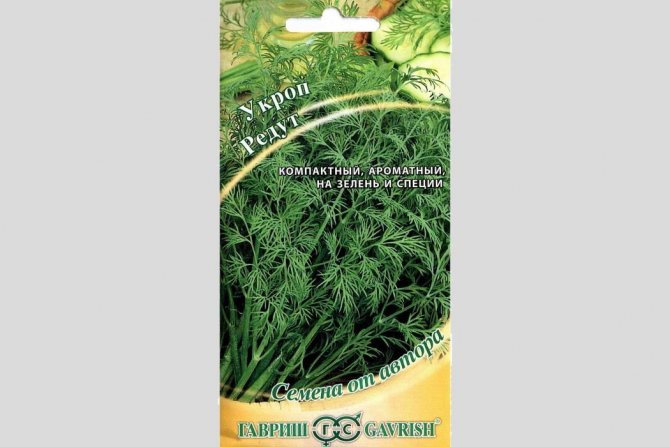
- Redoubt (first collection - 1.5 months after seed germination). During the season from 1 sq. m collect 1.3 kg of leaves.

Early-maturing varieties quickly form umbrella-shaped inflorescences: they form faster than leaves ripen. That is why it is impossible to collect a large amount of greenery from them.
Mid-season varieties
Popular representatives of this group are:
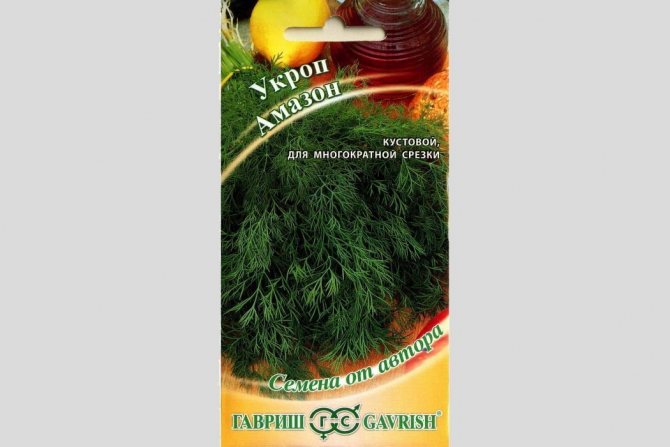
- Amazon... It is recommended to sow the crop in late April and early May. The first collection of greens is carried out approximately 1.5 months after seed germination. During the season from 1 sq. m you can collect 2.5 kg of leaves.

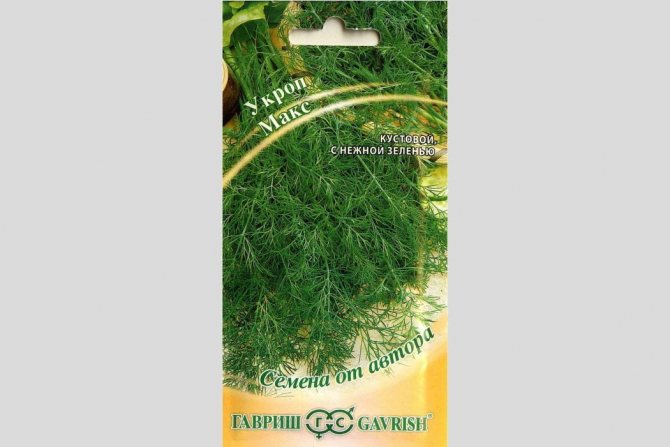
- Max... The seeds of this variety are planted in the soil after it warms up to 8 degrees or more. Leaves can be harvested 1.5 months after the seeds germinate. The total weight of deciduous mass is up to 4 kg per 1 sq. m.

- Umbrella... A hybrid variety with rich green leaves and highly dissected blades. The culture acquires marketable maturity after 40-48 days from seed germination. From 1 sq. m during the season, about 2 kg of greens are harvested.


Mid-late varieties
These crops mature slowly, the process taking about 45-57 days. Popular types include:
- Frost... The bush of this variety reaches a height of 1.7 m, has large convex umbrellas. From 1 sq. m during the season, about 2.7 kg of greens are harvested.


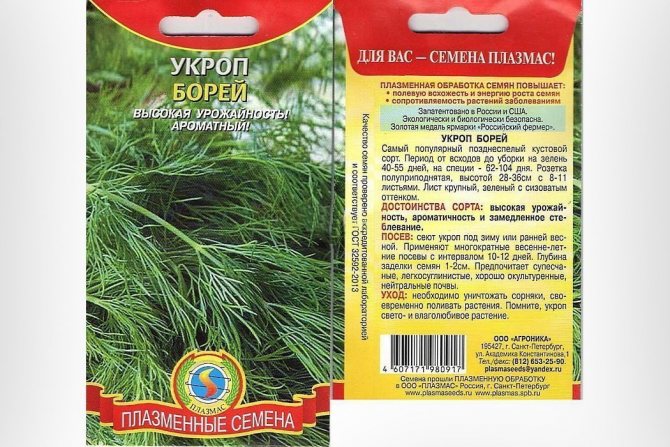
- Borey... The greens are cut 39-55 days after seed germination. The stem reaches 1.2-1.3 m in height. The dignity of the variety is resistance to disease. During the season from 1 sq. m collect up to 4.2 kg.

In total, about 70 varieties of dill are known. To provide themselves with juicy fresh herbs for the whole season, gardeners recommend planting several varieties of this culture at once with different ripening periods.
Which variety of dill should you choose?
There are a lot of dill varieties, although not many people know about it. And yet there are early, mid-season, late varieties. In terms of taste, they are not much different, although the gourmet will naturally understand the difference. But for those who grow dill for personal consumption or sale, these subtleties do not matter, unlike when it will be possible to harvest the first crop.

Early varieties of dill
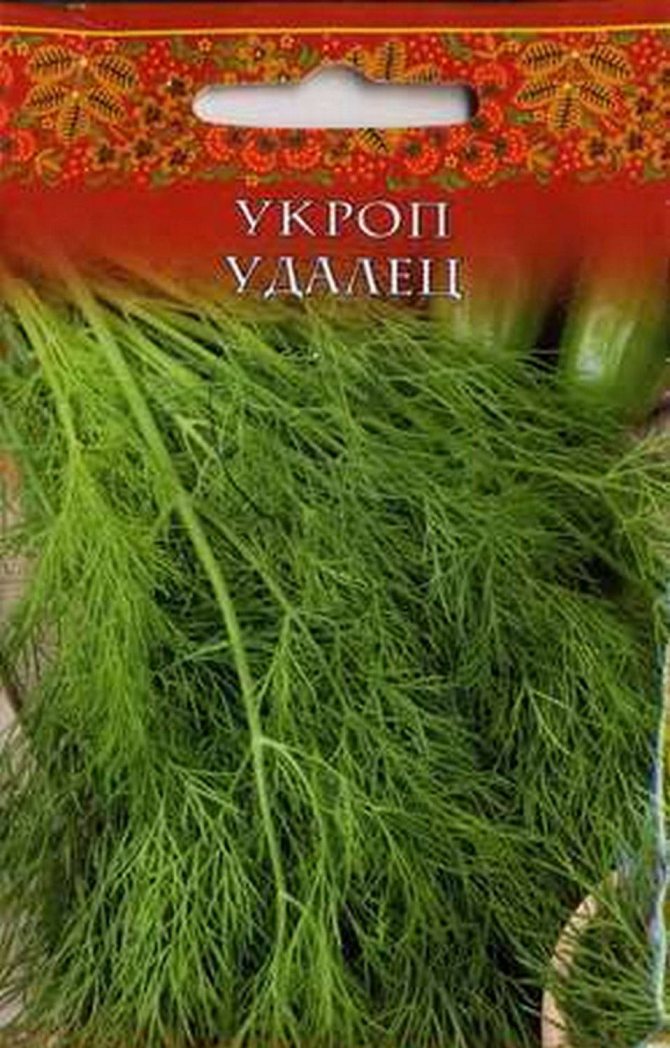
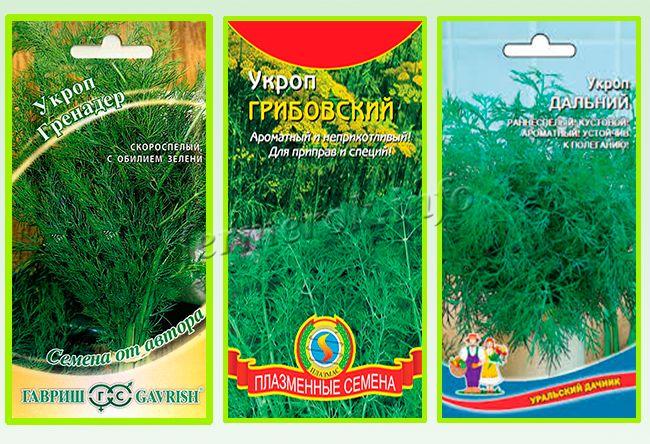
- Early varieties are ready for use in 30-40 days: Grenadier, Gribovsky, Dalny, Redut.
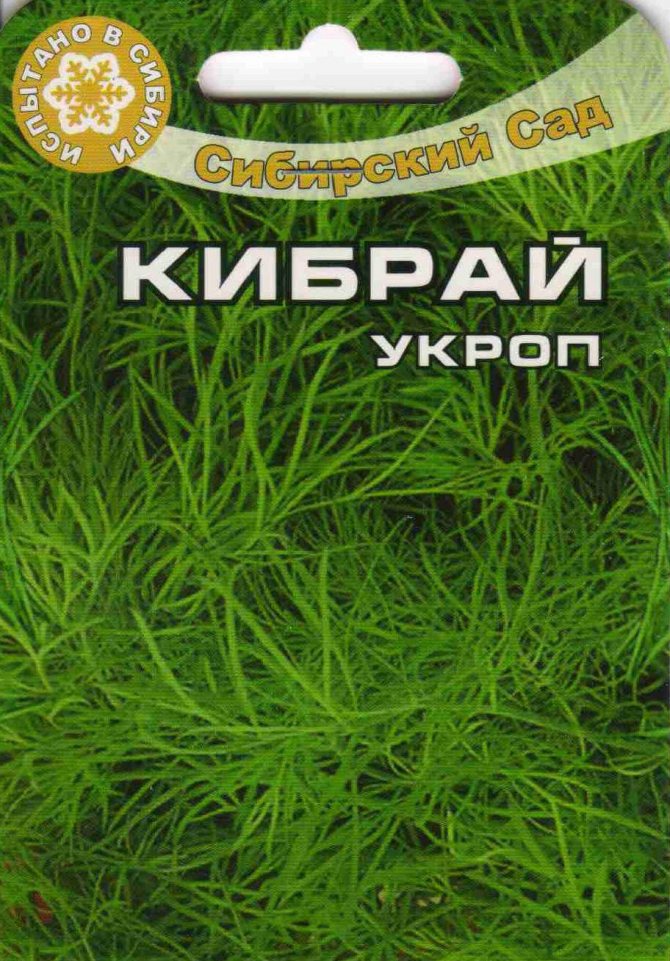
- Mid-season dill can be harvested in 40-50 days: "Lesnogorodsky", "Symphony", "Abundant", "Alligator", "Mammoth", "Kibray", "Amazon".
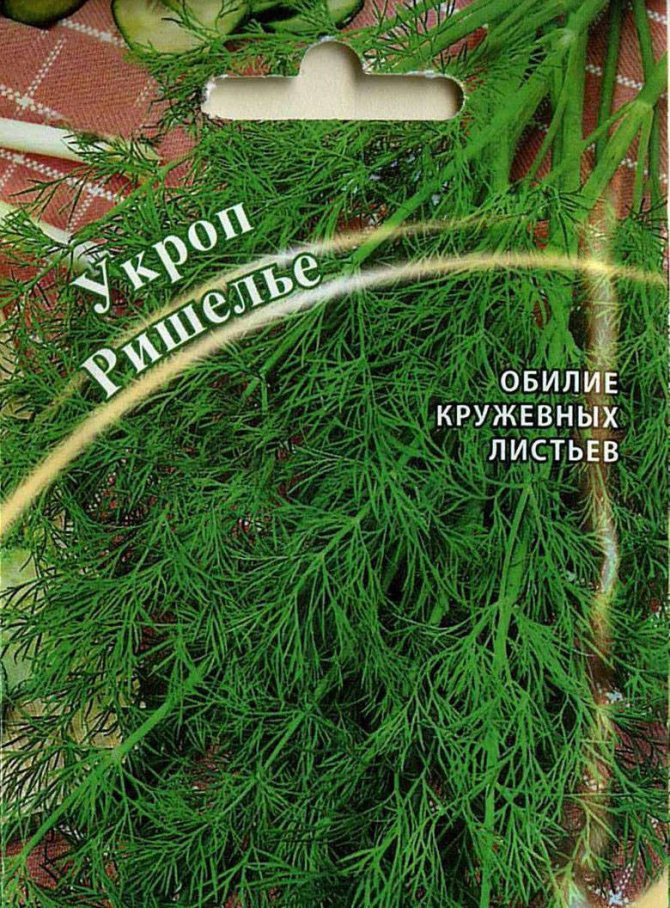
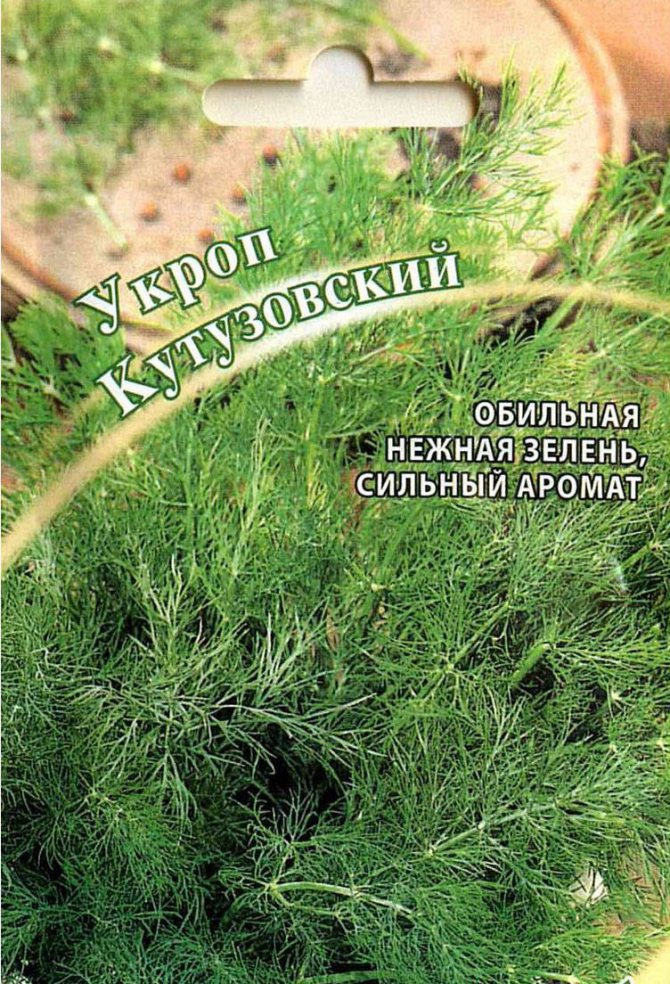
- Late varieties can be used no earlier than the 50th day after the emergence of seedlings: "Winner", "Tetra", "Mischievous", "Kutuzovsky", "Hoarfrost".
Landing
Dill can be planted with seeds and seedlings.
Growing by seeds
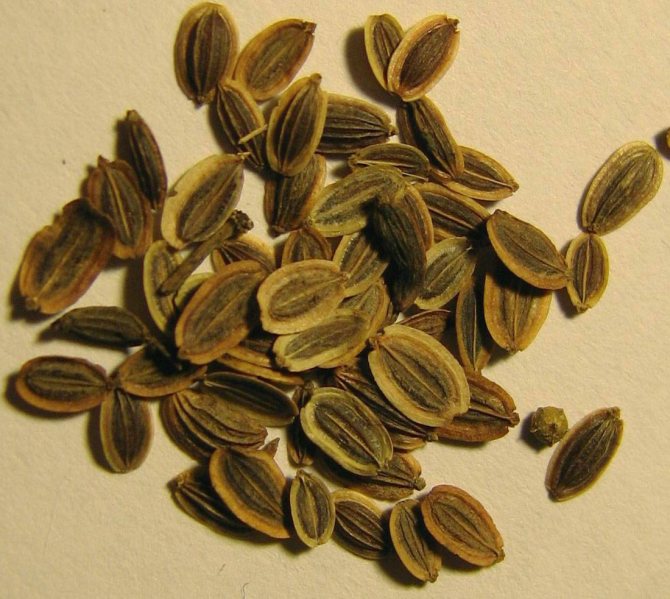
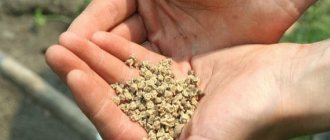
Since dill is an unpretentious culture, even without preliminary soaking, its seeds will yield a harvest, but its quality and quantity will directly depend on the preparation of the seed.
To accelerate the germination of seeds, before planting them in the ground, you need to do the following:
- Place the material in a cloth bag and immerse it in water at a temperature of 50 degrees.
- The water needs to be changed every 4-5 hours.
- The next day, the seeds are ready to be planted outdoors.
To cleanse the material from possible pests, you need to place it in a solution of potassium permanganate and stand for 2 hours.
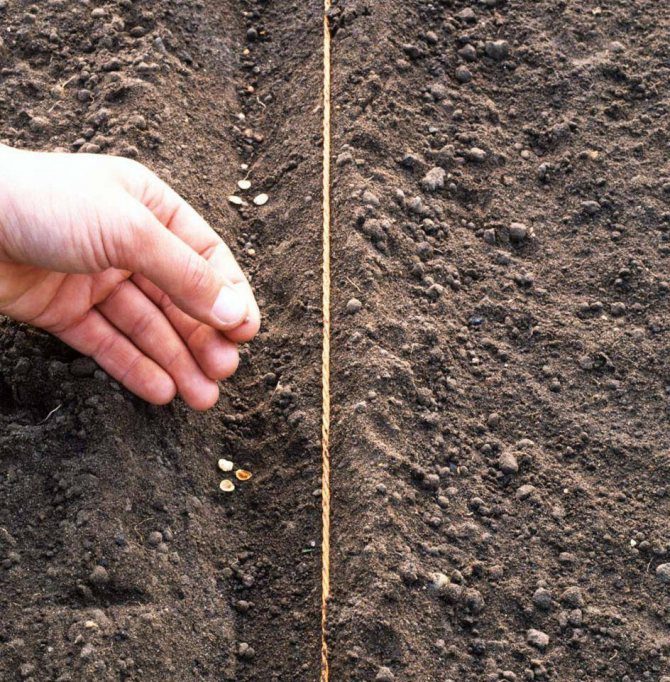
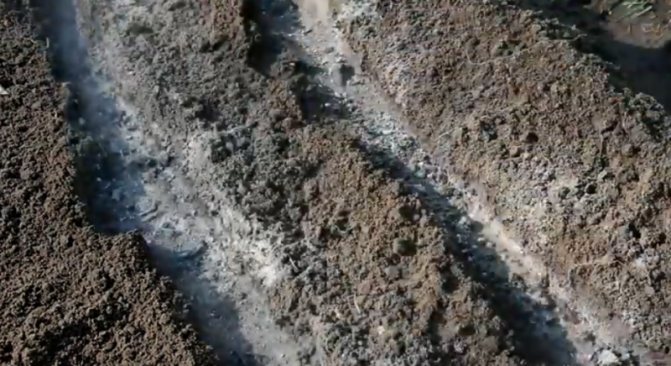
Before planting, not only seeds are prepared, but also the ground: grooves must be made in the selected area and watered with a weak solution of potassium permanganate for disinfection.
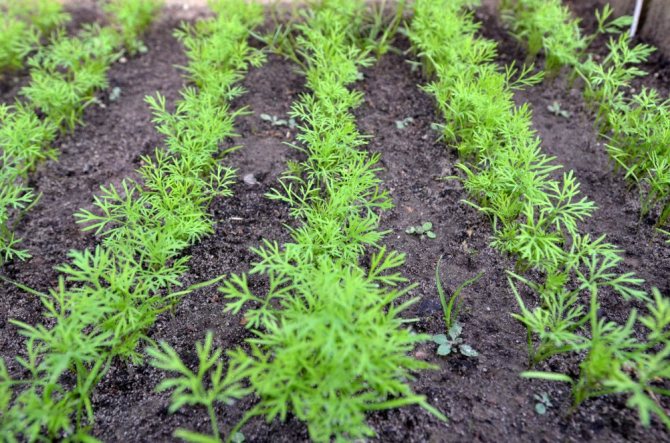
Dill can be sown densely without dividing the plot into beds, or by the line method. In the second case, the plant is planted in rows, observing a distance of 20 cm between each.The seeds themselves are sown thickly, at a distance of 5 cm.
It is necessary to deepen the seeds into the soil no more than 2-3 cm, even if they are planted before winter.
Growing seedlings
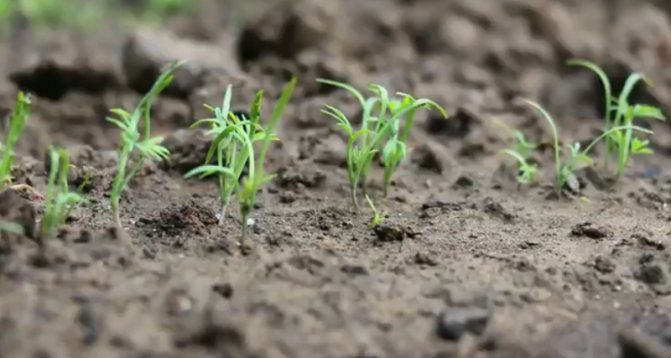
If you plan to plant dill seedlings in open ground, then early bush varieties are used for this. Their seeds are pre-sown in pots or a box (on a windowsill or in a greenhouse). It is necessary to transplant dill into open ground when the seedlings reach a height of 3-4 cm.
For growing by the seedling method, it is recommended to use dill of the Almaz variety. Seeds should be sown about a month before the planned planting in the soil (early to mid-April).
In the soil for germinating seedlings, you need to make grooves no more than 1 cm deep and place the seeds at a distance of 0.5-1 cm from each other. Keep a distance of 1.5-2 cm between each row.
After planting, water the seeds, cover the box or pot with plastic and leave in a warm place. The recommended temperature is within 20-25 degrees.
For information on how and when to sow dill, see the following video:
How to grow dill
To get a bountiful harvest, experts recommend growing through seedlings, which are prepared either on a windowsill or in a greenhouse. It is necessary to plant seeds for seedlings in early March, and after 4-5 weeks "babies" with 3-5 developed leaf plates are moved to a garden bed. It is advised to transplant in the evening or on a cloudy day. A distance of 20-30 cm is maintained between the bushes and the beds. When all the seedlings are in place, the earth must be watered and mulched with dry soil. For several days, the young plant is protected from the sun's rays.
In a bed with young plants, weeds must be removed in a timely manner. In the future, when the plant gets stronger, such a neighborhood will no longer become an obstacle for it.

Dill care outdoors
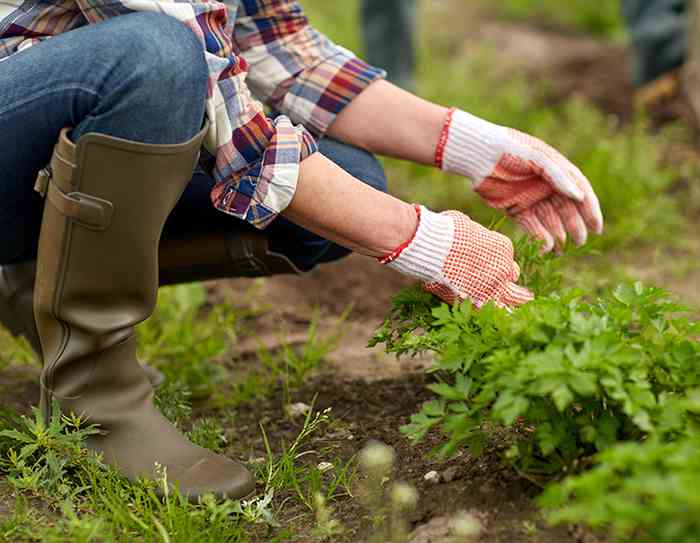
Dill will not require significant effort and time, but if agrotechnical recommendations are followed, this culture will certainly delight the gardener with a juicy and abundant harvest.
Watering
Watering the dill bushes is recommended often and abundantly, because without moisture, the leaves will slow down development and the plants will throw out the arrow. Pouring the beds so that there is water in them is also not worth it - in this case, the greens will be less fragrant.
The recommended volume of liquid is 20-30 liters per 1 sq. m.
Watering is recommended in the evening or in cool cloudy weather.
Top dressing
No fertilization is applied during the growing season. All dressings are laid in the soil even before planting seeds or dill seedlings.
Top dressing during the growing season will only be needed if the plant is developing slowly. Under such conditions, you need to apply a little fertilizer. If the bush turns yellow, it means that it lacks nitrogen.
Weeding and loosening
The first weeding should be done after the bush is well rooted. While it is still weak, weeds should be removed regularly. In the future, this event can be performed once every 2 weeks.
Loosening is performed to a depth of 5 cm after the rooting of the plant. If the soil is loose on its own, no additional processing is required.
Shelter in the heat
On very hot days, dill can wilt. To avoid this, you can arrange a semblance of a canopy over the beds of greenery.
Pest and disease control
Most often, the culture is affected by fungal diseases:
- powdery mildew;
- cercosporosis;
- blackleg.
Their development is associated with a poor soil composition, excessive moisture, violation of the rules of crop rotation. For decay processes, it is recommended to use Fundazol solution.
To prevent the occurrence of diseases and pests, the soil must be treated with biofungicidal preparations before planting.
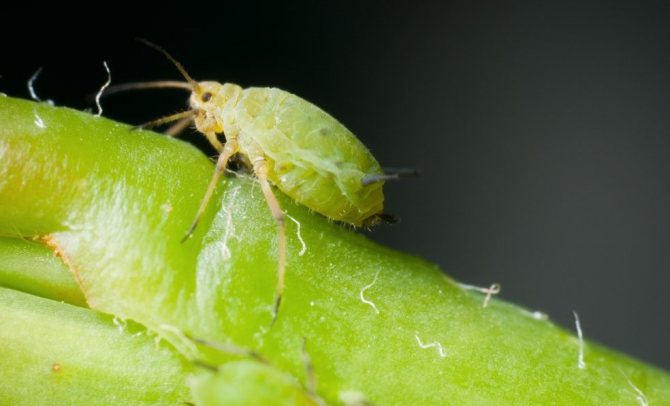
There are no pests that specifically target dill bushes. It is attacked by insects that parasitize nearby crops. That is why it is necessary to distribute sowing areas in advance.
Dill and its combination with other plants
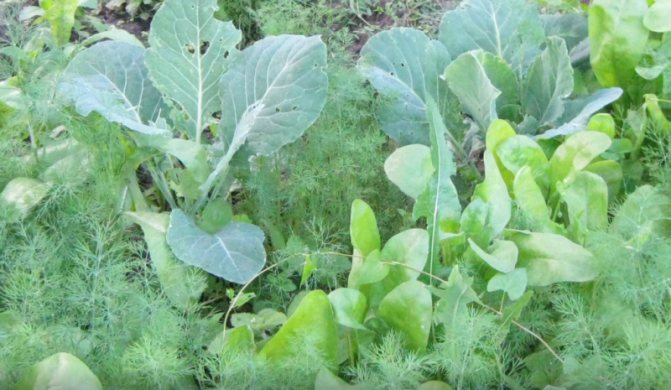
Many gardeners look at dill as an auxiliary spice plant, so they evaluate it in terms of benefits or harms for the main crops. The combination of a representative of the umbrella family with salad and onions will be successful. If you plant it between cabbage rows, the taste of the crop will improve. And in cucumbers, dill increases the fruiting period. It also has a beneficial effect on:
- potatoes;
- beets;
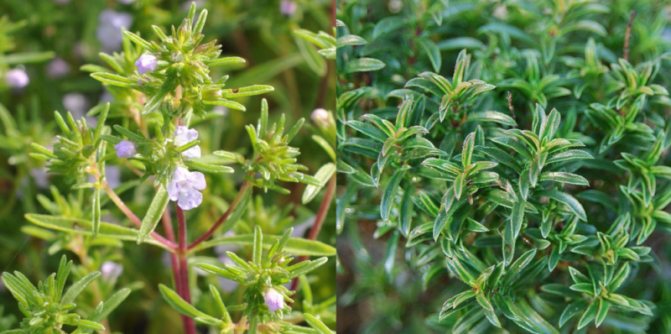
- garden savory.
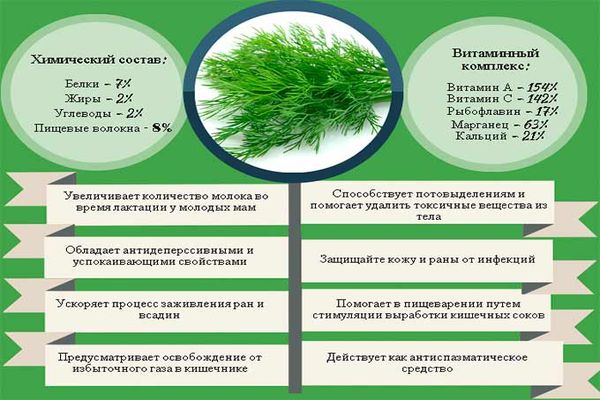
The combination of dill with tomatoes, carrots, fennel, bell peppers is considered unfavorable, but it grows well after tomatoes. Potatoes are also a good predecessor to the plant. After it, they try to plant legumes, potatoes, garlic, onions, tomatoes and peas. Dill is valuable with vitamins C, B and P, carotene, iron, calcium, phosphorus, potassium, essential oils and acids. It is an excellent helper in case of gastrointestinal disorders, diseases associated with nerves. And the taste of spice is an integral part of many dishes and seasonings.
Harvesting and storage
You need to collect greens from bushes that have not yet thrown out umbrella-inflorescences, that is, while the plant is young. In this case, the leaves are compactly collected and have a pleasant green color. After the appearance of the umbrella, they become coarse and lose both external and taste qualities.
Dill collection rules:
- first you need to thin out the beds with young shoots;
- first, the greens are cut off from the lower tier of the bush, then the side shoots, and then everything else;
- if seeds are needed, then a bush with formed umbrellas is cut with scissors at the root or pulled out of the soil.
Fresh dill leaves are not stored for long: they quickly lose their elasticity and turn yellow. In the refrigerator, bundles of greens are stored no longer than a week, at room temperature - about 2 days.
If you plan to store dill for a long time, the harvested crop must be frozen, after washing, drying and finely chopping the greens. After that, put in bags and place in the freezer.
Dill can also be dried. It is recommended to do this in partial shade, spreading it out on the fabric. After the leaves have cured, you need to finally dry them in the oven at a low temperature (40-50 degrees). Dried dill should be stored in glass jars with tightly closed lids.
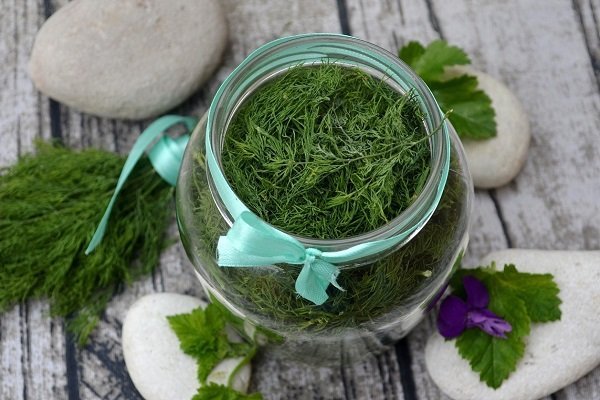

Dry and frozen greens can be stored for up to a year. Seeds collected from umbrellas are stored for up to 2-3 years.
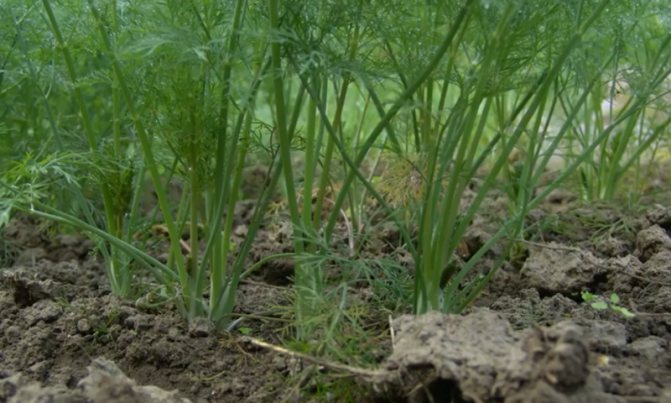
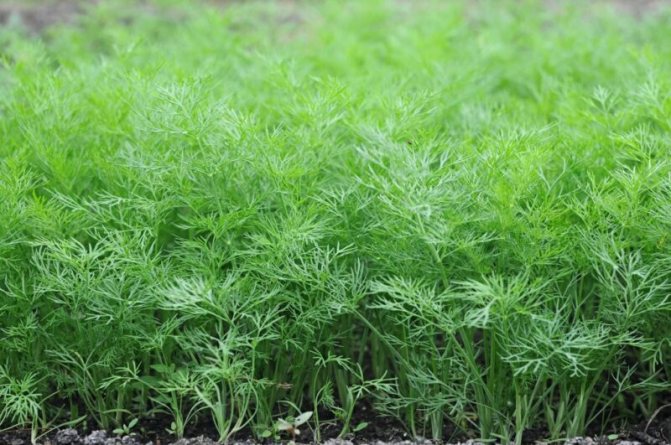
Dill will give a large amount of greenery while providing all outdoor care activities. When choosing a variety, you need to pay attention to the ripening period. It should also be borne in mind that some types of dill quickly form inflorescences, and therefore are suitable only for collecting seeds.
0
What dill loves
Dill is an unpretentious garden crop that grows well in any soil and does not require careful maintenance. It is characterized by the following features:
- Frost resistance of seeds;
- Loves moist soil;
- A lot of light is needed for rapid growth;
- Grows poorly on acidic soils;
- Fresh seeds germinate slowly due to their essential oil content.
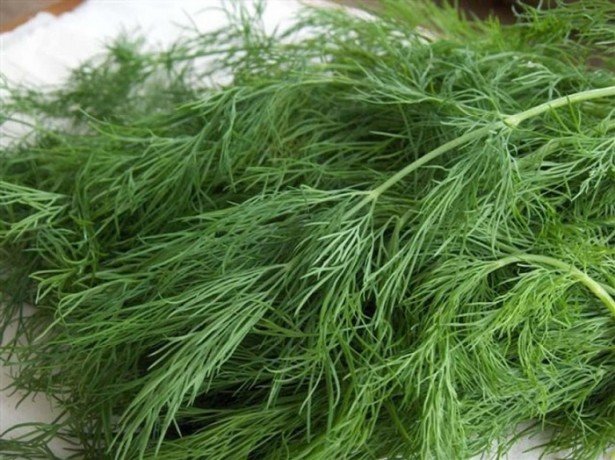

Dill loves long daylight hours and sunshine.
Given the listed features, it becomes clearer how to plant dill, what place to allocate for it on the site, and what to look for when growing it.
Video: proper cultivation of dill
Neighborhood preferences
Dill does not require spatial isolation from other plants, therefore, it is allowed to grow greens in close proximity to tomatoes, cucumbers, zucchini and other vegetable crops. It is not recommended only to plant the plant in the beds where celery was harvested in the previous season.

In order not to create unfavorable conditions for neighboring crops, a place should be left between the seedlings.Greens should not be near the stalks of vegetables, as otherwise it will take away excess amounts of nutrients and moisture.

