Choosing a seat for landing
When it comes to placing a pumpkin, you have to think carefully, because in a common area, among other vegetables, it will offend its neighbors, whom it will certainly drown out with its powerful lashes. Although it is often planted among potatoes, which is almost not oppressed. But since the pumpkin, like cucumbers, with the help of antennae is able to climb neighboring plants and low structures, then land-poor gardeners use this, for example, letting its whips along the fences.
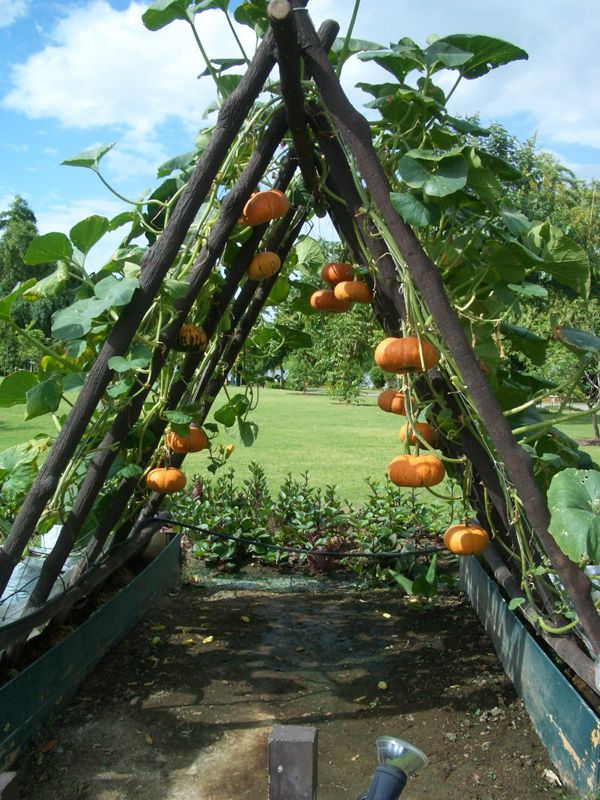
A wide variety of supports are invented for growing pumpkins.
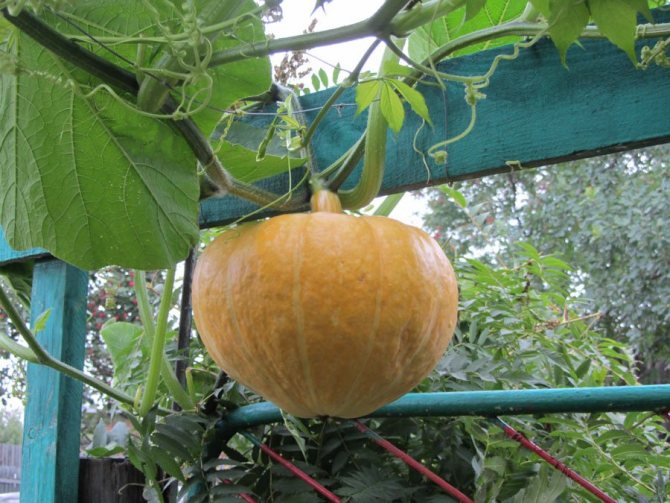
When there is nothing suitable for this in the garden, then directly above the holes they arrange a flooring on stakes from two or three poles or slabs - 1–1.5 m in height. With the beginning of the growth of the lashes, they are sent to the flooring, and separate supports are arranged under the hanging fruits. In this form, the pumpkin is not an obstacle for many low-growing vegetables, on the elevation above which it will grow.
The next question is how to create suitable soil conditions for the pumpkin. The difficulty here is not so great, since one pumpkin bush will require an area for a hole of no more than 1 m2. If we consider that for an average family it is necessary to plant 3-4 bushes, then a place for this can be found anywhere and provide a pumpkin with a nutritious soil mixture on it.
What soil is needed for planting pumpkin
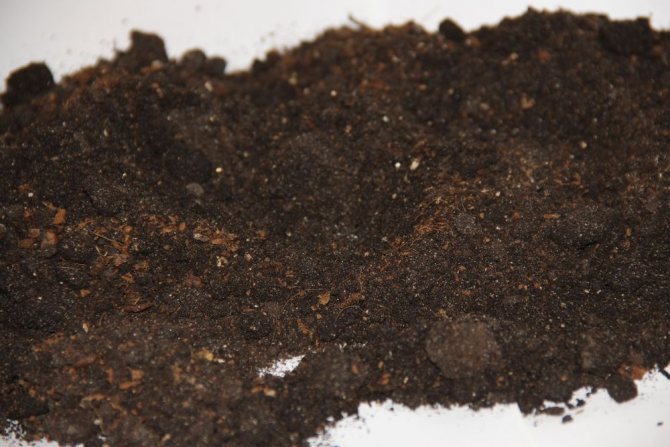
Pumpkin works well on structurally fertile, light dark-colored sandy loam soils. In well-fertilized areas with manure, the fruits reach enormous sizes.
The main cultivation of the soil for pumpkin does not differ from the cultivation of soil for vegetable crops: in the fall, the garden bed is dug up with fertilizers on a shovel bayonet, and in the spring it is leveled with a rake. The soil for this vegetable should have an acidity close to neutral, the optimum is pH 6.5. You should not plant a pumpkin where any pumpkin crops (cucumbers, zucchini, squash) grew last year.
Harvesting and storage
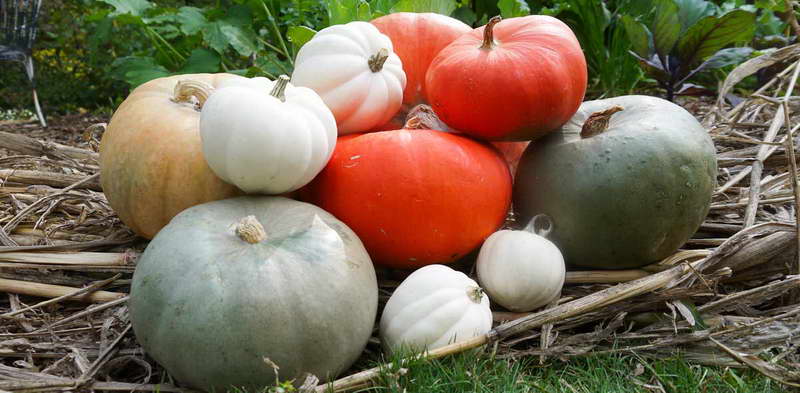

How to harvest and store a pumpkin photo
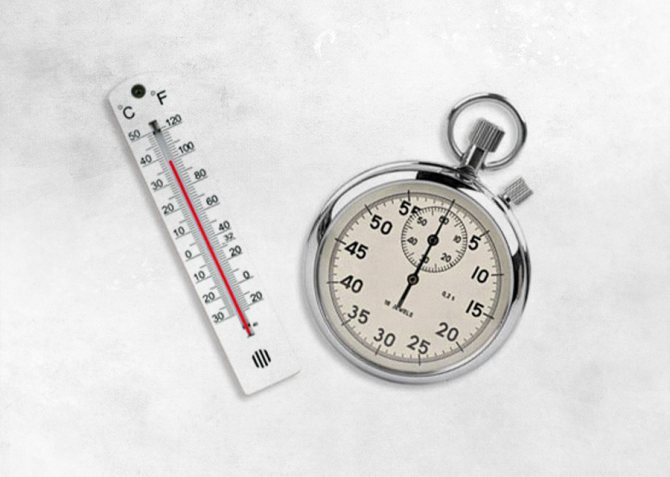
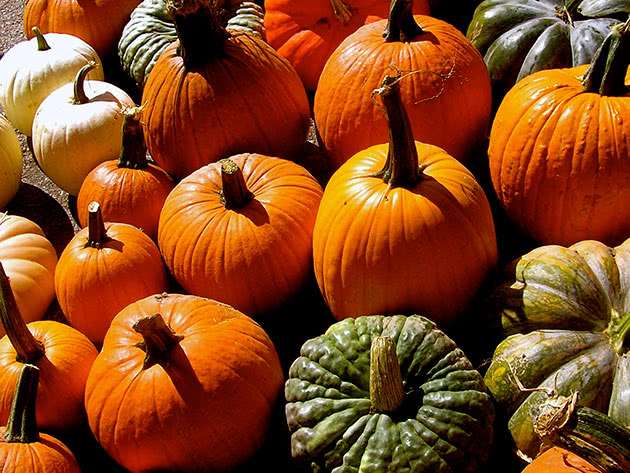
In order for pumpkins to be well and for a long time stored, ripe fruits must be cut off together with the stalk (5-6 cm long). Store in a dry place, at room temperature, but at a temperature range of 5-8 ° C, the fruits are stored until spring.
Fertilizers for pumpkin when planting
In terms of soil nutrient requirements, pumpkin is very similar to cucumbers. The pumpkin feels great on a heap of ready-made compost, where various waste was dumped last season, as well as in places where manure used to lie.
You can grow pumpkins in specially prepared trenches, covered with chopped branches, green or dry grass, manure, various household waste, which are mixed with the ground and a layer of fertile soil is poured on top. The depth and width of the trench is up to half a meter.
The greatest effect is obtained with the combined use of organo-mineral fertilizers per 1 m2: for digging 4–5 kg of manure and for top dressing (when 5–6 leaves appear) 20 g of ammonium nitrate, 30 g of superphosphate and 15 g of potassium chloride. Nitrogen fertilizers (nitrate, urea) can also be applied during spring loosening of the beds.
Landing dates
In central Russia, mainly large-fruited and hard-bodied pumpkin is cultivated, in the south - nutmeg.The types of pumpkin differ quite significantly. In hard-bore pumpkin, the bark of ripe fruits is woody, while in other species it is soft. Such a pumpkin is distinguished by the greatest early maturity. Large-fruited pumpkin is the most cold-resistant and productive. Quite resistant to low temperatures and hard-barked pumpkin, the most demanding for heat and, moreover, late-ripening - nutmeg.
Thus, it turns out that in the middle lane without growing seedlings, you can guaranteed to get a harvest of only hard-bore pumpkin, and nutmeg may not grow even using the seedling method. In the southern half of the country, you can grow any pumpkin, but nutmeg varieties, even in the south, are sometimes grown through seedlings.
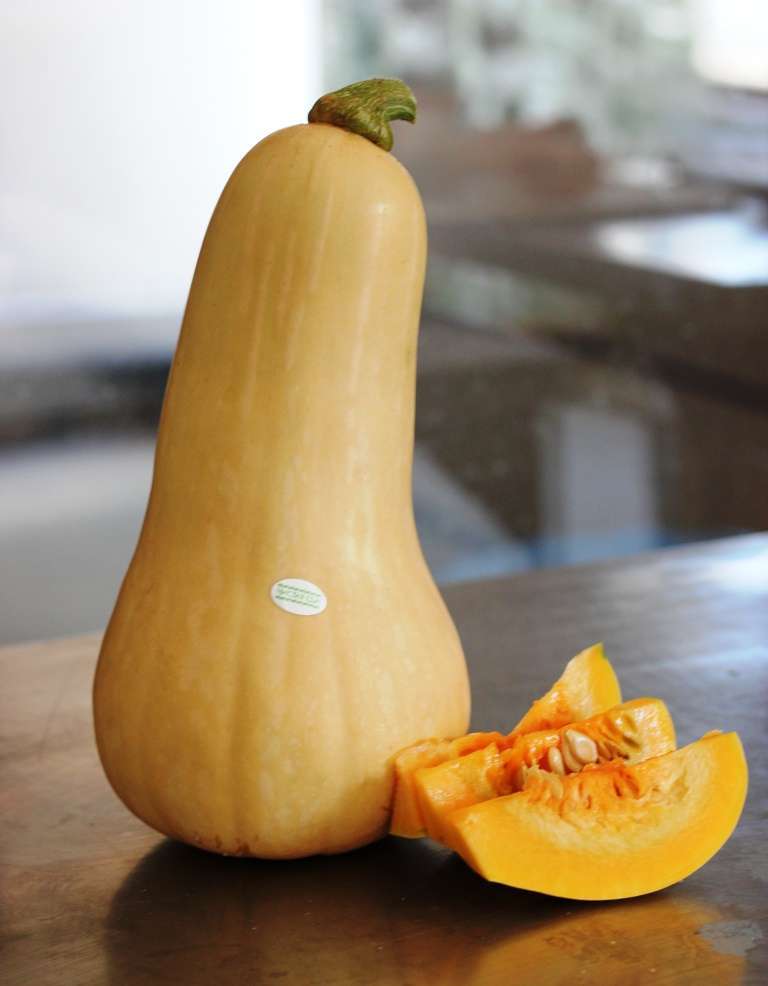

Butternut squash is the tastiest, but also the most capricious
Pumpkin seeds germinate in soil heated to 13-14 ° C, and its seedlings are very sensitive and die at 1-2 degrees of frost. The best temperature for normal plant growth and development is 20–25 ° C. If you sow it in the ground with the onset of warmth, you can not wait for ripe fruits, which require 115 to 130 summer days. Therefore, it is often necessary to start growing pumpkin from seedlings. For this, pumpkin seeds are sown in peat pots at the end of April. The pots must be large, with a volume of at least a liter.
The time for planting seedlings in a garden bed is about the same as for tomato seedlings. In the regions of central Russia, this is usually the end of spring (depending on real weather), and in the north it may be mid-June.
When a pumpkin is grown by direct sowing of seeds in a garden bed, they are sown in mid-May and it is better if holes are made for this so that they can be covered with glass. It has been noticed that slugs very early react to the emergence of pumpkin seedlings by gnawing at their stems. To catch slugs, pieces of boards are laid out next to the seedlings and checked every morning.
How to prepare seeds
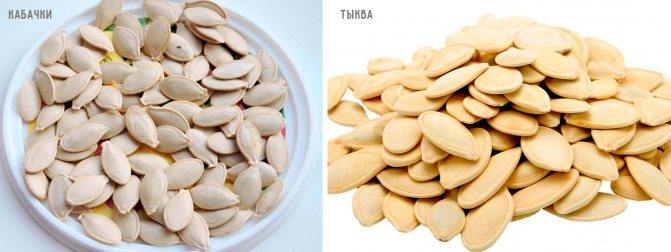
Do not neglect the preparation of planting material - this has a beneficial effect on the harvest. Before sowing, it is warmed up for a couple of hours at 60 degrees. Then, to protect against fungal diseases, the seeds are kept in a weak solution of potassium permanganate for 12 hours.
The peel of the seeds is dense, the sprout breaks through for a long time, in order to speed up this process, dissolve two tablespoons of ash in a liter of boiling water and hold them in it for 12 hours.
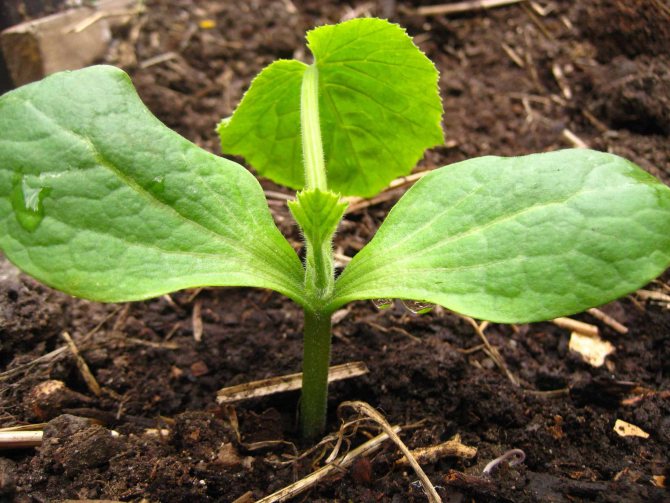

Planting pumpkin seedlings
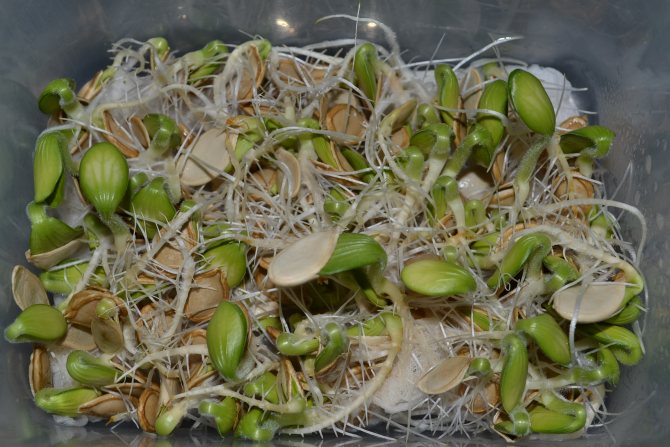
The best way to prepare seeds for sowing is to germinate, and they lose their taste, as a result of which they are less damaged by pests. Before that, they are disinfected for 20-30 minutes in a dark solution of potassium permanganate.
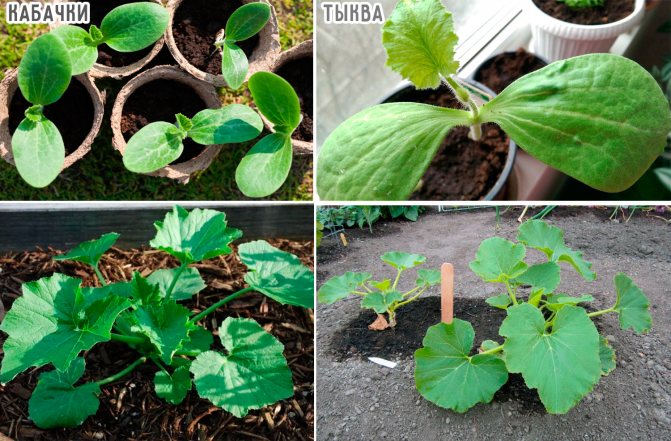
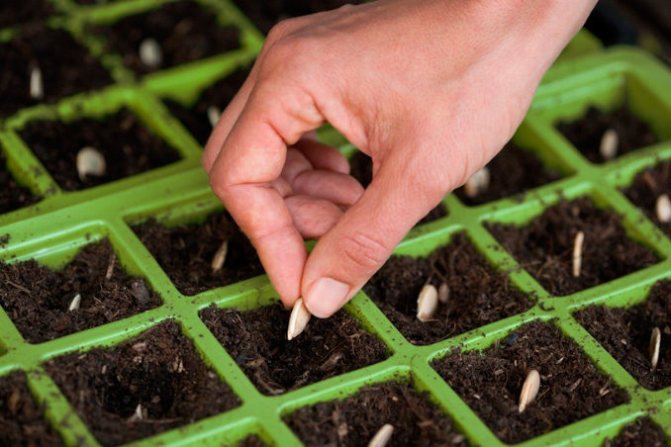
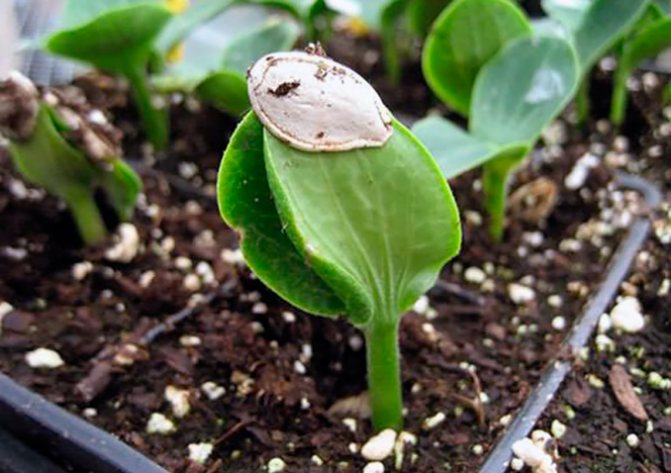
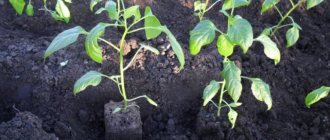
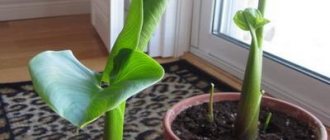
The pots are stuffed with a nutritious vegetable mixture. 2-3 seeds are sown in one pot, burying them 3-4 cm, but after germination, one best plant is left, the rest are removed. Seedlings are kept in a greenhouse before planting, they try to give as much sunlight as possible, keeping in mind that pumpkin seedlings are sensitive to lack of lighting and stretch very quickly. In the apartment, the seedlings are kept on a lighted windowsill, where during the day the temperature on clear days is 25-27 ° C and higher, and at night it does not fall below 12 ° C.
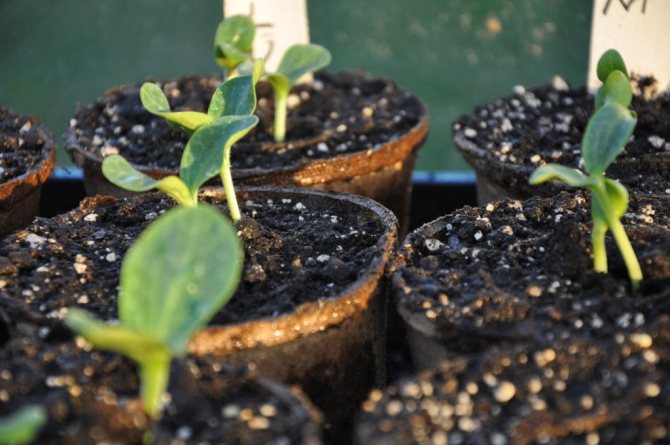

For pumpkin seedlings, select pots of the largest size
The term for growing seedlings in a greenhouse or at home is about a month. It should not be kept longer - the roots will not have enough pot volume for full growth: they will fill it very closely.
The wells for planting seedlings are prepared in a place where in the future the lashes can be easily transferred to any supports. To create a better thermal and air regime, the sides of the holes are laid out from any rotting organic material or from sod, boards or slabs with an elevation of 25-30 cm above the soil. Fertilized soil is poured inside the hole in the amount of 2-3 buckets.In order to avoid moisture loss during the spring-summer period, the hole is covered with a film of any color, and the edges are sprinkled with soil.
Before planting the seedlings, a hole is cut out in the film in the appropriate place. First, one or two buckets of water heated in the sun are poured into it, and then the seedlings are planted. The overgrown and elongated one is lowered into the hole deeper than usual - up to the cotyledons. The planted seedlings are covered with a piece of glass using a box made of boards. This measure is necessary to better warm the soil, reduce moisture evaporation and protect against birds.
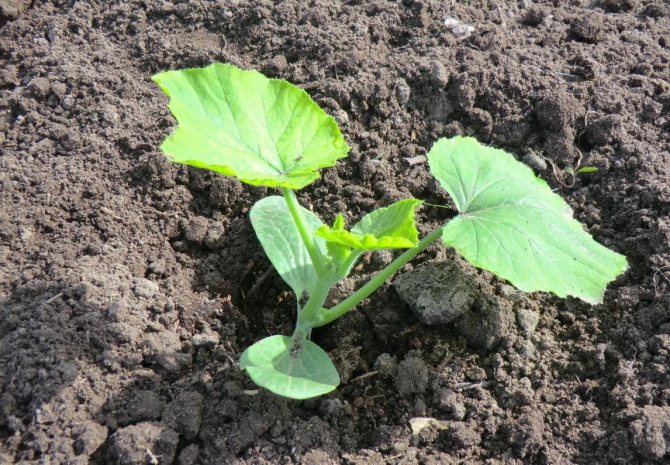

Ready pumpkin seedlings are a completely viable plant.
Watering is carried out every other day until the seedlings get stronger and grow. Adult plants are watered as needed, which they themselves signal by wilting of the leaves.
Video: planting pumpkin seedlings in open ground
Pumpkin care
How to grow a pumpkin
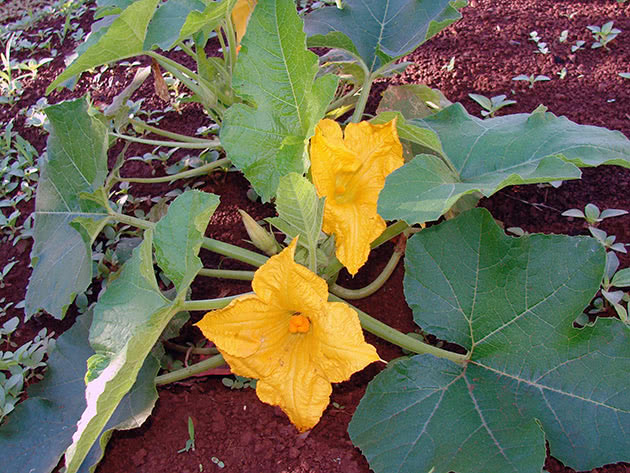
After planting the seedlings, caring for them consists in thinning, watering, weeding, feeding and, if necessary, artificial additional pollination, for which, no later than 11 o'clock in the morning, they pick a couple of male flowers, cut off the petals on them, and gently touch the stigma with the anthers of both flowers several times female flower, leaving the last of the male flowers on the stigma of the female. This measure is necessary in case of incomplete fertilization of the ovaries, which can lead to the formation of pumpkins of irregular shape.

Watering the pumpkin
Freshly planted seedlings are watered daily until they take root. After that, the soil is moistened as rarely as possible until the ovaries become the size of a fist. If the summer is rainy, then stop watering altogether. When the fruits begin to gain weight, the moistening of the pumpkin patch is resumed and the rate of water consumption is gradually brought to one bucket for one adult plant.
Soil loosening
After watering or rain, it is very convenient to loosen the soil around the plants and clear it of weeds. The first loosening to a depth of 6-8 cm should be carried out with the emergence of seedlings. It is better to loosen the row spacing to a depth of 12-18 cm before watering, so that the water penetrates to the roots faster. While loosening, slightly huddle the plants, giving them stability.

Thinning seedlings
If you sowed seeds directly into the ground, when two true leaves form at the seedlings, you need to thin them out, leaving two sprouts in one hole of the hard-bark or nutmeg pumpkin, and one at a time for the large-fruited. The second thinning is carried out when 3-4 leaves are formed in the seedlings. But we remind you: you do not need to pull out extra seedlings, since you can damage the root system of those seedlings that you decide to leave. Just cut off the unwanted seedling at ground level.
Feeding pumpkin
The first feeding with chicken droppings or manure diluted with water in a ratio of 1: 4 is carried out a week after planting the seedlings or three weeks after sowing seeds in the soil. The frequency of such organic dressings is 3-4 times a month. Pumpkin reacts well to feeding with a solution of 10 liters of water 40-50 g of garden mixture at the rate of one bucket per 10 plants. A solution of a glass of wood ash in 10 liters of water is also considered an excellent fertilizer. For the first feeding, make grooves 6-8 cm deep around the plants at a distance of 10-12 cm and pour the solution into them. For further feeding, the grooves are made 10-12 cm deep, placing them 40 cm from the plants. After fertilization, the furrows are covered with soil.
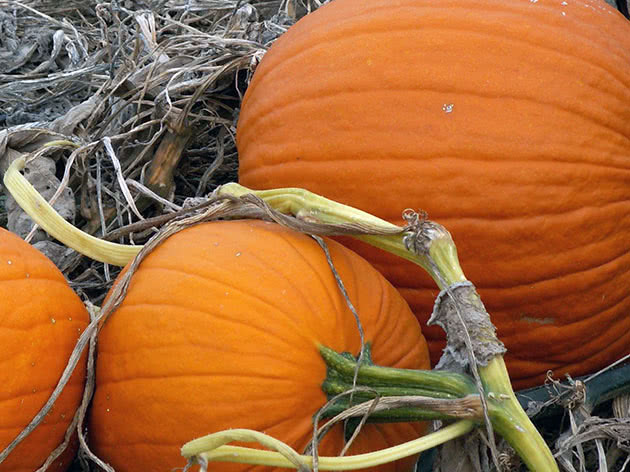

If it happens that it will be cloudy for a long time, spray the pumpkin with a solution of 10 g of urea in 10 liters of water.
Landing patterns
The root system of all types of pumpkins is well developed, penetrates to a depth of 1.5 m. Nevertheless, it requires a lot of space: the pumpkin spreads roots not only deep into the ground, but also to the sides, and the growing lashes reach a length of several meters.
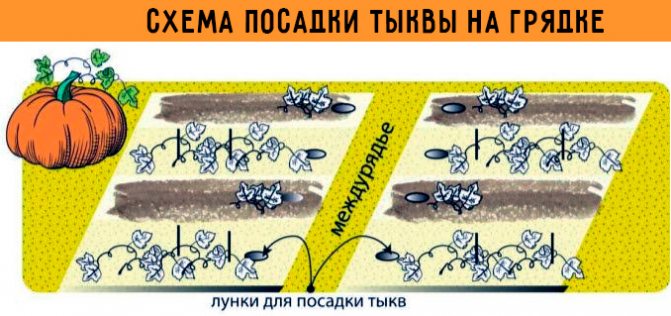
Pumpkin feeding areas are perhaps the largest of the well-known gardeners. The following planting patterns are recommended: 2 x 1 m, one plant per hole, or 3 x 2 m, two plants per nest.
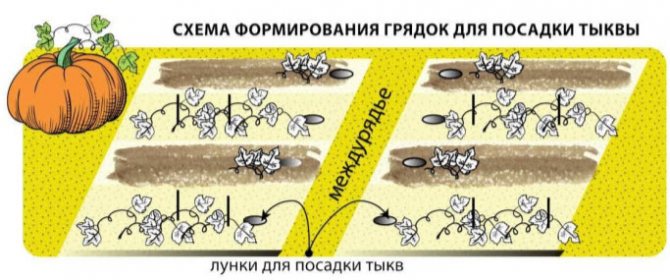

If there is space, you can plant pumpkins along the path, and lay out the whips in the directions from it.
Sowing pumpkin seeds
- One plant should have at least 1-4 square meters, while the later the variety, the more free space it needs; If the winter was little snow, then before planting, two liters of warm water are poured into each hole, and planting is carried out after it is completely absorbed;
- It is extremely important to keep track of the distance between the plants. Long-leafed varieties are planted at a distance of 1.5-2 meters from each other and 1.4-2 meters between rows. Bush varieties have a nesting method, the planting pattern is 0.8x0.8 or 1.2x1.2 meters.
- The depth of seed placement depends on the quality of the soil: in the light one it is 5-8 cm, and in the denser one - 4-5 cm. One or two seeds are placed in each hole with a thin tip down, retreating 3 cm from each other. Subsequently, a more viable sprout is chosen.
- The seeds are sprinkled with nutritious soil, and the entire plot is mulched with peat or humus. To speed up the emergence of seedlings over crops, you can install arcs with a film stretched over them.
- Seed germination occurs a week after sowing. Now plants need regular loosening, watering, nutrition and protection from diseases and pests.

Pumpkin planting methods
In addition to the usual planting of pumpkins in a pre-prepared bed (on a flat surface or slightly raised), gardeners often come up with some tricks to save space in the country and make it easier to care for the plants.
Planting on a compost heap
Any plant residues are placed in the compost, including those that rot slowly. And if grass compost matures by the next season and can be used as fertilizer for any vegetables, then large residues like cabbage stumps, tree twigs or raspberries can be processed within 2-3 years. In order not to waste space, you can plant a pumpkin in this pile, which is not yet ready as fertilizer.
Partially rotted residues will already be a breeding ground for the plant, and those that will continue to rot will not interfere with it. The roots of the pumpkin will quickly take up all the free space in this heap: after all, it is quite loose. Since the leaves of the pumpkin are large, they will cover the future compost from the rays of the sun, it will be better to rot rather than dry out. True, one should not hope that there will be enough nutrients in such a pile of pumpkin, a little mineral fertilizers will have to be added. For the convenience of caring for the pumpkin, the pile should be fenced off from the sides with boards, giving it a comfortable shape and height. But on top of the plant residues should be poured a layer of soil 10-15 centimeters.
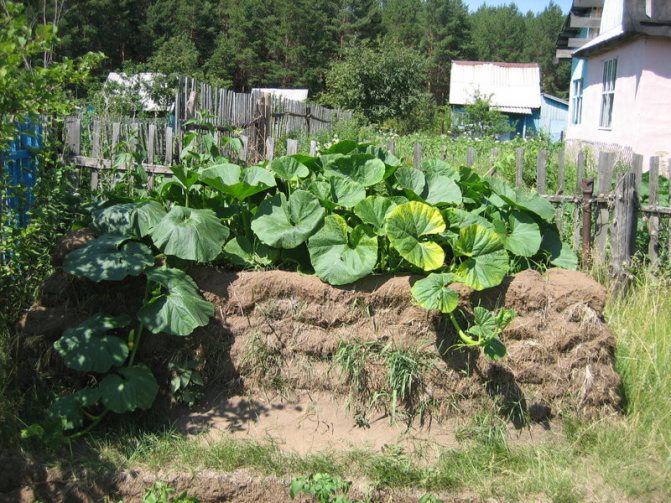

Both the pumpkin and the compost heap mutually help each other.
Such a bed, in fact, is a greenhouse: the rotting of large fragments warms the soil, and the pumpkin itself helps this. For growing on compost, it is more convenient to use varieties with not very long lashes, it is better to plant seedlings in such a bed, placing the plants no more often than 80 cm from each other. But early ripening varieties can be planted with seeds, temporarily covering the compost heap with spunbond. It is very easy to care for a compost pumpkin. First, you have to bend less. Secondly, such a bed does not require loosening, and often weeding. But watering the pile is required at least as often as a regular garden bed, and even more often.
Landing in bags
In order to save space in the garden, you can plant the pumpkin in ordinary garbage bags made of thick plastic wrap, but it is desirable that their capacity is at least 100 liters. After all, the bags can be placed anywhere, even on the asphalt, the main thing is that they are not entirely in the shade. In the fall, a mixture of soil and compost is poured into the bags, or even only compost, and in the spring, one pumpkin is planted. You can do it even with seeds, even with seedlings, depending on the situation.
It is best to put bags of pumpkins next to the fence, so as not to come up with additional support: the stems will climb up, and the growing fruits can be placed in nets, which can also be tied to the fence. Bagged pumpkins are easy to care for, if only because the plants are at a very comfortable height. It is also easy to regulate humidity: irrigation water will not flow out through the polyethylene, and if, on the contrary, the climate of the area is too humid, then through several drainage holes, excess moisture can be released outside.
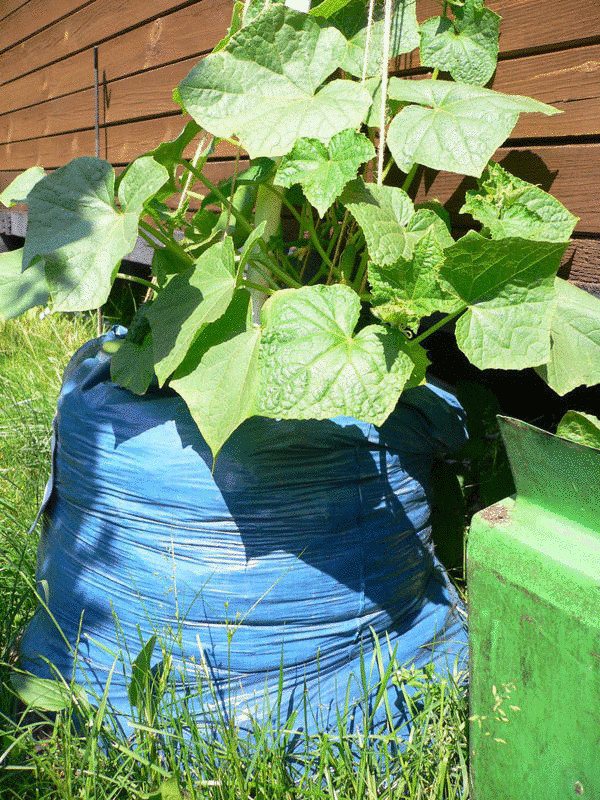

A variety of vegetables are planted in bags, including all pumpkin crops
Using barrels
Metal drums can be used instead of plastic bags. Of course, this pleasure is not so cheap, but for this you can take a barrel that is already unsuitable for its intended purpose.
In order for the soil inside the barrel to be better warmed by the sun, it is advisable to paint the outside of the barrel a dark color.
Of course, it's a pity to spend a new barrel for such purposes, but if it is clearly superfluous, you will have to drill several drainage holes in its lower part. It is advisable to put on a cut irrigation hose on the upper rim for ease of plant care.
In autumn, various plant waste is placed on the bottom of the barrel: branches from tree pruning, foliage from under trees and bushes, tops from collected root crops and other plants. Garden soil is poured on top. In the spring, the soil in the barrel is watered abundantly in order to accelerate the decomposition of the waste poured into it. Since the contents of the barrel will settle significantly by summer, humus will need to be added by the time the pumpkin is planted.
At the very beginning of summer, pumpkin seedlings are planted in a barrel. Sometimes two plants are planted, but it is better to limit yourself to just one. At first, the pumpkin is watered very often: both seedlings take root and the continuation of the decomposition of biomass is required. Rotting causes heating, and the pumpkin is very cozy in the barrel. Additional feeding is not required for such a planting.
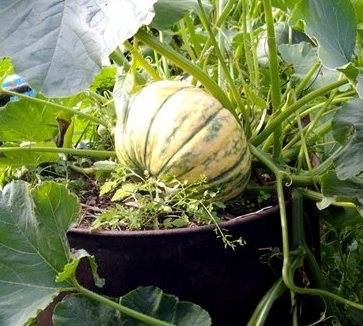

The fruits of the short-stemmed pumpkin can be left even on the barrel
The lashes hang freely from the barrel, flowers and fruits appear on them over time. If they have reached the ground, you can leave them that way, placing a small board under each. If you are left hanging in the air, you will have to come up with additional support.
Planting pumpkins on nettles
One of the most popular natural fertilizers in the garden is the infusion of cut grass and pulled out weeds. It smells very unpleasant, but it contains many nutrients necessary for plants, and therefore it is very often used for fertilizing. Common nettle is one of the leaders in nutrient content. In this regard, it is used not only as a liquid top dressing: various garden crops are often planted in nettles. Unlike manure, this excludes the introduction of pathogenic bacteria, larvae of harmful insects and other pests.
The best quality nettles are spring ones, harvested in May. They make a large hole, up to a bucket, and fill it with chopped nettle leaves (together with the stems, you can cut or tear in any convenient way and not very finely). Mix nettle with soil about 1: 1 and watered well. Watering is best done with an infusion of the same nettle, obtained by filling a bucket of nettle with water and standing for 5-7 days.
On top of the hole, sprinkle with clean earth, after a few days plant pumpkin seedlings, watered with clean water. After 3-4 days, the seedlings begin to grow.
Is it possible to plant pumpkin in a greenhouse
It is impossible to grow nutmeg pumpkins in harsh climatic conditions, but even with ordinary large-fruited ones, it can be a problem due to the lack of warm summer days. In this case, you can plant the pumpkin in the greenhouse. True, the space in the greenhouse is precious, and the pumpkin grows in the form of a huge plant, occupying a large area, so you have to be a little cunning. In modern polycarbonate greenhouses, it is difficult to implement such a trick, but in ordinary film greenhouses it is easy.
Often they plant a pumpkin next to cucumbers, giving it a place somewhere in the very corner. Planting holes are made in the same way as in open ground, they are filled with fertilizers, seedlings are either planted in the holes, or seeds are sown. But by the time the stems grow to about half a meter, summer weather has already set in the fresh air. They fold back the edge of the film, from which the walls of the greenhouse are made, and release the pumpkin into the street. So it grows all summer: the roots are in the greenhouse, and the fruits are in the open air.
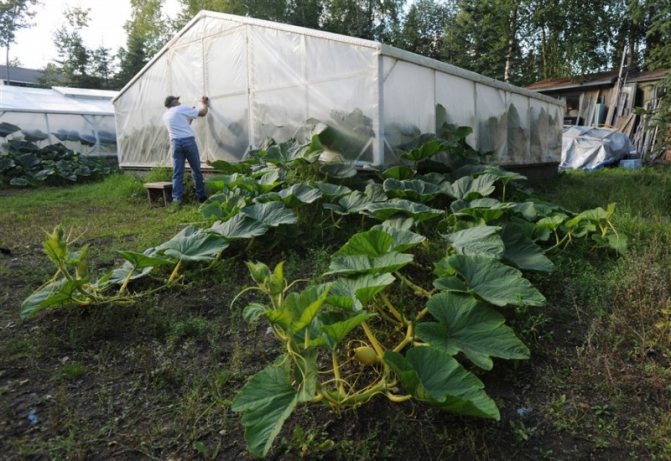

The pumpkin is planted in a greenhouse, but they let live on the street.
Pumpkin pests or diseases
Pumpkin can contract fungal diseases with black mold, powdery mildew, rot, ascochitis and anthracnose.
Black mold is manifested by yellow-brown spots between the veins of the leaves, which, with the course of the disease, become covered with a dark coating with fungal spores. After the spots dry up, holes form in their place. Young pumpkins shrivel and stop developing.
With ascochitosis, large yellow-brown spots are first formed on the leaves, stems and in the nodes of the shoots, then light spots with a chlorotic edge, covered with black pycnidia containing the body of the pathogenic fungus. The pumpkin dries up and dies.
Powdery mildew is a real scourge of gardens and vegetable gardens, the symptoms of which look like a thick whitish coating, similar to spilled flour, which contains fungal spores. Leaves affected by powdery mildew dry, the fruits are deformed and stop developing. This disease is most active in conditions of sharp fluctuations in air humidity and temperature.
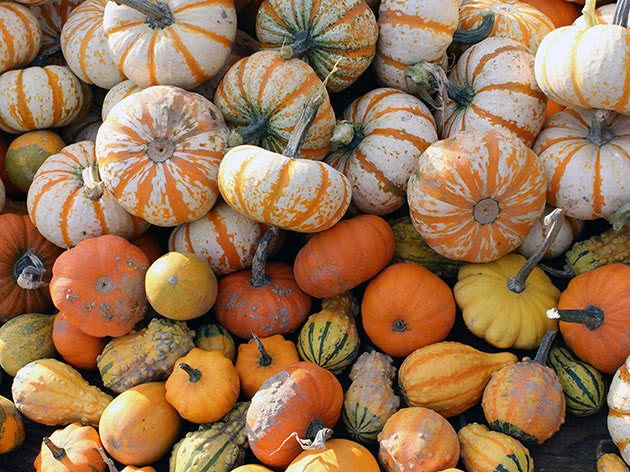

Anthracnose appears as large watery yellowish spots on the leaves. In wet weather, the veins of the leaves are covered with a pink bloom. Gradually, pink spots spread over the leaves, petioles, stems and fruits; by autumn, the affected areas turn black. Anthracnose is most dangerous at high humidity.
White rot develops on all parts of the plant, causing damage to the root system, drying out of fruiting stems and a decrease in yield. The pumpkin turns yellow, turns brown, becomes covered with a flocculent mold. Mucus may appear on the stems. Gray rot is manifested by brown blurry spots that quickly merge with each other and affect the entire plant. Wet bacterial rot can appear as a result of slugs or sucker damage to ovaries and young fruits in too dense plantings.
Of insects, pumpkin is affected by melon aphids, podura, or white springtails, wireworms and slugs.
- Spinach: grown from seed at home and outdoors

Slugs eat up the leaves of plants, sometimes leaving only a net of veins from them. There are especially many of them during rainy seasons. In addition, they are able to live and harm plants for several years.
The melon aphid damages the shoots, flowers, ovaries and the underside of the leaves, from which they curl and shrivel.
Podura are the smallest white insects with a cylindrical body up to 2 mm long, feeding on seeds and underground parts of plants. The greatest harm podura bring to plants in cold, wet weather.
Wireworms are the larvae of click beetles that gnaw at the root collar of young seedlings, which leads to the death of plants. Most of all, wireworms like to congregate in wet lowlands.

Pumpkin processing
The fight against pumpkin diseases is carried out in fact and prophylactically, which is undoubtedly preferable, since the disease is much easier to prevent than to cure.To protect the pumpkin melon from fungal diseases, it is necessary to observe crop rotation, fulfill agrotechnical requirements, take a responsible attitude to each type of work, and especially to the pre-sowing treatment of seeds. At the first sign of illness, spray the plants and area with 1% Bordeaux liquid or other fungicide. And try to make the spring and autumn processing of melons with Fitosporin mandatory - this will help you avoid many unpleasant surprises.
Slugs will have to be collected by hand or set up beer traps for them: place bowls of beer on the site and from time to time collect shellfish that have crawled onto its smell. Wireworms are also caught with bait, digging holes 50 cm deep in different places around the site, placing roots cut into pieces - carrots or beets - and covering the holes with boards, wooden boards or roofing felt. After a while, the traps are checked and the wireworms gathered there are destroyed. They fight fools by dusting the soil around the plants with wood ash. Aphids are destroyed with Phosphamide, Karbofos or a solution of 300 g of soap in 10 liters of water.

And yet, let us remind you that diseases and pests, as a rule, affect weak and unkempt plants, so observe crop rotation, follow agrotechnical requirements, take good care of your plants, and you will not have to heal and save them.
Features and timing of planting pumpkin in different regions
The climatic conditions of the region depend not only on which pumpkin varieties can be planted, but also how and when to do it. If in the middle lane it is difficult to grow only the most heat-loving and late-ripening nutmeg pumpkins, then in Siberia or in the Urals, problems may arise with more cold-resistant varieties. But usually preliminary preparation of seedlings solves these problems. In the middle lane, they prefer to grow seedlings of mid-season varieties, and the early ones are sown in the garden with seeds. Sowing seeds is possible in the last days of May, and planting seedlings without film shelters - closer to June 10.
The climate of Belarus is similar to that of the Moscow region, and the approaches to pumpkin cultivation are about the same there. The State Register of Belarus includes about twenty varieties of pumpkins, and almost all of them are widely known in the central regions of Russia. The timing of planting seedlings or sowing seeds here is the same as in the middle zone of our country, neither planting rules nor subsequent care differ in any way.
In the Urals and most of Siberia, night frosts are possible even in June, so the timing for growing pumpkin is very tight. Here, they almost never risk sowing seeds directly into the ground, giving preference to growing seedlings. She is transferred to the garden no earlier than mid-June. And even in this case, they monitor the weather, possibly covering the planting with non-woven materials for the first time. However, Siberia is large: in the south, as well as in the South Urals, summer is sunny, and sometimes even arid: in these areas almost any sort of pumpkin can be grown, including by direct sowing of seeds in a garden bed.
In the south of the European part of Russia, there is no need to grow seedlings. Here the pumpkin grows without problems, huge fields are allocated for it, it is illuminated by the hot southern sun and grows large and tasty. All available varieties have time to ripen from sowing seeds directly in the field, which, depending on the weather, is possible either in early May or even earlier.
Video: planting a pumpkin in a tire
Selection of the type and variety of pumpkin
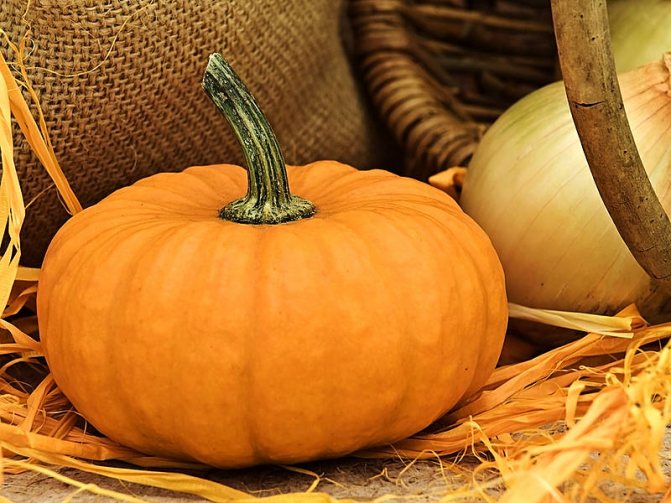
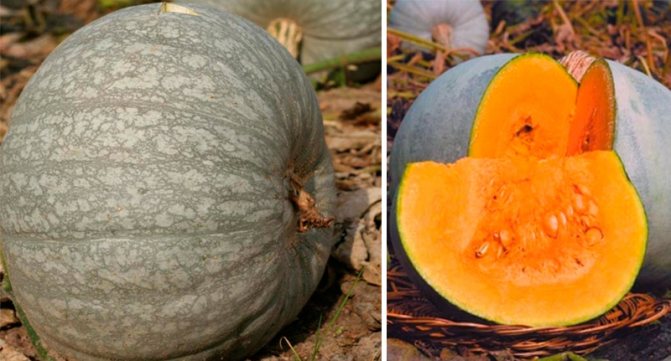
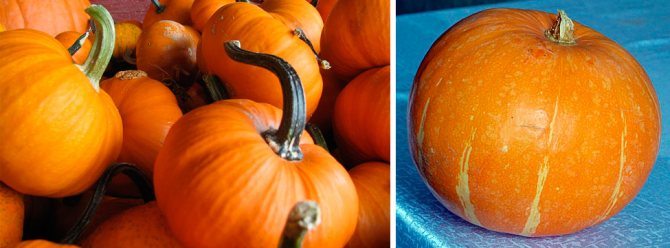
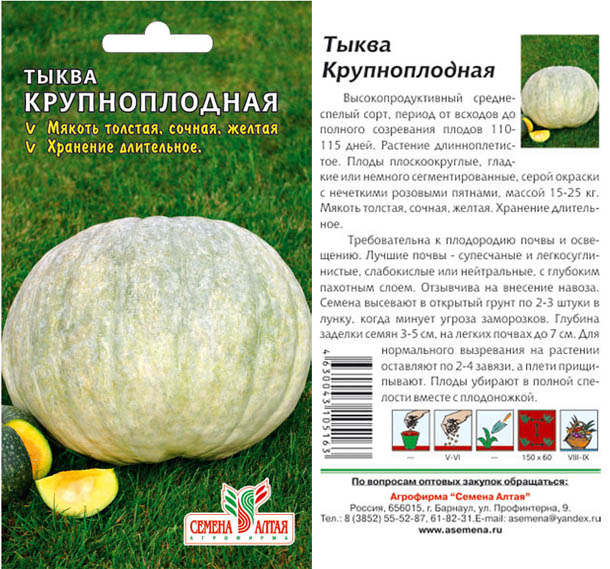
When choosing pumpkin seeds, do not pay attention to the picture on the package. The orange and smooth-looking fruit is not actually the best and necessarily sweet. Also, do not choose the largest varieties. This is due to the fact that the whole fruit at once is difficult to use somewhere, and after you cut it, there will be a problem with its storage... In addition, small pumpkin varieties are better stored and usually have a sweeter taste.
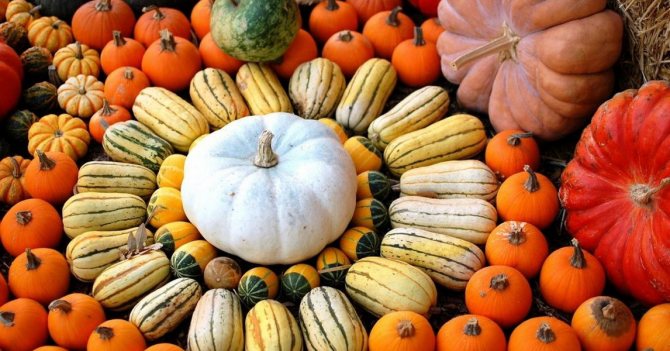
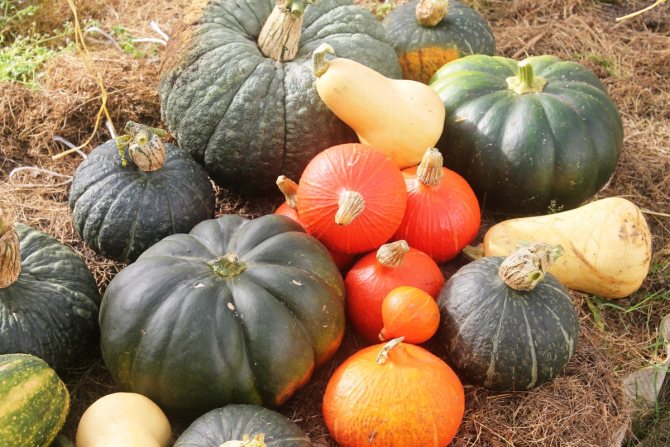
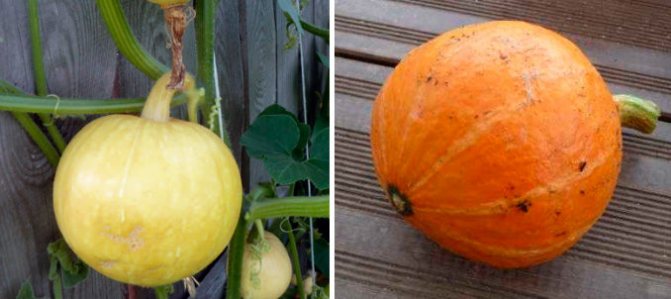
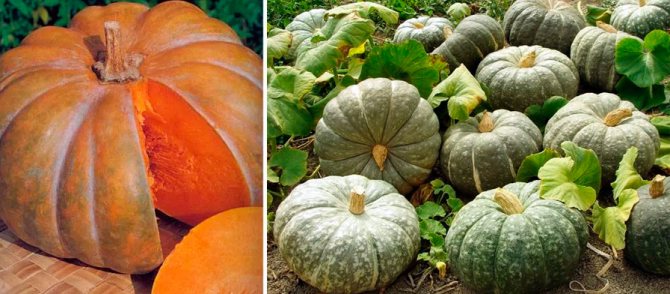
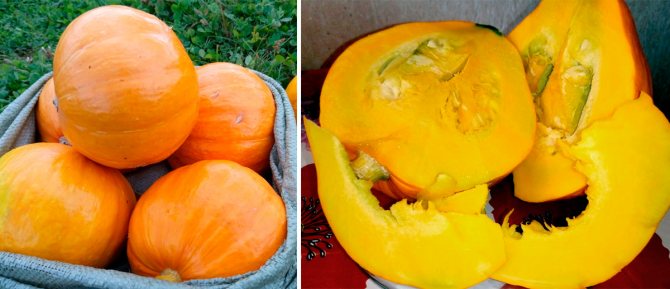
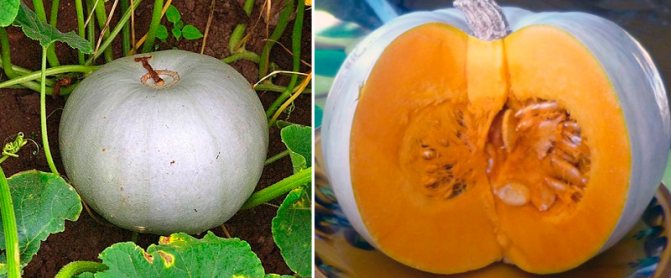
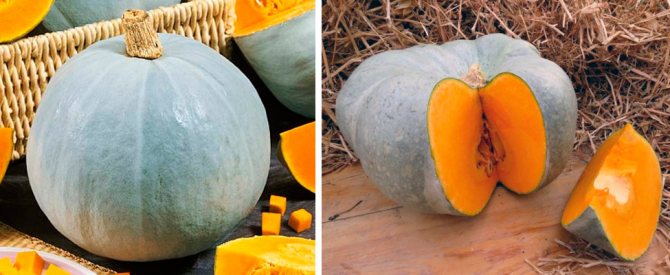
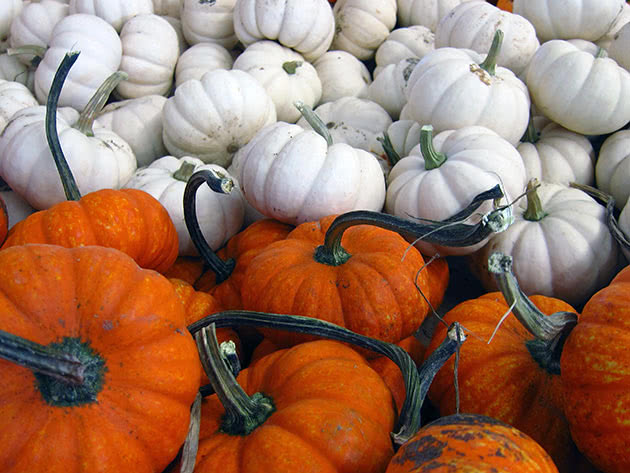
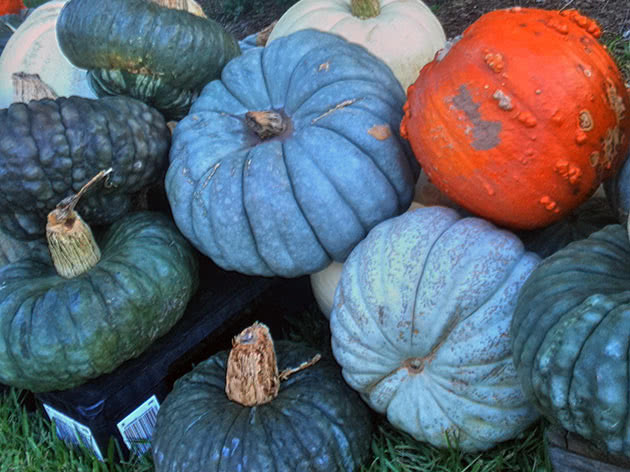
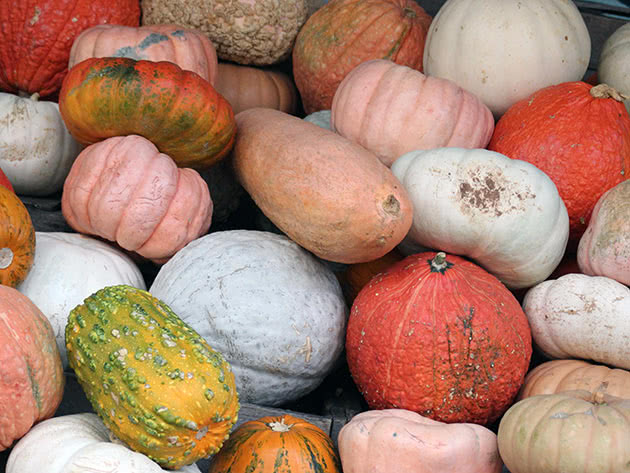
In general, pumpkins are of the following types and varieties:
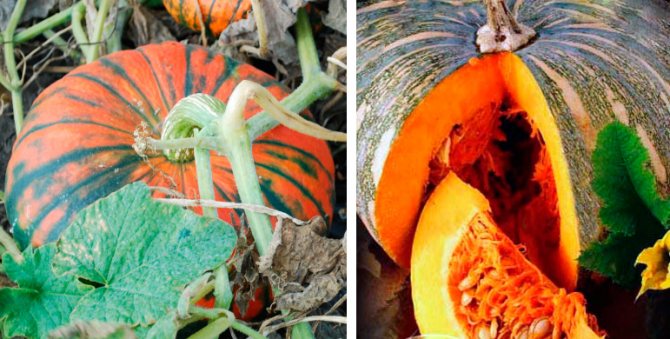
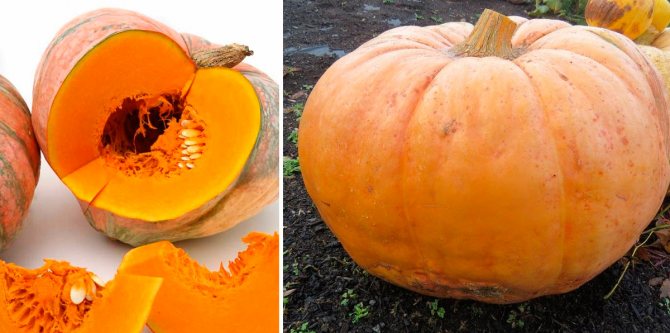
- large-fruited (Gribovskaya winter, Khutoryanka, Sweet pie);

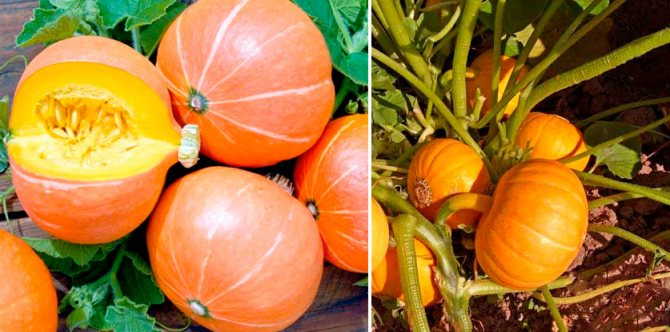
- firm or ordinary (Spaghetti, Shrub orange, Golosemyanka, Altai);
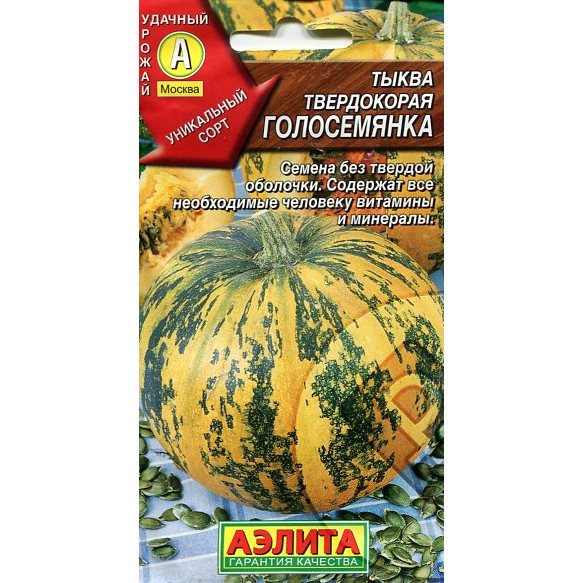

- nutmeg (Pearl, Guitar, Cello, Provencal).
The most delicious are nutmeg varieties, but they are the most thermophilic late-ripening varieties. Also hard-barked have excellent taste, they have the earliest ripening period. Large-fruited varieties are also very sweet and cold-resistant.
Video: the best pumpkin varieties
Pumpkin compatibility with other plants when planting
If we talk about what can be planted next to the pumpkin, first of all we must think that it does not drown out its neighbors: the bushes of the pumpkin are huge, and the whips stretch far. Therefore, if, for example, she climbs into a garden with carrots, you will not have to expect any harvest of carrots. Therefore, the question of neighbors should be asked to yourself only after it becomes clear which area will limit the distribution of pumpkin lashes.
From a biological point of view, anything can grow next to a pumpkin patch: it, except for its geometry, does not interfere with anything or anything.
Pumpkin feels very good near corn, beans, onions, various salads. It is undesirable to plant it not far from the cabbage. Sometimes you can read that potatoes are also an undesirable neighbor, but the practice of planting pumpkins in potato fields has long been known, and both plants coexist normally. Although, perhaps, in this matter it is better to listen to agronomists and limit the possibility of such a neighborhood.
Pumpkin can be grown both by sowing seeds in a garden bed, and by pre-preparing seedlings. Options are selected based on the climate of the region, pumpkin variety and gardener preferences. In any case, pumpkin is an unpretentious vegetable, and, apart from good doses of fertilizers, it does not require anything special, and the planting process itself will not complicate the most unskilled gardener.
How to tell if a pumpkin is ripe
There are many signs for determining the ripeness of a pumpkin, we offer you some of them:
- the stiffness of the stalk, its rigidity and roughness suggests that the pumpkin is "on the way";
- foliage on the shoots loses color, becomes withered and dry;
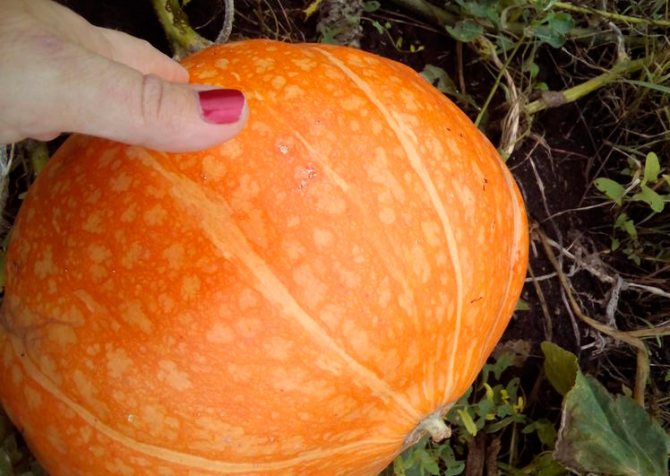
- the peel of the vegetable acquires a texture pattern, becomes heterogeneous;
- when held on the skin with a fingernail, no trace remains;
- the sound when tapping on the fruit becomes louder;
- during harvesting, the stalk is easily torn off.
The most famous pumpkin varieties for the Moscow region: Premiere, Dachnaya, Kroshka, Sudarushka, Melnaya.
For the Urals: Russian woman, Muscat pearl.
For Siberia: Freckle, Smile.
Pumpkin is a real pantry of all kinds of usefulness, it not only strengthens human immunity, but also enriches the body with a huge amount of elements necessary for a high-quality life.
A source

