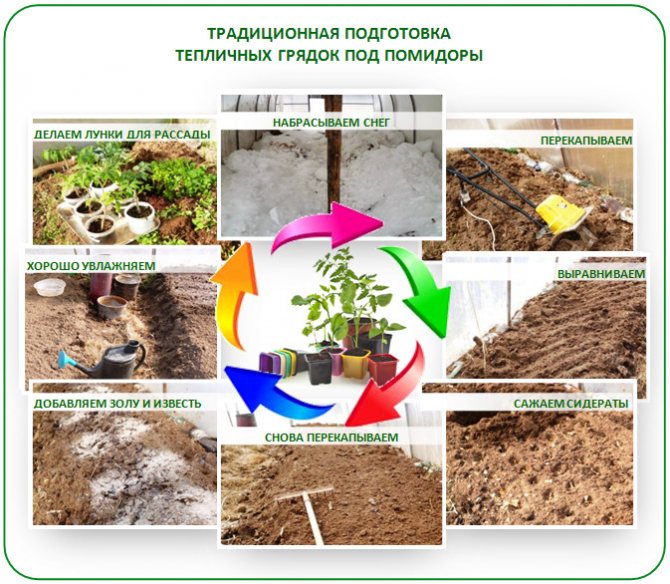
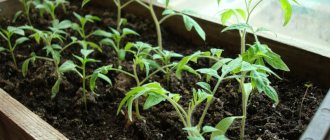
When autumn comes, the work of the gardeners in the garden or in the greenhouse does not end. An important stage of plant cultivation is the preparation of the soil for tomatoes. If the soil for tomatoes in the greenhouse or in the open field is prepared correctly, this will help prevent the development of diseases of the nightshade crops in the future and get a good harvest of tasty and juicy fruits.
In the fall, the work of the gardeners in the greenhouse does not end
What should be the land for growing tomatoes?
The peculiarity of the soil for tomatoes in the greenhouse is that it wears out very quickly and becomes unusable. The soil for tomatoes in the greenhouse should be loose and moisture-retaining.
The ground for planting tomatoes in the open field must be warmed up (approximately mid-April). The beds are made wide and humus is added. To stretch the film in case of frost, they put arcs. Adequate space should be left between the rows.
Warm bed
Anyone who wants to harvest early can make a warm garden for the tomatoes. It has a number of advantages over conventional soil:
- the earth warms up earlier due to decaying organic matter;
- it does not need to be dug up in the spring;
- the plant is initially provided with all useful substances.
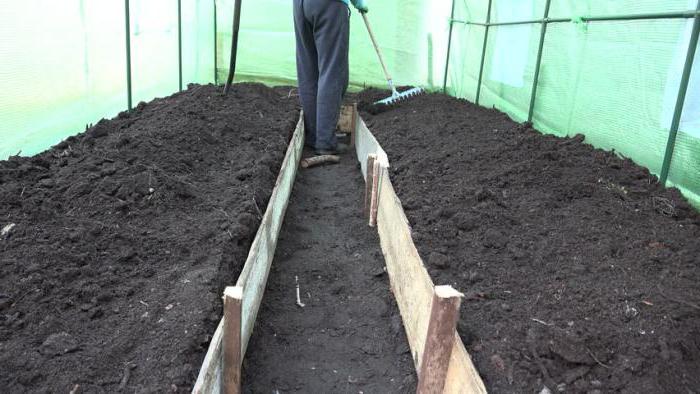
First, a trench is dug, the depth of which is 40 cm. Dense polyethylene is placed on the sides. A layer of branches and twigs, paper, cardboard, newspapers, again branches of bushes, cut grass and collected leaves from the site are laid out on the bottom. A layer of earth is poured, then a layer of manure is laid out and the soil itself on which the plant will grow, its layer should be approximately 30 cm. The bed is watered and covered with straw or agrofibre. In the spring, when the frosts come down, the bed warms up quickly. Therefore, tomatoes are planted in such soil earlier.
Requirements
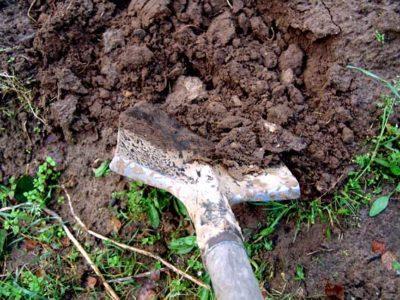
The land must contain all the necessary ingredients for growing tomatoes.
Soil for tomatoes for their proper growth should contain the following elements:
- nitrogen;
- phosphorus;
- potassium.
It is necessary that these minerals be in an easily digestible form. In a certain part, the greenhouse soil should consist of sand, as this is necessary for the development of the skeletal part of the plant.
The soil should be loose, since the roots on the surface do not tolerate waterlogging and grow only in a loose substance, extracting nutrients from a larger area. With such characteristics as water permeability and water holding capacity, the soil retains moisture well, but does not become swampy. Also for comfortable growth of tomatoes, heat capacity is required.
In addition, when preparing the soil, it should be as harmless as possible from infections and free from pest larvae.
The soil should not contain weed seeds.
What acidity should it be?
Tomatoes love soil with an acidity of 6.2 to 6.8 pH... To determine the acidity of the soil, a set of indicator tests (litmus tests) are used, which are sold in gardening shops.
Read about what acidity the soil should be for tomatoes and how to ensure their high yield, read here.
Soil acidity
The ideal soil for tomatoes is drained, loose and rich in organic matter. The plant likes neutral or slightly acidic soil, but not acidic. The acidity should be within ph7. If this norm is not followed, then the seeds may not germinate. Check the soil like this:
- use a ready-made test or ordinary litmus paper;
- take some soil and spill 9% vinegar, with abundant foaming - the soil is alkaline, with moderate foaming - neutral, no foam - acidic.
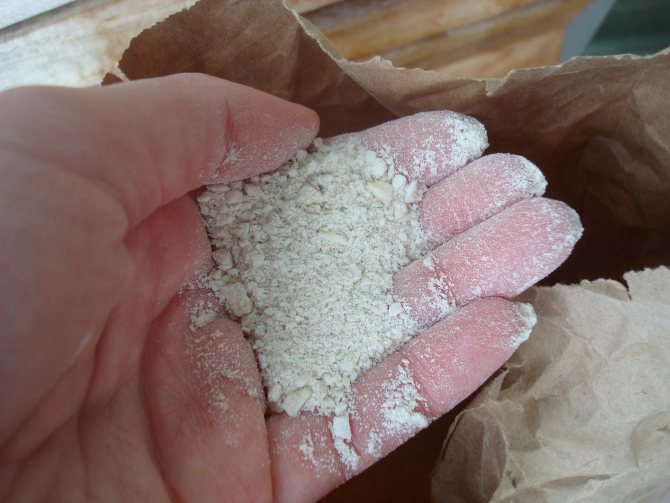
If the soil is acidic, then liming. Lime can be added both in autumn and spring. Lime should not be slaked. Add at the rate of 1-1.5 kg per 1m2, digging up a layer of earth to a depth of 20 cm.
Homemade mixes
If it is not possible to use purchased mixtures, you can prepare the soil for the greenhouse on your own.
In the fall, after harvesting, you should remove the remnants of greenery and carefully dig up the soil, freeing it from the roots of previous plants. The prepared soil must be checked for moisture: make a lump, and if it crumbles, then everything is in order. The soil made for the greenhouse should smell like earth (no external odors).
Homemade Soil Benefits:
- Can be prepared according to the exact recipe and keep the right amount of trace elements.
- Cost savings.
disadvantages:
- Long cooking time.
- You need to follow the recipe exactly.
- The soil can be contaminated.
- Finding and buying the right components can be time consuming and expensive.
We offer you to watch a video on how to prepare the soil for a greenhouse with your own hands:
How to prepare the substrate for tomato and pepper seedlings at home?
Purchased soil is not always of high quality and suitable in all respects.
Therefore, experienced summer residents prefer self-made soil.
To do this, you need polyethylene or tarpaulin, on which the necessary components are poured in exact proportions, and then mixed.
First way:
- Sod land, peat and river sand are mixed in equal parts.
- A nutrient solution is being prepared (10 l - water, 25-30 g - superphosphate and potassium sulfate, 10 g - urea).
- Pour the soil mixture with this solution, let it dry.
Second way:
- Mix equal parts of turf, peat and humus.
- Pour two matchboxes of superphosphate and half a liter of wood ash into a bucket of 10-12 liters.
- Mix thoroughly again.
Self-preparation of the soil for planting has its pros and cons.
Ready formulations
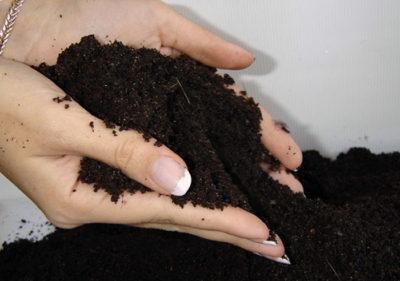

When buying ready-made soil, you cannot find out how correctly it was manufactured and with what it came into contact. Therefore, it should be treated with a solution called "Fitolavin", 2 ml per liter of water. The basis of purchased soil is most often peat.
Benefits of purchased soil for tomatoes:
- It is ready to use without additional processing.
- It is saturated with trace elements and other components.
- It is a light and water-absorbing type of soil.
- You can pick up packages of different sizes - from 1 to 50 liters.
disadvantages:
- Nutrient content inaccurate (shown as a range).
- Approximate pH level.
- Sometimes peat dust is added instead of peat.
- There is a risk of purchasing low-quality material.
Required components
The main components of the earthen mixture:
- turf or garden land;
- non-acidic peat (pH 6.5);
- sand (washed or river);
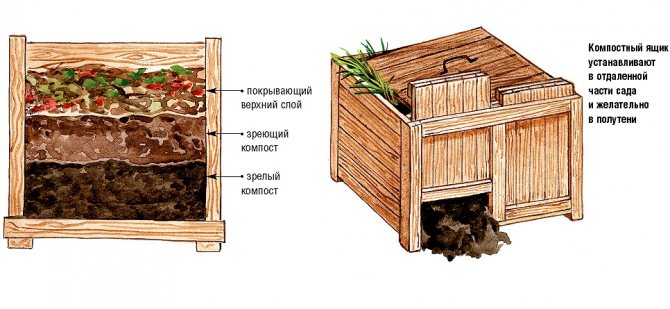
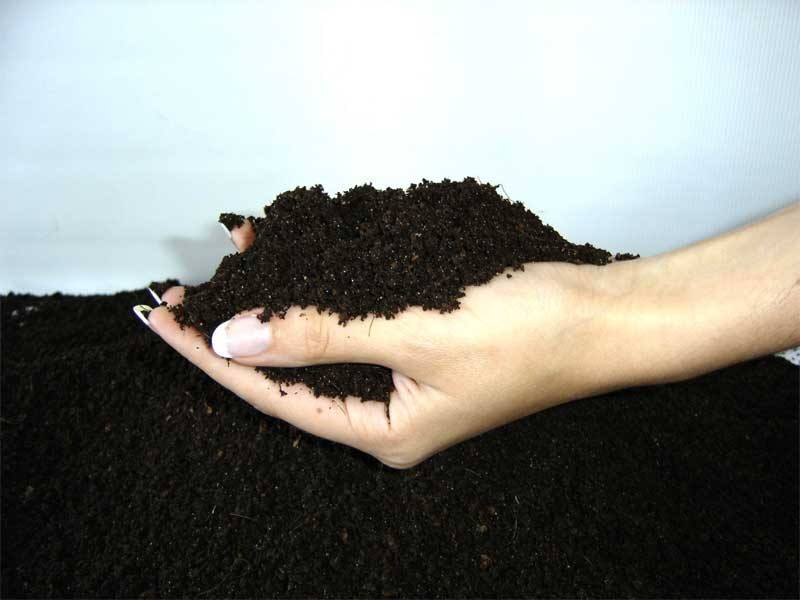
- humus or sifted mature compost;
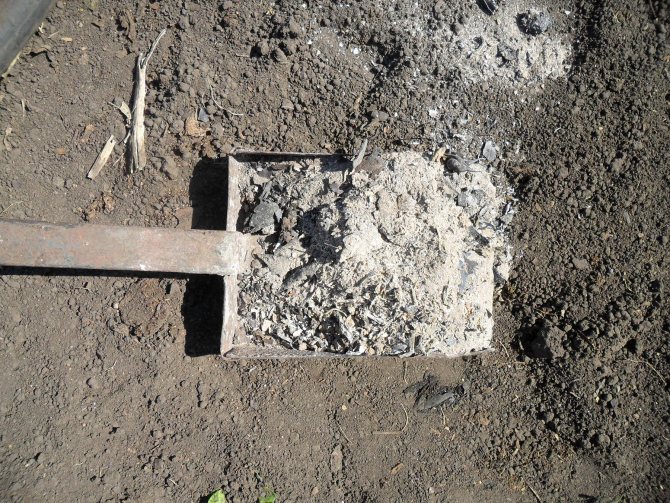
- sifted wood ash (dolomite flour can be used).
The simplest and optimal composition of the soil mixture for tomatoes will turn out if you mix:
- 2 parts of peat;
- 1 part of garden land;
- 1 part humus (or compost);
- 0.5 parts of sand.
Peat usually has a higher acidity, so you should add to the bucket of the resulting mixture:
- 1 glass of wood ash;
- 3 - 4 tablespoons of dolomite flour;
- 10 g of urea;
- 30 - 40 g.superphosphate;
- 10 - 15 g of potash fertilizer.
Fertilizers can be replaced with a complex fertilizer containing more phosphorus and potassium, and less nitrogen.
Unacceptable additives
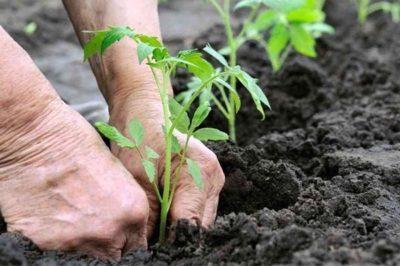

Do not use organic fertilizers that are in the process of decay... At the same time, a large amount of heat is released, which can burn the seeds (and if they manage to sprout, they will still die from the high temperature).
Clay impurities are not used, as they make the soil denser and heavier. Heavy metals quickly accumulate in the soil, so do not use land located near a busy highway or on the territory of any chemical plant. Care must be taken to ensure that the soil in which the tomatoes will grow is as clean as possible.
Inorganic soil components
The structure of the seedling soil, its heat capacity and the ability to retain moisture largely depends on inorganic components.
| Inorganic filler | Appointment | Recommendations |
| River sand | Baking powder | Coarse river sand without inclusions of clay is washed well with running water and calcined in the oven |
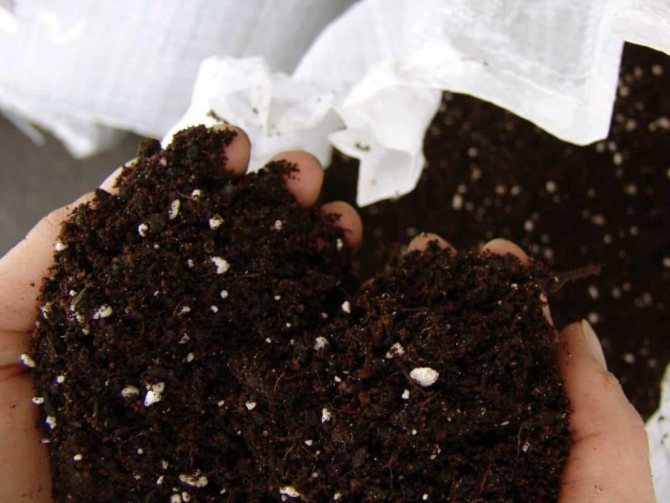
| Perlite | Baking powder, increases the soil's ability to absorb moisture | Sand substitute |
| Hydrogel | retains moisture and releases it gradually | When growing a small amount of seedlings, a hydrogel is added to the soil at the rate of 20 g per 2 liters of soil. An indisputable advantage for summer residents is that you can water the seedlings once a week. |
Attention is unacceptable
When preparing soil mixtures, summer residents are concerned about the question: "What to add to the soil for seedlings?" It is very important to solve the second question: "What should not be in the soil for tomatoes?" All efforts will go to waste if the soil contains:
- weed roots and seeds;
- toxic products;
- insect larvae;
- clay and other binders.
The greatest danger to seedlings (and adult plants as well) is presented by unfermented organic fertilizers - manure, unripe humus, etc. When organic matter decays, heat is released, which "burns out" young seedlings. The "benefits" of using such "natural" fertilizers are highly questionable.
How to prepare and disinfect soil at home
Self-made soil mixture must be disinfected before use. This is important for a mixture of any origin - fungal spores and rot bacteria cannot be seen.
The simplest and very effective method is processing the seedling mixture with a solution of potassium permanganate. The recipe is very simple, for about 15-20 liters of soil:
- 3 g of potassium permanganate;
- 10 liters of water.
It is good to shed the soil with this solution. Consumption depends on the characteristics of the soil.
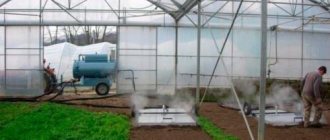
There are often recommendations to "steam" the soil. In a city apartment, it is problematic to perform such "steaming": putting the soil in a closed tank and treating it with steam for several hours in a water bath for disinfection is too laborious an operation.
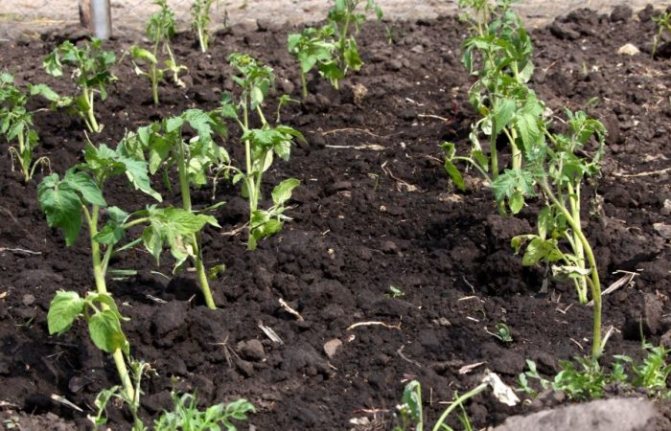

Which is better to use?
For high yields in greenhouse land, there must be:
- Optimal heat exchange.
- Air permeability.
- The ability to saturate with moisture during watering.
- The ability to absorb all the required substances and minerals.
The soil for the greenhouse includes:
- humus;
- compost;
- sod soil;
- sand;
- peat;
- limestone rocks.
Humus is used as a natural fuel.
Humus composition:
- Phosphoric acid.
- Calcium oxide.
- Nitrogen.
- Potassium oxide.
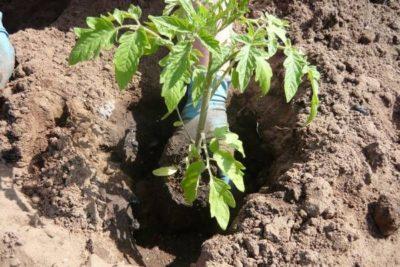

All of these elements are useful for the plant.
Humus properties:
- Nourishes with minerals.
- Provides the entry of nutrients into the ground.
- Ground mixed with humus conducts air well.
- Turf is also important for the growth of tomatoes.
Turf soil:
- Saturated with plant root residues.
- Increases moisture absorption of the environment in which the plant develops.
How to get rid of diseases?
What if all summer you suffered from sick and dying tomatoes? Most likely, they were affected by some pathogenic microorganisms or fungus. This means that all measures should be taken so that history does not repeat itself next year.
Step 1. Similar to the standard soil and greenhouse preparation procedure, remove all dead plants along with the roots in the fall.
Step 2. Remove the top layer of soil - about 10-20 cm - and replace it with fresh one. It is advisable not to take replacement soil from your garden.
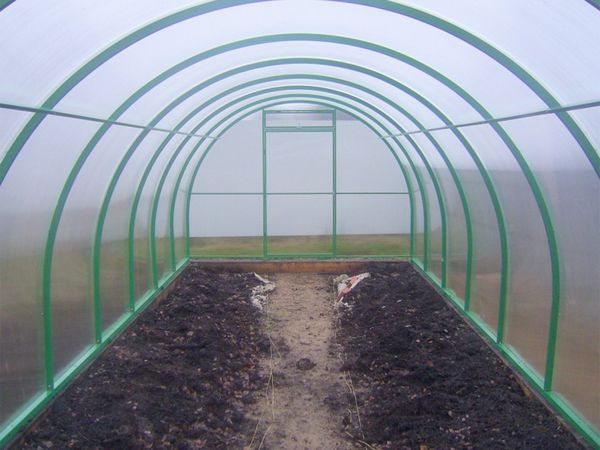

Replacing the topsoil in the greenhouse
On a note! The removed layer can be thoroughly steamed or calcined - this will destroy all pests and parasites. But if the greenhouse is large, this procedure will be extremely difficult.
Step 3. Remove all ropes and garters, especially from natural fabrics, and wooden sticks - pathogens can settle on them.
Step 4. Sow the soil with white mustard - the substances that this plant secrete are destructive for most pathogens of fungal diseases. You can also spray the soil well with fungicides.
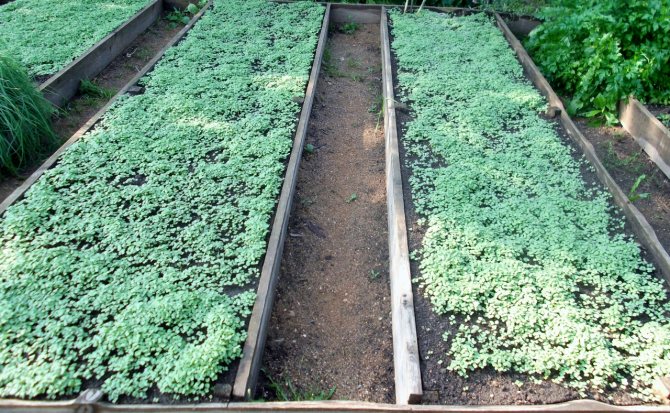

Mustard white
On a note! Many people advise using sulfur smoke bombs to destroy pathogenic organisms. The method is somewhat extreme, but trouble-free.
Step 5. Remember to thoroughly clean the greenhouse walls and frame with soap or lime, as in the previous guide.
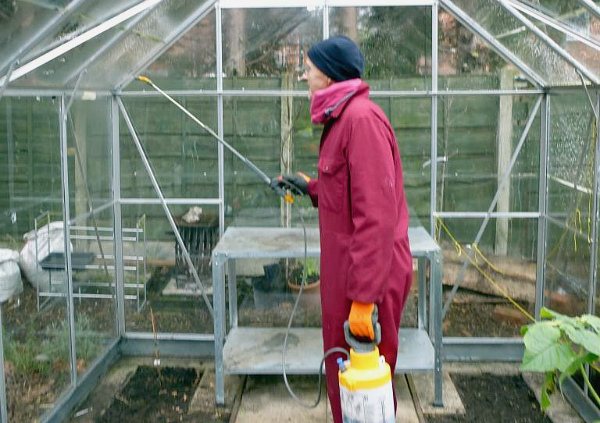

Greenhouse room processing
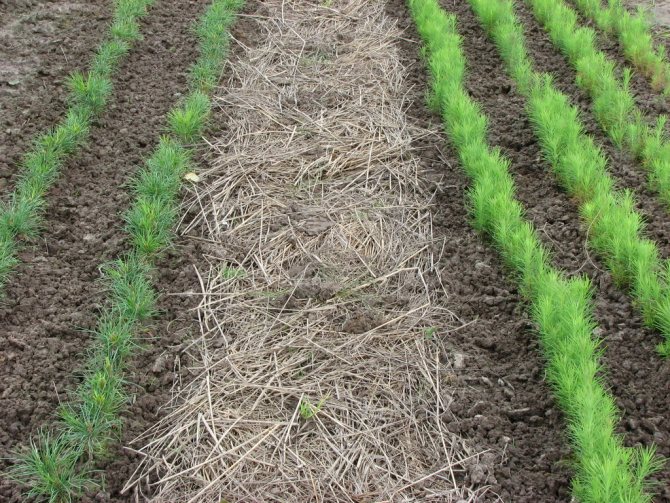
Step 6. After completing all the work, leave the greenhouse open for the winter so that the soil is well frozen.
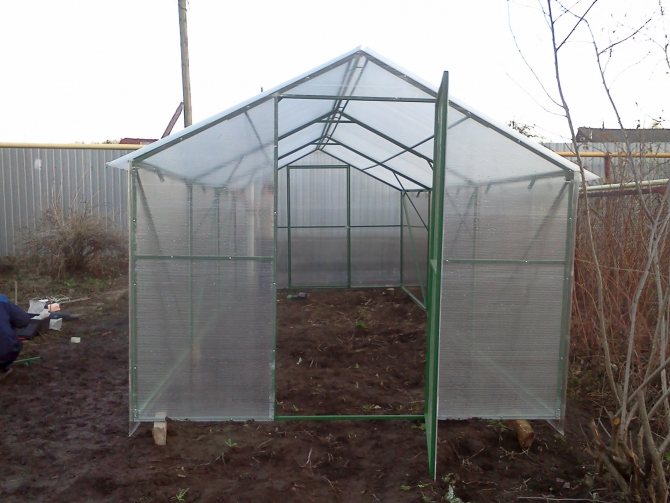

The greenhouse must be left open
On a note! If the tomatoes were very sick throughout the summer, then it is best not to plant them again even after processing the greenhouse and the soil in the fall. Plant other plants in this place, and move the tomatoes to another for a couple of years.
Useful video
We offer you to watch a video on the rules for preparing the soil for planting tomatoes in a greenhouse:
If you want to grow healthy tomatoes, then you need to take care of the seedling soil, which you can prepare yourself, thanks to the articles on our website.
Site preparation
Before planting tomatoes, the ground must be prepared. The plot for tomatoes is prepared in the fall. When preparing, follow a few rules:
- take care of good illumination of the site;
- the soil should be loose and nutritious;
- the garden bed cannot be placed in the same place every year;
- do not plant in place after vegetables of the nightshade family;
- it is better to plant in the beds after pumpkin vegetables, cabbage, legumes, onions, carrots.
If in the fall they did not manage to process the site, then in the spring, before placing the tomatoes in depleted soil, process the soil with saltpeter in addition to the rest of the fertilizers. Fertilize the soil very carefully, according to the instructions.
An excess of minerals and organics harms plants more than a lack of them. They stop bearing fruit and build up the green mass.
We apply fertilizers: attention to calcium!
If you decide to apply some fertilizers to the beds even before planting seedlings, then you should know: the experience of a huge number of people from all over the world in growing tomatoes proves that this vegetable cannot be grown tasty and useful on mineral fertilizer alone. The fact is that mineral substances inhibit the biota in the root zone, while vitamins and other biological substances provide only symbiotic microorganisms to the roots.
But they will not work on organic alone either. Of course, they will not grow small, but the tops will be much more massive than the roots, and all small and volatile pests from the surrounding area will come running to such overfeeding. Although organics are important too:


That is why the supply of fertilizer to the beds for tomatoes must be approached in a comprehensive manner.So, many experienced gardeners add 3-7 g of special fertilizer for tomatoes, in which phosphorus and potassium predominate, into the hole when planting, exactly 5 cm from the seedling trunk. Of the drugs, Kemira, Buiskiye OMU or Fertika have recommended themselves.
And you will also be very surprised, but the fish head at the bottom of the hole is the perfect fertilizer!
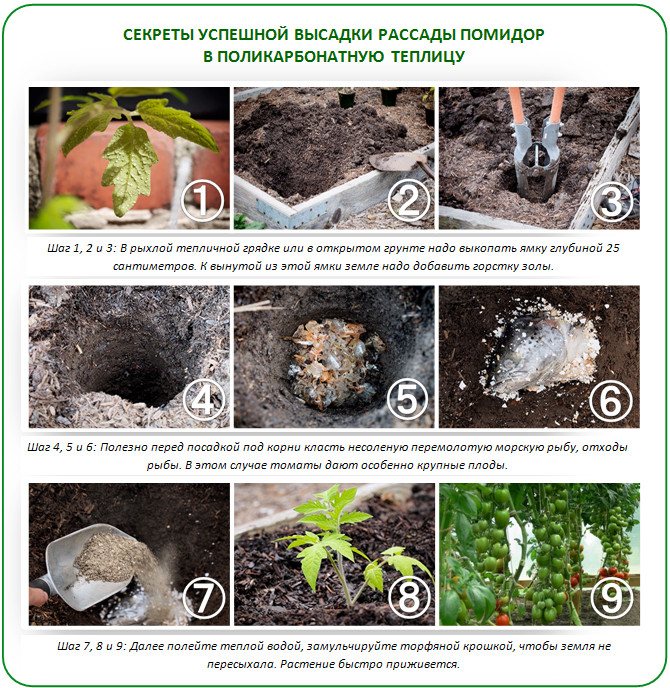

Remember that calcium deficiency is most dangerous for greenhouse tomatoes, especially when combined with other deficiencies. When the fruits begin to pour, the top rot will immediately come out. Therefore, be sure to feed the beds with these elements even during their preparation.
Disinfection: saving the future harvest
The main enemy of greenhouse tomatoes is the well-known phytophthora. Moreover, there is evidence that since 1985 new species of infecting fungus have appeared, because of which the danger of late blight has increased several times. Propagating by spores, this mushroom hides in the ground and tolerates even severe frosts well. Moreover, not having "food", it still retains its high vitality.
Therefore, if last season you fought against late blight or another similar fungal disease, then disinfect the ground with a solution of lime and copper sulfate heated to 70 ° C:
- Step 1. Take 3 g of copper sulfate and 50 g of quicklime per 1 liter of water.
- Step 2. Spray the solution evenly over 1 square meter of garden area.
- Step 3. Immediately on the second day, add dolomite flour or wood ash to the bed, 100-200 g per square meter of the bed.
But it is useless and irrational to process greenhouse beds for future tomatoes with a sulfur stick. As you know, this vegetable is most attacked by late blight, and sulfuric acid is almost useless against this scourge. Therefore, the best disinfection of such soil is copper preparations and treatment with "Baikal". This tool will not only destroy pests, but also add beneficial microorganisms to it, which in turn will increase fertility. Just remember that any increase in fertility also increases the number of pathogens in it.

