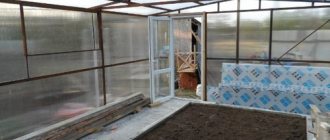
When is it better to plant in a greenhouse
The most suitable time for planting tomatoes in a polycarbonate greenhouse is determined by the climatic conditions of residence. If heating is not provided in the greenhouse, they can be planted only at the beginning of May in any region of Russia.
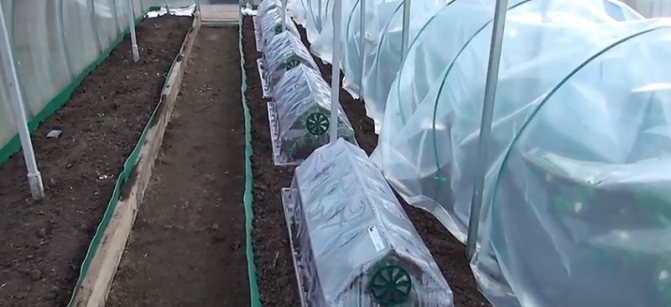
If, after planting tomato seedlings, there is a high probability of cold snaps and frosts, then they are additionally prepared and installed inside the shelter of the arc. A special insulated material is pulled over them, which protects the plants from hypothermia, which will ensure their comfortable survival in a new place. At the same time, it is necessary to lay the covering material as carefully as possible so as not to damage the young seedlings.
Tomato seedlings can be planted in a polycarbonate greenhouse at the end of February, as well as in the first decade of May. In these cases, you should prepare the soil for planting in advance and fertilize the plant with high quality.
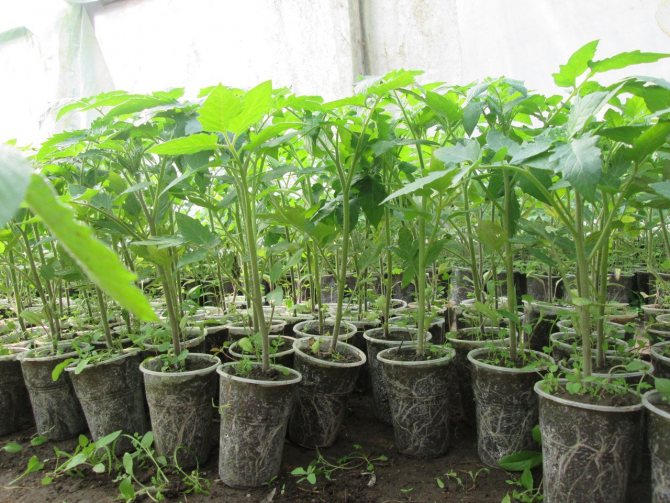
The seedlings are ready for planting in the greenhouse when the stem length reaches at least 25 centimeters. At the same time, you should not rush to planting if the culture has not reached the 60-day ripening period from the moment of planting the seeds. With an early transplant, a fragile root system can be severely damaged. But with a belated disembarkation, culture overgrowth may occur. The minimum period for planting tomatoes in closed ground is 2 months from the moment of emergence. For late varieties, the time interval is shifted to 75 days.
An important factor affecting the time of planting tomato seedlings in a polycarbonate greenhouse is its heat supply. Arrangement of the greenhouse to maintain the required, comfortable temperature does not constitute much work and material costs. Insulation can significantly increase the cost of finished products.
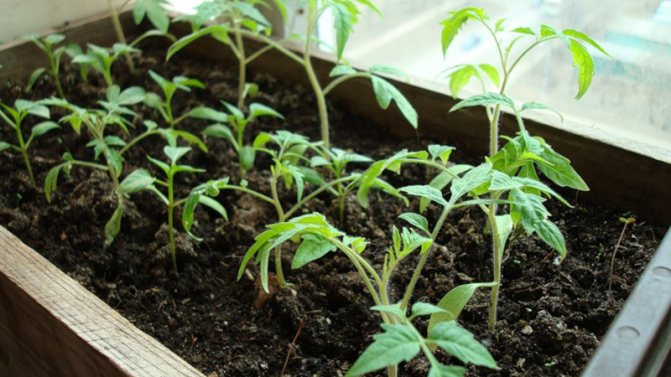
If you equip the shelter with a heating system and maintain the temperature inside the greenhouse at least 15 degrees, then you can plant tomatoes all year round.
In the South, seedlings are planted from mid-April. In the suburbs - from late April to mid-May. In the Urals and Siberia - not earlier than the first days of May until mid-June.
Contradictions between tomatoes and polycarbonate
Lightweight and durable greenhouse structures with a polymer coating confidently displace obsolete glass and film predecessors from suburban areas. They have a lot of advantages, but sometimes ignorance of the specifics of the material turns the advantages into weighty disadvantages. Therefore, if you plan to plant seedlings, you should take into account the technical features of the greenhouse. A zealous owner should not forget that tomatoes:
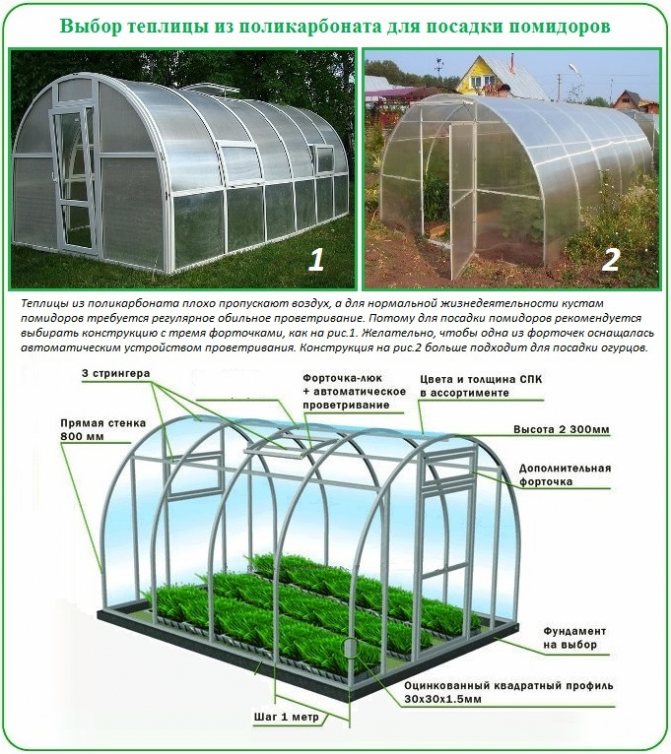
- Ample and regular ventilation is necessary. Natural "ventilation" in structures covered with solid polycarbonate sheets is lower than in "frame" greenhouses with glass or foil. Therefore, for good growth of bushes and fruit ovary, a structure is needed not only with lateral, but also with upper vents. It is desirable that there are at least three vents. It is even more desirable that at least one of them be equipped with a device that automatically opens the ventilation hole in the event of a "bust" with the temperature inside the structure;
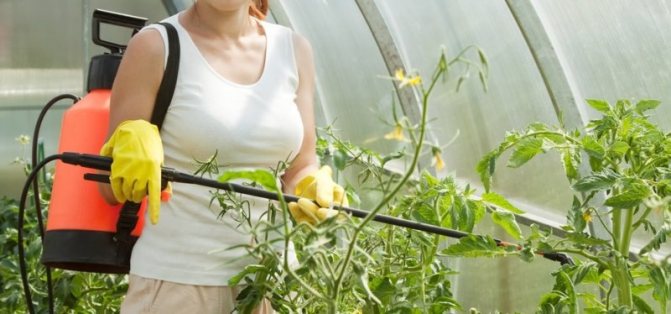
- Preventive protection is required against harmful phytophthora and other vegetable pests that multiply in an enclosed space as actively as cultivated plants. Therefore, before planting seedlings, the greenhouse is regularly processed in order to destroy fungal spores, putrefactive microorganisms and larvae of voracious insects;
- You need lower humidity and temperature parameters than cucumber bushes, which is why they should not be planted together in the same greenhouse. Otherwise, the yield of one of the crops will significantly decrease.
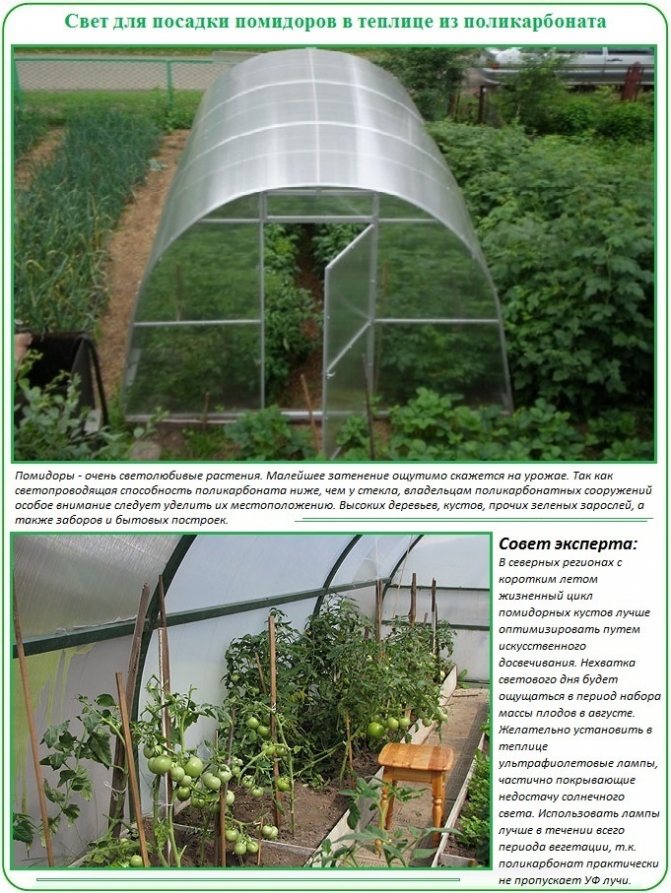
Another important requirement from the "signors" of tomatoes is good illumination. Slight shading will not fail to affect the growth and development of the planted seedlings and, as a result, the yield. Because in terms of light transmission ability, polycarbonate is inferior to glass, it is better to eliminate objects casting a shadow. What is easier to do: transfer the structure or transplant the bushes, you need to decide in fact on the spot.

Those wishing to know how to plant tomatoes correctly should remember that seedlings by age must be older than 60 days. They are quite vigorous and viable plants for indoor use, protected by a rigid, airtight polymer sheath. For example, for structures covered with a film, plants are recommended to be planted 60 days after the sprouts "peck", because polyethylene will not be able to protect them from the effects of frosts that occur in spring.

Greenhouse preparation
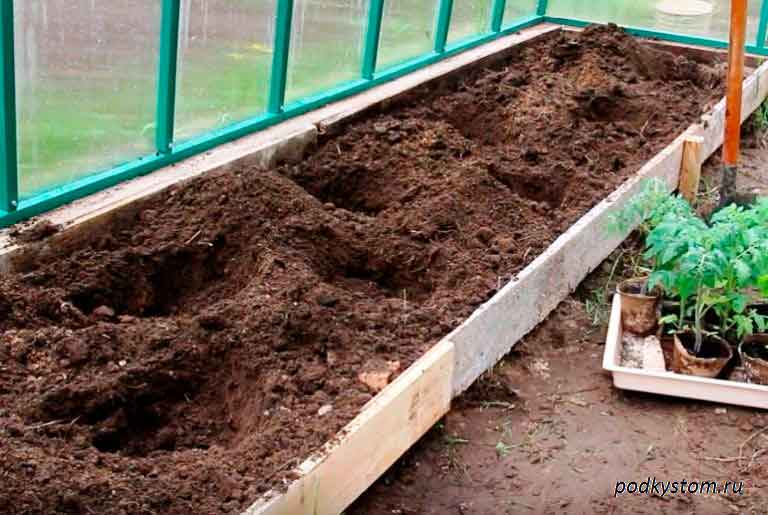
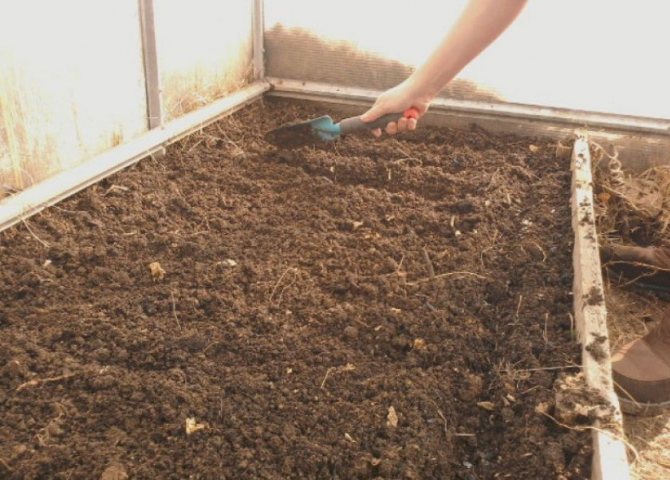
Approximately 5 days before transplanting seedlings into open ground, it is necessary to carry out a number of activities in a polycarbonate greenhouse. It is necessary to carry out cleaning and disinfection in it, break up the beds and prepare the soil.
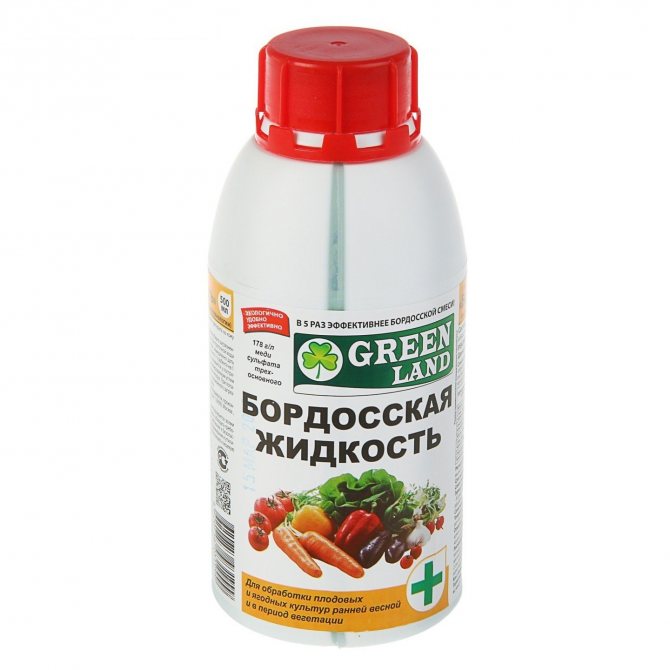
Disinfection of the greenhouse is carried out with a hot solution of potassium permanganate. The existing wooden parts inside the polycarbonate structure are additionally washed with copper sulfate. These solutions completely destroy fungi, bacteria, lichens and moss. After a week, the inner surfaces are treated with bleach. Bleach must be prepared in advance: 400 grams of solution is infused in 12 liters of water for 4 hours. The liquid is filtered, and the sediment is used to work with the surface of the greenhouse.
In the event that in the previous harvest period the tomatoes suffered any disease, then the greenhouse structures are additionally treated with foundation or oxychom.
The greenhouse must be completely solid. The polycarbonate tension material ideally has a solid structure with a transparent surface, which guarantees the strength of the structure. She is not afraid of winds, temperature drops and constant changes in atmospheric pressure. Polycarbonate has excellent permeability, sunlight evenly enters the entire inner area of the greenhouse. The service life of a durable, reliable material is 20 years.
Before planting seedlings, make sure of the following:
- In the greenhouse, all the vents are closed and there are no cracks. This condition is necessary for preliminary warming of the soil.
- The doors are tightly closed. If cracks are found, you need to put a heater inside the greenhouse.
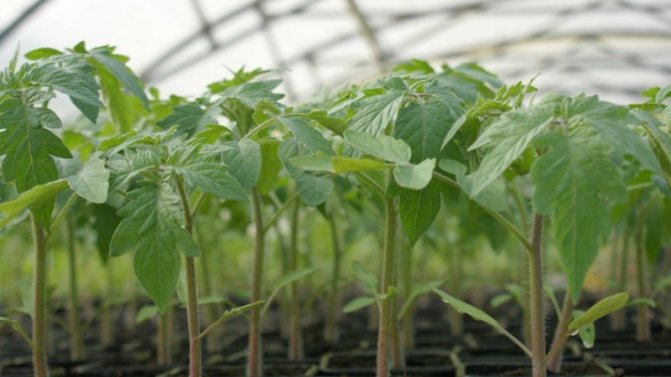

Preparing the soil for cultivation
Many gardeners do not want to poison the future harvest with chemicals and prefer to take care of the condition of the soil in advance. The highest quality and most productive soil for greenhouses is considered imported. Such soil should be purchased by those people who have infertile black soil inside the structure.
Ideally, the soil should already be prepared immediately after the next harvest, that is, about six months before the next batch of seedlings is planted. The ideal time to fertilize the soil in the greenhouse is late August or mid September. The preparation scheme is as follows:
- the top layer of earth is removed from the garden, about 20 cm;
- a groove is dug along the entire length of the plantation;
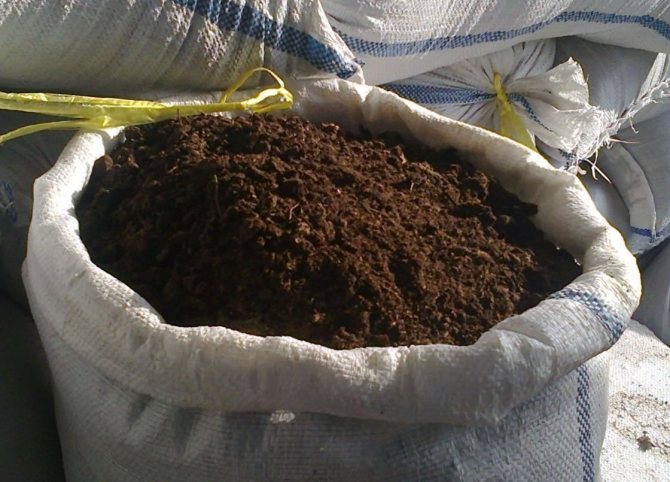
- humus of 3 years old crumbles to the bottom of the ditch;
- the ditch should be half filled with humus, and the rest should be filled with soil thrown back during excavation, or with fresh prepared soil.
The choice of fresh soil must be approached responsibly. It should not contain pathogens, weeds and garden pests. Otherwise, the work done will not bring the desired result, and you cannot wait for a high-quality harvest.
In order to saturate the earth with all the necessary trace elements in a natural way, you need to prepare earthworms. Invertebrate insects are able to pass all the contents in the soil through themselves without harm to the soil and evenly mix the formed mass with the ground. The soil receives all the necessary complex of fertilizers (humus).
For each square meter, it is enough to populate from 5 to 10 individuals. To do this, a small hole is dug, an earthworm is placed in it and slightly covered with loose earth. In order to activate the work of assistants, the plantation is irrigated with water from a hose or watering can. Watering can be done abundantly if there are no traces of frost on the ground. If a sharp cold snap is still foreseen, then the plantation is irrigated with water in the morning. By nightfall, all the moisture will have time to be absorbed inside, and the top layer will remain dry.
For the winter, it is useful to cover the prepared soil with plastic wrap, which perfectly retains moisture in the soil and insulates it. With additional warming of humus, earthworms do not go deep into the soil in case of severe frosts, but produce fertilizer mainly in the upper fertile layers.
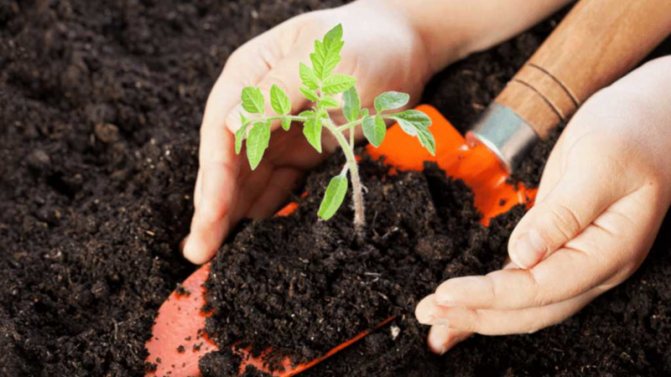

A good way to improve the quality and fertility of the soil is a bacterial cocktail. Tomatoes respond very well to nitrogen contained in the earth. The cocktail contains bacteria that enrich the soil with nitrogen, increase plant growth and increase yields. The concentrated solution is sold in ampoules. One ampoule is enough for 600 m2 treatment. soil surface. The cocktail is prepared as follows:
- Dissolve the contents of one ampoule in 3 liters of warm water. The best quality liquid will be melt water or rainwater.
- Add 1 tablespoon of honey to the resulting mixture, dissolve well.
- Store the solution in a ten-liter can or jar in a warm and dark place for 3 months. The container lid must be tightly screwed on.
- You need to water the soil with fertilizer one month before the planned planting.
- A glass of solution is added to 20 liters of water and the soil surface is treated.
Tips from experienced gardeners
After reviewing the basic information on planting and further growing tomato seedlings, it will not be superfluous to listen to the advice of experienced gardeners, since their knowledge is primarily based on great experience:
- Starting in the spring preparatory work, it is recommended to put last year's compost that has not decayed under the bottom layer of soil - in this case, it will play the role of additional heating for seedlings, and in the future will serve as top dressing.
- In the process of planting seedlings, all leaves that are at ground level, as well as yellowed and showing signs of disease, must be removed. It is better to carry out this procedure in the morning.
- The lack of nutrients can be determined by the foliage. When the leaves roll up and the border appears, potassium must be added to the soil. The raising of the leaves and the acquisition of their back with a purple hue signals a lack of phosphorus. With a lack of magnesium, the leaves become marbled.
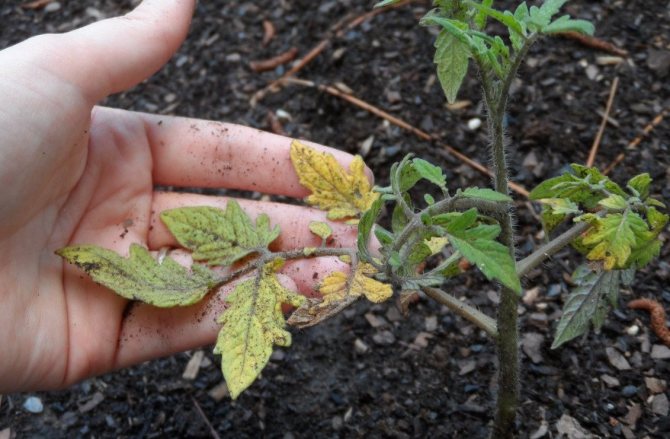

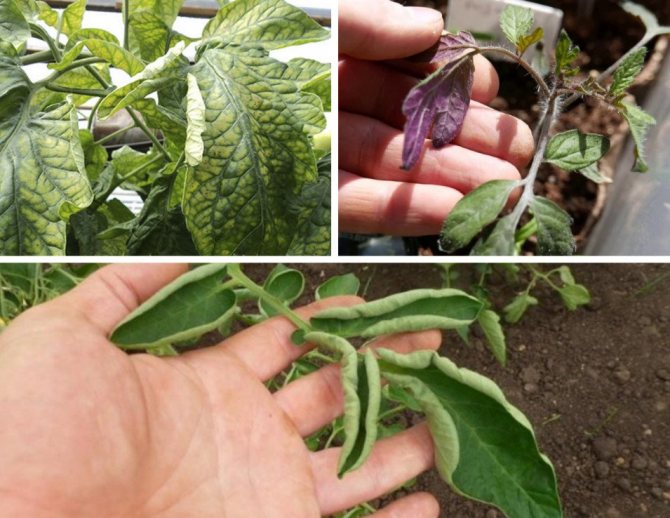

Summing up, it is worth noting that the process of growing tomatoes in polycarbonate greenhouses is quite time consuming and troublesome, since it requires not only the basic rules for caring for tomatoes, but also adherence to the necessary conditions in the greenhouse itself.However, spending time and effort, every gardener will be able to get a rich and high-quality harvest, regardless of the season.
Seedling preparation
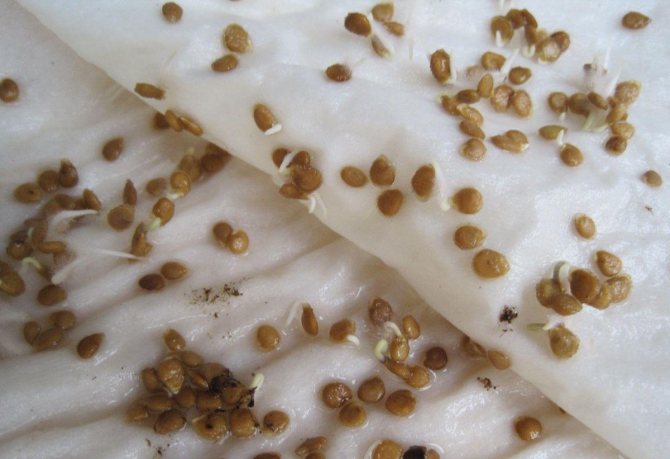
If seeds are purchased in a store in a coated form, then they do not need additional processing. Untreated seeds must be fertile. Before planting in pots, they are placed in a salty solution for 20 minutes. The floating seeds are discarded, and those that have settled to the bottom are washed well and packed in a gauze bag. In this form, they are placed in a solution of potassium permanganate or Fitosporin for 15 minutes. The disinfection procedure is completed by rinsing the seeds ready for planting.
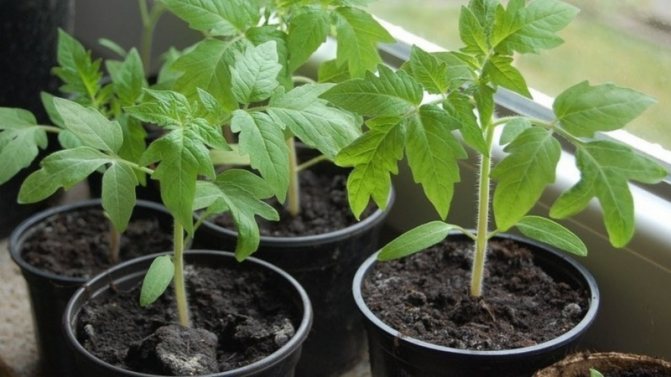
Before the emergence of shoots, it is not worth watering the ground; on top of the pot, you can attach a plastic shelter to retain moisture. After the appearance of 2 true leaves, the seedlings dive. Each seedling is carefully removed from the container together with a clod of earth and transplanted into a separate pot. Watering is carried out with warm, settled water. So that when transplanting seedlings into the ground, their root system does not suffer, they stop watering the tomatoes in a few days. In this case, the earthen lump will harden well and will not allow the roots to break when removed from the container.
Feeding is carried out once every half a month. Organic and mineral fertilizers are applied alternately. In case of insufficient daylight, a fluorescent lamp is directed at the plants. Backlighting is required in the morning and evening.
10 days before planting, the seedlings must be hardened. First, the plants are taken out to the balcony or in the greenhouse for 2-3 hours a day, every day increasing the time interval to the daily rate.

General landing rules
To plant tomatoes in a polycarbonate greenhouse, you need to follow several rules:
- Choosing a day for a successful planting. Since polycarbonate transmits the sun's rays well, it is better to plant tomato seedlings in cloudy weather or in the evening when the sun's activity subsides. This will prevent the plants from overheating.
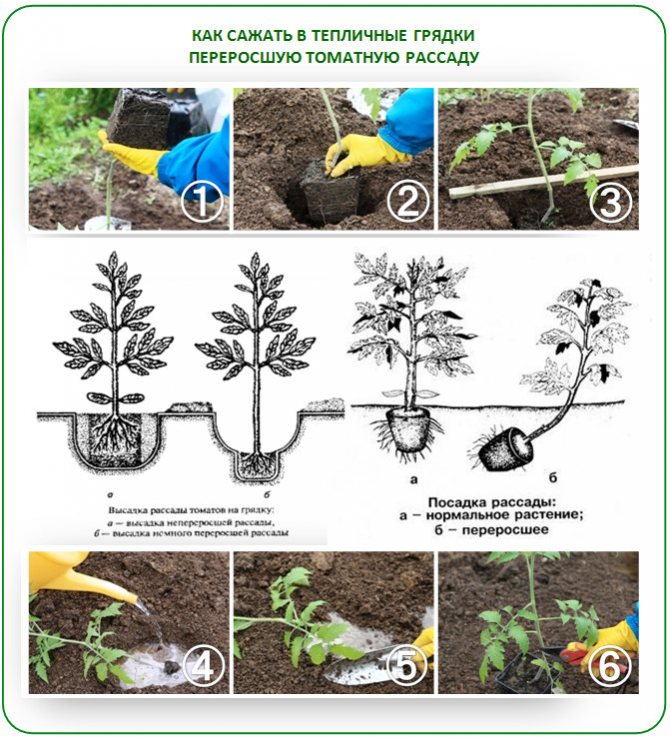
- Planting depth. The root should be completely submerged in the soil, but the growing point is not covered by the earth approximately 15 cm deep. There should be humus or other fertilizer in the depression. Yellow and cotyledonous leaves should not be left in contact with the ground. The soil is slightly compacted at each root and covered with soil.
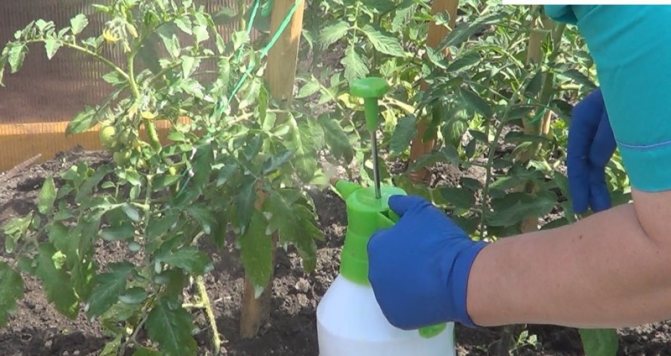
- Disease prevention. The most common plant disease in a polycarbonate greenhouse is late blight. To prevent it, it is worth periodically spraying the seedlings with copper oxychloride. To do this, take 40 grams of powdered copper and dilute in a bucket of warm water.
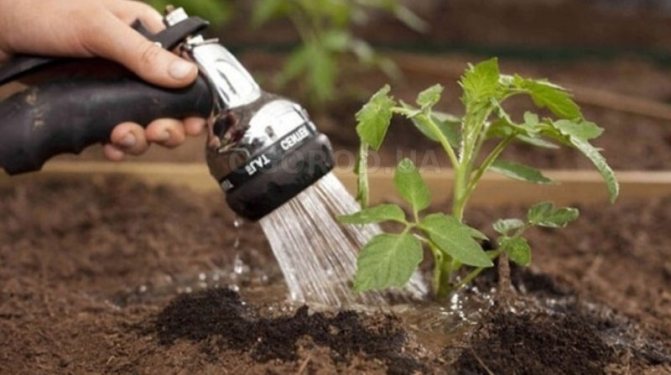
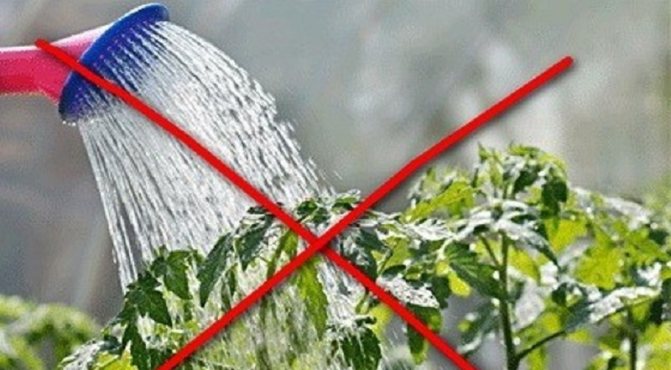
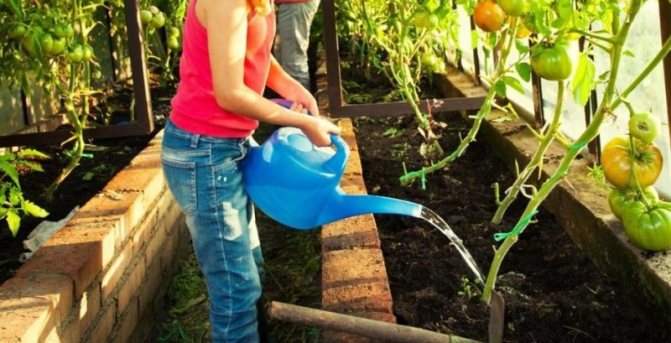
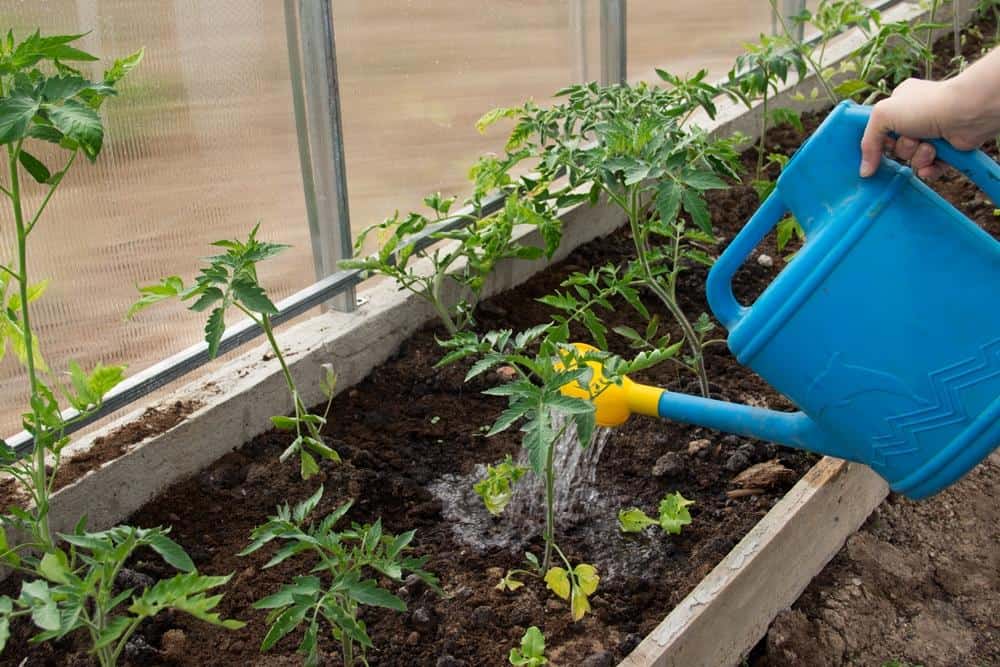
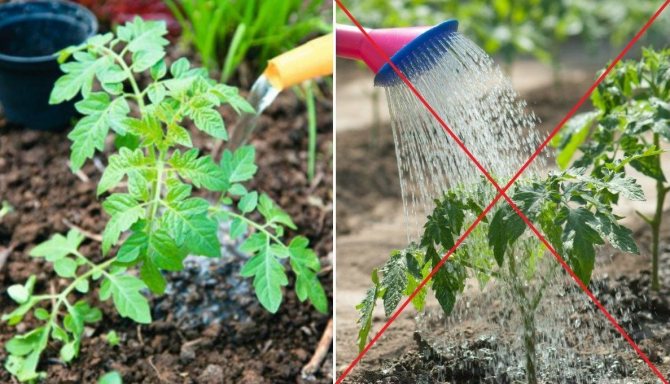
- Correct watering. After planting seedlings, they should be watered abundantly with rain or melt water. Stop moistening the soil within a week. In the future, watering tomato seedlings in the greenhouse is rare, but very abundant. The best time to water is in the morning.
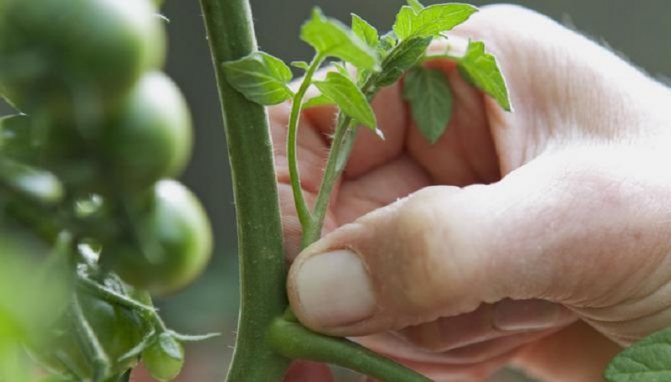
- Regular pinching of tomatoes in the greenhouse. Permanently remove lateral shoots growing from the leaf axils (at least one procedure per week). Grazing allows you to redirect the forces of plants to the formation of flower clusters and improve yields.
Tomatoes should be grazed when they reach 25-30 cm in length. Ultra early undersized varieties do not require this procedure.
Tying
About 1.5 weeks after planting, you need to start tying up our tomatoes.
The place to which we will tie up has already been prepared in advance, the question remains - how are we going to do this?
Loose (after all, every day the stem of the plant grows and thickens) with a loop we tie under 1-2 leaves. Next, we throw a rope (twine and something else) to the place of the garter, carefully without breaking the leaves and inflorescences.We tie it in the form of a loop (sliding), leaving a little in reserve, as it may be necessary to lower or tighten the bushes.
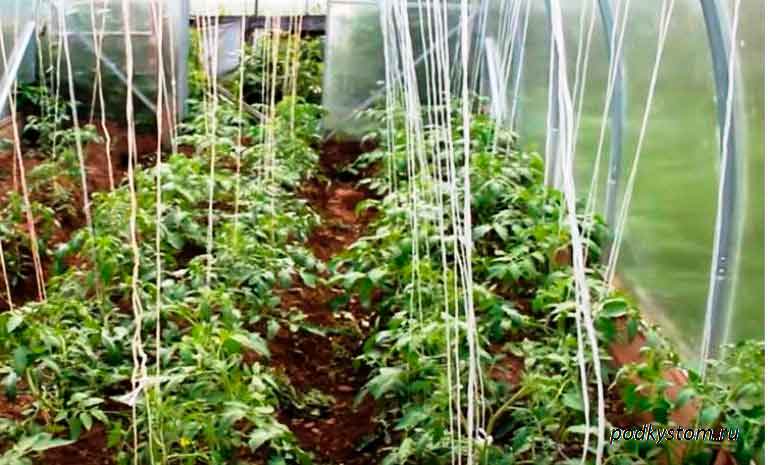

Next, carefully twist in the same direction no more than once a week. The material should not be properly stretched.
Greenhouse landing
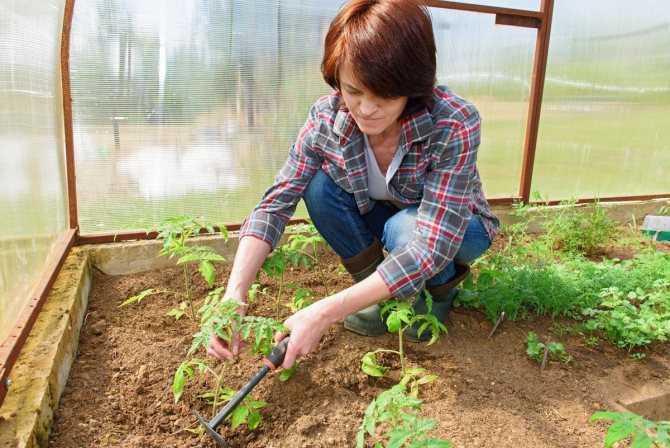
Seedlings of tomatoes at the time of transplantation in closed ground should have about 8-10 leaves on the stem. In this case, the stem part should be well folded and sufficiently dense, and the root should be strong and massive. When planting, the cotyledonous leaves must be removed. Planting tomatoes is carried out in the evening or on a cloudy day.
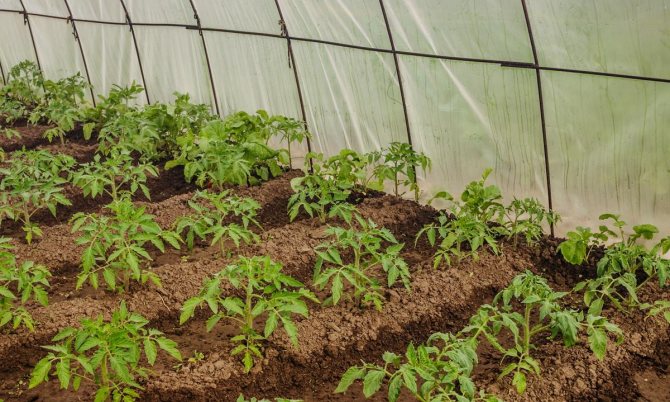
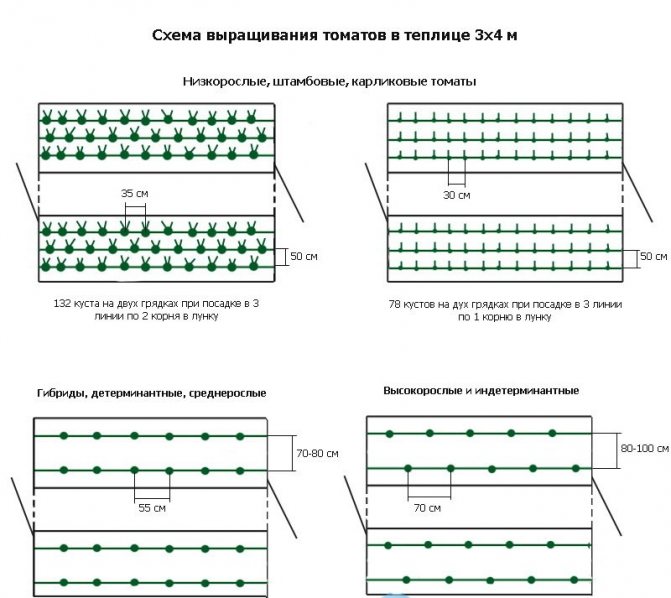
The beds in the greenhouse should be 25-30 cm high and 60-90 cm wide.A distance of about 60-70 cm must be observed between the rows. Low-growing varieties of tomatoes, as a rule, are early ripe and are planted in a checkerboard pattern in 2 rows ... The bushes are placed 45 cm apart. Row spacings should be from 45 to 50 cm. Standard varieties develop only one shoot, so they can be planted more densely. The distance between the stems can be left 25-30 cm. Tall varieties require wide spaces for their growth, so they are planted in 70 cm increments.
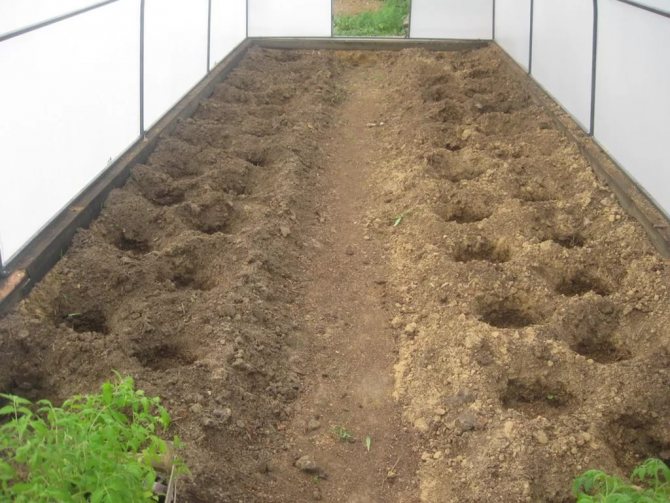
It is enough to dig holes in the greenhouse to a depth of 15 cm. They are preliminarily disinfected with a strong solution of manganese. Watered with warm water 20-30 minutes before planting. Plants are removed from jars or placed in the ground along with peat pots. Ideally, it would be good to trim the roots of the tomatoes slightly, then they will grow in breadth and be much stronger.
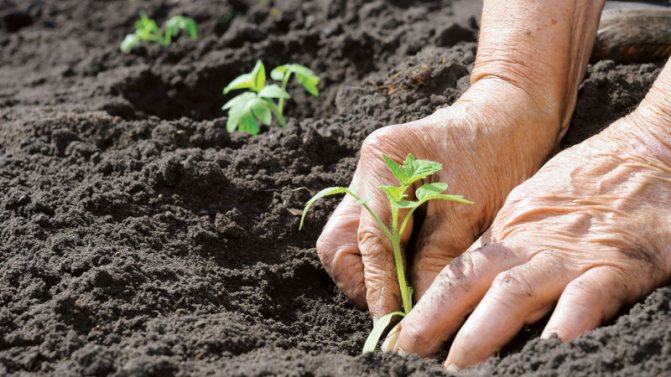

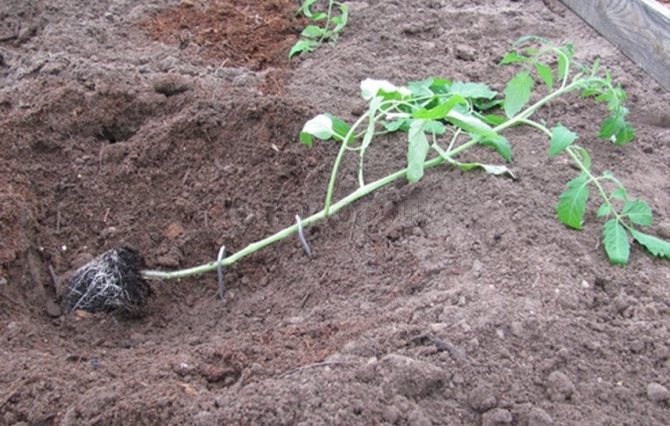
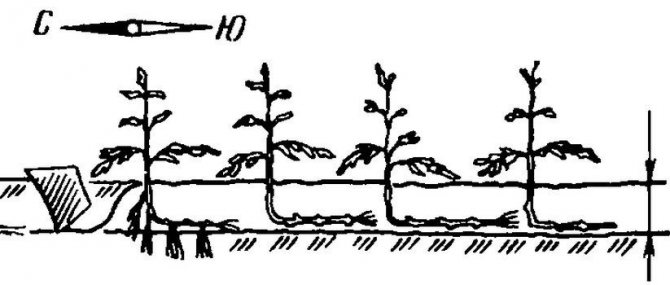
If the tomato seedlings have outgrown, then the following planting method can be used for it:
- form and water long, narrow holes;
- cut off the lower leaves of the seedlings and plant in a semi-horizontal position;
- the root should be laid out in the furrow, and the top should remain on the surface in a horizontal position;
- the holes are sprinkled with loose earth and watered with 2 liters of water for each plant;
- the top of the tomato stem is tied to a peg;
- for seedlings, a shade is created for 2-3 days.
Polycarbonate greenhouses are the most reliable and comfortable. Tomatoes in such shelters feel the most protected, develop fully and give a good harvest. The maintenance of polycarbonate greenhouses is not particularly difficult, you just need to take into account a few rules for the maintenance of such shelters.

