Gardeners' advice on how to properly grow tomatoes on the balcony, at home, read this article.
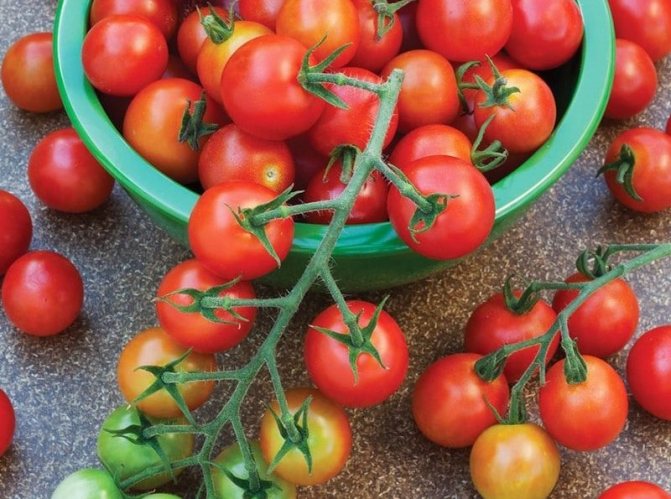
Tomatoes are a favorite vegetable for most people. With the onset of spring, site owners begin planting seedlings in greenhouses and open ground. This activity calms the nerves, improves mood. The self-grown crop allows you to have no doubts about the quality and safety of the fruits. But what about those who do not have a land plot, but want to grow tomatoes themselves? Is it possible to grow tomatoes on a balcony in a city apartment and how to do it?
Why do you need to grow tomatoes on the balcony?
Why grow tomatoes on the balcony when the store sells these vegetables all year round? There are many reasons.
- This is an interesting and exciting hobby.
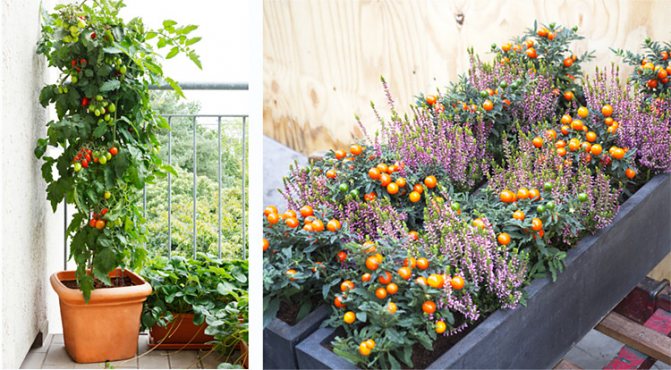
- Plants at the time of flowering and ripening of fruits have a decorative appearance, they will become a living decoration of the balcony.
- With self-cultivation, you can be sure that the fruits are not stuffed with chemical fertilizers.
Another nice bonus: the harvest appears earlier than with street cultivation, the fruits are always fresh, so they contain a lot of vitamins and vegetables will cost less than buying.
What to look for when choosing balcony tomatoes
To get a rich harvest at home, choose balcony mini-tomatoes carefully and pay attention to some of the nuances. Important factors are:
- Bush height... Plants are determinant and indeterminate, that is, those that grow to a certain height and those that do not stop growing. In the first case, all the fruits ripen simultaneously in a short period of time up to 3 months, and in the second, as they grow. Balcony tomatoes grow like lianas. For home conditions, special super indeterminate varieties have been created, that is, super dwarf ones.
- Fruit ripening time... Tomatoes are divided into early ripening, that is, ripening in 2-2.5 months, mid-ripening in 3 months and late-ripening more than 120 days. Accordingly, indoor, ripen much faster.
- Pollination method... This should not be forgotten, otherwise the plants will not pollinate and bear fruit.
- Taste and size of fruits... It is worth paying attention to the shape, size and taste of future tomatoes. Dwarf plants cannot grow full-sized fruits.

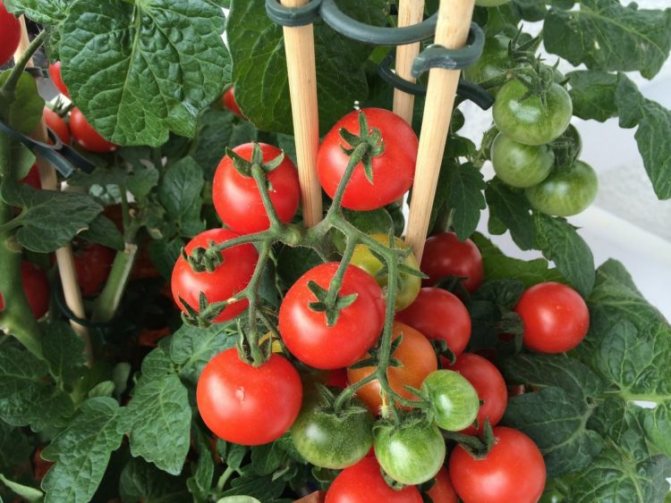
Some varieties of balcony tomatoes are quite large
Considering all the above points, the following are suitable for balcony varieties:
- early maturing plants, with a growing season of up to 2.5 months;
- dwarf shrubs that are easy to form and tie, do not take up much space and have an undeveloped, compact root system that fits in flower pots and containers;
- self-pollinated or not in need of pollination, as they are grown indoors in the autumn-winter period;
- resistant to fungi, viruses, pests, so when grown in greenhouses and on the balcony, a favorable environment is created for the development of diseases such as late blight.
Finally, be prepared for the small size of the tomatoes.
All these characteristics will help you choose the right variety of balcony tomatoes.
Optimal conditions for growing tomatoes
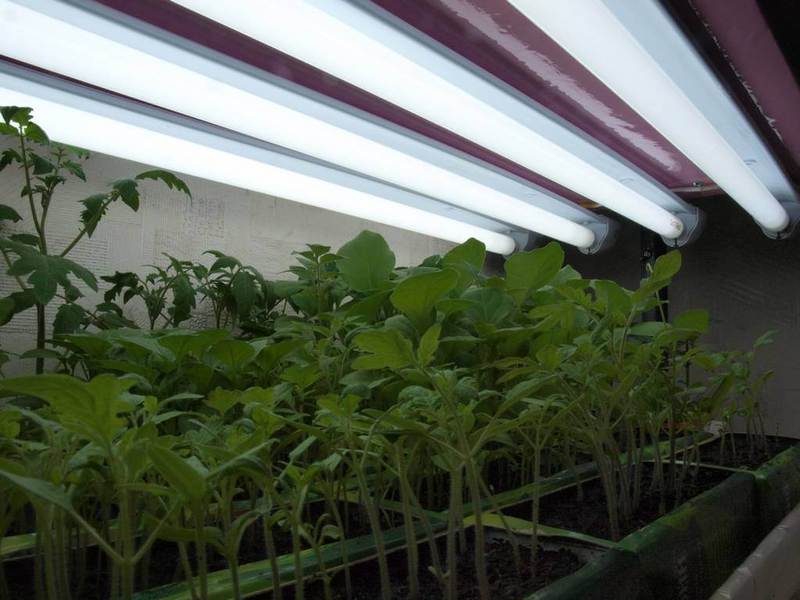
Tomatoes are a light-loving culture that is comfortable in rooms where there is a lot of sun. If the loggia or balcony is on the southeast, south or southwest sides of the house, then the tomatoes will feel good. On the north side, the plants must be additionally illuminated with fluorescent lamps.
Optimum temperature regime: during the day from +21 to + 25º С, at night from +16 to + 19º С, air humidity 60-65%. On glazed loggias, in warm weather, frames are opened during the day so that the plants receive a sufficient amount of ultraviolet rays necessary for photosynthesis.

Which tomato varieties are suitable for balcony planting?
The balcony has a small area, therefore, for planting, they choose compact varieties with limited growth that meet certain requirements.
- Plants should be undersized (determinant), standard, giving few stepchildren, with a shallow root system. They can be used to form thickened plantings, giving a high yield per m2.
- Short growing season. 70-85 days from germination to fruit ripening.
- Higher planting densities are an increased risk factor for disease, so it is best to plant hybrids. They are more resistant to major diseases.
- Versatility. Tomatoes should be suitable for both canning and fresh consumption.
The balcony is part of the living space. Tomatoes can become a design element if you plant carp varieties, in which, at the time of ripening, the branches are strewn with beautiful fruits, or plants with tomatoes of various shapes in red, yellow, orange or dark purple.
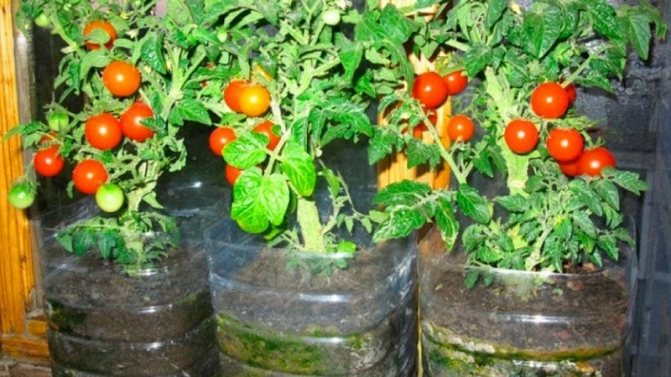
Advantages and Disadvantages of Bottle Growing
The list of advantages of this method includes:
- convenient watering - water enters through an inverted bottom and drips into the ground;
- this type of planting looks very decorative, especially at the fruiting stage, and is able to decorate any balcony;
- landing in a vertical space will help save space on the windowsill;
- bushes do not require a garter.
The list of disadvantages of this method includes:
- with an incompletely developed root system, water often flows down the neck of the bottle;
- for a fruiting plant, it is required to install a metal support;
- access to natural light for a plant planted in a bottle with soil is limited.
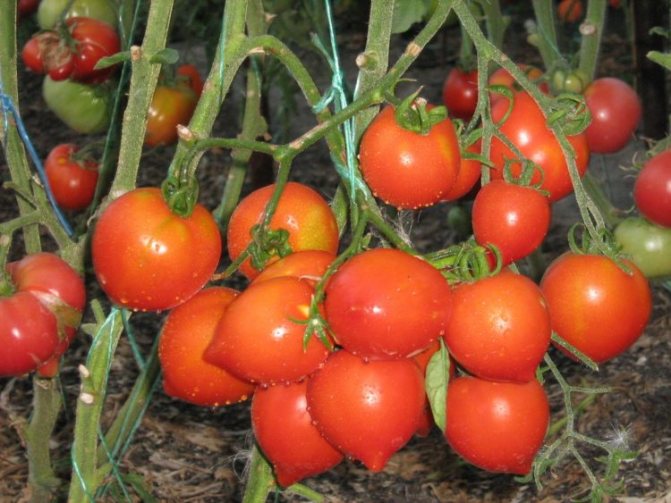
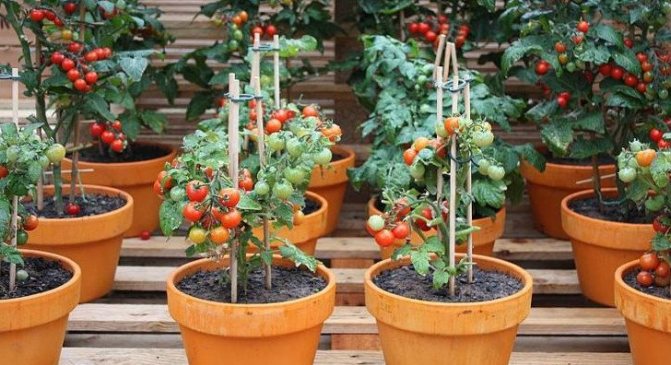
The best varieties of tomatoes for planting on the balcony
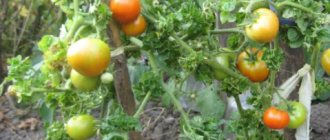
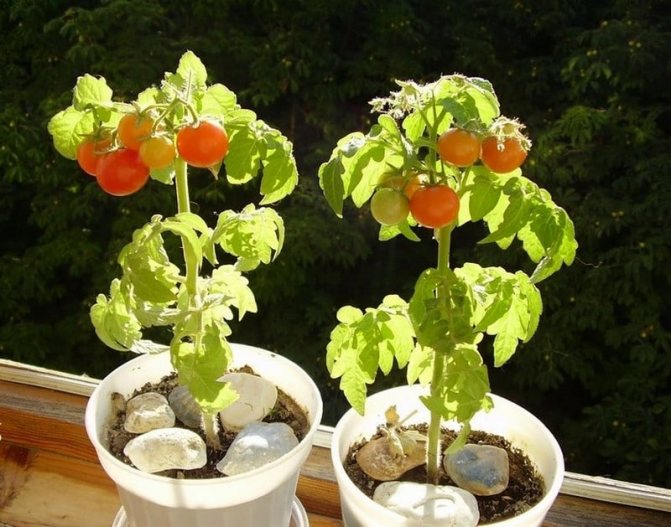
With the right choice, a high yield of tomatoes can be grown on the balcony. Most of the fruits will bring thickened plantings of undersized varieties. Indeterminate (tall) plants are placed in large pots at the corners of the balcony. These plants usually produce larger tomatoes. There are varieties bred specifically for home cultivation. Popular balcony tomatoes produce a good harvest.
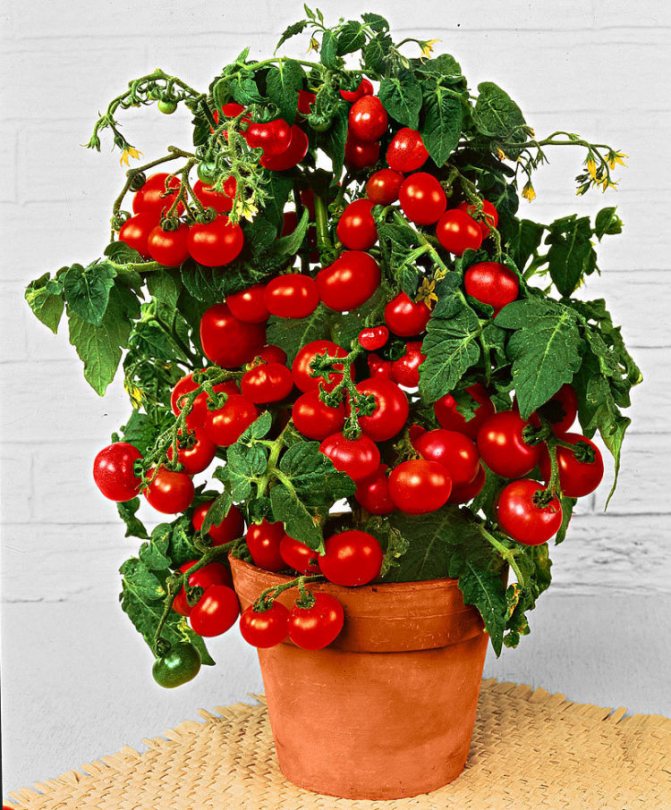
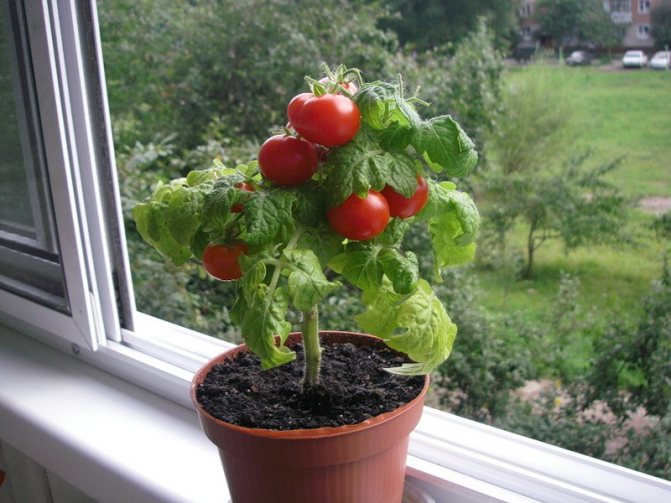
Tomatoes variety "Bonsai"
Bonsai tomato
The height of the bush is about 30 cm. An unpretentious plant with small red round tomatoes. The taste is moderately sweet with a pleasant sourness. From the emergence of shoots to the ripening of the first fruits, 80-85 days pass. Productivity - 0.5 kg per season.
Tomatoes grade "Tiny-Tim"
Tomatoes Tiny Tim
Height 40-60 cm, standard bush, high yield. The branches are completely covered with small tomatoes that ripen 70-80 days after germination. The fruits are red-orange, bright, weighing 12-14 g, juicy, with a sweetish taste.
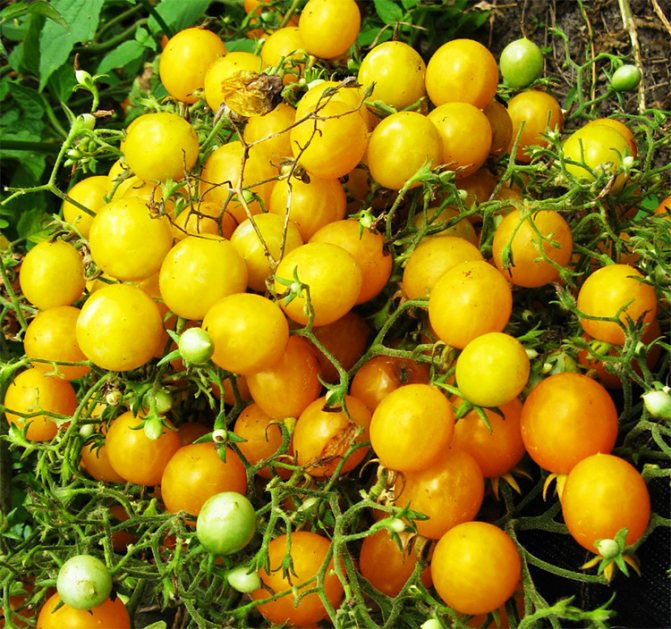
Tomatoes variety "Balconi yellow"
Tomato variety Balcony Yellow
A small compact bush, no higher than 45 cm. Tomatoes ripen in 100-110 days, so it is better to plant the variety on a glazed loggia. The plant looks very decorative. At the time of ripening, bunches, covered with bright yellow tomatoes, weighing 10-20 g, hang from it. The taste is delicate, sourish.
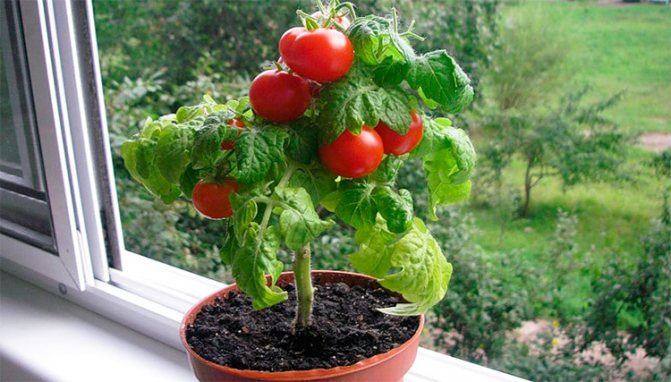
Tomatoes variety "Balcony Miracle"
Balcony Miracle: tomatoes on the balcony
Standard bush, grows up to 50 cm. Fruits ripen on 80-85 days from the moment the seedlings emerge. Red tomatoes, average weight 60 g, juicy, tasty. Does not crack when canning, not tough, suitable for salads, fresh food.
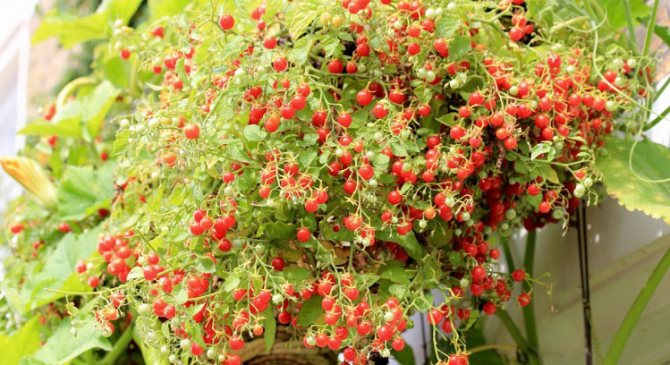
Garden Pearl Tomatoes
Dwarf bushes 35-40 cm high. Early ripening, the first red tomatoes appear on the 80th day. A beautiful, ornamental plant. Fruits are small, 15-20 g, transparent pink color, good sweetish taste, collected in spectacular brushes.
Variety selection criteria
The harvest and success of the vegetable garden on the windowsill depends in large part on the selected varieties of vegetables. You need to focus on several aspects at the same time:
- The size of the bush. For home cultivation, low-growing and medium-sized varieties of tomatoes are suitable, the height of which is no more than 50 cm. Too large breeds, for example, Bobkat, will be uncomfortable and cramped, which will affect the harvest.
- Ripening period. You do not need to choose tomatoes in which the ripening period is 70-100 days. Early ripening tomatoes are chosen for the balcony.
- Fruiting. This factor depends directly on the purpose of the balcony garden. For the sake of the harvest, you need to choose tomatoes that bear fruit for a long time. If the garden is started as a hobby, for the sake of aesthetic pleasure, less fruitful species will do.
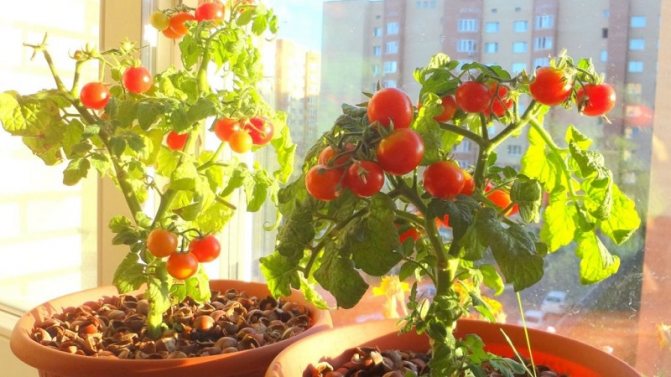
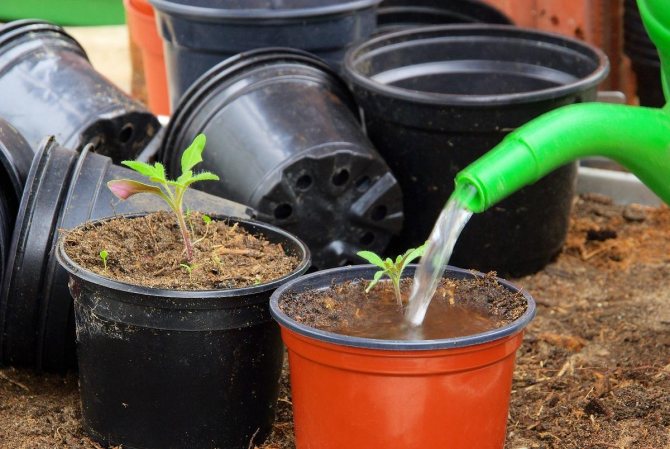
Container for growing balcony tomatoes
The traditional and most convenient container for growing tomatoes on a loggia is deep long boxes made of plastic or wood. If there is no such container, then everything that is at hand is used.
- Dense weaving baskets.
- Flower pots.
- Plastic water bottles.
- Basins.
- Old large pans.
- Barrels.
- Buckets.
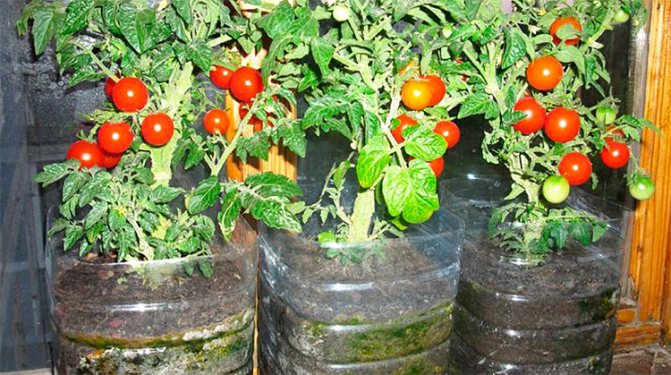
How to grow tomatoes on the balcony? Tomatoes in plastic bottles
Some vegetable growers adapt very unusual things for growing tomatoes, for example, cutting a large diameter metal pipe.


Possible problems
If everything was done correctly, the seedlings will have a strong stem, dark green leaves and a large number of ovaries. Otherwise, the condition threatens with a decrease in yield or death of the plant. Problems that can arise due to improper care:
- excessive watering can lead to rotting, infection of a fungal infection, stem elongation;
- lack of light leads to a thinning of the stem, pale leaves and a decrease in plant immunity;
- dry, hot air can cause yellowing of the leaves, while the plant looks weak and lethargic;
- if the seeds are planted too early, then they may not have enough daylight for development;
- an excess or lack of trace elements in the soil leads to a weakening of the stem and leaves, the ovaries will crumble;
- lack of space leads to interlacing of the roots, and the upper part will shade each other.
To correct the situation, you need to eliminate the unfavorable factor. Be sure to study the instructions for growing tomatoes and follow all the points of care for them.
Preparing the soil for planting tomatoes
Tomatoes love earth with a neutral or slightly alkaline reaction. If you buy a ready-made potting mix, you will have to apply a lot of fertilizer. The store soil is made on the basis of peat, so there are few nutrients in it. It is best to prepare the substrate yourself.
It is necessary to mix 50% humus and 50% sod land (medium loam). Add sawdust and peat as a baking powder. Then fertilizers are applied at the rate of 300 g of wood ash, 2 teaspoons of nitrophosphate and 2 tablespoons of superphosphate per bucket of soil mixture.
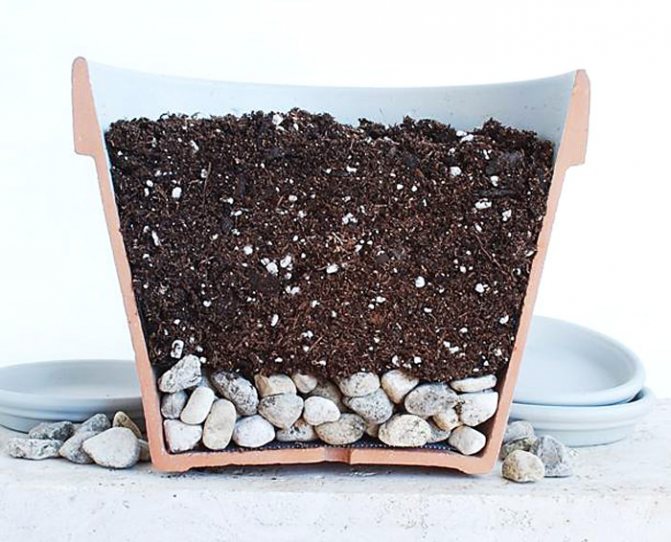
Drainage tomatoes on the balcony
A week before planting the seedlings, expanded clay is poured onto the bottom of the tomato containers as drainage. Pour well-mixed earth on top. Dilute 1 g of potassium permanganate in 10 liters of hot (75-90 ° C) water and carefully spill the substrate, disinfecting it.
Selection and preparation of soil
Only by correctly selecting and preparing the soil can healthy growth with abundant fruiting of balcony tomatoes be ensured.
Two types of soil are suitable for planting tomatoes on the balcony:
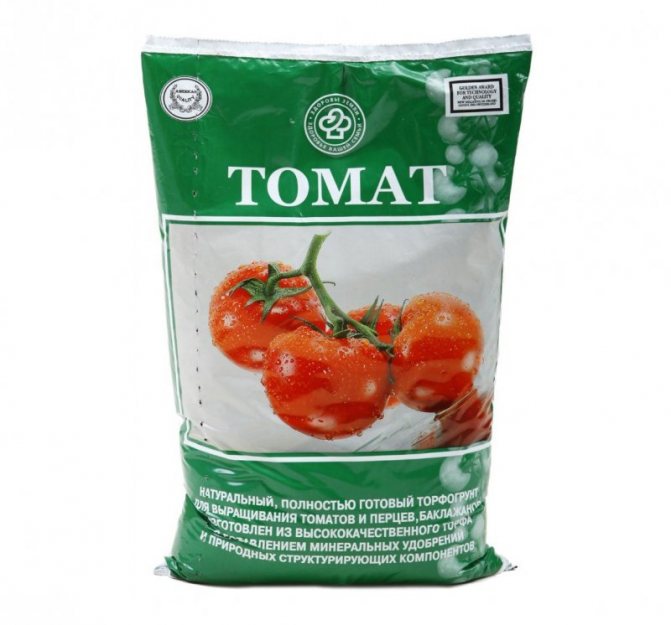
- Ready-made potting mix purchased from a specialized outlet. This soil contains all the necessary minerals. The packaging is labeled accordingly “for tomatoes”.
- A soil mixture made by hand from part of humus, part of sod land and part of peat.
Helpful information.
The alternative composition of the soil mixture is leaf soil + peat + sand.
The selected soil should be prepared for planting tomatoes with seeds. The first step is disinfection.
The soil mixture is disinfected in the most convenient of the three known ways:
- by calcining in a microwave oven for two minutes at a power of 830 W;
- heating in an oven for ten minutes at a temperature of 210 ° C;
- spilling the soil with boiling water in small volumes;
- watering the earth with potassium permanganate solution.
After the disinfection procedure, the soil must dry out or cool down - it depends on which method the treatment was carried out.
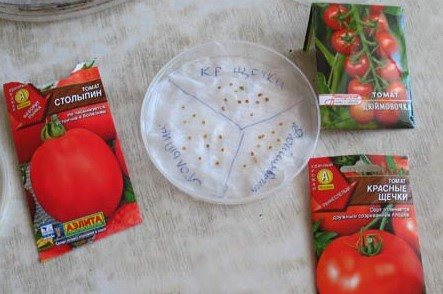
Selection stage for suitable seeds
Before disinfecting tomato seeds, they go through a selection stage.
This procedure is as follows:
- pour water into a small container;
- pour out the seeds;
- mix.
After such treatment, suitable seeds will remain at the bottom, and low-quality seeds will float to the surface.
Seed soaking
Note. Seed planting material of any well-known manufacturer is disinfected at the plant and has a high germination rate.
How to disinfect seeds
There are three ways to disinfect planting material:
- Add a gram of potassium permanganate to one hundred milliliters of water and soak the seeds for about fifteen minutes.
- Dissolve half a gram of soda in one hundred milliliters of water, and then stand for a day.
- To make the solution, a drop of liquid Fitosporin is diluted in one hundred milliliters of water - the seeds should be kept for about fifteen minutes.
Germinating tomatoes from seeds
Many gardeners choose to germinate their seeds before planting. Thus, the germination rate can be significantly increased. The prepared planting material is wrapped in a wet gauze cloth and placed in a warm room. The first sprout should appear after two days. After that, you can proceed to the open landing.
Note.
Throughout the entire germination stage, the gauze must not be allowed to dry.
Seed planting process
It is necessary to make centimeter indentations in the ground, observing the distance between them is about three centimeters. The seeds laid out one at a time are sprinkled with soil and sprayed with a spray bottle.
Note! The ready-made seed planting material from the store can be planted in three pieces in one furrow.
The landing container is covered with a transparent film or plastic lid. In order to create a greenhouse effect, the container should be placed in a room with an air temperature of about + 23 ° C. The greenhouse effect will significantly accelerate germination.
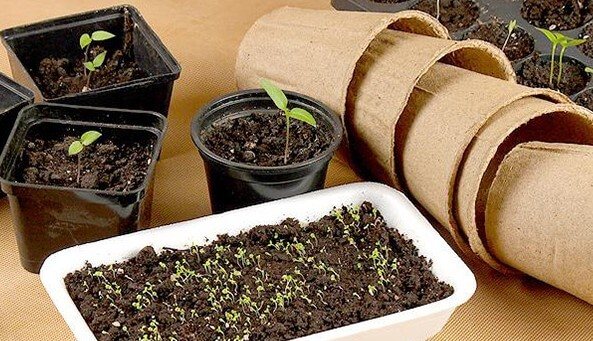
Seedling containers
The list of conditions necessary for high-quality germination of sprouts:
- in order to avoid the spread of fungal and other infections, the "greenhouse" must be regularly ventilated - the cover is removed twice a day for ten minutes;
- the surface soil layer should not dry out - to prevent soil erosion for irrigation, it is better to use a spray gun;
- place the seedlings on a windowsill with adequate lighting.
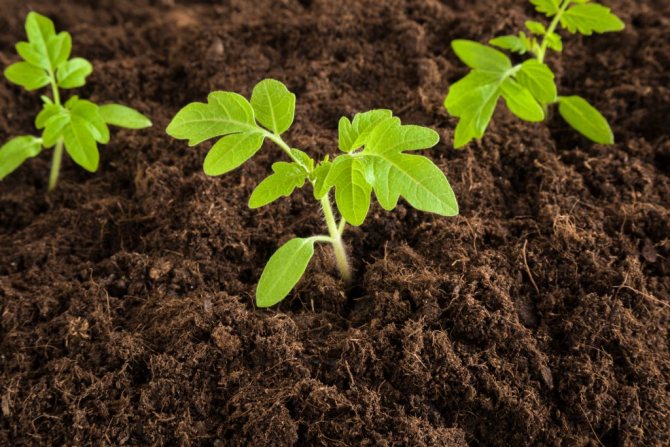
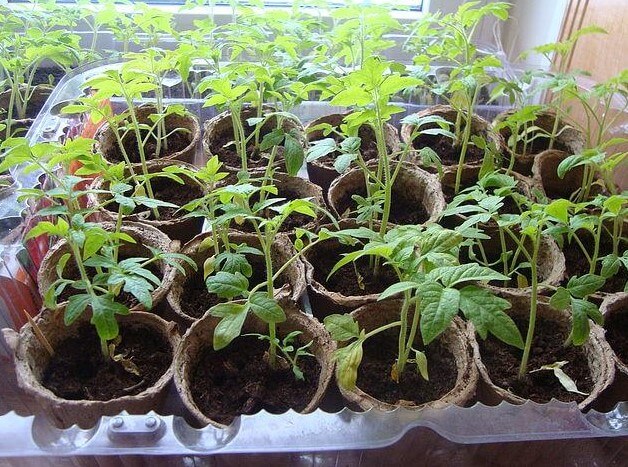
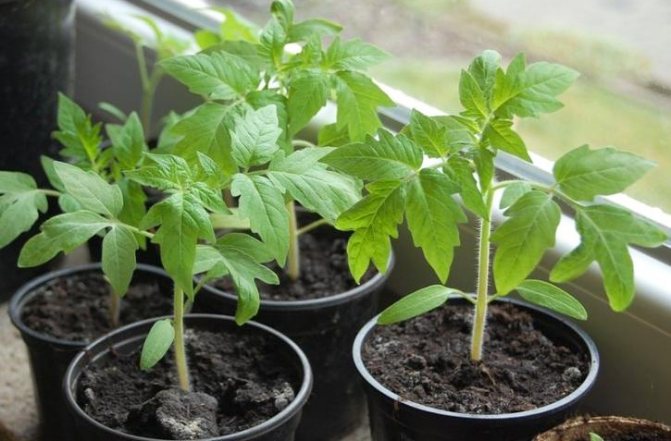
First pick
You can start picking when the third sheet appears. For the first transplant, it is better to take a two hundred milliliter plastic cup. A month later, the tomatoes grown on the balcony are transplanted into a three-liter pot.
Note.The roots of sprouted seedlings with three leaves, planted in a plastic glass, should occupy almost the entire volume of the planting container.
Each seedling must be planted separately. Weak plants are disposed of.
Transplanting into a large pot is only performed if there is a pre-created drainage layer.
How to properly prepare and plant tomato seeds?
For planting, select thick, large, light seeds without black dots and mechanical damage (chips). The selected material is placed in gauze bags, dipped for 15 minutes in a saturated pink solution of potassium permanganate so that no pathogens remain on the surface of the seeds, then washed in running water from the tap.
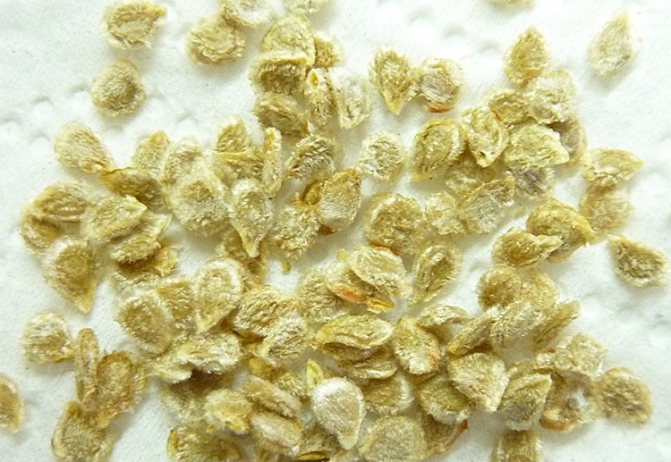
Tomato seeds, photo
Sowing is carried out from January 25 to February 7, if the tomatoes grow on a glassed-in loggia or balcony, and from February 20, if outdoors. The seeds are buried 1-1.5 cm into the ground, carefully sprinkling them with soil on top, then sprinkled with water so that a crust does not form, which prevents the sprouts from breaking through from the ground. Watering is carried out regularly. Planting is carried out in seed boxes or pots for seedlings, which, after sowing, are tightened with foil and placed in a warm place in the house, for example, not far from a heater or battery.
Seed preparation
The preparation of seeds for growing seedlings is exactly the same as in the usual version. Seeds are often sold ready-to-plant and can be sown directly dry. If the seeds are of unknown origin, their preparation may include sizing, disinfection, swelling, germination, etc. Hardening for balcony tomatoes is optional.
I believe that the only really mandatory procedure is the disinfection of unreliable seed material (20-25 minutes in a dark solution of potassium permanganate). All other procedures related to swelling and germination, as well as the use of growth stimulants, can be omitted for tomatoes. This is not a crop that requires a waste of energy and time: tomato seeds germinate well even when sown dry.

For disinfection, seeds in gauze are dipped in a solution of potassium permanganate
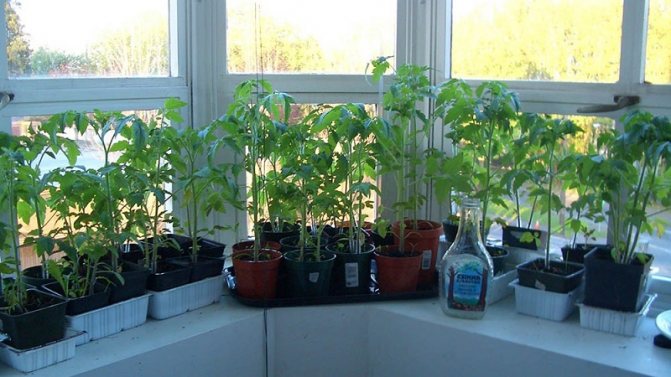
Features of growing tomato seedlings
With the appearance of the first sprout, the seedling boxes are placed in the apartment on well-lit window sills, the film is removed. Optimum temperature for seedlings: during the day 18-21 ° C, at night 15-17 ° C.
Attention!
It is imperative to observe the correct temperature regime! At a higher temperature, the seedlings can stretch out and die, at too low - rot at the root.
When 2 true leaves appear on the tomato, the seedlings dive. Each plant is transplanted, burying it into the ground to the first true (not cotyledonous!) Leaves. Watering is carried out every 5-7 days, if the soil dries up, forming a crust, then more often. Before disembarking to a permanent place, 3 dressings are made.
- Complex mineral fertilizer 1.5 weeks after germination.
- Mullein solution 10 days after the first feeding.
- Nitrofoskoy one week before disembarking to a permanent place.
How to plant tomatoes on the balcony
Tomatoes are planted on glazed loggias in mid-May, provided there is no frost or very low temperatures (+ 1- + 5º C), on open balconies - in late May - early June. Tomatoes are pre-seasoned by opening the windows.
The day before transplanting, the plants are watered abundantly with water. Seedlings are transplanted to a permanent place with a large clod of earth so as not to damage the roots. Each bush should have from 2 (for dwarf varieties) to 4 kg of soil in order to provide fruit-bearing tomatoes with a sufficient feeding area.
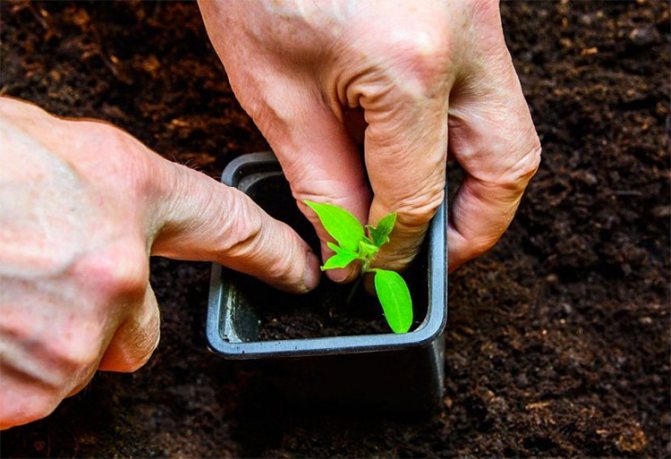
Seedling transplant technology
When the sprouts reach a height of 7-10 cm and have 2-3 true leaves, they should be transplanted into large containers. You need to transplant according to the following instructions:
- Fill a large container where the plant is planned to be transplanted with soil mixture to 3/4 of the level.
- Make a small hole in it and pour water at room temperature.
- Moisten the soil with the seedling.
- Turn the container over and tap the bottom lightly.
- Remove the seedling carefully and place in a large container.
- Sprinkle the tomato with soil up to the level of the tops.
- Leave the seedlings in a warm place until rooting.
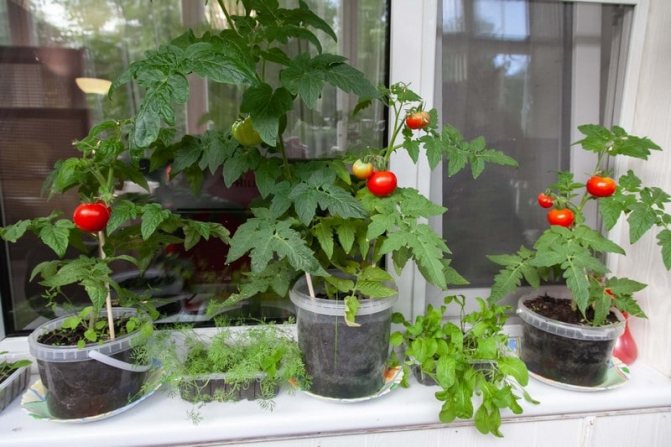
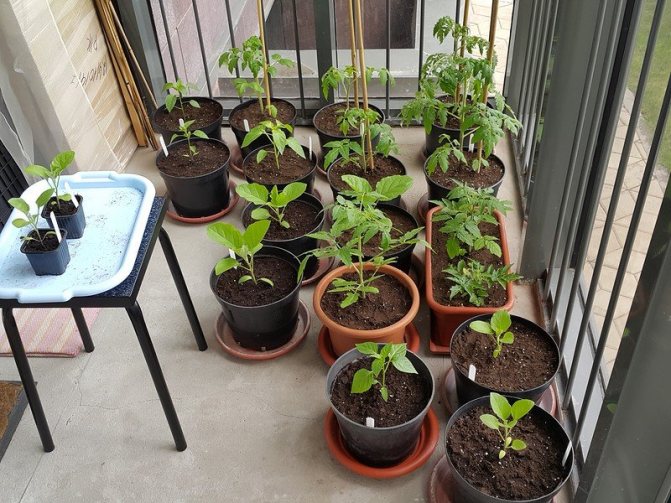
How to properly care for tomatoes on the balcony?
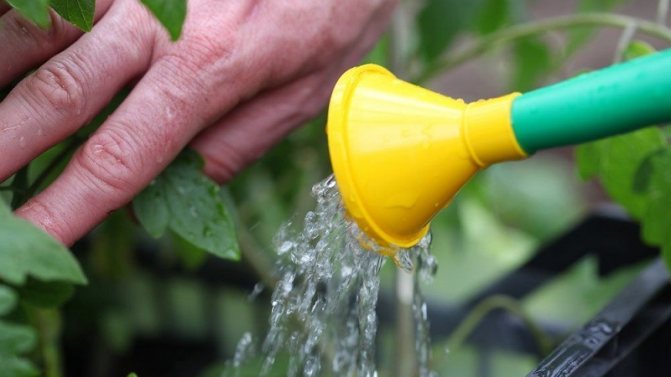
They take care of the tomatoes growing on the balcony in the same way as if they were in the garden bed. Once every 5 days, they are watered, if it is cool outside, in the heat more often - every other day. Immediately after watering, the topsoil is loosened to avoid crusting. The garter is done 1.5-2 weeks after the tomatoes are planted on the balcony.
Tomato seedlings
The volume of land on improvised home beds is small, therefore, fertilizing with mineral fertilizers is excluded so that harmful elements are not deposited in the fruits. They use natural organic matter: mullein, humus, bird droppings in limited quantities. Once every 30 days, 1 tablespoon of ash is scattered around the stem of each bush.
Tomatoes grow crowded on the loggia. For the prevention of diseases, glazed rooms are regularly ventilated. In case of tomato disease, they are treated with Bordeaux liquid no later than 14 days before the harvest ripens.


Transplanting seedlings and plant care
It is better to replant seedlings in larger pots after the seedlings are one month old. During this time, about five leaves are formed on the sprouts.
After a successful transplant, it is important to properly care for the tomatoes. Then they will give a good harvest
We select soil and capacity
If it is decided to transplant tomatoes into a long container, there should be at least 30 cm between them. Otherwise, the seedlings will interfere with each other when they grow up. This will lead to a decrease in the yield or even the death of some bushes.
Expanded clay or broken tiles must be placed at the bottom of the container to ensure good drainage. Almost any container can be used instead of a container, including flower pots. The size of the pot is selected so that the roots have enough room for development. The volume should be at least 5 liters for low-growing tomatoes and at least 20 liters for tall tomatoes.
It is desirable to saturate the soil with organic fertilizers. However, in specialty stores, you can find soil that has already been fertilized.
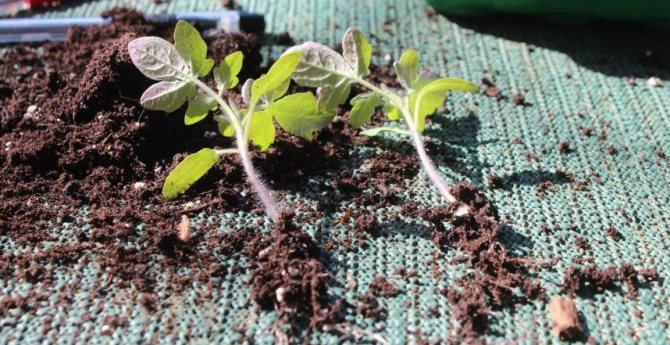
Transplanting tomatoes into permanent containers
If you are transplanting for the first time, be prepared for the fact that some seedlings may not take root.
To avoid this, it is important to do everything as carefully as possible, without harming the root system:
Fill the selected pot with soil about a third. Place the seedling on the ground and straighten the roots. Press them a little to the ground. Now pour the earth gradually into the pot and gently crush it. Fill the pot about 2/3 full. Remember to raise the plant so as not to overwhelm it. Lightly tamp the soil. Water the seedlings with warm water
It is important to do this gradually so that all moisture is absorbed.
After transplanting, it is undesirable to touch the tomatoes for a week. You need to give them time to settle down.
Bush formation: how to correctly perform pinching
Grasshopping is the removal of tomato shoots that have grown between the main stem and the side leaf of the plant. This procedure is carried out at all stages of plant life. Stepsons are removed with pruning shears or simply break off.
To get a good harvest of tomatoes, the bushes are formed into three or fewer stems. It is best to pinch the branches until they are more than 4-5 cm long.
When and how to feed tomatoes
It is better to feed the tomatoes with organic matter. After it, they begin to grow rapidly, and then actively bear fruit.Such fertilizers include diluted chicken manure or mullein. However, city dwellers prefer to buy mineral complexes more. Before using them, be sure to read the instructions for use.
Pollination: is it necessary in indoor conditions
Pollination is required for tomatoes for fruit setting. There are several ways to artificially pollinate them. It is better to do this in the morning.
You can open a window or put a fan, thereby creating an imitation of the wind. It should be borne in mind that cold air from an open window can damage tomatoes.
You can also gently tap the stem to move the pollen to the stigma. If you want to be sure to pollinate your bushes, get a tomato pollinator.
Watering
Water the bushes as the topsoil dries out. The water temperature should be warm or room temperature. If the stage of fruit setting has come, you can water the tomatoes only in the evening. Otherwise, you can disrupt the pollination process.

Problems of growing indoor tomatoes, pests and diseases
Tomatoes grown on the balcony are more likely to suffer from fungal diseases than tomatoes grown in the open field. To avoid infection, you need to ventilate the room more often, but hypothermia should not be allowed. It is also advisable to spray the bushes with Bordeaux mixture once a month.
Balcony tomatoes are also threatened by insects. More often than others, spider mites and whiteflies are harmful. Against the first, it is better to use "Akavir" or "Borneo", and from the whitefly, "Inta-vir" will do. You can buy them at any gardening store.
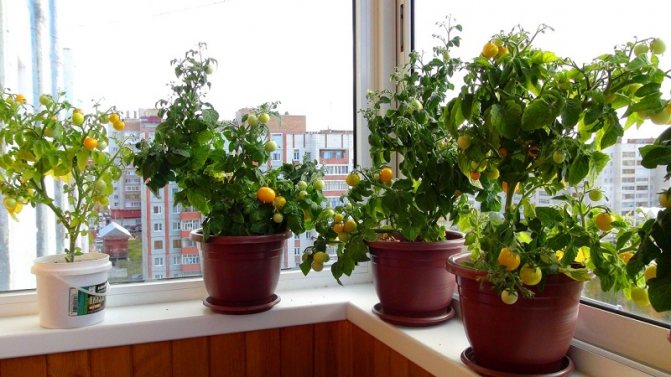
Blooming tomatoes and harvesting
Tomatoes are harvested as they ripen. If the tomato is already red, it is best to pick it to allow others to ripen. If the tomato is not yet ripe, but you have already picked it, put it in a warm place for ripening.
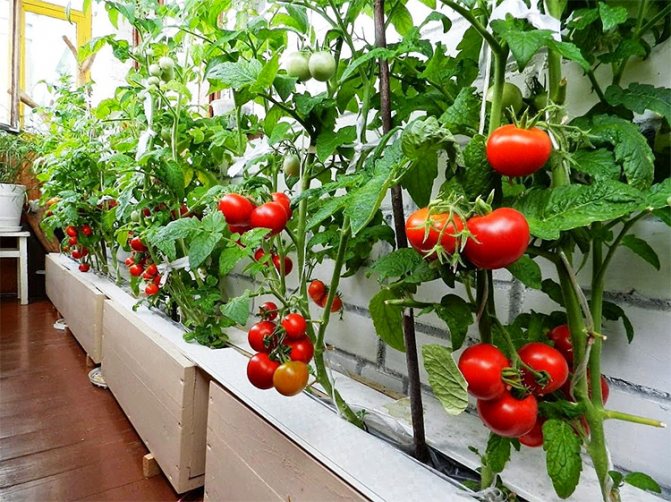
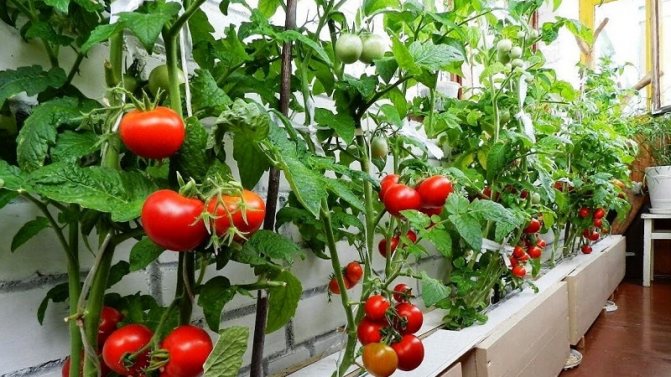
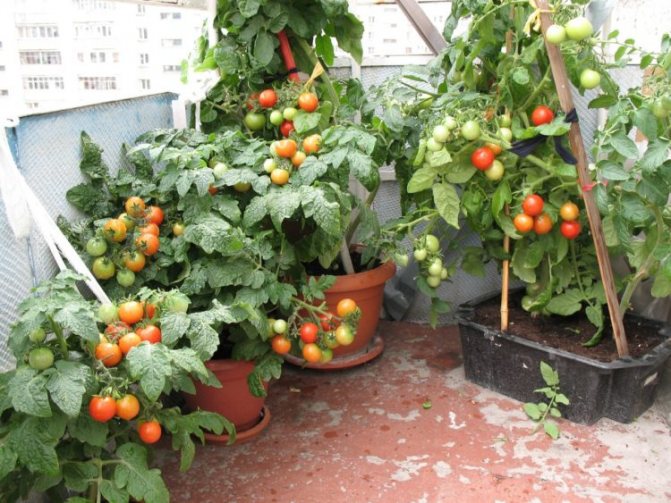
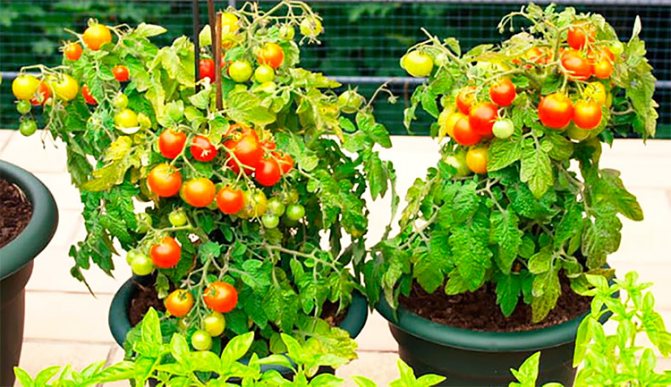
How to rationally place tomatoes on a loggia or balcony?
In most houses, the loggias have a very small area. The question arises, how to rationally use the premises in order to get the maximum yield? In addition, I want it to be cozy on the balcony and it would be possible to sit in the shade on a hot summer day and admire an impromptu corner of nature, because there is very little greenery in the city. You can equip a vegetable garden according to the following rules.
- Long narrow boxes of tomatoes are placed along the railings and walls around the perimeter of the balcony.
- Buckets with tall tomatoes are placed in the corners on the floor so that they do not obscure the rest of the plantings.
- Shelves are made along the walls and pots are placed on them in several tiers.
How to place tomatoes on the balcony correctly?
The alternation of bushes with tomatoes of different colors gives the garden an exotic look. You can plant herbs such as dill and basil between the tomatoes. They have insecticidal properties and ward off pests.
Diseases and pests
Tomatoes grown in closed containers are more often affected by fungal diseases than crops growing in open ground. To avoid this kind of ailments, the balcony should be regularly ventilated or, if possible, kept open around the clock, closing only in damp weather with a decrease in temperature.
Common diseases:
- Black leg - the root collar of the seedlings darkens, becomes thinner and decays.
- Anthracnose - a diseased plant withers, the root collar rots.
- Gray rot - round spots appear on green or ripe fruits, gradually increase and become watery.
- Brown rot - appears in the form of a brown spot around the stalk, the inner tissue of the fruit rots.
Balcony tomatoes can be affected by pests:
- Spider mite - sucks the juice from the leaves and braids them with a thin web, the plant dies.
- Whitefly - the insect sticks to the leaves, as a result of which they become covered with a black coating and dry up, the plant dies.
Important! To ward off pests, you can place pots of mint, oregano, or parsley next to the tomatoes.
Video: master class in 5 minutes - how to grow tomatoes on the balcony
Tags:
Share on social networks:
It will be interesting for you to read:
- The best varieties of garden strawberries and strawberries with descriptions and photos: remontant strawberries; how to grow and harvest correctly; beneficial features.
Useful properties of pumpkin. How to properly grow and store pumpkin at home. How to cook pumpkin deliciously: baked pumpkin; pumpkin cream soup; raw pumpkin salad; pumpkin porridge. The simplest pumpkin recipes with a description and video
The best varieties of apple trees with descriptions and photos: summer; autumn; winter. Features of planting an apple orchard
Secrets of growing large juicy garlic outdoors: a review of the best varieties with descriptions and photos. How to properly grow spring and winter garlic