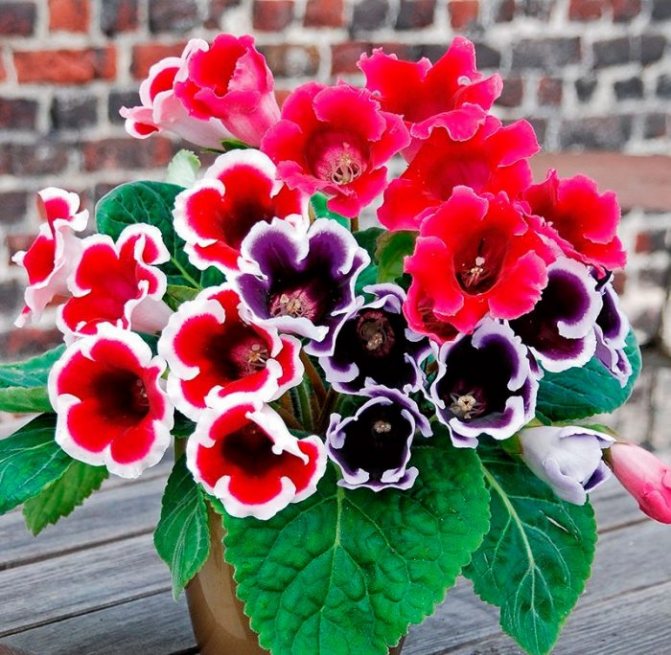
Gloxinia in the house - beautiful and unpretentious
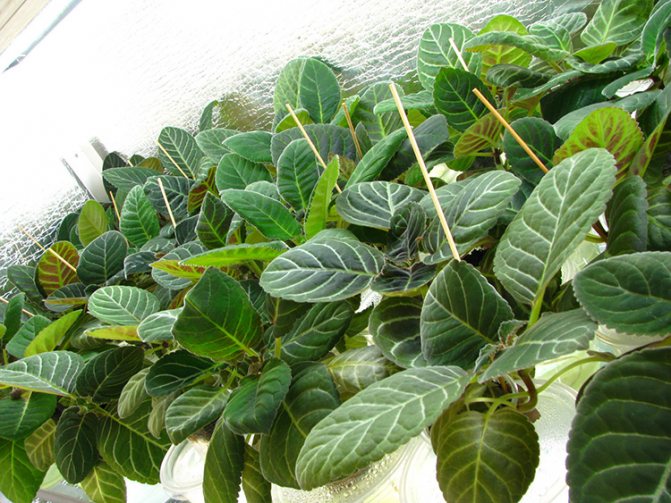
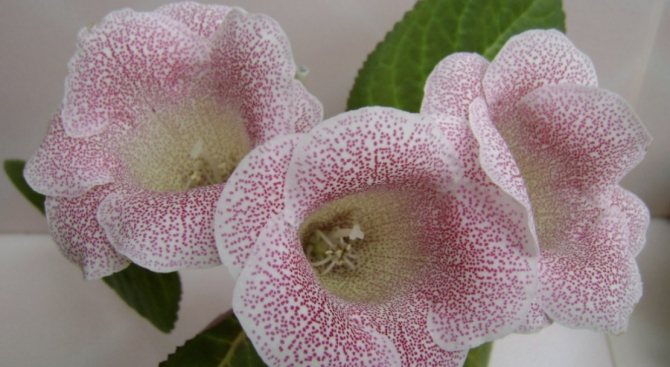
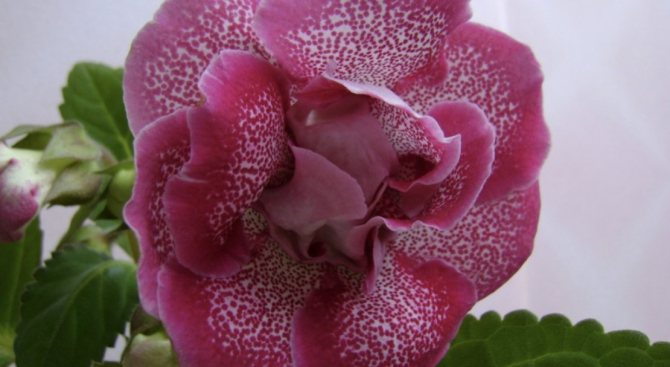
The delightful beauty and grace of gloxinia cannot leave indifferent even those who are far from growing flowers in the house. The variety of bright shades of bell-shaped, wavy edged flowers is amazing. This amazing plant is native to Brazil.
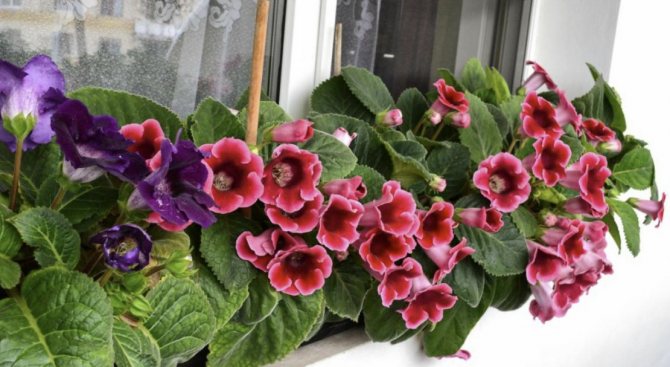
Domestic gloxinia is a breeding flower obtained by crossing plants of the genus Sinningia (Sinningia). Elegant gloxinia flowers adorn the interiors of offices, perfectly complement greenhouses, make a cozy atmosphere of a home environment, satisfy any aesthetic taste. The care and reproduction of gloxinia at home is extremely simple, you need to have a simple knowledge of the tastes and preferences of these plants.


How to care for gloxinia at home
Where to place?
Gloxinia, like all plants, loves sunlight. The best place to place a pot with a plant is a window that faces west and east.
On the northern windowsill, there will not be enough light for the plant, the flower buds may weaken, and the shoots with peduncles may stretch out. Leaves on the south window can get burned. So that there is no burn, they construct an artificial protection from bright sunlight from gauze, a tulle curtain, an openwork sheet of paper, etc.
How to water?
The plant loves a humid climate, in the range of 60-80% humidity. For gloxinia, an air temperature of 18 ° - 20 ° C is suitable. When humidifying the air and watering the plant it is important to follow these rules:
- in a dry room, you must additionally create a humid atmosphere by placing a container with water next to the gloxinia;
- do not spray the leaves and flowers, as water falling on the leaves and stem of the plant can cause decay;
- dust from the plant must be removed with a soft brush;
- before watering, it is imperative to check the soil layer on the surface, it must be dried, and not wet, since the plant does not like excessive watering;
- the water should settle and be slightly warmer than room temperature;
- you can water the soil, trying not to soak the plant, but rather pour water into the pan;
- it is necessary to reduce watering by the end of summer, and in November the plant is prepared for winter respite and watered much less often.
So that the plant blooms profusely
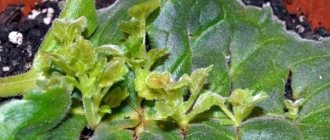
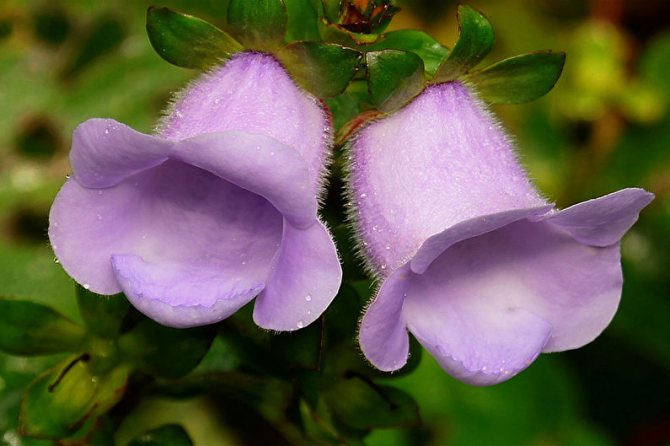
Gloxinia begins to bloom in early June and can, with good care, delight with its magnificent flowering until mid-autumn. After the leaves appear and the stems develop, the first buds appear. Be sure to feed the plant during this period with fertilizers containing phosphorus and potassium.
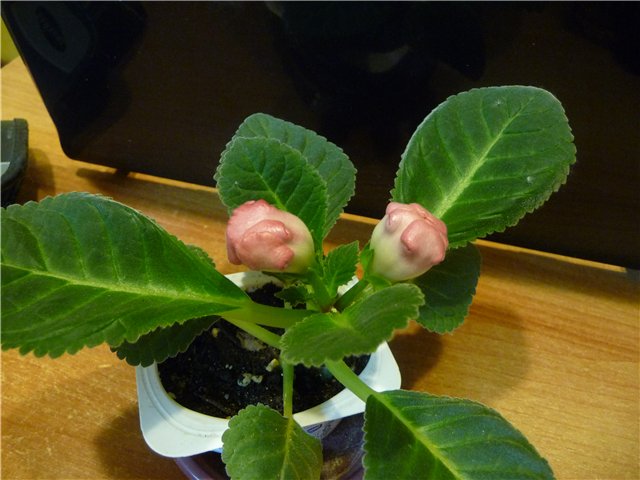
The first buds of holoxinia
If the plant does not bloom too late, you need to prepare it for the second flowering:
- the top of the outlet is cut off, 3-4 leaves are left at the bottom;
- new shoots appear on the cut outlet, the strongest of which need to be watered with water with fertilizers that stimulate growth - Uniflor "Growth";
- when new buds appear, the plant is watered with stimulants for flowering Uniflor "Bud" or Uniflor "Flower".
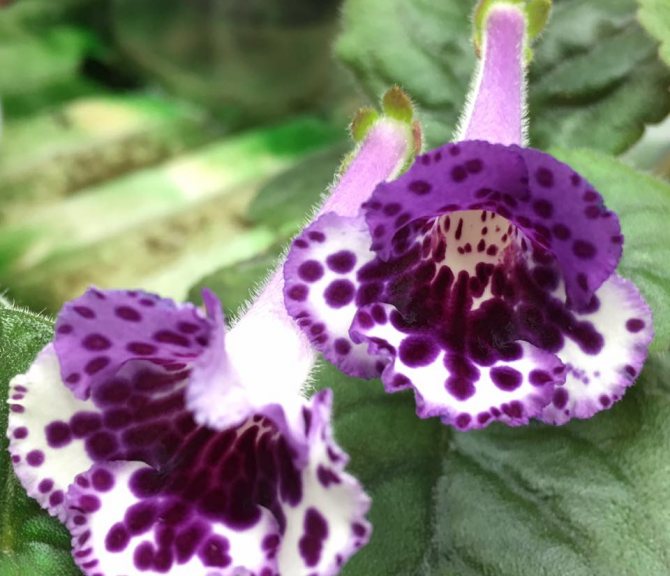
The second bloom occurs closer to autumn, the flowers on gloxinia are now not as bright and large as the primrose.
Cyclamen (alpine violet): species and reproduction.
Petunia - planting and care at home: read here.
Beautiful blooming indoor flower Azalea
Temperature regime
The first danger for gloxinia is excessive lighting, or rather, being in direct sunlight, but the list is not limited to this. The high temperature in the room is even more dangerous. Tuber germination after a dormant period should take place at a temperature of +25 ° C. After the first leaves have appeared, you need to reduce the indicators to +22 ° C degrees during the day and +18 ° C at night. It is possible not to lower the temperature, but then additional lighting is required. This is especially important if the windows face north.
During the growing season, the temperature should not fall below +18 ° C, otherwise the growth and development of plants will slow down. The optimum temperature for gloxinia is + 22 ... + 24 ° C. If the indicators are raised to +28 ° C and above, then the plant will have a period of stagnation, that is, growth will stop.
Reproduction of gloxinia by cuttings
Reproduction of gloxinia by cuttings happens apical and from tubers.
In the spring, when shoots appear on the tubers, grafting of gloxinia stems from tubers is carried out:
- shoots with leaves from the tubers must be separated, one left on the tuber;
- the stems are planted in loose soil;
- cover with a plastic glass, glass jar or piece of polyethylene.
Such cuttings can bloom in the summer, and the next year they will turn into a beautiful blooming gloxinia.
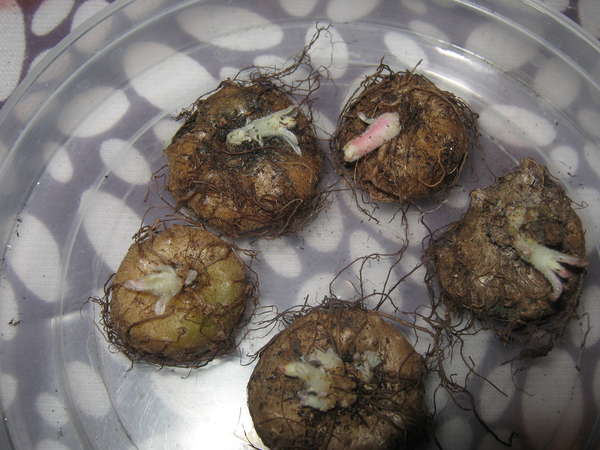
Sprouted gloxinia tubers
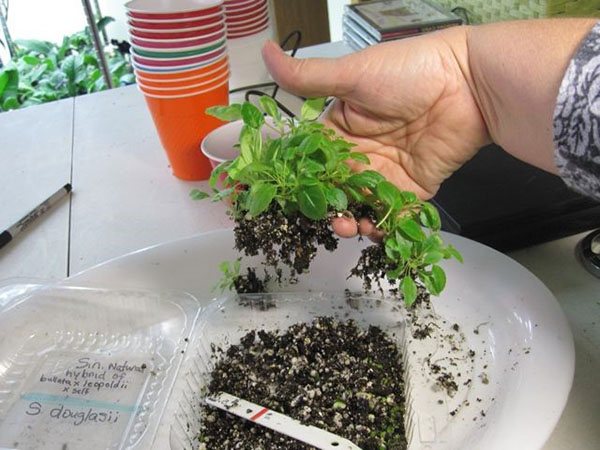
Apical propagation of cuttings is easier. Closer to winter, from a lack of sunlight, the stems of the plant stretch out. Plants reproduce from such stems:
- an elongated stem, which is also called a stepson, is cut off with a sharp blade;
- a long petiole is made shorter up to 2-3 cm;
- placed in a 100-gram glass with boiled water;
- put half a tablet of activated carbon into the water to prevent decay;
- the sprout is planted in the ground from peat and small pieces of foam, removing the lower excess leaves;
- a transparent bag is put on the plant on top, and the rooting stem is placed in a warm, illuminated place;
- occasionally the package is removed and the plant is ventilated;
- when roots appear, you can transplant the plant into a permanent pot.
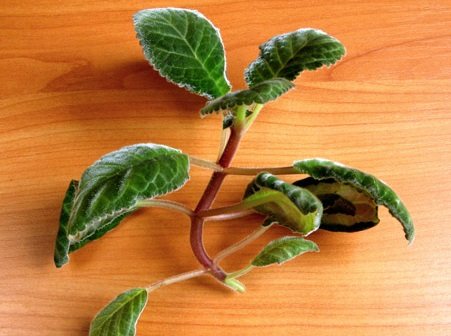
Apical stalk of gloxinia The following summer, the plant will finally form, and the flowers will bloom profusely.
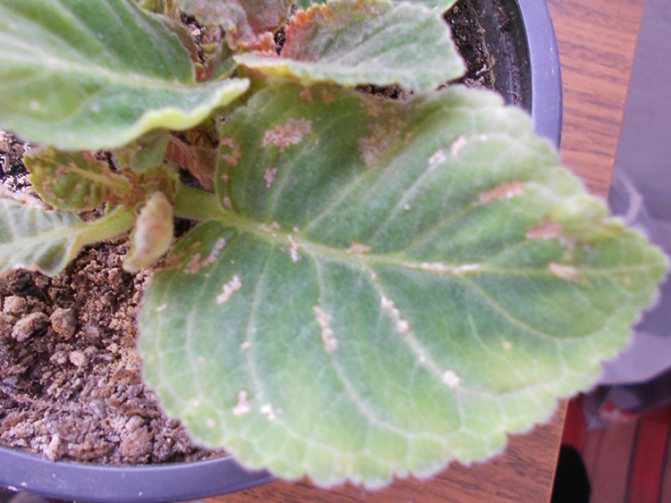
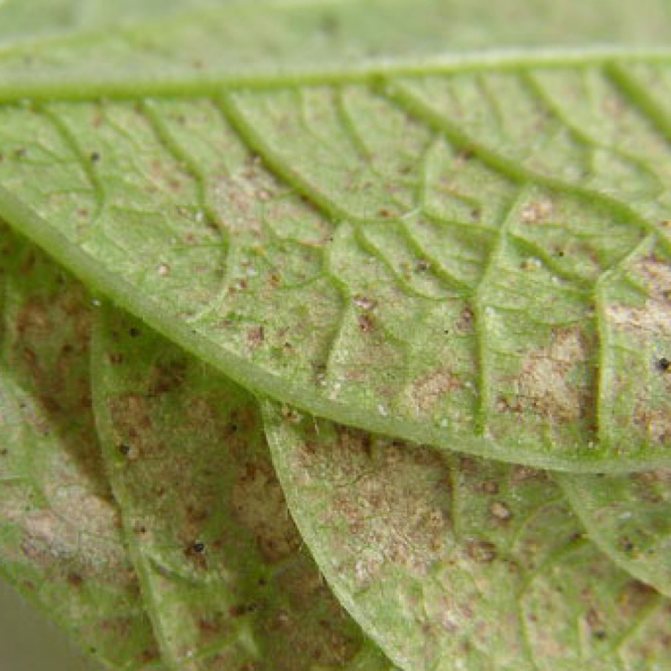
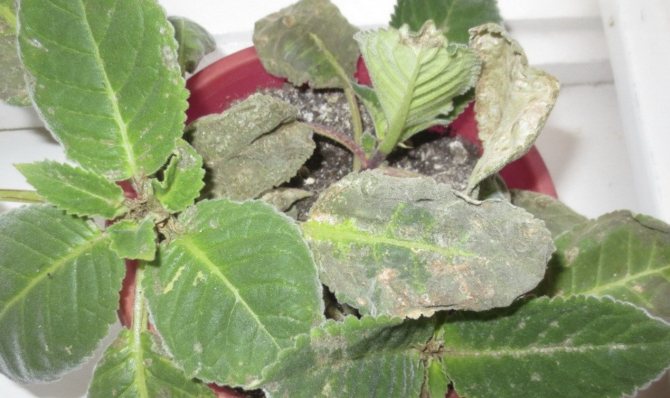
Diseases, pests and methods of dealing with them
Gloxinia is quite often affected by many infections and pests. The most common of these is the fungal disease late blight. The infection causes putrefactive lesions on the stem and leaves, which leads to the death of the flower. The disease is difficult to treat, therefore, thorough disinfection of the planting material and soil before the propagation of the plant will help to prevent the harmful effects. But if the infection managed to develop on gloxinia, the damaged parts must be carefully removed, and the plant, until healthy growth is restored, should be treated once every 10 days with a 1% solution of potassium permanganate or Bordeaux liquid.
Important! Measures to combat late blight are also effective in the elimination and prevention of other fungal infections.
Among the pests on gloxinia, you can often find thrips or parasitic mites. Developing on a green mass, they cause wilting, twisting of foliage and small shoots, which subsequently leads to the drying out of the entire aerial part of the flower. To eliminate parasites, the plant is treated with complex insecticides. The most effective of them are drugs "Aktara", "Aktellik", "Karate" and "Fitoverm".
Today we figured out in detail how to plant gloxinia and what is needed for its successful cultivation. Despite the fact that the flower is unpretentious and does not require painstaking care, it is important for it to create the correct light regime and watering: then the plant will not get sick often, and the duration of its flowering will increase significantly.
Growing gloxinia from seeds at home
Purchased gloxinia seeds can be planted immediately in the ground. True growers often prepare their own seed:
- for this you need to collect pollen from one flower and transfer it to the pistil of another;
- after the corolla wilts, a box with seeds is formed on the peduncle;
- maturation of seeds in the seed capsule occurs within 6-9 weeks;
- when the box begins to open, it is cut off and placed in a dry container;
- brown seeds are collected and sown into the soil from peat with the addition of charcoal and a small amount of vermiculite in shallow containers; it is not necessary to deepen and cover the seeds with earth;
- the best time for sowing seeds is early February;
- the soil for planting seeds must be sterilized in a freezer or microwave for about two days;
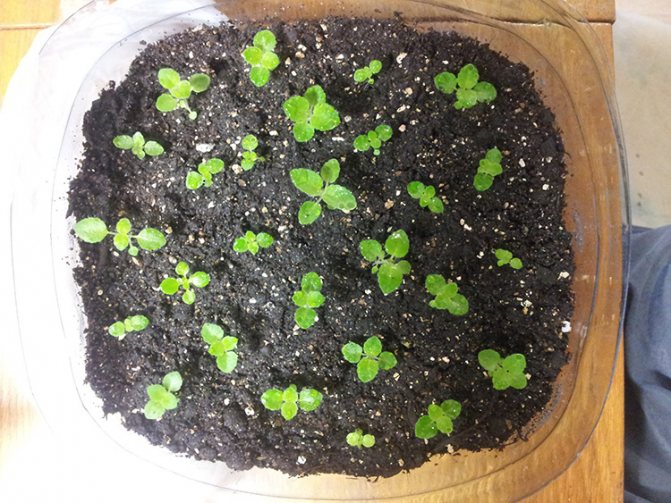
- Gloxinia sprouts obtained from seeds are transplanted into fresh soil, no more than 3 cm thick, and placed in a greenhouse illuminated by lamps or placed on a windowsill and covered with polyethylene;
- the temperature in the greenhouse must be at least 22 ° - 24 ° C;
- water from a spray bottle, trying not to wash out evenly planted seedlings;
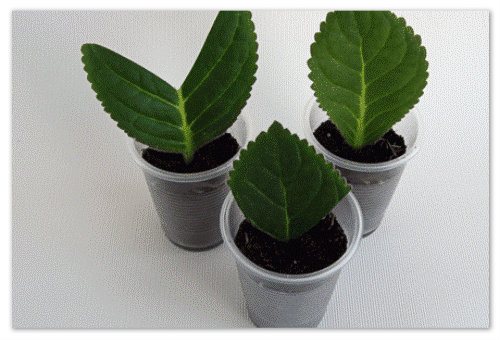
- the plants grow up, it becomes cramped for them, growth slows down, so it is important to pick from time to time;
- after 10 weeks, gloxinia bushes can be transplanted into pots.
Picking gloxinia seedlings After three months, if these rules are followed, the first buds will become a reward for flower growers.
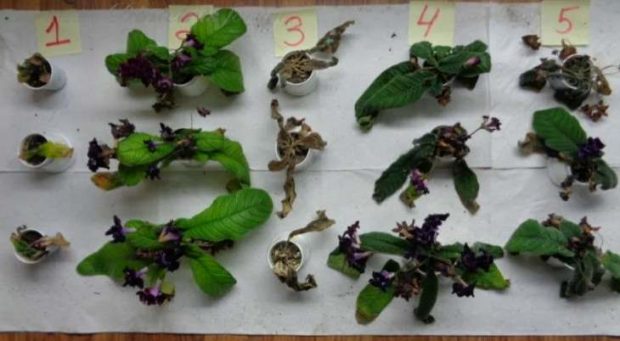
Possible feeding errors and their elimination
With an abundance of nitrogenous fertilizers, the growth of leaves increases, but the number and size of flower buds decreases. Tuber and cuttings may rot. Nitrogen deficiency makes the stems and leaves of gloxinia loose and susceptible to disease.
With a lack of phosphorus, flowering slows down. An excessive amount of the element in the soil leads to rapid but short-term flowering.
If there is not enough potassium in the soil, the edges of the leaves turn yellow and look like burnt ones.
In case of an excess of fertilizer, the plant must:
- transplant into new soil with the addition of peat;
- create conditions for optimal air temperature;
- provide moderate watering.
The next top dressing should be introduced no earlier than a month later.
An excess of fertilizer is more harmful than a deficiency.
Reproduction of gloxinia leaf
For reproduction of gloxinia in the house, a slightly wilted leaf of no more than 3-4 cm is best suited. It is better to take it during the period when buds appear on the plant.
Leaf propagation of gloxinia The leaf is placed in a glass of boiled water and, after the appearance of root shoots, is planted in light soil from humus earth and sand. In a bright, sunny place, tubers appear quickly, within a month.
Choosing a place
This is the first question that a florist asks himself when planting a gloxinia tuber. This plant is unusually light-requiring, but it is better not to put it in open sunlight. It is especially important to follow this rule during the flowering phase, otherwise the buds will quickly fade. East or west windows are best, but on a hot afternoon it is advisable to shade it from direct sunlight.
For normal development, the plant needs at least 12-14 hours of illumination, otherwise the plant is strongly stretched, which negatively affects the laying of buds. From here, we can deduce the first rule for those who want to grow beautiful gloxinia: planting a tuber should be accompanied by identifying the plant in the brightest place in the house. The brighter the lighting, the better an even, lush crown with a large number of buds will form.
Gloxinia has faded - care for gloxinia after flowering
In autumn, gloxinia fades, the leaves begin to turn yellow and dry. The plant is preparing for wintering. How to help gloxinia get a good rest and get through the winter?
- The plant must be cut off along with the leaves and leave a part of the stem with tubers in the size of 1-2 cm;
- pour wet sand into a container, place a stump with tubers there and put it in the vegetable section of the refrigerator, in this case you can not worry about watering before transplanting;
- you can leave the plant in pots in a room with a temperature of 12 ° - 15 ° C, previously covered with plastic wrap, under the bathroom, by the balcony;
- watering the tubers from drying out with a small amount of water should be no more than 2 times a month;
- in January, prepare a nutritious soil and transplant the plant.
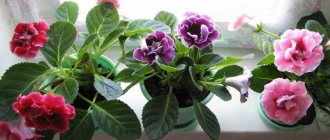
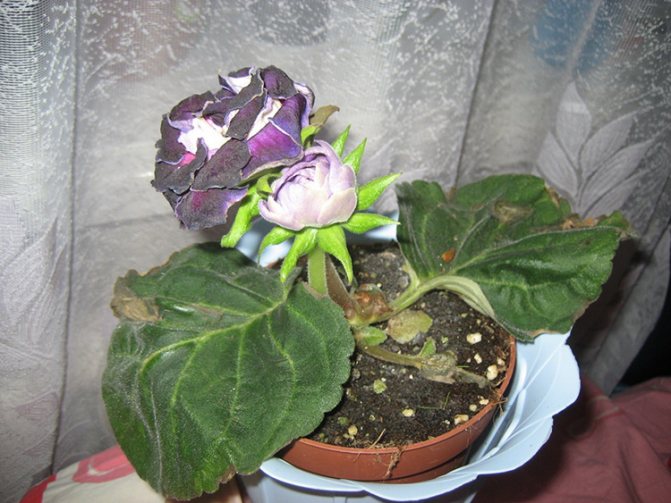
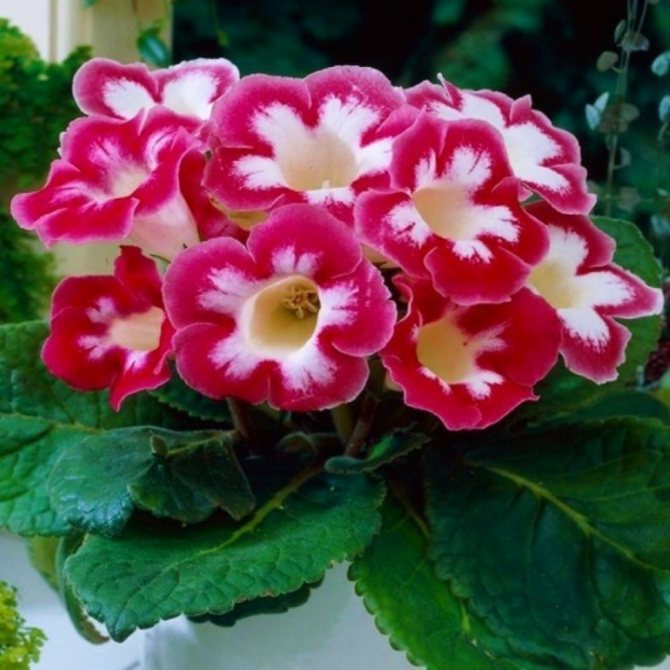
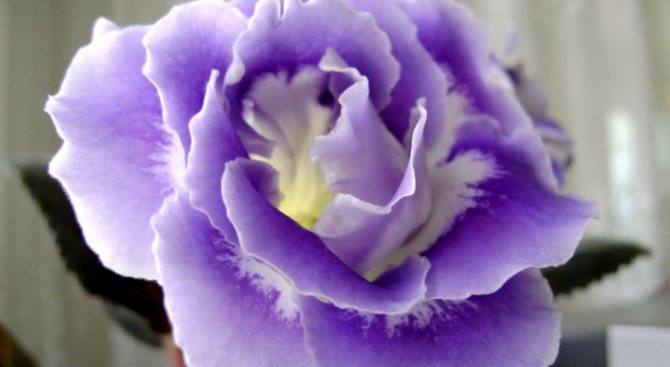
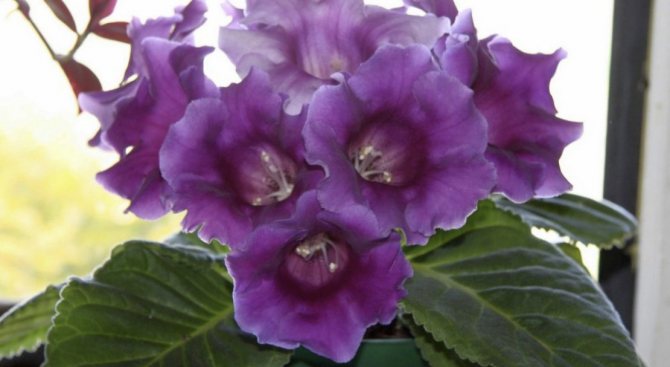
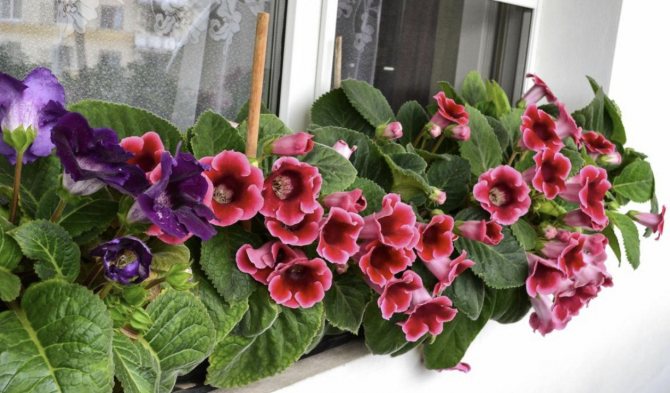
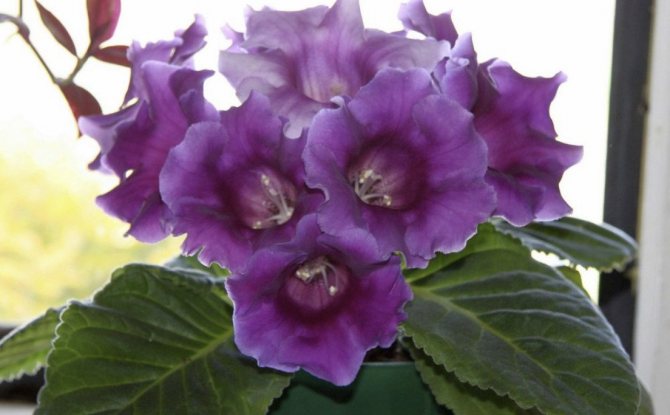
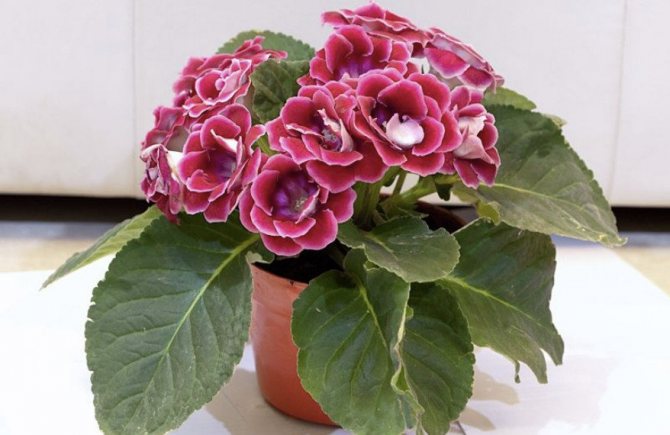
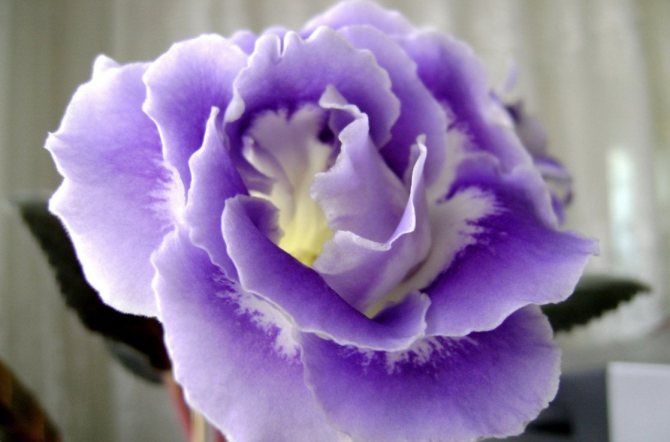
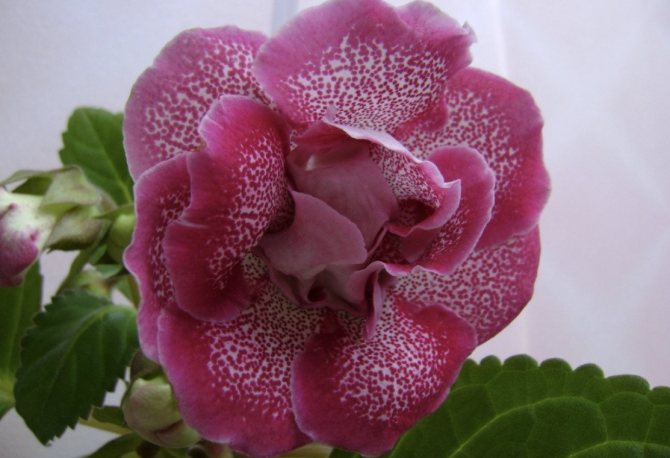
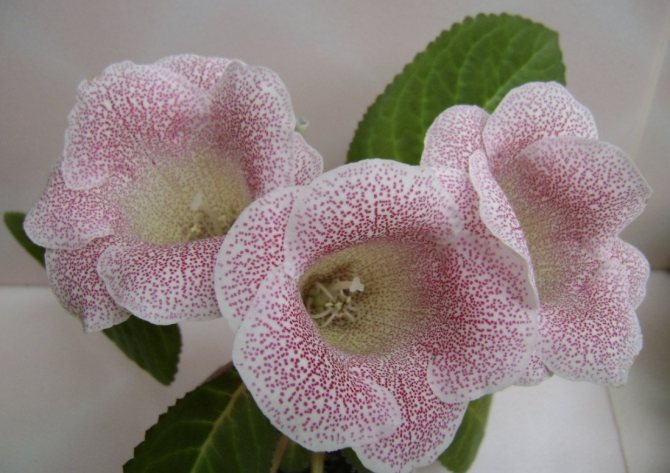
If the growers follow the simple rules of care and reproduction, gloxinia will give them the flowering of enchanting petals of red, burgundy, white, purple or two-color and three-color petals, with graceful edging, smooth, velvety and terry, with fanciful edges of royal colors.
Watch a video about growing gloxinia from seeds:
Useful articles:
Transplant rules
When to transplant Gloxinia? The best time is the beginning of spring, when the plant passes from dormancy to vegetation. In the flower shop, they buy a soil mixture that is designed for begonias or violets - its composition fully meets the needs of Gloxinia. Gloxinia soil can also be prepared from available raw materials. For it you need 1: 2 sand or humus and soil.
How to transplant gloxinia into another pot:
- a drainage layer is laid on the bottom of a container larger than the previous one;
- a layer of soil is laid out;
- the tubers, together with a small earthen lump, are uprooted from the old container and carefully transferred to a new pot;
- fresh soil is sprinkled on top, which must be gently tamped.
As a result of transplanting, the tubers of the ornamental plant should be half buried. The initial landing is carried out in the same way.