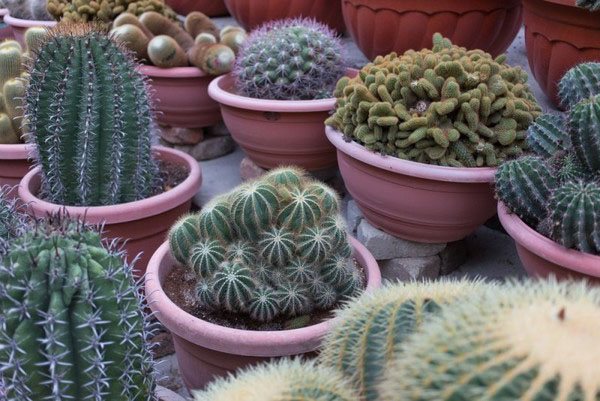
Cacti are widespread houseplants with an unusual shape and appearance. But how to transplant a cactus correctly? This question is asked by many who do not have sufficient experience in caring for representatives of this family. A competently performed transplantation procedure is a guarantee that the flower will grow and develop successfully. This is also a guarantee that buds will even appear on it in the future.
Cacti belong to the succulent family. Despite the fact that they do not require special care and are quite unpretentious, you should clearly know how to transplant cacti so that the plant does not die after that. Particularly noteworthy are those copies that were purchased in a flower shop.
Transplanting a cactus at home: subtleties and necessity
In most cases, in the homes of florists, there are cacti from the genus Mammillaria, or Ripsalidopsis, that is, an ordinary Christmas tree. Transplanting these species at home during flowering is slightly different, but in general it requires one thing: a special substrate with normal acidity, drainage, and a properly selected pot. Do-it-yourself transplantation of a purchased mammillaria begins with the preparation of a pot, which should be narrow and deep. A layer of expanded clay is placed at its bottom, which serves as a drain. After that, a substrate of leafy, soddy soil is poured into the pot and a little sand is added. You can add charcoal to the soil for looseness. After transplanting, the cactus is not watered for 3 days.
When transplanting an Easter cactus at home, a fairly voluminous pot is used, but not deep. For planting, you will need fertile, slightly acidic and crumbly soil. A ready-made mixture for planting can be purchased in a store, or made independently, where there is leafy earth, crushed sphagnum moss, perlite, peat. Also, for transplanting this cactus, a substrate for mammillaria is suitable. Before carrying out work, the soil for the cactus is steamed in a microwave oven. You can find out how to care for a cactus at home here.
Common growing questions
- pull it out with tweezers or a sewing needle and pour over with peroxide. It is not necessary to squeeze the skin, otherwise the thorn will penetrate deeper;
- apply a bandage with ichthyol ointment or Vishnevsky's ointment overnight, and then effortlessly get a thorn;
- remove the splinter with a glued adhesive plaster.
Competent transplantation of cacti will be the key to their health and beauty. There are a lot of representatives of the family, they are all different and require appropriate approaches. But even in indoor conditions, these exotic plants can be transplanted without problems (including without injections).
It is believed that caring for cacti is practically minimal. Of course, when you compare them to the more capricious houseplants, the difference is obvious. But even in this simple matter there are some "pitfalls" that you must be aware of. A cactus, which is properly looked after, lives for more than a dozen years. But in reality, few plants really last that long. Here it is necessary to competently carry out all stages of care.The transplant deserves special attention - this is a kind of basis on which the further well-being of the plant depends.
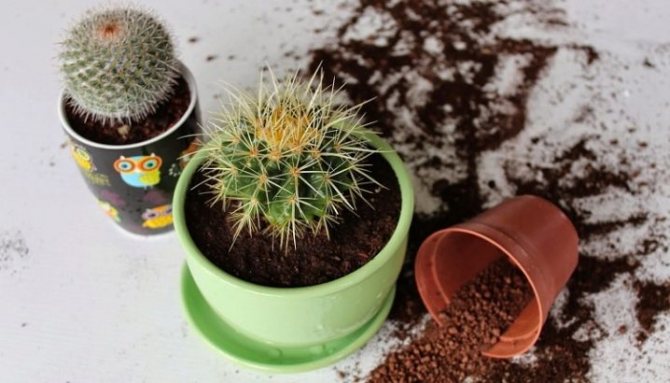
Pot and soil selection
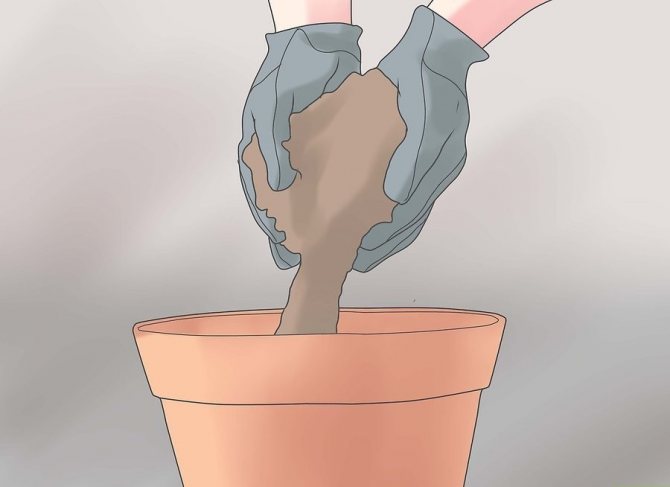
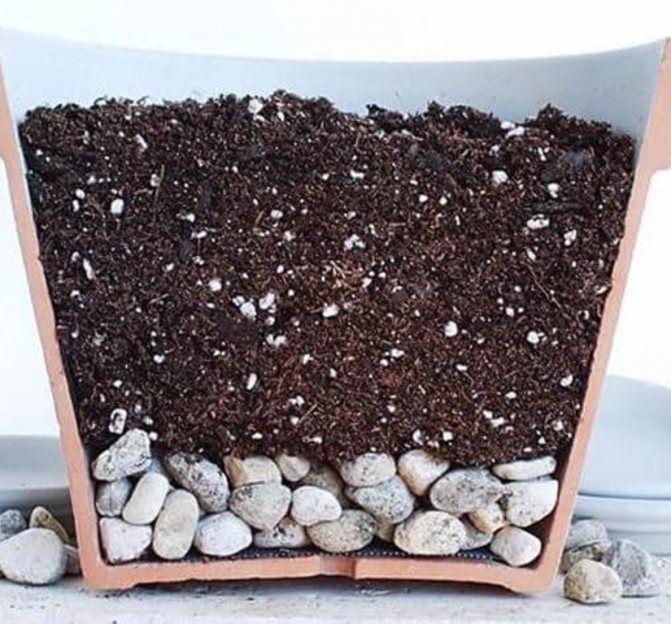
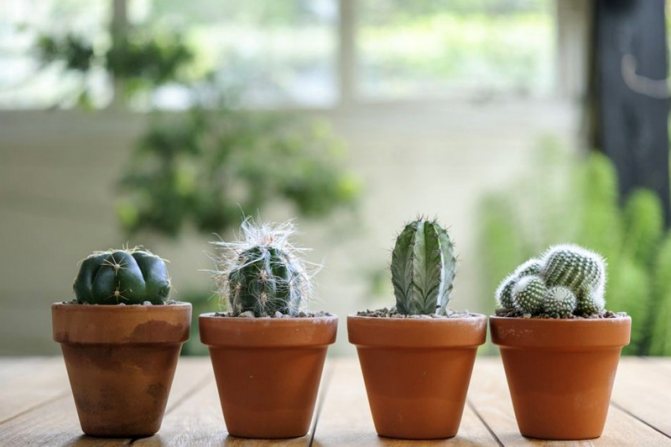
For transplanting cacti at home, so that they bloom, more preference is given to clay pots at a low price. This material allows air to pass through, absorbs moisture, which provides more oxygen to the roots. There should be sufficient drainage holes at the bottom of the planting tank to prevent stagnant water. Also, standard plastic pots are suitable for transplanting succulents to update them. The size of the dishes is selected taking into account the root system of the plant. If the root is fibrous, then a low and wide enough flowerpot will do. For cacti with a long, powerful root, tall, narrow pots are selected.
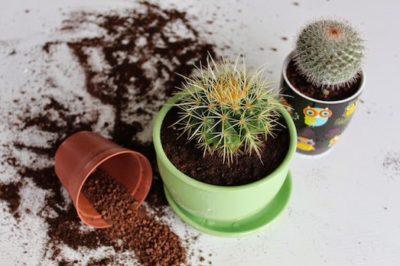
With each transplant, the diameter of the new dishes becomes larger, by about 3 cm. The soil for planting can be purchased in the store, or you can make it yourself. The substrate for the home blossfeld cactus includes: two parts of coniferous humus, part of wood ash, part of sod land and part of small stones. A layer of expanded clay is placed at the bottom, which acts as a drainage. The prepared soil is placed in an oven for steaming. These actions will help destroy harmful microorganisms that can damage the roots of the plant.
Capacity
You should always transplant a succulent into a pot 1-2 cm larger than the previous one.... Do not forget about the presence of drainage holes, and there should be at least 4 of them, as well as about the type of root system of the selected plant, on which the shape of the pot will depend (for tap or turnip roots, deep pots are needed, and for fibrous ones - wide ones).
The opposite situation is possible, when the pot is too large for the cactus, then when transplanting it will be necessary to place the cactus in a smaller container. Read more about choosing a pot for this plant here.
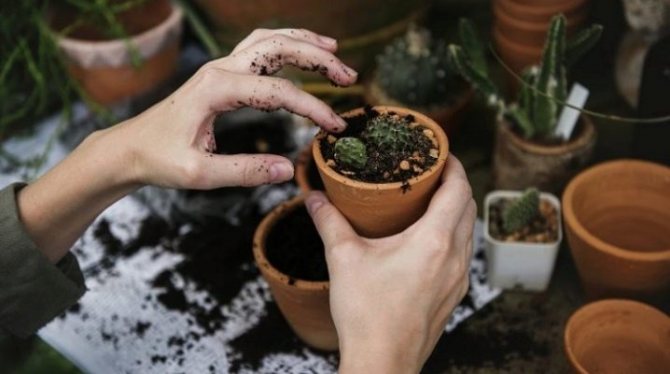
Preparing a cactus for transplant
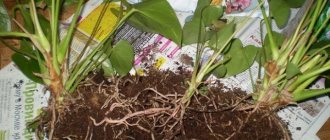
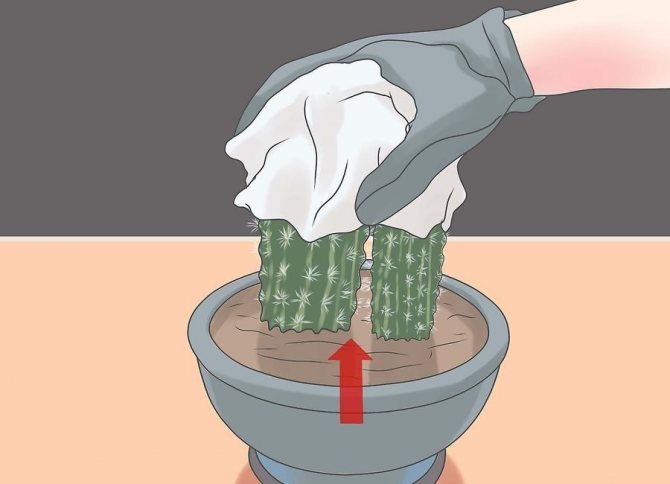
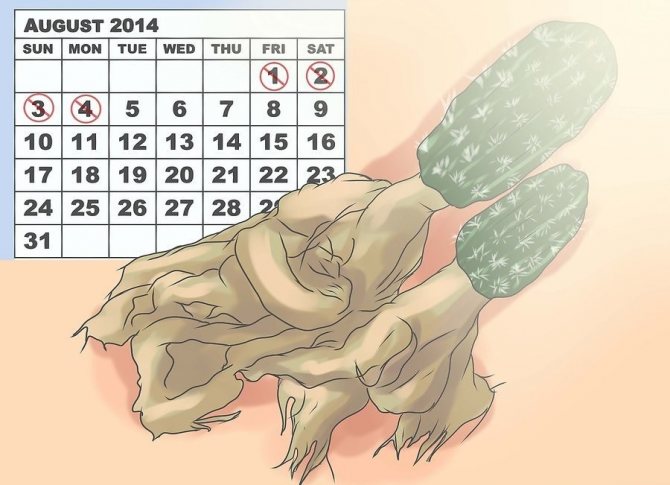
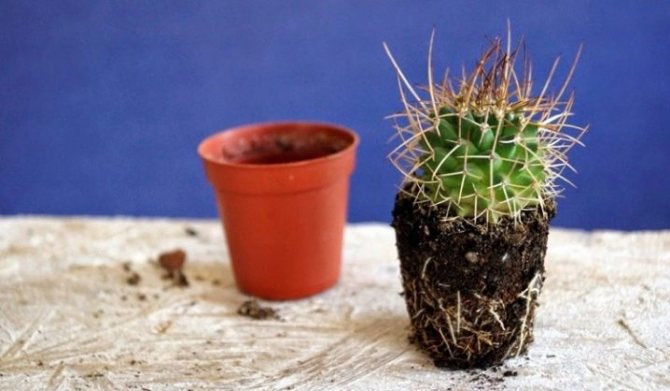
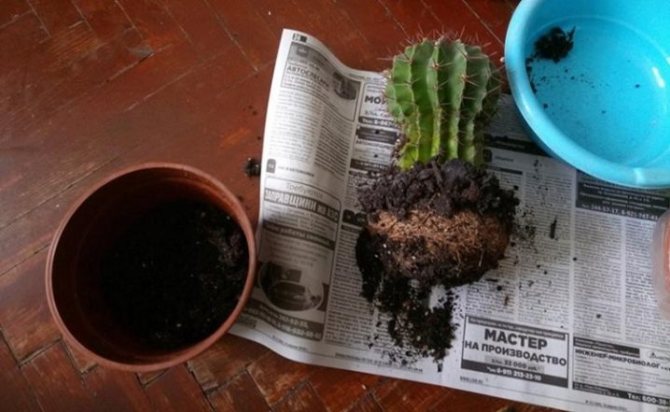
Before transplanting a home cactus, they stop watering it three days before the procedure. During this time, the earth will dry out enough, so it will easily shake off the roots. First, you should remove the top layer of the earth and gently turn over the Schlumberger cactus, for which you can wrap it in a rag so as not to be pricked by needles. It is impossible to remove the cactus by force from the pot, as its young roots will be damaged. If, after the purchase, the white cactus was planted in loose, light soil, then, by acceptance, its further transplantation will take place without much effort.
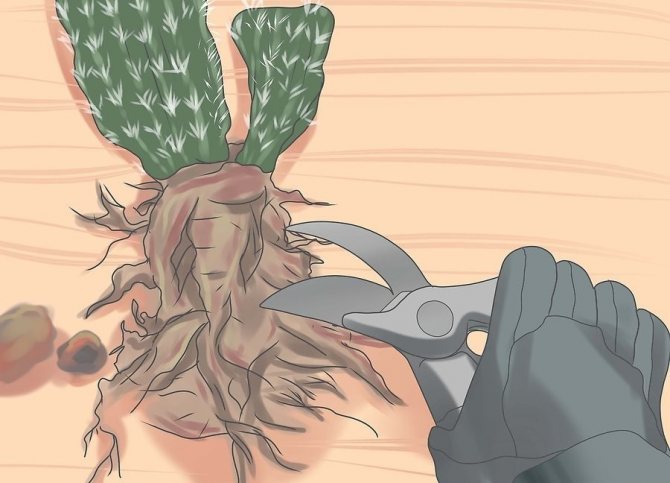
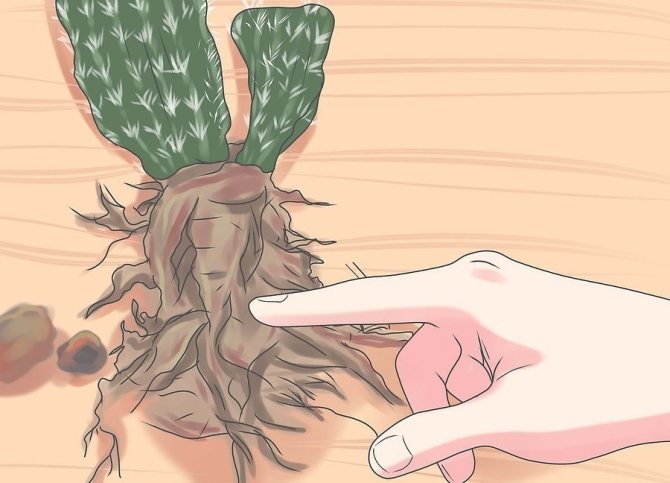
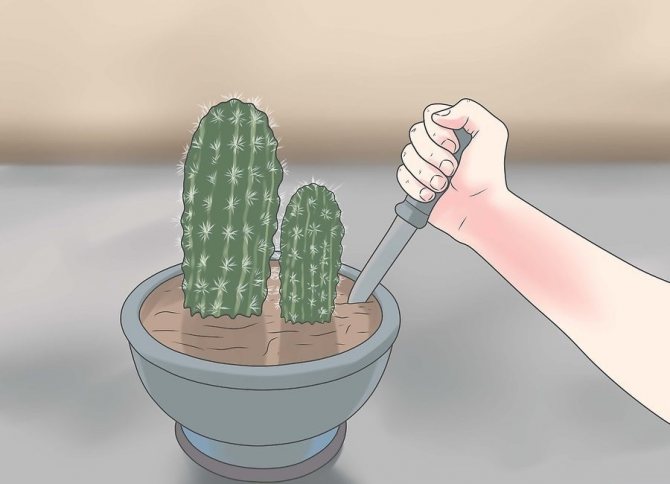
If the soil or soil is dense, then in order to eliminate damage to the roots, it can be immersed together with the pot in warm water and wait until it softens. Next, the cactus roots with needles are carefully washed with water and dried, usually it takes no more than 10 hours to dry. When the roots are clean and dried, they are examined for rot and pest damage. The root collar of the cactus must be healthy and clean. If rotting roots are found, then they are removed with a sharp knife. All tools for work are treated with alcohol. Sulfur powder is sprinkled on all places of the cuts.
The transplant process is presented step by step below:
- Large cactus. When replanting a large cactus, the new pot should be the same shape but slightly larger in diameter. The cactus itself is wrapped in thick foam rubber, or you can use packaging film with air chambers. These measures will help to pull the plant out of the pot without breaking needles or getting hurt. During transplanting, the roots of the cactus are located at the bottom of the pot, but not on one side. Immediately after transplanting, the flower should not be exposed to direct sunlight. Watering a large cactus after transplanting begins in two weeks. This time is enough for him to adapt. More details on the transplantation process can be found on photo and video materials on special forums.
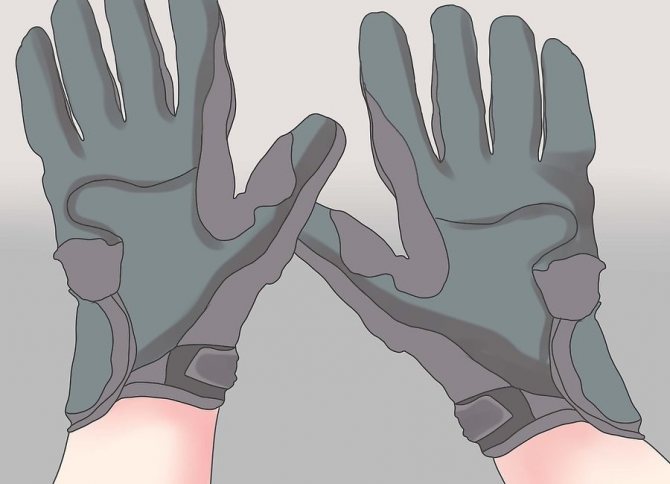
- Small. Miniature succulents at home are transplanted into new calcareous soil.Quite often, small domestic cactus species lack nutrients, so they stretch out and may not survive the winter. To prevent this from happening, they are transplanted into the same pot, but with new soil, and watered. Used for work: wrapping paper, tweezers, gloves.
- No roots. When you need to separate and transplant a cut cactus without roots into another pot, then planting it at home is similar with the shoots. That is, the damaged area of the cactus is cut off with a sharp knife and placed in a dark place to dry. If children of a plant without roots are transplanted, then after separation they are placed immediately into the soil. For planting, fertile soil is used, steamed in a microwave oven.
- Flower after purchase. A cactus mix, bought in a greenhouse or store, must be immediately separated and transplanted into new soil in another pot. It is better to choose a place for a plant from a store without direct sunlight, and then gradually take it out into the sun.
- Tall. A long, very powerful cactus requires a fairly wide and deep pot, which will provide reliable support and will not allow the plant to overturn. Immediately after transplanting a cactus in November, you can use supports for it, and after rooting, the plants are removed. Wooden sticks and other improvised means that you can make yourself are used as a support.
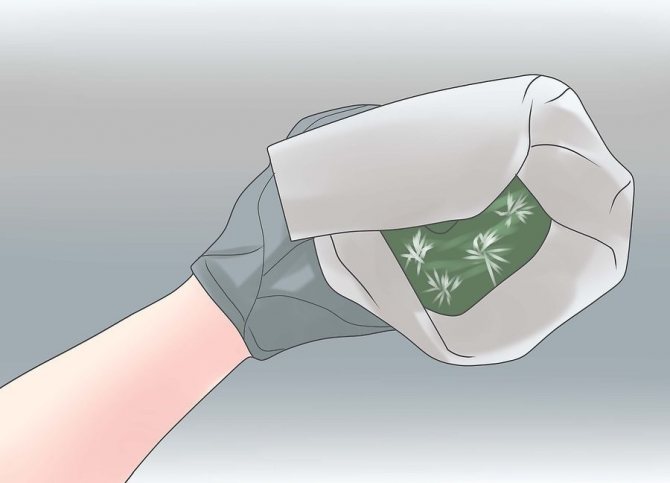
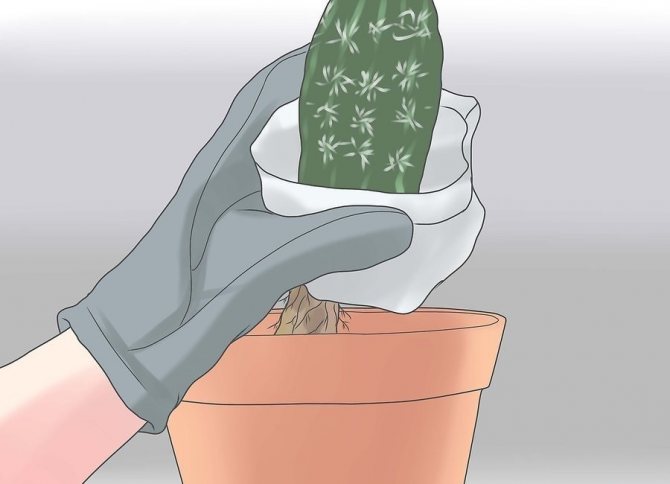
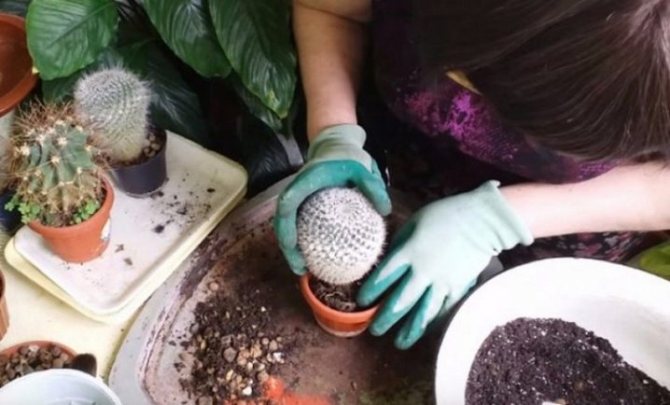
- Barbed. When you need to root, divide and transplant a cactus with a huge number of powerful thorns into another pot, then usually it is wrapped with a rag in several layers. Next, the prickly cactus is carefully removed from the pot and shaken off of the old soil. All roots should be inspected for rot, damage and pests. After work, the rag is carefully removed so as not to break the thorns and not prick.
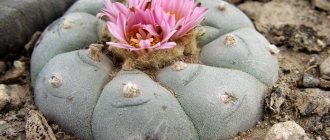
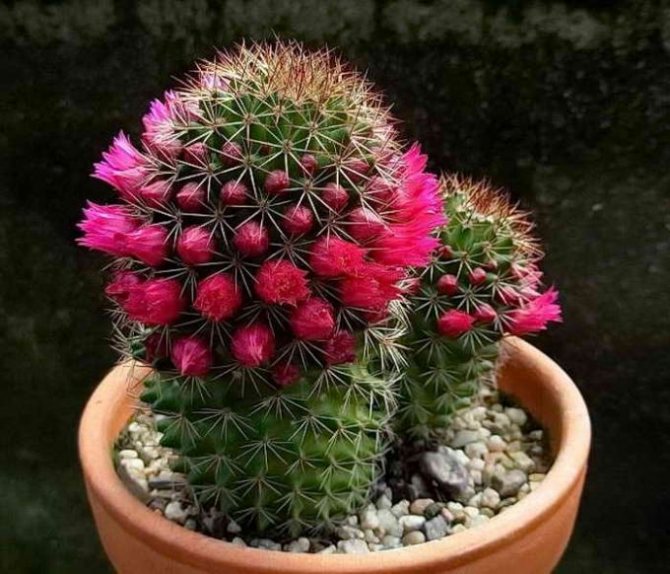
- Flowering. It is advisable not to transplant a cactus during flowering at home, otherwise the buds of the plant will instantly wither or disappear. But in case of unforeseen situations due to damage to the pot or its absence, the transplant is still carried out. In this state, the earthy clod and roots are not touched at all, that is, the earth is carefully separated from the pot with a knife and removed. The cactus, along with the roots and soil, is placed in a larger pot, filling the empty space with soil.

After the purchase
What to do with a store-bought cactus? It must be transplanted immediately after purchase. Store-bought succulents "feed" only with nutrient solutions, so the plant is no longer able to receive nutrients from the soil on its own, a quick transplant allows the plant to adapt to the new environment. To transplant a purchased cactus you need:
- first get it out of the pot;
- completely remove the soil from the roots;
- check for parasites or rot;
- only then plant in a new place.
Further care of the plant
When transplanting a home cactus into another pot is completed, it should not be watered for 5-14 days, depending on the plant variety.
It usually stays in a dry substrate for 1-2 weeks. The miniature succulents are covered with a glass jar to prevent dehydration and provide the plant with the right moisture. After the flower has begun to grow and the adaptation period has passed, the jar is removed and watering begins. After transplanting, you cannot wipe the Ripsalidopsis cactus with a damp cloth, remove it from the ground again and place it in direct sunlight. What to do if echinocactus becomes soft after transplantation from above and below?
After transplanting, the cactus is placed on a windowsill, where there will be partial shade for at least one month. If a large, tall cactus is transplanted, then it needs to provide support that will hold the plant for the first 1-2 months. This time is enough for the flower to give new, young roots and become more stable in the pot. After two months, the cactus is returned to its permanent place, where there can be direct sunlight.However, the cactus is gradually accustomed to the sun after transplantation.
How to transplant a cactus shoot?
After separating the top of the process from an adult cactus, you need to adhere to certain rules that will help it adapt to the new conditions at home.
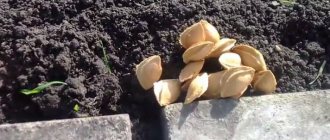
For example, it is forbidden to immediately plant it in another pot. First, the broken or cut off appendage is placed on a clean sheet of paper and placed in a dark place where it will dry out a little. If there is a large cut on the shoot, then it may take about 2 weeks before planting. This measure is important, as it prevents the formation of rot. After the cutting site has tightened, you can root the young cactus.
When the process was not cut off, but fell off the pink cactus on its own, it is planted immediately into the ground, since at the site of separation there is a natural bone callus with the buds of young roots. Young plants are transplanted into small pots, in which the roots and the cactus itself will develop. A drainage layer is placed at the bottom of the pot. The soil for planting is selected loose, with the addition of peat and sand. It is advisable to buy a ready-made substrate and soil mixture for cacti. The shoot is placed on the surface of the moist soil, without dropping it. How to process the cut so that it does not start to rot at the base?
To maintain the moisture of the earth, sprinkle it on top with crumbs of small stones. Water the plant carefully before rooting so as not to damage it. After 1-2 weeks, the shoot gives young roots that fill the entire earthen ball. After a period of adaptation, the cactus is looked after according to the standard scheme. Some varieties of cactus grow well when placed in a sand pot prior to root formation. After 1-2 months, the young plant is transplanted into the ground. Therefore, plant transplanting may depend on its variety. There is also a lot of useful information in the article: What are the best violet pots?