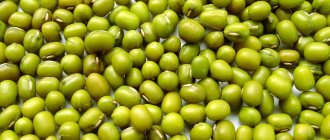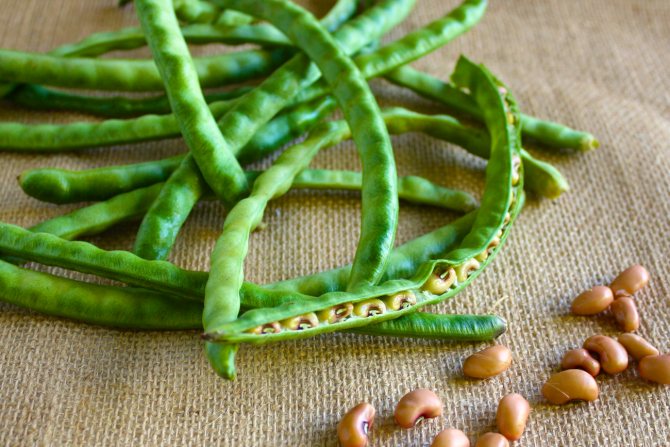
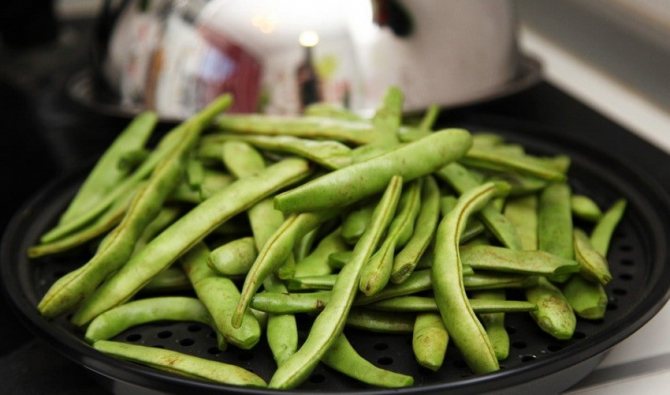
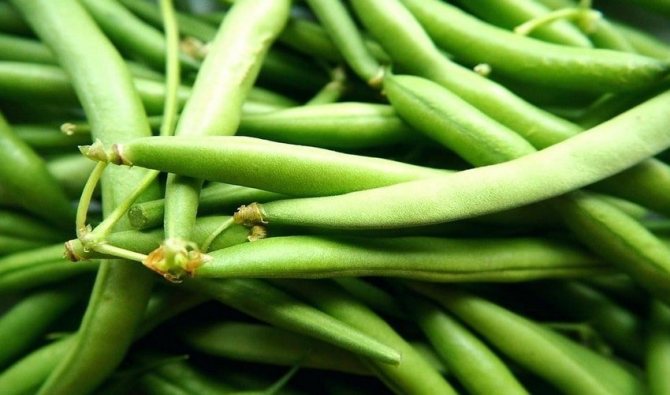
How do asparagus beans differ from green beans?
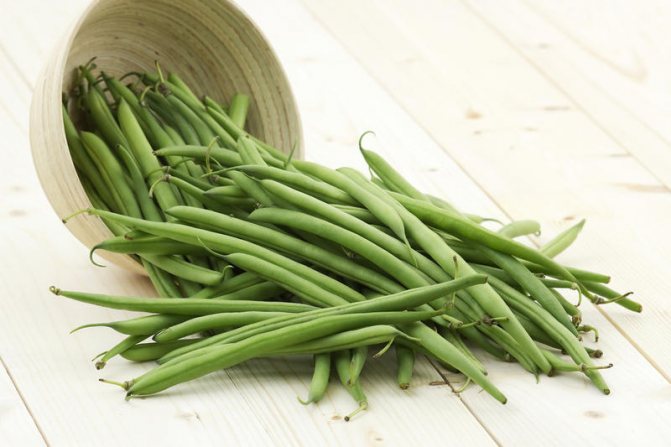
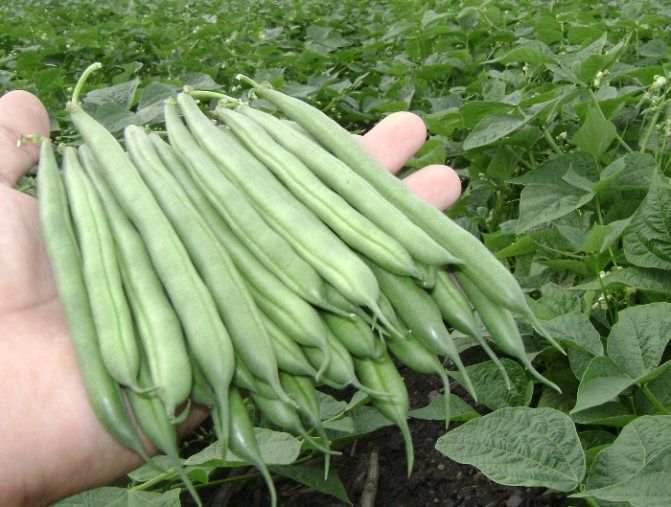
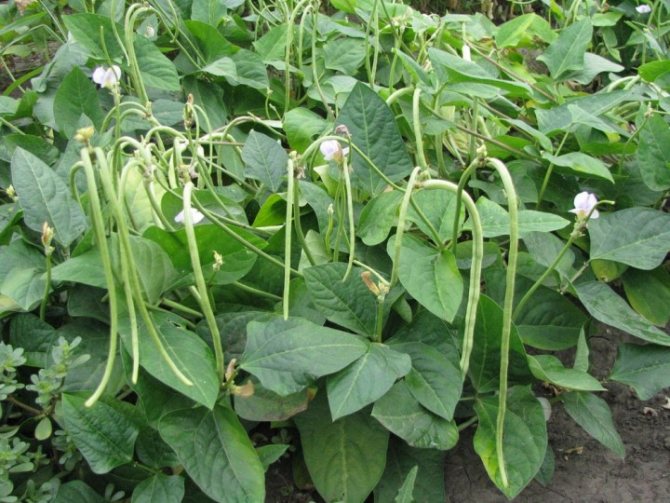
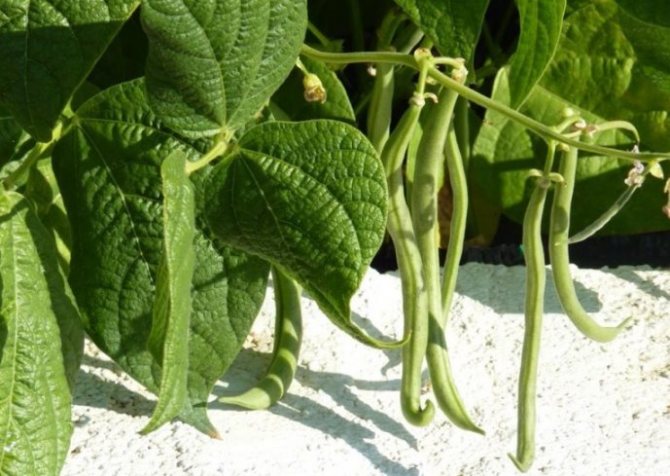
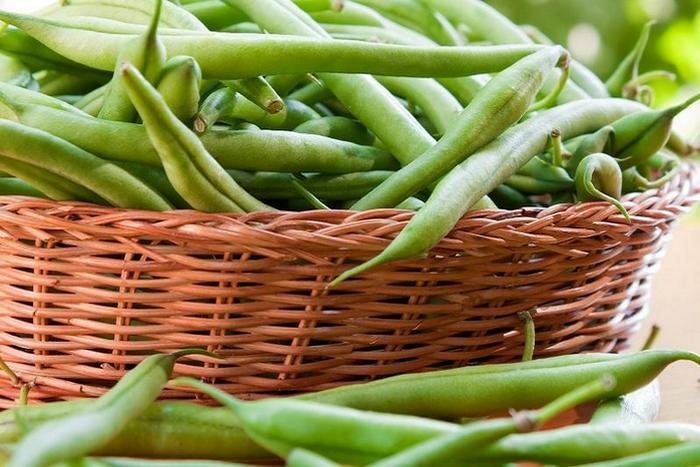
The asparagus variety differs from the familiar bean in that it has long, thin pods that are usually harvested green. Beans are used together with the shutters, which do not have a hard inner film and fiber. Ripe seeds are tougher; when cooking, they are soaked and boiled longer.

Most popular varieties
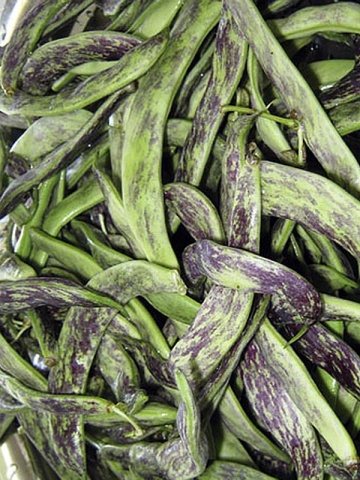
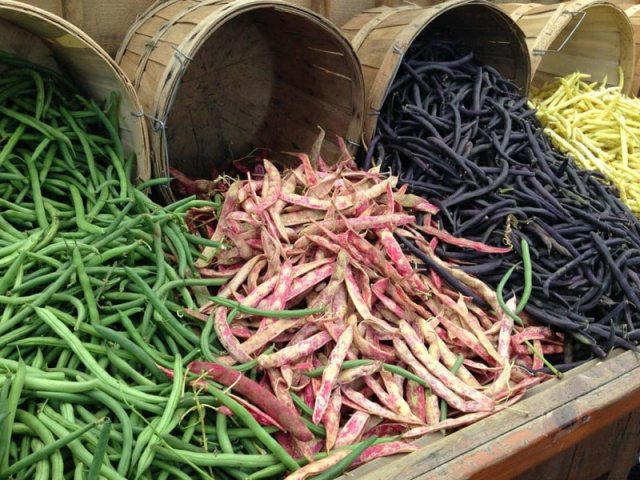
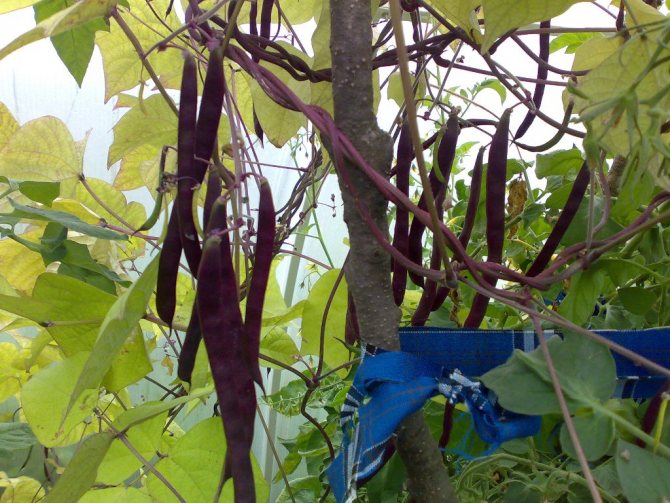
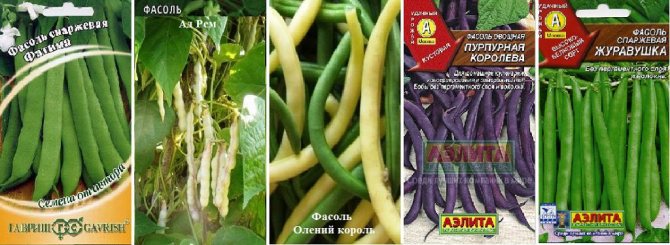
There are many varieties of asparagus beans. Among them are bush, curly, semi-curly. The varieties also differ in terms of ripening (from 45 to 130 days after sowing). Flowers and fruits of beans of various colors and shades. This allows the culture to be used to decorate plots. We present the best, well-proven, high-yield varieties of beans.
Turk
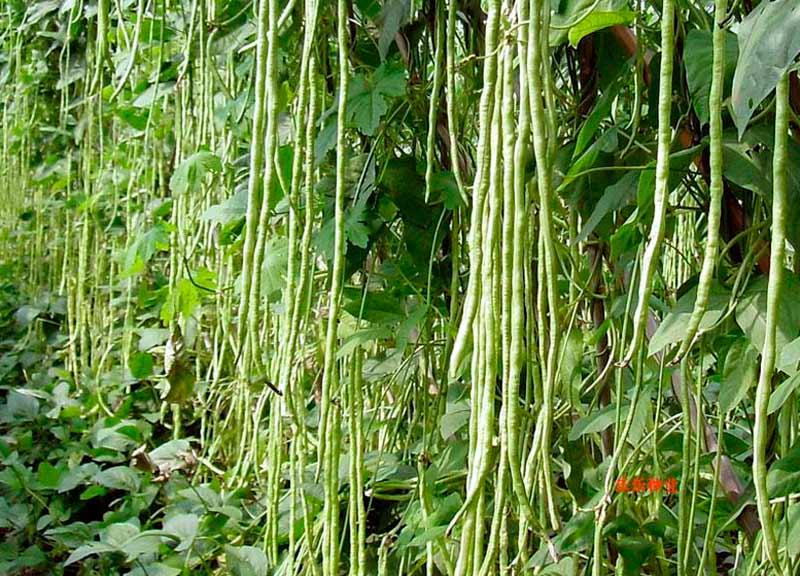
Curly asparagus bean. Vines can grow up to 3 meters. The foliage is lush, green. Having planted a plant near the wall, hedges, they create a lush, green decorative carpet that transforms the suburban area. Twenty-centimeter green, pink pods stand out effectively against the background of greenery.
Crane
A bush variety of early ripeness, up to half a meter high. The taste of green beans is distinguished by a pronounced shade of asparagus.
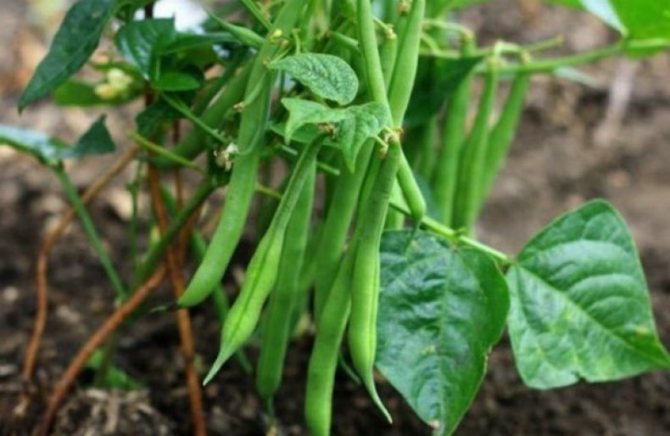
Oil king
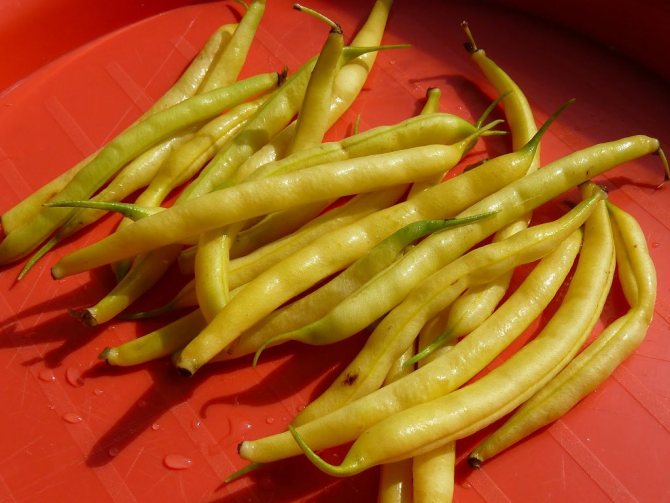
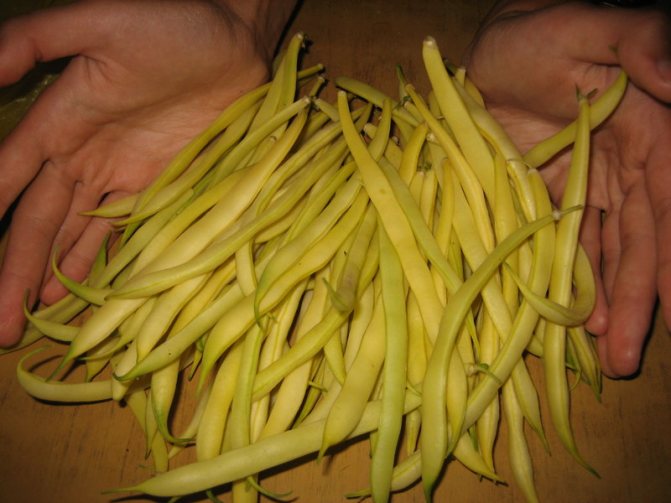
Refers to bush varieties of culture. The compact bush does not need support. It is distinguished by the color of long yellow pods with a fiberless structure and early ripeness. The crop can be harvested one and a half months after planting the seeds. Attracts gardeners with undemanding watering, drought resistance, increased resistance to infections. Recommended for canning.


Growing at home
It is easy to get a harvest of asparagus beans even in an apartment if there is no summer cottage. To do this, it is enough to make the correct bed on the balcony or on the windowsill, since the plant does not need additional lighting. Daylight is enough for him, so a window on the north side will do.
Bean sprouts
It is necessary to select a suitable soil rich in natural fertilizers. You can plant beans in cups, manure and peat are ideal. With proper care, the crop will yield a full harvest - up to 90 pods per week.

Beans on the windowsill
Asparagus beans or cowpea are tasty and healthy fruits, and the plant itself is pleasing to the eye. But its main advantage lies in its unpretentiousness for any suburban area. Curly and bush varieties not only add gastronomic sophistication to the table, but also decorate the exterior with proper care. Even a novice gardener can get a decent harvest.
Video - How to plant asparagus beans
Technology and scheme of planting in open ground
For planting beans, it is necessary to change the site every year, choosing areas after potatoes, tomatoes, carrots, eggplants, cabbage. Beans - undemanding to the soil, loves fertile soil, loose black soil, sandy loam soil. It develops poorly on clayey, acidic soils, too wet. On heavy soils, sand is added to improve the structure. In the northern regions, sandy areas are chosen that warm up more easily. Optimal conditions for growing a crop:
- Sunny, windless area with deep underground sources.
- The best temperature is 20-25 degrees. The cold cannot stand, even a simple cold snap can negatively affect the harvest.
- Moderate humidity, good drainage.
In the absence of appropriate conditions, it is recommended to grow crops in greenhouses.
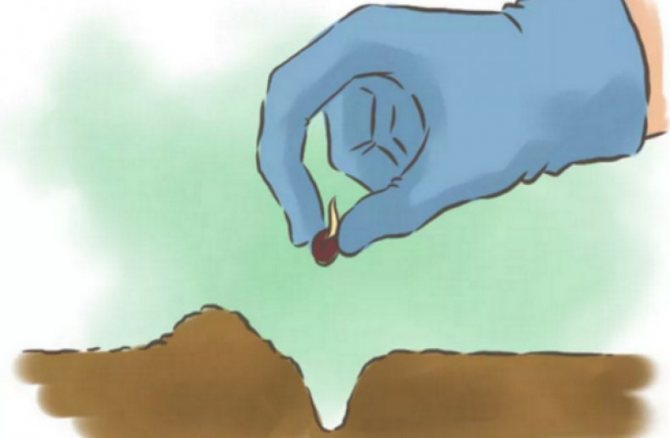
They dig up the ground for beans in the fall, bring in organic matter - 4-7 kg, superphosphate - 45 g, potassium salt -25 g per sq. meter, 100 g of dolomite flour (to normalize acidity). It is recommended to apply potash fertilizers before planting. Sowing the beans is done when the temperature is stable (a temperature of 12 ° C is required for germination). You can sow dry seeds into grooves spilled with warm water, rejecting old and small ones. For faster emergence, beans are pretreated:
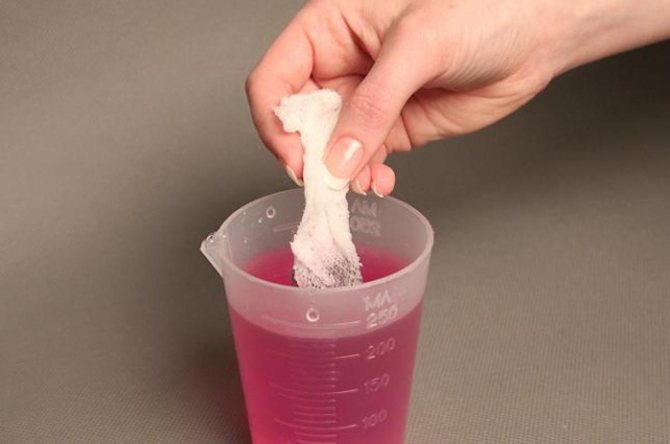
- They are soaked and disinfected by placing them in warm water with the addition of potassium permanganate overnight. The solution should be slightly pink.
- Germinate until small roots appear.
- They carry out prophylaxis against pests by placing them in a boric acid solution before planting.
Seed planting scheme:
- depth 4 - 6 cm,
- between plants 10 cm, climbing 35 cm (to install the support)
- in row spacing 30 cm.
- 3-4 beans are placed in one well.
Sprinkle with humus on top, cover with a film to accelerate germination.
Do not plant a culture next to garlic, onions, peas.

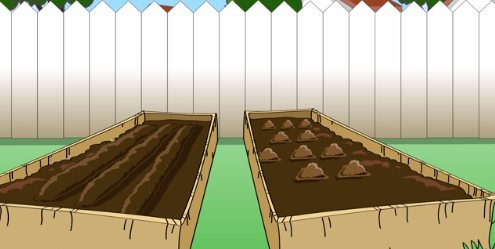
Garden bed preparation
Preparing the soil for planting these beans begins in the fall. The land is carefully cleared of weeds, dug up, and then, in order to create ideal conditions for planting a plant, they add to it for every square meter:
- 4 kg of humus;
- a spoonful of saltpeter;
- a spoonful of potassium chloride;
- a few tablespoons of dolomite flour;
- a spoonful of superphosphate.
In the spring, when preparing the soil for sowing, you need to dig up the ground again and fluff it with a rake. With increased soil viscosity, a little sand is added (5 kg per square meter).
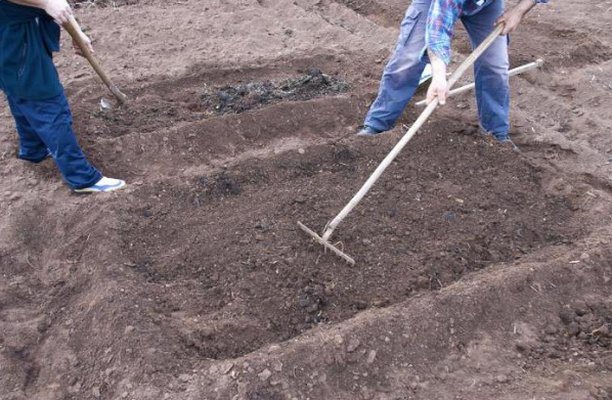
Important! Before sowing, it is imperative to disinfect the soil with a weak solution of potassium permanganate.
Post-plant care
After planting the seeds, a set of actions is performed:
- Water every other day, and sprouted beans every day.
- Seedlings are thinned, leaving a distance of 10 cm between the shoots, and in the hole there is one, the strongest sprout.
- In order to strengthen the root system, the plant is spud when the height of the shoots is 10 cm.
- Supports are placed near the climbing varieties so as not to break the roots later.
Feeding is done with organic fertilizer. Spread cow dung on the mulch. It decays, giving nutrients to the earth. Or they dilute manure in a bucket of water in a ratio of 1:10 and feed them during irrigation. When growing asparagus beans, various methods of prevention and treatment of diseases are used: they remove diseased plants, spray them with medicinal preparations.
Description
Quite often, asparagus beans are grown in the gardens. However, there is nothing surprising here, since this is a culture that is very useful for human health. It contains vitamins A, B, C, E, as well as trace elements such as iron, calcium, potassium, magnesium, zinc. Folic acid is also abundant in asparagus beans.
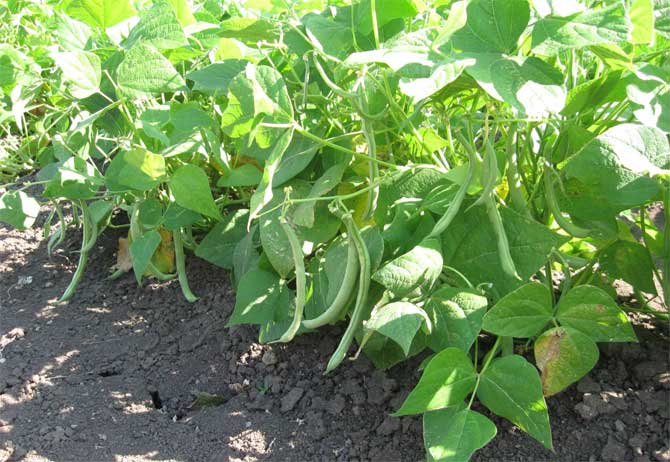
To harvest an early harvest, you can grow the crop through seedlings. But even, being immediately planted in open ground, asparagus beans grow well. Some gardeners argue that the plant is unpretentious in care, but you still need to know some of the rules for planting and growing, since it depends on what the harvest will be.
Watering
Asparagus beans have a superficial location of the root system, therefore they are watered systematically, but in moderation. Excess moisture for a crop is more destructive than lack of watering. Water in the evening, when the sun goes down, 2-3 times a week, depending on the speed of drying of the earth. After the appearance of 4 true leaves, watering is stopped before flowering.In the phase of the appearance of flowers, watered 3-4 times a week.
The culture does not like watering over the leaves.
Weeding and loosening
Primary loosening and removal of weeds is performed when the seedlings have risen to a height of 7 cm. Weeding (and loosening) is carried out regularly, in the first period of development of the shoots until a height of 10 cm is reached after each watering. Weeds are removed, taking away moisture and nutrition.
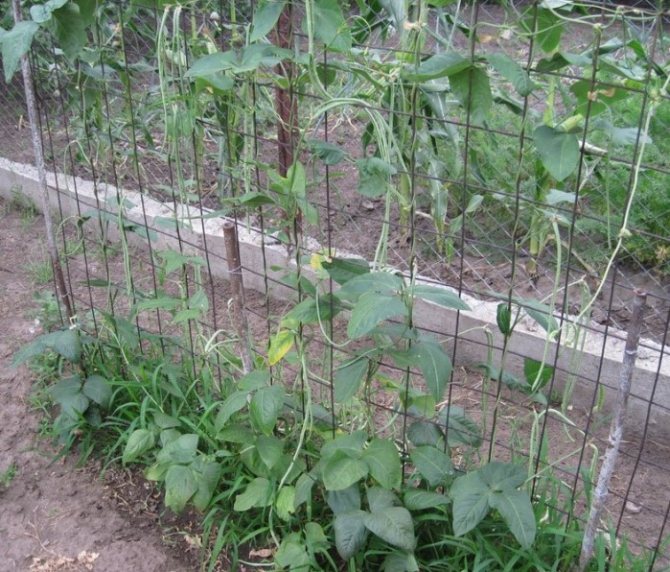
Support
The bean support is installed with a height of 1.5 meters. A frame is built in the form of the letters "P" or "T", on the upper bar of which wire and ropes are hung. The arrows of the plant are directed to the supports, then the beans themselves begin to weave. Curly varieties gardeners are planted near various supports:
- hedges, fences, stairs;
- trellises with nets, ropes, wire;
- near the walls of arbors, houses;
- around the huts made of branches.
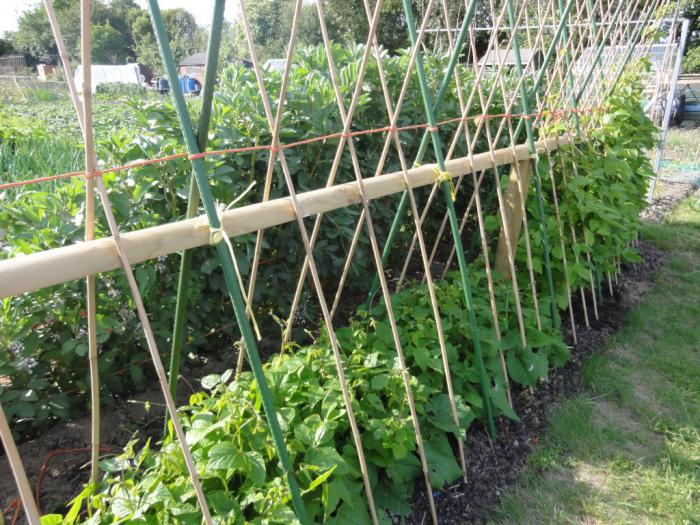
Having planted the beans near the sunflower (the lower leaves are cut off from it), they create a plant support. The arched structure will not only be a good support, but also decorate the site. The best supports are considered wooden - rough, in contrast to metal and made of plastic.
The mesh netting, which many summer residents use to install fences, is not suitable for support: it is difficult to remove from it the shoots of the bean bearing fruit in the fall.
Growing methods
The method depends on the selected variety and the purpose of its cultivation. Bush beans are planted in rows with an interval of 25 cm or in a staggered arrangement.
Two ways to grow

How to grow asparagus beans
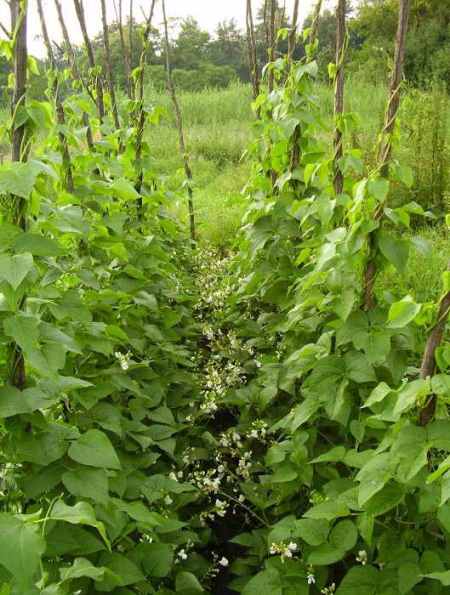
Climbing culture can be "placed" in different ways:
- at the support (wall, fence), the stems are pulled with a rope or mesh method;
- near the fill bed (up to 80 cm), when they create a semblance of a house of 5 stakes;
- on a trellis with ropes, which promotes vertical growth of shoots and better airing.
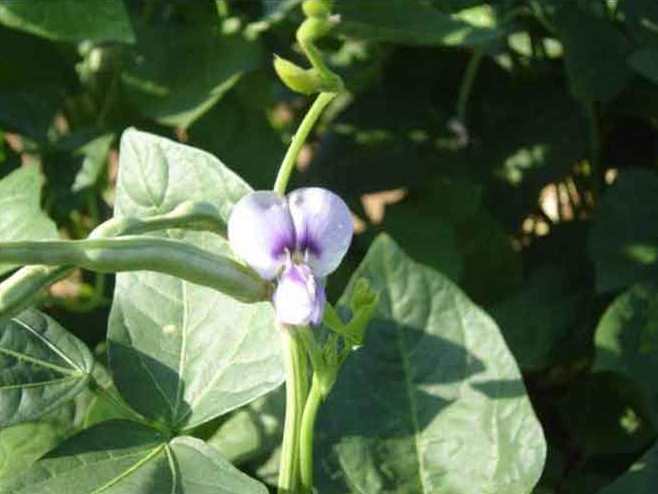
Asparagus beans are a great way to decorate and plant any garden. Its large leaves and five-petalled multi-colored flowers will decorate land holdings and buildings.
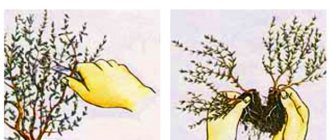
Pinching escape
Pinching a shoot is pruning a vine at a height of 2 meters. It is produced to limit the growth of the culture and increase the amount of ovary. After the procedure, the plant will direct all the nutrients and moisture to fruiting, ripening of the pods. Pinching stimulates the development of side shoots, the bush will be more lush, the yield will increase.
Top dressing
Beans are fed throughout the growing season.
- When the first true leaves appear at the seedlings, they are fertilized with mineral fertilizer: superphosphate is scattered 40 g per sq. meter. Dry fertilizer is applied while loosening the soil.
- In the bud formation phase, potassium chloride is poured into the ground: 10 g per sq. meter.
- The last feeding is carried out with a solution of wood ash at the stage of pods ripening.
You can not feed the beans with nitrogen fertilizer after the beginning of flowering: it stimulates the development of green mass.
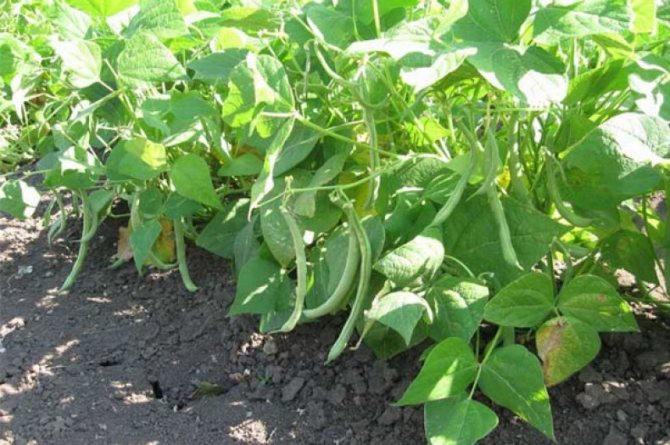
Harvesting
Harvesting is a responsible component of the asparagus bean care technology. The pods are good at milky ripeness when they are soft and juicy. Overripe and hard and tasteless, they are left to ripen to grow seeds. When harvesting, they are guided by the timing:
- An ovary appears 3 weeks after flowering.
- After another 2 weeks, you can begin to selectively harvest the pods.
Harvest gradually, choosing ripe fruits from the total mass. Fruit collection stimulates flowering and new fruit set.
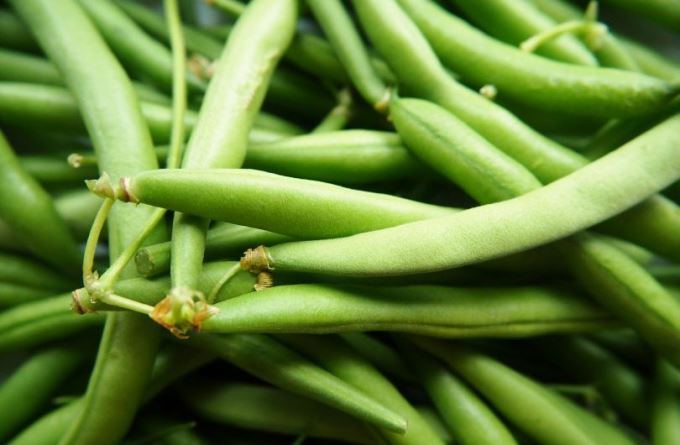
Fresh beans are not eaten, the presence of toxic substances can negatively affect the body. To prepare any dishes, boil the pods.
Fresh asparagus beans are stored for a short time. Within a week, the flaps will become rough and dry. Freezing is the best storage method. After cutting the pods, they put them in a plastic bag - and in the freezer.The seeds, selected from the opened dry pods, can be stored like ordinary beans: in a linen bag, in a glass jar in the room, on the balcony. At high humidity, the seeds are revised from time to time to prevent mold. The culture is unpretentious. As you can see, it does not require special care, and the harvest will provide your family with a vitamin, protein, dietary (24 Kcal per 100 g) product that can be used in winter to prepare various dishes.

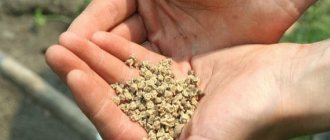
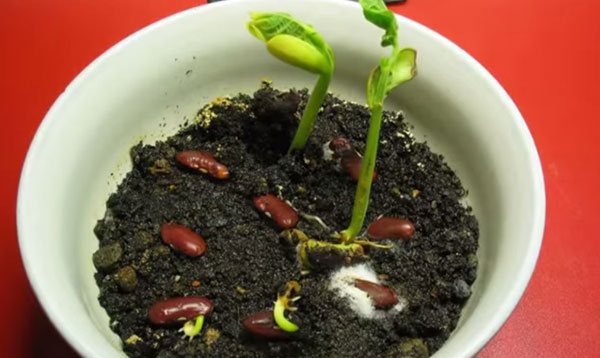
Preliminary preparation of seeds
There are several possible options for preparing seeds for planting:
- landing in a well-watered land;
- preliminary soaking;
- preliminary germination of seeds.
For the first method, it is enough to simply make sure that the seeds are intact, without caterpillars or any other insects on them. Then water the soil abundantly and plant the seeds.
Seedlings will appear faster if the seeds are soaked beforehand. For this, the seeds are poured with hot water for 15 minutes. After that, it is imperative to disinfect them in a solution of weak potassium permanganate.
Disinfection of soil and seeds is necessary to protect still immature seedlings from insidious pests.
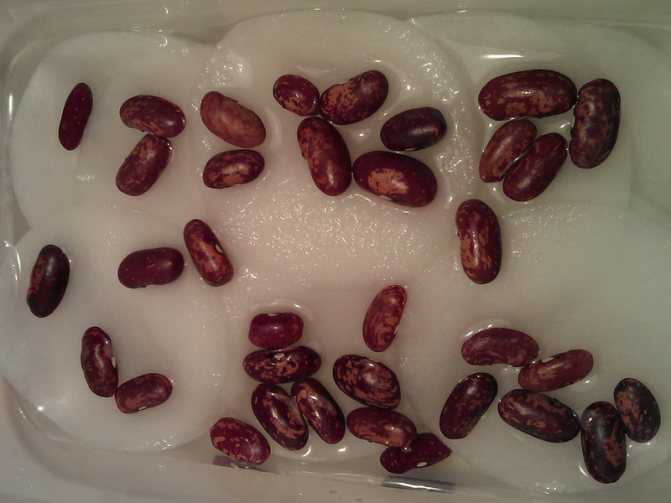
If you germinate beans first, seedlings can be obtained even faster. To do this, it is necessary to inspect all beans for mold, wrinkling, damage, and also remove debris.
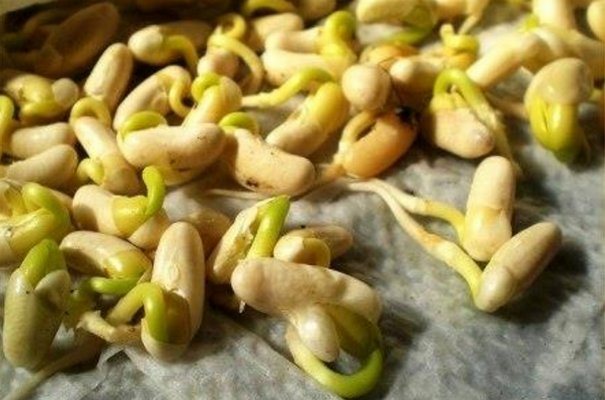
All seeds that have passed the selection must be placed in one layer on a damp cloth. Next, you need to take another similar piece of fabric and put it on top. The top piece also needs to be wetted. It is very important here - not to overdo it with water, otherwise the seeds will simply rot.
After 24 hours, opening the fabric, it will be possible to see that the beans have already sprouted the first sprouts. This means the seeds are ready to be planted. However, they will need to be planted very carefully so as not to damage only the sprouts that have appeared.
Important! Every year, the beans are planted in a different place to prevent the plant from getting sick with anthracnose.