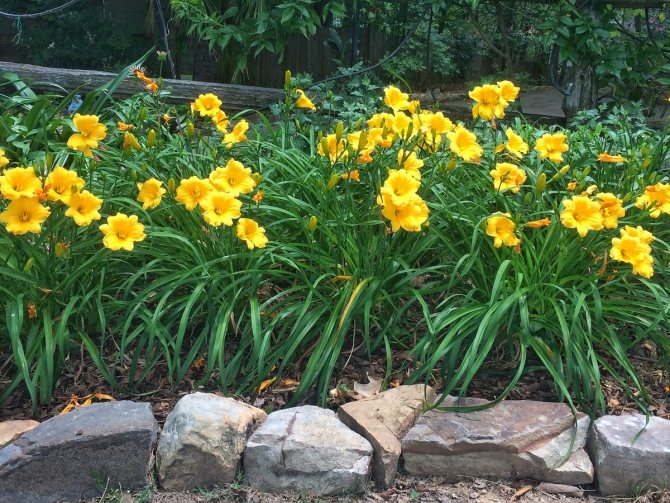
It is difficult to find a flower bed in a summer cottage where there are no daylilies. These flowers have gained immense popularity among flower growers of all countries due to their beauty, variety and unpretentiousness. However, even they need, albeit minimal, but proper care in the fall and preparation for winter.
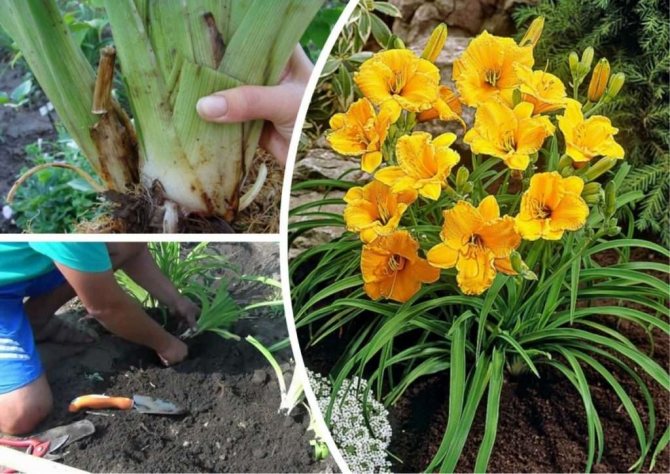
Note! Daylilies are not a lily bed or its second name, but a completely separate genus of plants (not bulbous, like a lily, but rhizome). Don't be confused!
When to transplant
In one flower bed, daylilies can safely live for as long as 15 years. But for so long, gardeners do not allow flowers to grow without transplanting. The fact is that after five years of being in one place, decorativeness is noticeably reduced: inflorescences decrease, thin out, the bush itself grows strongly, taking up too much space. Therefore, usually every five years, daylilies are transplanted, which allows you to preserve large buds.
You should not wait for the decorativeness of plants to decrease significantly: it is much more profitable in all respects to transplant daylilies to another place in advance. The first signal about the need for an early transplant is the appearance of new young flowering shoots around the main bush. The shoots speak of overgrowth - it is better not to hesitate with a transplant, since the degradation of the mother bush is just around the corner. When transplanting, the bush is usually divided: the procedure allows you to get several from one plant at once. Moreover, with the preservation of all maternal varietal qualities.
Most growers tend to transplant these flowers in the spring: mid-April is considered the optimal time. However, the rule is not at all categorical - if the weather outside the window is warm, the transplant can be carried out at other times of the growing season.
Note that the spring transplant allows the plants to bloom already in the current season. Especially when it comes to daylilies with large, developed rhizomes. If you transplanted flowers weakened, then they will bloom only next year.
Sometimes the transplant is carried out in the summer. But this time is chosen only as a last resort, since daylilies usually bloom in summer. The procedure carried out during the flowering period injures the roots, leads to poor adaptation in a new place.
If you decide to carry out the procedure in the fall, then you should choose the early period. In late autumn, on the eve of winter, a transplant cannot be carried out, since there is a high risk that the roots will not have time to take root in the ground before frost. Then they will freeze.
Specific dates
The transplant in the spring should be carried out as soon as the ground warms up: the bayonet of the shovel should enter freely, without obstacles.
- Moscow region - May holidays;
- Siberia - the second half of May;
- southern part of the country - mid-April.
Note that in the regions of the central strip and the Moscow region, an autumn transplant is often chosen: the procedure is carried out in early September. The local climate allows the plant to successfully root during September, and frosts in October do no harm.
Speaking about such harsh areas as Siberia and the Urals, we note that it is better to transplant there in the spring. Autumn in these regions is short, and winter is long and harsh: the shrub may not have time to take root. In the south of the country, daylilies can also be planted in the fall - without any problems.Spring is coming too.
In general, a huge plus of the spring transplant is that the plant has enough time to successfully settle in and take root in its place. After all, the whole summer is ahead, during which the shrub will get stronger and recover perfectly. The survival rate of daylilies transplanted in spring is the highest. It is the spring time that is recommended for regions with cold winters and short autumn.
Important: in spring and summer they try to plant daylilies in the evening when the sun goes down. Well, in the fall - in the afternoon.
Advantages and disadvantages of autumn planting
Krasnodnev, as the common people call the daylily for a short flowering only for one day, can be planted both in spring and in autumn. Most often this is done in the spring, but the fall planting has some advantages:
- the gardener frees up a very scarce spring time, when there are already a lot of worries in the garden;
- the choice of planting material in late summer and autumn is usually more, and prices are lower;
- the plant is guaranteed to bloom well next season, while a bush planted in spring will have weak flowering.
A significant drawback of the autumn planting of this flower culture is the risk of freezing at the very first severe frosts, if full rooting does not occur.
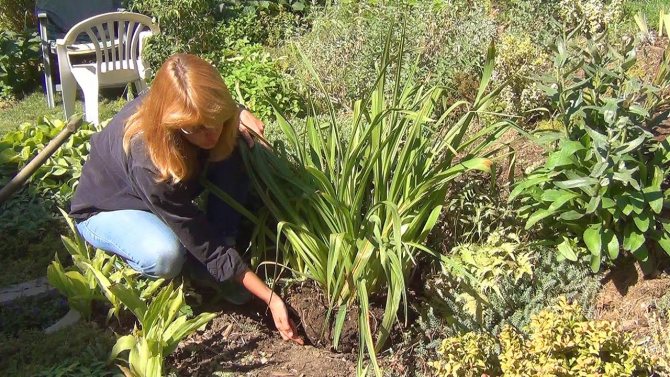

Daylilies can be planted and transplanted not only in spring, but also in autumn.
Important! Daylilies, unlike lilies, are not bulbous plants; they do not have bulbs, but powerful rhizomes.
How to prepare daylilies for transplanting
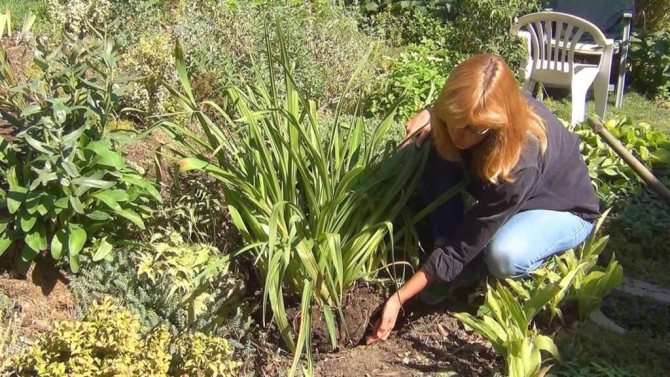
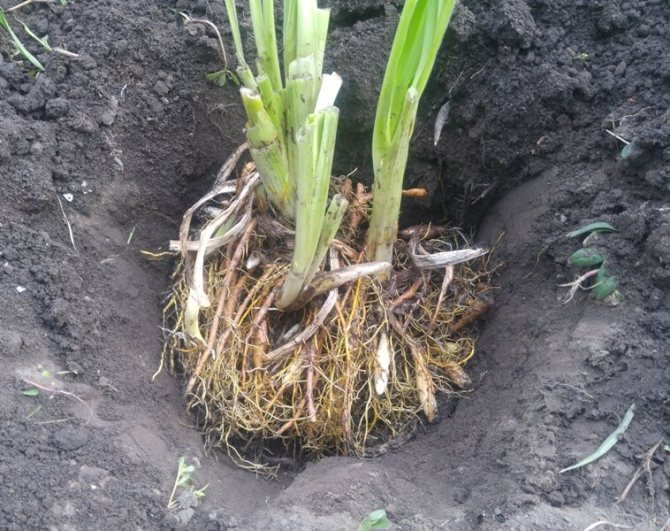
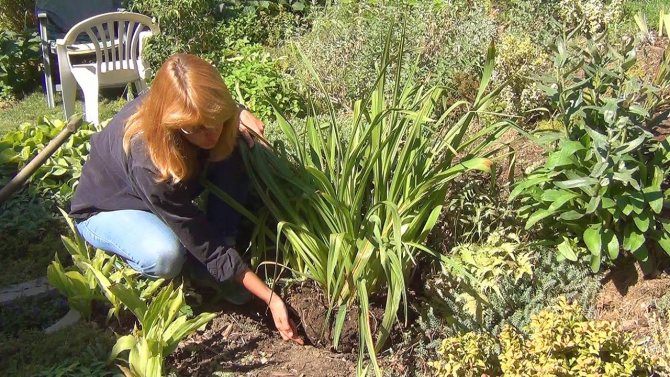
Before removing plants from the ground, you must first prepare a planting hole in a new location. When the hole is dug and prepared, it is time to dig out the bush. To safely remove the plant from the ground and not damage its roots, the bush should be dug within a radius of 20 cm from the bush or even more. But no less. Get the bush out of the ground along with a lump adhering to the roots. A heavily overgrown specimen will have to be dug out by two or three.
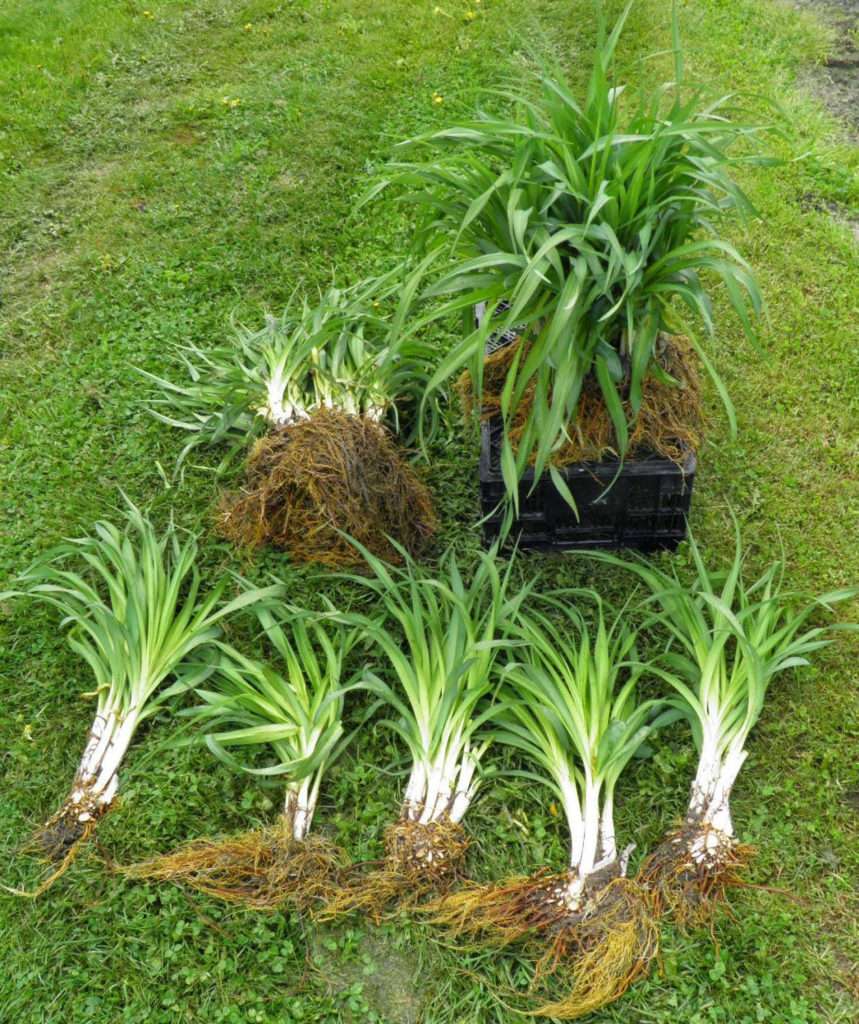
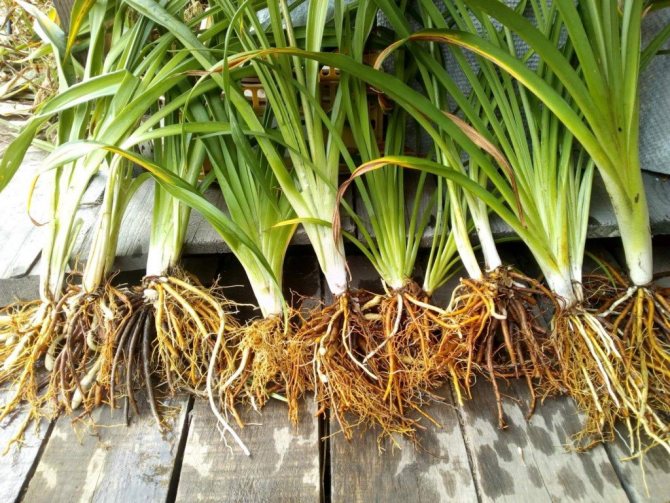
Carefully lift the daylily out of the ground along with the roots, then submerge the roots in the water. Optimal time for water treatments: 4-5 hours. The water will saturate the roots and prevent them from drying out. We recommend adding a root stimulant like Epin, Kornevin, Zircon to the water: the preparations will help the roots recover and quickly take root in a new place.
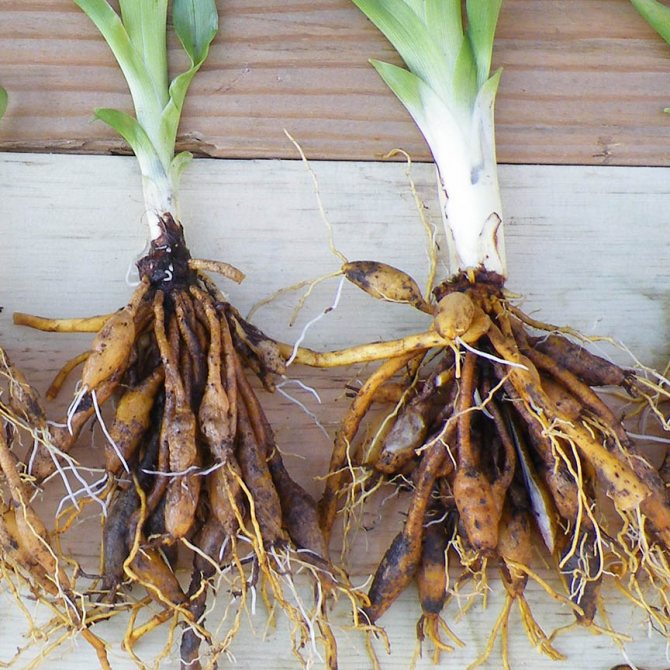
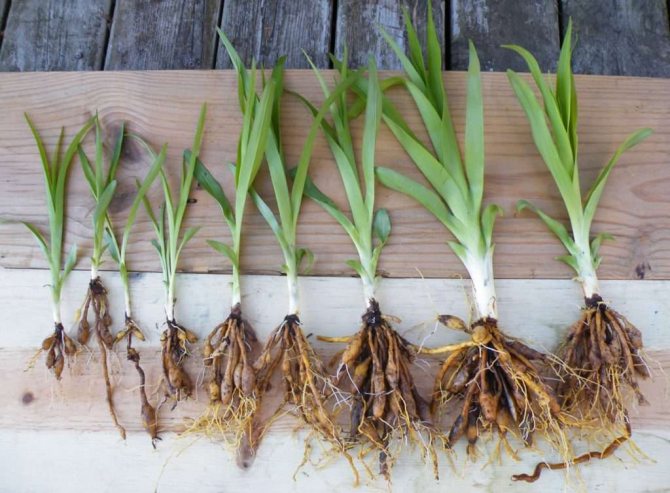
Examine the roots - if they are dark, rotten, dried out, they must be removed. And the remaining healthy light roots are pruned. If rot is found, it is removed to healthy tissue, after which the roots are soaked in a solution of potassium permanganate for disinfection. The solution should be vigorous pink.
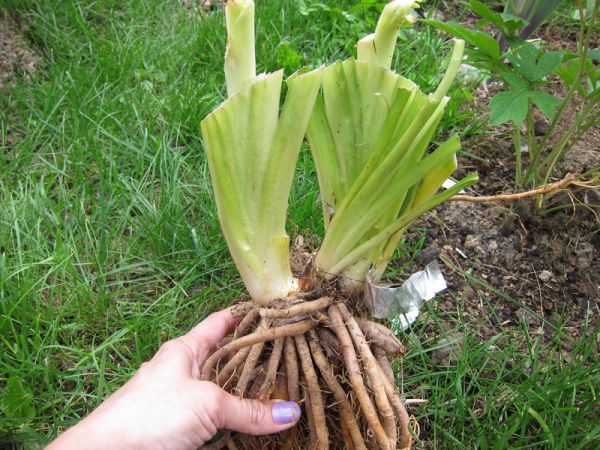
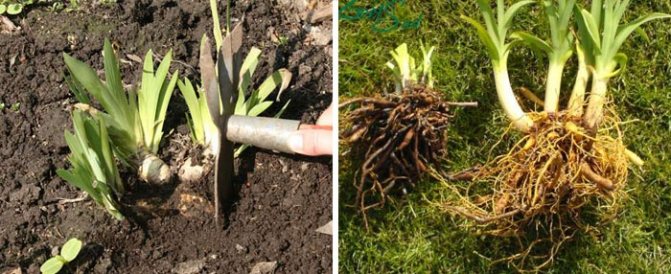
After processing the roots, the bush must be divided. The procedure is performed so that each individual part has its own roots. Sprinkle the cuts with ash or ground coal.
Before transplanting, trim the foliage, leaving stems about 25 cm high. Do not worry: the plant will quickly gain green mass after rooting.

Instructions
How to transplant daylilies to another place in the fall:
- prepare the place: dig up the ground and equip the holes with drainage or raise the soil level in the beds with stagnant moisture and the proximity of groundwater;
- choose an area where the bushes will be illuminated by the sun for at least 6 hours a day and will not compete with other plants for space;
- dig holes to a depth equal to the height of the bulb + 10 cm for the root system;
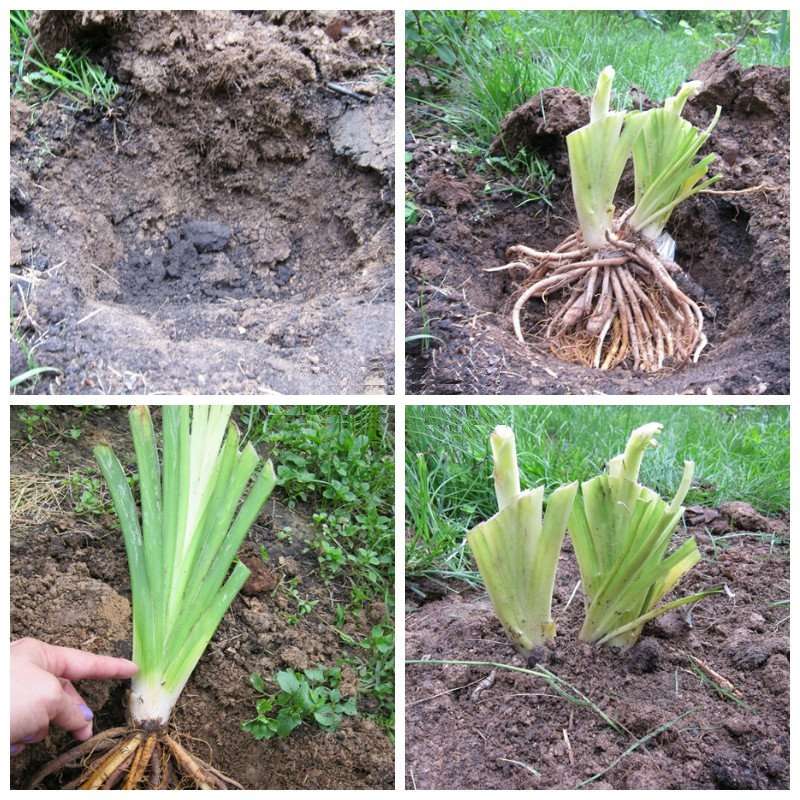

- the distance between the holes should be 15-20 cm;
- after flowering and drying of the stems, you need to dig up the bulbs, give them a rest, peel and remove dead scales;
- neatly divide the bulbs into parts and disinfect in a weak solution of potassium permanganate or in special purchased preparations.
- pour a little river sand above the drainage at the bottom of the hole, add a layer of humus on top;
- plant an onion and compact the earth on top;
- water the planting material with warm water.

It's important to know. Lily bulbs grown in their own garden will begin to take root in a new place immediately. Bulbs purchased in stores or in Holland have a shifting growth period. They already have sprouts, when planted in the ground, they will immediately start growing. To plant them in the fall, and not wait until spring, you need to carefully cut the sprout and break it out. This will put the bulb into hibernation during the cold period, and when the heat comes, it will get stronger and start growing.
Seat selection
In order for the daylily to quickly adapt after transplanting, it needs to find a suitable place in the garden: with optimal external conditions and soil composition.
The site must be sunny, not shaded. In the shade, daylilies do not demonstrate high decorative qualities. Set up a flower bed away from tall trees and bushes, fences and buildings.
An important point: if the variety with dark-colored buds, then a little shading will be beneficial, will help maintain the brightness of the petals and saturation. In general, experienced flower growers are advised to take a closer look at the color of the plant petals. The lighter the variety, the more sun it needs and vice versa.
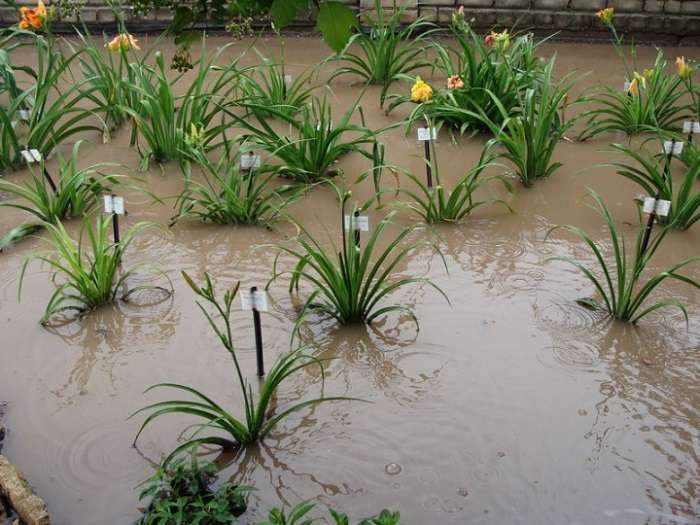
Make sure that the site is not low-lying: there are frequent flooding, which leads to rotting of the roots of daylilies. If there is no other place, reinforce the area with a drainage layer.
These flowers will grow well in a slightly acidic substrate, or neutral. The soil should be saturated with organic matter, fertile. The best soil for daylilies is loam. Sandy loam is also suitable, but subject to the introduction of nutritious humus.
If the soil is dense, permeable, it must be loosened by adding sand and peat. Excessively loose, loose soil is compacted by adding compost or old manure.
A few more words from experienced florists
Daylilies are very responsive to all kinds of feeding, they love watering and loosening. The most favorable period for transferring or dividing a bush is still spring. After the bush is transplanted, after two weeks you can start feeding it, so it will quickly gain strength and give a large number of buds. Foliar dressing will enhance the color brightness and size of the flowers, and will have a positive effect on the overall flowering time.


If signs of decay were found on the roots during division, the diseased parts of the roots should be removed and the cuts should be sprinkled with wood ash. As a rule, such a phenomenon as root rot occurs in plants planted in lowland places, so try to keep the flower bed where the daylily grows is slightly raised. In general, many perennial plants with a developed root system do not like the proximity of groundwater, so try to make small mounds for planting perennials if the water is too close to the surface of the earth.
Daylilies are flowers that will not leave anyone indifferent. New varieties are striking in the splendor of shades and a variety of forms, although they are not cheap. Therefore, one of the most budgetary ways of breeding a variety you like is transplanting and dividing adult bushes. Florists exchange plants, wanting to get a new curiosity, and this contributes to the popularization of daylilies among summer residents and professional flower growers.
Transplant process
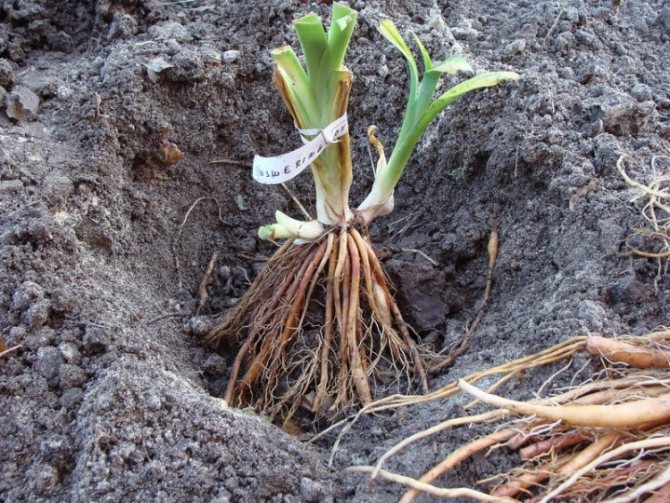

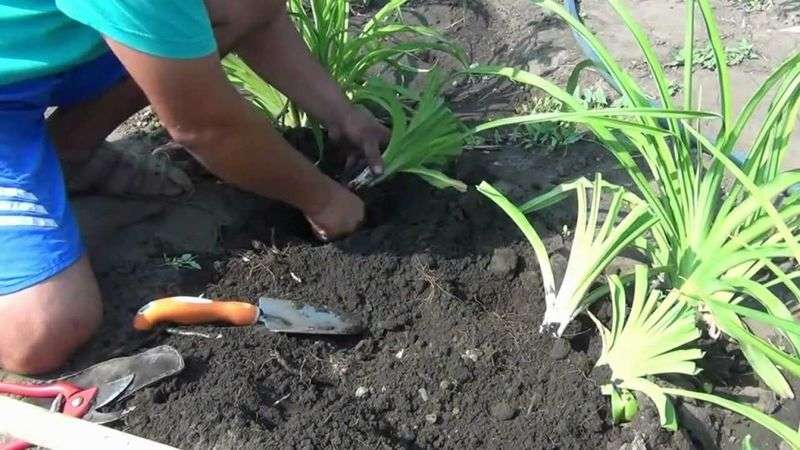
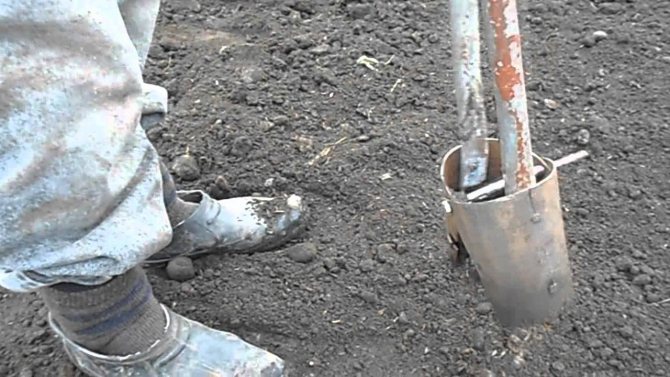
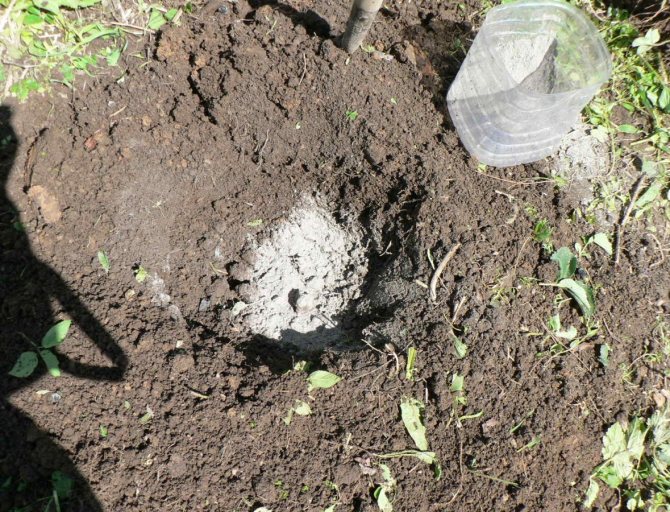
- First of all, the soil is dug in the selected area, after which you need to dig a hole. The size of the depression should be about twice the volume of the plant roots. The hole must be at least 30 cm deep.
- It is recommended to lay drainage at the bottom of the pit to protect the roots from waterlogging.
- The soil taken out of the pit is fertilized with wood ash (glass) and superphosphate (80 g). A nutrient substrate is poured onto the drainage.
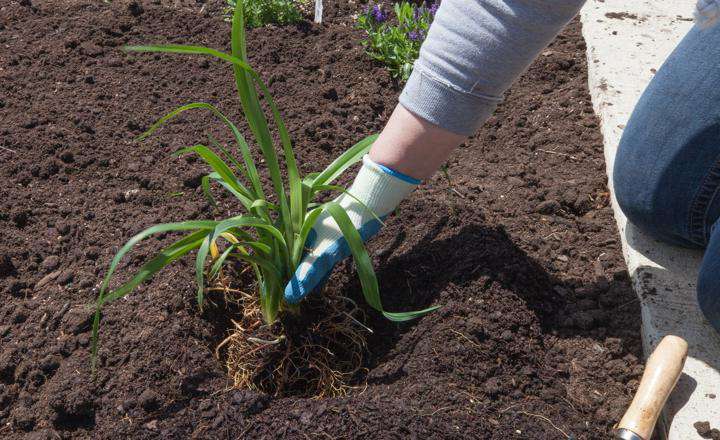
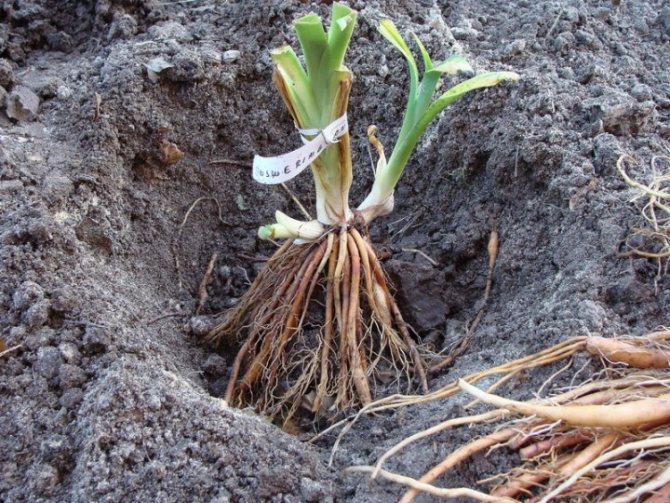
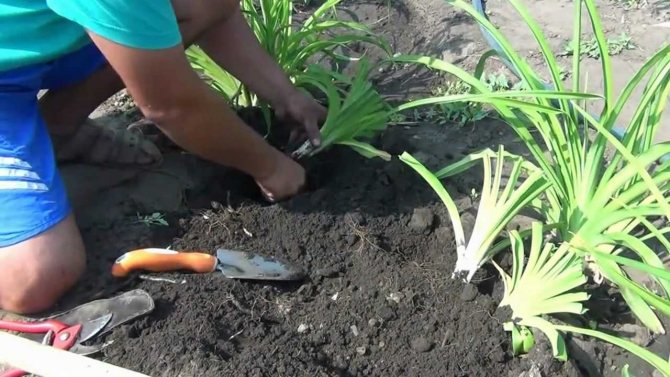
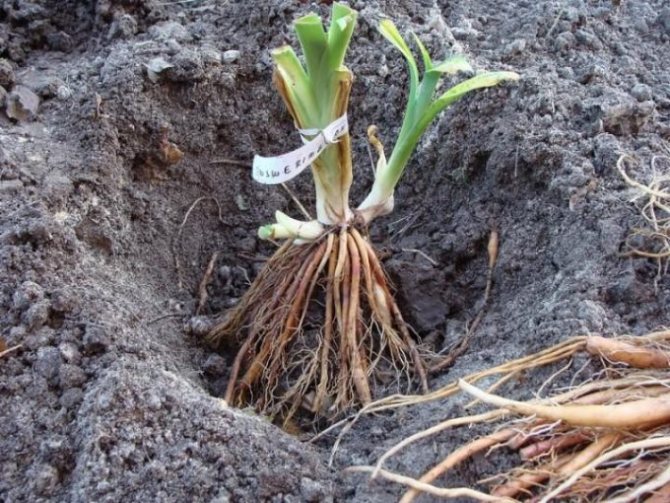
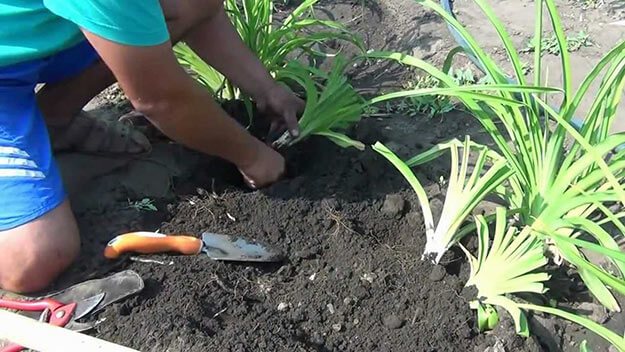
- Place the bush in the hole, spread the roots along the bottom.
- Sprinkle the bush with soil, compact carefully. Please note that the root neck of daylilies does not require deepening: it should be located a couple of centimeters above the ground.
- Water the bush.
- After watering, it is recommended to cover the soil with a layer of mulch, using chopped straw or sawdust, shavings. Mulch will help the roots stay moist longer and protect the soil from water evaporation.
Transplant in the summer - nuances
- Remember that at this time, transplanting is possible only without dividing the bush. That is, the daylily cannot be propagated.
- All work should be done in cloudy weather or in the evening, in the morning when there is no sun.
- Be sure to keep an earthen ball when digging out the bush, since the roots are especially vulnerable in summer.
Daylily care after autumn planting
Freshly planted daylilies need some care:
- In dry weather, they need to be watered at least once a week using lukewarm water.
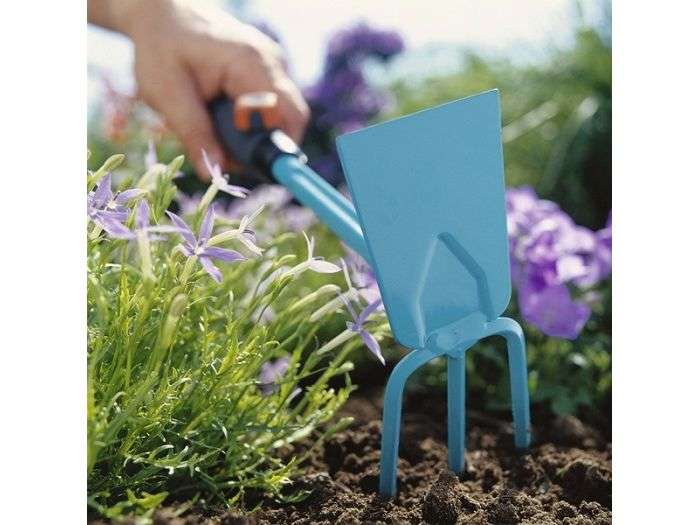
- Regularly pull out weeds and loosen the soil in the trunk circle to a depth of 1.5–2 cm.
- Completely cut off the entire ground part before the onset of cold weather, if it was not cut off during planting.
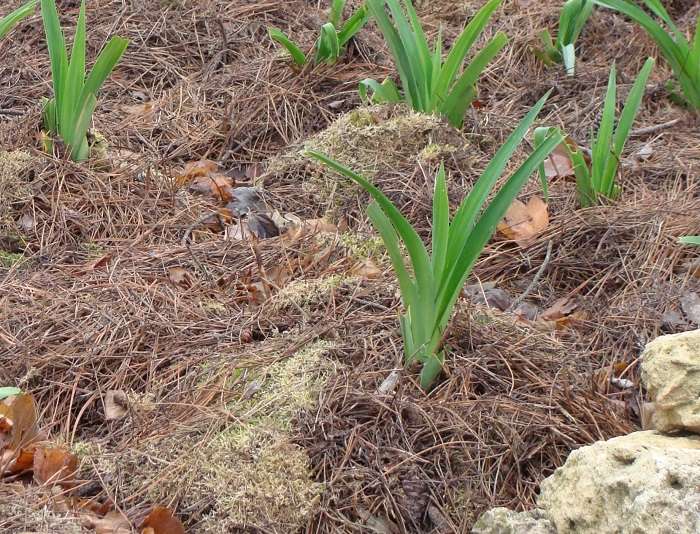
- In cold climates, plants must be insulated for the winter by covering the bushes with earth, sawdust, humus, dry leaves, needles or peat to a height of up to 20 cm.
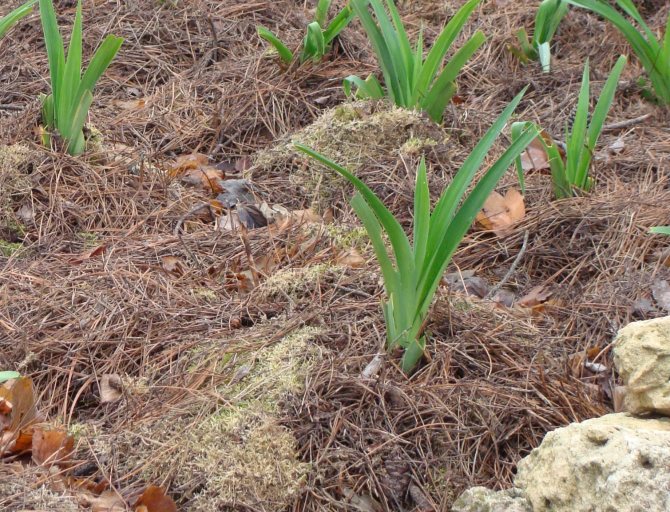

For the winter, plantings must be covered with a layer of mulch or spud
In the harsh Siberian climate, it is necessary to additionally throw snowdrifts on young daylilies, otherwise the frost plants may not survive.
Transplant in the fall
Quite often, gardeners decide on an autumn transplant of daylilies - after the plants have faded. However, it is very important, when choosing the autumn time, to strictly adhere to the deadlines. You should not choose the middle of autumn and the end of the season: daylilies may not have time to take root before frost. Then in winter the plants will either be severely frozen or die completely.
The optimal time for an autumn transplant is September and the first decade of October. If you want to transplant later, plant Latvian varieties that are highly frost-resistant.
After a properly carried out autumn transplant, the daylily will have a great winter and in the spring of next year it will start to grow actively. But remember that for the final rooting of the plant, it takes a month and a half, no less. At least three weeks before the onset of frost should be in stock.
Advice
If the weather is rainy, and the site is located below, be sure to provide the flowerbed with drainage. The transplant itself is best done during the day, while it is warm.
If the climate in the region is very harsh, an autumn transplant can be carried out in August as well. But it is better, of course, in this case to postpone the procedure until spring.
Typical mistakes of novice florists
Inexperienced flower growers often illiterately plant daylilies, making the following mistakes:
- Landing dates are not met. A plant that did not have time to root normally before winter will die from frost... If too early, hasty planting, weakened bushes do not fully recover after flowering, take root for a long time, and get sick.
- The ground part is cut too low. It is necessary to leave hemp at least 10 cm.
- Foliage is harvested at the wrong time. Ideally, it should dry itself to give all the nutrients to the root system. The flower may even release fresh leaves again, as a result of which it weakens and may freeze out.
- They cover early for the winter. If it is still warm, then the plant can vanish.
- When planting, nitrogen-containing fertilizers are used, which can cause unnecessary foliage growth.
Care


How to care for daylilies after transplantation - we will find out further.
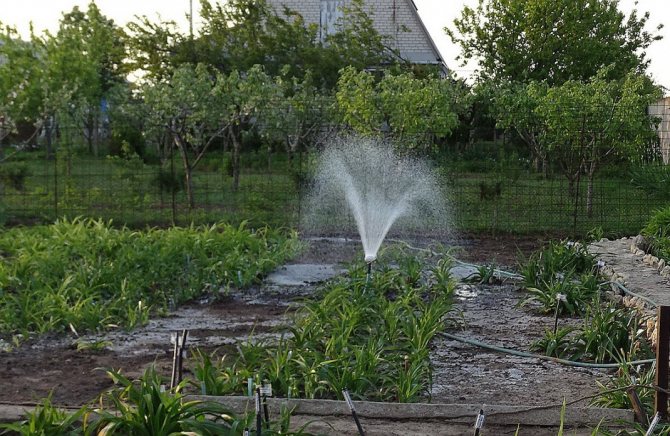
After the procedure, it is important to provide the plant with the most favorable conditions for early rooting. The daylily should be watered daily for the next two weeks. High soil moisture contributes to quick adaptation.In the future, watering is carried out less often - only as the upper layer of the substrate dries up.
After watering, loosen the soil to provide air access to the roots.
A month after transplanting, mineral fertilizers with nitrogen content dissolved in water are applied. Top dressing will help the flowers turn green faster and grow lush foliage.
Varieties and types
This family includes species and varietal plants.
- Specific daylilies include natural varieties that are characterized by yellow or orange color of flowers. They open their buds in spring or early summer. The most popular of them are: Yellow; Redhead; Daylily du Maurier; Daylily lemon yellow; Daylily of Middendorf.
- Varietal or hybrid bushes bloom later, in the middle of summer, closer to August. They have the richest color palette, they belong to the elite, one can name such varieties as: Dragon, s Eye; Romantic Rose, Arctic Snow, Forgotten Dreams, Tiger, Summer Wine, David Kirchoff.
If the daylily blooms
A flowering shrub is transplanted only if there are good reasons for it: for example, construction is underway and the flower bed will have to be given a different purpose. Immediately, we note that in this case, the daylily takes root badly, since it spent a lot of energy on the formation of flowers.
Before transplanting, prune the flower-bearing stems with buds so that the plant directs its vitality to strengthen the root system. This will help the daylily to take root in a new place more successfully. The stems are cut at a height of 15 cm from the root collar: the cut angle should be 45 degrees.
After the procedure, you should especially carefully monitor the condition of the flower, carefully look after it. The appearance of young greenery will indicate that the daylily has taken root successfully.
We learned when and how daylilies are transplanted. The procedure is not the most difficult and, applying our recommendations, any florist can handle it. Remember that these plants are best replanted every five years: this will help ensure a high decorative flowering, especially large, bright buds.
What to do with daylilies in fall and during winter preparation
So, the following are among the main autumn activities for preparing daylilies for winter:
- removal of faded peduncles (so that the plant does not waste energy on ripening the seeds);
- transplant (division and seating);
- top dressing (as desired and necessary, if you want to improve flowering for next year);
Autumn fertilization, i.e. potassium-phosphorus.
- trimming leaves (recommended for everyone);
- mulching and / or shelter (only in cold and snowless regions).
Yes, everything is so simple, and it won't take much time.


Flowerbed partners
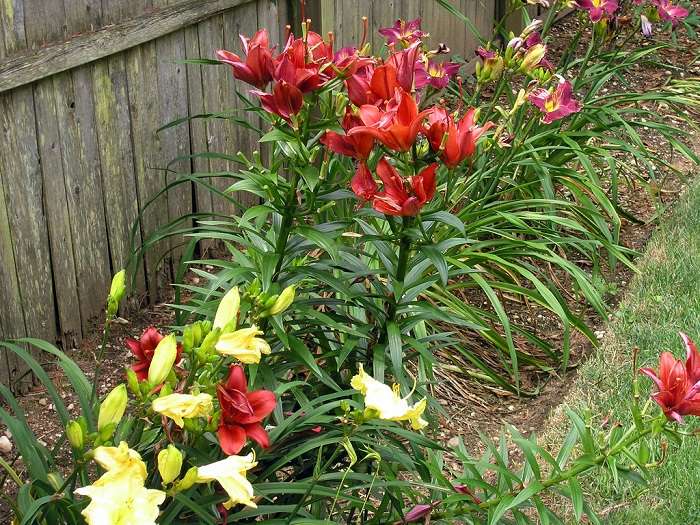
The daylily flower looks great in any flower bed, both by itself and in a company with other flowers. Landscape designers are increasingly using it in their work. Transplanting daylilies is a simple process, so people often decorate borders, flower beds and slides with them. The combination of this flower with tulips looks very beautiful. You can often see a knifophy and a loosestrife on the same lawn. In general, the plant is combined with different representatives of the flora - it all depends on the owner's imagination.
Luxurious daylilies will decorate any front garden. In order for them to please the eye with large flowers, it is necessary to transplant them periodically. Transplanting daylilies to another place is carried out according to certain rules that lovers of these beautiful flowers should know.
Preparation of material for planting
Gardeners expect to see large, developed roots with green leaves when buying a daylily. But usually only dried roots and atrophied leaves are found in the package. The plant is transported for a long time before moving to the store, so the planting material must be properly prepared for growing.
Popular: Ways to store carrots in winter so they don't rot
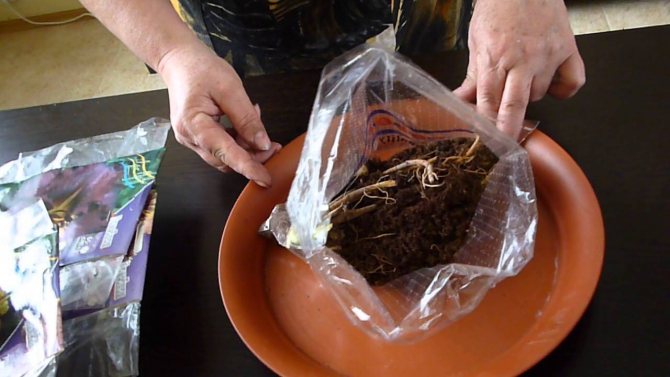
The root is completely freed from the leaves. If the shoots have lost color or are too long, then they are cut off. Then the roots are soaked in water for a couple of days. It is recommended to add growth stimulants to the water. If all procedures are performed correctly, then the root will soon come to life and give new shoots.
Planting material is usually already sold of good quality, if it is not infected with viral rot. Such plants can be recognized by their unpleasant odor. The daylily infected with the virus is thrown away.

Interesting about the plant
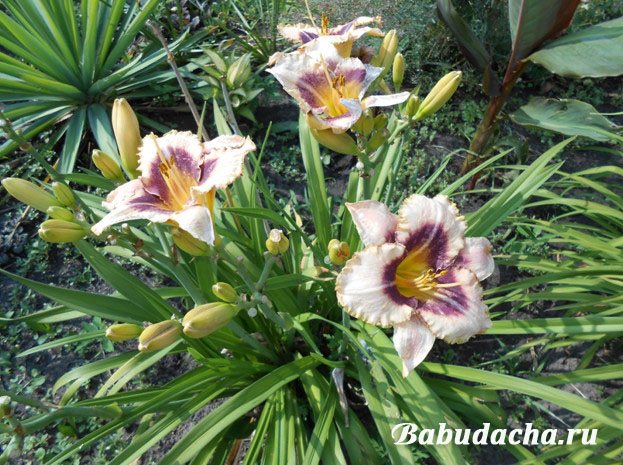
A native of Central Asia, the beautiful daylily gained popularity only a few hundred years ago, although it has been familiar to people for a longer time. In our country, it is better known under the name "krasodnev", which means - flaunting one day. Breeders have bred many new varieties, but daylilies blooming in the wild are picturesque and beautiful, almost indistinguishable from cultivated species. The flowering of the daylily is quite long - up to a month.
I will briefly describe a few orts for you, but keep in mind that this is only a small part of the amazing exotic:
- Double Red Royal (velvet dark red flowers, several dozen peduncles on one plant);
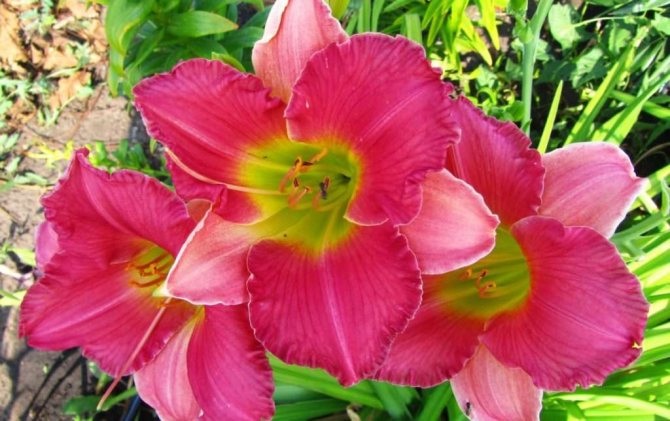
- Helix (yellow-green center, crimson petals);
- Free Healing (red center with golden petals);
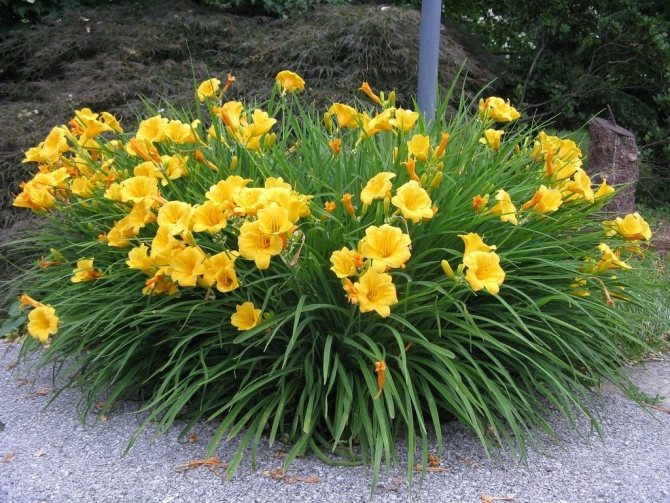
- Stele to Oro (dark yellow flowers, flowering throughout the summer);
- Apple Spring (fragrant pink flowers with greenish yellow fringes around the edges);
- Granny Smith (creamy white flowers with a green border);
- Apple Blossom White (white flowers with a double yellow border).

I also want to disappoint you a little - if you dream of a snow-white daylily, you will have to wait, because breeders are trying to breed such varieties, but to no avail.
What is a daylily
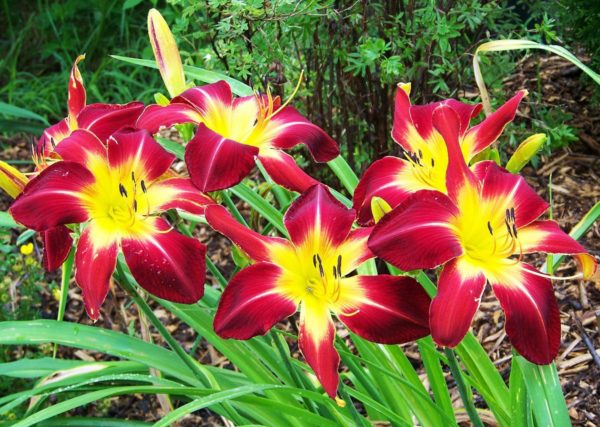

Krasodnev - as this plant is also called, is part of the numerous Asphodelov family. The genus numbers more than sixty thousand varieties and hybrids, differing from each other in the color of the petals, the flowering time.
Perennial is undemanding to care, but it grows and blooms better in sunny areas with well-drained soils. Often, flower growers use containers for planting, then placing them throughout the entire area.
Most of the hybrid forms and varieties are semi-evergreen and evergreen crops that retain the ability to grow throughout the entire calendar year. Therefore, it is necessary to carefully prepare the planting for the winter cold. In the fall, a number of measures are required: cut off the withering "arrows" of the leaves of the plant, treat with drugs against pests. In regions where winters are harsh and there is a high probability of freezing of flowers, daylilies are sheltered. They are especially attentive to exotic daylily hybrids, whose homeland is warm overseas countries. In the conditions of the northern regions of Russia, they often do not survive in winter, so it is better to grow simpler, but frost-resistant varieties.
Pest control
The daylily described in this article can be attacked by pests or become a victim of a disease. In order to make the necessary measures on time, you should carefully monitor how the plant looks. If we talk about pests, then most often the flower is affected by aphids, lily gnats, or slugs. To avoid the attack of such representatives of the insect world, you need to treat the ground with an insecticide solution. And having found one of them, you need to act in accordance with the instructions for dealing with this pest.
Speaking of diseases, mention should be made of rust, root rot and fungus. They are the ones who most often attack the flower. For the purpose of prevention, you need:
- sterilize garden tools;
- watering flowers with the addition of phytosporin;
- plowing up the land after irrigation;
- remove weed plants;
- do not disturb the watering regime.
To get rid of or not?
Florists argue until their time: prune or not prune daylilies for winter... Some explain the need for pruning at the root by the fact that various pests - slugs, for example, leave between the leaves in winter. And to some extent, the adherents of pruning are right - pruning so that next spring and summer does not fight all sorts of harmful insects, pests, etc.
One can object to this: in order not to let any beetles, insects, slugs winter in the leaves of daylilies, it is useful to simply dust the root necks with ash in late autumn, pour it between the leaves and no reptiles will remain there. Ash is also rich in minerals and nutrients, which is very useful for flower roots in spring.
Organization of a winter shelter
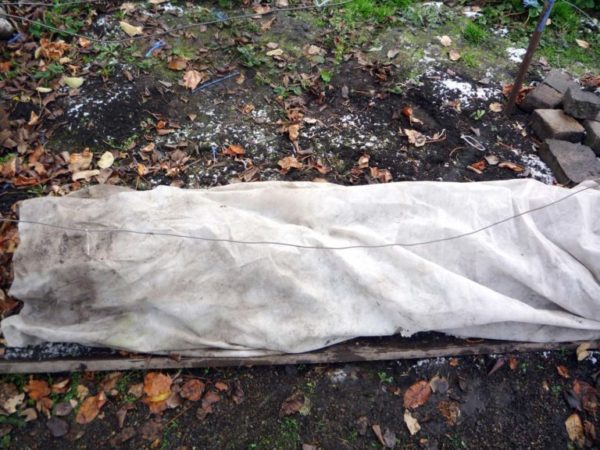

Daylilies are considered a frost-resistant crop, but when leaving, one must take into account the characteristics of the variety or hybrid. In recent years, the climate has changed dramatically; sudden thaws at the height of winter are not uncommon even for Siberia and the North-West. And if this flower withstands stable, not particularly low temperatures, then drops, thaws, and then severe frosts most often lead to the death of plants.
Do I need to cover daylilies for the winter
In the south, this is not necessary, and in the regions of the middle zone, the North-West, Siberia, the Urals, it is recommended to cover plantings. This is especially true for areas where there are severe lingering frosts in winter with little snow.
How to properly cover daylilies for the winter
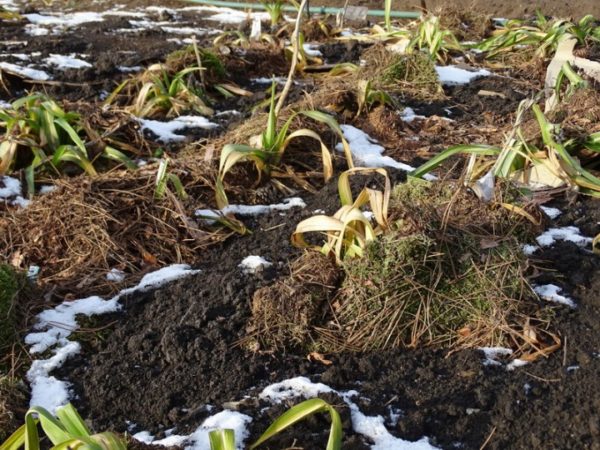

There are no complicated works when preparing a perennial for winter. It is enough to prepare the required amount of spruce branches, peat or dry straw. Suitable for mulching finely chopped pine bark.
It is enough to sprinkle the plantings with a layer of mulch up to 10 cm thick.When expecting severe frosts in winter, the cover layer of daylilies for the winter is made thicker, and covering material is also used for additional protection.
They cover plantings only with the onset of frost. Early shelter in warm weather will lead to damping off of the plants, the same happens if in the spring they are delayed with the removal of protection.
I don’t cut it!
Daylilies have been growing for me for ten years. There were all kinds of winters, and seasons (spring-summer-autumn) too. I never cut off my own. It is no secret that plant roots store nutrients, moisture, etc. from the leaves until winter. Therefore, in general, I leave the daylilies, peonies, chrysanthemums leaves. And in winter they just go away. True, I have never seen any slugs and other pests in my pets - I always check it specially in late autumn.
Although, for prevention, I pour ash on them. If we also take into account that next to them I try to sow undersized marigolds (tagetes) in the spring, which also scare away many pests with their pungent smell, then my handsome men winter very successfully.

Pruning leaves early can weaken the vigor of the plant. If the leaves that begin to turn yellow spoil the landscape, you can carefully cut off the drying yellow ends with scissors.
The rhizomes of daylilies are tender, sensitive. It is even better to replant them in the spring, when the cones of new leaves just appear. At other times they take root very badly, more often they do not take root at all.
general description
The homeland of this flower is East Asia, and it has been known since the 18th century. It is a large funnel-shaped bud. The color of the bud differs depending on the variety. About three buds can grow at the same time, and the entire period when you can enjoy the flowering of the plant is almost a month.
The root system has a fleshy structure, there are also multiple appendages, which allows the plant to tolerate dry periods perfectly. Peduncles are capable of reaching a meter in height. After the buds have faded, seed pods appear in their place. It is not difficult to grow in open ground even for a novice gardener.
Daylilies: whether to prune for the winter (based on personal experience)
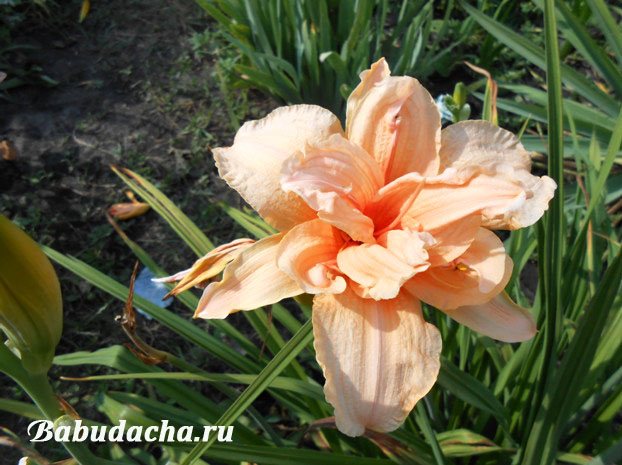
Daylilies - perennial beauties for every taste. Eyes run up when you see them in catalogs: growth, color, simple and double, two-, three-even four-color, evergreen and drying up in late autumn. But they always delight with their long flowering, and some have just a fabulous aroma of exquisite, most expensive perfumes. And one more advantage of daylilies: they are completely unassuming, not capricious - what is called "planted and forgotten." But they don't let themselves be forgotten - they bloom for almost two and a half months in the summer, throwing out arrows, on which there are several buds that open in turn. And you admire them for a very long time. However, daylilies are responsive and grateful to attention and care - they bloom more magnificently and longer. I cut off the faded flower arrows without fail. As for the leaves and stems ...

Useful Tips
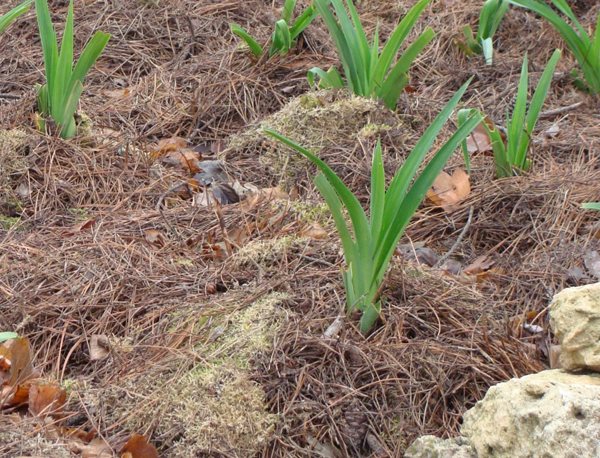

The roots of daylilies are deep and branched, and their processes are capable of accumulating moisture in the pulp. Due to these features, the bush is not very picky about moisture.
If the autumn is dry, then the daylilies must be watered 1-2 times a week. Watering is carried out in cloudy weather, in the morning or in the evening with slightly warm water under the root. They stop when the first frost approaches.
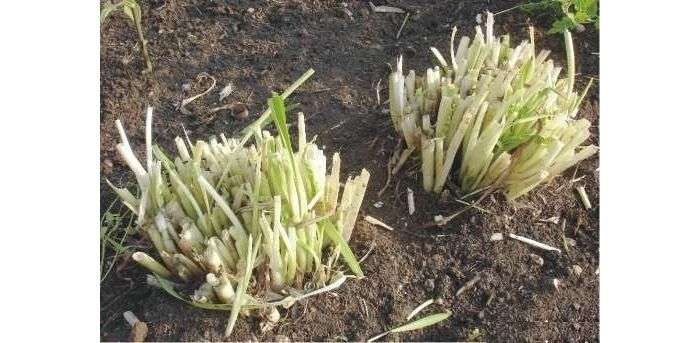
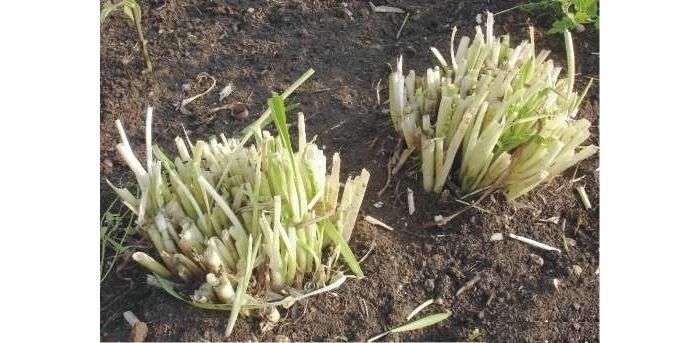
You need to cut the daylilies so that small hemp remains on the surface. It is impossible to cut the leaves, stems and peduncles of daylilies too low (flush with the soil level), as this provokes the growth of new green mass.
Fresh manure is not used in the autumn, since pathogenic fungi and microorganisms contained in it can cause rot and fungal diseases.
It is not recommended to take mown weeds as a cover for daylilies. Their seeds sprout around flowers in the spring and interfere with the growth of plants.
There are many tips for caring for and preparing daylilies for winter. Each gardener, having gained experience, draws up a whole plan of action so that these bright and beautiful flowers grow in his flower garden and delight with flowering.
Autumn care and preparation of daylilies for winter does not cause difficulties even for novice flower growers. Having figured out all the activities and fulfilling them according to the rules, in the spring the flowers quickly wake up and begin to develop and bloom.
Tips for growing daylilies: video


These flowering perennials are deservedly popular with gardeners, as with their magnificent decorative appearance during flowering, they are unpretentious... Looking at these flowering perennials, it is difficult to imagine that they do not need to be looked after constantly, day after day. The plant can grow in sunny areas, but it blooms beautifully in partial shade, and It can be planted in any soil - from sandstone to heavy clay soils. Without a transplant, the daylily feels good in one place for up to ten years.
But in the fall, you will have to work a little to prepare this flower for wintering. The main agrotechnical measures for preparing the plant for the coming cold weather will be discussed below.
Why is pre-winter pruning of leaves from a daylily carried out
Daylilies belong to a herbaceous group of plants that continue their development even at cold temperatures. But with the onset of frost, their leaf plate perishes. In the process of dying off, the green tops are covered with mold, and this is a direct path to the development of fungal infections. In addition, plaque prevents oxygen from reaching the root system. Pruning the daylily in the fall is the best way to prevent infections.
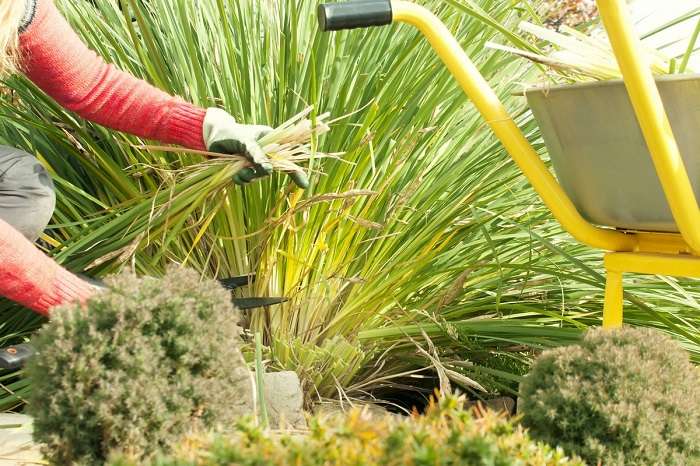

Purposes of the gourmet flower treatment:
- Removing the leaves will help prevent damage to your crop under snow or strong winter winds.
- Increasing the decorative effect of the bush.
- Preservation of impeccable aesthetics in the flower bed.
- Prevention of diseases and pests.


Pruning daylilies helps keep the bush intact in the spring. The plant is an excellent home for slugs, which settle under a green hat in the winter and, at the first rays of the sun, migrate to other areas in the garden.
Pros and cons of planting daylilies in the fall
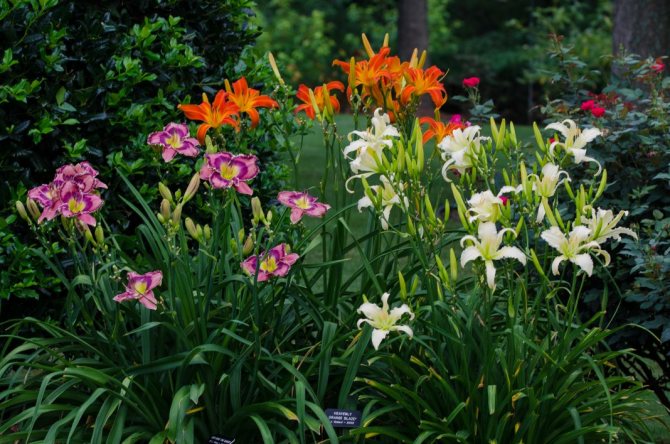

In cold regions where autumn is short, daylily is best planted in spring.
Daylilies can be planted in the ground in spring or autumn.
Benefits of landing in the fall:
- During this period, the heat subsides, it often rains.
- Saplings get used to a new place faster.
Disadvantages:
- If you delay planting before the onset of cold weather, the plant will not have time to form a root system before frost.
- If transplanted too early, the daylily will not have time to stock up on nutrients.
Why is pre-winter pruning of leaves from a daylily carried out
Daylilies belong to a herbaceous group of plants that continue their development even at cold temperatures. But with the onset of frost, their leaf plate perishes. In the process of dying off, the green tops are covered with mold, and this is a direct path to the development of fungal infections. In addition, plaque prevents oxygen from reaching the root system. Pruning the daylily in the fall is the best prevention of infection.
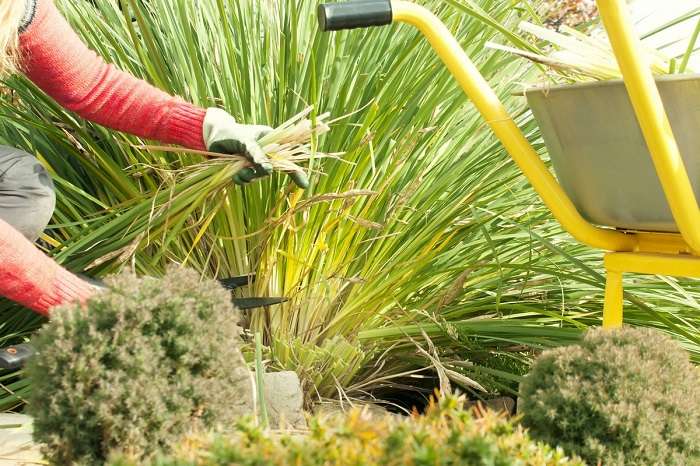

Purposes of the gourmet flower treatment:
- Removing the leaves will help prevent damage to your crop under snow or strong winter winds.
- Increasing the decorative effect of the bush.
- Preservation of impeccable aesthetics in the flower bed.
- Prevention of diseases and pests.


Pruning daylilies helps keep the bush intact in the spring. The plant is an excellent home for slugs, which settle under a green hat in the winter and, at the first rays of the sun, migrate to other areas in the garden.
Conditions for growing daylilies
When planting each plant, we usually select the optimal planting site. What will your daylily need? If in their homeland they grow remarkably in a small shade, then in the middle zone of our country the sun will not be enough for a handsome man, which will affect flowering and growth. Do not be wise, but plant bushes in the bright sun.
Preparing the soil for the daylily won't be a hassle for you, but if it does feel great even in poor soils, please the plant by treating it with a simple mixture of sand, compost and clay. Do not forget about a good drainage layer, especially if the groundwater is close to the surface.
Do you want to know among which plants your daylilies will be able to show all their decorative effect? or a low viburnum can emphasize a bright palette of colors, and if you plant bushes near decorative small ponds, you will get a miniature piece of wildlife near the house. Daylilies also make a picturesque border, even if you pick up bushes with the same flowering.
After flowering, the leaves of daylilies begin to dry out and turn yellow, which will not add originality to yours. Make sure in advance that other plants partially cover the dry shoots with their flowering.
Preventive chemical treatment
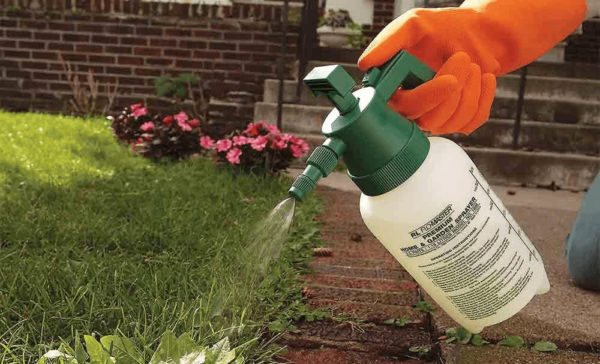

In the fall, plantings are treated with pest drugs, preventing them from wintering. Threatening plants:
- thrips;
- nematodes;
- bear;
- slugs and snails.
gall midge;
Cleaning and pruning helps protect the daylily, but spraying is essential. Insects usually go down to the rhizomes for wintering, and only chemical means will help here.
For treatments use:
Working solutions are prepared according to the instructions, observing the processing norms. For the prevention of daylily infection with diseases, copper-containing compounds (HOM, Oxyhom), as well as Fitosporin or Discor, are used.
It is recommended to regularly disinfect agricultural implements during the season (for example, with a solution of bleach), even after the end of work before winter storage.


