Pros and cons of seed propagation of geraniums
Seed propagation of geraniums has many positive factors:
- the possibility of self-collection and preparation of seed material;
- method availability;
- seeds have a long shelf life;
- the possibility of obtaining flowering plants by early summer.
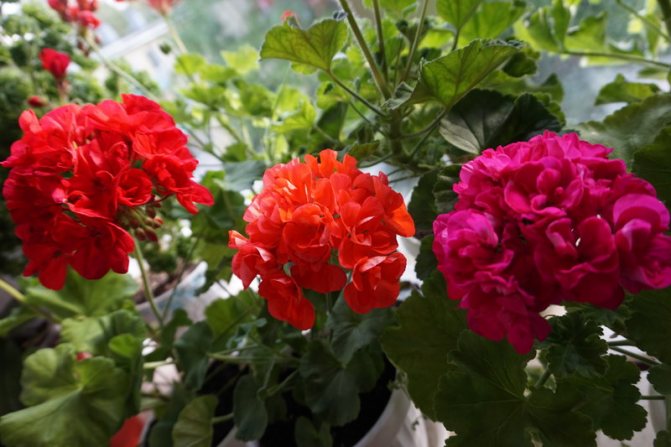
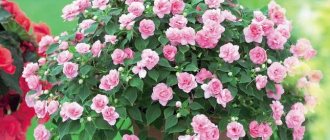
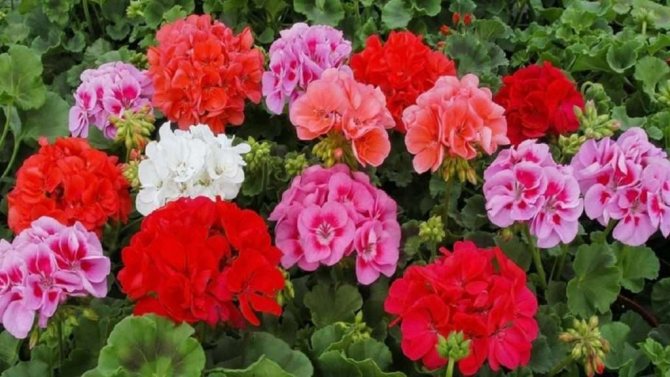
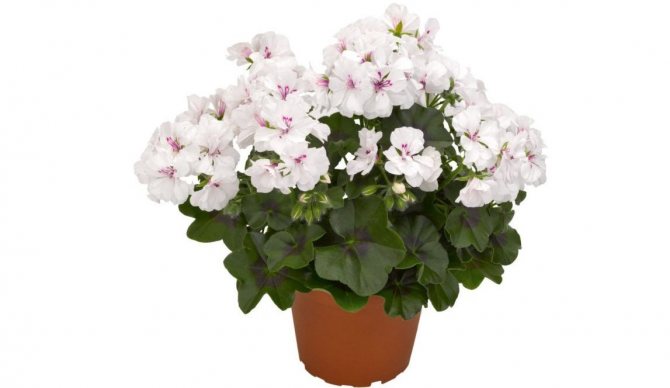
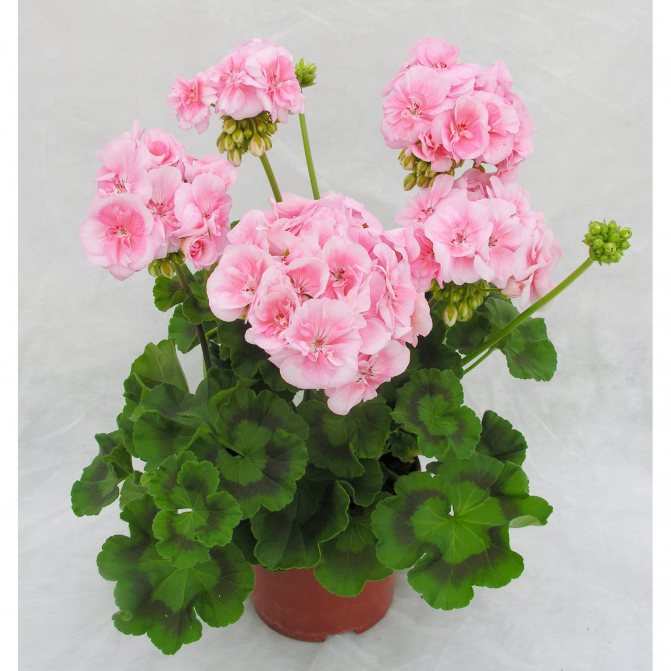
Geranium is a beautiful, unpretentious house plant
But there is one significant disadvantage of seed reproduction. This method may not transfer the parental qualities declared in the variety description. For example, the petals will not be double, the shape and size of the flowers will change.
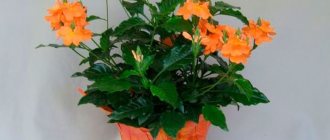
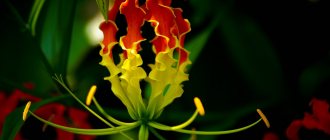
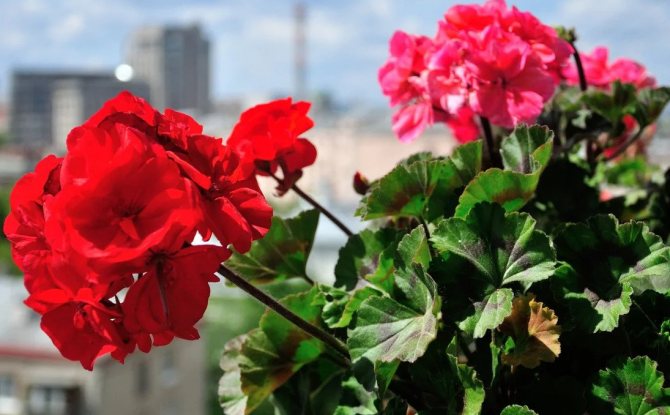
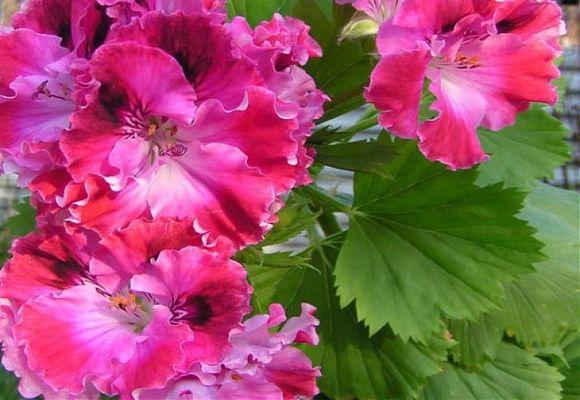
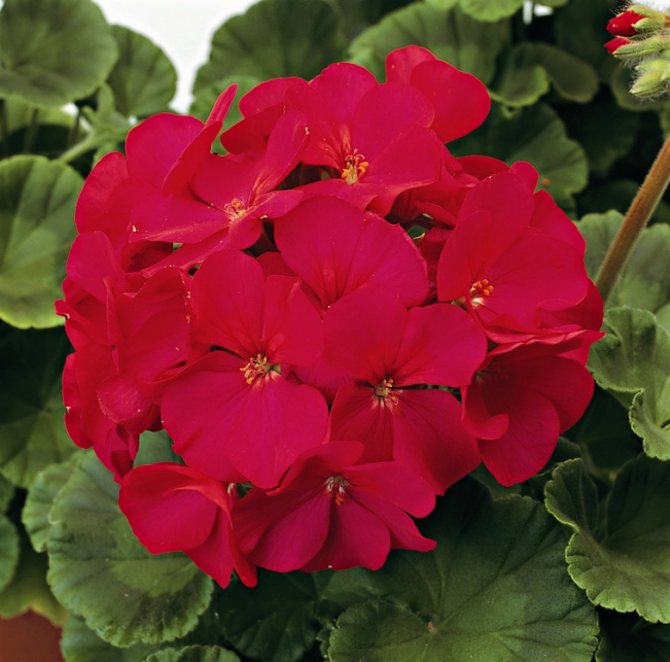
Additional Information! Royal geranium, or Grandiflora, is one of the most beautiful varieties of pelargonium. It is distinguished by large flowers of various colors.
History of origin
Pelargonium is a representative of the Geraniev family, which includes 5 genera. One of the generic groups is the royal pelargonium. For the first time, this type of pelargonium became known thanks to the description of the botanist Liberty Hyde Bailey. His work was published at the beginning of the twentieth century.
A little later, he bred numerous varieties of this group in the process of painstaking selection work when crossing the most common species. Hyde Bailey also found that this plant grows successfully in England and the Netherlands, Germany and France.
At the end of the 19th century, the royal pelargonium was called "Regal Pelargoniums", and already at the beginning of the 20th century, the name "Royal Pelargoniums", which is widespread today, was introduced.
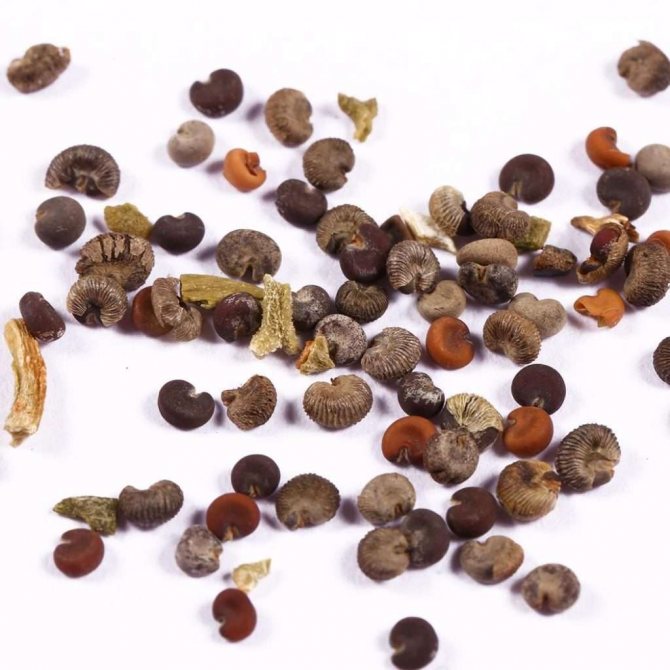
Rules for choosing purchased seeds
Why do geranium leaves turn white and how to help the plant
High-quality seed is sold packed in bags made of thick, sturdy paper. The following information must be indicated on the package: name of the manufacturer, contact details, batch number.
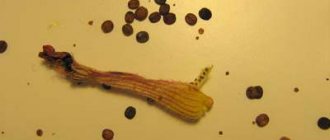
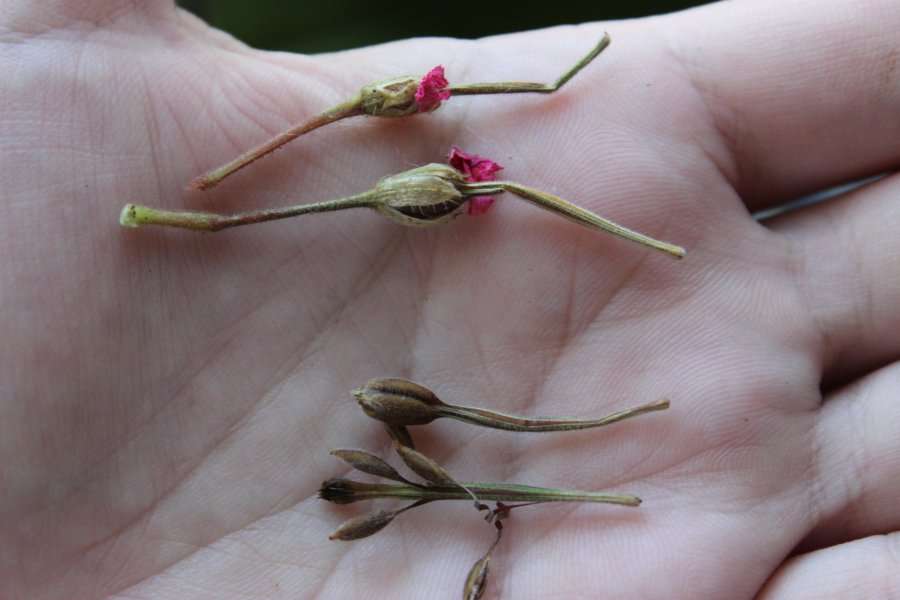
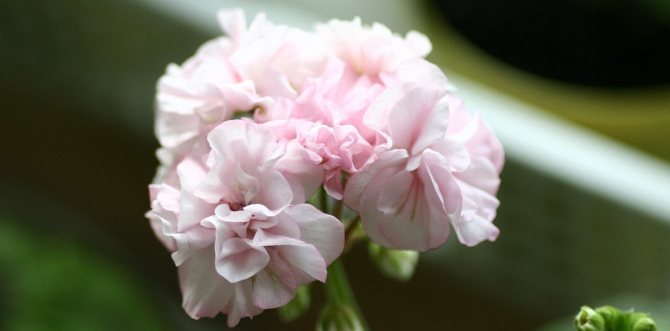
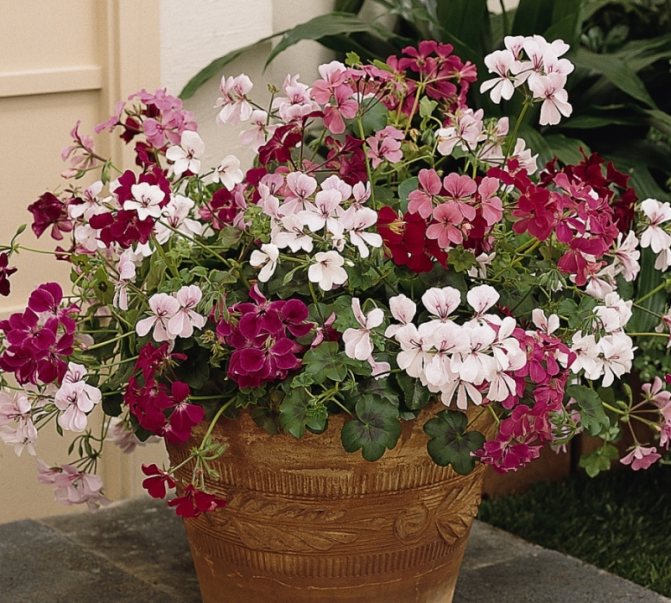
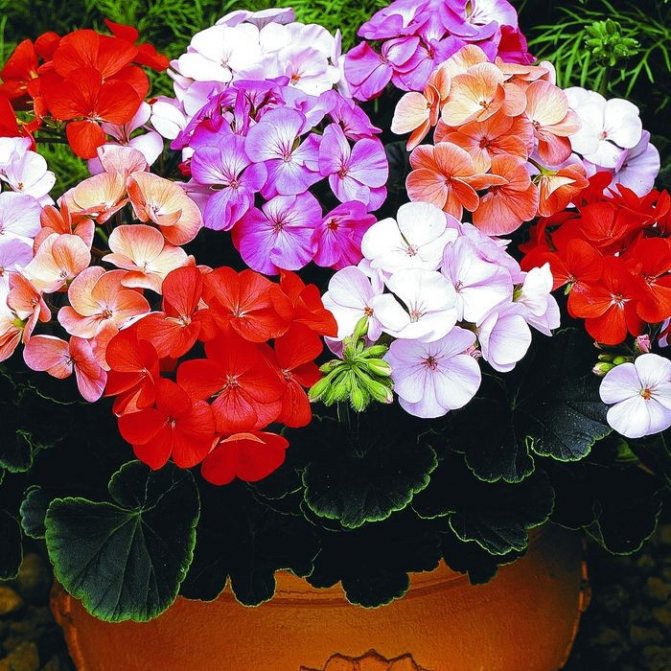
After the geranium blooms, seeds are formed that can be used for propagation
In addition, a bona fide producer indicates the name of the crop and variety, the mass of seeds, and their shelf life. After opening the package, the florist must inspect the seed. You need to plant only dry seeds without signs of disease and pests.
Important! You need to purchase planting material from trusted manufacturers.
Before ordering seeds from China through the online store, which is now very common among flower growers, you need to carefully read the customer reviews.

Prevention of diseases and pests
Usually pelargonium can be damaged by rust, gray rot, and of the pests most often it is attacked by whitefly, spider mites and mealybugs.
Usually, you can understand that a plant is sick by its appearance:
- rust appears on the foliage - a white bloom in the form of circles;
- gray rot can be recognized by gray spots appearing on the back of the foliage;
- if the plant freezes, then its stems and leaves acquire a reddish tint.
The diseased parts of the plant must be cut off immediately so that the disease does not spread to healthy leaves.
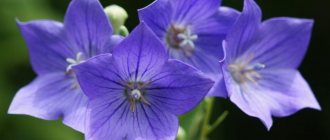
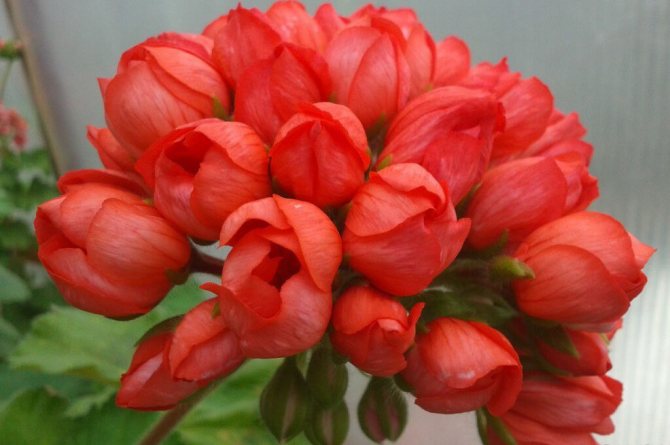
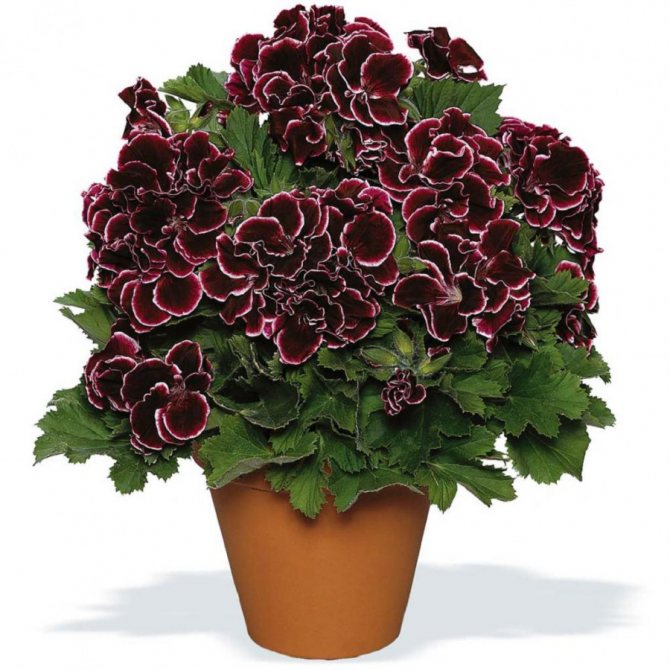
Although pelargonium tulip requires more attention than other varieties of geraniums and other indoor plants, but its high decorativeness, beautiful and abundant flowering justify the efforts of flower growers.
Preparing for the procedure
In order for pelargonium from seeds to please with a beautiful flowering for a long time, you need to properly carry out the preparatory work.
Selection of containers
Geranium seeds can be planted in boxes or individual containers. For group planting, shallow wooden or plastic containers are used.
Peat pots are very popular with flower growers. In this case, the grown bushes can be planted in new containers along with a peat shell.
Geranium seeds are planted in light, fertile soil
Soil preparation
The substrate for sowing geraniums must be loose, air and water permeable. You can prepare it yourself from the following components:
- sod land;
- peat;
- river sand.
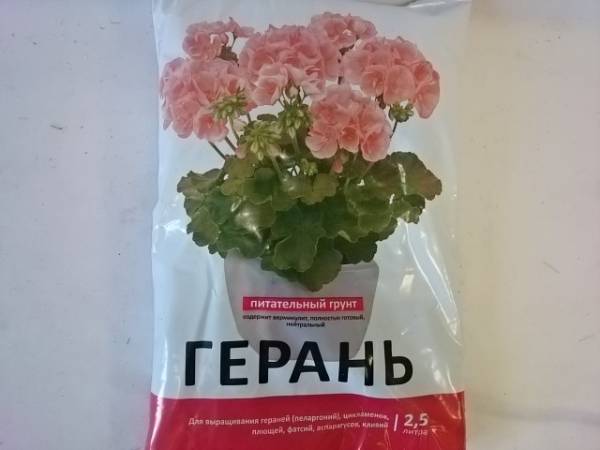
In the flower shop, you can buy ready-made nutrient soil for geraniums.
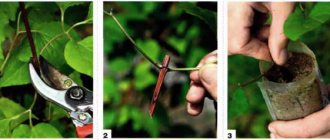
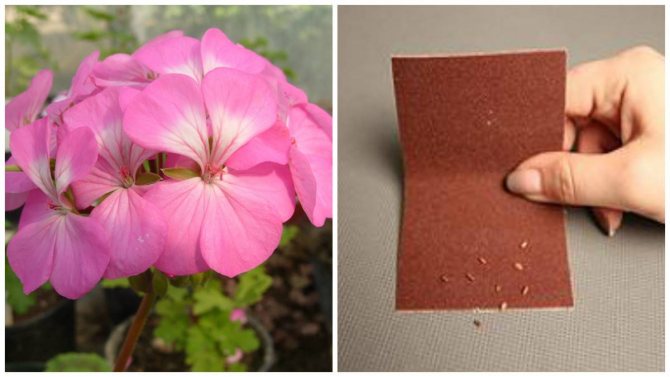
Scarification, disinfection and soaking of pelargonium seeds
To facilitate seed germination, a scarification procedure is carried out. To do this, the seeds are lightly rubbed with fine sandpaper. Only the top layer of seeds is carefully removed.
For disinfection, the seeds are placed in a potassium permanganate solution before being planted in a container. It is capable of destroying 100% of bacteria that cause various diseases. Geranium seeds are soaked for 20 minutes, then washed with water and dried with a napkin.
To stimulate growth, seeds can be placed in a Zircon solution. Prepare it at the rate of 4-5 drops of the drug per 100 grams of water. Seed material is soaked for 7-8 hours.
How to sow pelargonium at home with seeds for seedlings
Planting and caring for pelargonium seeds requires a little skill. The container is chosen depending on the amount of seed. If there is a lot of it, use a group container, if not enough, use individual containers.
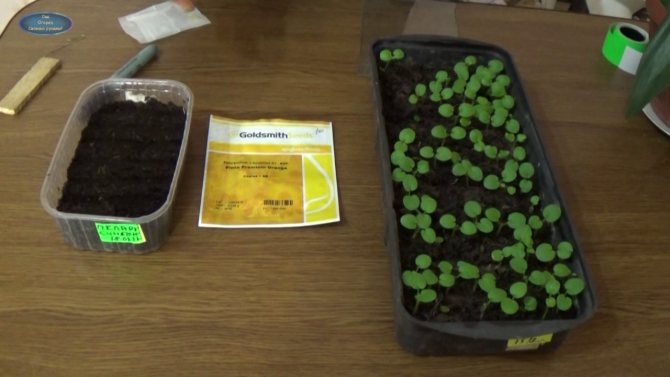
Sow seeds in group containers or individual containers
Into containers
There must be drain holes in the container. When sowing, the following step-by-step actions are performed:
- The containers are filled with earth to a depth of 3-4 centimeters.
- Sprinkle with warm water.
- Seeds are placed on the surface at a distance of 2 centimeters from each other.
- They are covered with a small layer of substrate.
For quick germination of seeds, the container is covered with glass or foil. The mini-greenhouse is placed in a warm place. Covering material is removed, the container with crops is ventilated. This must be done to prevent the appearance of fungal diseases.
Note! Condensation must be wiped off the film and container walls, otherwise pathogenic microorganisms may appear on them.
In peat tablets
If there is little seed, you can use individual containers made from natural materials. For example, it can be peat pots, which are filled with prepared substrate, and pelargonium seeds are planted in them.
Another option is peat tablets. They are sold compressed. To make them soak, they are placed in warm water for a few minutes. They are then squeezed slightly to remove excess fluid.
In each tablet you need to sow 1 seed, deepening it by no more than 1 centimeter. Planting material can be placed in a container and covered with glass or foil.
Using toilet paper
One of the simplest ways to get seedlings is to germinate seeds on toilet paper. The landing procedure is performed as follows:
- Cut a strip of polyethylene, on which toilet paper is laid.
- Spray with water from a spray bottle.
- Spread the seeds at a distance of 2-3 centimeters from each other.
- Cover them with a strip of toilet paper, which is then moistened.
- Lay out a strip of polyethylene.
The structure is rolled up. Water is poured into a bottle or a plastic glass to a level of 2-3 centimeters, then a snail with seeds is placed there.Cover the container. The first shoots will appear soon.

How to care for geranium seedlings
Care is a prerequisite for growing quality seedlings. Crops must be watered on time, periodically fed. When the seedlings grow a little, they dive; for good tillering - pinch. When signs of disease appear, the bushes are sprayed with special preparations.
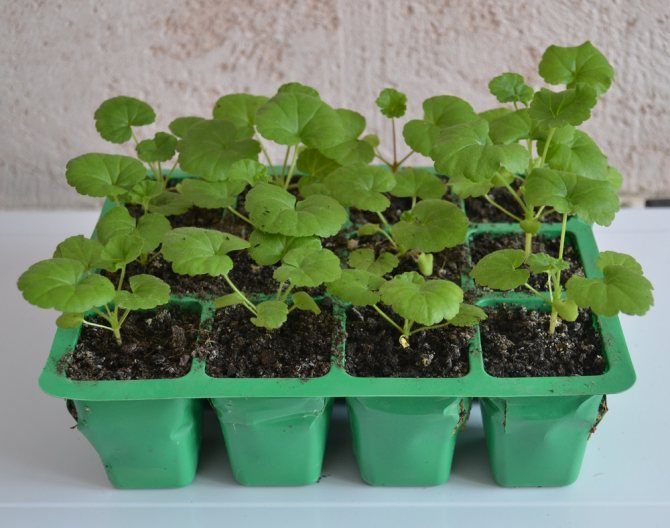
Grown geranium seedlings
Watering
Until the seeds have sprouted, the ground is sprayed with water from a spray bottle. When shoots appear, you can water from a watering can with a narrow neck. Moisten the soil as the top layer dries.
In summer, seedlings are usually watered once every 3 days. The bushes do not tolerate excess moisture, therefore, the containers must have holes for draining excess liquid. With stagnant water in the ground, geraniums can be struck by a black leg.
Top dressing
Nutrients begin to be applied 2 weeks after picking the seedlings. Mineral complex fertilizer is used. During the budding period, potassium and phosphorus are introduced, contributing to a lush and long flowering.
Top dressing is done twice a month until mid-autumn. In winter, plants are given a dormant period.
Important! Nutrients are added to moist soil. The root system, when dry, can burn with mineral salts.
Transplant to a permanent place and further care
The recommended time for planting in open ground is May. By this time, the geranium is fully developed and the root system / immunity is strong. We ship to a permanent place by transshipment. The hole for the plant must be prepared in advance.
The width and height should correspond to the container in which the pelargonium was located. A week before the transplant, the fossa is abundantly moistened, drainage is added.
During planting, the soil is also watered so that the roots can stretch out. Loosening immediately.
For the summer period, geranium does not require special care. Weed grass will not grow, as the culture quickly takes up the entire space.
Pruning is required in the presence of wilting inflorescences and foliage, as well as for the formation of a bush. Top dressing is carried out as needed. Of all the manipulations, it is necessary to regularly water, flush the flower.

External factors
Growing pelargonium from seeds will be effective if the required conditions of keeping are provided from the first days of the seedlings.
Lighting
Geranium loves well-lit places. But the direct rays of the sun should not fall on the leaves. For the summer, pots with flowers are taken out into the fresh air, having previously hardened the seedlings. To prevent the shoots from stretching, the culture must be provided with good lighting for 15-16 hours a day.
Air humidity
Spraying geraniums is not required. The sheet plates are covered with a protective layer that can be damaged by the ingress of water droplets. From excess moisture, there is a likelihood of the appearance of putrefactive microorganisms on the culture.
Temperature
The most favorable temperature for keeping geranium is 20-22 ° C. So that the bushes do not lose their decorative effect, it should not fall below 7 ° C. Do not allow sudden changes in day and night temperatures.
Picking
When at least 4 true leaves appear on young bushes, a pick is made. Plants are gently pulled out of the ground with tweezers and planted in individual containers. They are deepened by 2-3 centimeters.
Important! The pots don't have to be big. Shoots will not develop until the roots are wrapped around the inside of the container.

When the bushes grow up a little, they are transplanted into separate containers.
Pinching
When the plants form 6-8 leaves, pinch is done. The procedure promotes the formation of lateral buds. The bush then takes on a decorative appearance, becomes lush, branched.
Pinch the top over the kidney. The procedure can be performed several times per season.