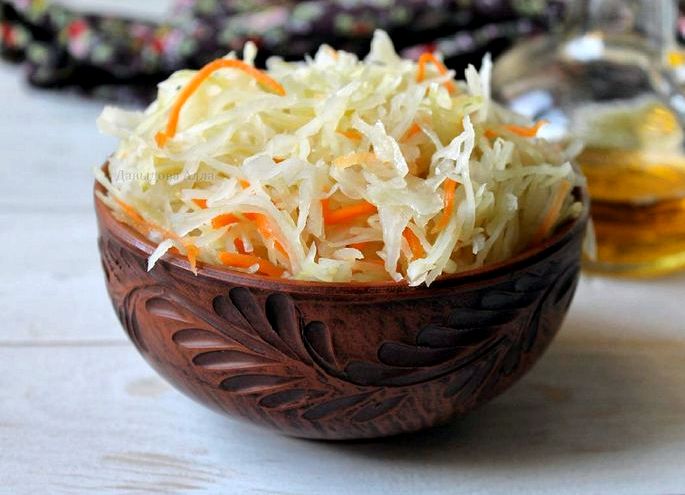
Every day the cold is getting closer and you need to stock up on various pickles for the winter. And here the first frosts hit and grabbed our cabbage. Now it will not be bitter and you can make a lot of delicious food out of it for the winter. For example, you can pickle or salt. This can be done in large pieces or finely chopped as usual. Today I decided that it was time to make sauerkraut.
This is very easy to prepare. If you do not know how, then I will share with you my favorite recipes. I agree that the multitude of them usually makes my eyes run wild and I want to try most of them. Just how to do everything and most importantly: when? Do not worry. After all, you can do a little, 1 - 2 sample jars. And there you will already decide how you like best.
These methods are used not only by me, but also by my family. Therefore, they are all time-tested. The white-headed one is always crispy, the hand itself constantly reaches for it. But I also wanted to surprise you a little with one recipe. This is about fermentation without salt. Are your eyebrows already creeping up? Then let's get down to business.
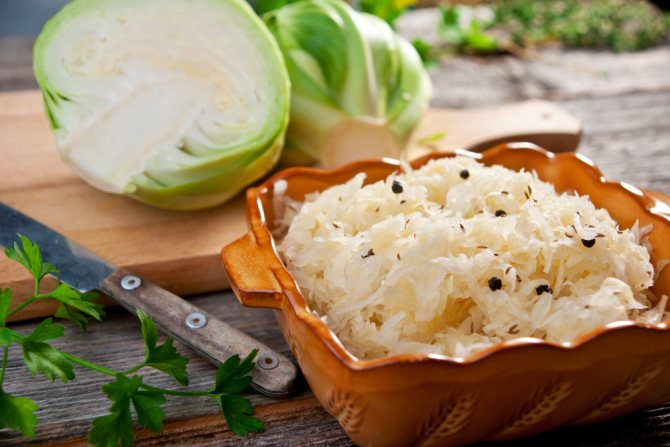
Sauerkraut - a classic recipe for the winter (no vinegar)
The first recipe, which I want to introduce you, is the classic technology of fermentation of white cabbage, used in the canning industry.
Currently, the most common way to prepare this snack is the shredding method. Vegetables are usually fermented in barrels, vats, plastic or enameled dishes.
For fermentation for the winter, you need to choose the right vegetables. Not all varieties are suitable for this purpose. Usually, mid-ripening and late-ripening varieties are used (for example, Slava, Belorusskaya, Moscow late and others).
Early ripening varieties are undesirable for use, since they usually have a loose, loose structure and a low content of sugar required for fermentation.
I choose white heads of cabbage for fermentation with a dense juicy structure, since not very juicy vegetables will give little juice, and the fermentation process will be complicated.
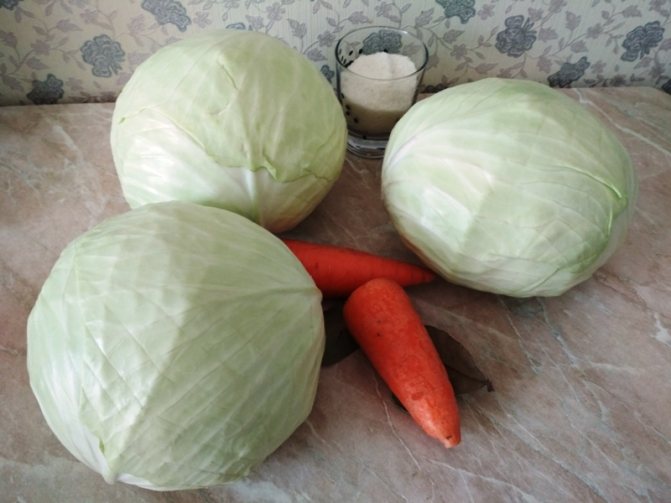
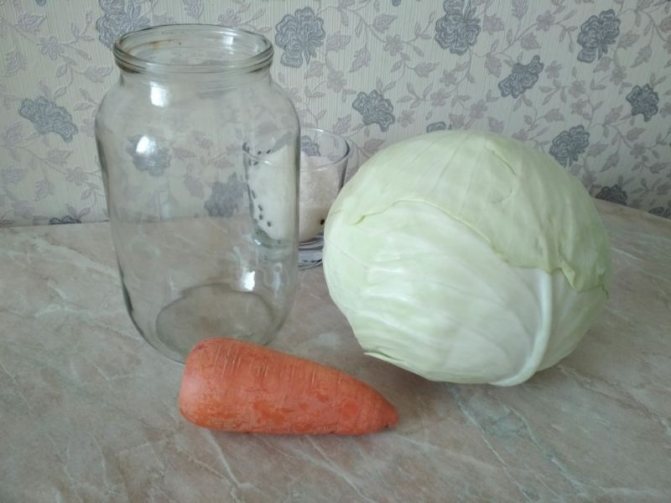
To prepare this snack according to the classic recipe, we need carrots, salt and spices as additional ingredients. I usually take 1 medium-sized carrot for 1 large head of cabbage, but since such concepts as large, average are different for everyone, for convenience I will indicate all proportions per 1 kilogram.

Ingredients:
- Cabbage - 1 kg
- Carrots - 30 g
- Salt - 20 g (per 1 kg of vegetables)
- Dill seeds - 0.5 tsp
- Bay leaf
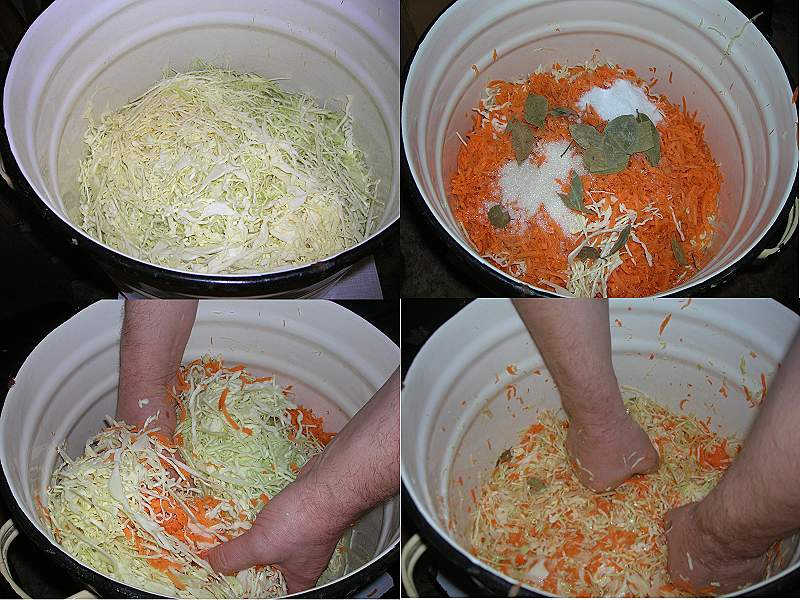
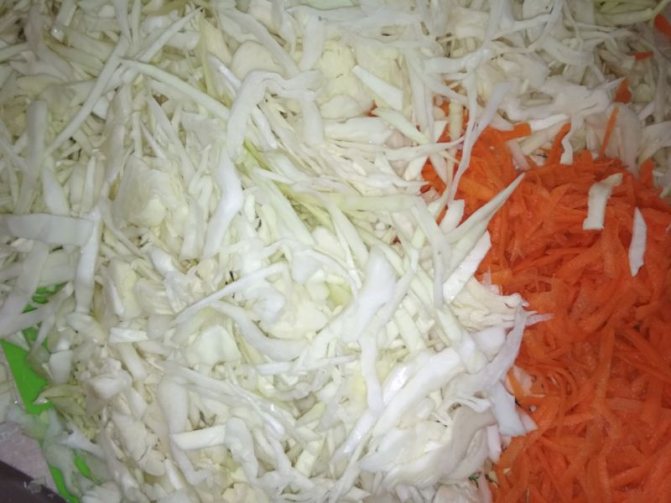
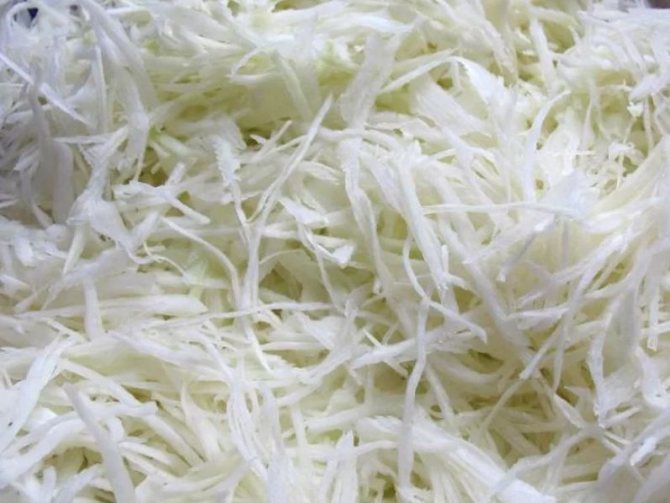
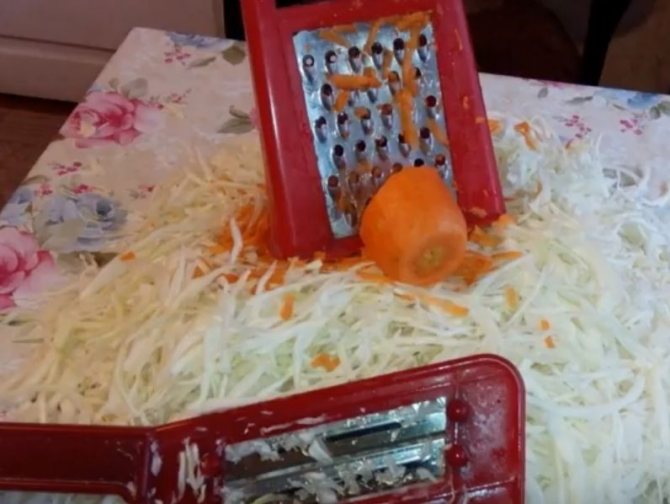
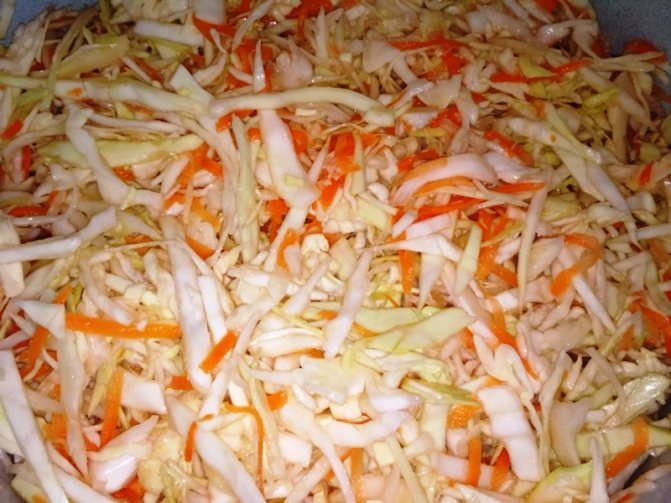
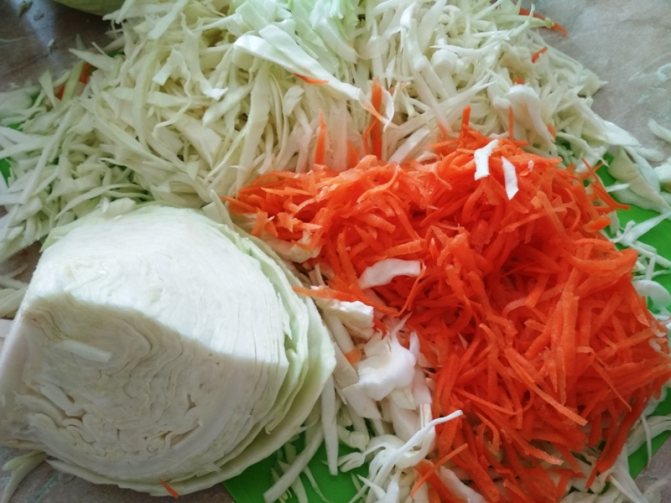
First, we clean the heads of cabbage from the outer green leaves and from all visible damage and wash it well. Then carefully cut the stump with a knife and chop it. When chopping, if possible, straws should be uniform in size.
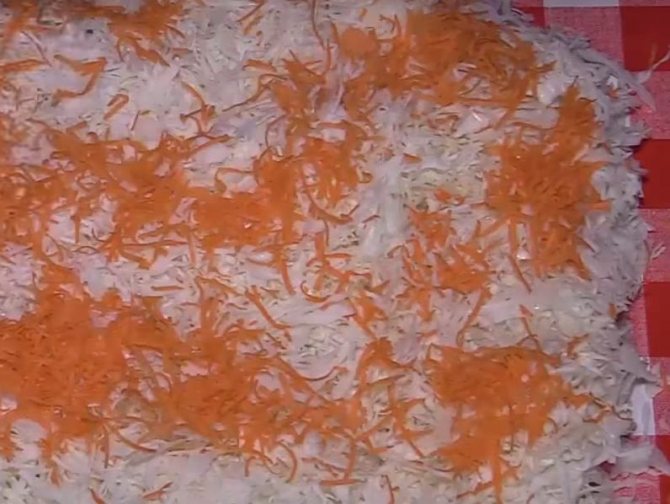
Wash carrots, peel from the top layer and three on a grater or cut into thin strips. The color of the finished product depends on the amount of carrots. The more it is, the brighter the shade. At the same time, there should not be too many carrots, otherwise they will add additional softness to the finished dish.

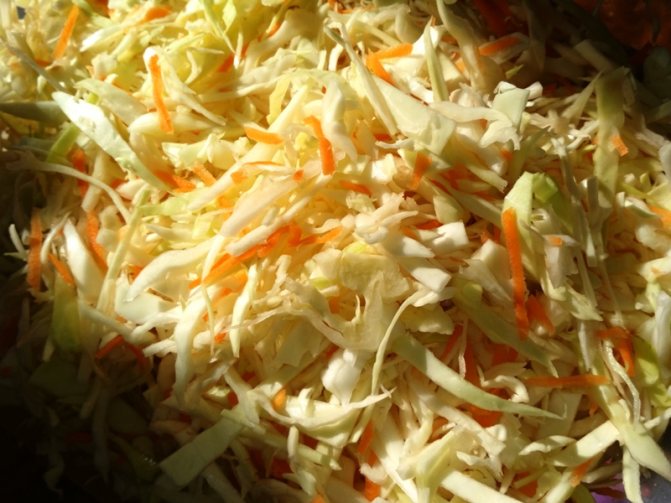
Mix all vegetables and grind with salt. Add salt in an amount of 20 g per 1 kg of vegetable mixture.
When pickling cabbage, salt is added at the rate of 2-2.5% of the mass of vegetables.
If you add more salt, then the finished dish will be salty.Also, an excessive amount of salt will inhibit the activity of lactic acid bacteria, and then other microorganisms that are undesirable for us may develop in the product.
At the same time, if the amount of salt is less, then the finished product, due to the action of foreign microorganisms, may turn out to be too soft and may become covered with mucus.
You cannot use iodized salt for fermentation, otherwise the cabbage will turn out to be soft.
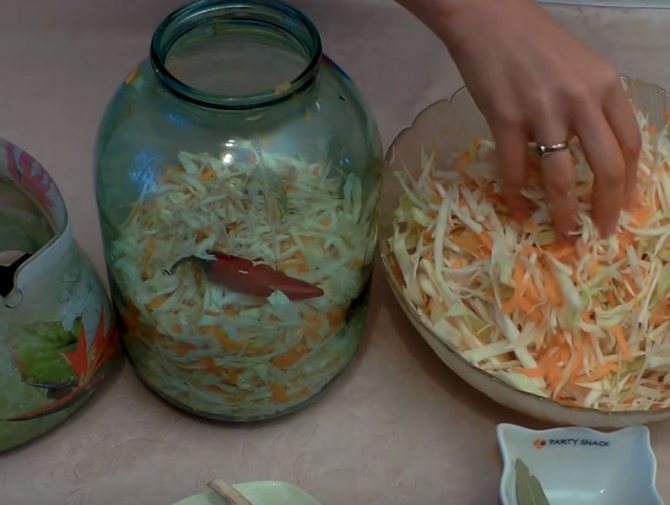
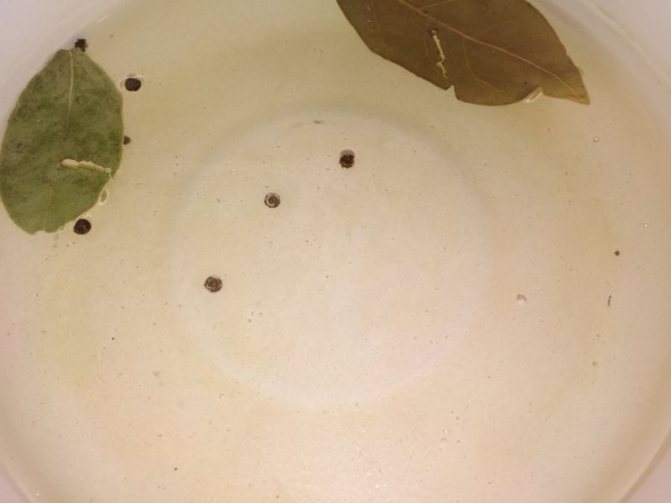
Now we transfer the vegetable mixture to a large container, and tamp it well with a wooden pestle or rolling pin. In the middle of the vegetable mass, place a few bay leaves and dill seeds wrapped in gauze or bandage. Dill will give the finished dish a spicy aroma, in addition, it has antibacterial properties, which will prevent the growth of putrefactive bacteria.
If desired, you can put whole leaves on top, which must be prepared in advance by removing them from the washed heads.
I do not put in whole leaves, because then it is not convenient to pierce the vegetable mixture to remove the accumulated gas.
In conclusion, we put a wooden circle or a flat plate on top, the diameter of which should be slightly less than the diameter of the container itself, and put a load (for example, a can of water or a clean calcined stone). The oppression should be heavy enough so that the mixture settles and becomes covered with brine.
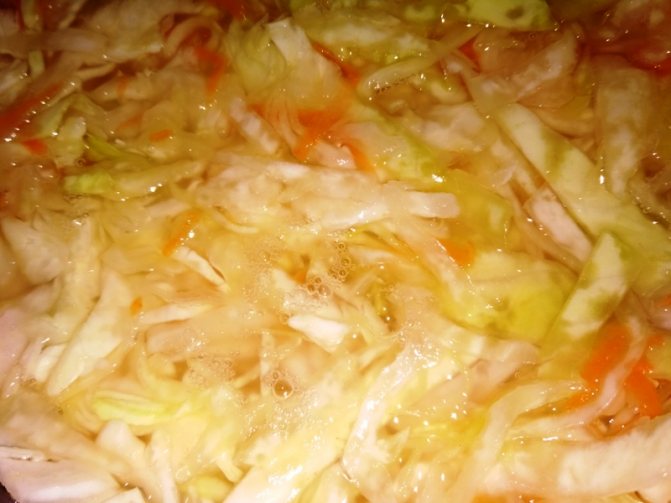
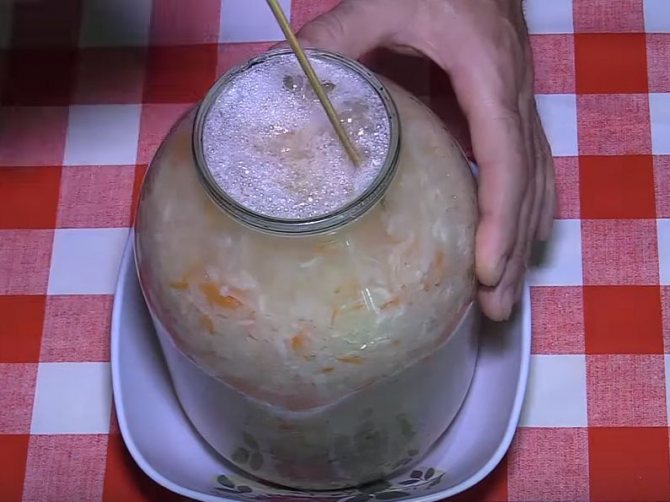
We ferment the cabbage for several days at room temperature. The fermentation process begins almost immediately. After a few hours, juice appears on the surface.
We pierce the fermented vegetable mixture in several places every day (morning and evening) with a wooden stick, knife or fork. It does this in order to release the accumulated gas released during the fermentation process. If this is not done, the finished product will acquire an unpleasant odor and bitterness.
On the second day, foam appears above the brine surface, which must also be removed as it forms.
The favorable temperature for fermentation is in the range of 15-22 ° C. If the temperature is below 15 ° C, then the fermentation process will be greatly delayed. At temperatures above 25 ° C, along with lactic acid bacteria, microorganisms harmful to the fermentation process will develop, under the influence of which the finished product will acquire an unpleasant taste and smell.
At a temperature of 20-22 ° C, vegetables are fermented on the fifth day, acquiring a pleasant sour taste. The brine becomes transparent by this time. At a lower temperature, the fermentation process can take up to 10 days.
Considering that everyone has their own taste preferences, then you can control the sour taste of the finished dish by taking a sample, starting from the 3rd day.
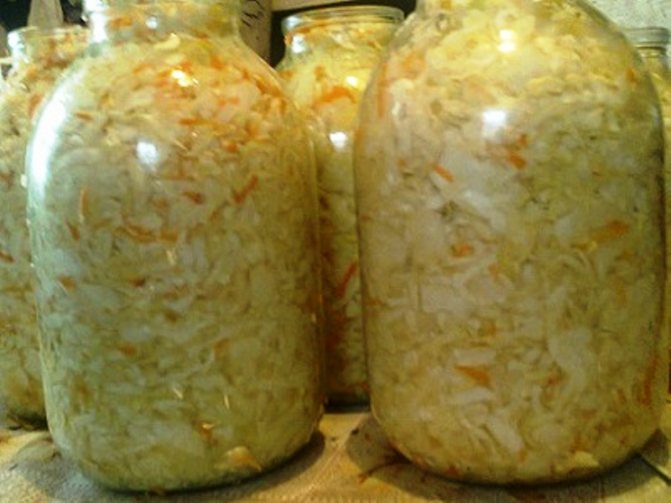
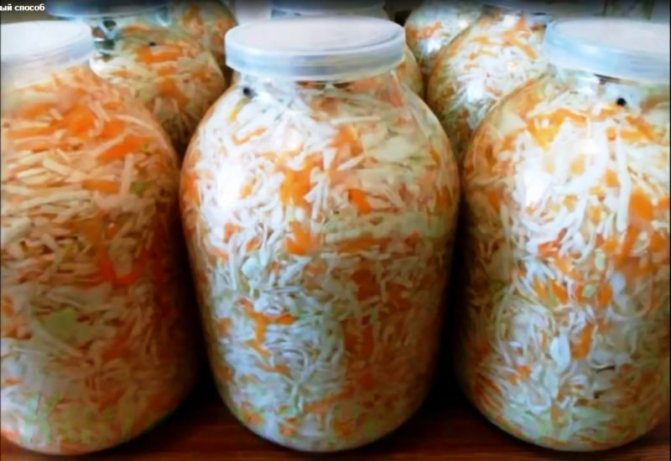
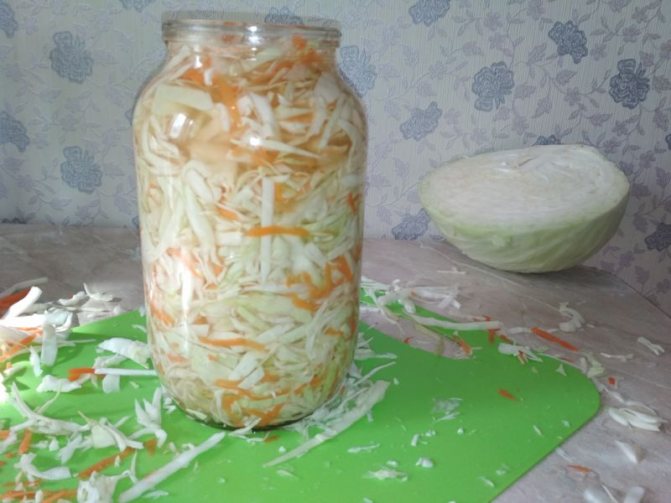
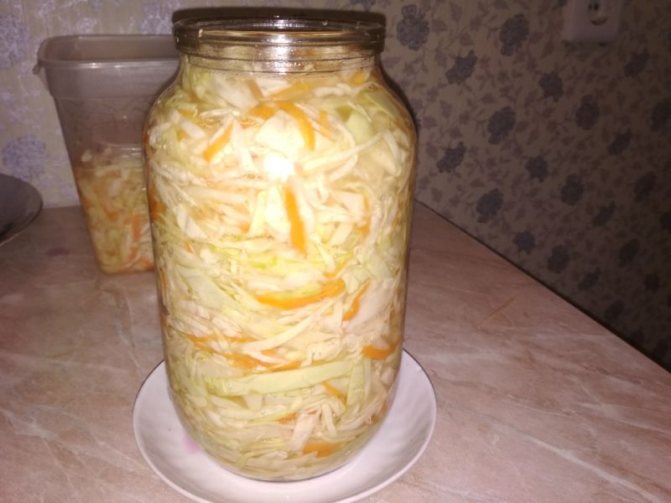
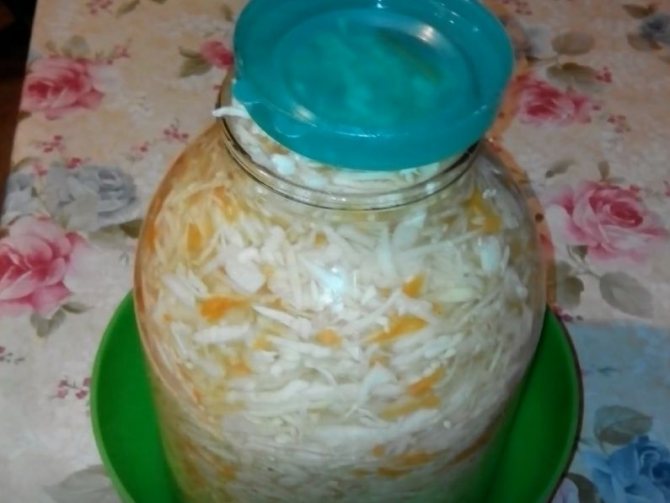
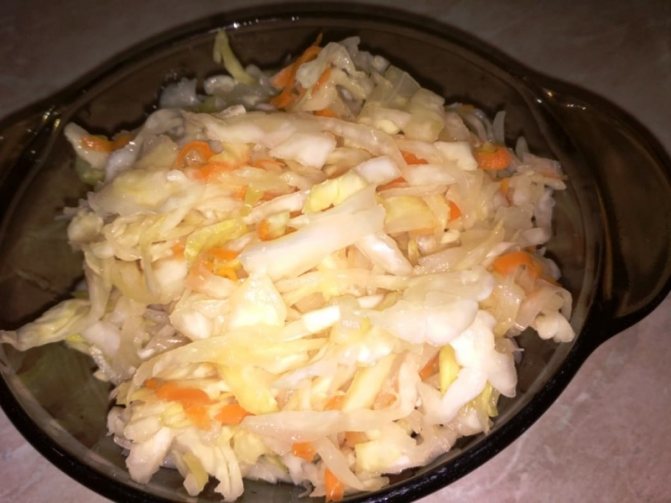
As soon as the appetizer acquires a pleasant taste and sufficient acidity, the containers are removed to a cool place (cellar or basement). I put the finished snack in three-liter jars and put it in the refrigerator.

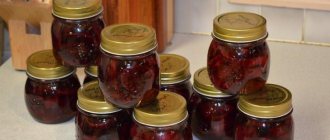
Sauerkraut with beets in Caucasian style
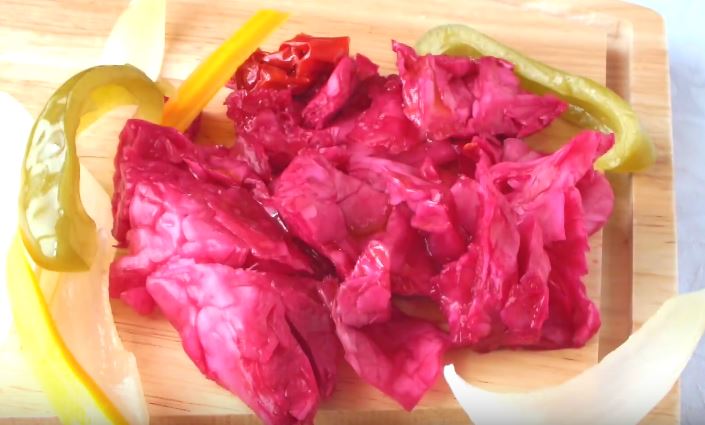
The recipe about which I will tell you now is simply amazing. You probably know yourself that Caucasians are a loving people, something spicy. That is why hot pepper will be included in our workpiece. And for a more interesting taste, we will add beets. It will color our cabbage red and give it a wonderful flavor.
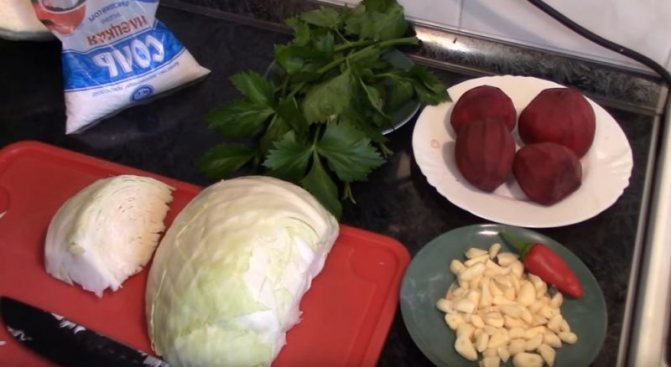
We will need:
Calculation for a can of 2 liters
- cabbage - 1-1.2 kg.
- fresh beets (peeled) -200 gr.
- garlic - 2 heads
- hot pepper - 1 pod
Brine:
- water - 1 liter
- pickling salt - 2 tablespoons
Preparation:
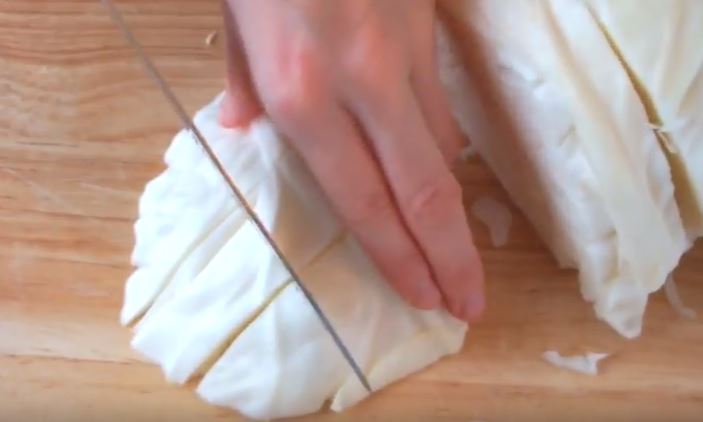
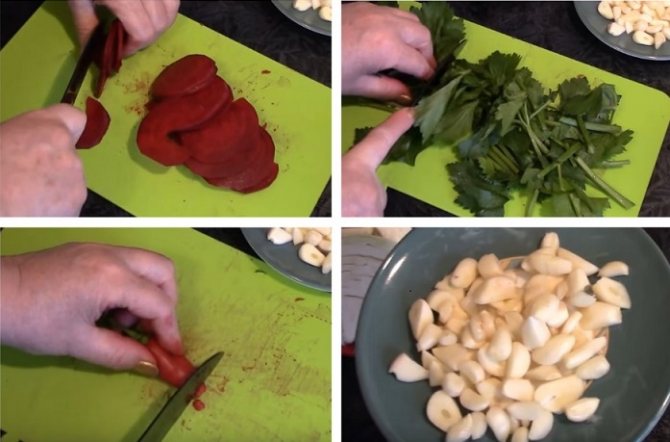
1. Divide the peeled head of cabbage into two equal parts, remove the stump from both sides. Then cut the cabbage into small cubes.
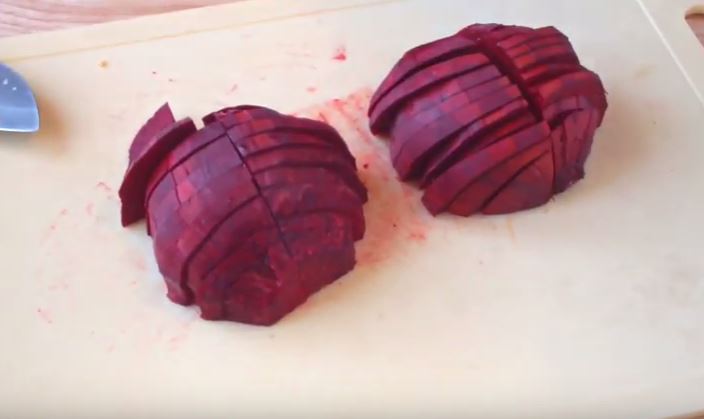
2. Peel the beets. Cut into plates, but not quite thick. On average, the thickness of one is 3-5 mm.
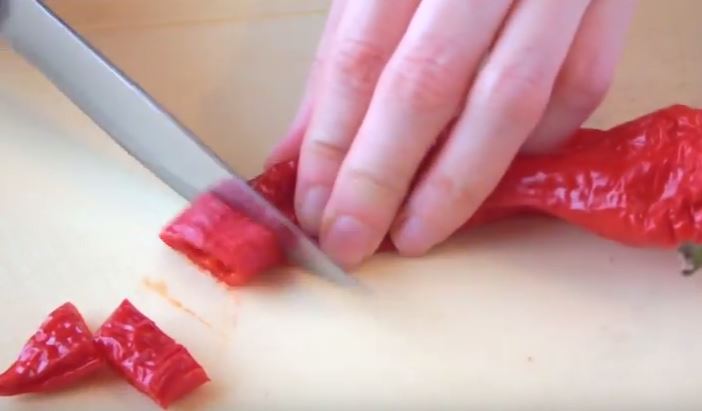
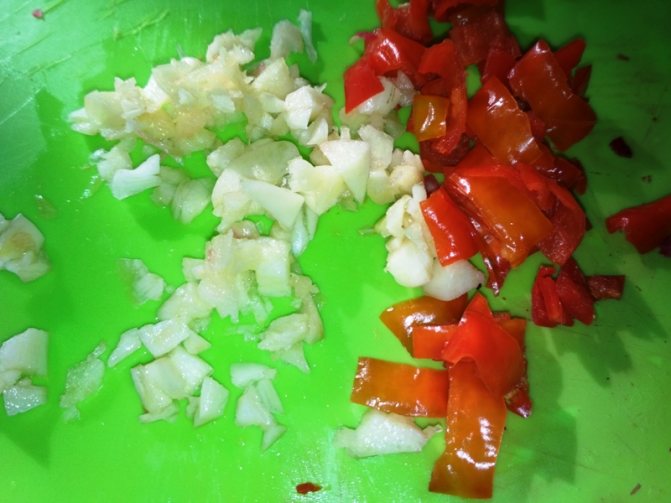
3.Rinse hot pepper and cut into small pieces.
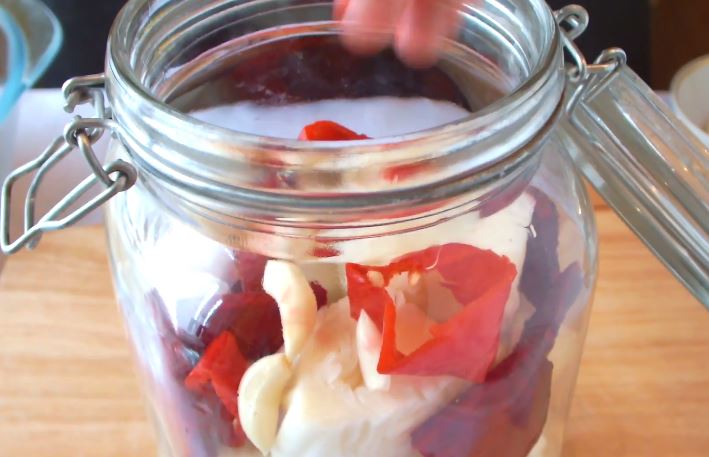
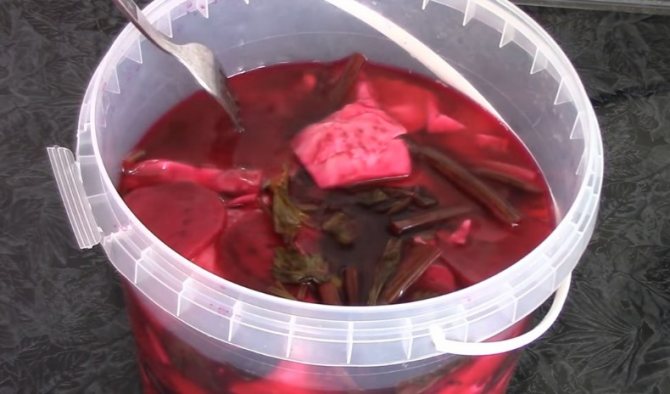
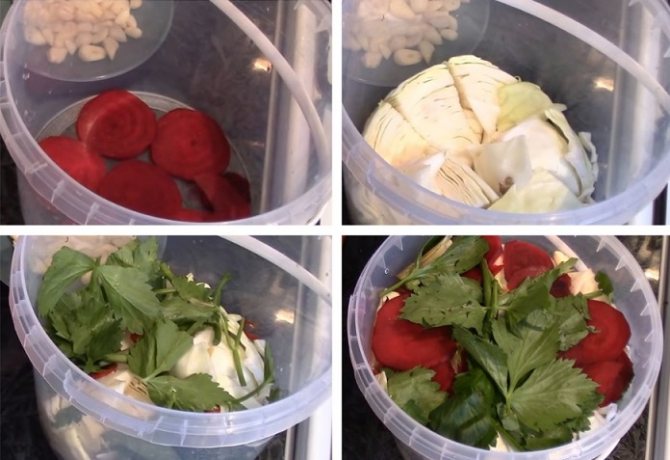
4. Now we proceed to the process of placing all the products in the jar. For this we take a glass container with a volume of 2 liters. On the bottom we put beets, chopped garlic and hot pepper. Next we put chopped cabbage. Thus, we fill the entire jar.
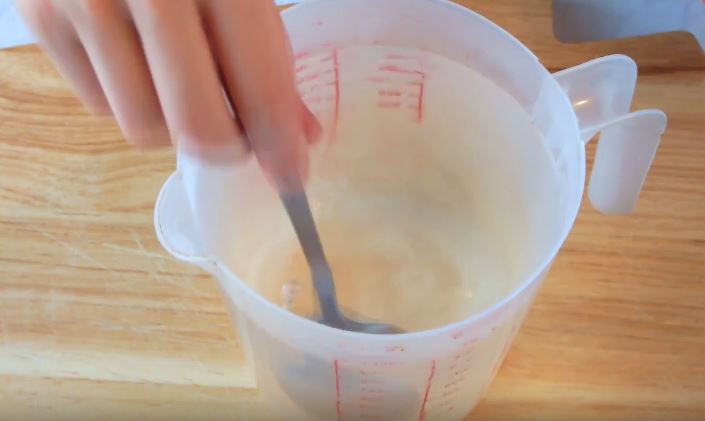
Let's start preparing the brine. Pour the required amount of salt into cold boiled water. Mix everything thoroughly until the bulk ingredient is completely dissolved.
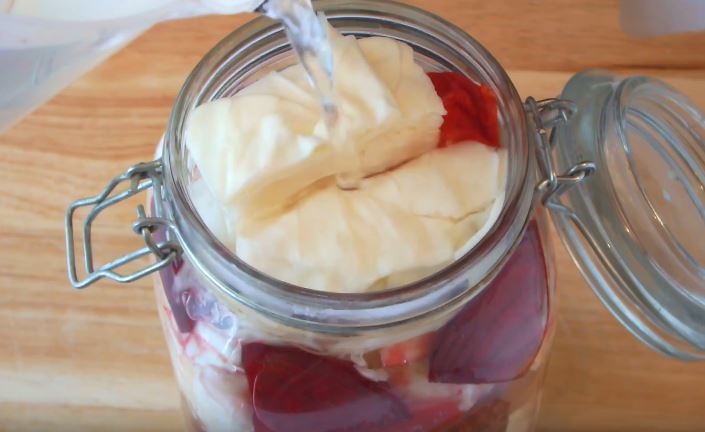
5. Fill a jar of vegetables with the prepared brine.
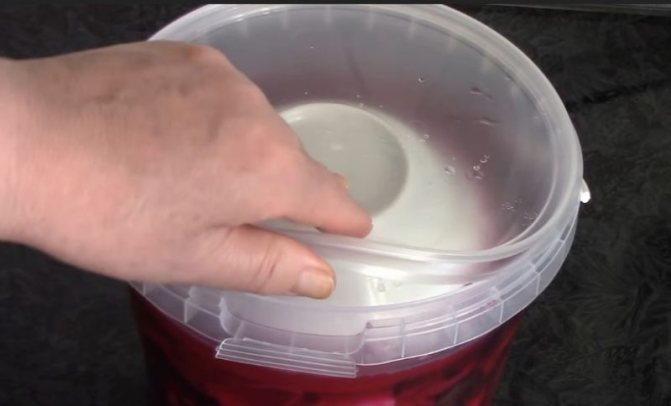
We put a heavy press on top, making it from scrap materials.
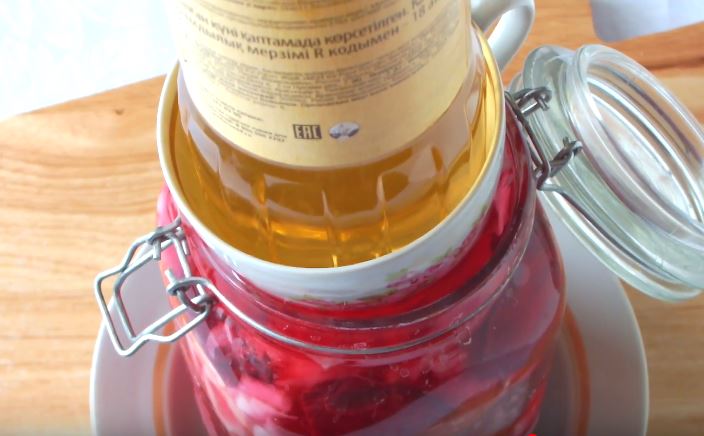
We put a pallet or deep dish under the glass container. So that in the event of a leak of juice, it does not drain onto the table. We keep the cabbage in this state for 6 days.
After the expiration of time, we remove the press. We cover the jar with a lid and put it in the refrigerator.
This sauerkraut with beets goes well with any kind of potatoes.
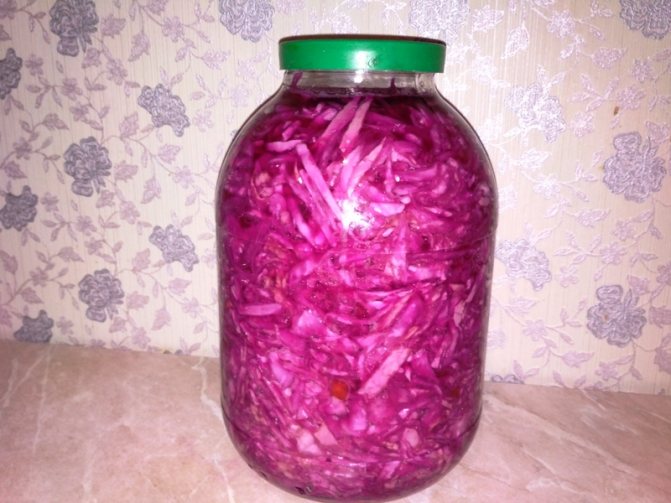
Sauerkraut with beets (in a 3 liter can)
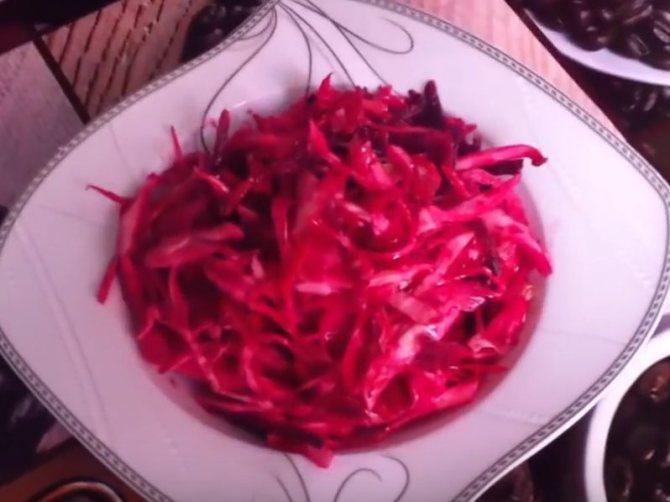
Of the incredible number of sauerkraut recipes, fermentation with beets is arguably the best of them all. That is why it is very popular, because of the amazing taste of the finished product and the ease of preparation.
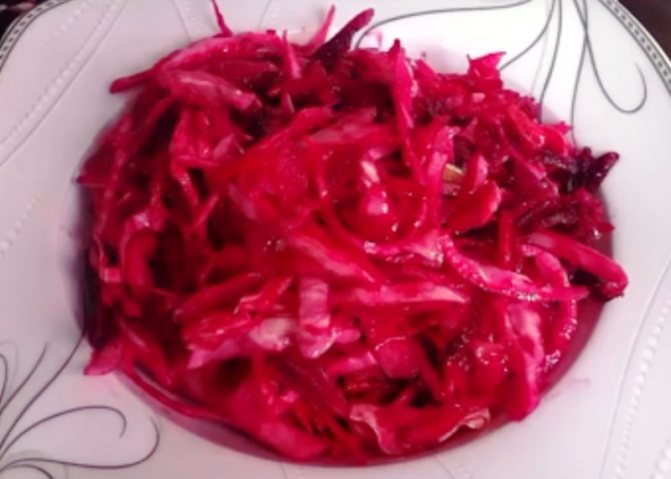
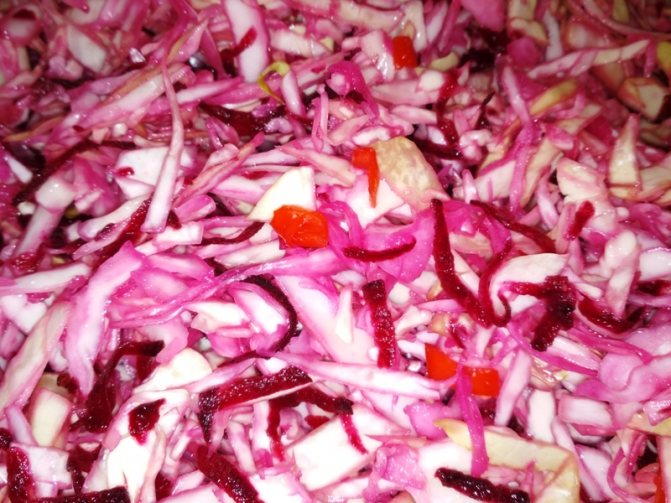
We will prepare an appetizer according to this recipe in a 3-liter jar. The dish turns out to be moderately spicy and beautiful in appearance.
To prepare this dish, I took a large Slava forks, one medium maroon beet, which turned out to be very sweet in taste. I indicate the amount of ingredients in one 3-liter jar.
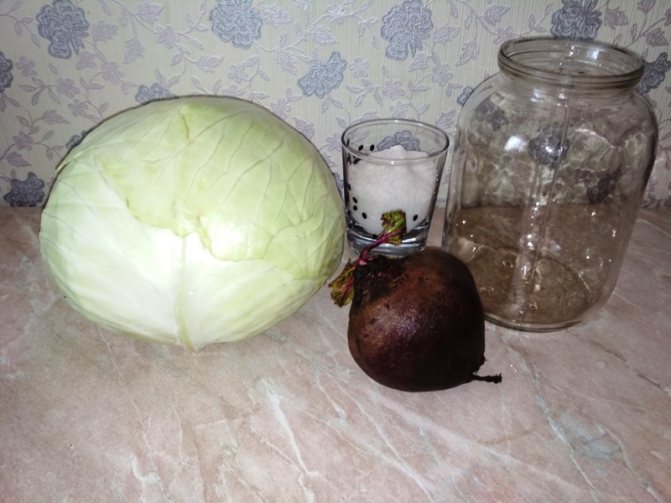
Ingredients:
- Cabbage - 2.5 kg
- Beets - 1 pc. (average)
- Salt - 2 tablespoons with a lump
- Sugar - 1 tablespoon with a lump
- Hot pepper - 1 pc.
- Garlic - 5 cloves
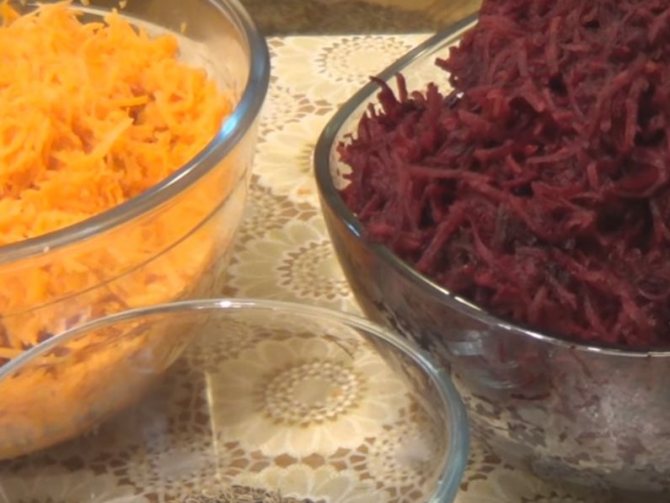
I washed the forks, removed the top leaves, cut them in two and removed the stump. Then she chopped it into medium-sized straws with a knife. The beets were washed well with a hard grater, peeled and chopped on a coarse grater.
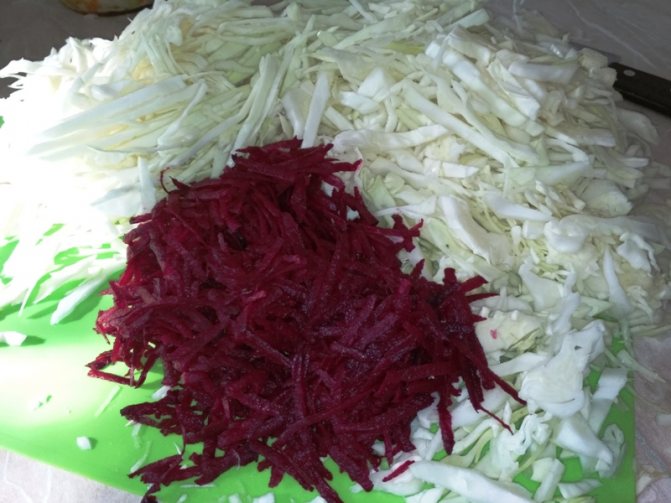
Peeled the garlic and chopped finely with a knife. I washed the hot pepper, removed the seeds and partitions, and chopped finely.
In a large container, she combined all the vegetables with salt, sugar, spices and mixed well.
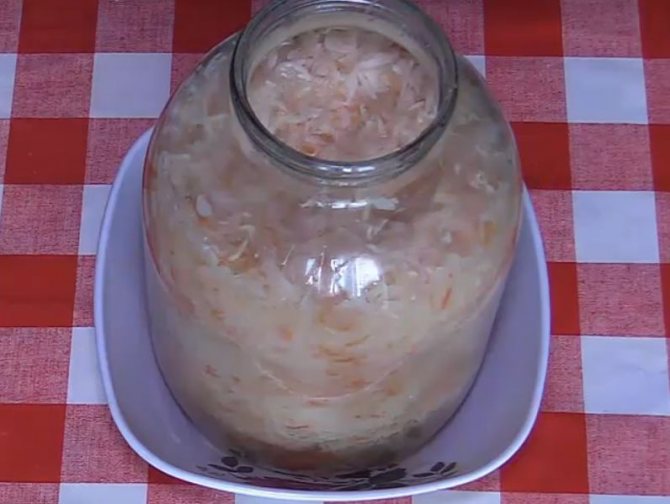
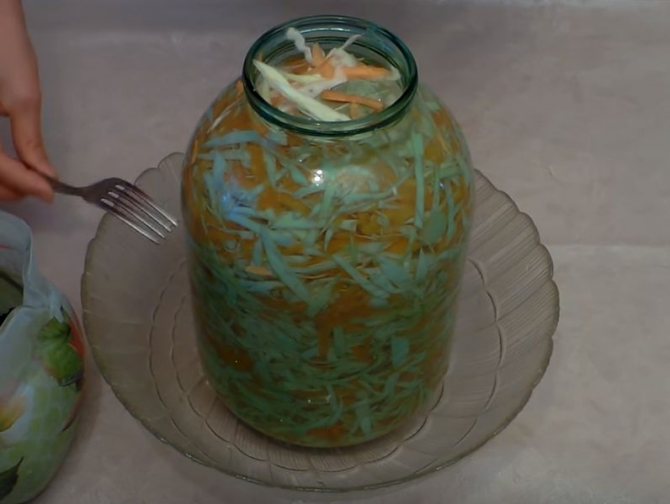
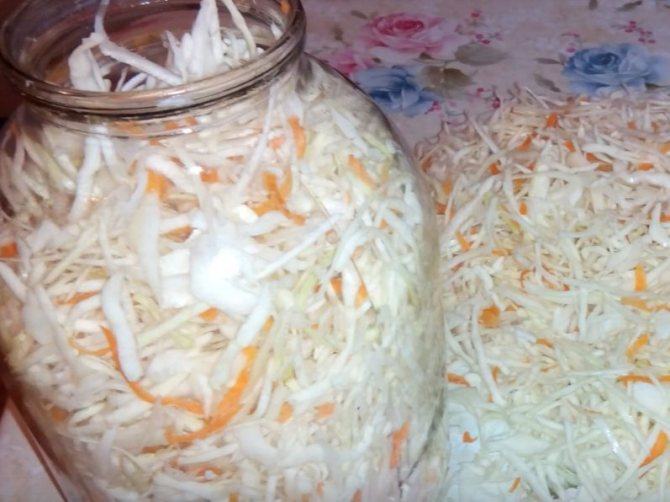
I prepared a 3-liter jar in advance and washed it thoroughly. I put the vegetable mixture in a well-washed jar and tamped it tightly with a wooden rolling pin. I put the jar in a deep plate, since the juice flows out of the jar during the fermentation process.
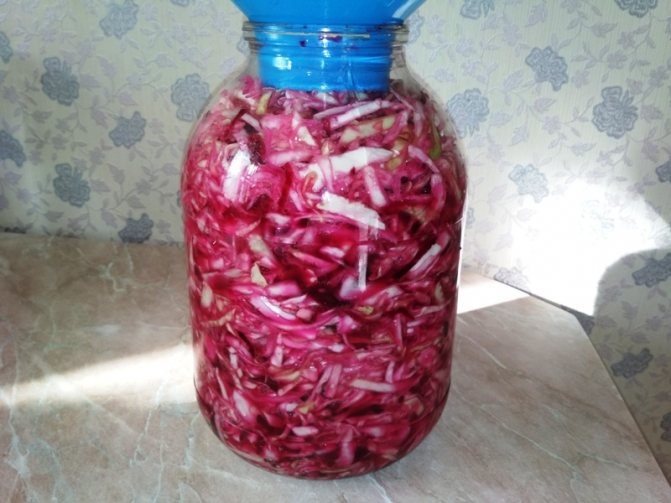
I'll make a reservation right away that I put the chopped vegetables into the jar in two stages. First, I filled the jar and waited 20-30 minutes for the vegetables to juice up and the mixture settled down a bit. Then I presented the remaining vegetables.
Since the beets were sweet enough, the fermentation process was stronger. Foam appeared on the brine surface by the next morning.
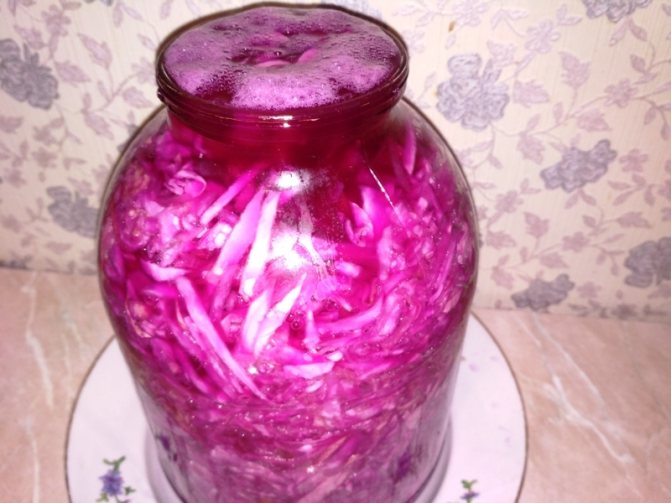
Every day (morning and evening) I pierced the contents of the jar with a large knife. Also, in the morning and in the evening, it removed the emerging foam.
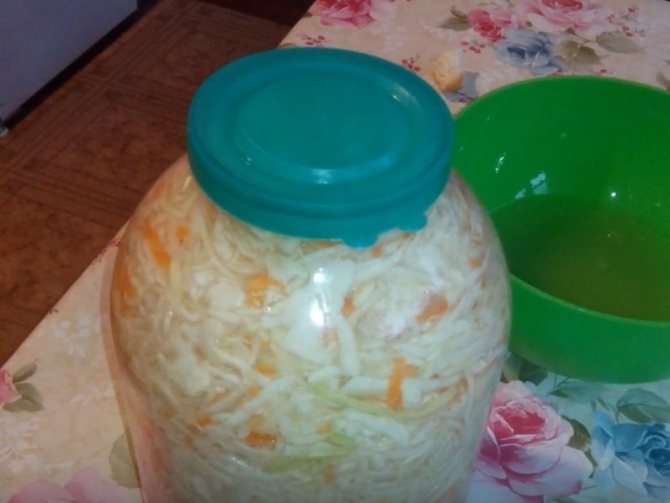
Fermentation took place at a temperature of 20-22 ° C. On the fourth day, the fermentation process slowed down, and the snack was almost ready. I covered the jar with a nylon lid and stored it in the refrigerator.
The appetizer for this recipe turns out to be a little spicy and can be stored in the cold all winter. It can be served on the table with vegetable oil and herbs.
Sauerkraut with heads of cabbage
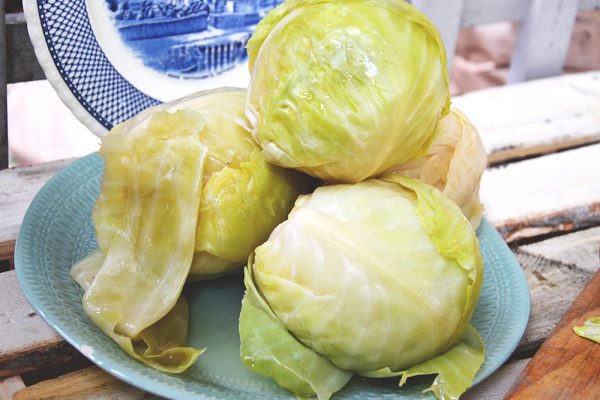
We suggest seeing how to ferment cabbage for the winter with whole heads of cabbage, instead of a bucket, we will use a large plastic barrel. Thanks to this ancient old-fashioned way, the dish acquires an extraordinary taste. For the recipe, you will need coarse salt, and it is better to take vegetables of winter varieties.
Ingredients:
- cabbage - 20 kg;
- salt - 2 kg.
Preparation:
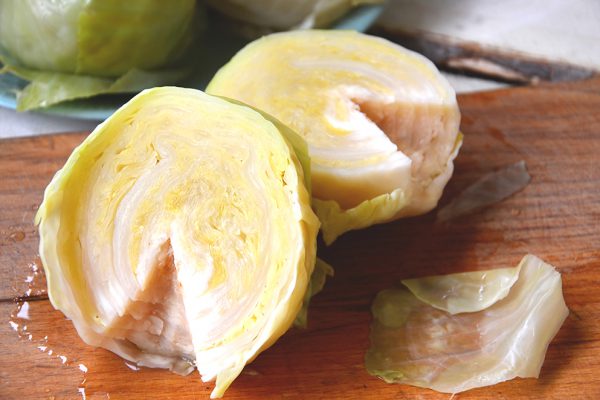
- Remove the top leaves from the heads of cabbage and cut out the stump a little, about 2-3 cm. Pour salt into the resulting hole.
- We put the forks into the barrel, stump upwards so that the salt does not spill out. When laying, it is necessary to press well on the heads of cabbage so that they lie tightly.
- Dissolve the remaining salt in cold water and pour the cabbage, it is necessary that it completely covers the vegetables.
- Stir the water every other day. She will be ready in 21 days.
- Then you can cook many different dishes from such cabbage, for example, stuffed cabbage. The salads are very tasty, and the brine is good to drink on an empty stomach, since it is medicinal.
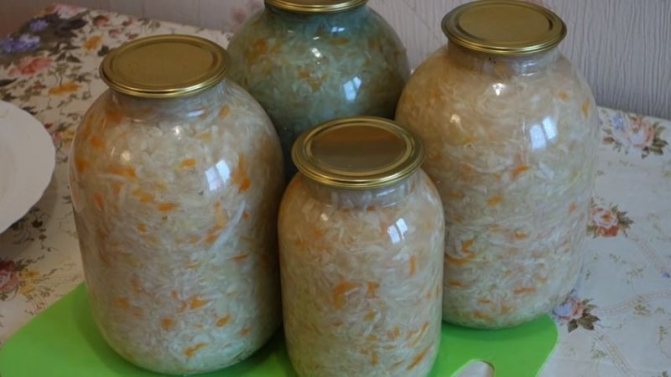
Crispy sauerkraut for the winter (instant recipe in jars)
And here is another recipe for this wonderful dish. We will also ferment vegetables according to this recipe in jars.
We take ripe forks of late varieties, carrots of mid-ripening or late-ripening varieties (they have a richer color and sweetness), salt, sugar and bay leaf.

Ingredients:
- Cabbage - 5 kg
- Carrots - 150 g
- Salt - 100 g
- Sugar - 100 g
- Bay leaf - 5 pcs.
- Boiled water
We clean the heads of cabbage, wash, remove the stumps. Then we chop them with a cut or shred. Wash the carrots under running water, peel and rub on a coarse grater.
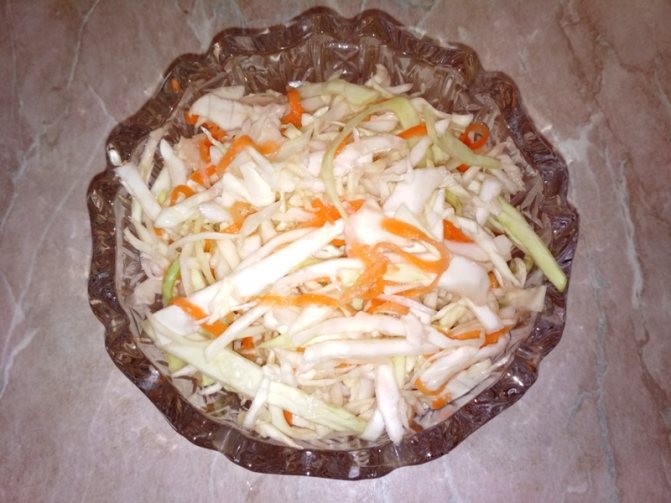
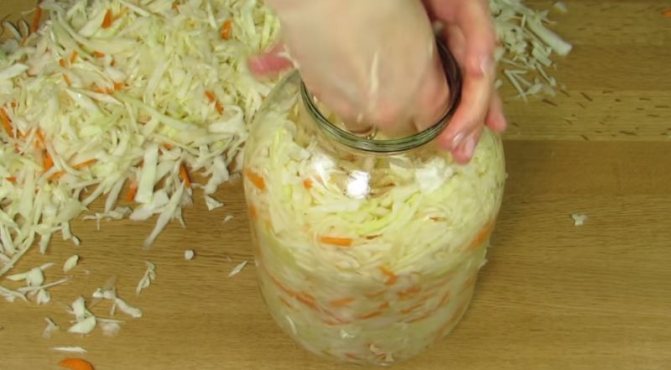
Mix the prepared vegetables in a large container, grind with salt and fill the prepared jars with the resulting mixture, adding one bay leaf to each. No need to ram. The vegetable mixture should be loose.
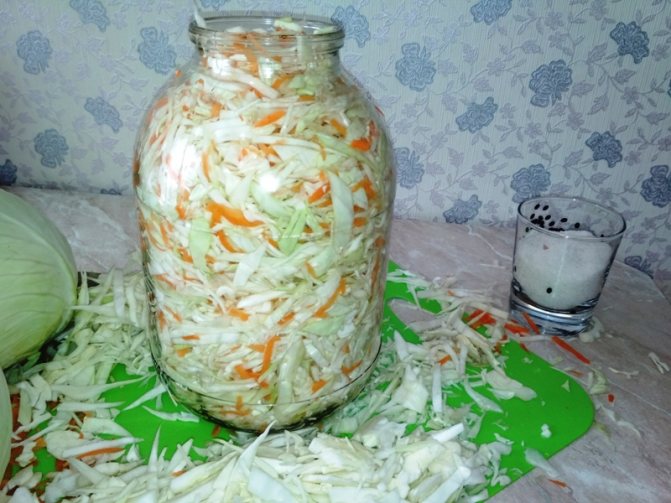
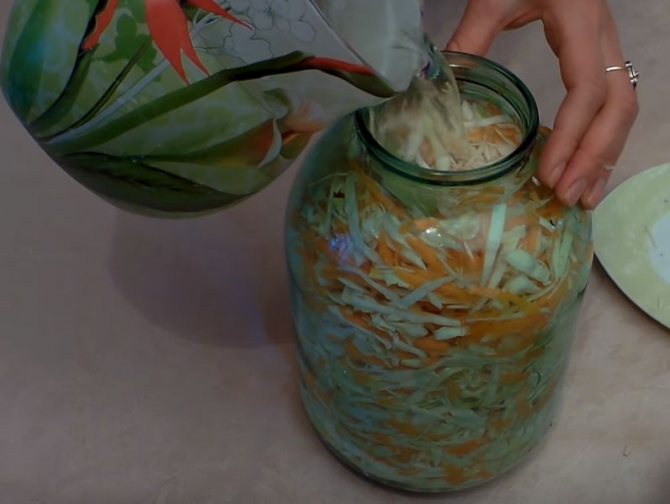
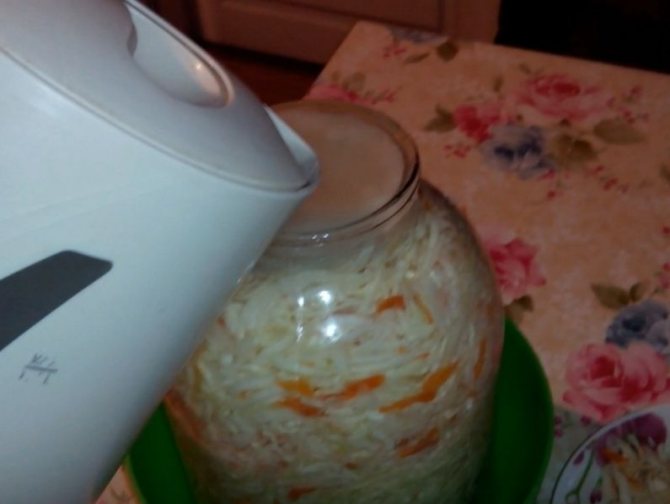
Pour the vegetable mixture in jars with cold boiled water, cover with clean gauze and leave in a warm room.
The cans must be placed in a deep container (plate or basin), since as the fermentation progresses, the brine will flow out of the cans.
The fermentation time is approximately three days. Every day (morning and evening) we pierce the contents of the cans in several places, and also remove the foam that appears. The outflowing brine is poured back into the jars.
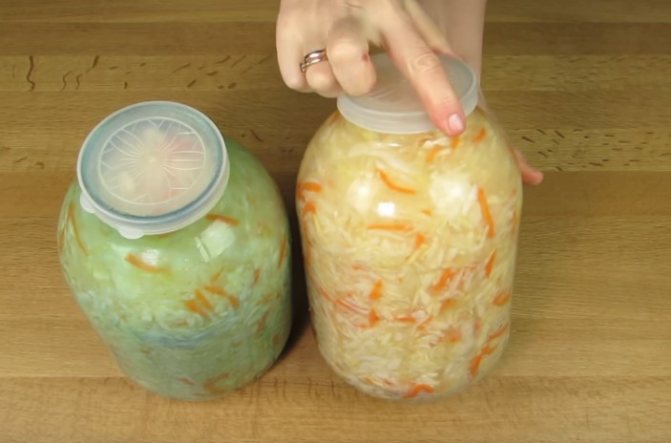
After three days, pour the brine from the cans through cheesecloth into a saucepan, dissolve the sugar in it, pour it back into the cans, close them with plastic lids and put them in a cold place.
When adding sugar to the brine, you need to taste it. I love the sweet and sour taste, so I add sugar to the brine until it tastes sweet.
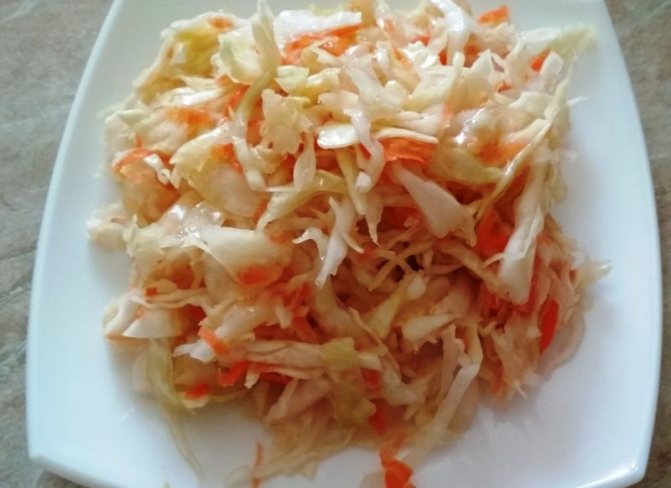
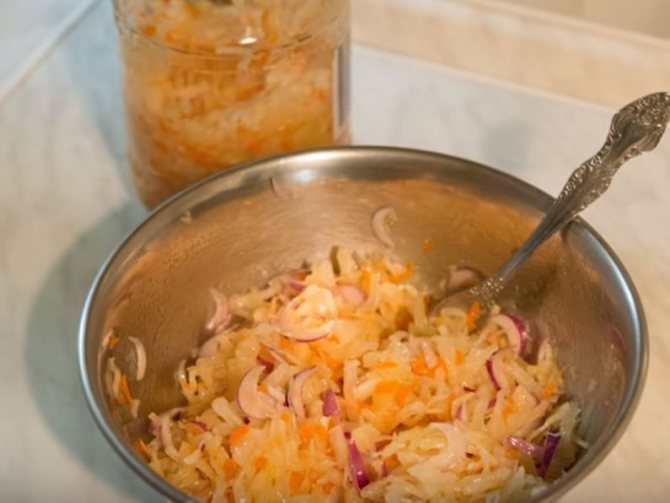
After 8-10 hours, the snack is ready. It turns out to be crispy, slightly sweetish, and you can serve it on the table without seasoning.
Grandma's method
The dish is most delicious if it is cooked in wooden barrels. However, in modern apartments, this is not always possible. Let's see how to ferment cabbage for the winter in an enamel bucket, using the old grandmother's method.
Ingredients:
- cabbage - 4 forks;
- carrots - 1 kg;
- salt - 300 g.
Preparation:
- First, we divide the head of cabbage in half and cut out the stump from it.
- Finely chop it with a knife.
- Peel the carrots and rub them on a coarse grater.
- Then put 10 cm thick cabbage on the bottom of the bucket, sprinkle with carrots.
- We will measure the salt in a separate dish in advance, so as not to get carried away and not overdo it in the process.
- Salt the cabbage and stir.
- Take a wooden stick and grind it well to form juice.
- We repeat this process, but mix only the second layer. We do this until the bucket is full.
- Then we cover the surface with a plate and set the oppression. We leave the container warm for a day, then place it for another 2 days, but in a cold place. If foam appears, then it must be removed.
- After three days, the cabbage is ready for use, it must be put in jars and refrigerated.
How to quickly and tasty ferment cabbage in brine
Another option for preparing this wonderful snack is pickling in brine.
I took a large fork of the late Slava variety, which turned out to be strong and juicy, and one Karotel carrot, which has a sweet pulp of a delicate taste, juicy and crunchy.
Ingredients:
- Cabbage - 2.5 kg
- Carrots - 1 pc. (average)
- Salt - 2 tablespoons with a lump
- Sugar - 2 tablespoons with a lump
- Bay leaf - 2 pcs.
- Allspice peas - 6 pcs.
- Water - 1 l
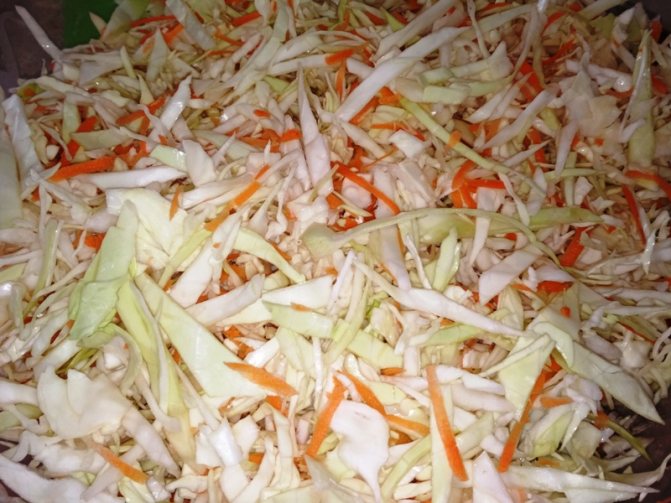
I chopped the washed prepared vegetables and mixed them thoroughly in a large bowl.
Try to chop into thin strips. Finely chopped cabbage will ferment faster.
I put the vegetables in a pre-prepared 3-liter jar, tamping each layer tightly with a wooden rolling pin. Already during this action, juice began to stand out from the vegetables.
This is a good signal, which means that the contents of the jar will be completely covered with brine during fermentation.
Then I poured 1 liter of water into a small saucepan, added salt, sugar, spices and brought it to a boil, and after a couple of minutes I turned off the heat and left the brine to cool.
The addition of sugar to the brine speeds up the fermentation process.
As soon as the brine cooled down, I poured it over the vegetables in the jar. I put the jar in a deep plate, since during the fermentation process the juice flows out of the jar.
In the morning and in the evening, she pierced the contents of the jar with a knife in order to release bubbles of gas released during fermentation outside, and removed the foam that appeared.
After two days, my snack was acidic enough for my taste and completely ready to eat.
I want to note that this recipe is suitable for those who live in a city apartment, and they do not have the ability to store blanks in the basement or cellar. With this recipe, you can ferment vegetables throughout the winter and spring as they are eaten.
Homemade sauerkraut recipe in a saucepan like my grandmother
There are many recipes for this wonderful snack, but my grandmother's old Russian fermented cabbage was especially good. Do you want to cook the same one?
Ingredients:
- Cabbage - 10 kg
- Carrots - 200 g
- Salt - 200 g
- Sugar - 2 tbsp. l.
- Dill seeds - 1 tbsp l.
- Bay leaf - 3-5 pcs.
If you have a total weight of forks more or less than 10 kg, calculate how much salt you need for your amount.
We wash the heads of cabbage well, remove the stumps and, setting aside a couple of small heads of cabbage, cut into strips using a shredder or knife. Carefully wash the carrots, clean and rub on a coarse grater or cut into thin strips. Cut the remaining heads of cabbage into 8 pieces each.
Add grated carrots, salt, sugar to the chopped mass and mix, rubbing slightly with your hands.
Now we transfer half of the vegetable mixture into a large enamel pan without chips and tamp well. Next, lay out the heads of cabbage cut into pieces, 3-5 bay leaves, dill seeds wrapped in gauze or bandage, and the remaining half of the shredded vegetables in an even layer.
We compact everything tightly, cover with a wooden circle or a flat plate and press down with a load.
Cover the pot with a towel or napkin, since the vegetable mixture must breathe, and leave it for fermentation at room temperature (20-22 ° C).
In the morning and in the evening we pierce the contents of the pan in several places. We also remove the emerging foam daily.
After 5-7 days, as soon as the brine becomes transparent, and the product acquires a pleasant taste and sufficient acidity, we remove the pan in a cool place (cellar or basement).
If you want the vegetables to be slightly sour, then start taking a sample from the third day of fermentation.
My cabbage acquired the desired taste on the fourth day of cooking.
By the way, ready-made sauerkraut can be stored in the cold until spring, without allowing it to defrost.
Before, in the absence of a cellar, we kept it on the balcony. If it defrosts, then you need to use it in the near future, because in this case the finished product changes its structure and becomes soft, not crunchy and quickly deteriorates.