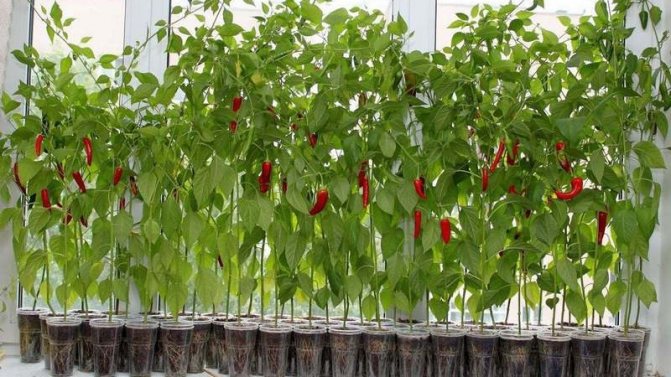
Chili pepper is the most popular spice among “spicy” lovers. It is used not only in cooking, but also in medicine or cosmetology. The benefits of the plant were well known to the Aztecs and Maya tribes - the Europeans received the first seeds from these peoples.
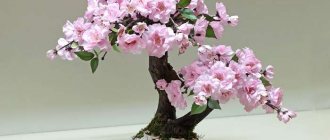
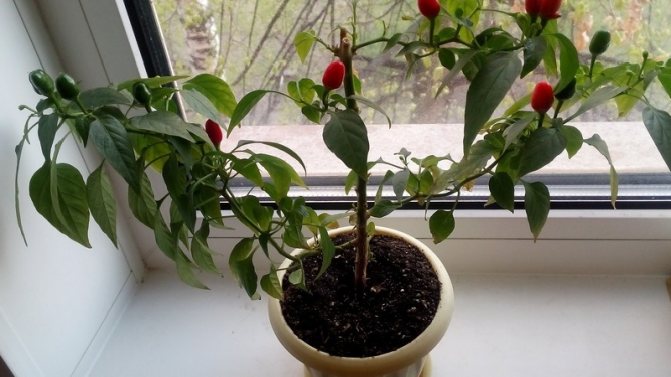
Today, even a beginner can cope with the cultivation of pepper: beautiful bushes will become a good decoration for a balcony or window sill and will certainly delight their owner with sharp, piquant fruits.
Choosing a variety of pepper for growing on a windowsill
Chili peppers at home on a windowsill are easy to grow if you choose the right variety.
Exotic pepper names: Swallow, Bellflower have different shapes, fruit color, leaf color and ripening period.
Early ripening varieties ripen in 90-120 days, mid-ripening in 120-140 days from the moment of planting.
The Tabasco variety has a pungent fruit pulp. Suitable for growing on a window, and for industrial purposes on plantations. Pepper is prized for its early maturity.
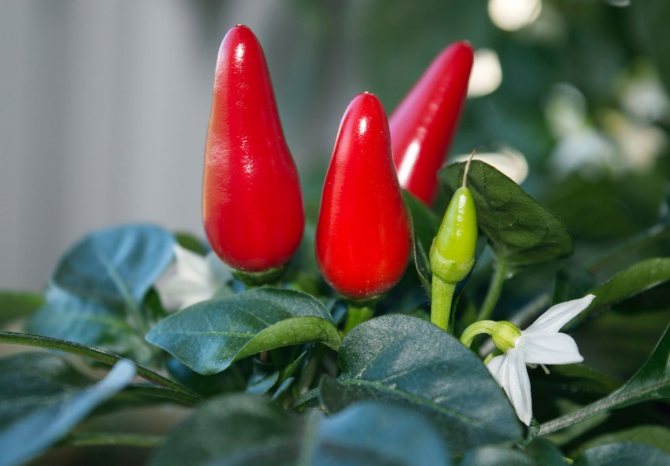
Salute is a low-growing variety, its compact rounded bush grows up to 20 cm. Five-centimeter fruits in the form of orange and red cones are directed upwards, they are distinguished by a strong aroma.
The Aladdin variety is grown on a windowsill or outdoors. During cultivation, its fruits change from green color to flint, purple and red. Pepper is distinguished by its long and abundant fruiting, as well as early maturity.
The bell has red fruits of an unusual shape, the variety ripens in 150 days. The pungency in the fruit is unevenly distributed.
Other early maturing varieties for growing at home are also popular:
- Dwarf;
- Watercolor;
- Treasure Island;
- The firstborn of Siberia.
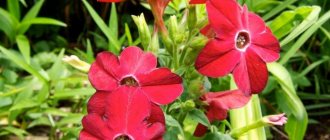
On a note. There are also inedible types of pepper that are grown only for decorative purposes: Red Rocket, Pepperoni, Orange, Clown, Filius Blue, Goldfinger.
How to get chili seeds
There are two ways to get seed for growing peppers: buy them at a gardening store or collect them yourself. In the first case, it is important to choose high-quality material that will guarantee good germination.
At the same time, experts recommend observing the following rules:
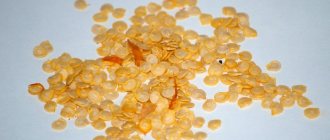
- Before purchasing seeds, carefully inspect their appearance: damaged or deformed, most often do not germinate. In addition, they must be large enough - weak, diseased plants grow from a small seed.
- The seed surface should not have yellow, orange or brown spots. If they are present, it means that a high temperature was used for drying, which has a detrimental effect on the seeds.
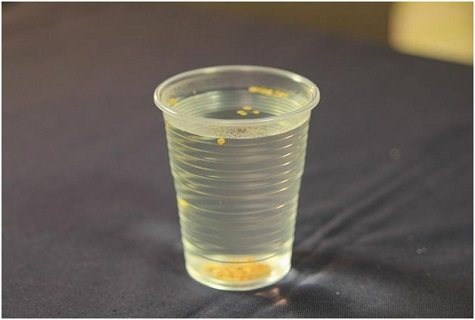
- In order not to waste time and not be disappointed, test the seeds for germination. To do this, put them in a container with water, add a growth stimulator there and soak them in the resulting solution for 24 hours. Then fill it with earth, and wait for the roots to appear - this takes 2-3 days. If they do not grow, then the material is of poor quality.
In order not to purchase low-quality seed, it is best to collect the seeds yourself.
For your information. The main rule in this procedure is to wait until the fruits ripen well, and this time does not come when they are already suitable for human consumption, but much later.
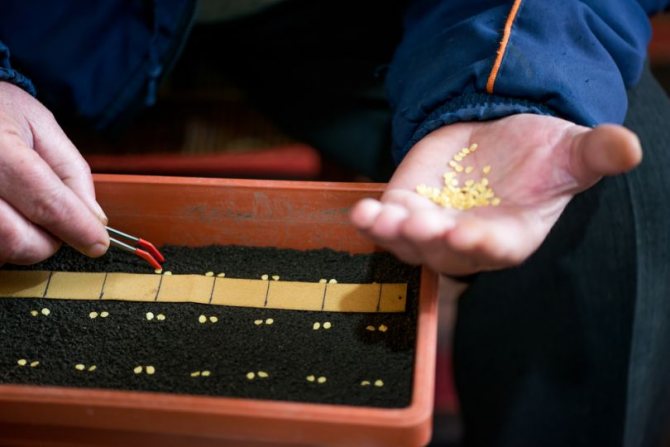
The term for collecting seeds is determined by the appearance of the fruit - the pods begin to dry out, and the tip becomes brown. Gently cut the pepper in half, shake out the seeds, then rub them in your hands and blow off the remaining pulp. When doing this, use gloves and goggles, as the contact of small particles on the skin or eyes will cause severe irritation. Store seeds in a dry place.
To learn about the Sichuan pepper seasoning, follow the link.
Harvesting and storage of crops
- Dry pepper: Take a needle and pierce the stems of the fruit so that they form a garland of peppers, then hang them in a warm, well-ventilated place and let the air dry for a 4-5 week period. An electric vegetable and fruit dryer will help you simplify this method.
- Dried peppers can be processed into flakes or powders that make an excellent seasoning for meals.
- Freeze peppers in bags or freezer containers immediately after harvest, without further preparation. After you defrost your peppers, you will find that the flesh is slightly softened, don't worry, they will be just as hot as they were when picked.
- Preservation and pickling with any recipe you like.
The fruits will last much longer if they are simply placed unwashed fresh in a natural cloth bag or a special container for storing vegetables in the refrigerator.
Choice of capacity
Hot indoor peppers are capable of producing crops for 5 years. Chili fruits ripen in stages, changing colors in the phases of technical and biological ripeness. Fresh peppers can be stored in a cold place for several months without losing their taste and appearance. You can also dry ripe fruits - for this you need to stretch a nylon thread or fishing line through the stalks of the peppers and hang them in a dark, dry place.
In addition to drying, chili can be pickled - they will become a spicy addition to your favorite dishes.
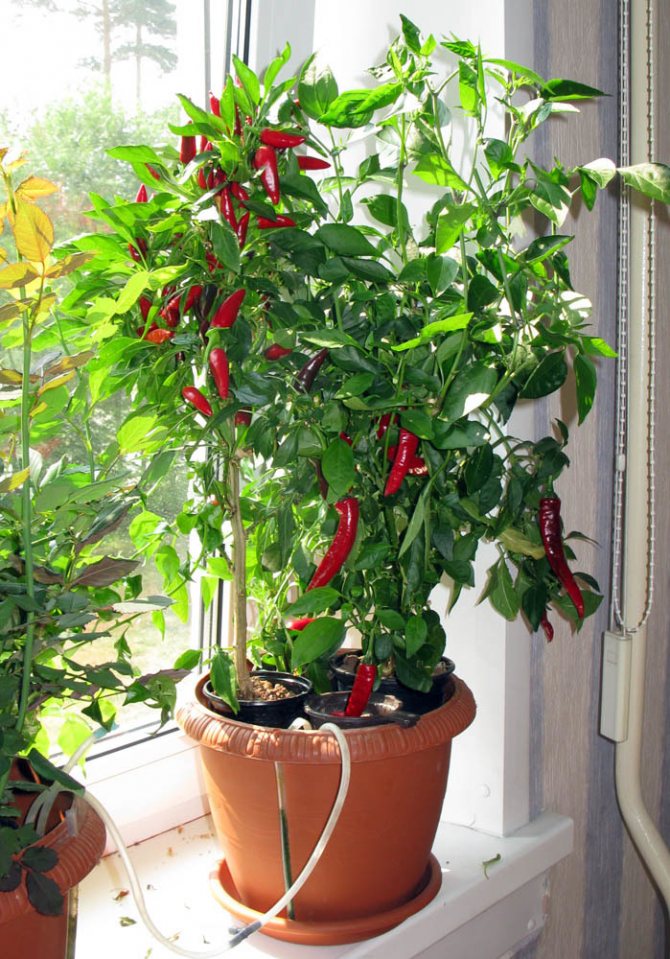
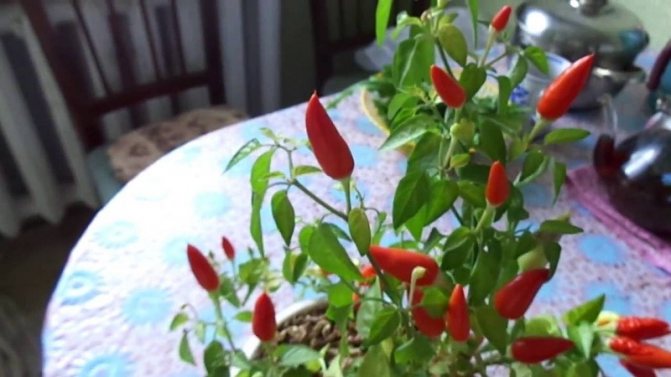
A small tree with hot peppers, standing on the windowsill, cheers up in gray autumn weather, and its bright fruits increase immunity in winter and add spice to the daily menu. Proper care and regime is all that is needed for the plant to please for a long time with a bountiful harvest of burning chili.
The peppers are harvested as they ripen. The ripe ones are cut off, not broken off.
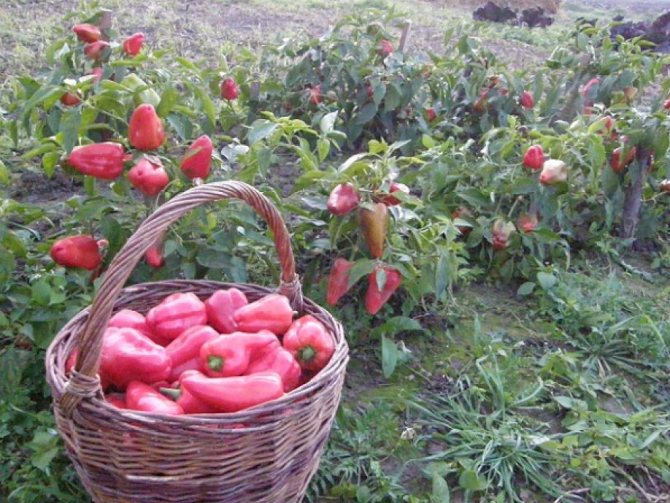
A few bell pepper bushes grown on the balcony will not yield a harvest sufficient for harvesting and conservation. But they diversify the daily diet with fresh vegetables.
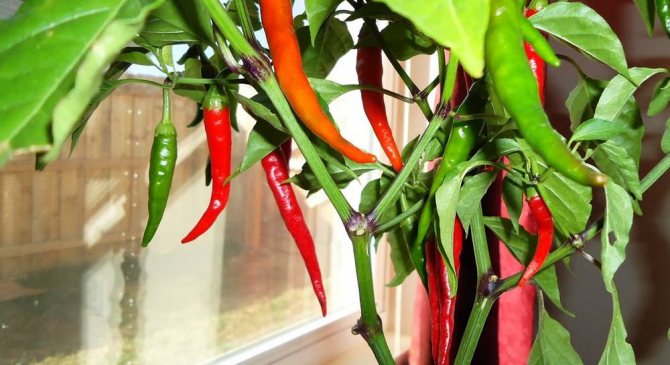
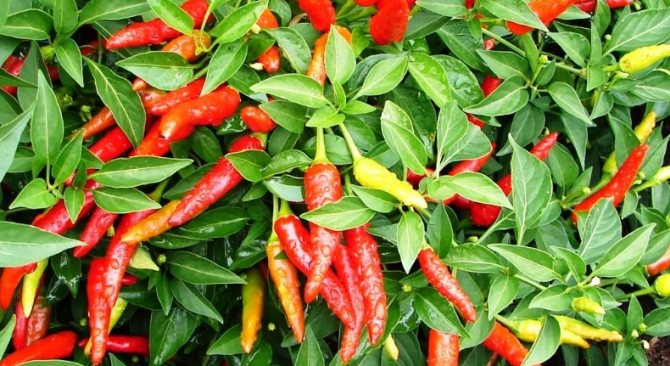
But hot peppers will delight with the harvest from late spring to December. Some varieties bear up to hundreds of fruits. Hot peppers are harvested when it ripens, that is, it turns orange, red or yellow.
Hot peppers are stored in boxes in whole pods in a dried form. Or they grind and fall asleep in jars. Another option is in vegetable oil. The washed pepper is placed in a glass bottle and filled with refined oil. After 1-2 months, a fragrant tincture is obtained.
Landing time
Planting seeds for seedlings is carried out in February-March. To do this, you will need a special soil, which is easy to prepare yourself or purchase ready-made in a gardening store.
The exact sowing time is calculated in such a way that the germination time falls on the first month of spring, when daylight hours are getting longer. In this case, the plants will have enough natural light to grow. And this will save the owner from unnecessary trouble with the organization of lighting.
How to grow chili peppers on your own at home
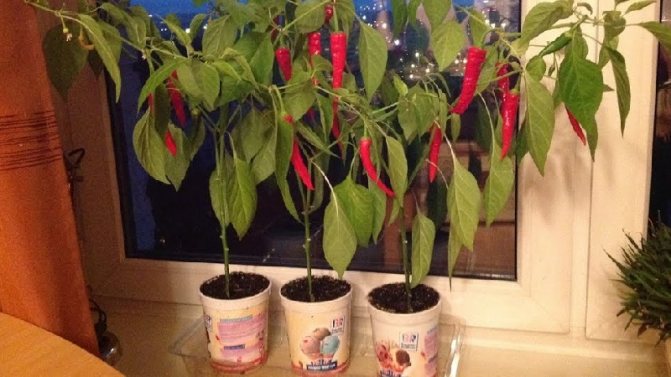
Hot peppers are often found in pots at home. But not everyone knows how to grow it properly.Having learned about the main secrets of cultivation, you can easily grow this culture on your own windowsill.
Hot peppers grow well both outdoors and at home. Red fruits perfectly decorate a window sill or garden bed.
Seed preparation and germination of seedlings
Before planting, prepare the seed as follows:
- Get rid of damaged and spoiled kernels. Place the seeds in a solution of sodium chloride (10 g of the substance per 1 liter of water), after a few minutes the empty grains will float up, remove them.
- Decontaminate the seeds in a weak solution of potassium permanganate. Keep the material there for 15 minutes. Then rinse the seeds thoroughly with running water and dry. You can also use specific plant fungi medications by following the directions on the package.
- To make the pepper bush grow stronger, pre-soak the seed in a nutrient solution. For this purpose, an infusion of wood ash (20 g per 1 liter of water) is suitable, let it brew for a day. Growth stimulants are sold in specialized stores. Such drugs will serve as both a feeding and a disinfectant.
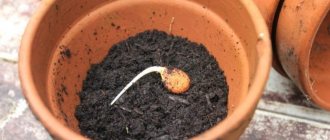
- In order for the seeds to hatch, they must be germinated. To do this, spread the seeds in one layer on a damp cloth or paper and cover with it. Keep the fabric damp at all times. The procedure helps to determine the germination of pepper, remove unusable seeds before planting and shorten the germination time of seedlings.
Did you know? Chili peppers contain capsaicin, which activates metabolic processes in the body and helps burn fat.
Seedling care
In the summer, take the plant out to a balcony or loggia, and in the winter season, place it on a windowsill on the sunny side. For the duration of daylight hours, hang lamps over the bush.
On a note. With a lack of light, the foliage acquires a light shade, which subsequently leads to leaf fall. In this case, the duration of artificial lighting must be extended.
Water the root of the pepper as it dries. To do this, use clean water at room temperature, and moisten the foliage from a sprayer.
Choosing a suitable place and creating optimal growing conditions
Lightly shade the plant during the scorching sun. In the summer, take the bush out to the balcony or loggia, but do not allow drafts. When ventilating, remove the culture away from the open window. If you have old windows, seal all the cracks.
Important! For normal crop growth in the winter season, the air temperature should be at least +18 ° C, and starting from spring, the optimal temperature will be + 20 ... + 24 ° C.
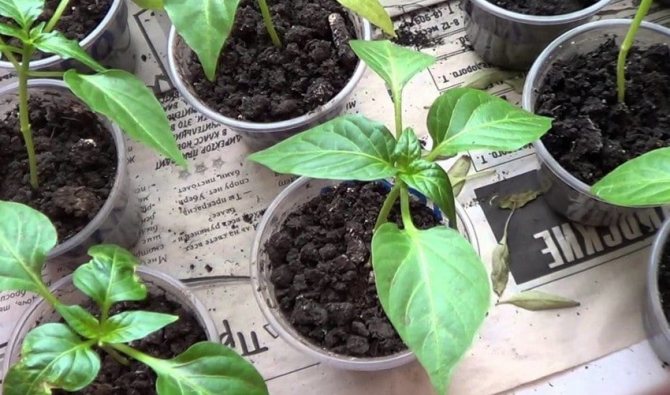
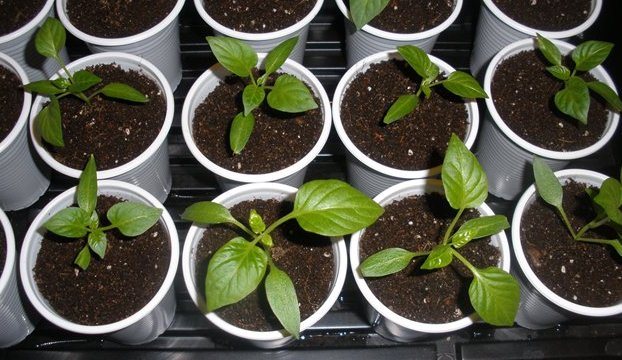
Transferring peppers to pots
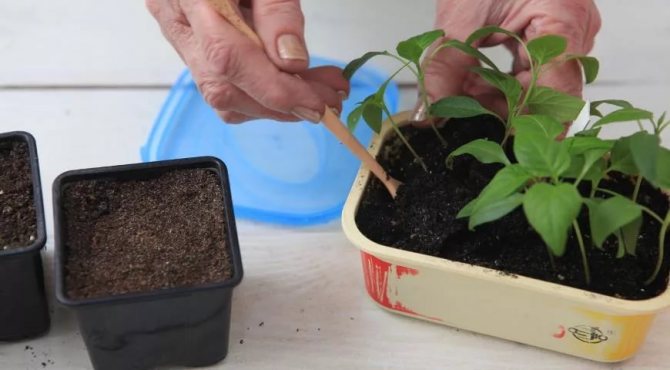
When the seedlings grow to 10-15 cm, transplant the bushes into separate pots. The best capacity will be a wide plastic container, but not too deep.
Transplant plants as follows:
- for a drainage layer at the bottom, lay small pebbles at least 3 cm;
- pour pepper soil into the container;
- prepare the holes for the plant and place the sprouts with a lump of earth there, without deepening the stem, sprinkle with soil.
- after planting, shake well and water the soil around the stem;
- make the next watering in a week, when the root system begins to take root.
For your information. Do not over-wet the soil until the roots are firm, otherwise there is a risk that they will start to rot.
Selection of capacity
Placing a bush in one container, it looks attractive, and when planted together, stronger plants will drown out weak specimens and a beautiful composition will not work. In muted bushes, flowering will be delayed, and the fruits will grow small and inconspicuous.
Chili peppers are usually grown in small containers. The culture does not need a large container: shallow 150-200 ml cups are suitable for seedlings, then the plant will need to be transplanted into a 3-6 liter container.
Do not use ceramic products, as the soil in such a pot will dry out quickly. When the roots look out of the bottom, this is a signal for plant transplantation.
Read about how to make a delicious dill sauce here.
Suitable substrate
Hot peppers are not particularly capricious and demanding on the soil, so even ordinary soil from a garden bed will be quite suitable. However, the land can be infested with pests and diseases from previous crops.
To create more comfortable conditions for germinating seeds, seedlings are purchased in a specialized store. It is better to choose peat or soil mixtures based on it.
Soil preparation
Some people prepare the nutrient mixture for planting themselves. This will require the following components:
- 2 pieces of leafy land;
- 1 part peat;
- 1 part river sand;
- 1 part coconut fiber
- 1 part perlite or vermiculite.
Before planting hot pepper seeds, it is necessary to disinfect the soil by spilling it with the Previkur fungicide, which will prevent the development of fungal diseases.
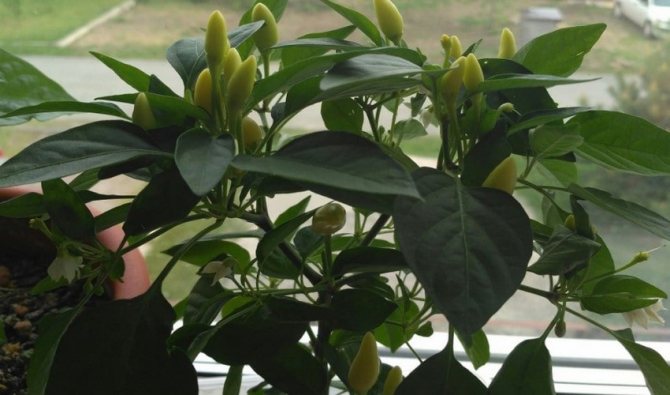
Formation and pollination of the bush
The final rooting and the beginning of growth of the bushes will begin in 15-20 days. At this time, the pepper will begin to actively form new shoots. Pepper grazing on the windowsill is not required.
His fruits are small and the bush has enough strength to grow them. Also, there is no need to put up any supports, the stem of the pepper is strong enough to withstand a lot of fruits.
As soon as the bushes begin to bloom, the branches need to be shaken slightly to pollinate the buds. Turn the bushes with the other side to the window every day for even development. If this is not done, the shoots will stretch towards the light and the bush will begin to tilt to one side.
Watering and feeding
Pay special attention to watering. With insufficient moisture, the plant will begin to shed its leaves and die. The water should be warm. Watering is especially necessary during the heating season. Additionally, the culture must be sprayed with warm water.
For reference. Waterlogging of the soil is also unacceptable. From an excess of moisture, plants can get sick with a black leg.
Once a month, you need to fertilize. For this, it is advisable to use complex fertilizers, which include potassium, phosphorus, nitrogen. If the pepper is lacking in nutrients, the leaves will turn purple.
Diseases and pests
Chili pepper has a strong immunity to various diseases and parasites due to its taste. The variety actively kills bacteria and itself is practically not susceptible to disease. In extremely rare cases, improper care or inadequate growing conditions can lead to plant disease or death.
The most dangerous enemies for culture:
- Spider mite. The parasite starts when the air humidity is too low. This is manifested by a sudden yellowing and fall of foliage. Untimely measures taken will lead to the death of the plant. The culture is saved from the parasite by periodic treatment with fungicides. For prevention purposes, the plant is washed from time to time with a warm solution of laundry soap, and the soil in the pot is sprinkled with any ground pepper. Also, the bushes are periodically sprayed in order to compensate for the lack of moisture in the surrounding air.
- Blackleg... A disease appears with an excess of moisture in the soil, characterized by rotting of the roots. To save the plant, it is taken out of the soil, the root system is washed, the affected fragments are cut off, and all the roots are treated with charcoal. Then the plant is planted back, forgetting about watering for a while. It is very difficult to cure a culture from a black leg, so it is always best to water it sparingly.
- Midges can come from neighboring crops. For preventive purposes, the plant is wiped with soapy water, and to scare off parasites, ground pepper is used, as in the case of a spider mite.
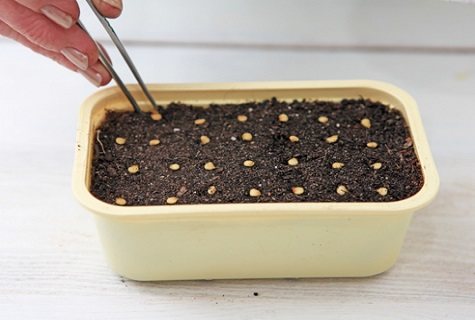
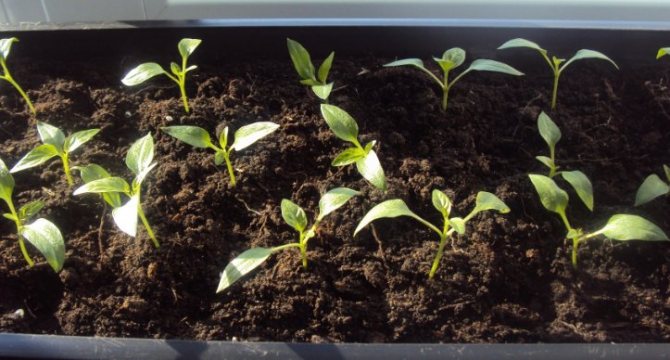
Sowing seeds in a pot
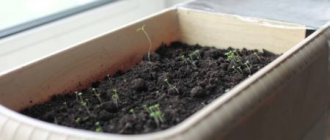
A drainage layer is placed in a peat pot, or other temporary container, with an earthen mixture on top. In the ground, make indentations of 0.5 cm with your finger, where two prepared seeds are placed. If the container is wide, you can make several such holes, retreating 5-6 cm from each other. The holes with seeds are covered with earth, watered, the container is covered with a transparent film.
The following plants are also cultivated by growing seedlings from seeds: tomatoes, bell peppers, eggplants, zucchini.
Seedlings emerge from the ground in 7-15 days. The film can be pierced in several places and removed completely when 3-4 leaves appear. Seedlings can be thinned by removing weak seedlings.
Did you know? Transplanting seedlings to a permanent place is called picking, because to stimulate root growth during transplanting, the lower part of the root of the plant is removed.
The container into which the seedlings will be transplanted is prepared the day before the pick. A thick layer of drainage is placed in a suitable pot, an earthen mixture is placed on top, and watered abundantly.
A recess is formed in which the roots of the seedling with an earthy clod should fit. Leave for a day. On the day of the pick, the sprout is watered, after 1-1.5 hours it is carefully removed from the temporary container, without disturbing the lump of earth around the roots. The lower third of the central root is removed.
An earthen lump with roots is placed in a depression in the ground, the central root must be straightened. Add soil to the pot, so that the leaves are 2 cm above the soil level.
Secrets of growing hot pepper on a windowsill
The main secret in getting a bountiful harvest of red pepper without leaving your apartment is the right choice of crop variety.
The best option for room conditions would be:
- Chile;
- Coral;
- Adjika.
All decorative types of hot peppers are adapted for growing in a room or on a balcony. If the aesthetic component of the room garden is important, several varieties of such pepper are planted at the same time to decorate the interior.
A bright parade of colors on the windowsill will be created by:
- Indian summer;
- Light;
- Bolivia;
- Mambo;
- Dark olive;
- Jellyfish.
High-quality seed is one of the fundamental factors for a rich harvest. It is on the characteristics of the seeds that the strength of growth and the possibilities of the bush will depend. It is better not to use stale planting material: the plant will not grow strong.
Important recommendations
Moistening the soil before sowing is a necessary measure to create comfortable conditions for growing seeds. The concentration of moisture in the soil should be approximately such that the soil does not stick to your hands, but at the same time crumbles.
On a note. The early emergence of seedlings is facilitated by a high ambient temperature (about + 25 ° C), a normal level of humidity and regular ventilation.
Calibration
To correctly select the highest quality seeds, you should start calibrating them. First, all seeds must be spread out on a flat surface and small seeds must be discarded. It is recommended to grow medium sized seed.
You will need to use a saline solution during calibration. Chili seeds should not be empty and therefore they need to be dipped in a solution made of 40 grams of salt and a liter of heated water for 5-10 minutes. Well-growing seeds will remain at the bottom of the container, and rejected seeds will immediately rise to the surface.
See also
The reasons why pepper leaves turn yellow, fall off and dry out, what to doRead
Testimonials
A somewhat non-standard way of growing beds on a home balcony or windowsill has mostly received positive reviews.
Opinions of gardeners about the cultivation of varieties of hot peppers in an apartment:
Evdokia: “Last year I learned how to grow hot peppers from seeds at home. I was pleased with the result, the harvest grew, as in the photo of the package. The cultivation is so simple that you get a good harvest anyway. Now I add Chili to almost all dishes, making the taste more piquant. "
Vyacheslav: “I love spicy food very much, dishes have always lacked peppercorns. Spicy Chile helped solve this problem. Moreover, pepper is always at hand. I started growing it a couple of years ago. Now, if I wish, I can always make the dish spicy. Growing hot peppers is not difficult. ”
Planting
To figure out how to grow pepper on the balcony, you definitely need to familiarize yourself with the features of its planting. At home on a windowsill, cultivation should be carried out in small peat pots. Prepared planting soil is added to the containers in advance. Then small holes are made in it for planting seeds.
At the same time, the distance between landings should be at least 5 cm.
Each pot contains no more than two seeds. In order for the seeds to grow better, the grown pepper is covered with a polyethylene film and transferred to a warm room. Growing from seed is a rather lengthy process, as seedlings only begin to emerge after a few weeks. When the bell pepper begins to sprout on the balcony, you will have to make several holes in the film. Over time, it will be possible to get rid of it.