Author rating
The author of the article
Yakov Pavlovich
Professor, Head of the Department of Vegetable Growing
Articles written
153
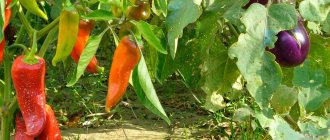
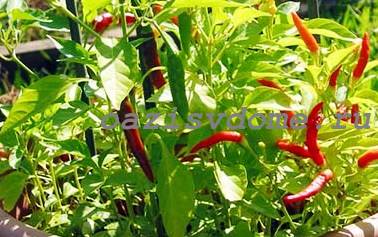
Growing chili peppers at home is not an easy procedure, but it is quite affordable if you follow all the rules for caring for the crop. Pepper itself is considered a useful plant that is widely used not only in cooking, but also in medicine. The vegetable culture is distinguished by good immunity and resistance to many pathologies. Therefore, it can be grown not only in the open field, but also in an apartment.
How to plant chili peppers at home with seeds
Even the most shade-tolerant varieties of chili should be grown on well-lit windowsills, only with enough light can you get a normal harvest.
Timing of sowing chili seeds for seedlings
Chili seeds are rarely planted directly in a large pot: the seedlings are grown first, which are then transplanted to a permanent place. In principle, it is possible to sow seeds almost at any time of the year, but to make it easier to regulate the thermal and light regimes, they try to create summer-autumn conditions for fruiting. Therefore, the optimal time for sowing seeds is at the very end of winter or March.
Preplant seed treatment, germination
Dry seeds germinate for a long time and unevenly, so it is advisable to prepare them for sowing. If their age is more than three years old, it is worth checking the germination first, or at least calibrating by density. Normal seeds should be soaked at least in warm water (about 40 ° C) for 2-3 hours. It will also be useful to disinfect them in the usual way (hold for 20-30 minutes in a dark solution of potassium permanganate). Many hobbyists use seed treatment with growth stimulants (for example, Epin). If you have the opportunity and desire, after these treatments, you can germinate the seeds in a damp cloth at 24-28 ° C until the first small “tails” appear and only then sow them into cups.
Chili has the same seeds as other peppers.
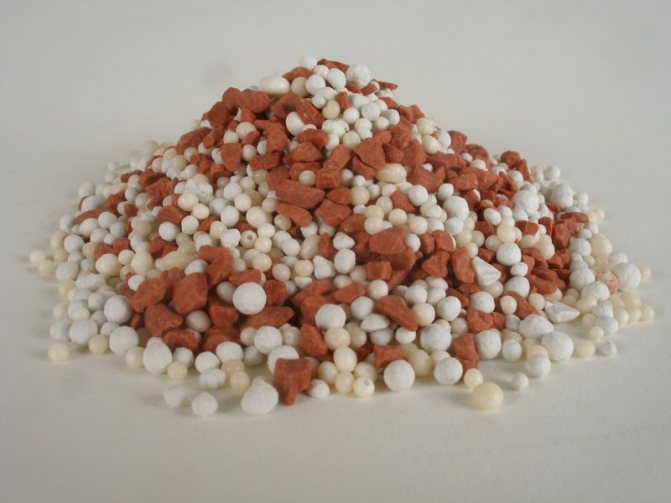
Preparation of containers and substrate
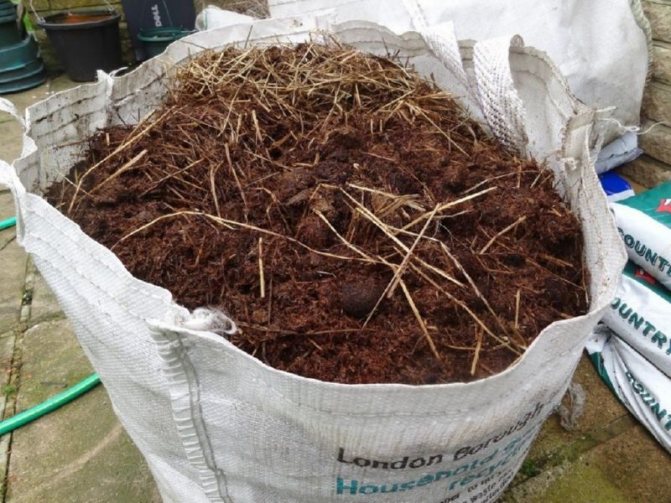
It is better to buy soil for a home garden in a store. If you prepare the soil yourself, you need to mix turf, peat, humus, sand and sawdust in equal doses, then steam the mixture in the oven or spill it with a pink solution of potassium permanganate.
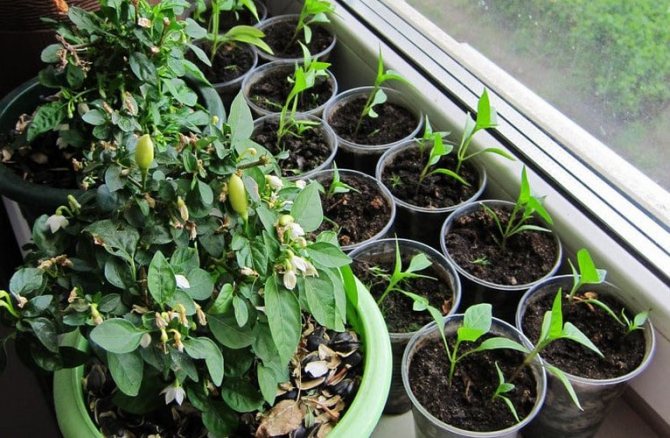
Sowing seeds is possible both in individual cups and in a common box. But since any pepper does not like a transplant with a violation of the root system, they give preference to individual containers. These can be cups with a capacity of about 200 ml, or better - the same peat pots or peat tablets. A small layer of drainage is placed at the bottom (1–2 cm of small pebbles or expanded clay), then the prepared soil. The height of the soil layer should not be too high (7–8 cm is enough).
Sowing seeds
The seeds are buried in the soil to a depth of about 1 cm. If they have sprouted, one seed per cup is enough; more dry seeds are planted. The containers are covered with glass or foil and placed in a bright place with a temperature of 23–26 ° C. However, light will be required immediately after the emergence of seedlings, at first you can keep it in the dark. The glass is lifted daily for some time to ventilate. As soon as the first shoots appear (this may take a week or a week and a half), the glass is removed and the seedlings are provided with good lighting, while the temperature is reduced for 4–5 days to 16–18 ° C.
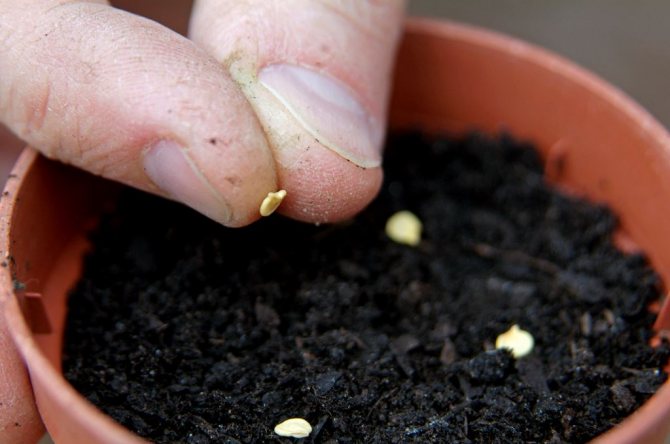
You can sow seeds in a common container
Further care
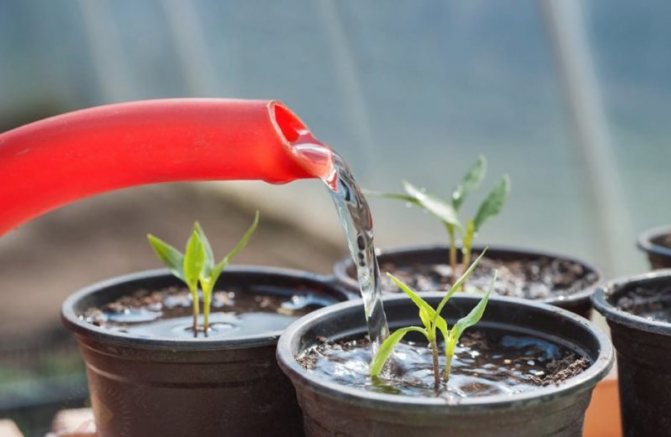
After keeping the seedlings at a low temperature, they continue to grow at 22-24 ° C (a little colder at night). They are regularly watered with water at a temperature of at least 22 ° C, preventing overdrying and waterlogging of the soil. Before the appearance of the first true leaves, the peppers do not need anything else: there is enough nutrition in the ground, no additional feeding is needed. But at the stage of two or three true leaves, the seedlings are transplanted for the first time. A couple of days before, it is worth slightly feeding the seedlings with any saltpeter (1 tablespoon per 10 liters of water).
A chili transplant cannot be called a pick: this term is suitable for transplanting seedlings with a pinch of the root. They try to transfer the pepper into a larger container with a clod of earth, for which a couple of hours before the operation it is watered. Use liter pots or cups, in which drainage and a similar soil are placed. Seedlings are transplanted to the same depth without damaging the roots. The soil is carefully poured and watered well.
In liter pots, chili lives until 6–8 true leaves appear. Caring for it is the same (light, temperature, periodic watering), but 10-15 days after the first transplant, it is worth feeding the plants with any complete mineral fertilizer.

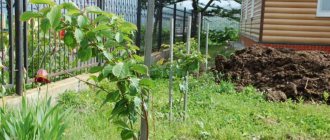
Transplanting
You can plant grown seedlings in a greenhouse or open ground.
You can start planting peppers in the greenhouse when the temperature outside the window settles around 10 ° C. Usually, by this time, the seedlings do not exceed 15 cm in height. Landing scheme 30X60. When planting, it is necessary to deeply deepen the root collar. Previously, a small amount of mineral fertilizer is introduced into each hole, then the seedling is carefully rolled over and half covered with earth. The earth is lightly tamped and watered abundantly, and only then the hole is completely filled up. It is advisable to mulch the soil around the plants.
Pepper seedlings are planted in open ground when buds are already beginning to form in them, adhering to the same scheme as in the greenhouse. By this time, the air temperature outside should not drop below 15 ° C. In case of a threat of night frost, young plants for this period must be covered with non-woven material.
The best neighbors for hot peppers are eggplants, tomatoes, and basil. To avoid the spread of anthracnose, it is not recommended to plant peppers next to beans. Also, beets and fennel should not be grown directly next to hot peppers.
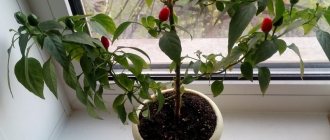
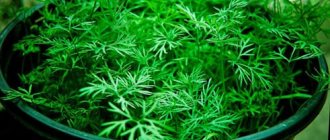
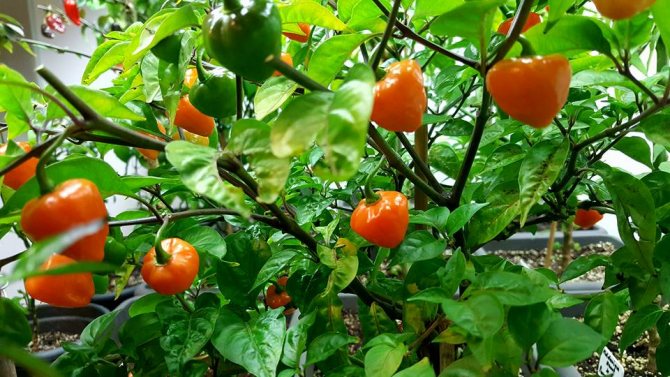
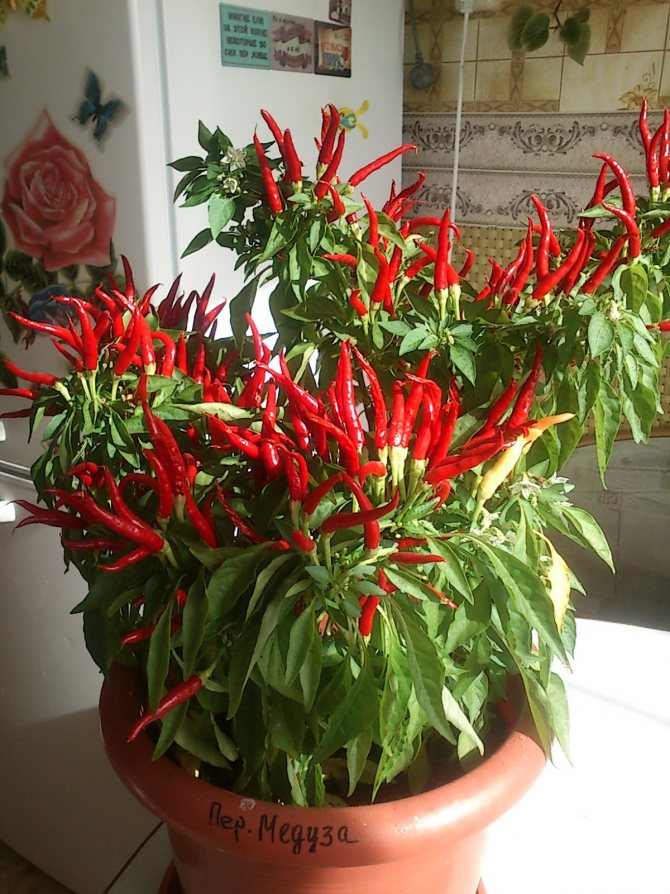
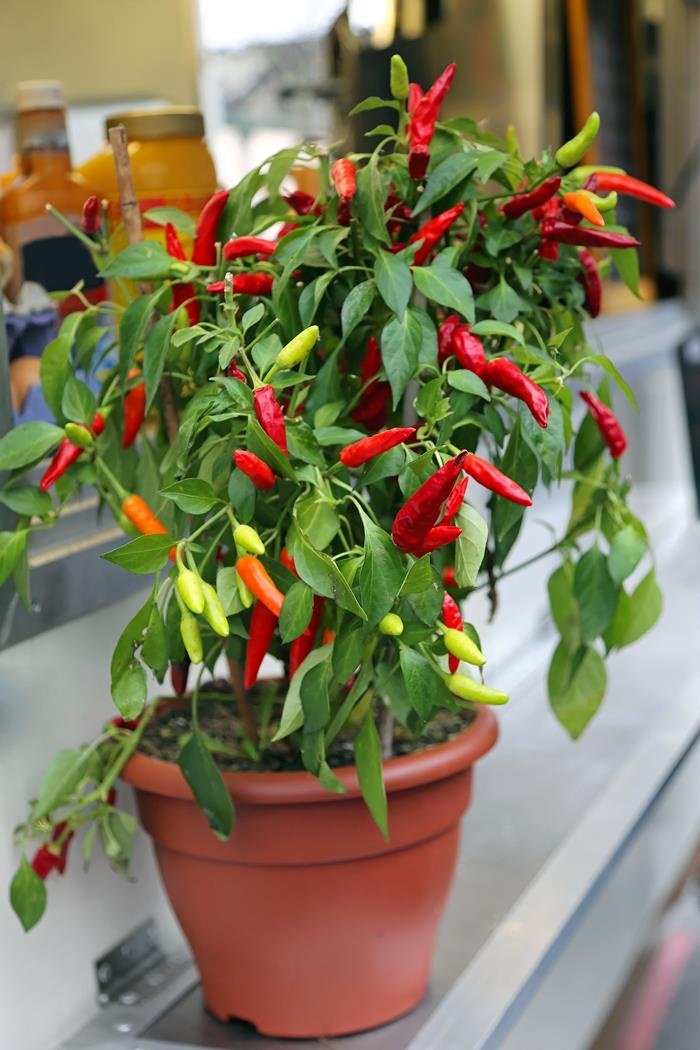
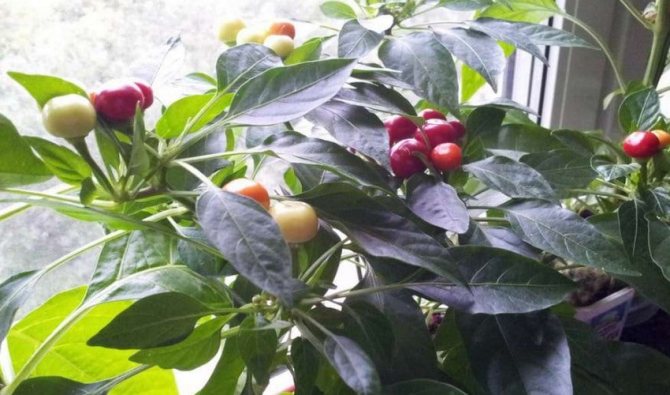
Growing chili peppers at home
All operations for caring for chili on the windowsill are quite simple and accessible to any gardener with basic skills in working with indoor plants.
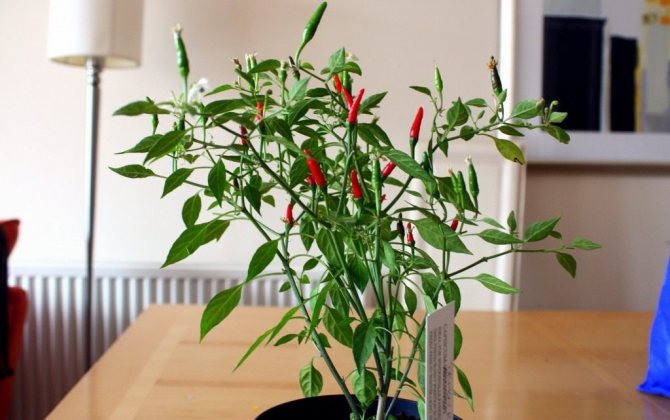
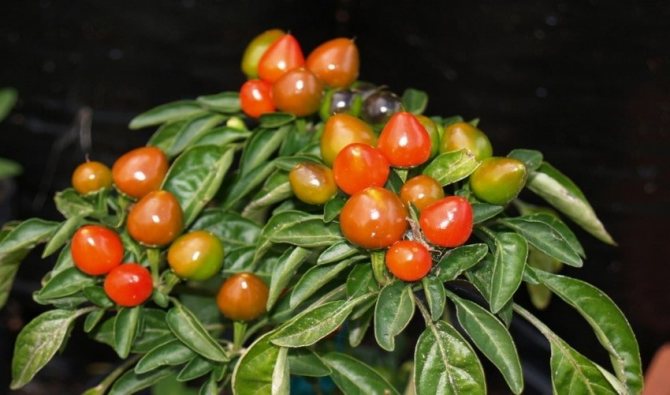
Necessary conditions for growth
The conditions for keeping chili peppers are determined by its origin: it is a light and heat-loving plant. Lighting on the southern windowsill is usually sufficient; elsewhere, morning and evening lighting is needed, and on the northern windowsill, on a cloudy day, daylight is also required. We must try to provide 12-hour daylight hours; for perennial peppers, backlighting is required in winter. In the summer, it is advisable to move the pots of pepper to the balcony.
Table: conditions for chili peppers
| Parameter | Value |
| Summer air temperature | 22-28 ° C during the day, 18-22 ° C at night |
| Air temperature in winter | Not lower than 16 оС |
| Air humidity | 65–75% |
| Illumination | On the northern windowsill - illumination |
| Soil moisture | Moderate |
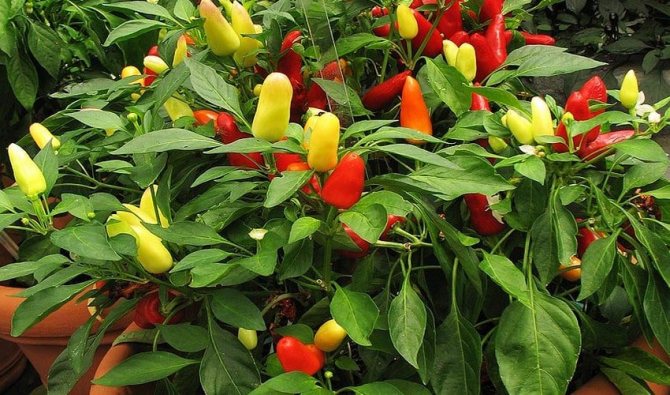
Watering and feeding
Chili peppers are watered frequently, but in moderation. Waterlogging of the soil is no less dangerous than drying it. During flowering and especially fruiting, chili requires more water. It is better to water it in the evening, under the root, with warm water (22–30 ° C). Depending on the conditions, you have to water it 1-3 times a week. In case of excessive dryness of the air, the leaves are sprayed from a spray bottle. Some time after watering, the soil is slightly loosened. To eliminate soil acidification, it is necessary to regularly ventilate the room without creating drafts.
Chili is fed at home every two weeks, alternating organic and mineral fertilizers. As organic it is more convenient to use a highly diluted infusion of poultry manure (better - bought in a store, with instructions), as mineral fertilizer - any complex fertilizer. If flowering is delayed, and the leaf mass grows, nitrogen is excluded during the next feeding.
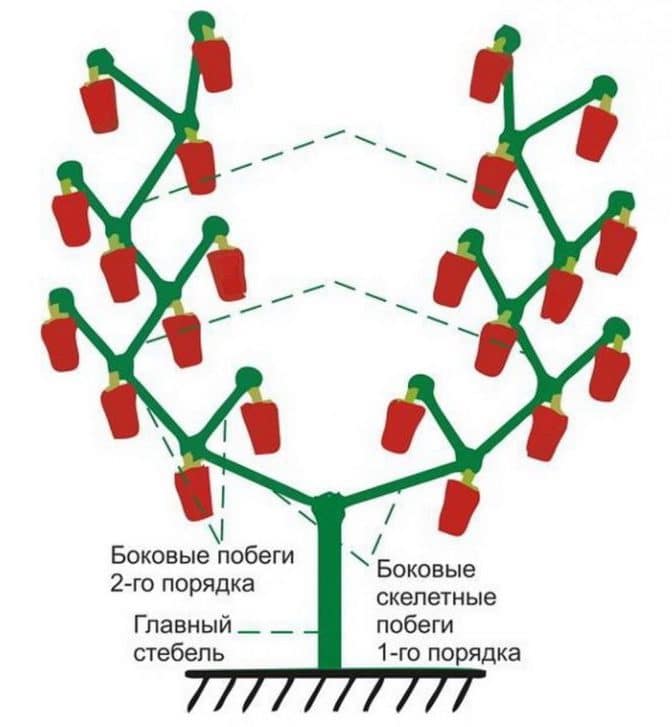
Features of the formation of a bush
If the chili is grown as a one-year version, the pruning of the bush is carried out to a minimum. The crown bud is removed - the very first one, which is laid at the first fork. Then only shoots that are clearly thickening the bush are cut out. Extra stepsons pinch above the first leaf that forms on them. The central shoot is not pinched.
Formation comes down to getting a pretty bush
If it is supposed to grow a bush for several years, then lateral shoots are shortened at the beginning of autumn. Fruiting branches and those that are directed inside the bush are removed.
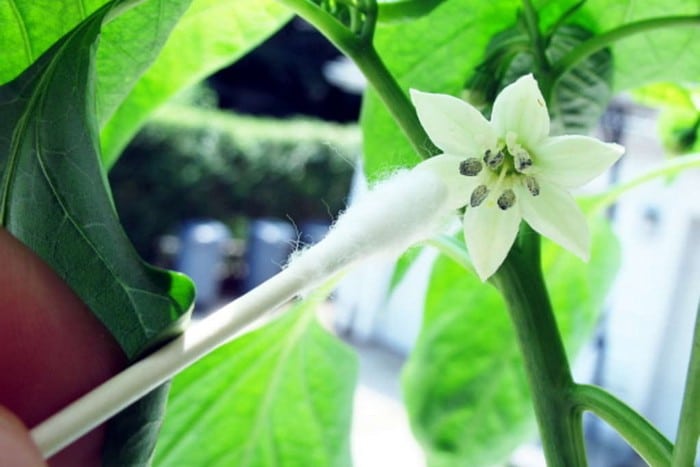
How to pollinate a bush yourself
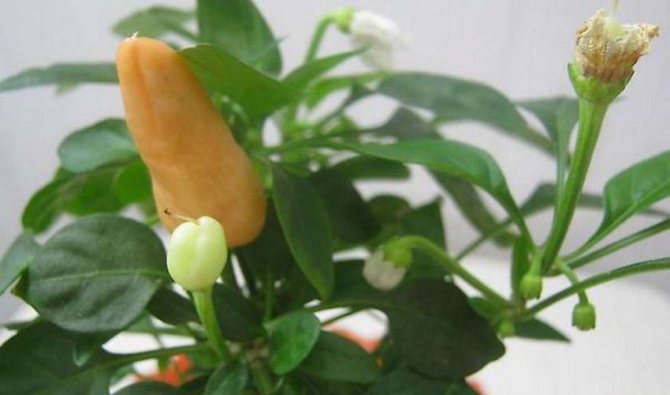
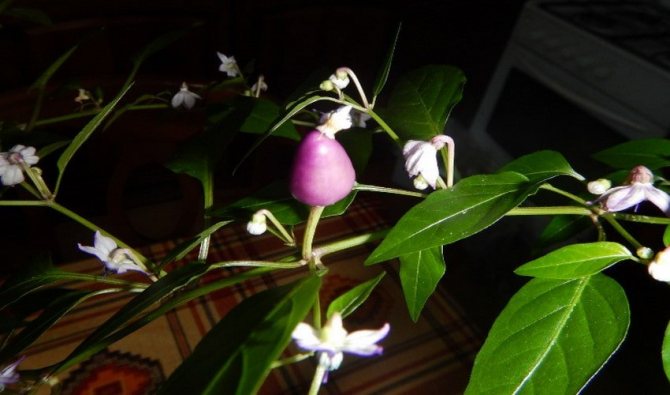
Chili peppers do not need to be pollinated by a host, but they can be helped a little. If the wind performs this function in the garden, then in the apartment it is enough to slightly shake the twigs during flowering; the use of a brush for pollination seems superfluous. In the process of shaking, at the same time, you can turn the pots with other sides to the window.
When Chile Needs a Transplant
Perennial peppers are usually replanted every 1-2 years. This is due to the depletion of the soil. The transplant is performed after fruiting. When transplanting, they change the pot and partially - the soil: the old one is left as much as it is retained by the roots when the bush is removed from the pot.
Video: growing pepper on a windowsill

Landing time
Winter is not the best time to grow hot peppers on a balcony or windowsill. Since there is a risk of frost, so that the seedlings do not disappear, you will need to maintain a certain temperature. Also, due to the short daylight hours, additional illumination will be required.
Attention!
Seeds sprout well if planted in late July or early September. Pepper belongs to crops that take a long time to germinate. Therefore, it is desirable that the weather is relatively stable during this period.
A good time to grow hot peppers at home from seeds is the end of February or the beginning of March. It is better to focus on the forecasted weather. If warming is expected, then the seedlings should be left in the north window. Otherwise, the hatched seedlings will slow down their growth, and this will postpone the appearance of the crop.
Is it possible to propagate chili by cuttings
Chili peppers are successfully propagated by cuttings. In the spring, lateral shoots 7–8 cm long are cut from the bush, soaked in growth stimulants and planted in a mixture of turf and sand. They arrange greenhouse conditions by covering the cuttings with a package. In a warm, humid place, they take root within a month.
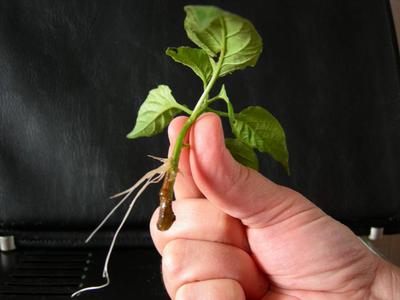
Sometimes cuttings are rooted even in water
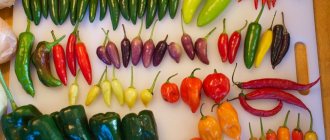
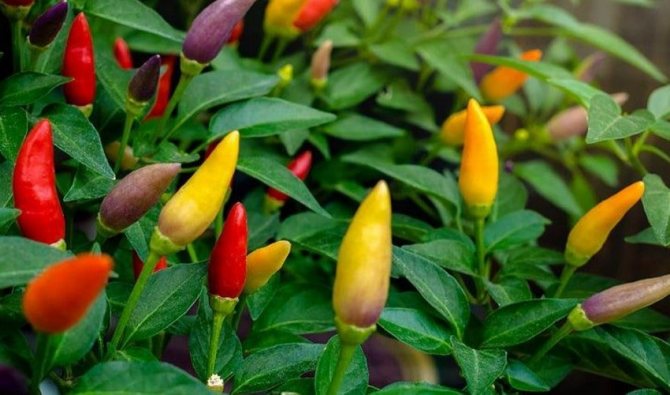
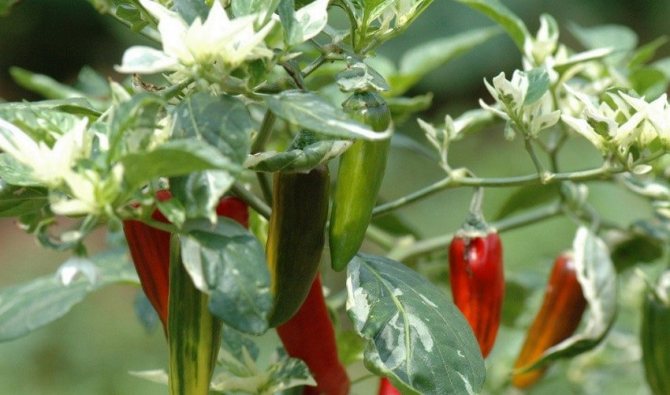
What varieties are right?
For home cultivation of red hot chili peppers, it is better to focus on certain varieties that are unpretentious in care:
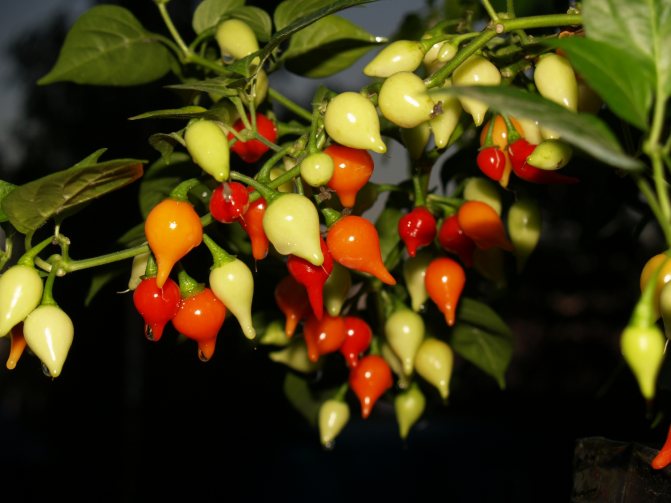
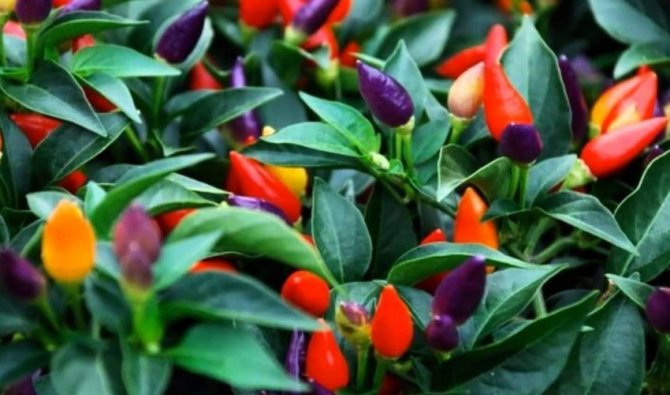
- Drakosha. Bitter peppers will sing in 3-4 months after planting. During the growing season, the plant blooms with dark purple buds. A distinctive feature of the variety is the burning and tart taste of vegetables;
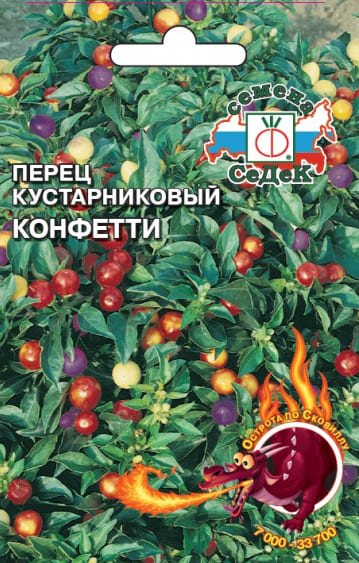
- Confetti. The fruits ripen all year round: both in winter and in summer.The maximum length of the pods is 8 cm. Inflorescences have a scarlet hue during the growing season;
- Aladdin. One of the unpretentious varieties of chili peppers, which is suitable for growing indoors and outdoors. Vegetables ripen within 2-3 months after planting. Inflorescences have a bright red hue;
- Firework. Early ripening variety, the first fruits appear within 2 months after planting. During the growing season, the inflorescences become scarlet or orange.
All varieties for indoor planting are resistant to many pests and seasonal pathologies.
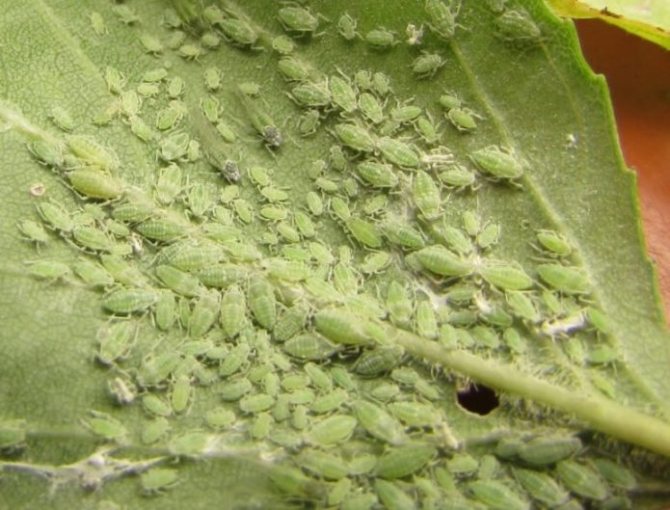
Possible diseases and pests
Indoor peppers rarely get sick, and pests rarely visit them. The main ones are shown in the table.
Table: diseases and pests of chili peppers
| Name | Signs | Control methods |
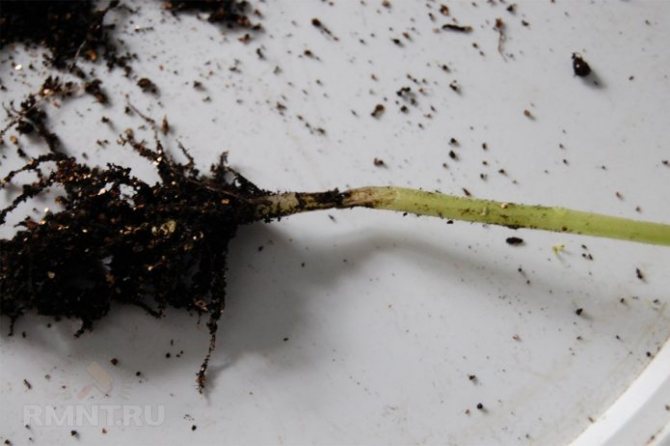
| Phytoplasmosis | Root rot, leaf shrinkage | No cure is possible. Prevention - Bordeaux liquid |
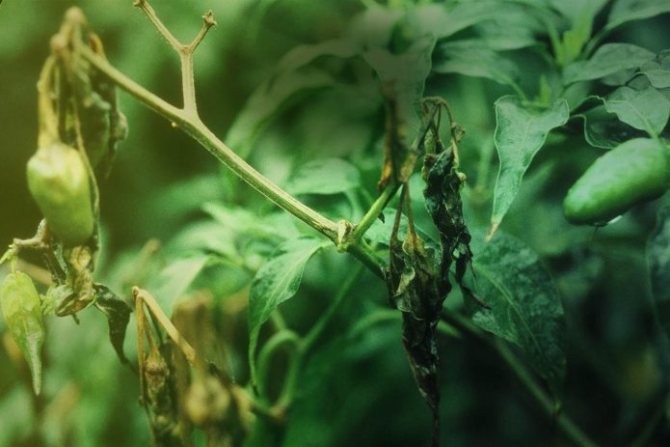
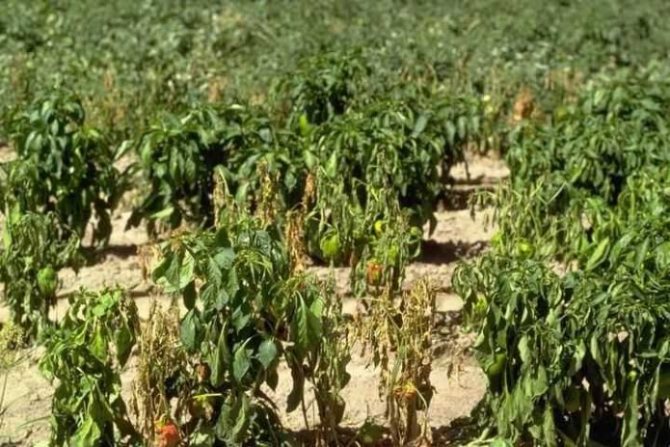
| Verticillosis | Withering bushes | No cure is possible. Prevention is the right agricultural technique |
| Tobacco mosaic virus | Patterned yellowing of leaves | No cure is possible. Selection of resistant varieties |
| Gray mold | White spots on fruits | Bordeaux liquid |
| Aphid | White insects on the underside of leaves | Keltan, Karbofos |
| Spider mite | Cobweb on the underside of the leaves | Bleaching powder |
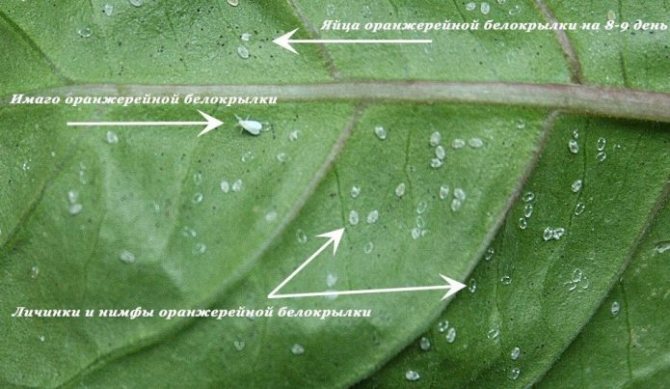
| Whitefly | Leaves have white spots and mucus | Inta-Vir |
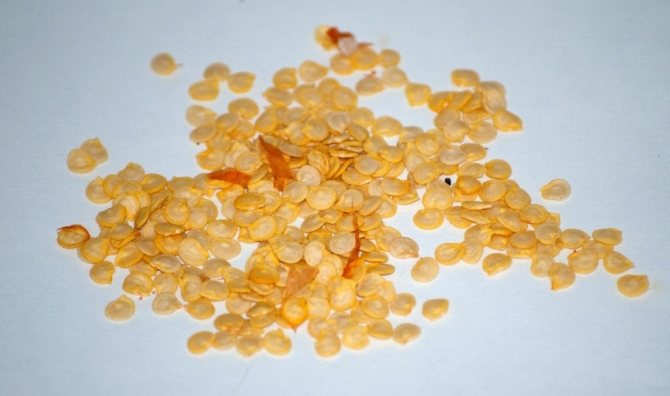
Calibration
To correctly select the highest quality seeds, you should start calibrating them. First, all seeds must be spread out on a flat surface and small seeds must be discarded. It is recommended to grow medium sized seed.
You will need to use a saline solution during calibration. Chili seeds should not be empty and therefore they need to be dipped in a solution made of 40 grams of salt and a liter of heated water for 5-10 minutes. Well-growing seeds will remain at the bottom of the container, and rejected seeds will immediately rise to the surface.
Features of collecting and storing homemade chile harvest
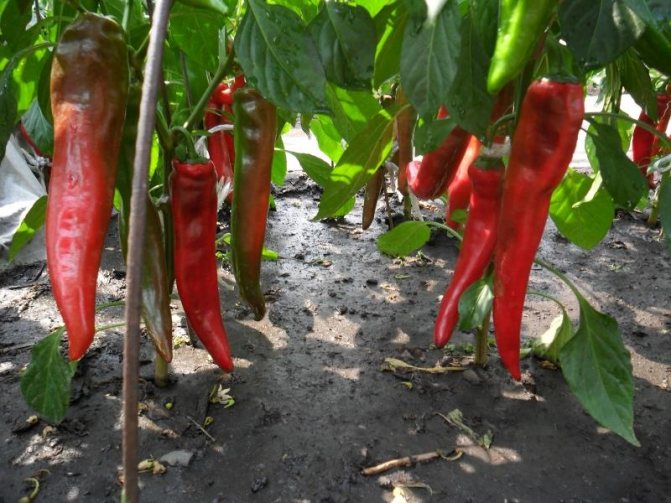
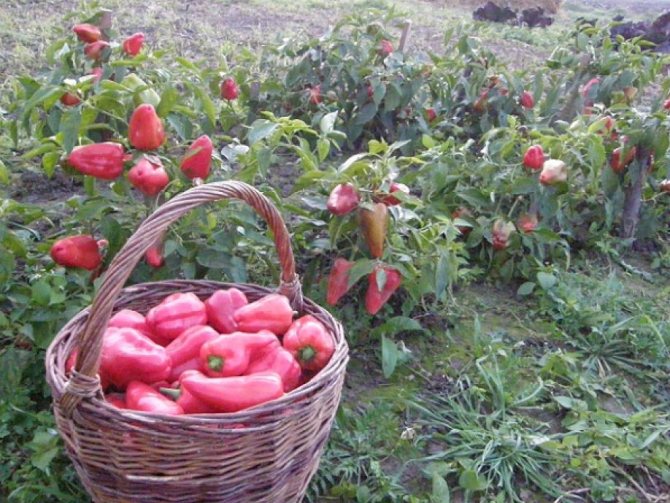
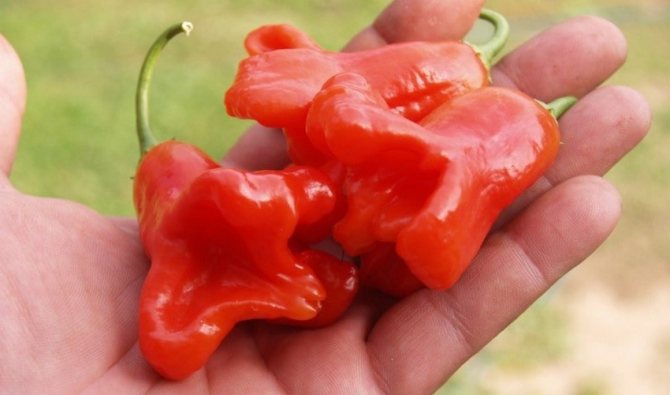
The fruits are removed as they ripen, without letting them hang over the top. Perennial varieties give the maximum yield in the second and third years. Precautions are necessary: perhaps the use of rubber gloves, since touching the peppers to the mucous membranes can cause burning and burns.
Chili is used fresh and dried, but most of it is dried. Pepper is dried at a low temperature in the oven or in natural conditions, after which it is ground into powder. Dry peppers keep well at room temperature. If you want to keep the pepper fresh in the freezer, it is first dipped in boiling water for a few minutes.
Picking
Before growing sweet peppers, you will have to do a pick. This procedure is carried out when young seedlings become cramped in small peat pots. Indeed, over time, the root system begins to actively develop and for this it will need more free space. After a pick, the roots better hold the soil ball and become several times stronger. Also, this process has a positive effect on productivity.
Step-by-step picking is performed as follows:
- a day before the procedure is performed, the ground in containers will need to be poured with warm water;
- in the transplant container, you need to make a small depression in the very center in advance;
- a few hours before the pick, the soil near the sprouts is wetted with water;
- pull out young seedlings from peat pots very carefully so as not to damage the root system;
- when the plant is removed from the pot, the root will have to be shortened by a third;
- the seedlings are carefully placed in a new pot so that their leaves are above the ground and the roots do not bend;
- after transplanting, the soil should be compacted around the seedlings;
- the transplanted bushes should be watered with heated water.
The benefits and harms of chili peppers for the body
The most important ingredient in chili is capsaicin, an alkaloid with a pungent taste. Regular consumption of chili can contribute to the death of malignant cells. In addition, pepper contains a whole range of vitamins and minerals. It thins the blood, removes toxins, lowers cholesterol levels, increases the efficiency of the brain, heals the intestinal microflora, strengthens the immune system, and reduces body weight.
The most bitter part of the plant is the seeds.
Chili pepper is harmful to people with stomach diseases and individual intolerance. Its use in the nutrition of children and pregnant women is undesirable.
What to do in case of careless handling of a burning product
Pepper contact with mucous membranes can cause chemical burns, especially contact with eyes. At best, it will be temporary redness and pain, but often you have to consult a doctor. To relieve the main symptoms of skin burns, rubbing with vegetable oils or tea infusions is used. Albucid or boric acid solution is instilled into the eyes, but an appeal to an ophthalmologist is highly desirable.
Disinfection
Before growing chili peppers in an apartment, it is recommended to disinfect all seeds. If this is not done, then the probability of infection of the plant with one or another disease increases several times. For processing seeds, a solution made from manganese is very often used.
Also, hot peppers can be treated with phytosporin. To prepare the solution, no more than four drops of the drug are added to a glass of water. In such a liquid, the seeds should be soaked for no more than 20 minutes.
Top dressing
During cultivation, the bushes can pick up certain mineral elements. Therefore, you need to periodically feed the soil. To understand what exactly the seedlings are missing, it is recommended to carefully monitor the condition of their leaves:
- a dry crust appears at the edges of the leaves, and they begin to curl - insufficient amount of potassium (a little potassium nitrate or potassium sulfate should be added to the soil);
- the color of the leaves becomes dull - this indicates an insufficient amount of nitrogen (ammonium nitrate is added to the ground, which is one third of nitrogen);
- the leaves begin to stretch upward, and their color turns purple - lack of phosphorus (phosphoric acid will have to be added to the soil);
- the crown of the leaves becomes marbled - there is not enough magnesium (to solve the problem, the soil is fed with magnesium sulfate).
During dressing, it is not recommended to add potassium chloride or potassium salt to the ground. Their use can negatively affect the health of the root system.
Tags: cultivation, pepper, windowsill, seed, chili
About
«Previous post