Balsam is a widespread ornamental plant in our country and all over the world. The culture is famous for its pleasant-looking flowers of various colors, resistance to diseases, unpretentiousness to conditions of detention. The most common practice is to grow balsam from seeds at home.
- 2 When to plant
2.1 General boarding times
- 2.2 Successful dates according to the lunar calendar
When to plant
In order to get flowering plants, it is necessary to choose the date of planting correctly.
General landing dates
In the Moscow region and other parts of the European territory of Russia, it is allowed to plant seeds already from the first decade of March. In the southern regions, you can postpone this date to February. In the rest of the country, this is not recommended as the growing season of the crop does not last too long.
Lunar dates
In order to successfully sow balsam seeds, they also resort to the help of the lunar calendar. In accordance with it, in 2020 auspicious days for the procedure are:
- February 21-25;
- 12-17, 19-20 March;
- 6-8, 11-13, 15-17, 29-30 April;
- 8-17, 21-23, 26-28 May;
- 1-2, 5-6, 9-13, June 16-20.
It is not recommended to plant seeds on the following dates:
- 6, 7, 21 March;
- April 5, 19;
- May 5, 19;
- June 3, 4, 17.
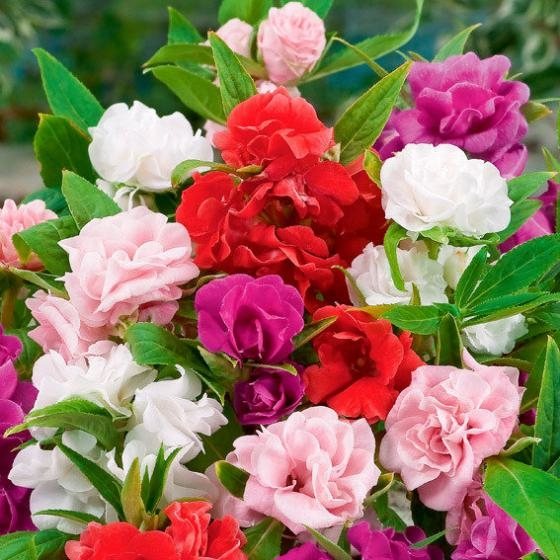
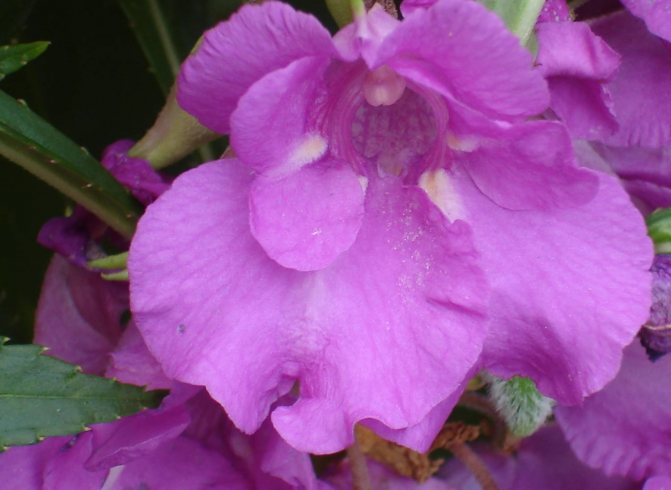
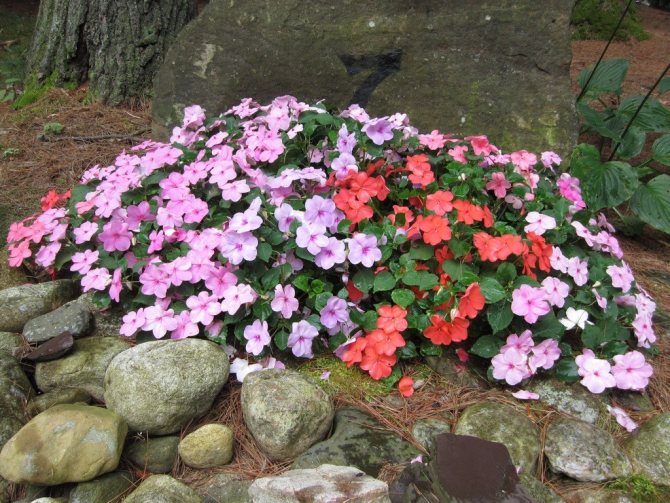
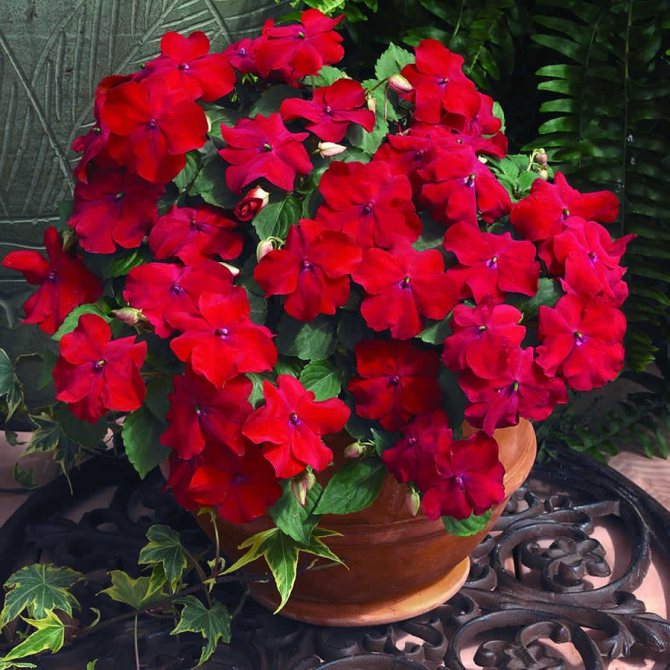
Popular varieties with photos
The most common varieties and varieties of balsam include:
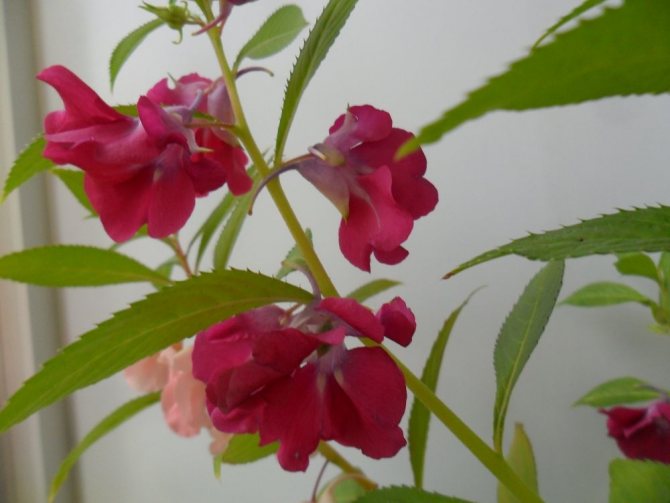
- Garden balsam;

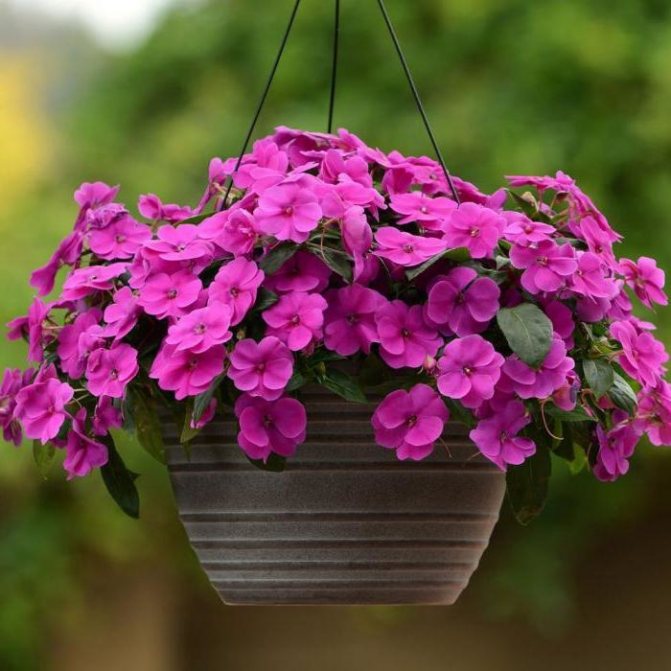
- Ampelous balsam;
- Dwarf balsam;
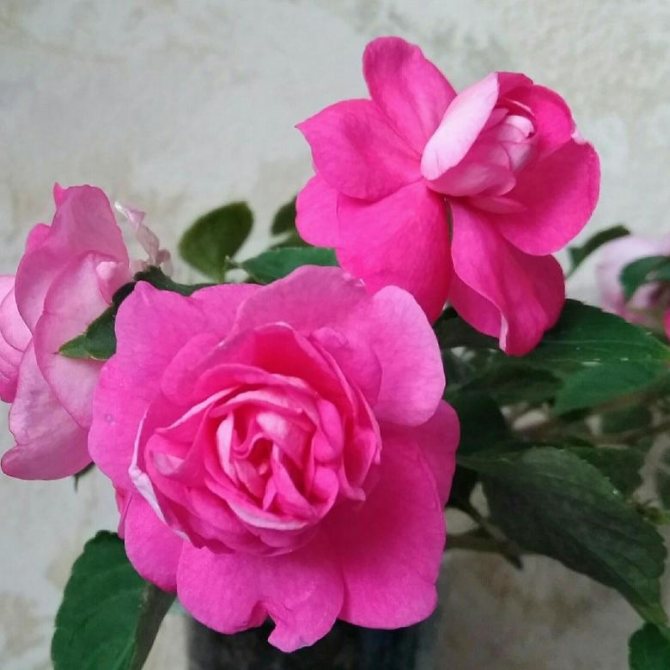
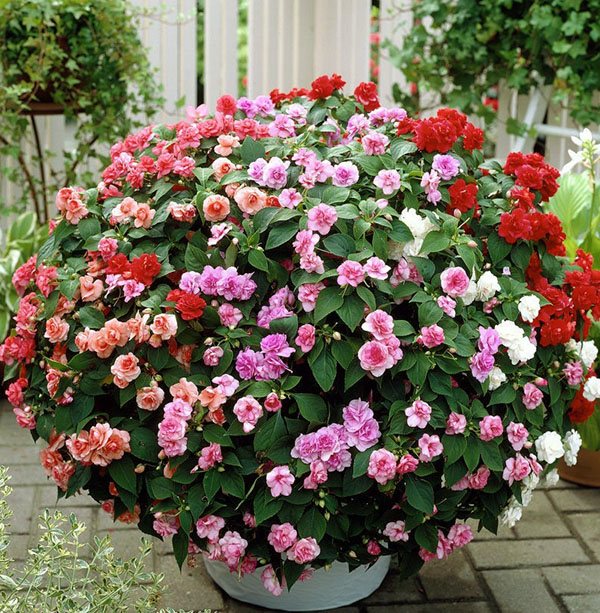
- Terry balsam;
- Balsam super Elfin;

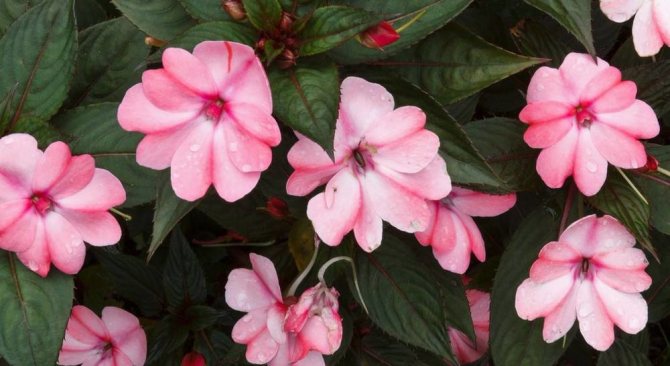
- Balsam New Guinea;
- New Zealand balsam;
- Tom Tamb;
- Camellia;
- Waller;
- Kandy;
- Exotic;
- Eurasia;
- Viennese waltz;

- Acrobat;
- Lollipop.
Sowing seeds: steps and important tips
Seed material of balsam does not need to be stratified, but it must first be disinfected. Potassium permanganate (potassium permanganate) is diluted in heated water so that it turns light purple, and then the seeds are lowered there and kept for 10 minutes. After that, the liquid is drained, and the seeds are soaked in warm purified water and kept there for another day.
Balsam is picky about soils and prefers light substrates with low acidity. The soil can be either purchased or self-prepared at home from the following ingredients:
- 2 parts of peat;
- 1 part of vermiculite, garden soil and coarse sand.
If it is not possible to use garden soil, it is allowed to use vermiculite and peat in an equivalent ratio. The prepared soil is calcined in the oven for about two hours to eliminate all harmful microorganisms, and then spilled with Fitosporin diluted in water. This allows you to optimize the microflora of the soil and reduce the risk of damage to plants by the black leg.
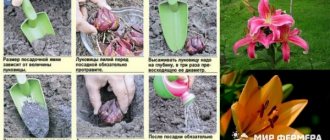
A wide, low pot or box 7-8 cm in height is used as a container for seedlings. The bottom is covered with crushed gravel or expanded clay with a layer of 2 cm for drainage.
Seed material swollen from moisture is evenly distributed over the surface of the soil, trying not to pour them too often.Since the seeds are small, this is best done with the tip of a wooden toothpick. They must be carefully pressed against the ground, not burying too deeply.
The surface with seeds spread out on it must be sprayed with a spray bottle. Then the container is placed inside a transparent plastic bag. It should not be pressed too hard to leave enough air for the seedlings.


Features of growing balsam from seeds at home
"Balzamin" is a herbaceous plant that belongs to the group of both annuals and perennials. Its main feature is the variety of varieties. The latter factor affects the timing of disembarkation and the characteristics of care.
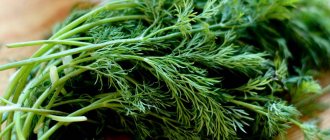
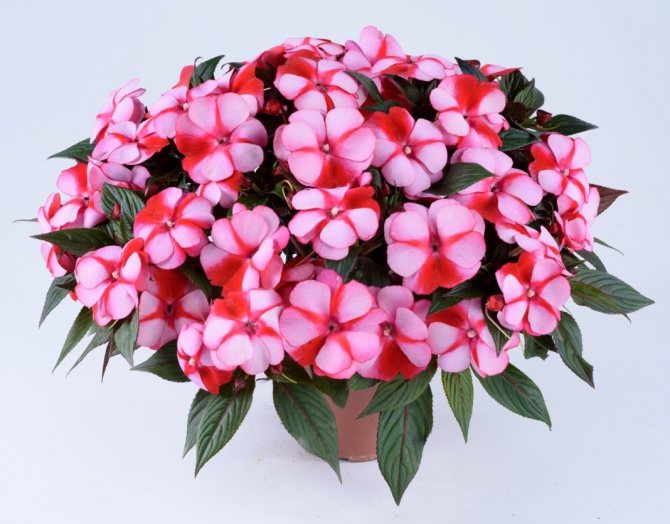
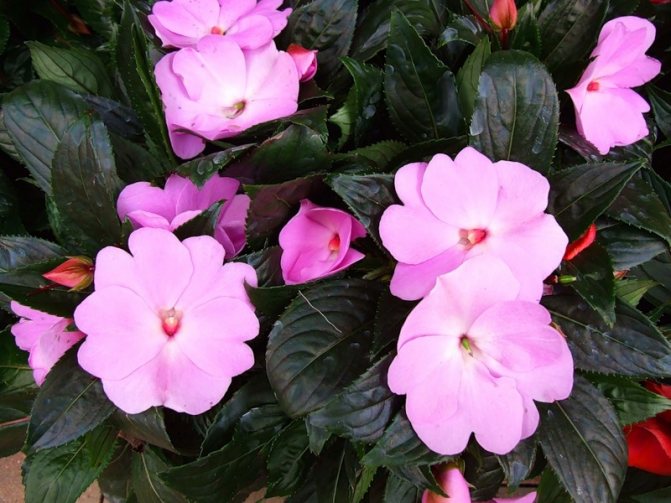
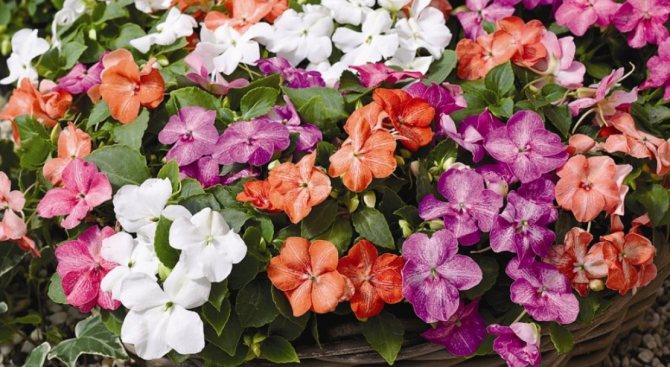
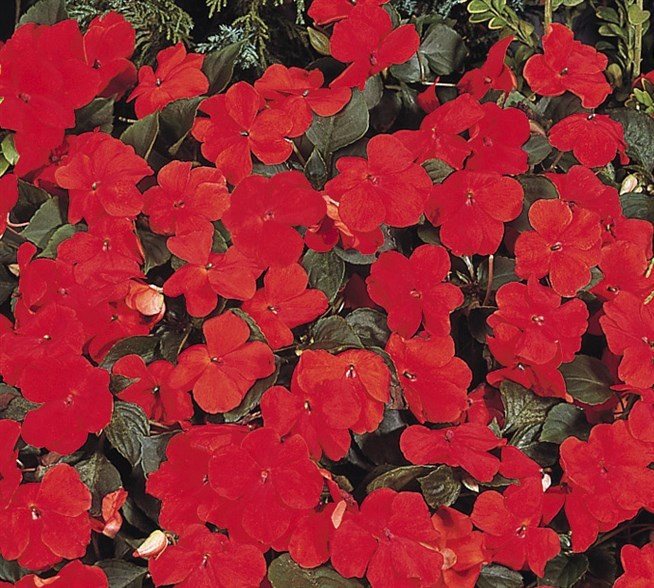
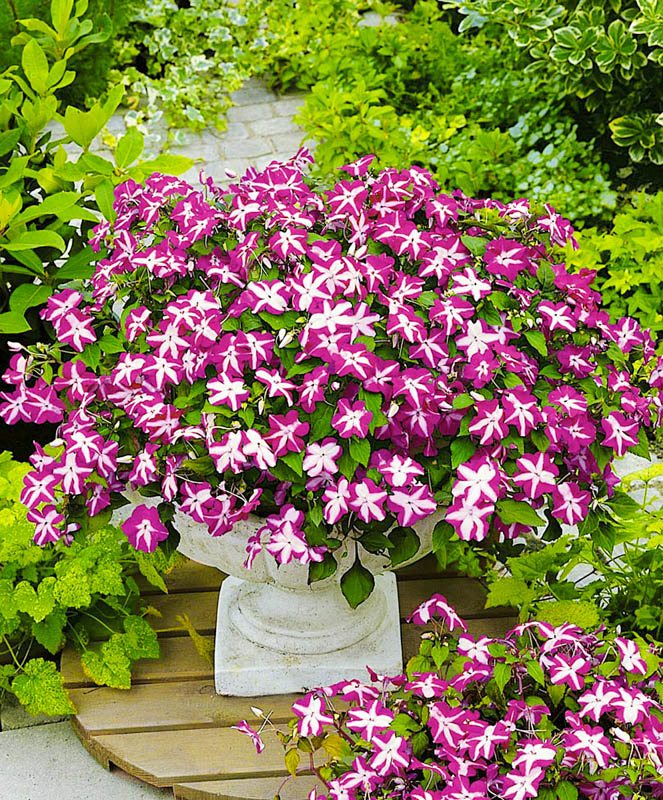
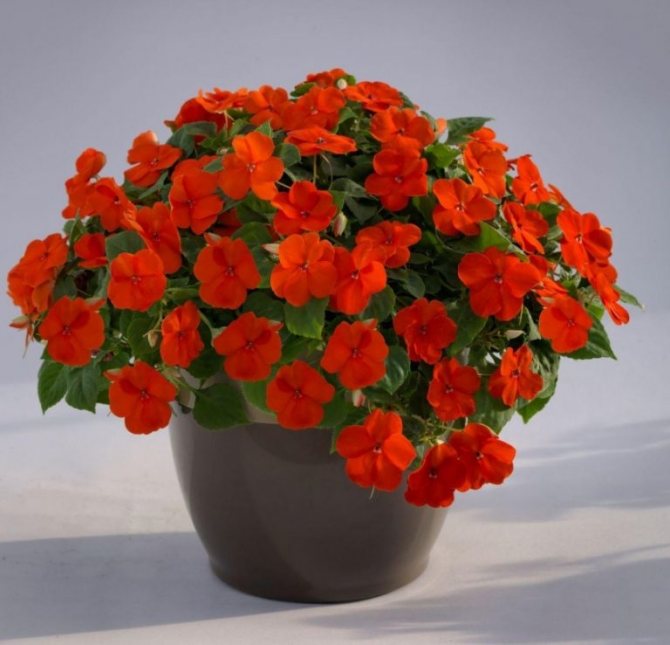
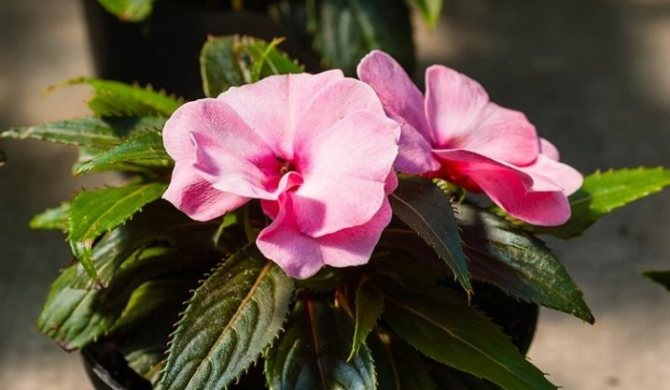
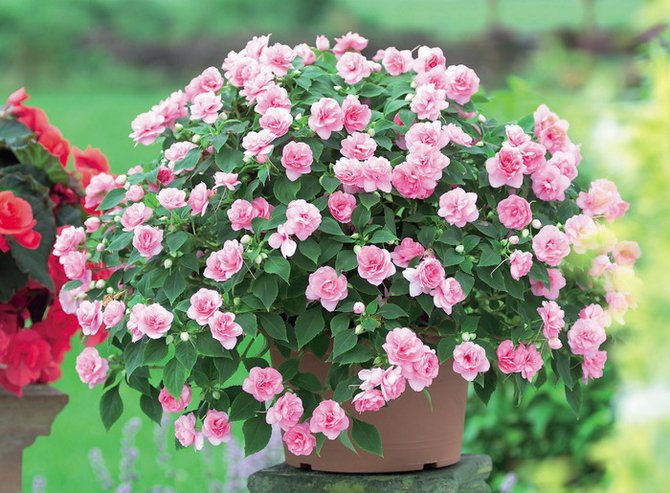
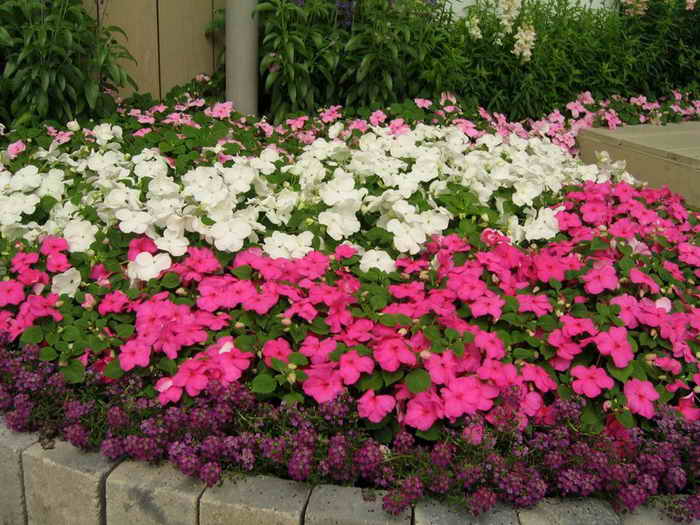
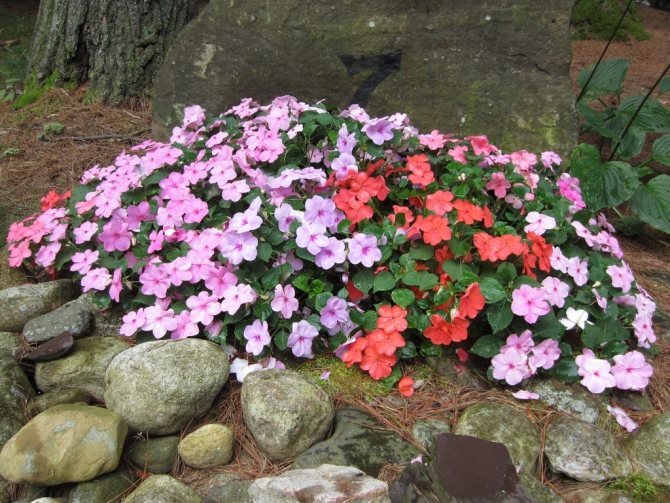
"Balsam" is a plant with jagged or rounded leaf plates of a dark green palette and flowers of various shades (pink, red, white). Inflorescence petals can be smooth, double or semi-double. Flowering does not occur at the same time.
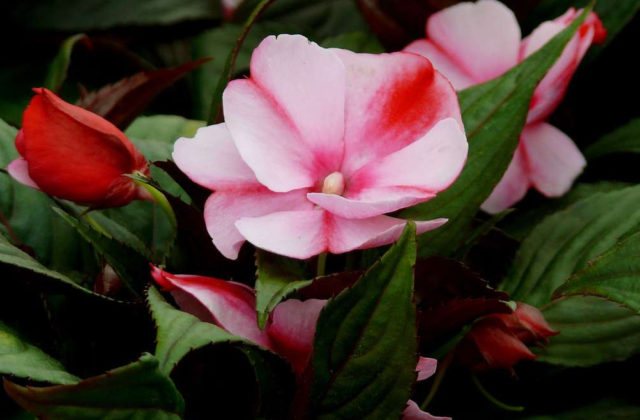
In good conditions, balsam blooms all year round
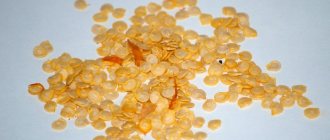
What balsam seeds look like
Balsam fruits are small seed pods that open when lightly touched. The seeds themselves are very small, of different sizes, covered with a dark brown, black or white shell. In annuals, the seed is usually slightly larger than in perennial crops.

All seeds require pre-treatment before planting.
How to collect balsam seeds
Collection of balsam seeds has its own characteristics. The fruits of the plant cannot be cut off ahead of time, otherwise the seeds will rot. It is very simple to determine the onset of the moment of ripening: you need to pick up the seed capsule, if the flaps open immediately, then the time for collection has come.
The storage period of balsam seeds can reach 6-8 years, however, only freshly harvested materials show the best germination.
Seedling care
A packed box with seedlings is placed on the windowsill so that it is possible to illuminate its entire surface well, but at the same time young plants are protected from direct sunlight. It is necessary to maintain the temperature in the room, varying within + 22 ... 25 ° С.
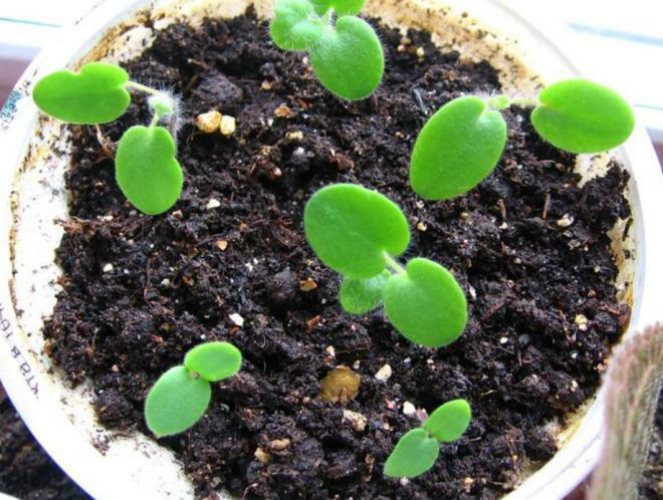
After 17-20 days, the earliest seedlings germinate above the soil surface. However, to do this, the room must be kept at the same temperature and humidity level. Once this has happened, the bag is opened for ventilation. Condensate accumulated under the film is carefully shaken off. If this is not done, drops of liquid will fall on the seedlings and they will become more susceptible to fungal diseases. This procedure must be repeated twice a day - in the mornings and evenings.
After about another week, when all the seeds have already germinated, it is required to remove the shelter and sprinkle the soil with water from a spray bottle. In the mornings and evenings, as well as in inclement weather, it is worth turning on phytolamps for additional lighting. Seedlings must be supplemented with additional illumination so that their development is not inhibited.
From time to time, the roots of the seedlings will be shown from the soil. It is necessary to sprinkle a moistened substrate on them. When watering, it is required to add water to the sump. This allows you to keep the root collars of plants dry so that they do not start to rot.
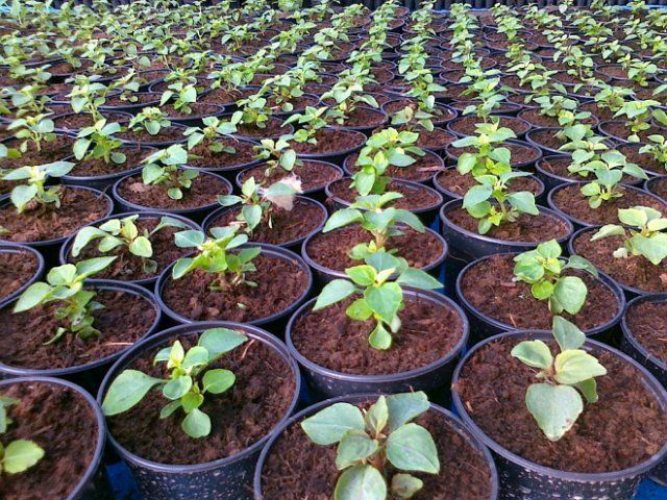
When the seedlings reach a height of 1.5 cm, and two full-fledged leaves are formed on each of the specimens, they can already be dived into separate containers. In this case, the same soil substrate and drainage is used as when planting seeds. If some plants are elongated, they need to be buried a little deeper than the rest of the seedlings.
After the pick, the balsam will begin to adapt much faster to the changed weather conditions and will grow more intensively.Daylight hours should be approximately 12 hours, and the temperature should vary between + 18 ... 20 ° С.
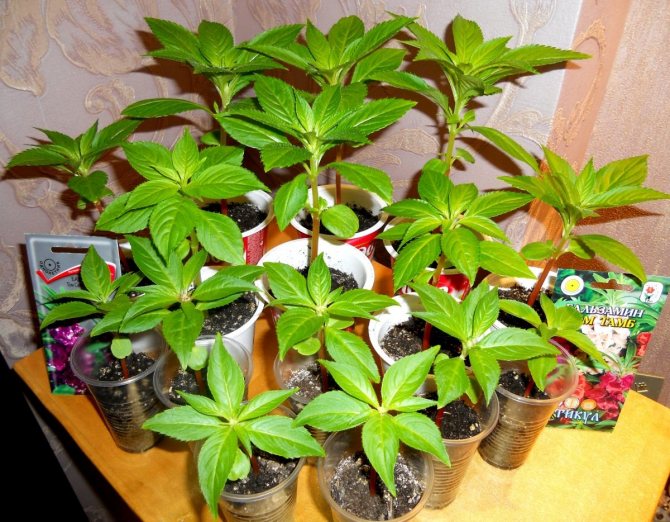
After a week after the pick, you need to pinch the tops of the plants. This will provoke the formation of additional stems. This procedure will make the balsam bushes more decorative.
If the soil begins to sink in the seedlings, you need to put some soil on it. At the same time, it will not dry out too much. Lack of soil will cause a deficiency of nutrients and will not allow the full development of seedlings.
From a lack of lighting or a lack of fertilizing, the seedlings run the risk of stretching out strongly. In order to restore the level of nutrition, you can use humus (Gumistar) and mineral fertilizers.
Reproduction of balsam garden
Balsam can be grown in annual and perennial crops. Perennial varieties growing in the garden will die in winter, so if you like the variety and want to preserve it, there are two ways to propagate this plant - by cuttings and seeds.
Propagation by cuttings
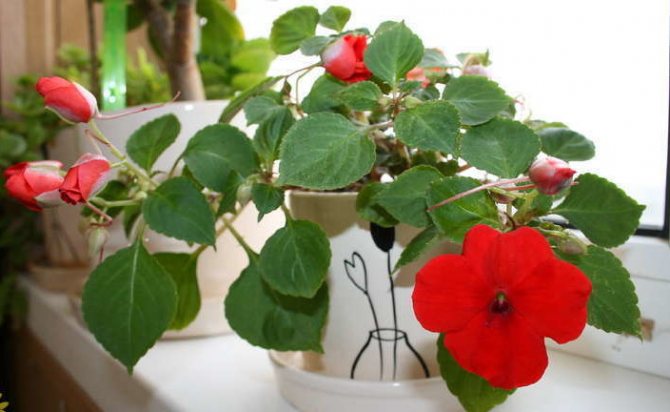
Balsam is propagated if there is no experience or opportunity to grow seedlings, and also if you really want to admire your favorite flower in the house in winter.
To do this, choose the longest branches and cut off the tops 10-12 cm long with a blade diagonally from them. The lower leaves from the cuttings are cut off, leaving the nodes bare, a root system will form on them. The lower part of the cuttings is immersed in settled water, covered with a film on top. After 8-10 days, white thin roots will appear, which means that the planting material is ready for planting in pots. In winter, the bushes will bloom, and in spring they can be taken out of the pot from the ground and planted again in open ground.
Seed propagation
Balsam can be multiplied in unlimited quantities if you collect the seed with your own hands. However, some conditions must be taken into account, namely:
- seeds collected from hybrid varieties will not always transfer maternal properties to the plant, meaning the decorative features of flowers;
- seeds collected from unripe pods give a very low percentage of germination, and when ripe pods, when touched, burst immediately and the seeds cannot be collected. Therefore, it is recommended to put gauze bags on still green boxes, or carefully tear them off early in the morning while they are wet with dew;
- the collected seeds are dried in the shade for reliability, but not overdried, stored for no more than 6-7 years in paper bags at an air temperature of +2 to +10 degrees and humidity up to 60%;
- seeds collected in the forest from wild varieties of Balsamin give shoots, which multiply aggressively, turning into an ineradicable weed, therefore they are not recommended to be planted;
- it is better to buy ready-made store-bought seeds for specific varieties and colors, multi-color collections are often disappointing;
- for indoor cultivation of Balzamin, it is recommended to choose seeds of perennial varieties, for open ground - annuals.
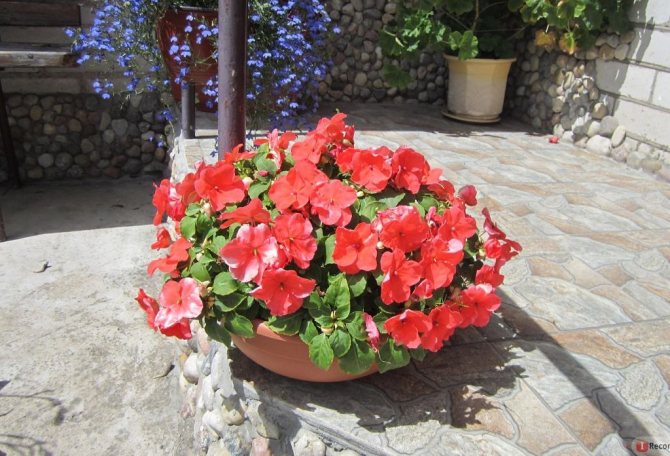
Outdoor transplant and further care
It is preferable to transplant plants in May, when the risk of recurrent frosts is reduced. It is better to plant them in a garden bed near a fence or in flower beds next to sparse trees. This will provide the plants with wind protection and moderate sunlight.
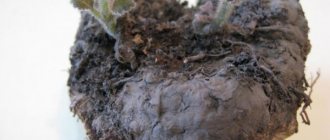
It is first required to add fungicide and semi-rotten manure to the soil, and then spill it with potassium permanganate. Vermicompost can be used for feeding. The seedlings are carefully removed from the containers along with a lump of earth and placed in holes located at a distance of 25-30 cm from each other. After that, sprinkle them with soil and press slightly. It is recommended to mulch the soil in the bush sector to retain moisture and prevent weed growth.
Balsam belongs to moisture-loving plants, and for it it is necessary to constantly maintain high moisture content, but not flood it.It is recommended to water the plants by sprinkling, dripping onto flowers and leaves. Young individuals are watered every two to three days as the soil dries up near the bushes. Older adults require watering in the morning and evening daily, especially in hot, dry weather.
Nitrogen fertilizers are used as top dressing for young plantings, which provide enhanced growth. With the onset of flowering, they switch to phosphorus-potassium. When the plants have faded, all feeding is stopped. In order to avoid causing burns to flowers, it is recommended to combine watering and fertilization.
Balsam is a beautiful ornamental plant. With proper planting and care, you can get a bright decoration for your garden.
How to water?
After diving, it is necessary to change the irrigation regime: instead of irrigation and drip irrigation, the sump irrigation method should be used daily, which will have a beneficial effect on the development of the root system of the seedling.
When the balsam has already been transplanted to a permanent place, it is necessary to ensure that the soil is constantly moist. But also stagnation of moisture should not be allowed in order to prevent root rot and the appearance of infections, diseases and pests.
How to water and feed the plant in order to admire the flowering for a long time, you can find out in our material.
rules
If watering from a watering can, then a strong pressure of water can knock out the still weak root system of seedlings, therefore watering after removing the greenhouse should be done carefully: either irrigating the seedlings from a spray bottle, or using drip irrigation technology. Regular watering - the topsoil should always be moist. The water should be at room temperature or a degree or two higher.