Gooseberries, raspberries, currants, cherries - bushes with berries can be found on every garden plot. Unpretentious and persistent, shrubs delight with excellently tasty fruits. There is only one problem - overgrowth of plants, sagging branches under the weight of fruits. The props will save you all the trouble, and you can make the coasters quickly and from scrap materials.
About pergola
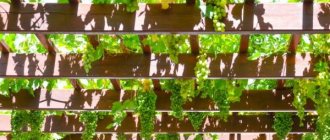
A pergola is a garden structure designed for climbing plants. It can simultaneously serve as a canopy and sun protection for a terrace or transition between buildings or parts of the garden. With its help, you can zoning the site, creating a special atmosphere. In view of the versatility of the purpose of the design we are considering, you should think about what its main purpose will be.
Here are the options:
- To decorate the garden and change the appearance of the landscape.
- As a support for climbing plants (grapes, hops, ivy, climbing roses).
- Will protect from the sun by creating shade over a terrace or over a parking lot.
- For relax. In this case, the pergola can be combined with a bench or gazebo.
- If it is necessary to hide some part of the garden from prying eyes, then zoning is performed.
Pergola canopy near the vine house - dense shade even at noon
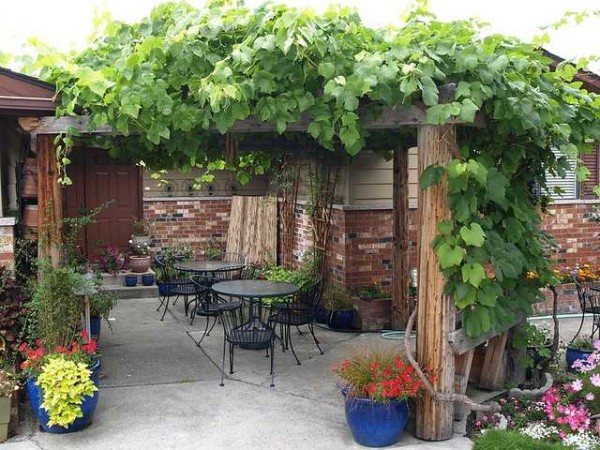

Why do you need support for bushes
One of the ways to properly form a currant bush is to support it.
- It offers many possibilities:
- the bush takes up less space on the site;
- easier to harvest;
- bad weather will cause less harm;
- from their severity, ripe berries will not lower branches down;
- easier to work with the soil;
- the crown will form correctly.
In special stores, you can buy fences, or you can make yourself from scrap materials. From which ones, read below.
What are
In ancient times, pergolas were not only in the vineyards. Similar structures, only on a large scale, were made in courtyards to protect them from the scorching sun. The hottest midday hours were spent under them. These were rather awnings, one part of which rested on the wall. Their design has remained the same, the materials have changed: now the pergola can be not only wooden, but also metal, concrete and even plastic.
Aside from being a useful structure - supporting vines and shading - it's beautiful too. This was appreciated by the architects. Gradually, pergolas migrated to the gardens of the nobility. Only there they had a more refined shape, expensive materials were used up to marble columns, beams were made of pretentious shapes. It twisted along them not only and not so much grapes as ornamental plants, roses, bindweed and lianas.
This is also a pergola, but the look and design is completely different, although the principle of construction is the same
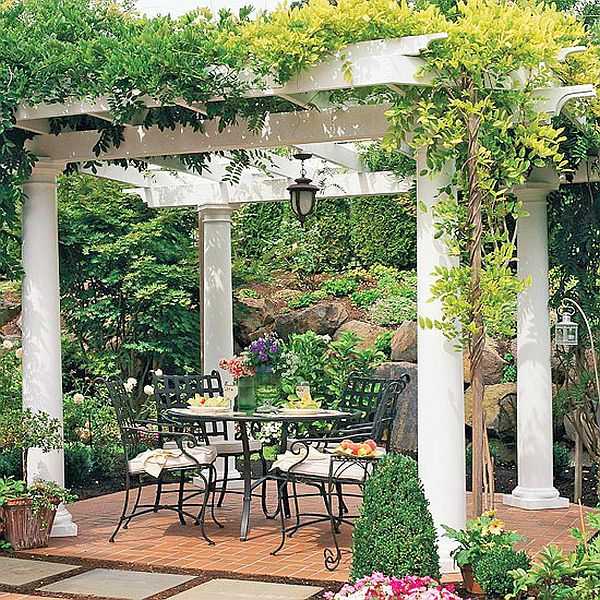

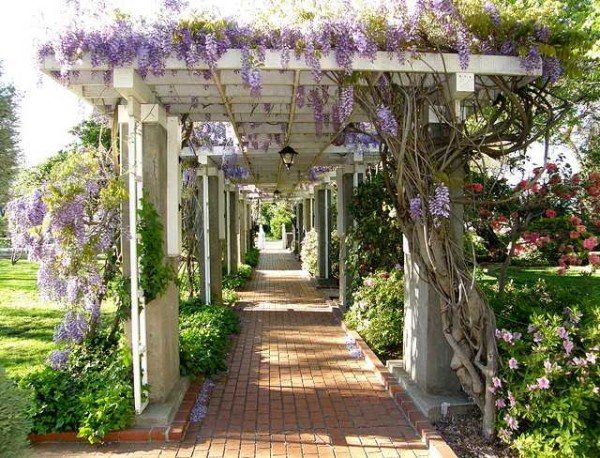
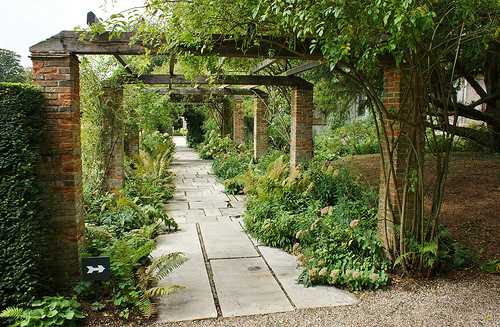
They also make it in the form of a gallery, covering from the sun all the way from one building to another. These arcades serve as a support for perennial vines, climbing species of roses. Where they do not survive due to the harsh climate, annual bindweed can be used, they are no less decorative, the flowering period can be chosen so that the flowering continues throughout the warm season.
A whole gallery of arches can close the path from one building to another or to a resting place

In the modern sense, it is rather a canopy or an open summer gazebo, which instead of a roof has a network of beams on which plants climb.
Concrete pergolas require careful design
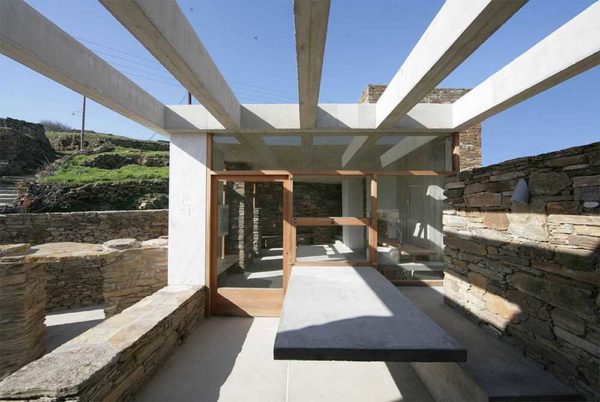

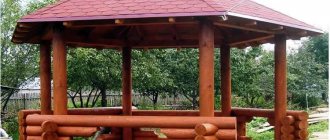
And that too. This is more like a summer gazebo for a pleasant pastime
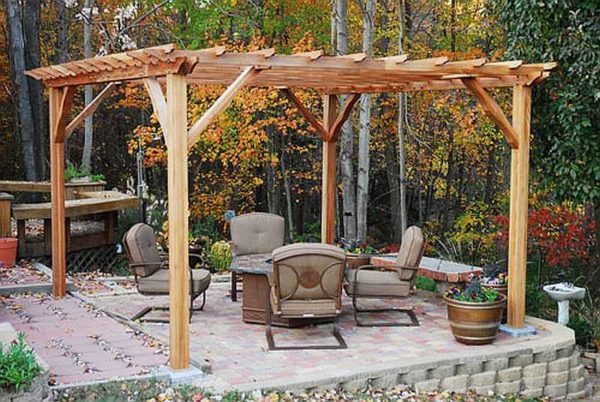

Custom design. However, this is also a kind of pergola.
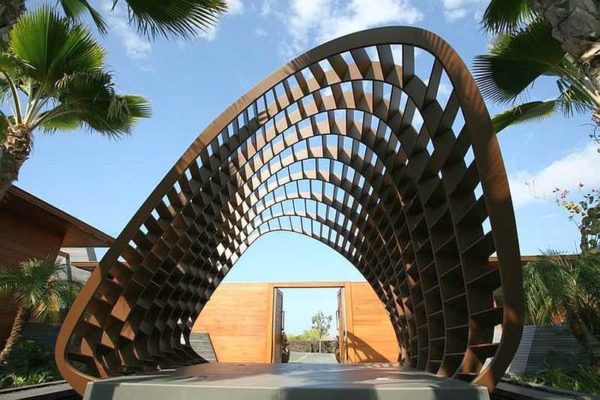

So, with the help of a pergola, you can arrange the entrance to the house - this is a canopy that looks good even without plants, and when they grow it will be even more comfortable
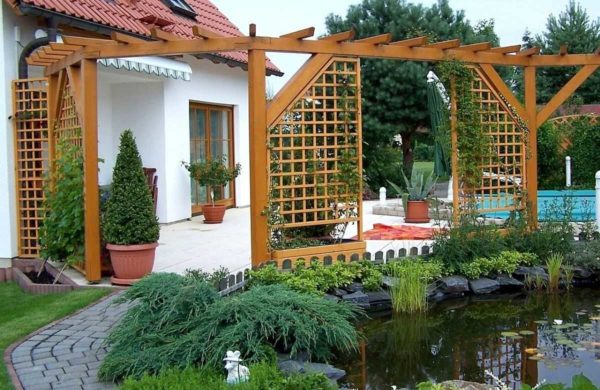

The altered pergola is the arch on which the flowers or grapes rest. If we say "arch", then most often we mean a metal product with a rounded top.
The arch for grapes is also a pergola, only with a modified shape of the upper part
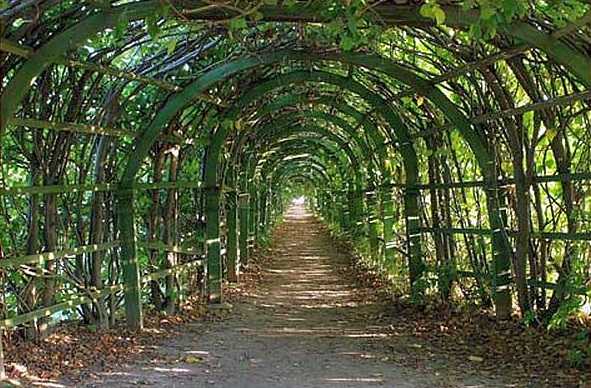

The arch under the climbing rose is the same pergola. But the mass of a rose is less than that of a grapevine and wooden structures are still made for it.
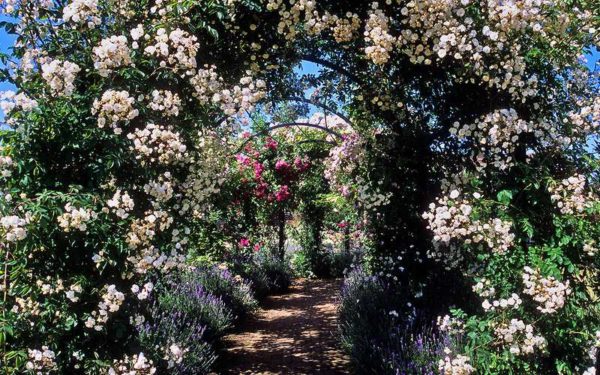

Hang flowerpots with ampelous plants on top - and the arch becomes even more elegant
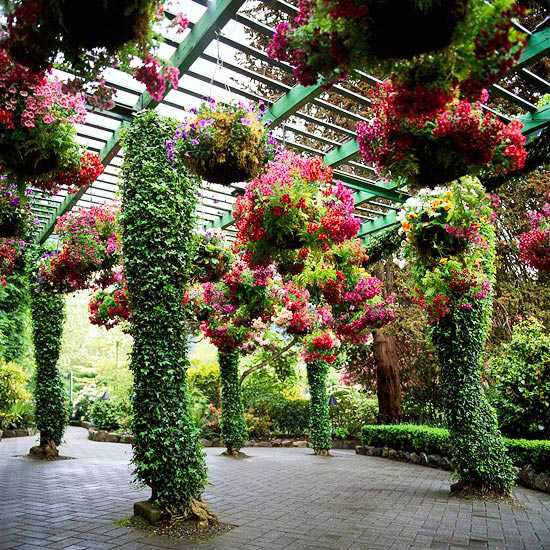

Powerful columns wrapped around lianas - nature reserve

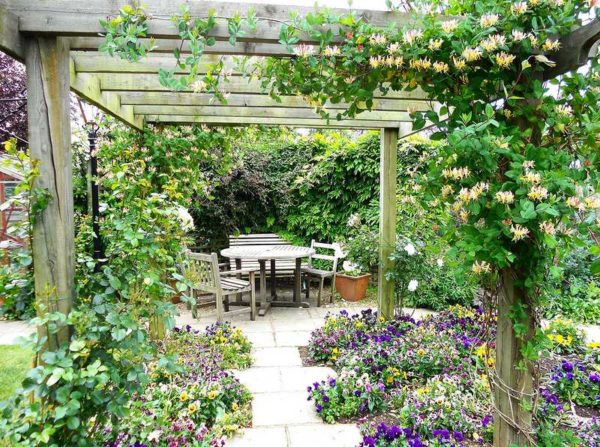
Blooming honeysuckle on a pergola arch

Plastic props
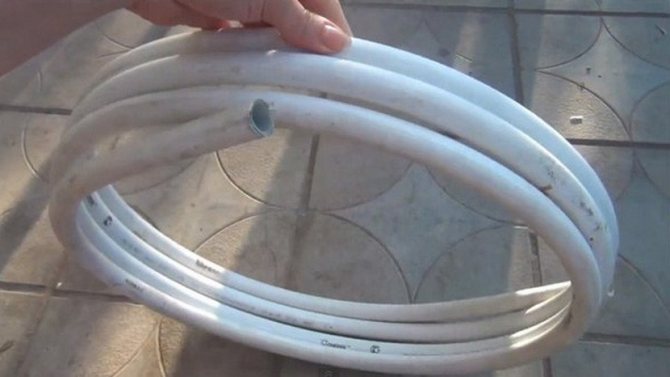
The use of plastic pipes makes it possible to produce a fairly simple and attractive design. Polymer materials are resistant to moisture, so their service life is quite long. However, such pipes do not tolerate temperature extremes, which should be taken into account when using them.
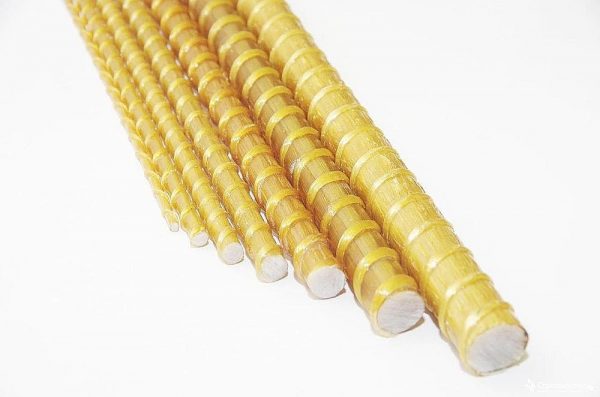

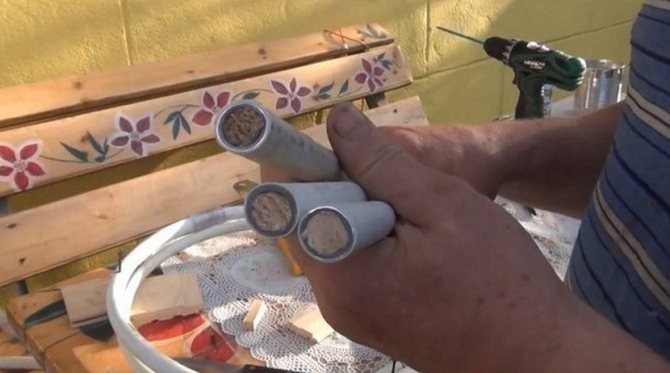
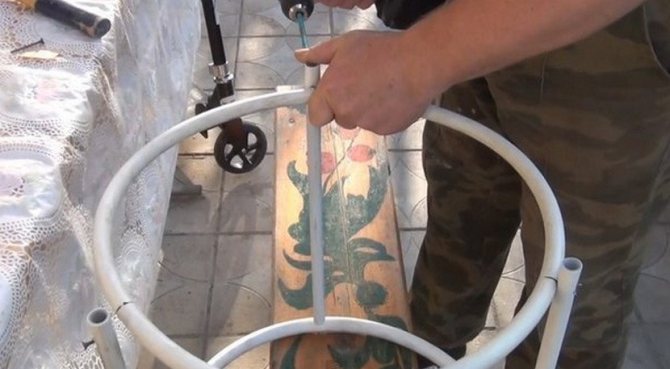
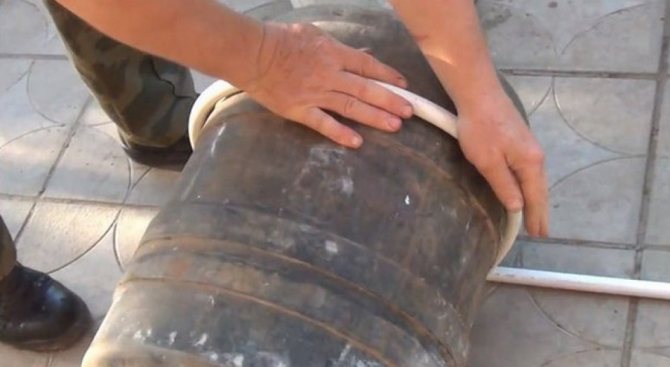
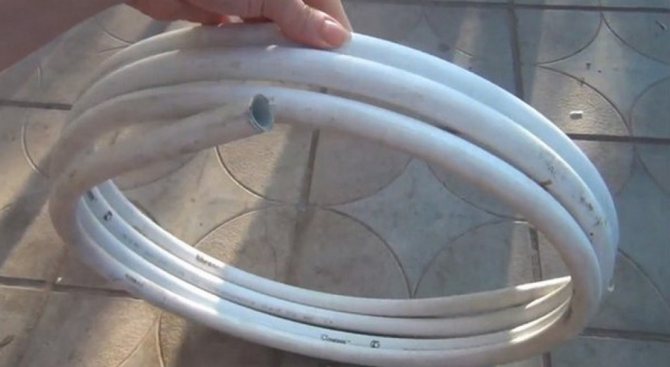
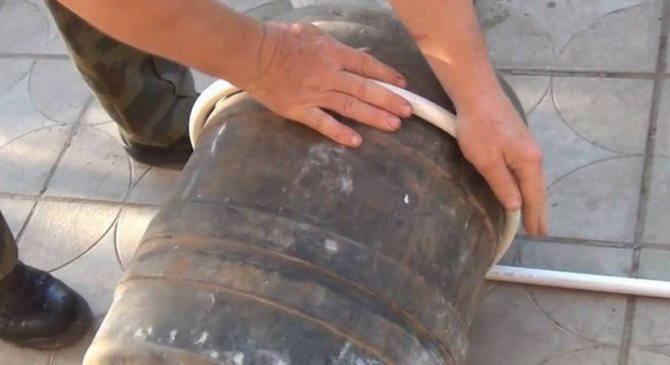
In addition to plastic parts, you will need to purchase fiberglass fittings to assemble the support from the pipes. The thickness of such reinforcement should not be too large. For such work, products of 4-5 mm are suitable. The plastic pipes are cut into 7 pieces. The length of each segment in this case is 50-60 cm. It is also recommended to purchase plugs in advance.
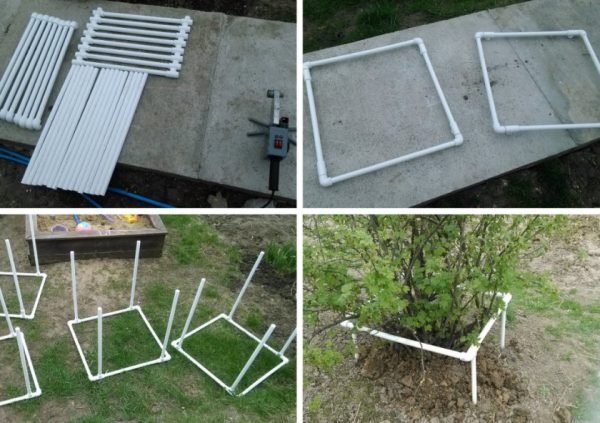

Further work requires drilling holes in the tops of the pipes. The distance from the edge should be at least 4 cm. Further, reinforcement made of fiberglass material is threaded through the holes made earlier.
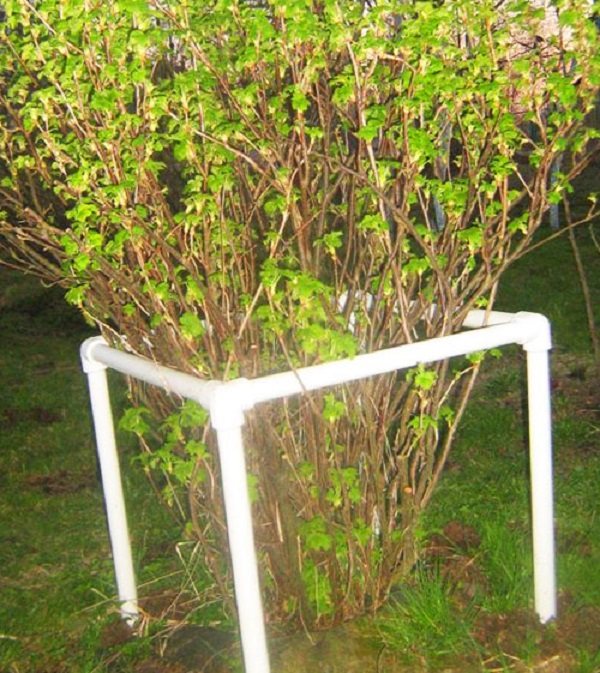

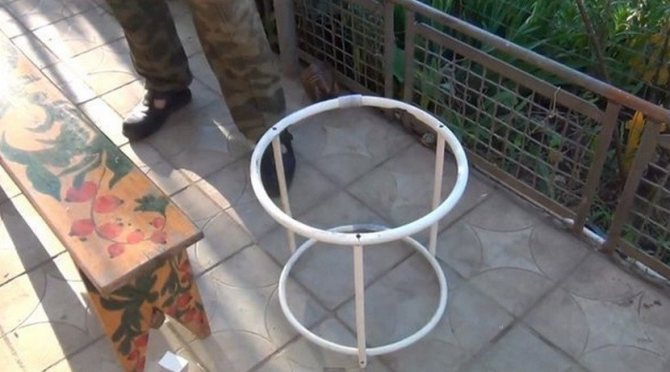
Plastic props
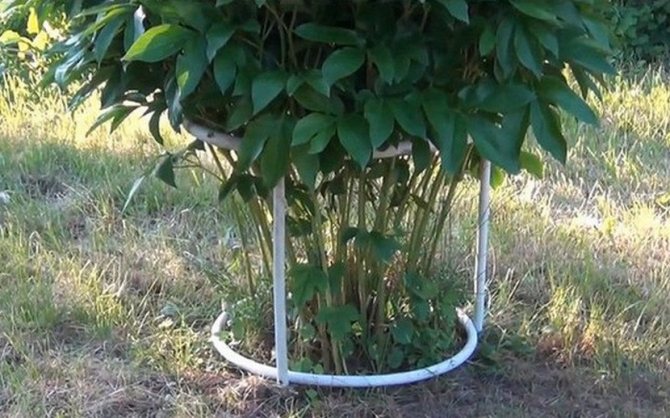
Then it is necessary to install the supports in the soil around the perimeter of the currant bush. It is worth remembering that the reinforcement should be located strictly parallel to the soil. At the end, the tops of the pipes are fitted with plugs. Thus, a fairly reliable and durable support can be made from conventional plastic pipes in a short period of time.
Main nodes
Despite the fact that the design is simple, it is necessary to correctly assess the load that plants can create. For our country, it is not worth dumping the scales and snow pressure. Especially after the plants have wrapped around the structure. Therefore, all connections, fastenings, are made reliable, it is better to play it safe and put corners than to disassemble a blockage of plants and a collapsed arch. In this regard, the supporting columns and beams of the arch must be strong and reliable.
If you plan to build from wood, support posts for a medium-sized pergola use at least 200 * 200 mm. Beams - from a board not less than 40 mm thick. It is imperative to make stops and jibs: they will give rigidity. If the support pillars will be built of brick or stone, they are placed around a pipe - round or square - your choice, but it should be.
Dimensions (edit)
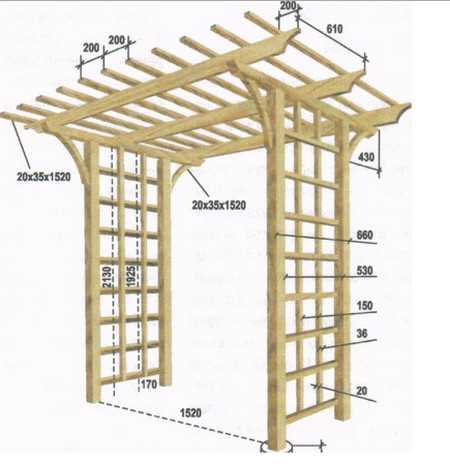
A little about the size of the pergolas. They should be in proportion to the area. If it is small, then the distance between the posts can be one and a half meters. You should not do less: taking into account the foliage, only one person will pass through such a passage. For larger areas, a wider width is required - too narrow will seem scanty.
The standard height of a garden pergola is 2.2-2.4 meters. Then the whole structure is harmonious, and foliage and flowers will not crush.
How to connect the parts at the top
When building an arch, special attention should be paid to the connection points. How to make them look at the photo.
The easy way to connect the uprights to the main beams
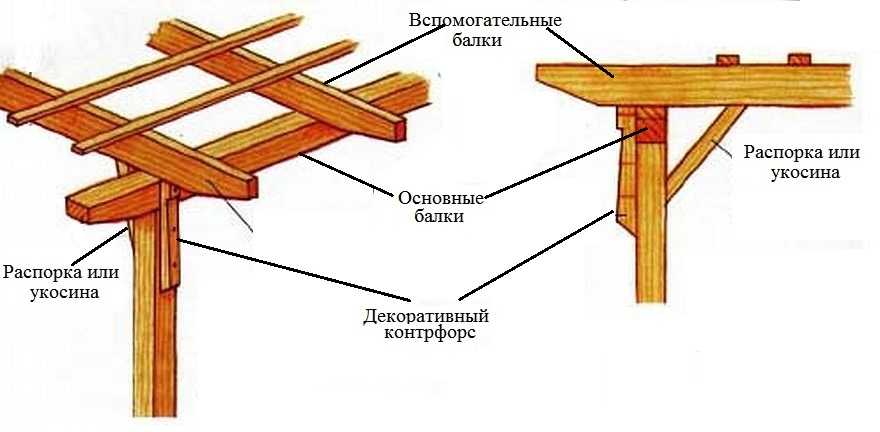

For those who are not very good at carpentry, it can be difficult to cut the recesses for the installation of beams. There is a simple and reliable way to do without this work: connect the uprights and main beams using a decorative buttress. This is not only decoration, but also a way to make the connection more reliable.
A beam is laid on top of the support post (rack) and nailed through with nails or long self-tapping screws. However, with lateral forces, they can be turned inside out. To eliminate this, after the auxiliary beams are laid and fixed, a decorative buttress is nailed. It holds the three elements together. Even greater rigidity of the structure is given by a spacer set obliquely, which is often called a jib.
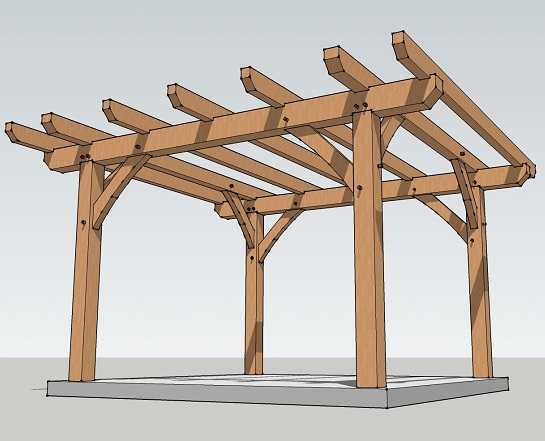
In the simplest case, a pergola consists of four posts connected by main and auxiliary beams.
The simplest pergola design

Beam edge decoration
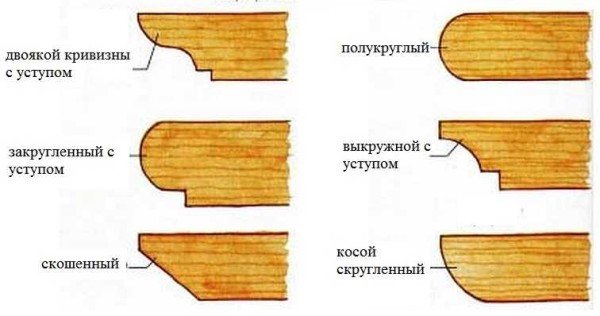
You can slightly diversify the appearance due to the different design of the ends of the auxiliary and main beams. Several ways to wash down are shown in the photo below. To make them all the same, make a template from a small piece. Then you apply it to the workpiece, trace with a finely honed pencil as close to the template as possible. Cut along this contour.
How can the edges of the beams be made

Reducing the cost of construction
The beam for the columns must be of a large section, and this is not cheap. The main beams should also be of the same size, which further increases the cost of the structure. But you can save money if you nail two thick boards from both sides to the racks at the top. How it looks from above, see the following figure.
To reduce the cost of the quality of the main beams, you can use two boards
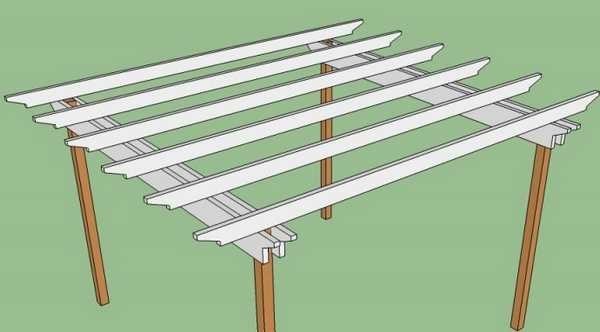

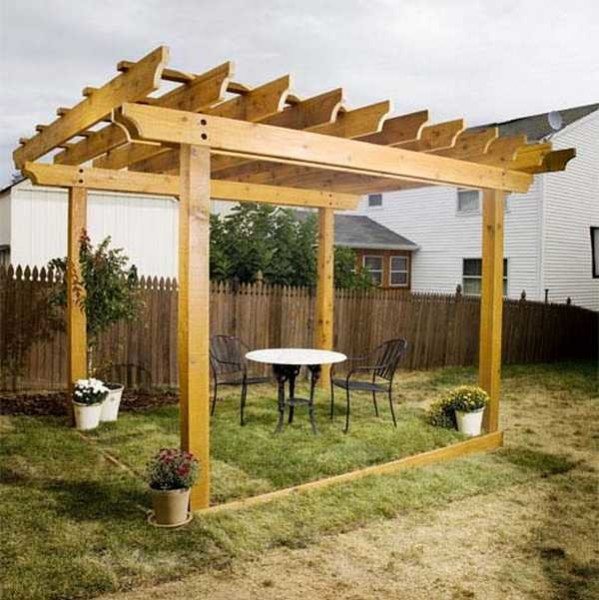
You can connect them with nails-screws, or you can use bolts. This is even safer: the bolted connections can be tightened if necessary. Look at the photo to see how such a structure looks "live".
Pergola with double planks instead of main beams

Mistakes made by gardeners when tying currants
Despite the seeming simplicity of the design, the installation of a support can be more of a disaster for a bush than a blessing. Here are the most common mistakes gardeners make when installing fences on currant bushes:
- Coverage too tight. In an effort to raise the side shoots to the greatest possible angle, many gardeners strongly tighten the bush, literally "strangle" it. This negatively affects his health, air exchange is disturbed in the center of the crown, excess moisture is created, which provokes the appearance of diseases. The central part receives little sunlight, the shoots begin to compete with each other, which ultimately adversely affects both the condition of the bush and its yield.
- The fence is too low. In this case, during the ripening period of the crop, part of it may be on the ground or close to it.
- The fence is too high. If the side support elements are too high, then the shoots can simply slip out of the fence.
- The rudeness of manufacturing. Protruding nails or pieces of wire not only will not add aesthetics to the bushes, but can also cause serious injury during operation.
- Weakness in construction. The side supports may not support the weight of large branches and the fence will fall apart.
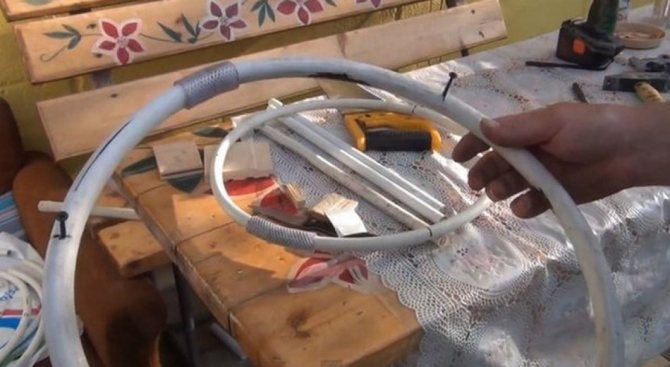
Another common mistake is that the fence is often made one-piece and then trying to "put" on the top of the bush. This is extremely inconvenient and, moreover, is fraught with the breakdown of a large number of shoots. The support ring or square must be detachable, and you need to install it on the bush from the side.
Step-by-step assembly instructions
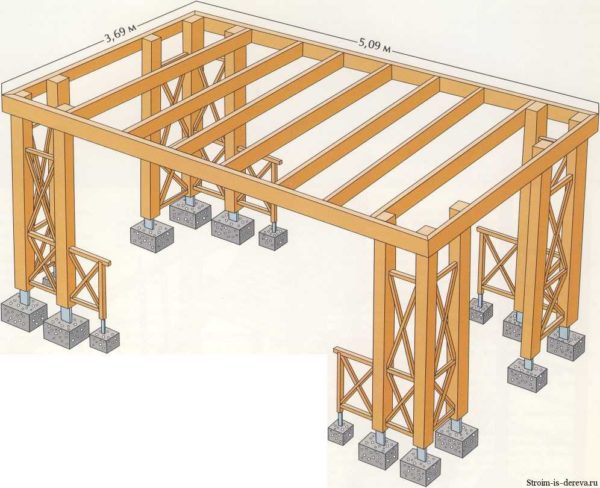
First of all, you need to decide how you will fix the support pillars. If your pillars are made of larch, there are no questions, you can just bury them in the ground. With other wood, everything is more complicated: direct contact with the ground is extremely undesirable.You can, of course, treat the ends of the pillars buried in the ground with antibacterial impregnation, such as SENEZH or Senezh Ultra, and put them into working off for a couple of hours.
The second option is to make a concrete pile with an embedded stud (or several studs, depending on the size and weight of the structure). Attach the rack to the stud with a gap of 5-8 mm.
Another way is if the site is concreted or covered. Then they take metal thrust bearings. Most often they are in the form of an inverted letter "P", fasten it to the surface of the site. Bolt the post through these plates. This type of fastener is suitable for a garden, where the error will be covered by plants. If the construction takes place on an open site, other thrust bearings are used.
Poles fastening methods


After the method of installing the pillars has been chosen, all the wood that will be used in construction is covered with a protective compound - antibacterial and against insects. The formulations should be intended for outdoor use (not for indoor use, but only for outdoor use). After processing, you can start building:
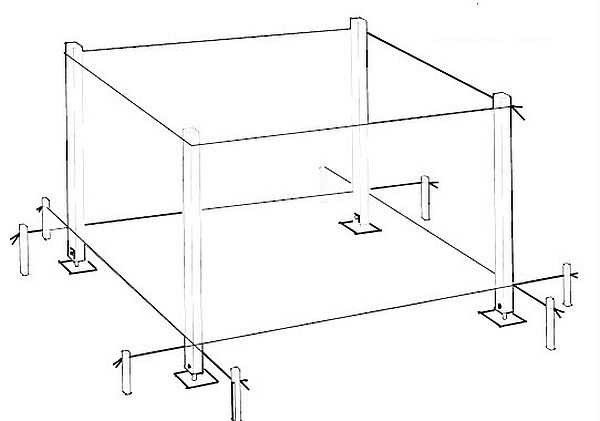
- Site marking. With the help of pegs, laces, a tape measure and a building level, a site of the required size is marked. In its corners, a place for the pillars is marked, they are installed in the chosen way. Layout of the site and installation of pillars

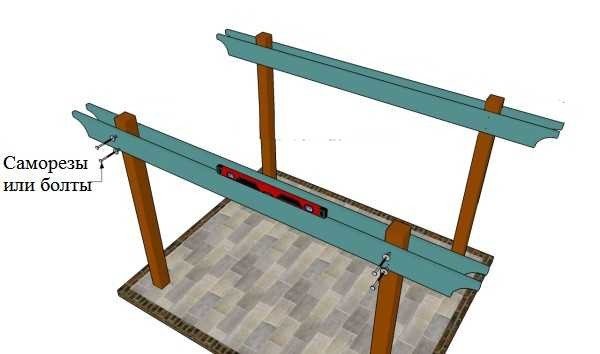
- Two main beams are nailed to the exactly exposed posts. To reduce the cost of construction, we use two boards instead of them, which are attached just below the top - 5-6 cm below. The beams must be fixed strictly horizontally. As already mentioned, you can use nails, screws or bolts. If you connect with self-tapping screws, take white, not black: they are much stronger and can withstand heavy loads. We fix the main beams. We make them composite - from two boards 50 mm thick

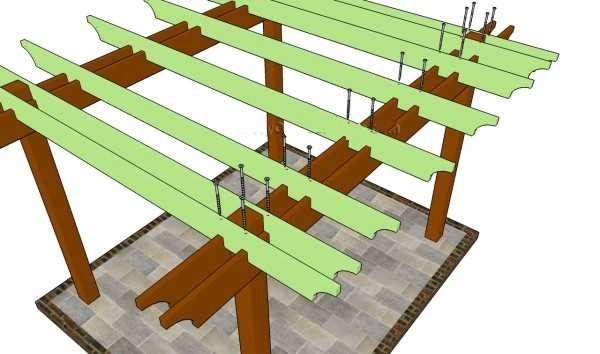
- The auxiliary beams are now mounted. If possible, make cuts for the main ones: it will be easier to fix them this way. Otherwise, you will have to use corners, which in one part will be attached to the lower beam, and the other will hold the transverse one. Installation of auxiliary beams

Beam shape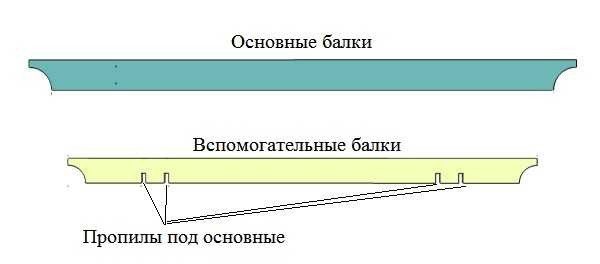

- Actually, the installation of jibs remained. They will give the structure more stability.
- To make the shadow thicker at first, even thinner strips can be stuffed on top - 5-7 cm thick.To keep them well, cuts are made 2-3 cm deep under each auxiliary beam.
Installation of crossbars
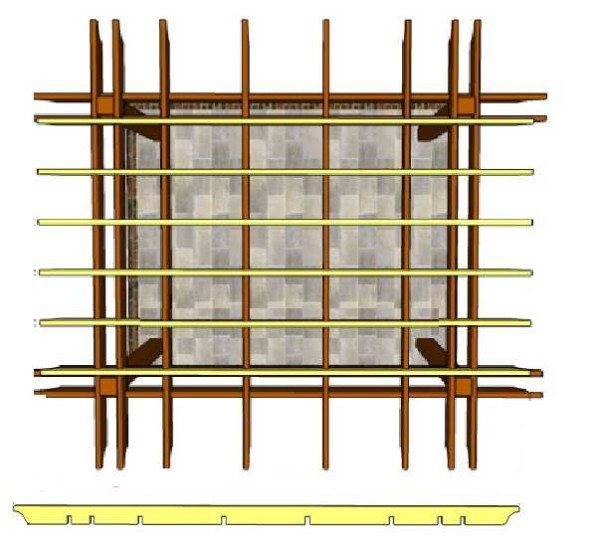

Everything, the wooden pergola is assembled by hand. You can watch the assembly sequence in the next video.
Garter trees - gardeners share their experience
My way of tying trees
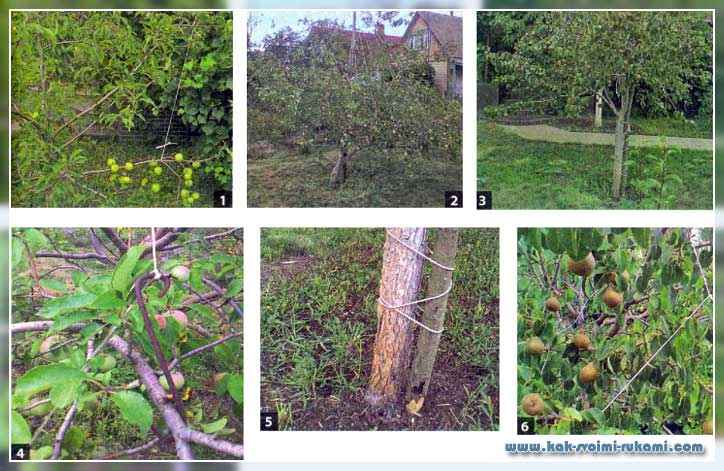

I ran into this problem when trees began to bear fruit in my garden that had thin branches set at an angle that would split and damage. Previously, I also (like the author of the article) took an ax in my hands and went into the forest for spears.
This method is suitable when a small amount of thick branches needs to be supported.
But what if the thin branches are dotted with fruits, there are quite a few of them? Last year I made a structure over a young apple tree, calling it "Hanging Garden". This year I decided to slightly improve the design, which I called "Byte garter".
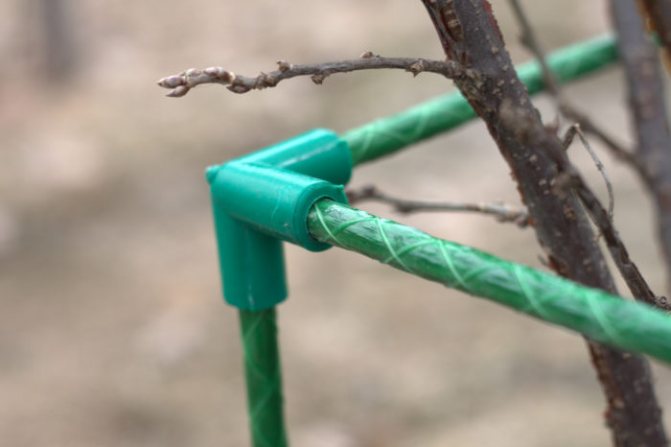
The cables are attached to the branches with hooks made of steel wire. Its thickness depends on the expected load: a large branch - a thicker hook. The hook design is shown in photo 4, but it can be arbitrary.
The support mast is attached in a convenient place to the tree trunk with a rope. I sharpened the lower end of the mast and slightly deepened it into the ground for ease of installation. Several thin branches with fruits can be tied on one cable.
Another plus of this design will be appreciated by those who mow lawn grass under fruit trees. The absence of props under the branches greatly simplifies this process.
After harvesting, it is better to disassemble the structure until the next season.
Below are other entries on the topic "How to do it yourself - a householder!"
- Device for folding clothes with your own hands CONVENIENT DEVICE FOR FOLDING CLOTHES To ...
- Armchair from cans with your own hands Armchair from cans for a terrace I saw ...
- Tomato garter - the best way and knot Tomato garter knot With the purchase ...
- Do-it-yourself bow tie Elegant bow tieI propose to sew a bow tie accessory for ...
- A bracelet from a zipper with your own hands HOW TO MAKE A BRACELET FROM A REGULAR ...
- Drilling machine with your own hands (+ photo) How to make a drilling machine with your own ...
- DIY mini-oven (+ drawings) How to make an oven from an old ...
Subscribe to updates in our groups.
Features of pergolas attached to the house
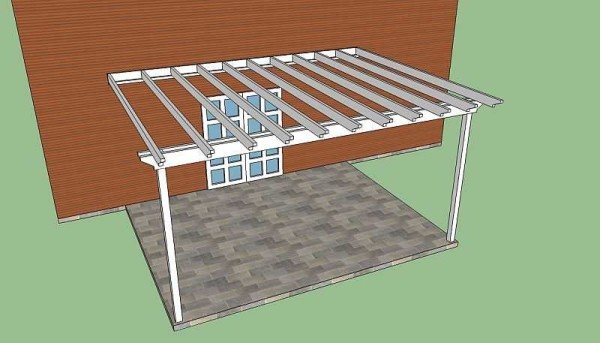
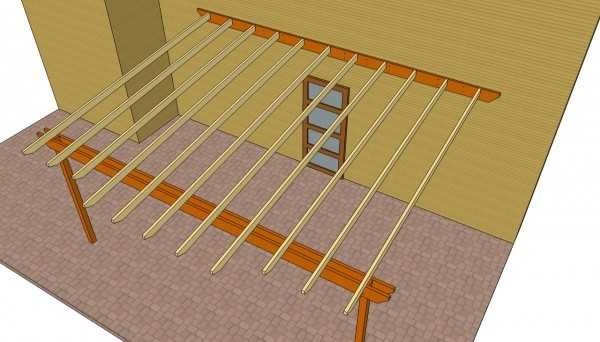
The pergolas adjacent to the house are open summer terraces. One part of the beams rests on holders mounted on the wall of the house, the other on beams lying on the support pillars. There are several ways to attach them to the wall. You see the first one in the photo below: a support bar is nailed to the wall, the landing nests are cut out in nm. Additionally, the strength of the connection is provided by corners, which are fixed on both sides.
Beams rest on one side of the pillars, the other on the wall of the building

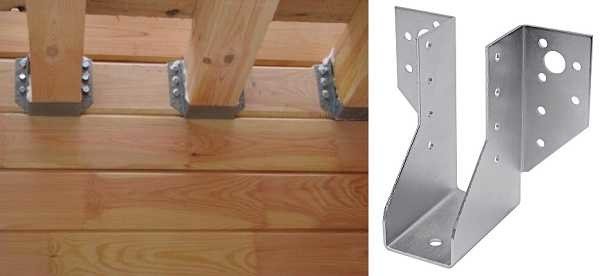
The second way - special stops are mounted on the wall: steel plates of the corresponding shape.
Fastening beams to the wall

The main construction steps are similar, but have some nuances:
- Mark the locations of the posts and install them. The pillars are installed at some distance from the house, equal to the width (depth) of the terrace-pergola. The second part of the marking is made on the wall of the house - the second ends of the auxiliary beams are installed there. In the same place, either a support bar or plates are fixed.
- Attach two boards or a support bar from above to the exposed pillars.
- Lay auxiliary beams on them, which are attached to the support on the wall with one side.
Everything. The final result is shown in the picture below.
Schematic representation of an attached pergola from above

You can watch the sequence of actions during the construction of a pergola adjacent to the wall in the following video
Building a metal pergola
The peculiarity of using metal as a building material is that it is more reliable and requires less maintenance. The metal is immediately primed, then painted. With a high-quality coating with good paint, this will last for several years.
With a tree more hassle. In our climate, we have to renew our coverage every year. Therefore, it is better not to use varnishes: they crack, turn white, come off in parts. To renew the coating, it is necessary to clean everything off, then re-coat. Therefore, it is better not to use even the best varnishes for open garden or outbuildings. For the processing of wood on the street all year round, there are oils to which color is added. They do not give shine, but they perfectly protect the surface from climatic influences. The worst thing that can happen is a little fading. For re-treatment, the surface must be cleaned of dirt and dried. You can paint. Drying "to touch" is usually a couple of hours. Convenient, beautiful, reliable.
The difference between the metal is also in the assembly method. This is either welding or bolting. Everyone chooses the method himself. Due to the fact that the corrosion resistance of the painted metal is quite high, it can be simply concreted. Therefore, there are fewer difficulties with the installation of pillars. It's only more difficult to work with him because of the mass. But there are drawbacks everywhere.
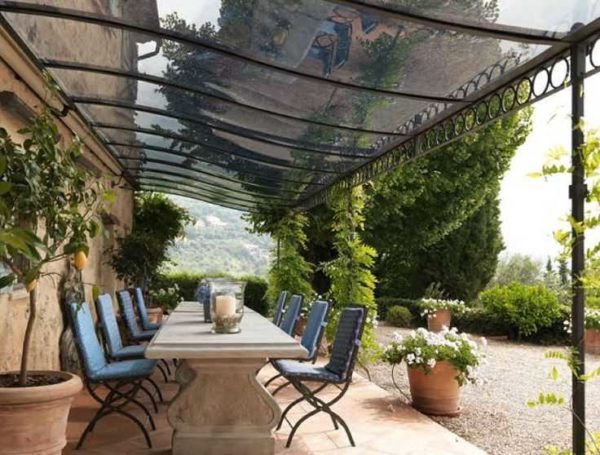
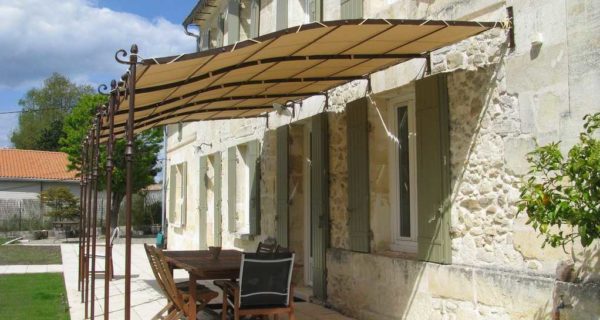
And the variety of metal pergolas is, perhaps, even more than wooden: you can forge it, make bent forms. Metal is combined with stone, brick, wood. An awning is pulled over a metal frame, wicker mats are laid, roller blinds are fixed. See examples in the photo gallery (it expands to full \ tap, if you need it).
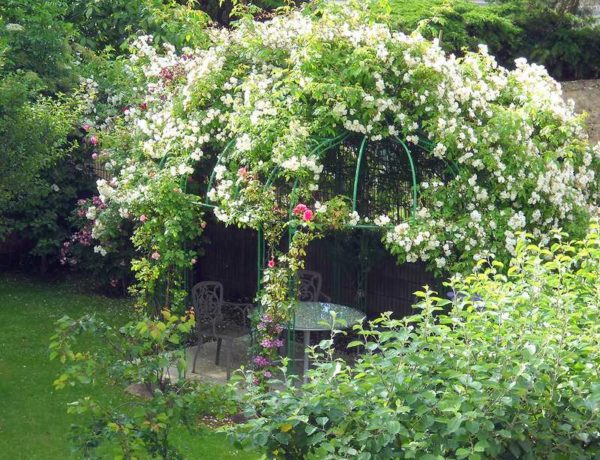
The pergola itself is not visible under this carpet. It is built like a gazebo: a frame is welded from pipes, everything else is plants

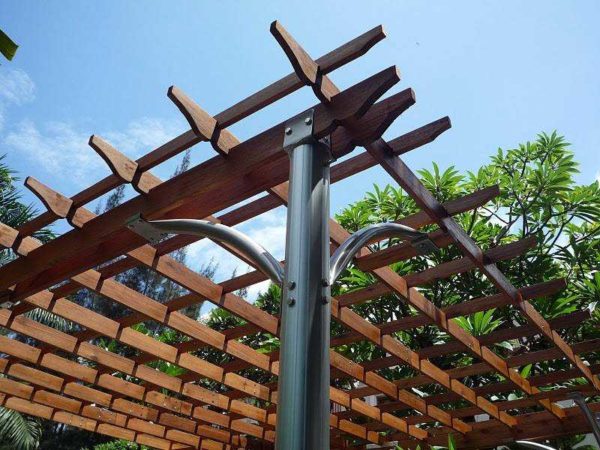
How to connect metal and wood

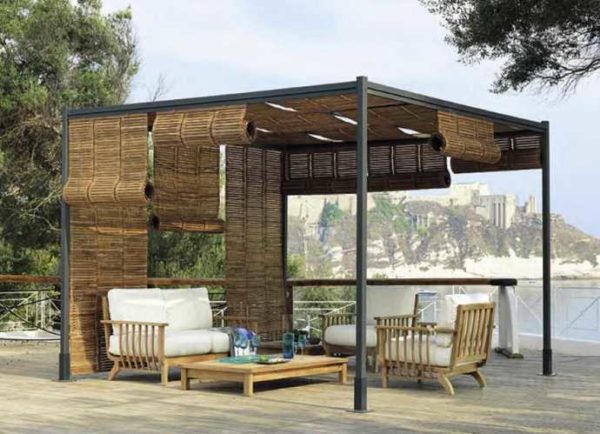
Rolls of mats were fixed on a metal pergola

Another rose arch is the garden pergola that we see most often.
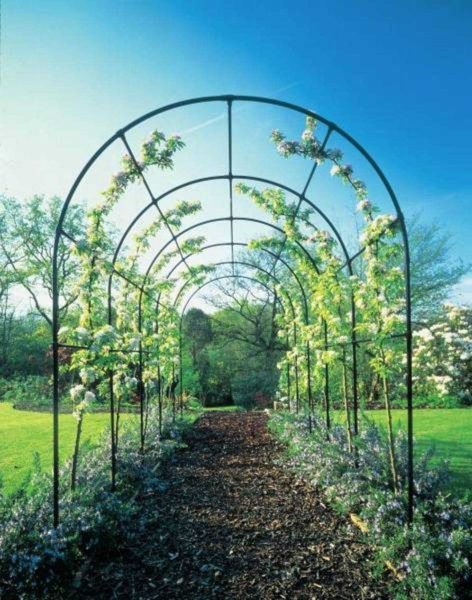

This is the pergola, which we call the "arch for flowers or grapes
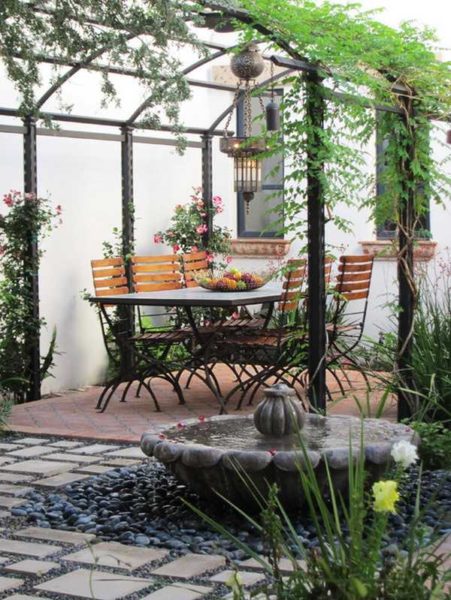

Another example of using an awning. The main highlight is in contrast
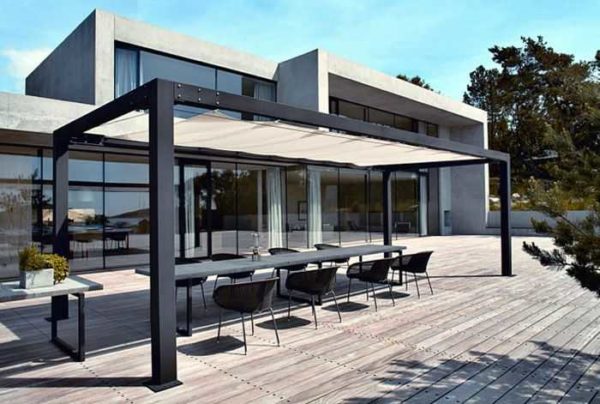

Another combination of wood and metal, but the design is different, a different feeling
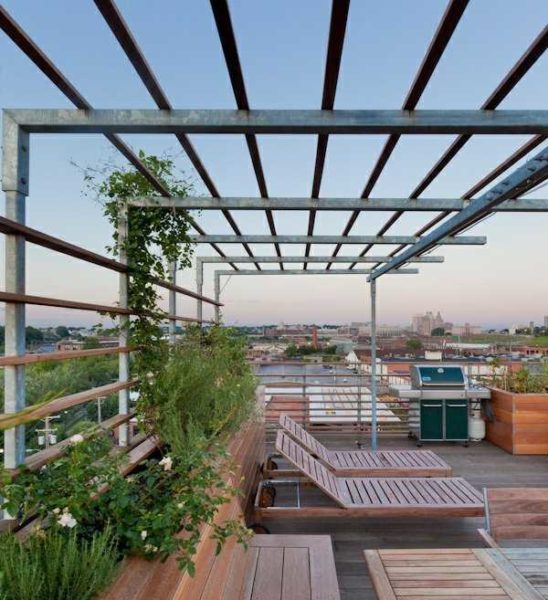

Forging elements are always relevant. Plants overgrown over time will turn this pergola into the most comfortable place.
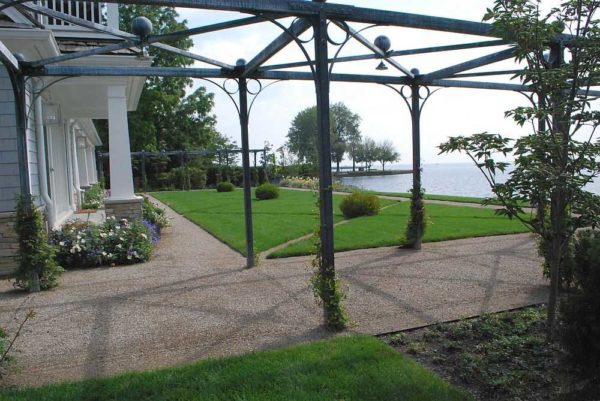

Combination of metal and polycarbonate. Both materials allow for curved shapes

Light pergola above the entrance - an awning is stretched over a metal frame

Clear geometric lines, powerful columns, simple and stylish
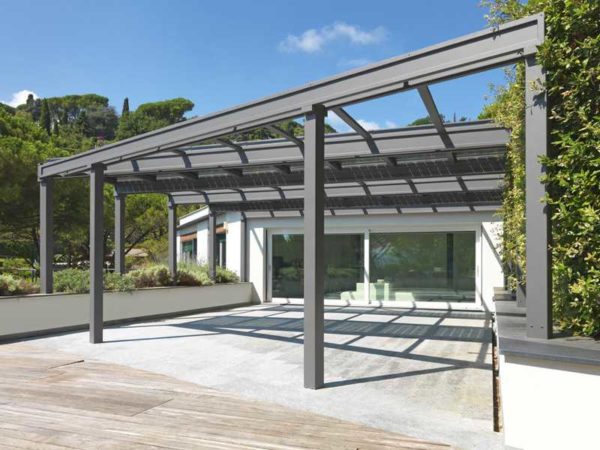

Posts and main beams made of metal, auxiliary beams made of wood
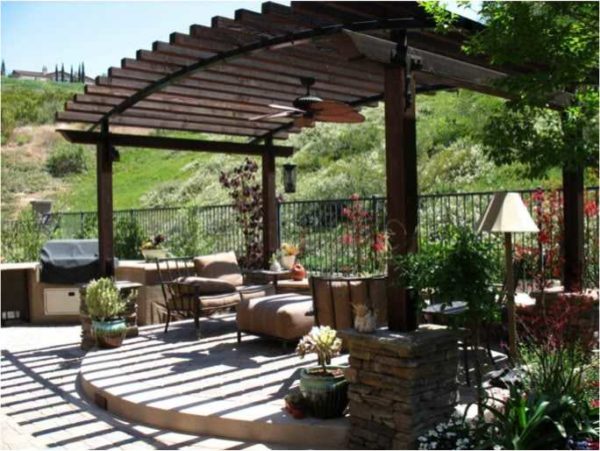

Blueprints
It is worth noting that all of the options presented can be made of wood or metal, or columns can be made of stone, concrete or marble. The idea is important, and the embodiment can be different.
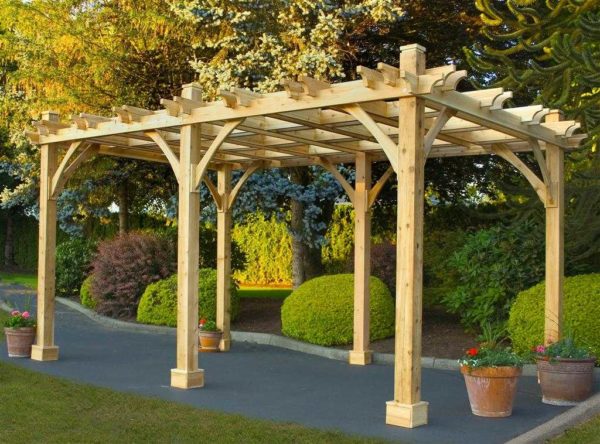
Simple rectangular with strong beams

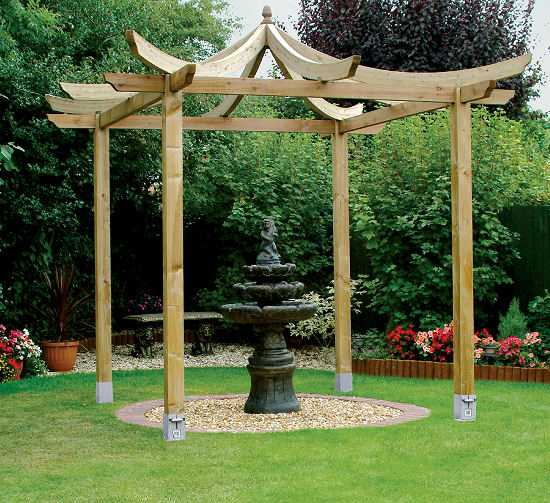
Chinese style

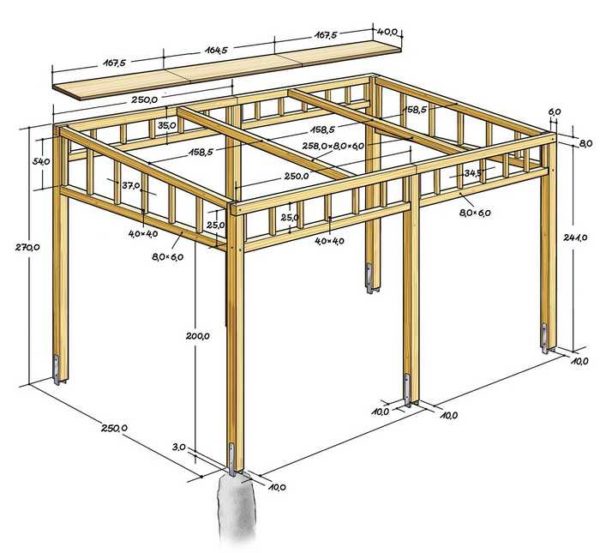
Pergola drawing with dimensions

Columns are interestingly decorated - a great option for installation near the house

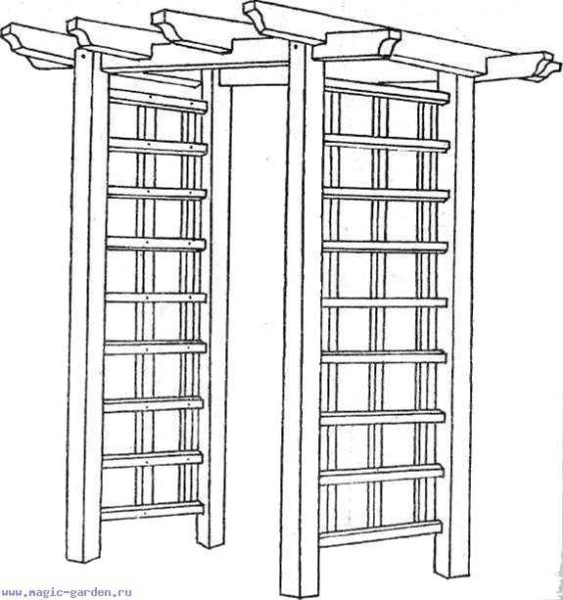
You can make an entrance to the garden or rose garden

Instead of wooden columns, steel, sheathed with wood were used
