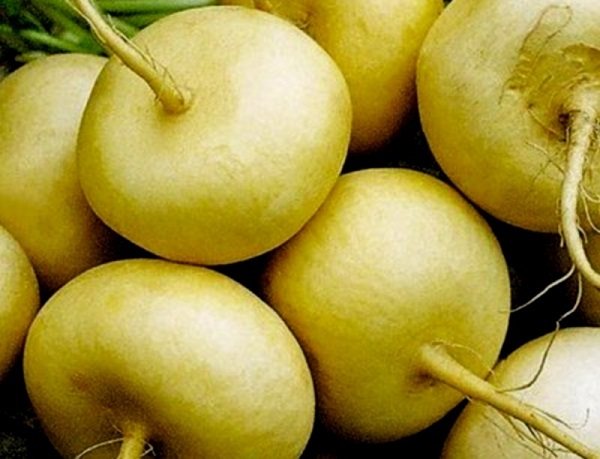
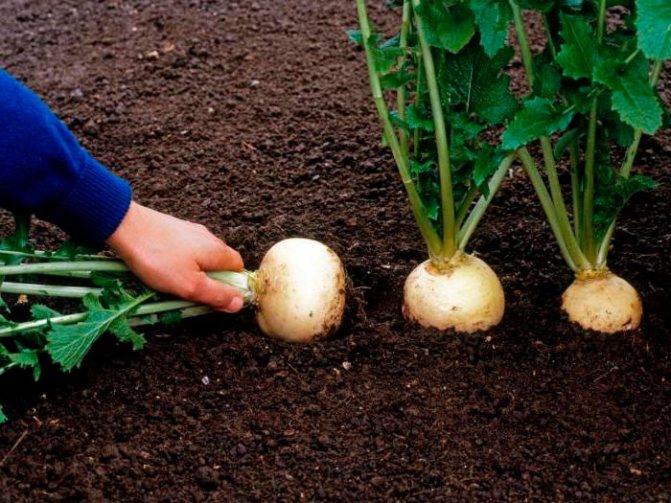
Turnip is the oldest cultivated plant. Once it was regularly eaten, it was included in the diet of representatives of various classes. Over time, the root crop was replaced by potatoes and undeservedly forgotten. But turnip is a unique product recommended for baby and dietary nutrition, low-calorie, rich in vitamins, antioxidants, micro- and macroelements. It has medicinal properties, serves to strengthen the immune system and prevent diseases of the respiratory and cardiovascular systems. The root vegetable contains substances with high anti-cancer activity. Turnip Petrovskaya is a popular, well-established variety that is consistently in demand among lovers of this product and is highly valued by gardeners.
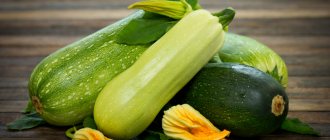
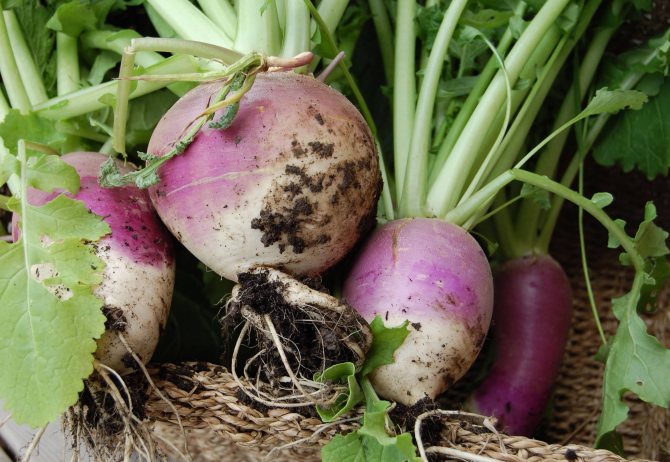
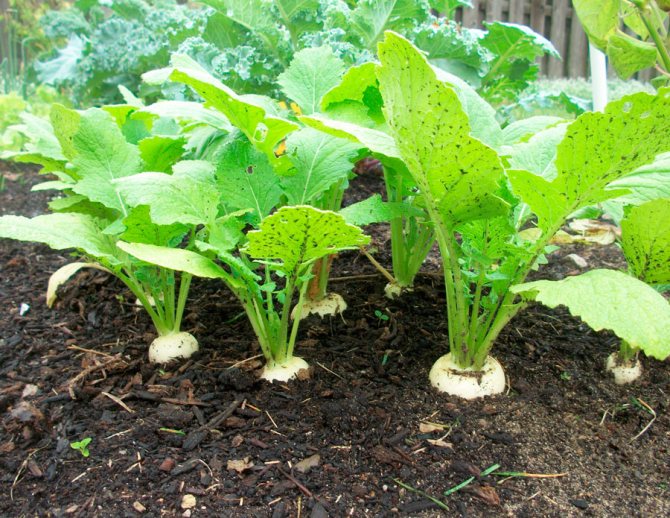
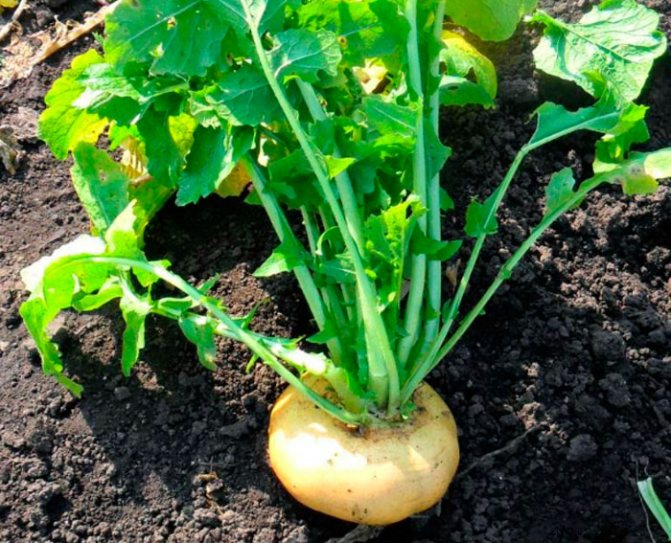
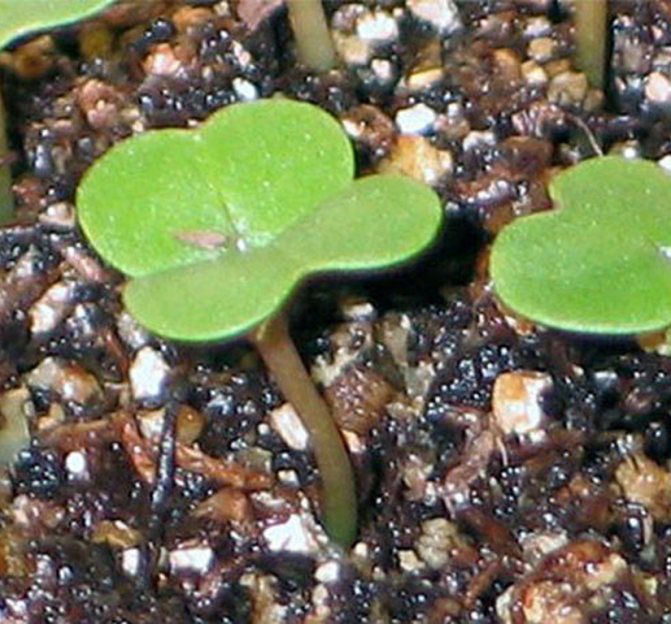
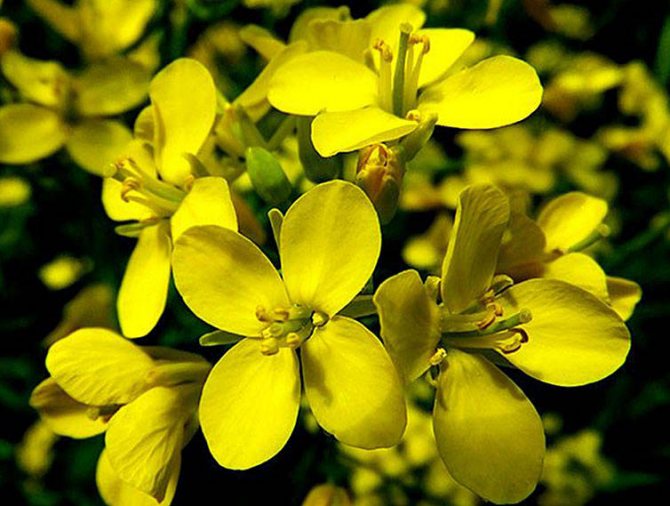
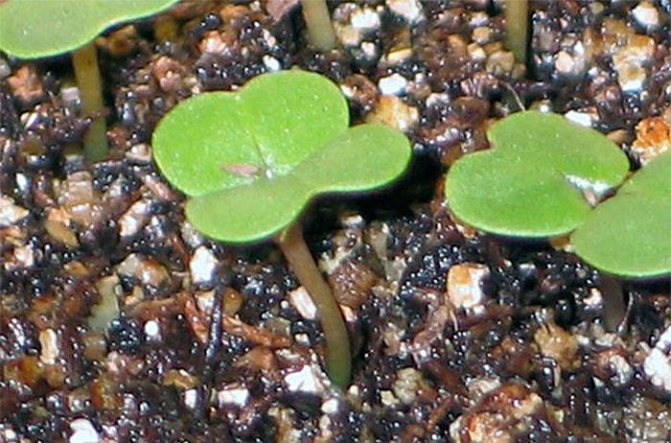
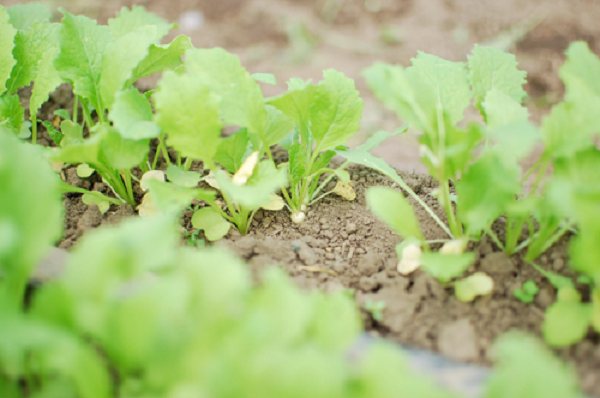
Turnip Petrovskaya in the photo:
Soil, lighting and other conditions for growing turnips
In turnips, like in a biennial plant, in the first year of life, a spherical or flattened root crop is formed, in the second, a peduncle is formed.
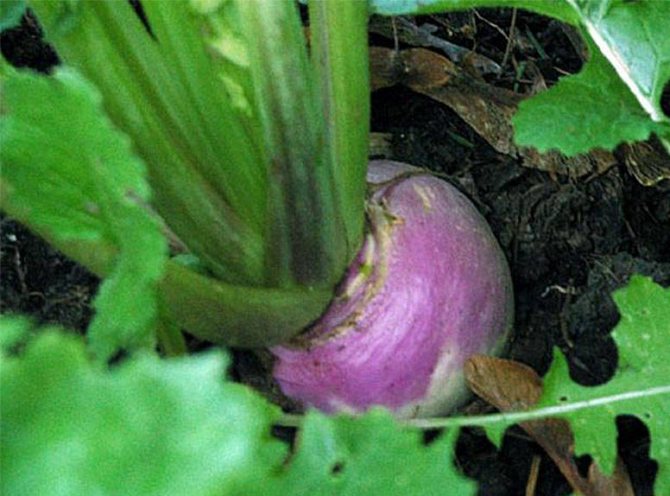
The root vegetable is usually fleshy, juicy, sweetish, and has a slight radish flavor.
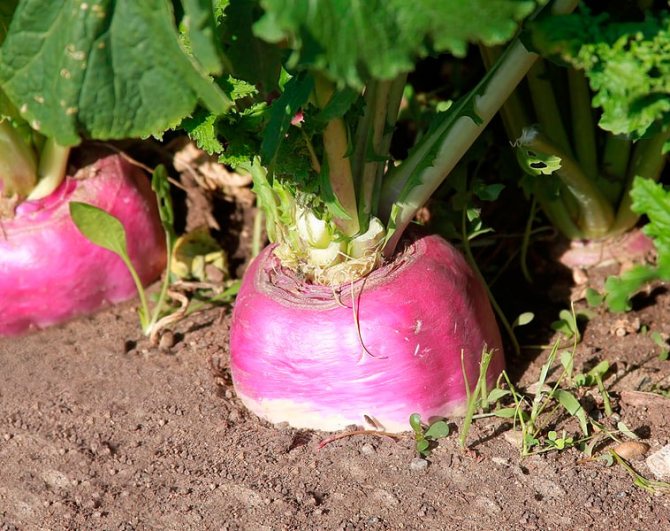
The turnip color is varied:
- the underground part of the root can be yellow, white, green, pink;
- overground - green, purple, bronze, yellow, etc. Weight ranges from 60 grams to 0.9 kg, depending on the variety.
Not every gardener succeeds in growing a large turnip, because mistakes are made in the growing process:
- Heavy soil. Light, well-structured, breathable soil is suitable for this culture; turnips will not grow in clay soil.
- Soil acidity. In the soil with high acidity, the root crop can get sick with keel. To avoid this, select an area for planting turnips with a neutral soil reaction.
- Untimely sowing. In this case, a cruciferous flea may appear or all plants will be covered with flowering.
In order for the formation of the root crop to take place correctly, several more factors are needed:
- Good lighting. Sunlight should be enough for every plant in the garden. Even a small shadow will have a negative impact on its development.
- Warm but not hot. Best of all, the root crop is formed and poured when the air temperature ranges from +11 to + 22 ° C. This plant does not like heat, it seems to freeze in development, waiting for a favorable weather for itself.
- Moisture. It is very important for turnips to grow well that the air is moist and the soil is moderately moist. Landings should not be flooded with water, but overdried is excluded. Pay special attention to this after the germination of the zelents and two weeks before the harvest.
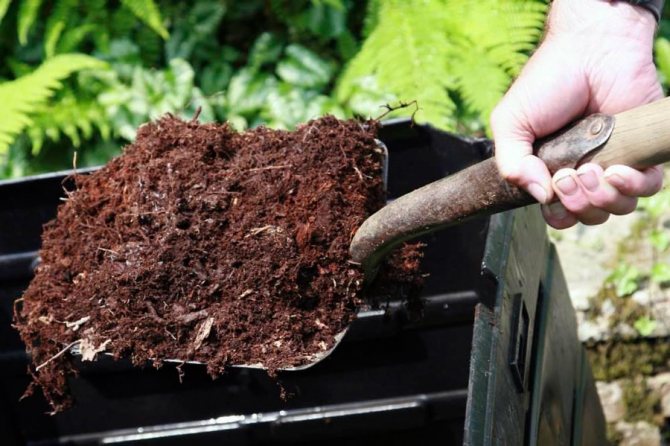
- Nutrient medium. Since the turnip forms a root crop in the top layer of the soil, make sure that it is loose and rich in humus.
If all the above conditions are met, then you will be able to grow turnips and get a good harvest of up to 5-6 kg per square meter of planting.
Fight disease
Powdery mildew of cruciferous plants affects petioles, leaves and even stems. How to fight:
- Correct crop rotation;
- Spatial isolation of cruciferous vegetable crops;
- Treatment of plants with special preparations that prevent the development of dew.
Keela is one of the most dangerous turnip diseases. The disease leads to damage to the root system. The formation of growths occurs, in which parasites accumulate.The development of the disease can be stopped by soil deoxidation. To do this, you need to add 120 grams of lime per square meter of soil.
Advice! It is important to take other measures to prevent the development of keela. Observe crop rotation, as well as remove weeds in time.
Yielding turnip varieties
By varieties, turnip is divided into two groups: dining room and fodder.
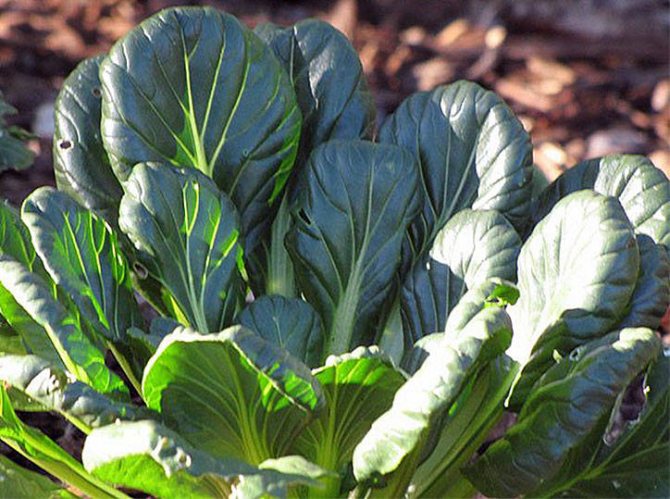
In the group of table varieties, salad varieties occupy a special place, since not only root vegetables, but also tops of a salad turnip are suitable for eating.
No wonder its second name is leaf turnip.
The table below shows the best varieties of turnips:
| Name | Description | Average weight | Ripening period |
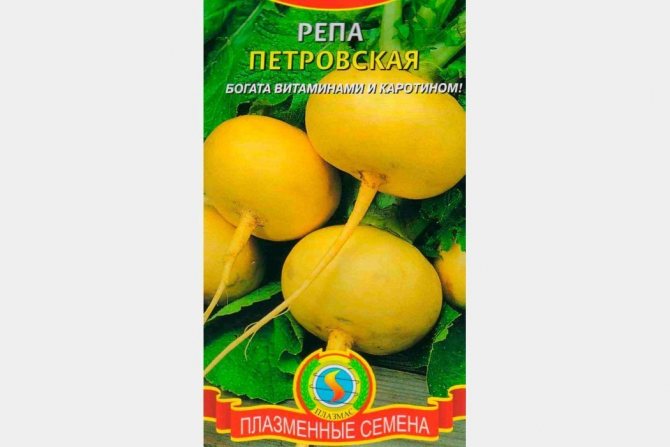
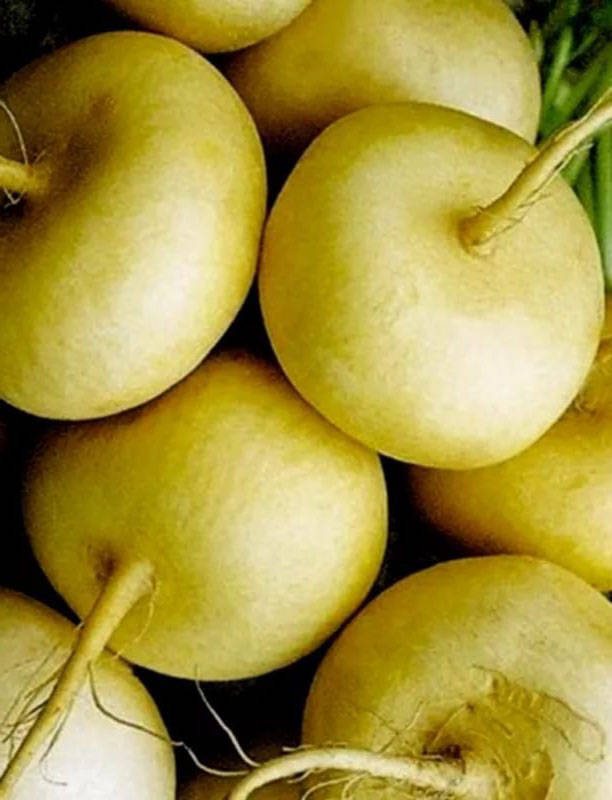
| Turnip Petrovskaya 1 | The shape of the root crop is rounded, slightly flattened, the color is yellow, the taste is sweetish, the yield is average (3.5 kg / m2), it tolerates long-term storage well | 70 - 190 grams | 75 days. |
| Turnip White Night | The shape of the root crop is round, even, about 12 cm in diameter, the color is white, the pulp is juicy, coarse fibers are not formed, the yield is high (8 kg / m2) | 550-750 grams | 70 days. |
| Turnip Geisha | Root shape - round, color - white, salad variety, pulp - tender, juicy, yield - from 3 to 7 kg / sq.m | 65-95 grams | 44-65 days |
| Turnip Snow Maiden | The shape of the root crop is round, the color is white, the variety is salad, the pulp is sweet, tender, juicy, the yield is 3.5 kg / sq.m | 70 gram | 70-80 days |
| Turnip moon | The shape of the root crop is round, even, the color is yellow, the pulp is juicy, sweet, and has increased cold resistance. | 140-230 grams | 73 days. |
| Turnip Dedka | The root crop is even, round, with a smooth, thin, shiny bark, with juicy, sweet pulp, color - violet-white, yield - 4 kg / sq.m. | 125-240 grams | 44-52 days. |
| Turnip Burnt Sugar | The root crop is cylindrical, the peel is black, the pulp is white, not prone to cracking. | 250-350 grams | 48-55 days |
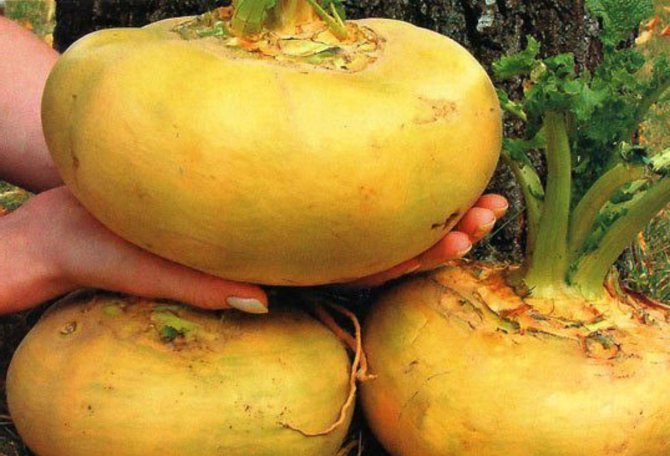
The largest-fruited variety for today is the Russian size, the weight of the root crop can reach two kilograms.
But in order to grow such a miracle, you should pay a little more attention during the growing season.
Usually, turnips with medium late and late ripening are laid for storage.
Long growing season allows the root crop to ripen well and acquire a solid shape and decent weight. Such turnips tend to keep well until springtime.
Early varieties are distinguished by smaller roots and are intended to be eaten only fresh; storage of such fruits in winter is very difficult.

Site preparation for growing
Turnips, due to their early maturity, can be sown twice or three times over the summer, so that this wonderful vegetable is always on the table.
If winter storage of turnips is planned, then sow a late-ripening variety.
There is nothing difficult in growing turnips in the country, however, like any crop in the garden, it has its own preferences, and first of all, the right place for planting turnips in open ground.
It should not be in a draft and in the shade, this vegetable needs good lighting, but hot sun rays are undesirable.
It is good if it is a flat area in a small lowland in order to retain the moisture necessary for the plant to the maximum.
Determination of soil composition
Turnip grows very well on light soil - peat, sandy loam, loam. How to figure out what kind of soil is in a place sown with turnips?
It is very simple to do this: take a little earth in your hand, slightly moisten it and rub it on your palm.
Determine the composition of the soil according to the degree of pollution:
- if the palm is practically not dirty, then the soil is sandy;
- if the skin is slightly dirty, it is sandy loam;
- if the pollution is accompanied by a slight smearing effect, then it is a light or medium loam;
- a solid layer of dirt has formed on the palm of your hand - this is heavy loam or clay.
Heavy soil is not suitable for sowing root crops.
It needs to be loosened with brick chips, river sand, charcoal or straw cutting.
Clay soil becomes looser after growing green manure - phacelia, oats, vetch, lupine.
Sow them in early autumn, cut them off before the very cold, leaving them on the surface of the ground, and with the onset of spring, close them up in the garden.
Optimizing acidity
The soil for growing turnips should be fertilized and have neutral acidity.
The most optimal pH level is considered to be close to 7.0.
The easiest way to determine the acidity of the soil is with litmus strips, which can be purchased at any horticultural department.
Instructions for use are attached to them.
If the soil is acidic, lime it. This can be done with:
- lime flour;
- dolomite flour;
- slaked lime;
- ground chalk;
- peat ash;
- wood ash.
Turnips grown on acidic soil without liming do not tolerate long-term storage.
Then plant and what can be planted after turnips
Compliance with crop rotation is a prerequisite for growing healthy vegetables in the garden, including turnips.
A competent neighborhood of crops for compatibility will help to avoid an outbreak of the disease and prevent pests from destroying the crop.
This root crop feels very good after beans, tomatoes, cucumbers, potatoes.
Not the best option to sow turnips after watercress, rutabagas, mustard, daikon, horseradish, radish, radish, turnip, any kind of cabbage, since they are prone to the same diseases and pests.
In this case, find another place for the turnips.
Sowing dates
To get this wonderful root vegetable on your summer table early, it is better to grow it through seedlings.
But, basically, everyone sows turnip seeds right in the garden. When to plant turnips in open ground?
The timing of planting turnips is influenced not only by climatic conditions, but also by the purpose for which it is grown.
For example, for the Moscow region, the optimal sowing time is the end of April.
Better to sow early varieties for fresh consumption.
The most impatient gardeners, who want to enjoy a fresh root crop almost a month earlier, sow in late autumn, just before the frost.
Is it possible to harvest two crops in one year
Due to the short growing season when growing turnips, it is possible to get two harvests per summer.
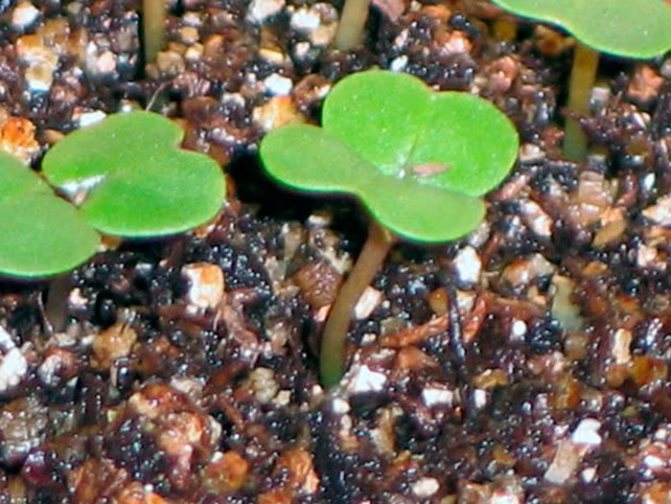
To take the first crop early, you need to sow the seeds early, or rather, as soon as the snow melts.
Turnip seeds need a temperature of + 2 + 5 degrees for germination, and at a temperature of +18 and above, seedlings appear on the 4th-5th day.
The recommendation to sow a turnip in the first half of May, to put it mildly, is not very correct, since during this period of time the cruciferous flea is activated, and an increase in daylight hours also increases the risk of stemming.
The second crop that can be stored is usually harvested at the end of September.
And it is better to sow, adhering to the national calendar, after July 12 (Peter's day).
This is a period of reducing the activity of pests and shortening the daylight hours, which will have a beneficial effect on the development of the plant.
Care rules
These rules apply to late planting of turnips, which occurs in June-July. This is the most profitable option, since you can save the crop for the winter and you do not need to worry that sudden frosts will hit. If you want to eat turnips in the summer, then disembarkation can begin in May, when the temperature will be above three degrees.
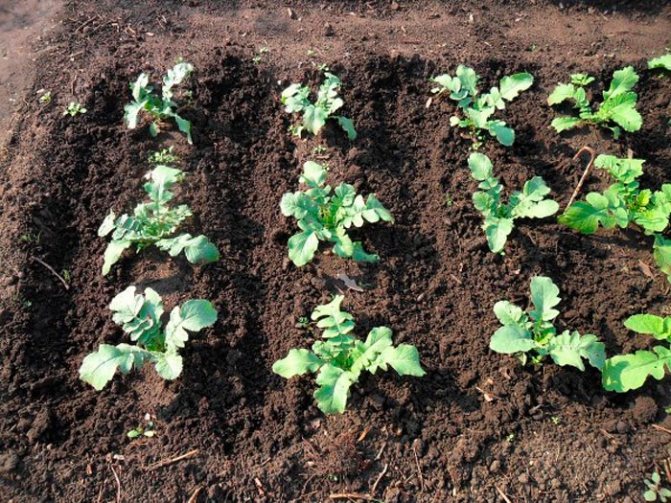
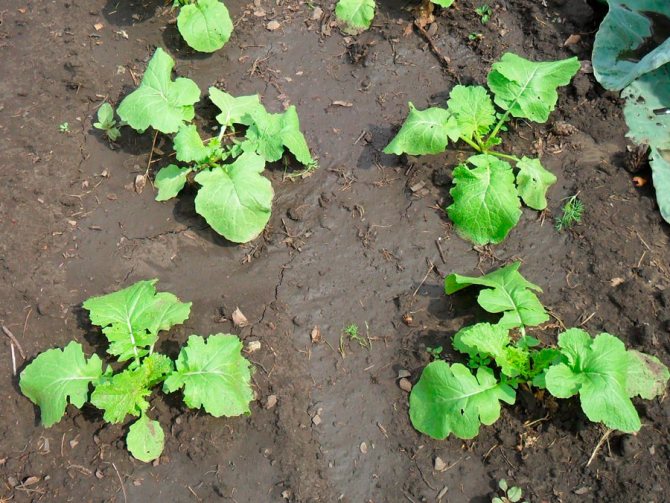
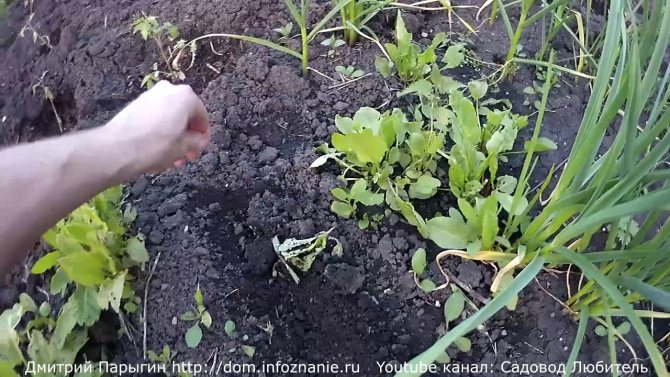
Thinning of seedlings
After the first shoots have appeared, you can start thinning. The sprouts are transplanted so that there is about 5 cm of free space between the plants. After another couple of weeks have passed, it will be possible to thin out the plantings again by removing all diseased or weak plants. In addition, the distance between the plants should be about 10 cm.
Weeding and loosening
By itself, the turnip feels very well in light and fertile types of soil, so before planting, you need to dig up the ground well. The same applies to the care of already emerging and developing plants - the soil around it should be periodically loosened and all weeds removed in a timely manner.
Turnip sowing scheme in open ground
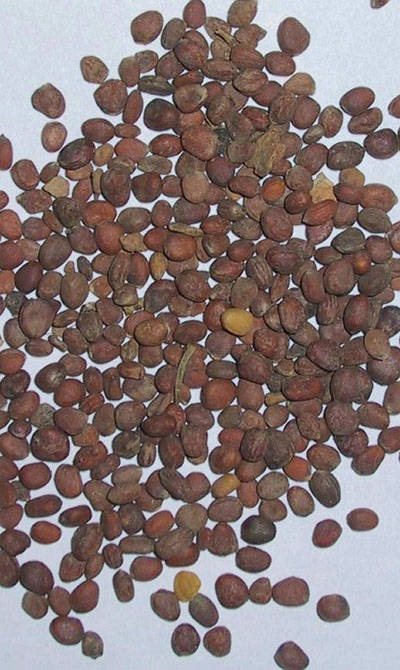
In order to grow a quality turnip, you need to have quality seed material without damaged and hollow seeds.
Such material can be obtained through calibration.
This is easy to do: dilute 1 incomplete teaspoon of salt in half a glass of warm water, pour the seeds into a saline solution, stir well.
Seeds that are unfit for planting will immediately float up, and those that have sunk to the bottom are of high quality.
These seeds should be disinfected, since almost all diseases are transmitted through seeds.
This can be done in one of two ways:
- Put them in hot water, the temperature of which is not higher than 50 degrees, then immediately immerse them in cold water for 2-3 minutes.
- Put them in a 2% potassium permanganate solution.
In either case, process the seeds for no longer than 20 minutes.
After this procedure, rinse them under running water and, wrap them in a damp cloth, put them on a saucer for a couple of days to swell.
This will help the seeds to sprout faster.
Before sowing the seeds in the garden, loosen the topsoil and then lightly roll.
Make grooves 1.5 cm deep at a distance of 15-20 cm from each other.
Try to keep at least half a centimeter between the seeds.
If sowing small seeds is difficult, use this sowing method:
- weld the paste from 2 tablespoons. tablespoons of potato starch and a liter of water; it is important that it is liquid;
- pour the cooled jelly into a clean container with a dispenser; for example, a bottle of dishwashing detergent is suitable;
- pour the seeds into a container with jelly and shake well so that they are evenly distributed in the jelly mass;
- slightly moisten the grooves with water and, pressing lightly on the bottle, pour them with jelly with seeds.
Carefully close up the grooves, mulch the soil between them with humus, after a couple of days sprinkle with ash.
Thinning
Do not delay with the thinning procedure, carry out the initial one after the appearance of the first pair of true leaves.
Make sure that at least 3 cm remains between the greens.
After half a month, thin out the plantings again, removing all diseased and weak shoots.
The distance between plants should be at least 8 cm. It is best to thin out in the evening after rain or watering.
Seed treatment
Before sowing, the seeds must be disinfected, which is done in the following order:
- Wrap the seeds in a cloth or gauze folded in several layers.
- Immerse the seeds in warm (+ 50 ° C) water for 10 minutes. To increase their germination and get rid of possible infections, dilute wood ash (1 tablespoon per 1 liter of water) or grated garlic (1 tablespoon per 0.5 cups of water) in water.
- Dry the seed and mix it with sand.
The consumption of treated seeds is approximately 2 g per 1 sq. m plot.
Fertilizers and feeding
If you sow your turnips in properly prepared soil, you can do without top dressing, or they should be extremely moderate.

Use mineral fertilizers with caution - they accumulate in root crops.
It is best to use biologics.
Specifically for turnips, specialized fertilizers have not been developed, so any formulations for root crops, for example, such as BioHumus, Sapropel, Zdraven-aqua, Vermicompost, are suitable.
If the soil in the bed is too limed, use boric acid as a top dressing.
They help to increase the yield, increase the sugar content and keeping the turnip alive. Such support is very important in hot, dry summers.
Dissolve 2 grams of boric acid in a bucket of water and spray the tops after thinning.
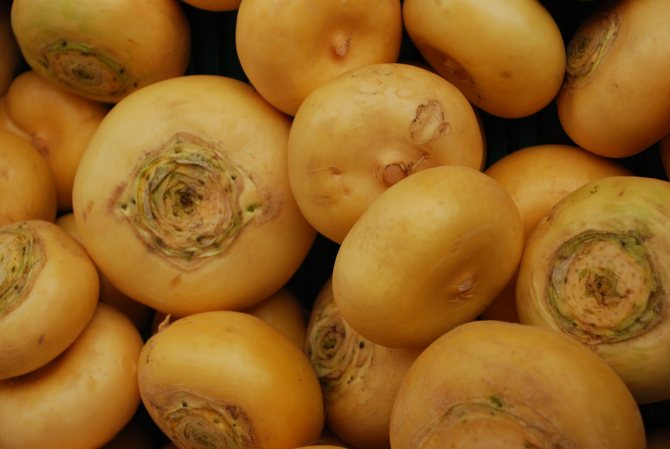
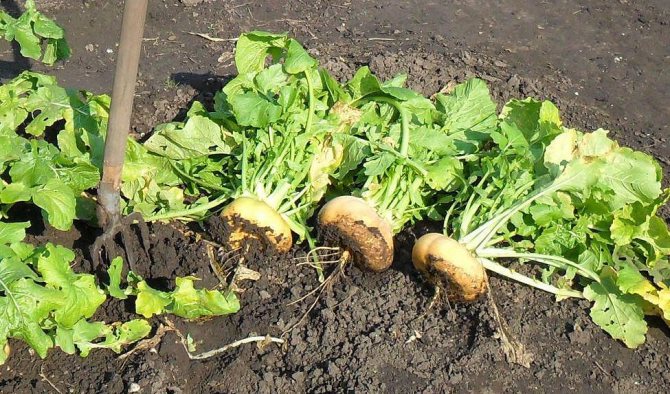
Harvesting
Harvesting turnips should be done as soon as the roots are ripe. If mature plants are left in the ground, the fruit will taste bitter, the flesh will become rough, and the shelf life of the vegetables will be reduced.
Turnips must be carefully removed from the garden, immediately cutting off the tops. You need to leave only 2 centimeters of the petiole (do not touch the roots).
After that, the fruits must be left to dry in the fresh air. If you do not remove the tops, after drying, most of the nutrients will go into it, and the fruit itself will remain without vitamins and minerals.
If frost has come, and the crop has not been harvested, it is better not to touch the turnip. Harvesting will be possible only after the thaw.
The collected fruits must be distributed in boxes (you can also take either bags or plastic bags), cover with sand and take them to a cold storage room.
Turnips should be kept at a temperature not exceeding 1 degree Celsius.
Organization of optimal watering
Usually they try to plant turnips on a flat or lowered area, where the soil retains some moisture.
But it happens that the bed is in a high place, or the summer turned out to be dry, or there is no way to regularly water the plantings.
Lack of watering affects the quality of root crops: bitterness appears in the taste, they crack, thicken, dry out.
A good turnip is obtained only with proper watering.
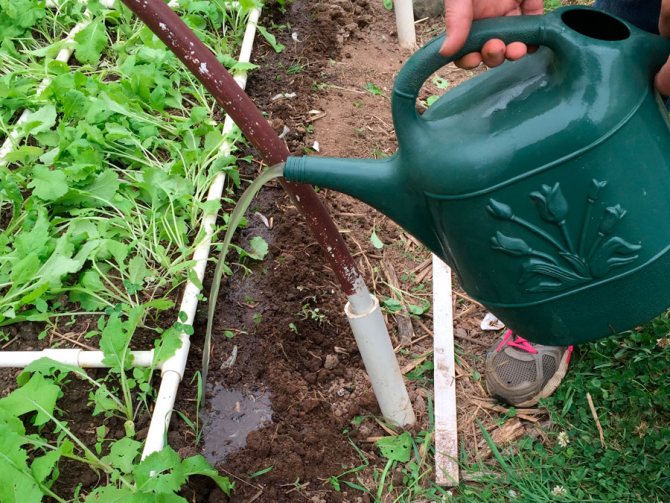
After the turnip has risen and before the actual leaves appear, water the plantings twice a week, using a watering can with a fine sieve for watering.
You will need about a 10-liter bucket per square meter of water.
After the formation of the third pair of true leaves, it should be watered a little more often - twice in 5 days, pouring 12 liters of water per square meter.
To maintain optimal moisture and looseness of the soil, use mulch: chopped nettles, composted peat, sawdust, straw chops.
The thickness of the mulch of 7-8 cm will protect the soil from drying out, from weeds and will provide additional nutrition to root crops.
Pest control
Of the pests, turnip whites and earthen fleas are especially dangerous.
- White turnip can give several generations of butterflies per season. Caterpillars infect plant leaves and can get to root crops. To effectively fight this parasite, it is necessary to use drugs with a chemical composition.
- The earthen flea is a danger to crops in the early stages of growth. Treating the soil before sowing with a mixture of mustard, ash and tobacco dust will help prevent the emergence of earthen fleas.
- Cabbage is a pest that damages crops such as radish, cabbage, radish. The fight against cabbage should be started by alternating crops of dill, carrots and turnips. Spraying of contaminated crops with Iskra M or Iskra DE is an excellent fight against cabbage. One ampoule of Iskra M must be diluted in 5 liters of water and the crops must be treated. Iskra DE is sold in tablets. To prepare the solution, you need to take one tablet and dissolve in 10 liters of water. It is also recommended to use wood ash products for spraying. The solution will require 300 grams of ash, 10 liters of water and 10 ml of liquid soap.
- Cabbage aphid. Such a parasite is able to suck sap from plant leaves. Aphids appear when the weather is moderately hot and wet. To combat such a pest, you need to use trichlorometaphos-3, and karbofos. It is necessary to dilute the solution in a proportion of 60 grams per 10 liters of water. 10% or 25% rovikurt is considered effective. It is necessary to dilute the solution in a proportion of 10 and 25 grams per 10 liters of water. You need to process the crop twice a season. It is important to stop processing the plants 20 days before harvesting the roots. Predatory insects are able to fight aphids.A ladybug larva can destroy more than 6 hundred aphids in its entire life.
Advice! Beginners need to follow pest control technology. It is worth referring to the video instructions of experienced gardeners for competent processing of plants.