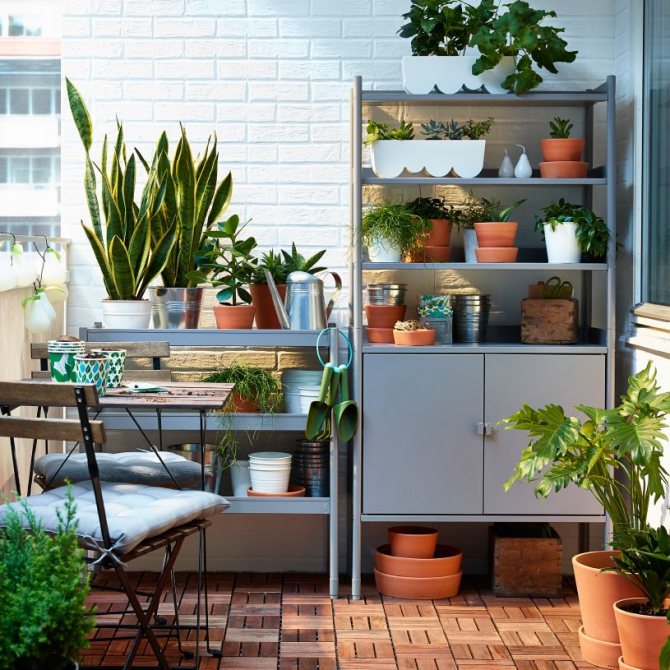
Let's see how you can transform your favorite indoor flowers? For example, if you create a planter for flowers with your own hands, then this decor will delight the eye and add zest to the interior. In addition, by equipping stands and / or shelves for flowers with your own hands, it will also become convenient for you to take care of your pets.
Outdoor pots from scrap and building materials
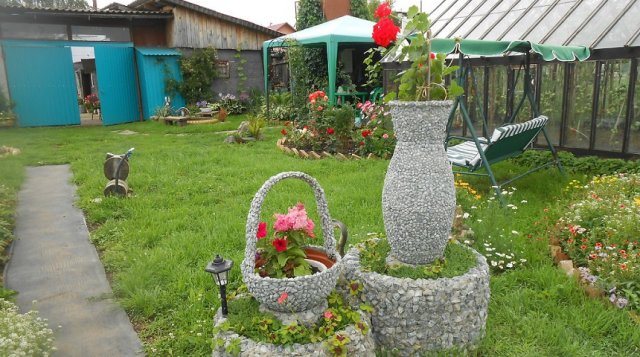
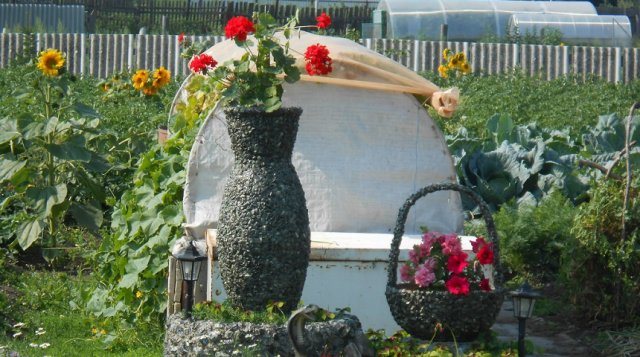
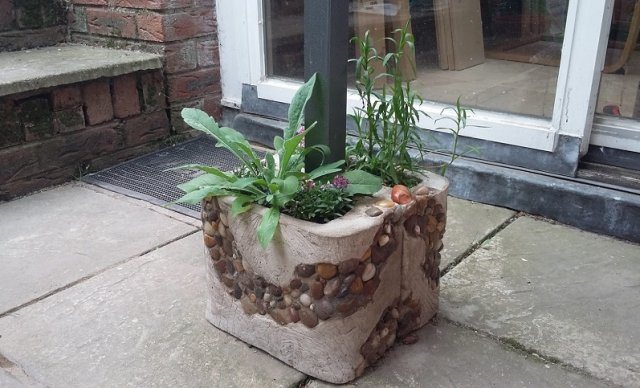
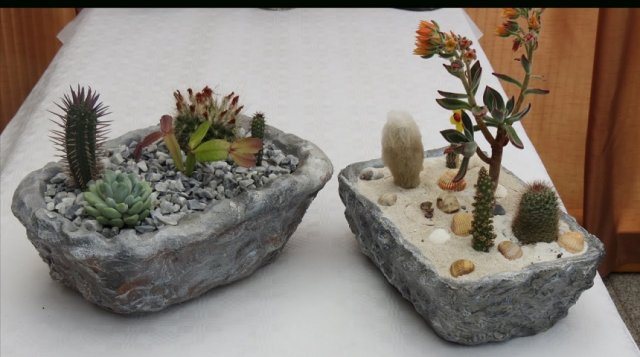
Unusual plant vessels can be made from almost everything that is at hand. If you have gravel, use it to create a large planter. Any capacious container is suitable as a form for pots. Several of these containers can be connected to create, for example, an elegant vase. Attach the crushed stone to the cement mixture: dilute 1 part of cement and 3 parts of sand with water to the consistency of sour cream, coat the pots with the mixture obtained and cover tightly with stones.
ogorod.

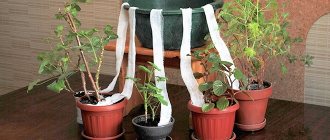
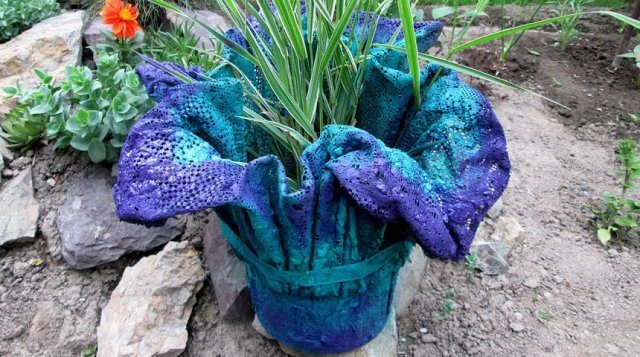
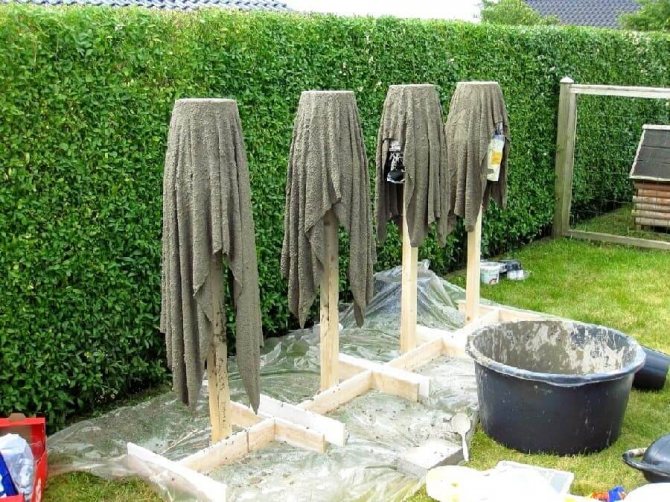
If you want something more unusual, try making a planter out of cement and fabric (burlap, etc.). Wrap the bucket or basin in a dry cloth and dip in the cement mortar. Then cover with a wet rag and leave for at least 12 hours, or better for a day. When the cement hardens, remove the base - the planter is ready! It remains only to paint it and place the plant inside.
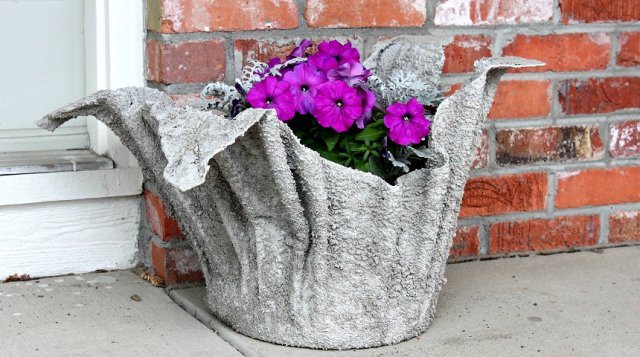
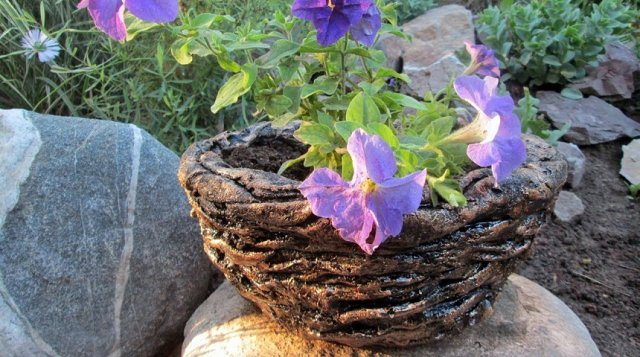

A similar principle can be used to create planters out of concrete. You can use an old saucepan or bucket for the base, but the easiest way is to remove the finished products from plastic containers. Bring one of your favorite ideas to life!
By analogy, you can make a beautiful clay or plaster planter.
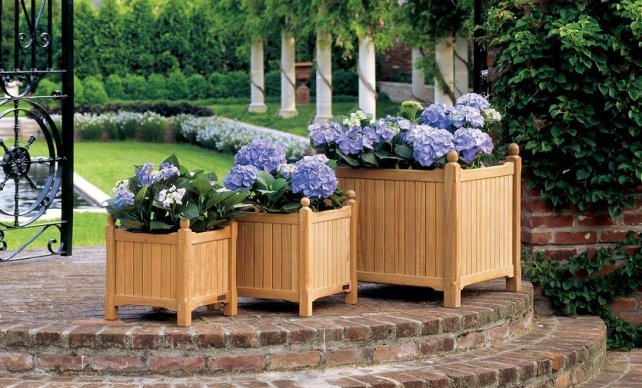
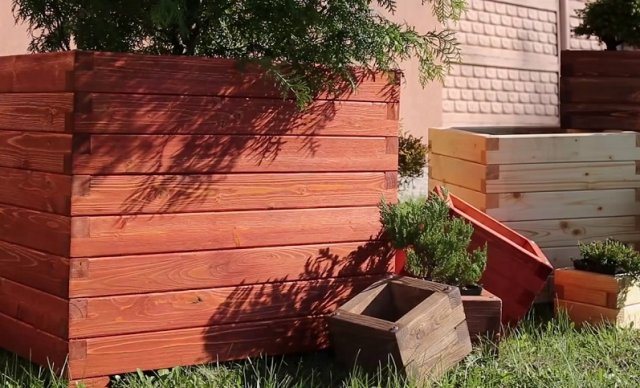
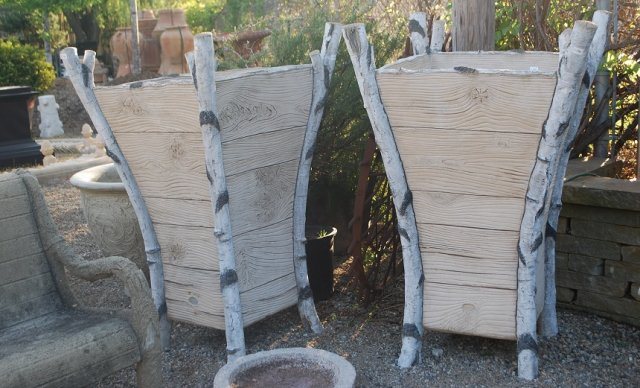
At the dacha, a pots made of wood will look attractive. This eco-friendly and easy-to-work material allows you to create durable and no less sophisticated products than concrete or clay. Wooden pots made from leftover boards will look better as a composition. If desired, they can be painted in any color. And so that the products can withstand bad weather, cover them with a protective varnish. The easiest way is to make a rectangular or square planter, but you can experiment with the shape.
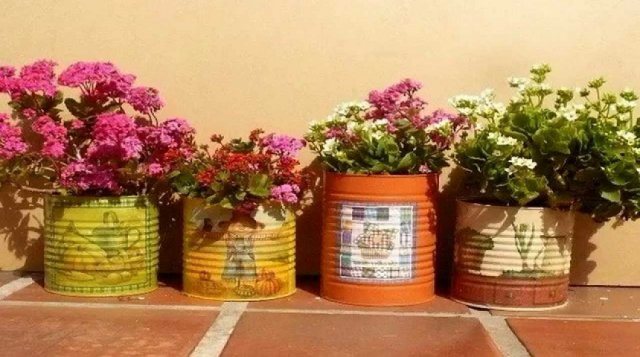
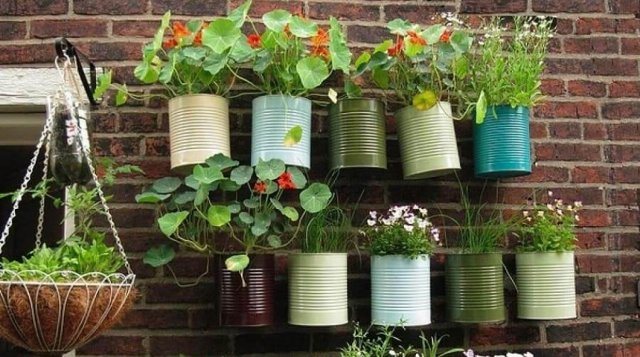
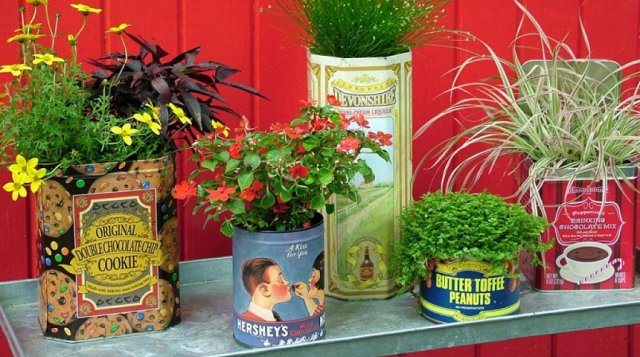
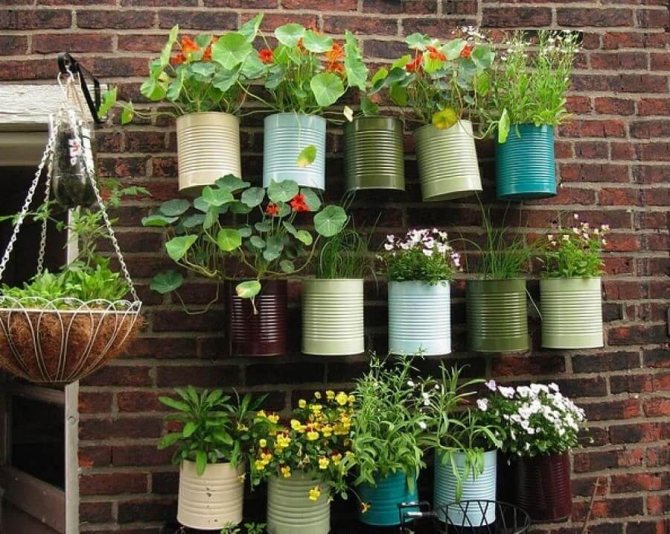
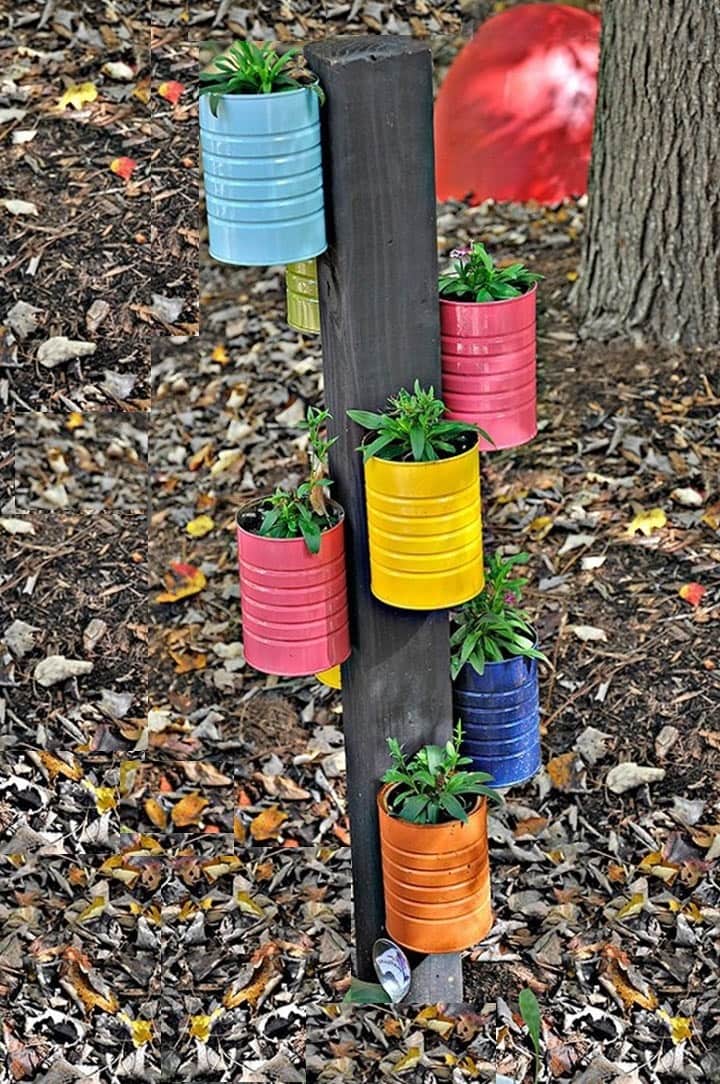
It is easy to make metal pots from tin cans. It is enough to cover them with paint or decorate them using the technique. decoupageby sticking a beautiful napkin or picture on the surface.

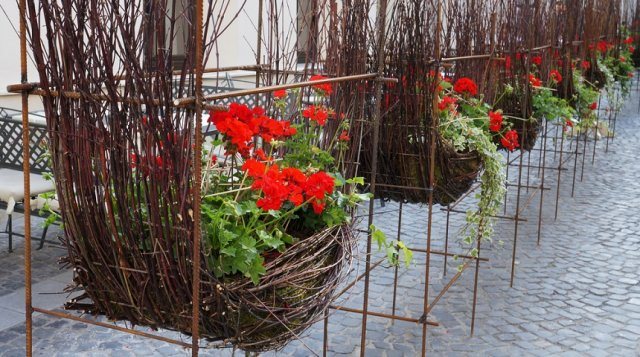
Or you can make a large planter out of ordinary branches!


Decor options
Ordinary flower pots make the interior look uninteresting and boring. To give the product a zest, you need to decorate it. And there are many ways to do this.
Any materials at hand can be used as decorations. These can be shells, pebbles, beads, textiles, and even simple eggshells.
Mosaic technique
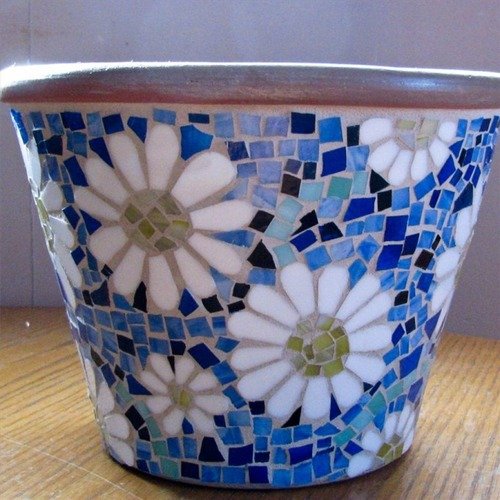
Suitable for both small bowls and bulky garden planters. Shards of broken dishes or mirrors, colored glass, small stones, etc. can be used as mosaic elements.
The process is not complicated:
- The base must be covered with a layer of plaster.
- After drying, wrap with a piece of mesh.
- Lay out the ornament, combining details that match the color.
Painting
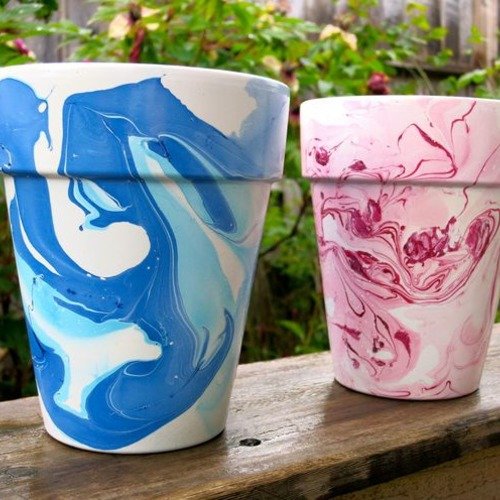
It is advisable to cover clay pots with bright acrylic paints. But you can get by with regular nail polish.
For this it is enough:
- Pour several bottles of varnish into a bucket of water.
- Mix.
- Place in a pot for a while.
Nautical decor
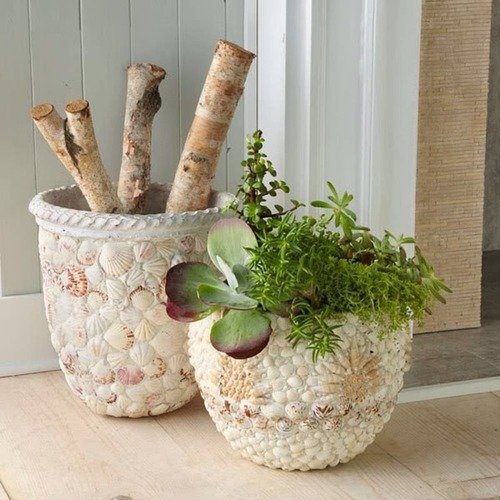
This theme is based on the use of seashells, small colored stones. All elements are degreased and fixed with glue.
Shards of broken dishes and beads can be used as an additional decoration. The voids formed in the process are filled with a creamy mixture of PVA, water and cement.
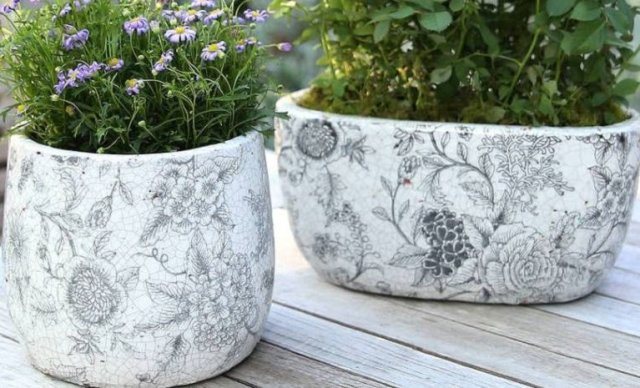
Decoupage
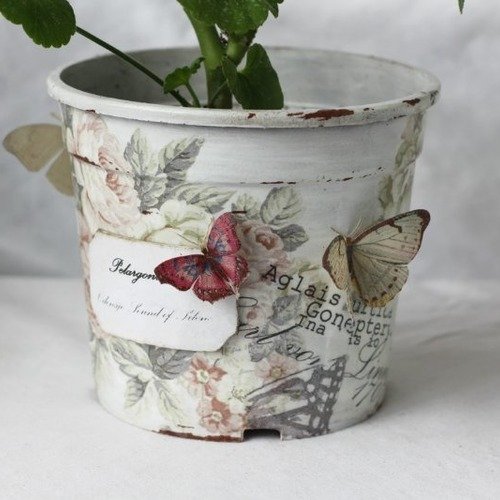
For decoration, you will need blended napkins with a beautiful pattern. The technique of such decoration is easy to master:
- The surface of the pot is primed with white acrylic color in several layers.
- The top layer of paper is removed, transferred to the pot surface and fixed with adhesive solution.
- After drying, the planter is covered with acrylic varnish.
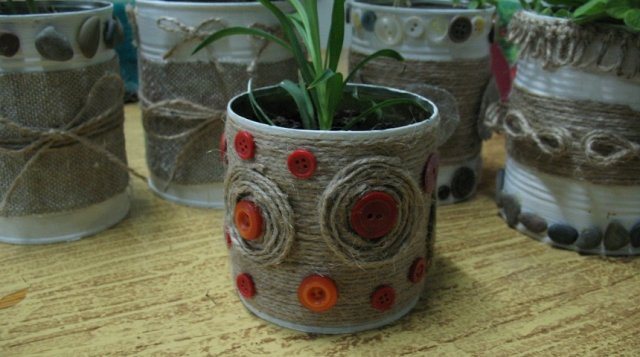
Textile decoration
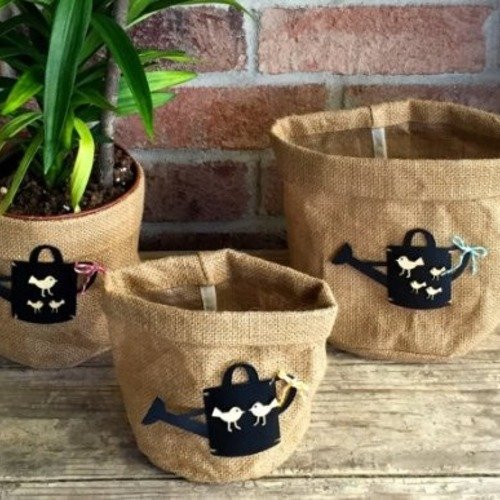
For decoration, you can use:
- scraps of matter;
- silk cords;
- dense threads;
- knitted covers, etc.
All elements are attached to the plate with glue. Ribbons, bows, lace, yarn braids, buttons, fabric flowers, etc. are suitable as additional decor.
Eggshell decor
The most affordable and easiest option. The shell is thoroughly washed beforehand, freed from the film, dried. Then it must be glued with the convex side outward, while being careful not to break.
From the shells, you can fold a picture and paint its parts in suitable shades. Pots also look beautiful, the entire surface of which is completely pasted over like a mosaic.
With the help of decals and inscriptions
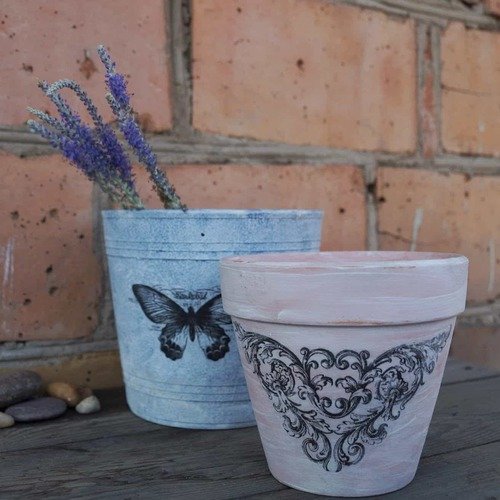
This technique is reminiscent of decorating with napkins. But it will require decals printed on photographic paper in a mirror image.
The picture you like must be glued to the pots. Using a sponge, moisten the surface with water and leave for a while to completely saturate the paper. Then carefully remove the top layer and varnish the product.
Grits finishing
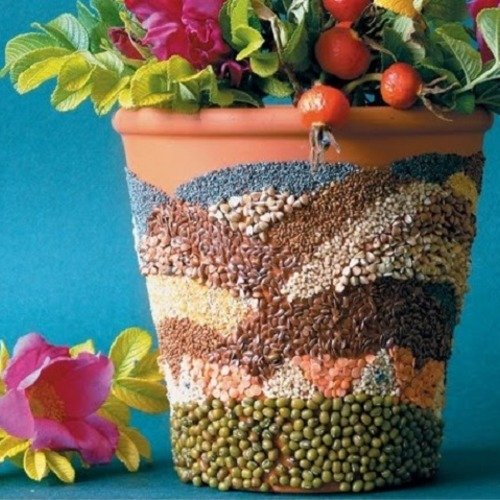
Scraps of napkins glued to the pots with glue diluted with water in a 1: 1 ratio will help to create a volumetric pattern. Use sticks to make small relief folds on them, on which to apply undiluted glue.
Until the adhesive has dried, you need to apply any grits to the surface and lightly blot with a sponge. After drying, the product can be painted in bright colors or left in its original form, covered with varnish.
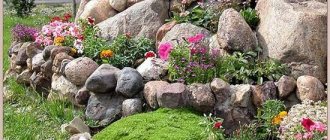
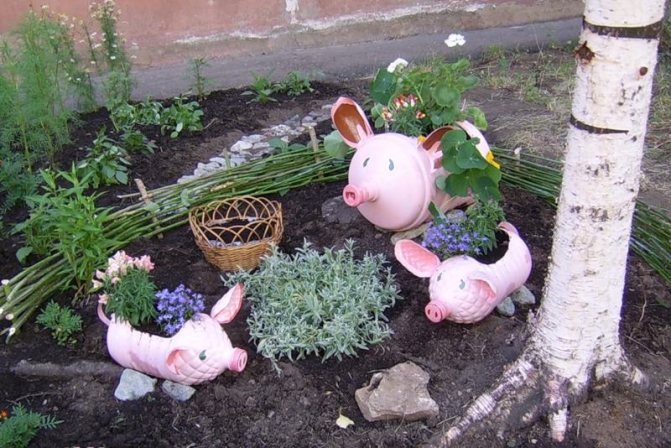
Whole compositions can be formed from homemade flower pots, picking up elements of various configurations, sizes and tones. Such products will become a real decoration of the home and garden.
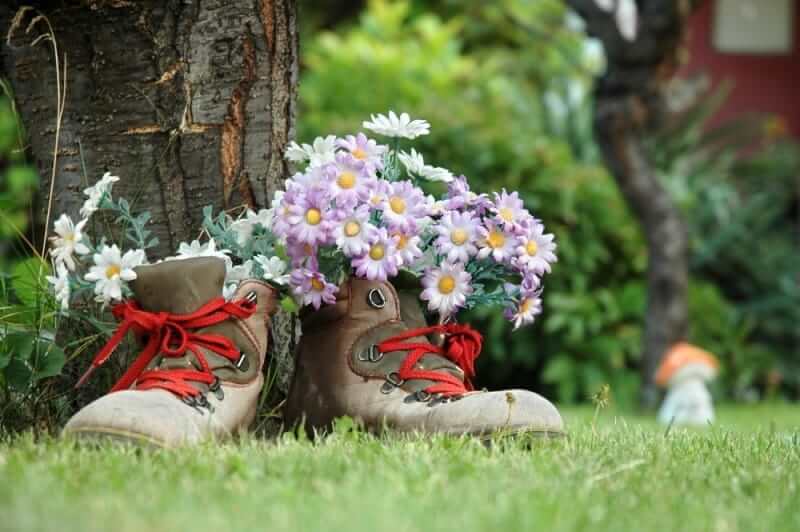
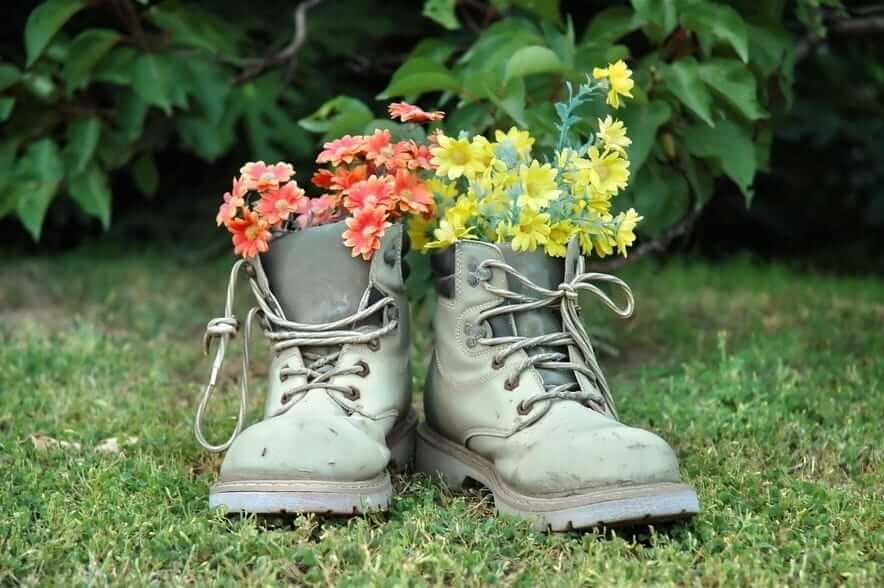
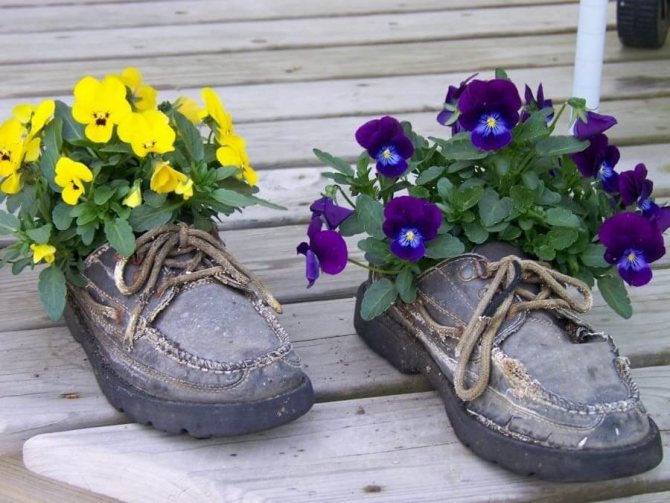
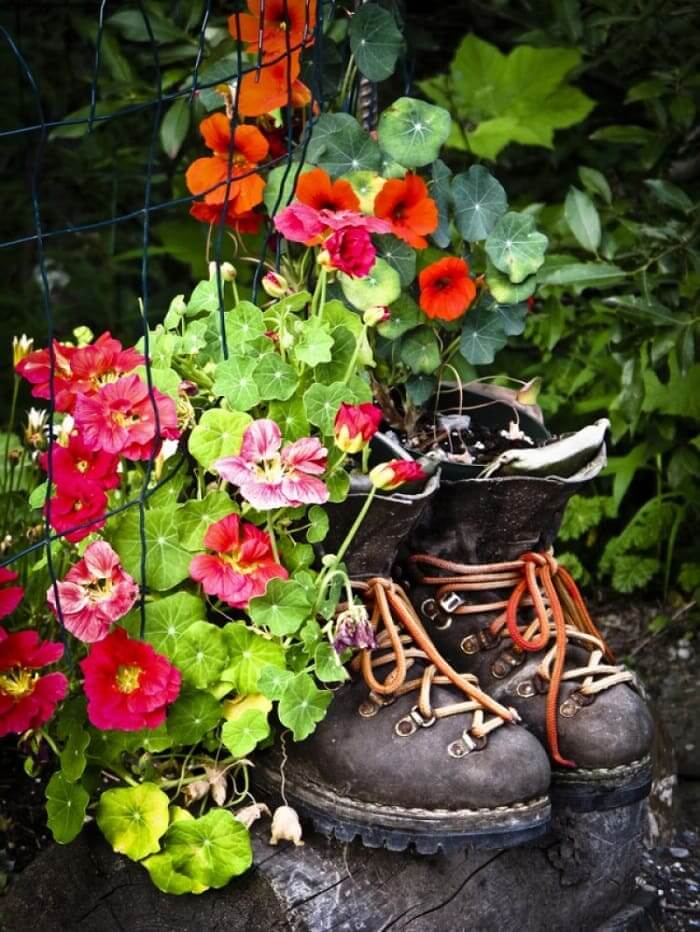
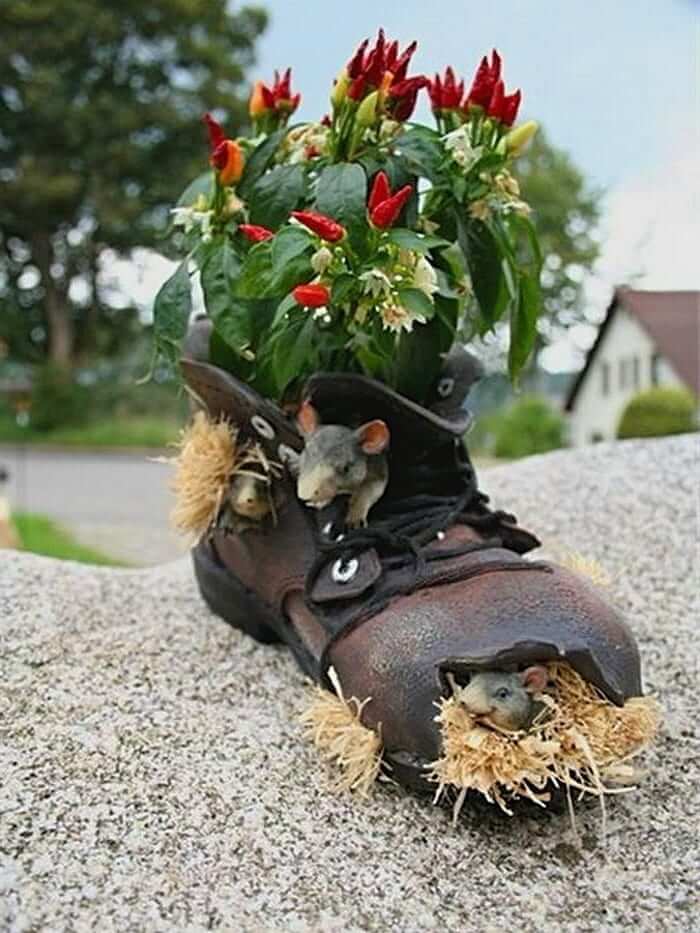
Unusual outdoor pots made of unnecessary things
Stylish pots that will amaze with their appearance can be made from old or out of fashion things. It is now fashionable to give objects a second life. Here are some garden planters that definitely deserve your attention.
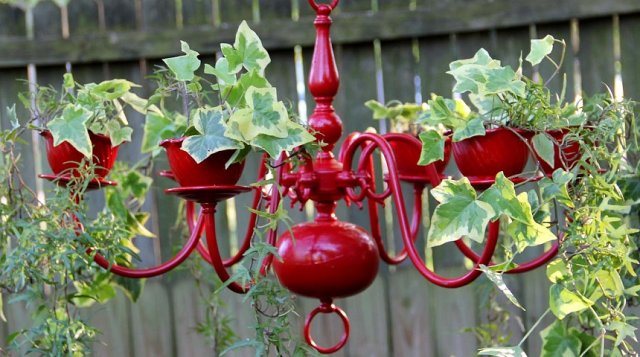
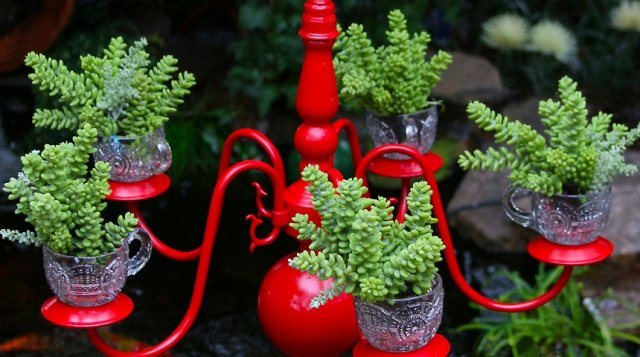
Making a cache-pot for a summer residence from an old chandelier is as easy as shelling pears, just place flower pots on it. But it is important to consider their size so that the composition does not lose balance.
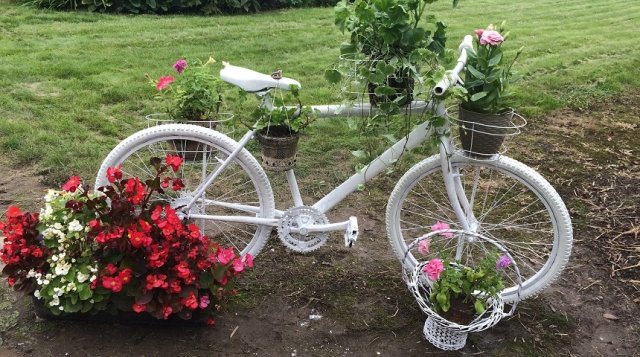
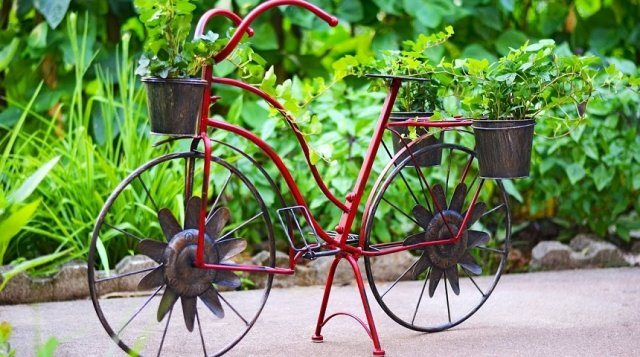
The pots-bike will look original on the site. Staining in a solid color will give it a decorative effect. And you can place pots with plants not only on the trunk or frame, but also near the wheels.

blog.
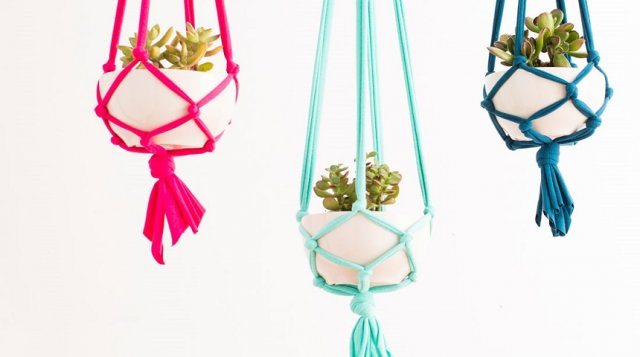
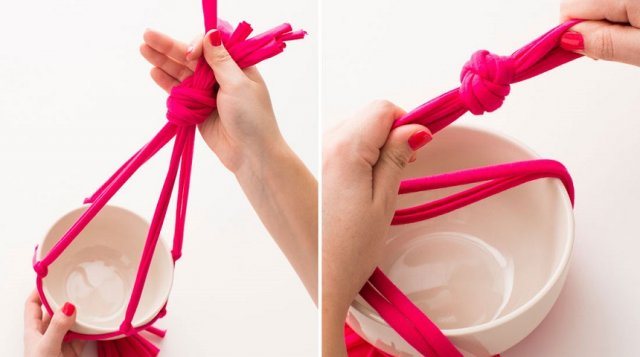
This hanging planter made from an old T-shirt is very practical and elegant. Hardly anyone will guess what it is made of. Just do not take clothes that are too shabby, so that the fabric does not tear. There are many ways to cut a T-shirt into ribbons. Some can be found on the Internet, but your fantasy will tell you something!
marliesmolema.nl
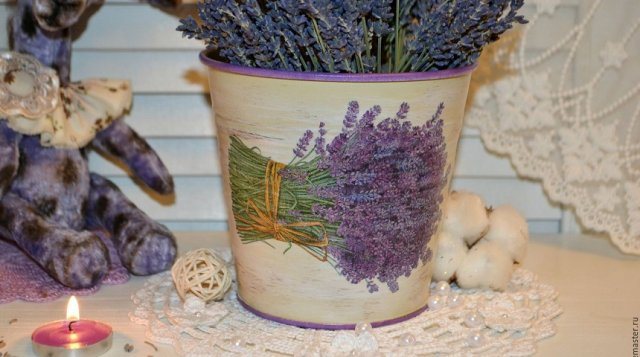
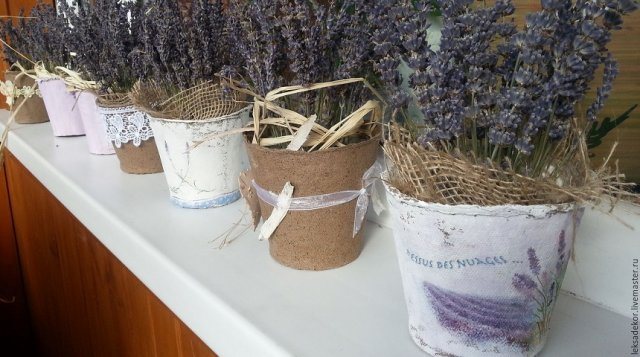
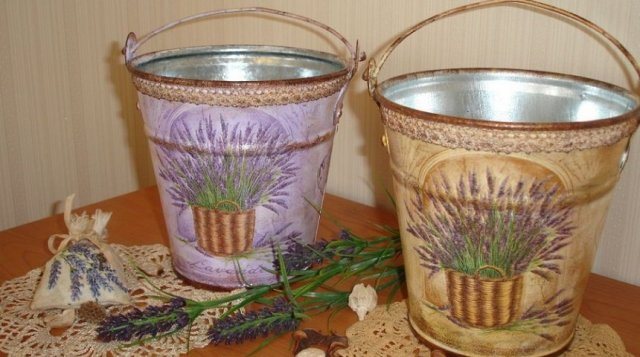
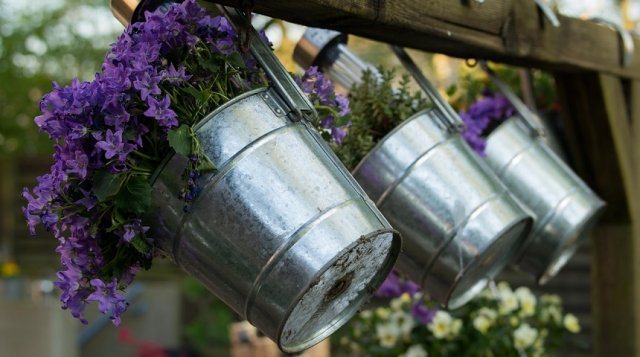
Is it a pity to throw away an old leaky bucket? Turn it into a Provence style planter! To do this, you can apply a thematic drawing to the bucket, tie it with ribbons, burlap, or put lavender inside.
Do not throw away mugs with chipped handles or chipped holes. It is better to make a planter-cup, decorating it with any materials at hand.
A pots made of newspaper tubes will look spectacular. Just do not put it outdoors, otherwise the structure will quickly lose its attractive appearance.
maja-

Concrete: advantages and disadvantages
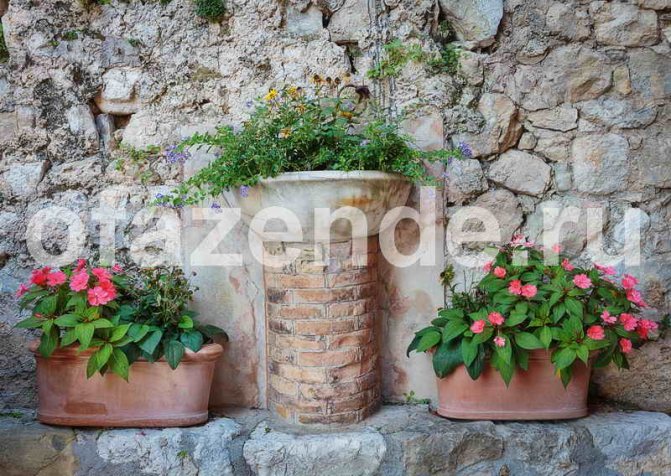
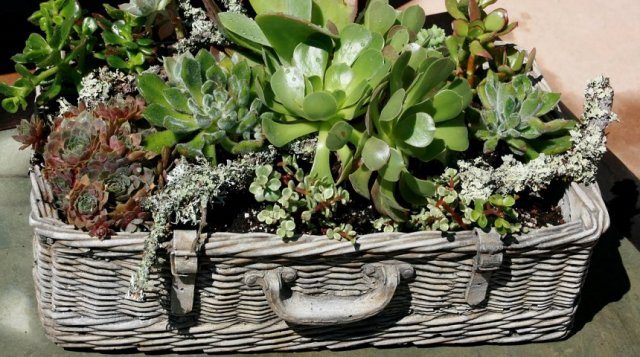
For the manufacture of flowerpots, natural stone, logs, boards, chipboard, improvised devices that are suitable in size are used. If you turn on the imagination from unpresentable barrels, plastic tubs, old buckets, basins and pots, you can make original flowerpots.
As for concrete, this material is widely in demand in this area. Its demand is due to a large list of advantages:
- Design flexibility. The product can have any shape, size.
- Financial availability. The material can be found at any hardware store. The prices for it are quite acceptable for everyone.
- Reliability. Concrete is characterized by resistance to low temperatures and moisture. Non-flammable, strong and durable.
- Unpretentious care. Concrete vases do not require serious maintenance. It is enough to wipe the products with a damp cloth from time to time to clean them of dust and dirt.
Important! Please note that the weight of large concrete products is impressive. You can make small pots that are easy to carry.
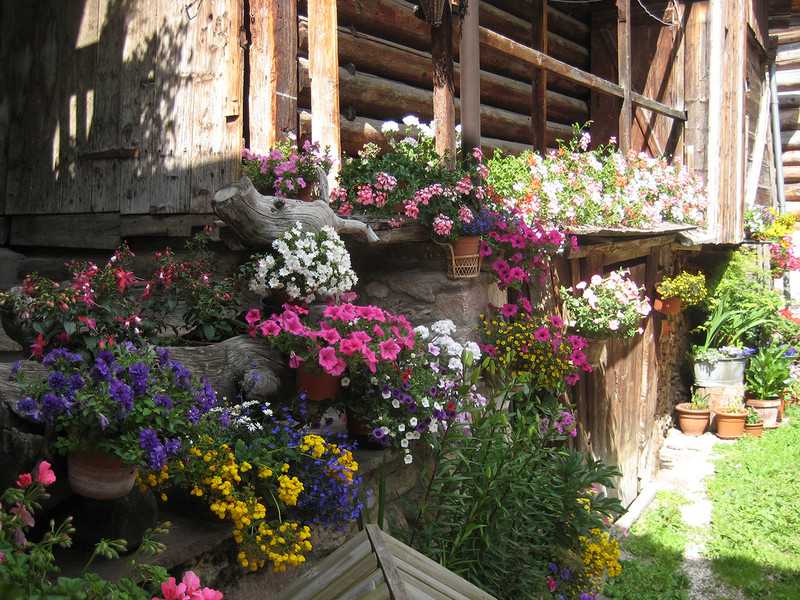
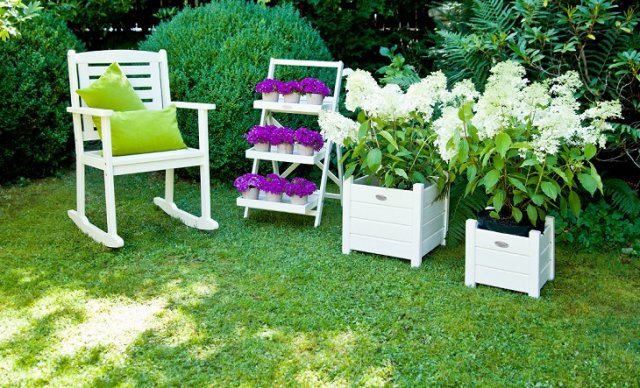
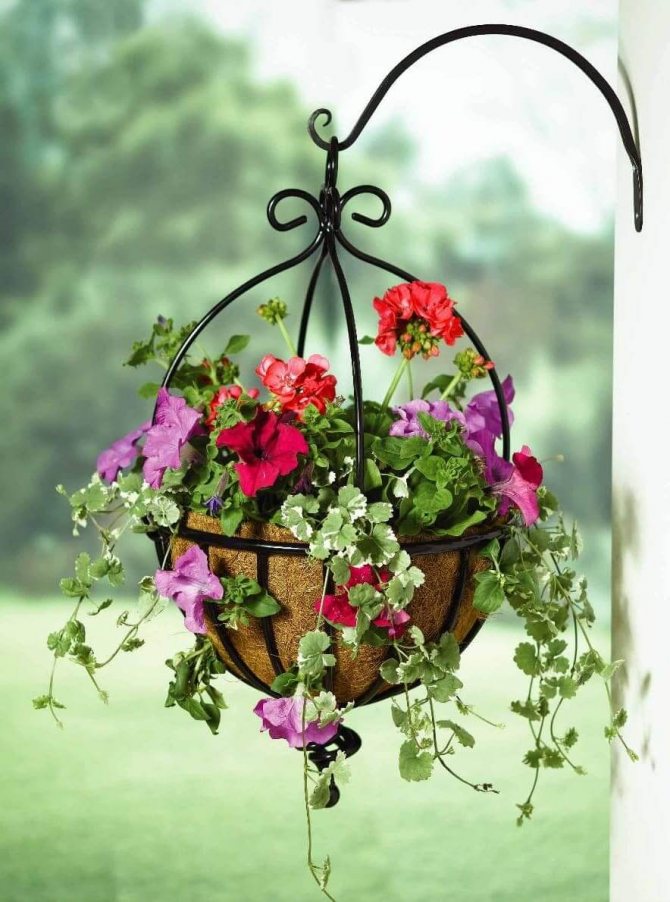
Decorative pots for the balcony
Balcony planters come in different sizes, depending on the type of plant you are growing. Small pots fixed on the railing or hanging pots with ampel flowers will look nice. But it is better to refuse from bulky flowerpots, they will "eat up" most of the space.
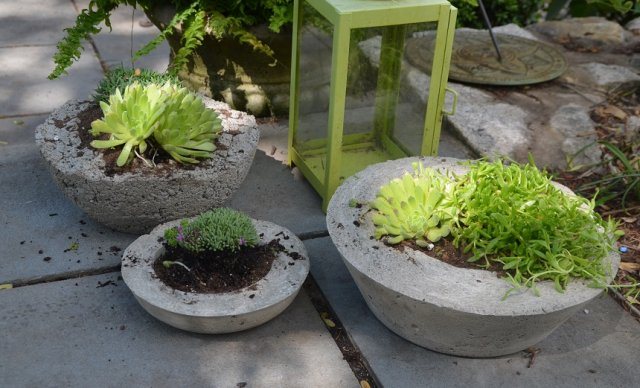
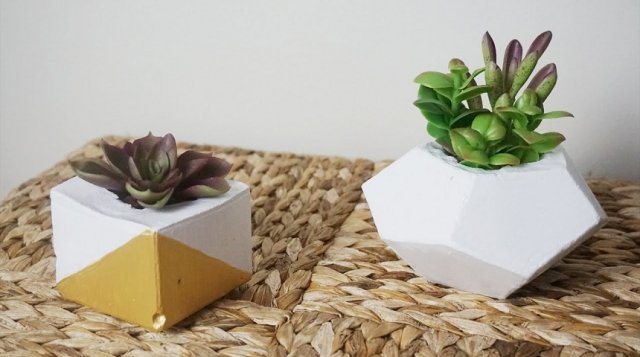
A great option is neat concrete pots in which succulents are planted. It is quite simple to make such a product; choose a plastic container as a basis, so that later it will be easier to remove it. If you wish, you can make simple curly pots from clay or plaster.
If you already have a planter, you can give it a new look. A regular rope or cord will do, which can be wrapped around a container or used as a pendant. See the slideshow for pots design options.
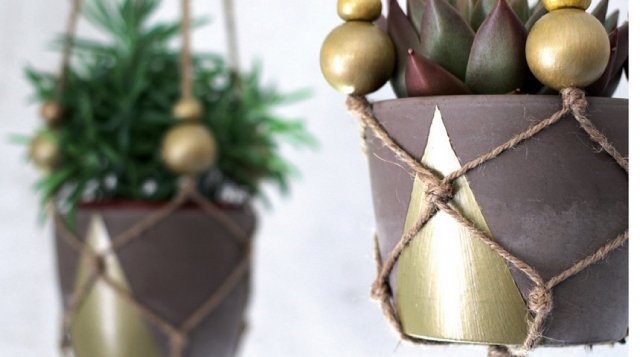
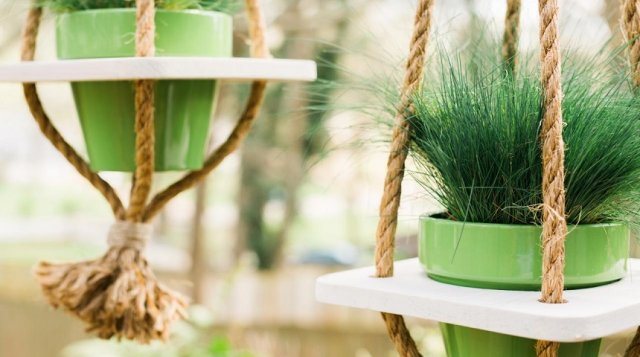
Rope pots are often made using the macrame technique - weaving in knots.
A more exotic option is a coconut planter. To create it, you first need to make a frame of the desired shape from metal rods, and then lay it out with coconut fiber. If you want to make such a pots - read our master class!
- A beautiful hanging planter with your own hands in 6 steps
Step-by-step instructions for avid needleworkers.
Flower pots from plastic bottles
Greenhouses made of plastic bottles, urns and drinking bowls - all of this has long been described by us, but now there is an idea to create small flowerpots from this material, which will be the simplest summer cottage occupation in your free time from work.
For the production of small pots, you can take 1.5-2L bottles and cut them to about half. The upper part of the cut will need to be dissolved into strips 2 cm wide and 2-3 cm high, in order to then turn off the plastic edges for decorativeness. Ready-made plastic pots can be painted or left transparent, or you can pre-select colored bottles, for example, green or brown.
As a result of the work performed, it remains only to install the pots in the soil or even dig them in a little, and then plant decorative flowers in them, perhaps even creating various patterns and shapes.
We make concrete flowerpots step by step
Concrete flowerpots are the most common outdoor option.They fit well into any area of landscape design.
It is easy and simple to make such flowerpots yourself, and the limitation in size and shape depends only on your imagination. Follow the simple instructions below.
Necessary materials
- plastic containers (of the same size and shape as you wish to see future flowerpots);
- vegetable oil;
- good concrete mix;
- drill;
- drill for concrete;
- Master OK.
Getting Started
Plastic containers should be made of dense plastic and retain their shape while the concrete cures. Thin and wobbly walls of a fragile container can bend, and flowerpots will come out of a bizarre shape (although this can be easily attributed to an individual design decision).
Advice! It is necessary to choose concrete from fine cement for your flowerpot. Concrete with the addition of large pieces of stone (gravel or crushed stone) is not suitable, since the final look may not be very aesthetic.
You will be interested: Outdoor concrete flowerpots: advantages and disadvantages
Lubricate the sides of the container very generously with vegetable oil so that the hardened forms can be easily removed later. Do not be afraid to overdo it: it will be much worse if you do not add oil and the concrete sticks to the walls.
Pouring mortar into molds
Pour the mixture into a container, and now place another smaller diameter in it. The smaller container should be oiled inside and out. You can put more solution in a small container, and another smaller one in the middle.
And so while there is enough space. Fill the last container with stones for weighting. How it looks, see the photo below.
Level the surface of future flowerpots well. Leave them to dry overnight. Then remove the concrete from the containers, shaking gently. If you are not too lazy to grease the containers with oil enough at the beginning, it will be easy to remove the forms.
How to drain the pot?
Leave the finished flowerpots to harden for another week so that the concrete sets and is ready for drilling. Use a concrete drill to drill holes from the bottom for drainage.
You will be interested in: How to create flower beds and flower beds with your own hands: photos of interesting designs
Plant plants to your liking in flowerpots and boldly decorate the suburban space.