
The arch can set the style of the entire garden, set it up in the right way, create the right impression about the owner of the house, its inhabitants, habits and views. You just need to choose the right shape, size and material for the arch, determine a suitable place for it and be sure to decorate it according to your taste and mood. In this article, I offer my 8 ideas for using an arch in the country, advice on its construction and tell you what materials are best to make an arch so that it correctly reflects the nature of the garden and will serve the descendants.
Arch designs
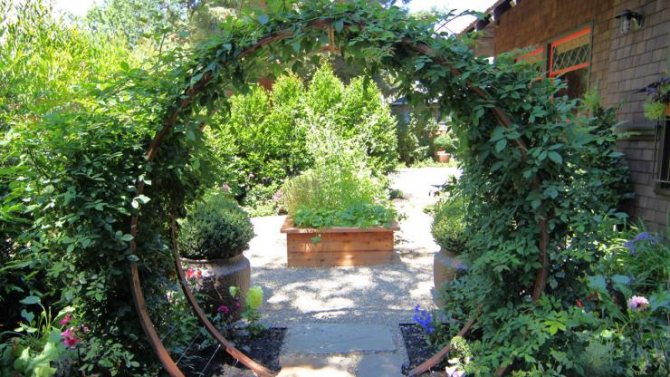
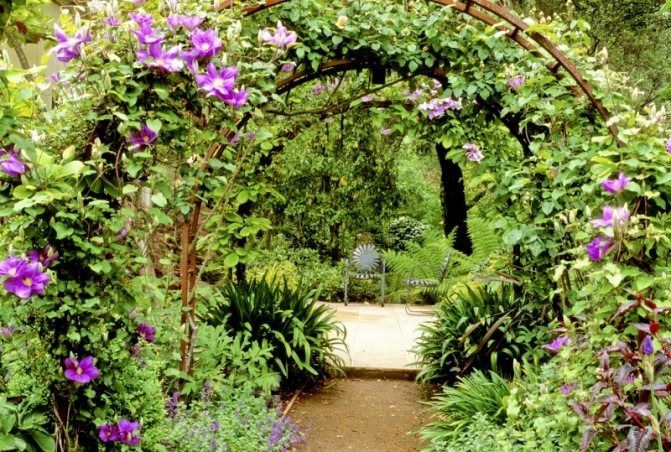
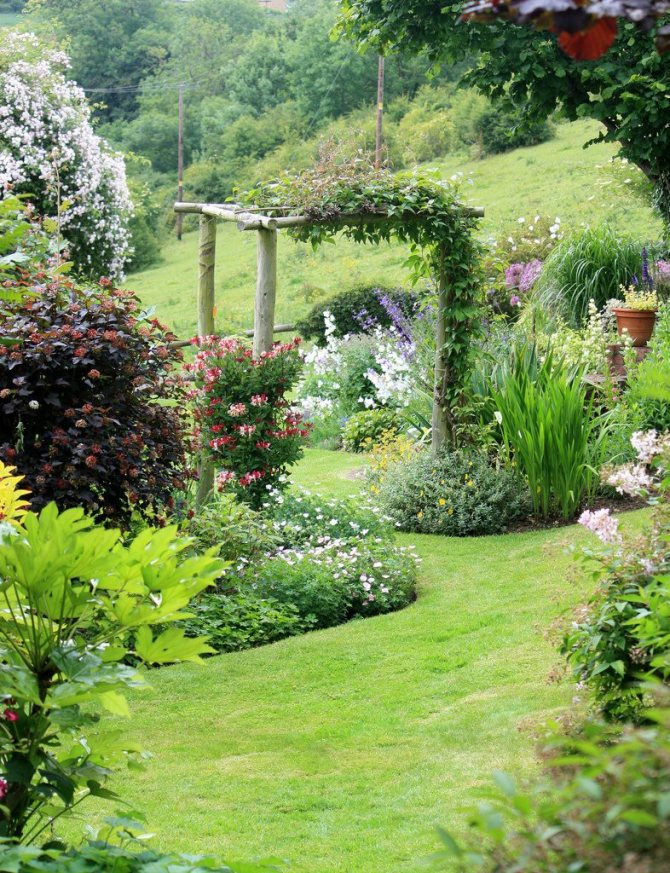
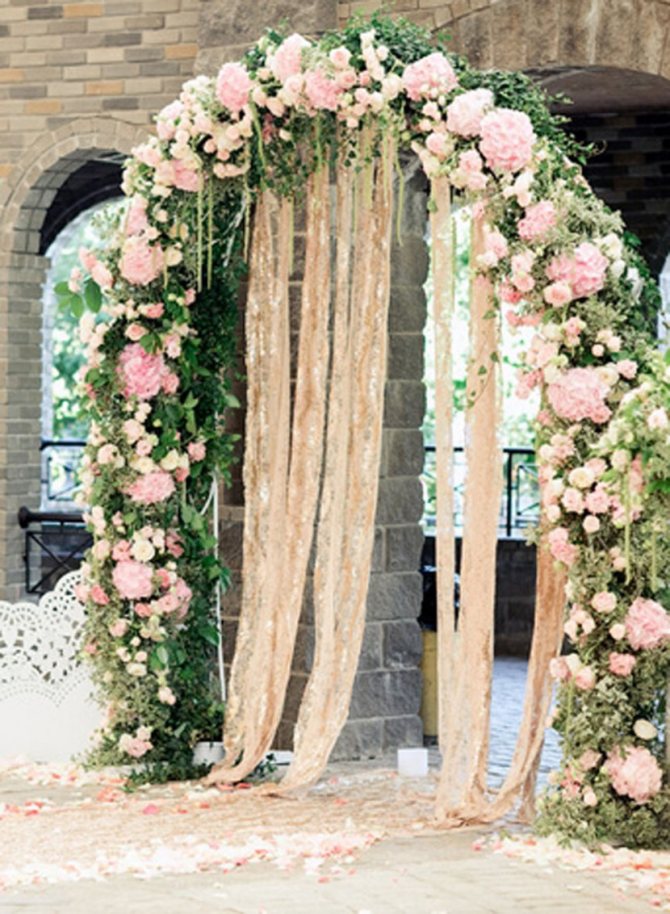
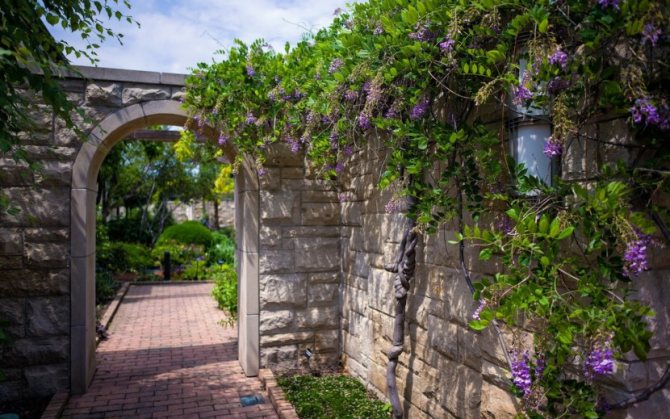
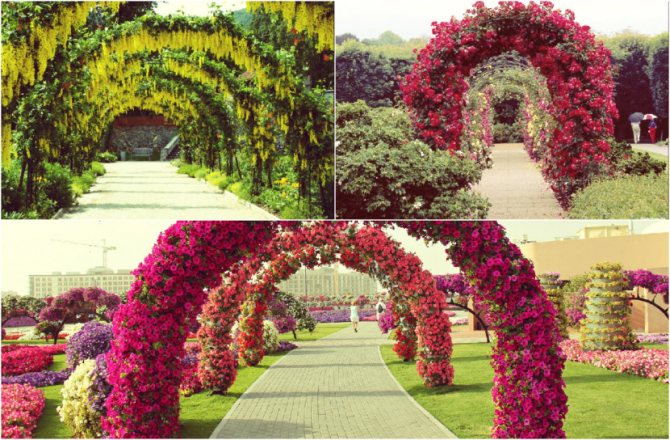
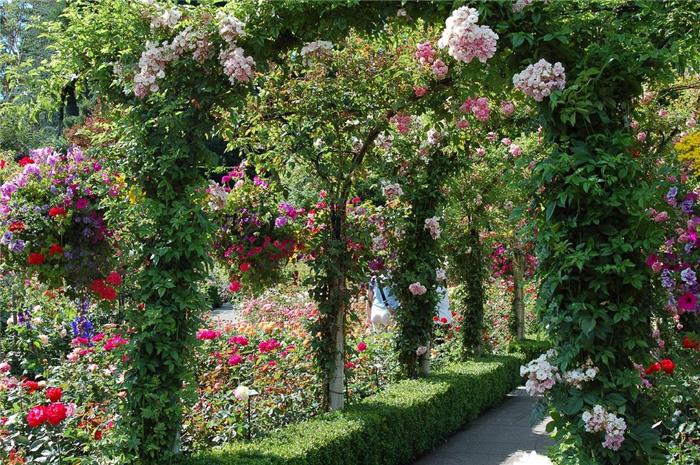
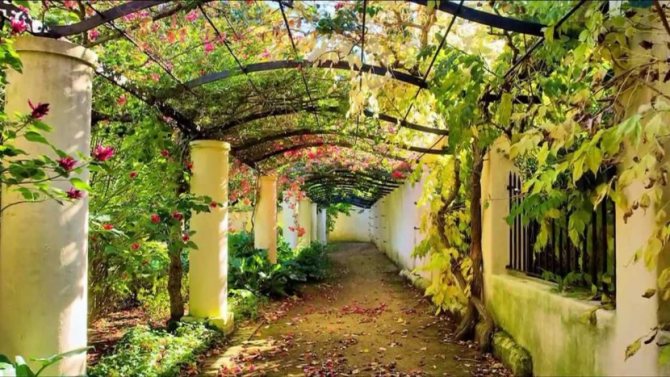
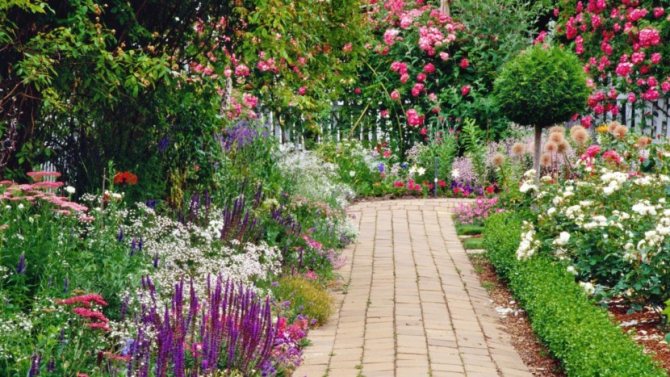
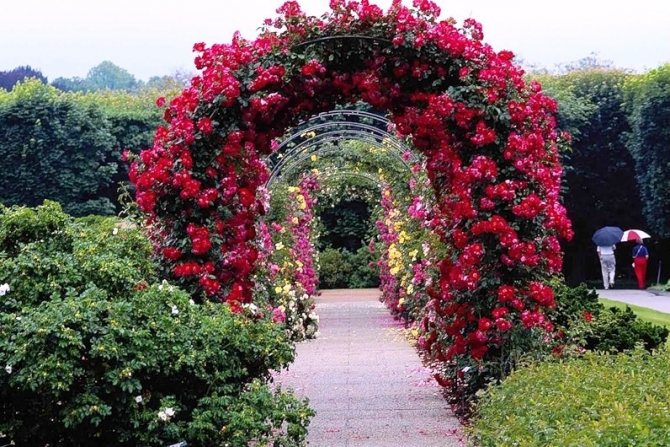
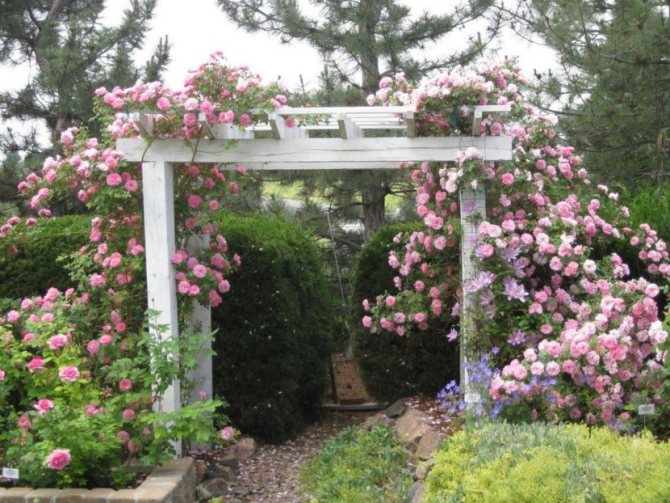
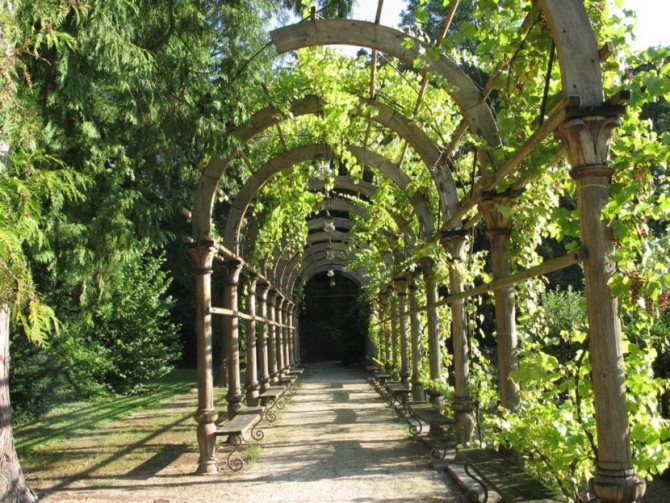
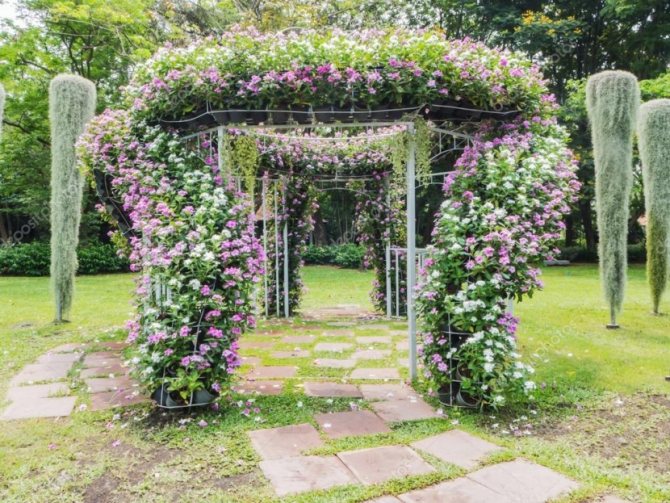
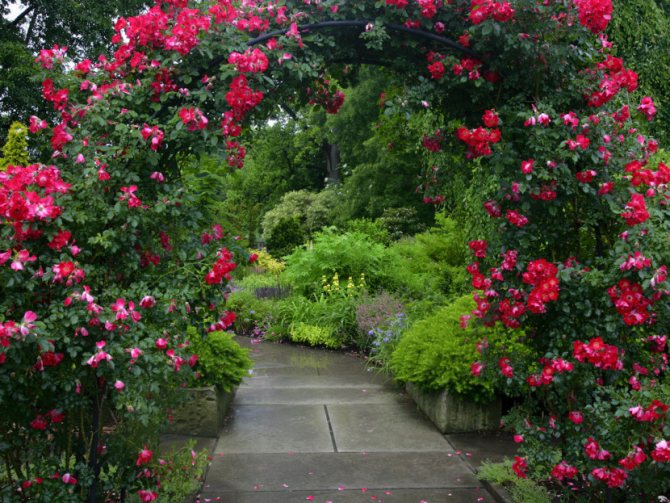
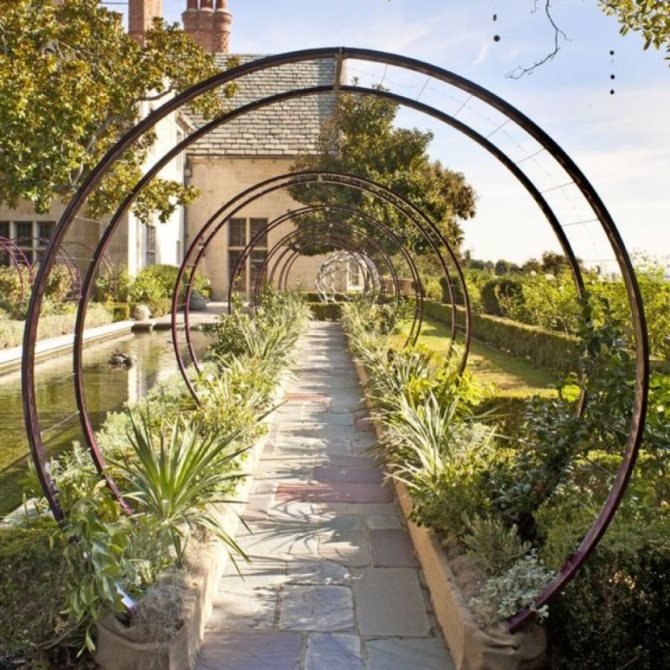
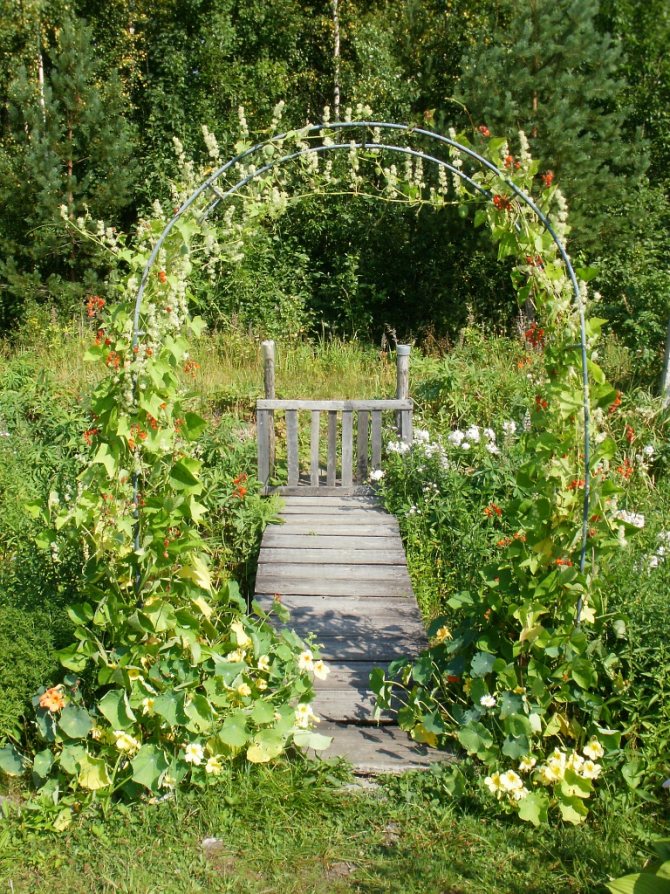
Arches for flowers in the country can be used alone, for example, to highlight the entrance to the site, or a tunnel can be built from several separate structures. By placing two or three arches together, you can create a gazebo with living walls.

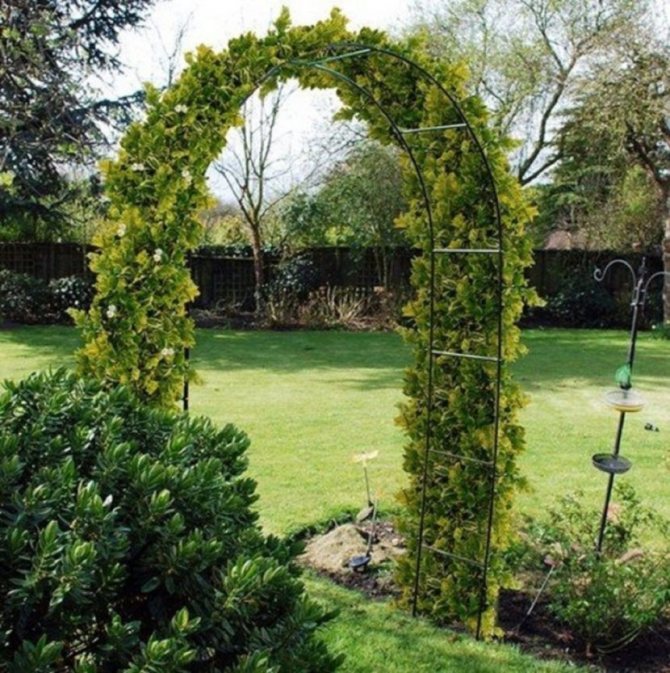
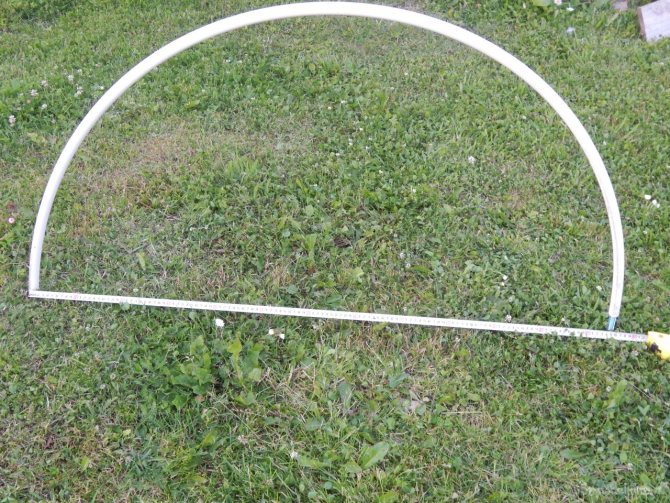
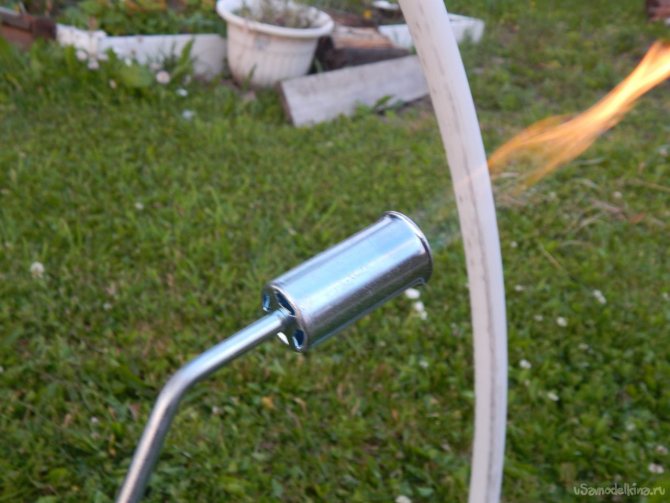
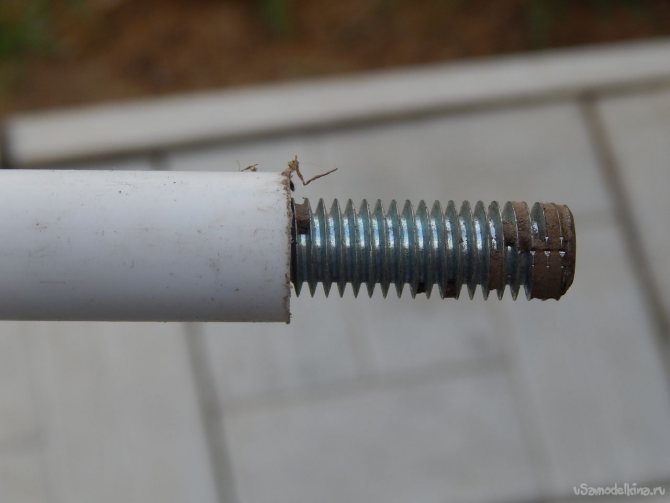
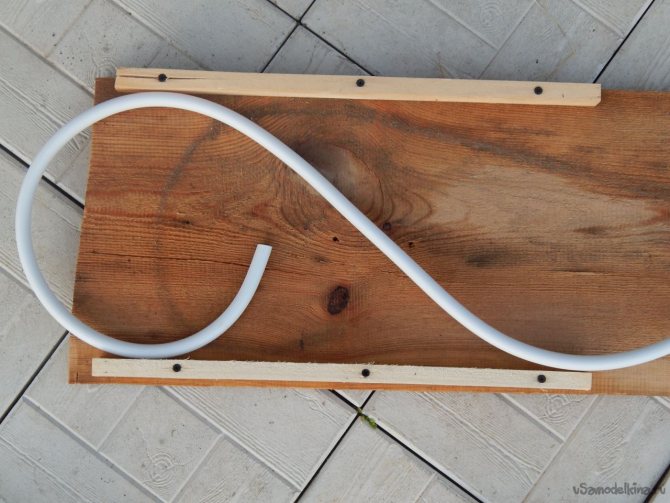
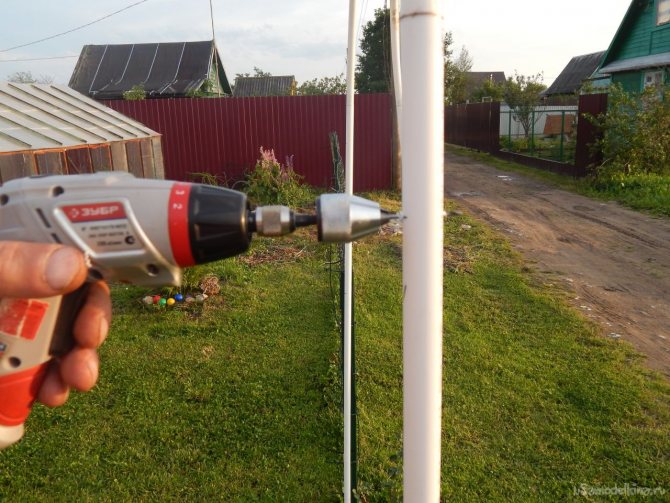
Various materials are used for the manufacture of arched structures. On sale most often you can find arches that are made of hollow plastic tubes. For their reliable installation inside the tube adjacent to the ground, it is necessary to insert an armature of approximately one and a half meter length.


With this fastening, your arch will not be damaged by strong winds, nor by situations where you can inadvertently touch it.
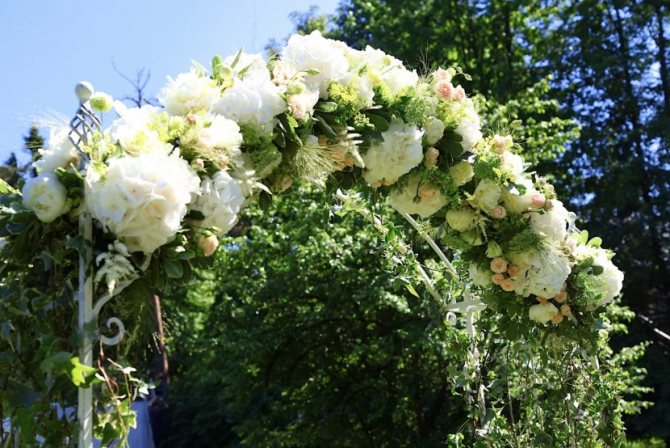
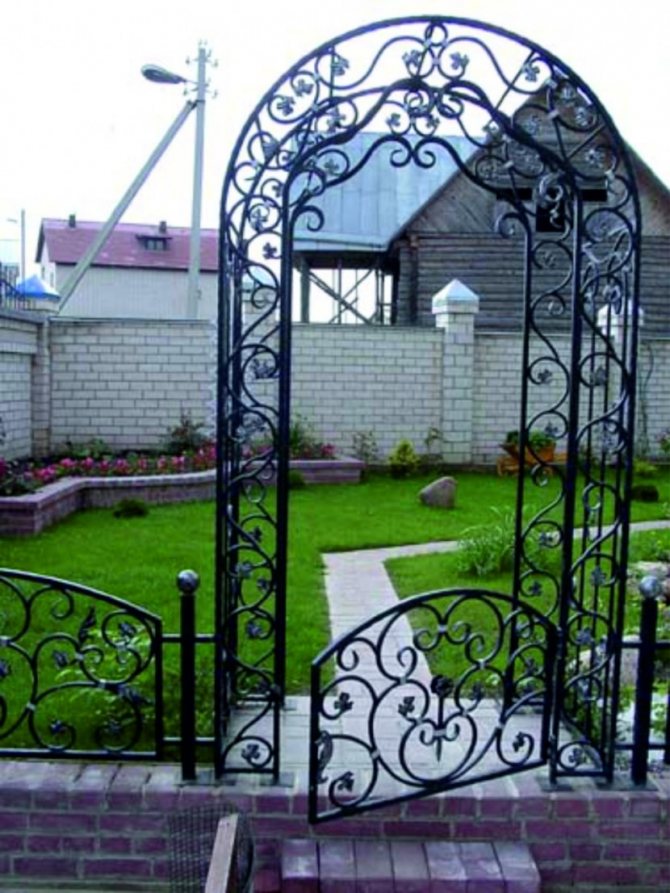
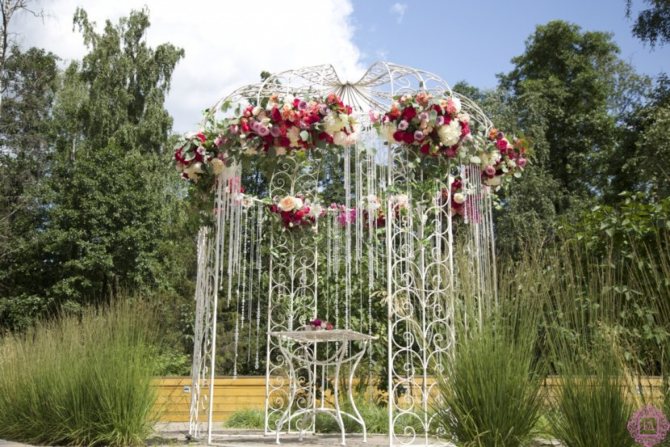
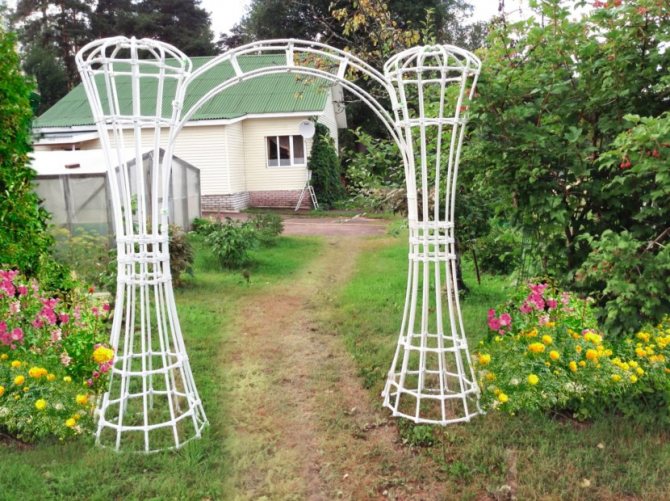
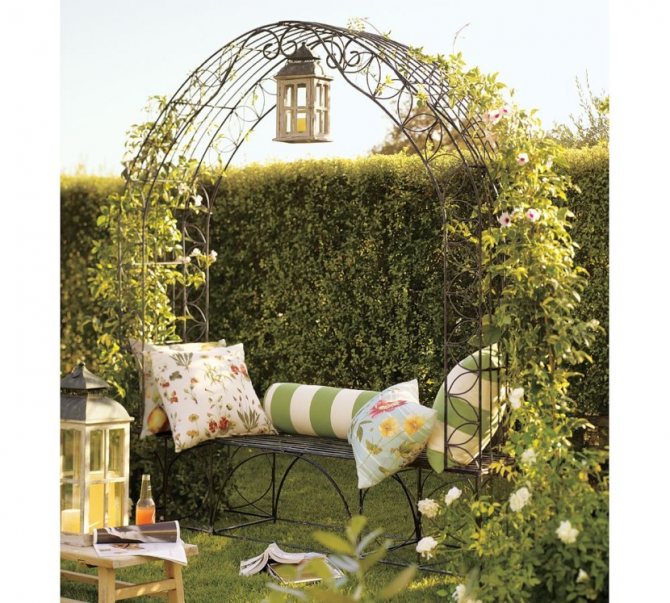
Forged metal arches look very nice in the garden. They are often true works of art and look spectacular even when not entwined with plants. On such arches, you can hang pots on special holders.
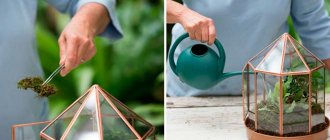
In the pots located on them, salads and other edible herbs look beautiful, which can later be sown.

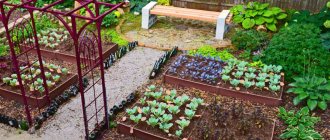
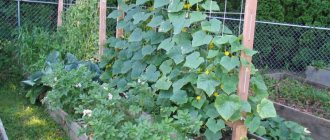
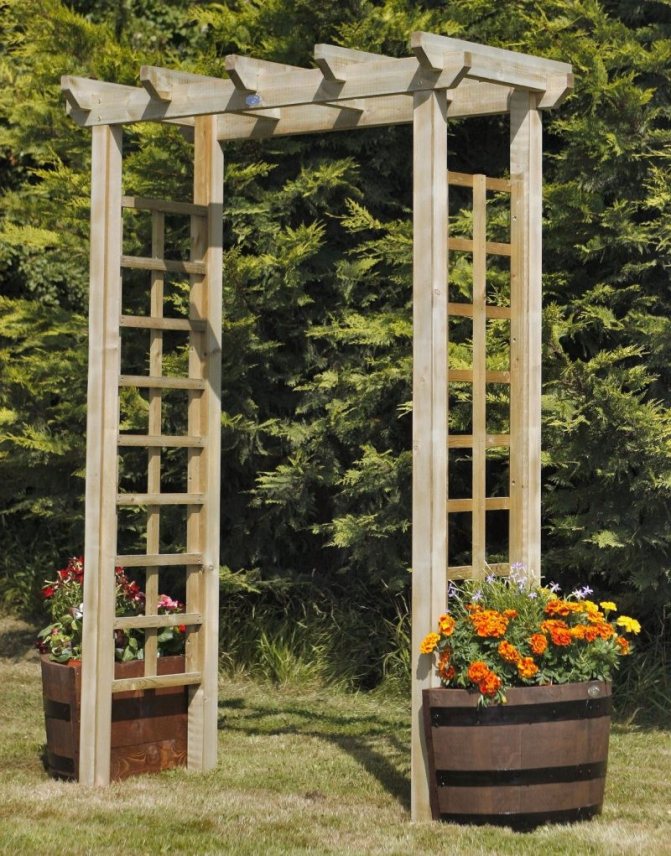
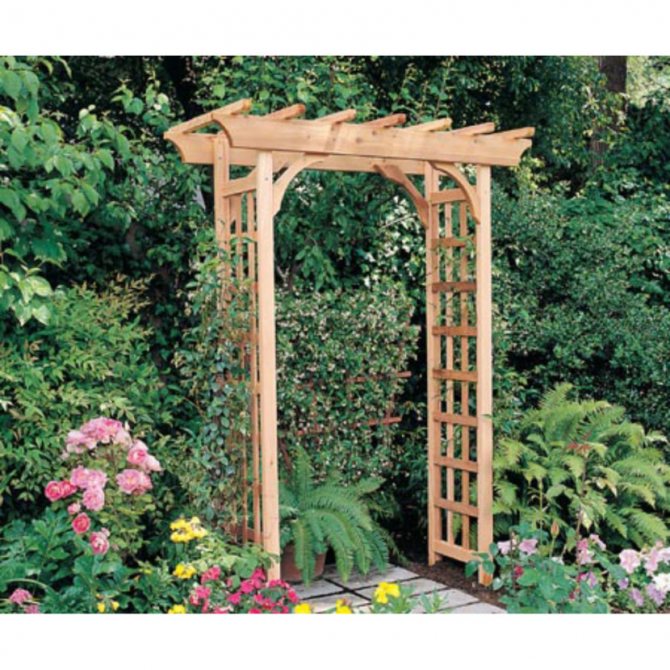
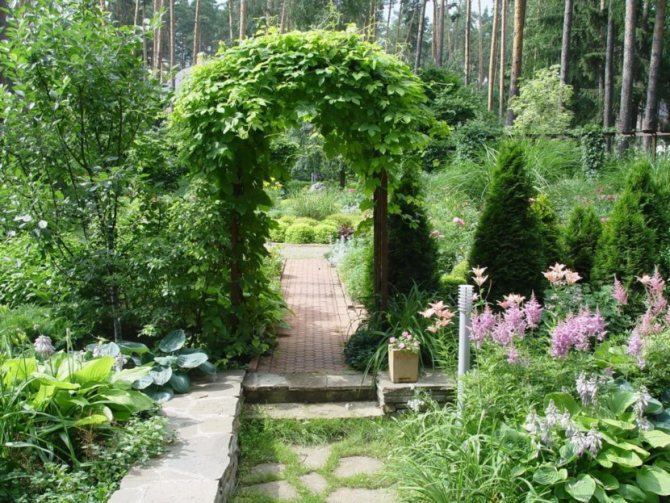
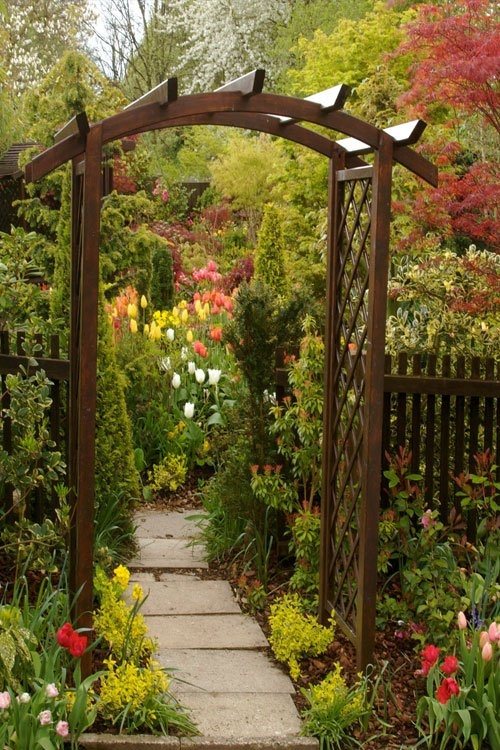
Considering a photo of wooden arches for flowers that have a trellis shape (includes a pair of gratings at once), you can see how convenient they are for zoning the interior space of a summer cottage. With their help, you can also easily hide from the eyes of neighbors.

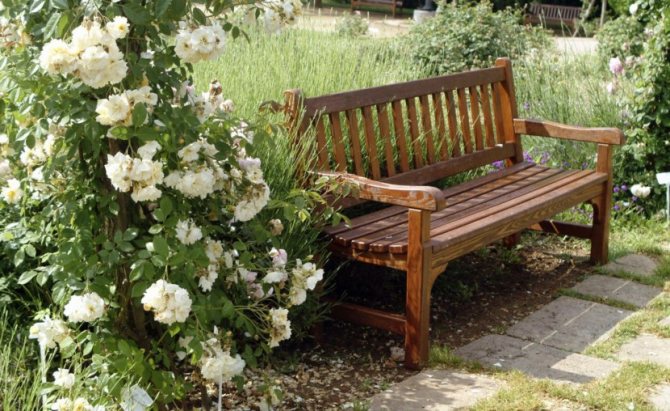
Arches of these shapes are also often used to create cozy resting places.
Choosing the type of building
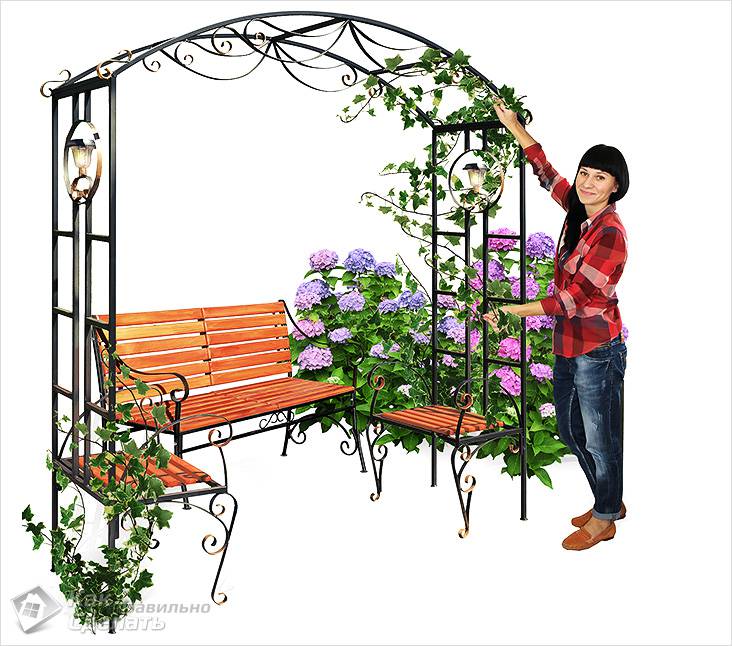
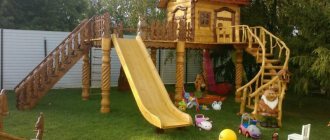
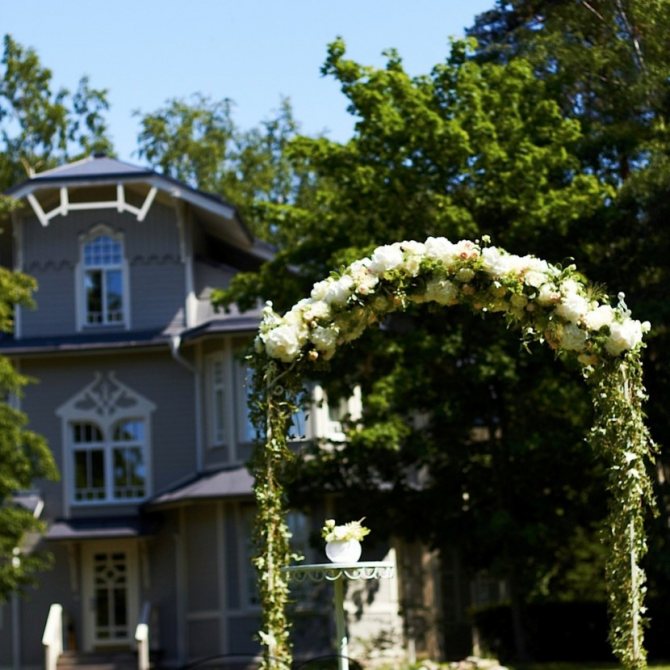
Arch with lanterns and a bench
Today there is a large assortment of different garden arches. They all differ in their shape and material. Such constructions can be:
- metal;
- wooden;
- plastic;
- trellis.
They are all similar in purpose. There are special arches for vines, decorative arches for climbing plants, and arches for a recreation area. There are a lot of destinations - the choice is yours.
Photo of arches for flowers
Flowers for a flower bed - features of creation and simple ideas + 66 photos


Step-by-step instruction

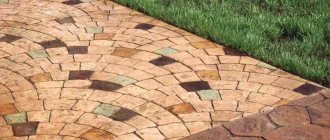
To make a simple wooden arch with your own hands, first make a detailed drawing with dimensions. Then, a base for installation is prepared at the selected location. The site is carefully leveled, cleaned of debris and weeds. Marking is carried out under the base. Wood is a lightweight material. Therefore, a capital foundation is not needed. If desired, the site is poured with concrete mortar, paving slabs are laid or simply tamped tightly.
Materials and tools for work
For the installation of an arched structure, wooden beams and boards are used. Lumber made from spruce, fir, cedar is suitable. These types of wood are more resistant to decay and moisture. Before assembly, the parts are treated with an antiseptic impregnation for better protection. Fastening is performed with screws, bolts, nails or screws.
Overview of the manufacturing features of some options
If you decide to make arches for the garden with your own hands, then the information presented in this section will help you better understand the technology of manufacturing structures and help to competently organize the workflow. We will touch upon the most popular solutions and describe them in the form of simple step-by-step descriptions.
Wooden structures
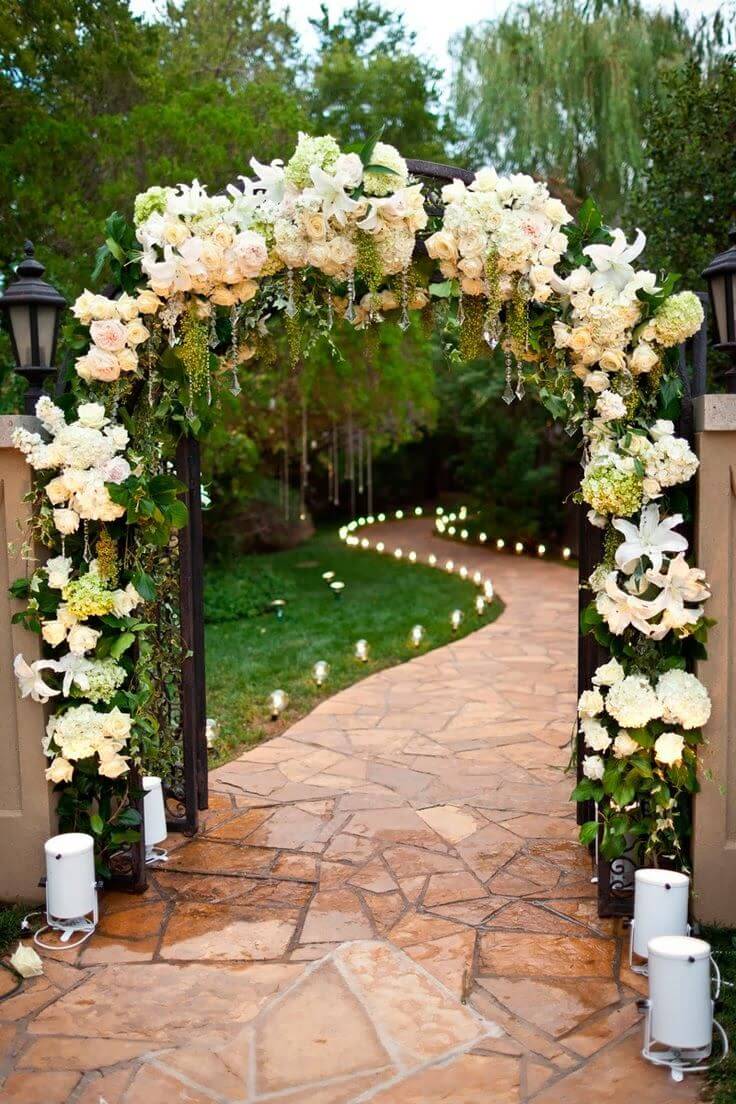
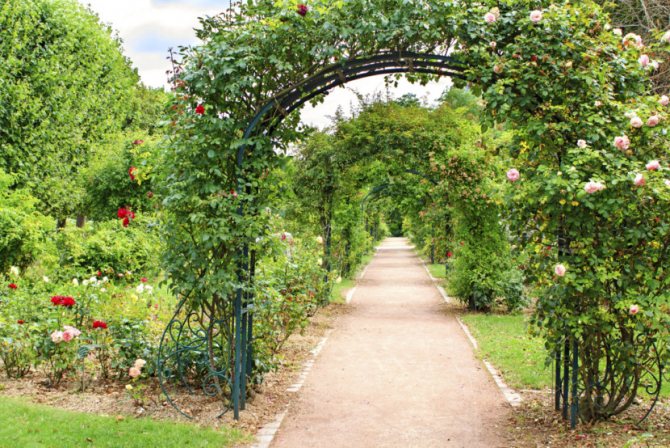
Installing a simple wooden structure at the entrance is a great decoration for the garden area
Garden wooden arches can be made in several ways, but we will consider the simplest of them.
First you need to stock up on the necessary tools and materials:
- Beam for racks, most often 4 pieces are required, but if the arch is of increased length, then the number will increase accordingly. The cross-section of the timber can be different, the main thing is that it is quite strong and does not give in to deformation under the influence of unfavorable conditions. Most often, the choice stops on products with a section of 10x10 cm.
- To decorate the roof, a board with a thickness of about 25 mm or more is used, you can even use the remnants that have accumulated after the construction of a country house or outbuildings.
- For the arch, you will need several slats and a piece of moisture-resistant plywood or oriented strand board. You can also make an arch just out of plywood, but in this case, its thickness should be at least 10 mm.
The option of creating an arch from boards and a pattern pre-made from plywood
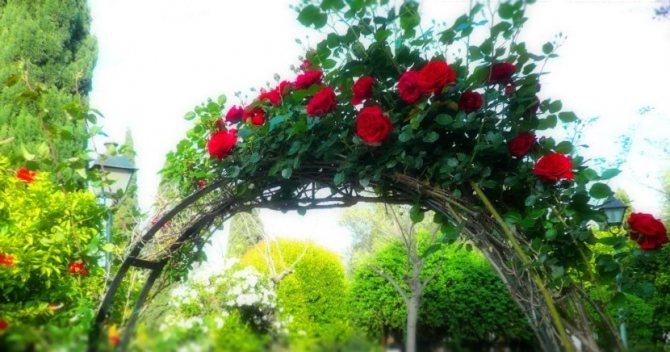
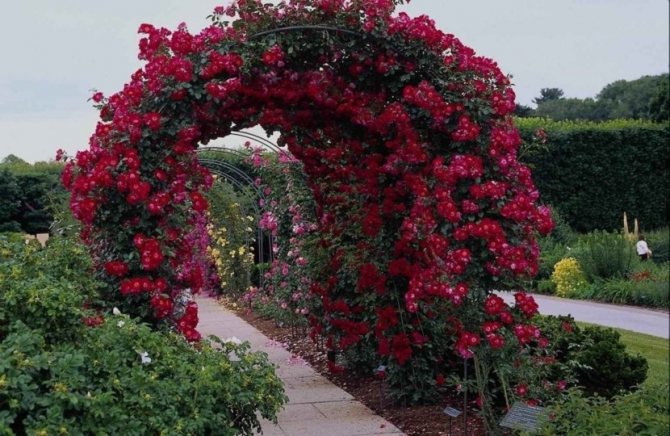
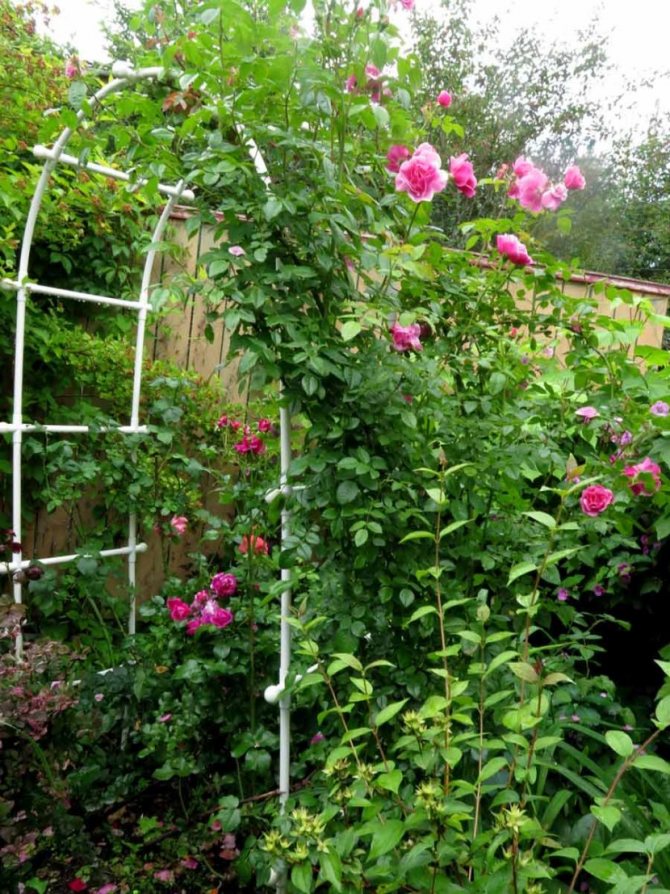
- If garden arches for roses are made, then it is best to fill slats between the racks to create a lattice with a cell of 10-15 cm, it is very convenient for climbing plants to wrap around this type of structure.
- From the tool you will need the following: a hacksaw or a special power saw, a plane or a grinder (you can do with sandpaper), nails or self-tapping screws (in this case, you will need a screwdriver). Measuring devices are also needed: a tape measure, a ruler and a pencil for marking.
Important! All materials must be dry, as excess moisture leads to deformation of the finished products, which deteriorates the quality and appearance of the arch.
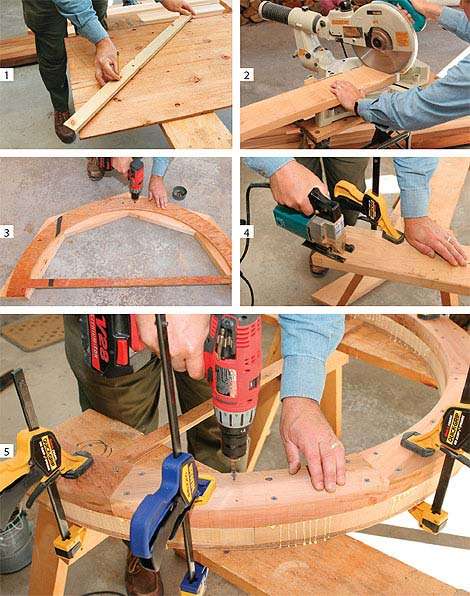
The workflow is as follows:
- First, the racks are cut off and fixed in the ground, while it is important to set them evenly and at the same distance from each other. The wood is treated with compounds that protect it from mold and pests.
- Next, arched elements are made, the easiest way is to make them from a thick piece of plywood. The desired shape is drawn on the material, after which it is cut out with a jigsaw, you can do the same using a furniture board.
- After that, all parts of the arch are fastened with bars, decorative elements are attached on top, which can be of various shapes and sizes. The assembled structure is attached to the racks.
- Last of all, the lattice is packed between the posts; for this, thin slats are used.
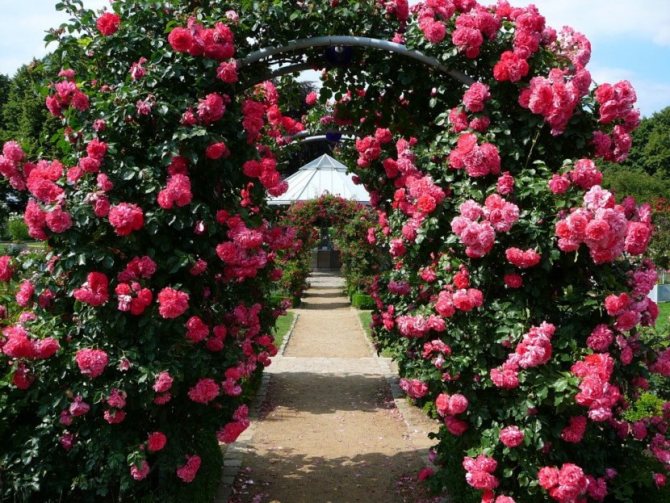
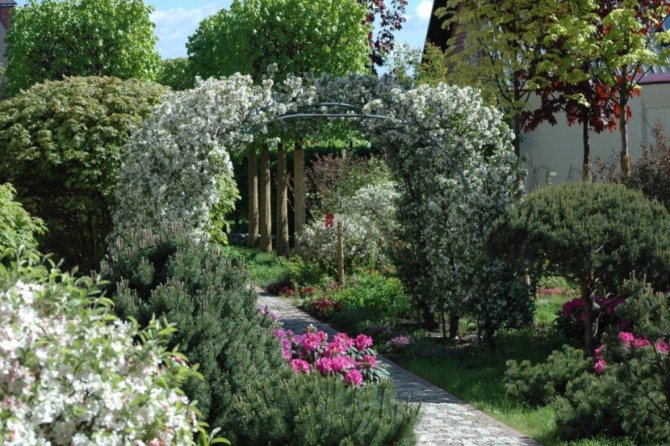
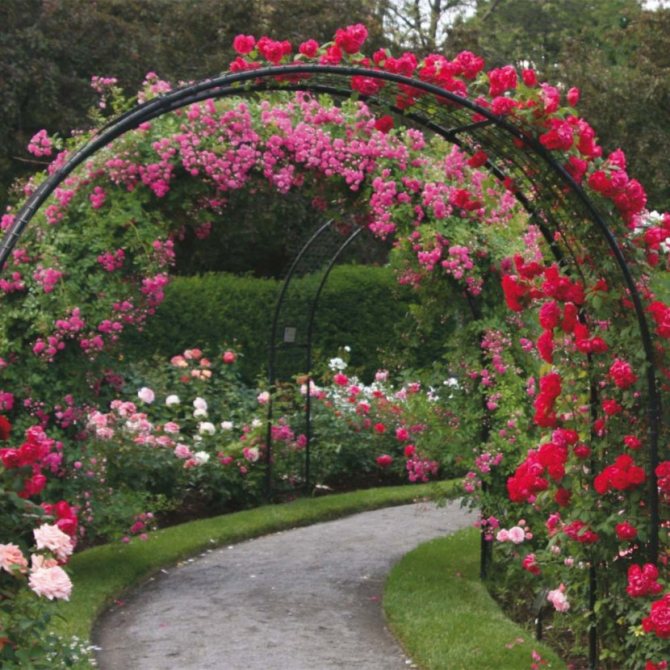
You can put not one, but two or more arches along the path
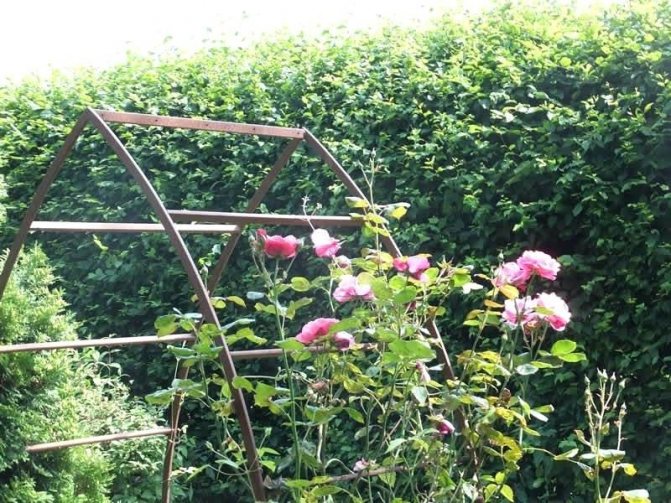
Metal products
Metal arches for the garden are less popular due to the fact that working with the material is much more difficult. But in some cases this option is most preferable due to its high strength and the possibility of erecting light, but very strong structures.
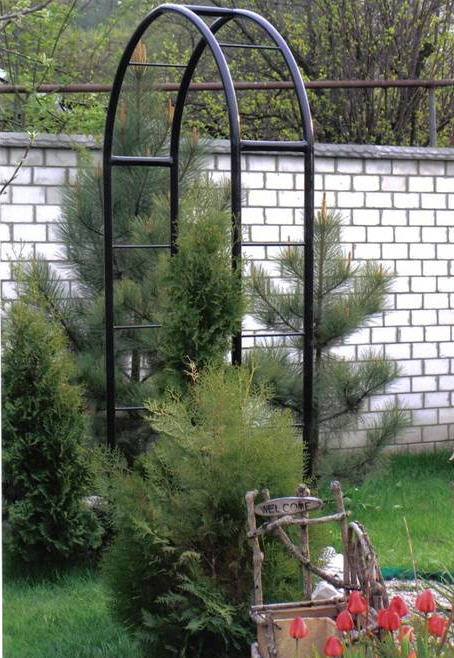
Do-it-yourself garden metal arch is not as difficult as it seems at first glance
Consider what you need to stock up on before starting work:
- First of all, you need to purchase a sufficient amount of basic material.It can be both round timber and profiled metal products, as well as pipes of a wide variety of sections. From different options, various metal garden arches are obtained.
- You will also need a welding machine; in our time, many compact options have appeared, which simplifies the work. In order not to specifically buy equipment, you can rent it, this service is widespread almost everywhere.
- For cutting and cleaning elements, it is best to purchase a grinder and a set of appropriate cutting and grinding discs.
- To protect finished products, it is necessary to use paint, it is best if it is a composition with anti-corrosion additives, this provides more reliable protection.
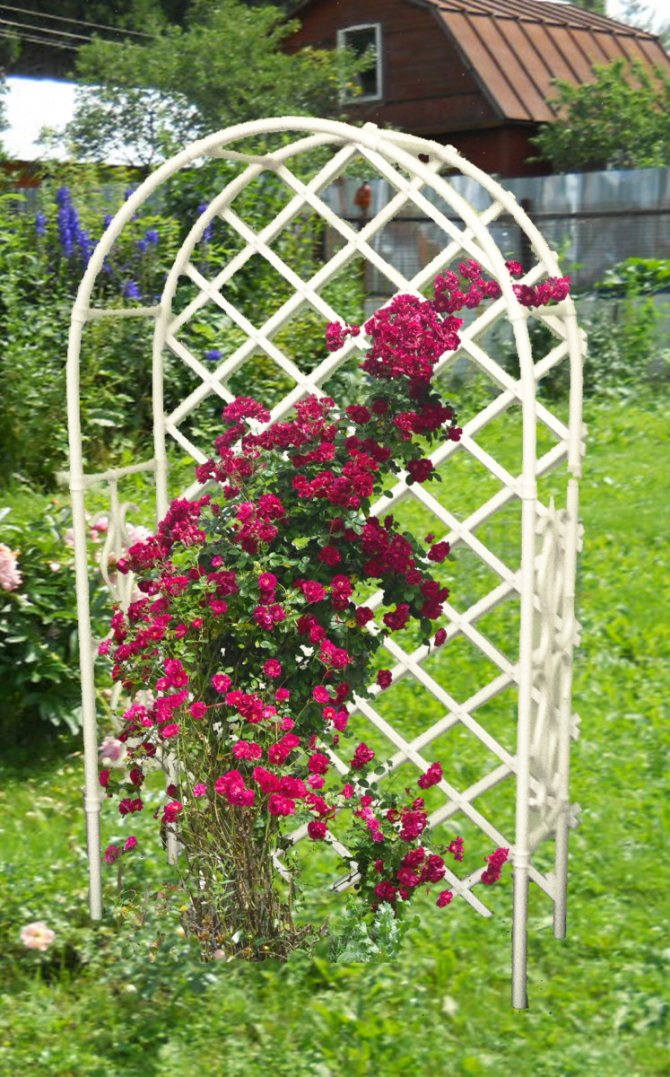
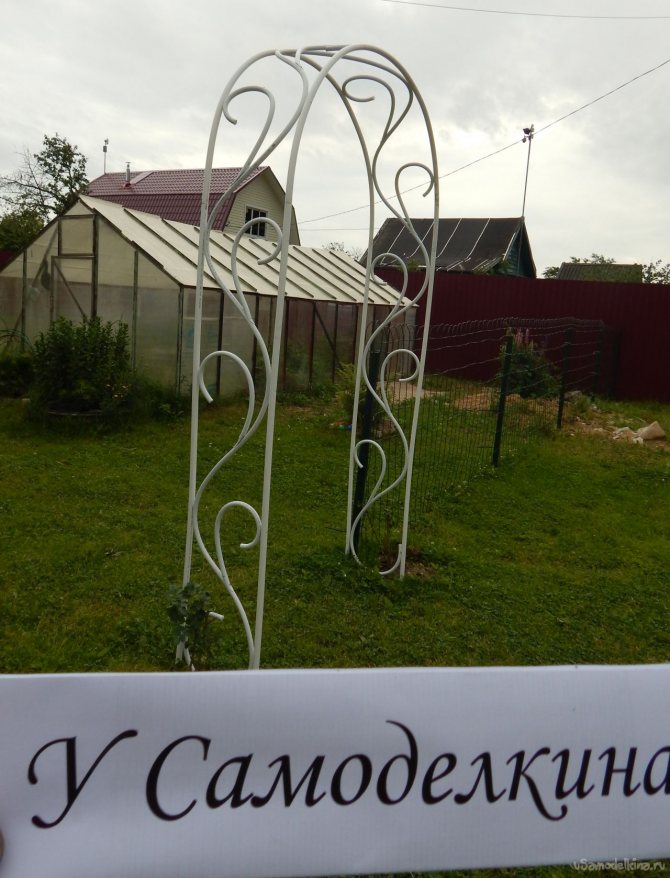
Painting in light colors makes metal garden arches more elegant and noticeable
The workflow is organized as follows:
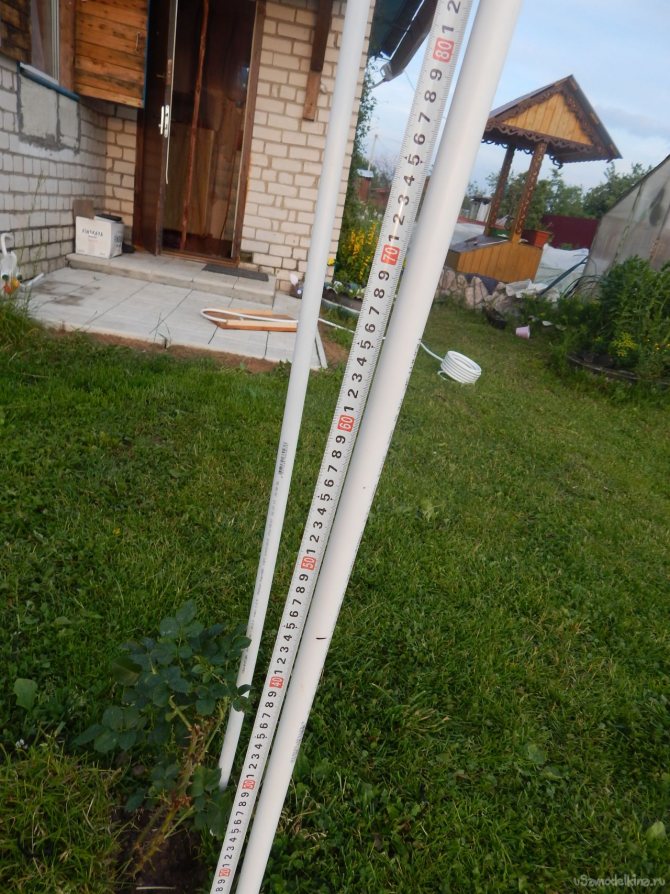
- First, a specific project is selected, which indicates all the dimensions of the future product. After that, the metal is cut into pieces of the required size.
- To obtain neat bends, it is recommended to use a special device - a pipe bender, with its help not only arches are made, but also small decorative elements in the form of rings, curls, etc.
It is better to choose a device with a hydraulic drive - this greatly facilitates and speeds up the work process
- After all the elements are prepared, you can start welding the structure. If you have no experience in carrying out such work, it is better to involve a specialist.
- The last stage is installation (the racks can be concreted for strength) and painting of the products, in a day the metal garden arches are completely ready for use - you can plant plants and fix decorative elements.
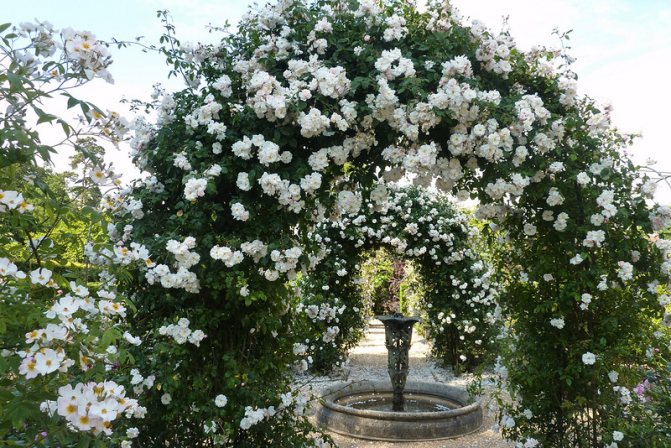
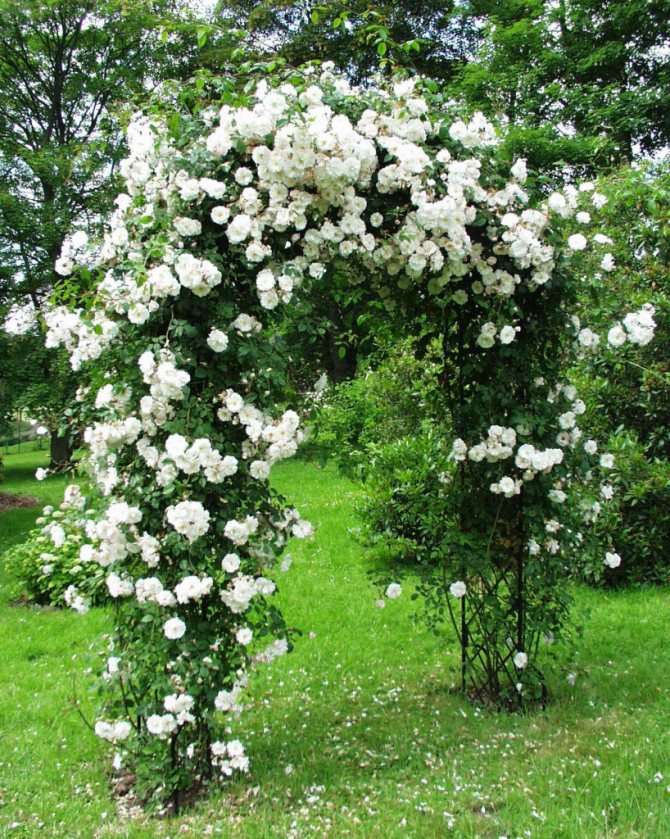
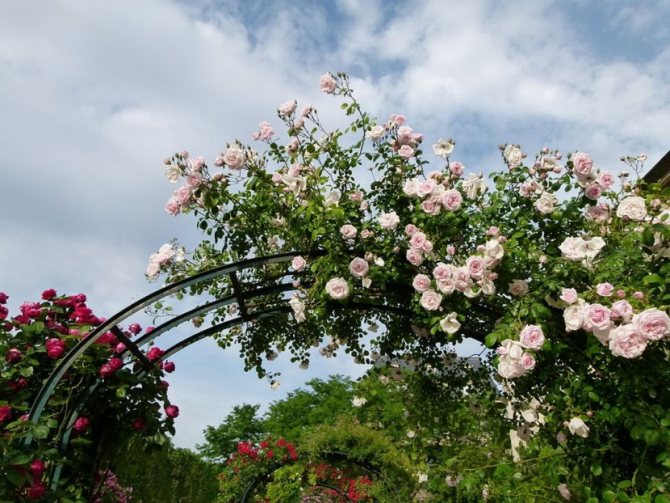
It is worth noting that the right choice of plants for a summer residence, planted near the arch, is also of great importance; climbing crops with abundant flowering are best suited.