

Every child's favorite place is a playground where you can actively play. The most favorite is the slide, on which even some adults do not mind to ride. Today in specialized stores you can find a huge assortment of playgrounds of different configurations, made of different materials. Naturally, such a purchase will be expensive, and it cannot be argued that the quality of the product will be adequate. Therefore, more and more often, parents decide to equip the play area on their own. So, with minimal financial and time costs, a full-fledged children's slide in the country with their own hands can come out.
What the site should look like
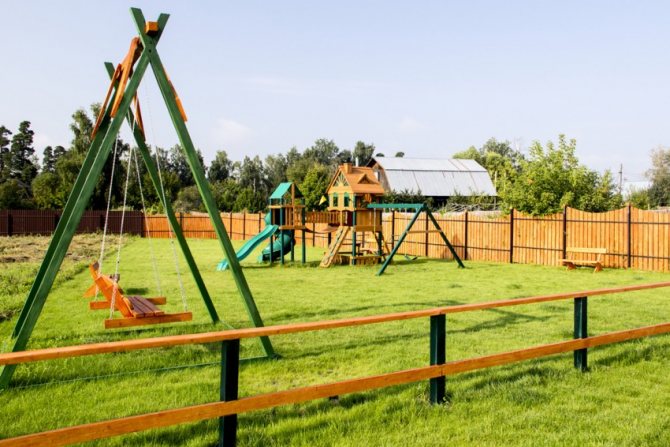
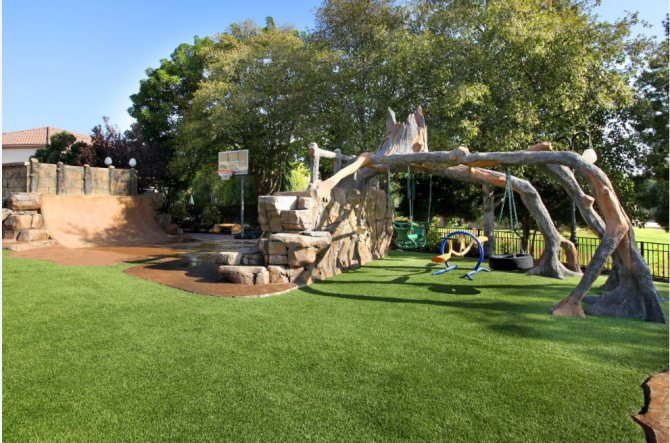
Regardless of the differences in configurations, all the best children's summer cottages include certain details that are often located on them, including a swing, a pool, and a sandbox.
When it comes to planning, great attention must be paid to safety. So playgrounds for children's games are designed to meet certain nuances:
- the place of arrangement should be viewed from the place where the parents are;
- the evenness of the territory from which branches and stones should be removed is important;
- the shading of the playground is also an important criterion for the manufacture and placement of a playground with one's own hand;
- fence from the street side with a green fence.
In the planning process, you can create drawings or use step-by-step instructions for arranging a playground for children. It is necessary to at least approximately estimate the location of the main details of the design of the summer cottage for kids.


Metal slide
Previously, metal slides were in every yard, distinguished by their strength and durability. Such designs are more reliable, because they are not afraid of the hot sun, rain or frost.
The construction of such a slide is carried out in several stages:
- The most primitive foundation is poured, you can immediately pour 4 support pipes, as is done when installing fences.
- Next, a ladder and a railing are welded onto 2 pipes on one side, the other 2 pipes are used to attach the gutter.
- A platform is welded to all pipes.
Important! The gutter consists of 2 metal pipes, to which a sheet of metal curved in shape is welded. After assembling the slide, all welded seams must be sanded; a grinder is used for this purpose.
After completing the assembly of the structure, the slide can be painted with plain paint or painted over. The metal gets very hot under the sun, so on hot days it is worth covering the slide with an umbrella for the beach so that the children do not burn their skin.
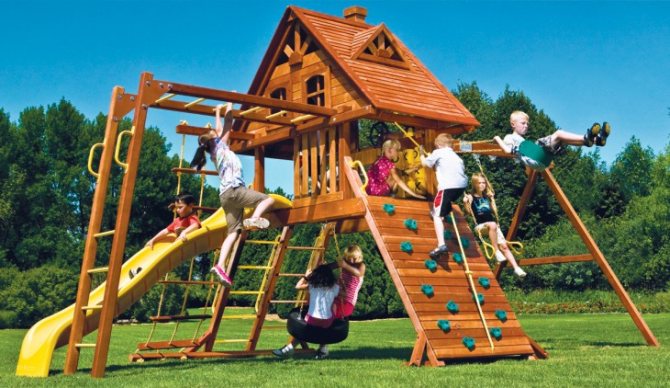
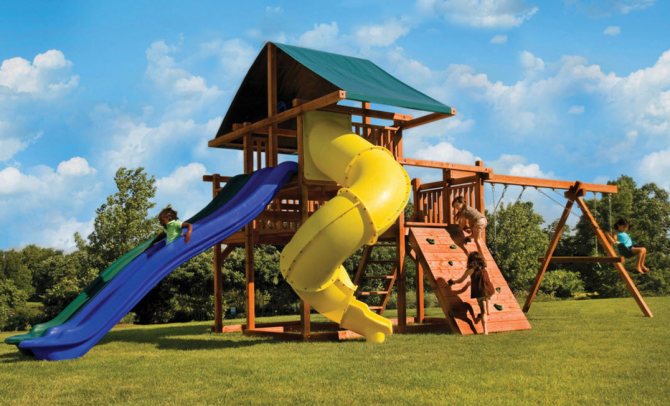
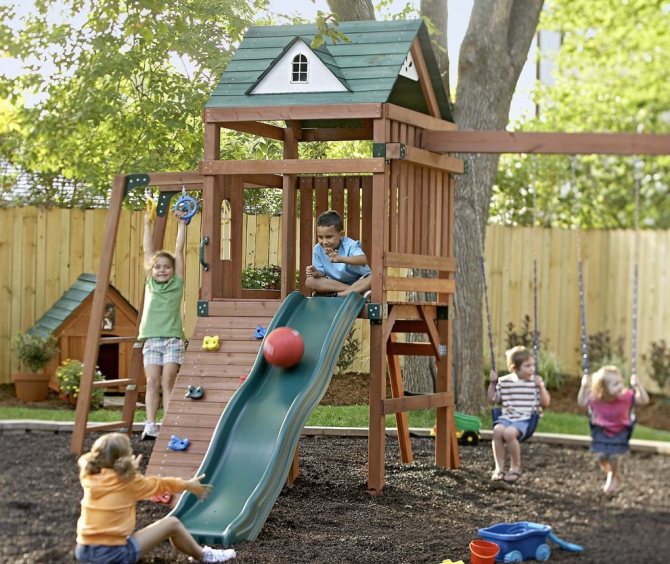
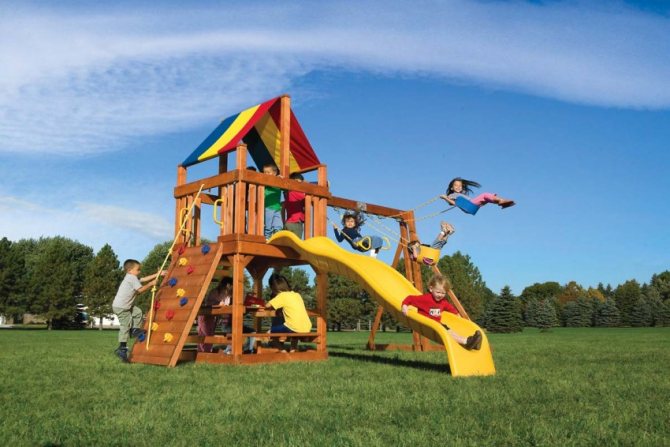
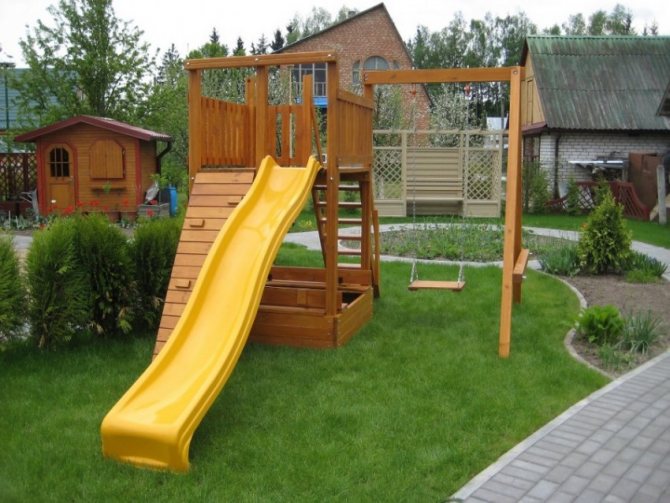
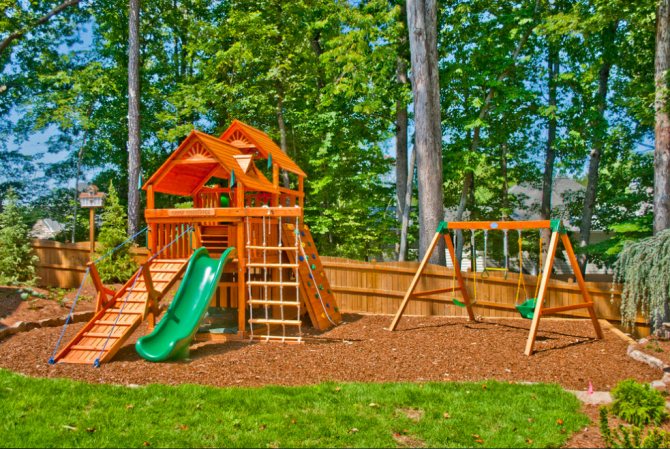
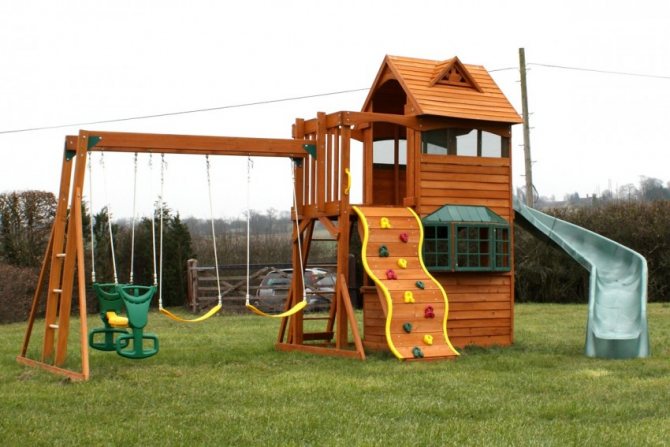
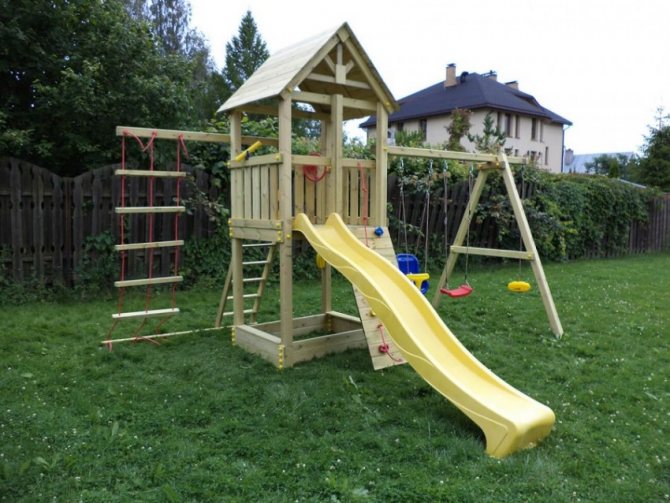
Play complex with slide and swing
Suitable materials
You can choose one of the simple ways by purchasing plastic items. However, it is preferable to spend your free time to create a site yourself. Moreover, plastic does not fit into any exterior, only suburban buildings from container blocks look great with it.
It is more convenient to work with wood, in addition, this material is environmentally friendly, and also fits perfectly into the exterior of the site.Using boards, as well as bars, you can create many elements of the playground for children, while the drawings on how to do it are in Runet.
A Few Additional Recommendations
When creating a children's slide with your own hands, you must remember the main rule: all stages must be performed efficiently, since the safety of your children will depend on this. In addition, you should be guided by several recommendations from experts:
- When choosing lumber, you need to check their quality. Also, all the elements are twisted, painted, and the nails are well hammered so that the caps do not stick out.
- There should be a soft surface around the slide, which is chosen depending on your own preferences or situations. To do this, you can use: sand, dense grass (lawn) or artificial materials.
- The legs of the ladder, as well as the lower parts of the ladder and the descent, must be immersed in the foundation. This will ensure maximum fastening and structural strength.
- All the space around the slide must be cleared of unnecessary items so that the kids do not stumble during the games. Sticks, stones and glass must be removed.
Only a high-quality children's slide will contribute to the correct development of the child, keep him in shape and allow him to lead a healthy lifestyle. The playground is a kind of stimulant for the full development of the growing organism. In addition, every child will enjoy fun and active games every day.
As you can see, constructing a children's slide with your own hands is quite simple - you just need to follow the directed step-by-step instructions. In addition, climbing the hill can be performed not only in the form of a ladder. You can use the remaining 2 sides to equip other lifting options. They will also influence the correct development of the child's body. If you have free time and desire, you can develop a whole game complex, in which, in addition to the slide, there will be a sandbox and a swing.
We recommend that you familiarize yourself with:
- do-it-yourself swing for children;
- how to make a pond in the country.
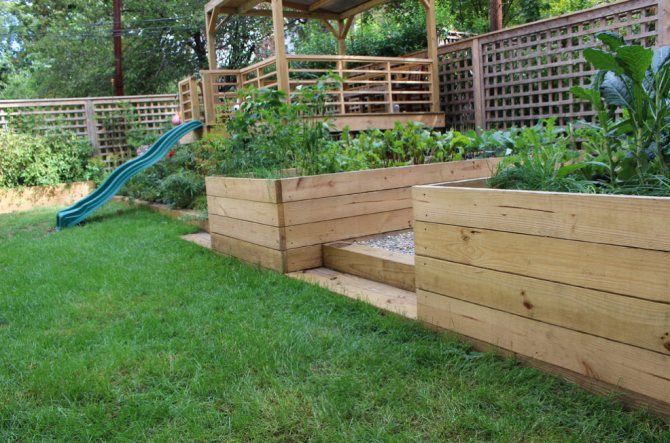
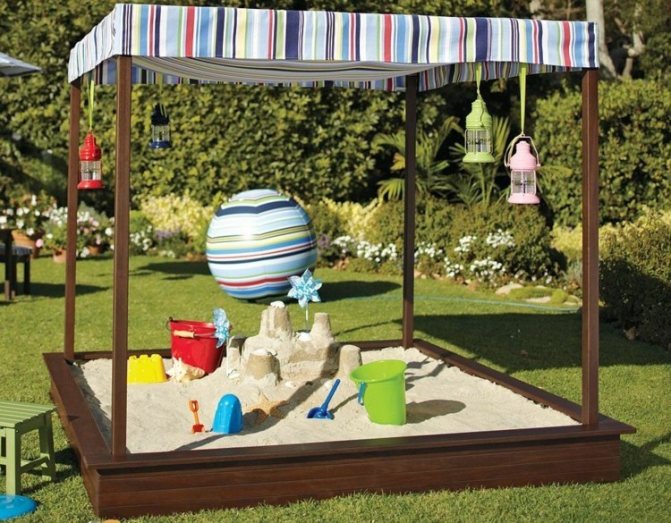
We build a sandbox
The principle of arrangement is not limited to the creation of a pit, as well as backfilling with dry and as clean sand as possible. Follow these steps:
- Mark the outlines of the sandbox on the ground with pegs;
- Remove a small layer of soil by leveling the bottom with sand;
- Geotextiles should be laid on top of the sand;
- Hammer in the bars in the corners of the future building;
- From the outside, you need to attach boards from boards to the bars;
- The sides will be used as seats.
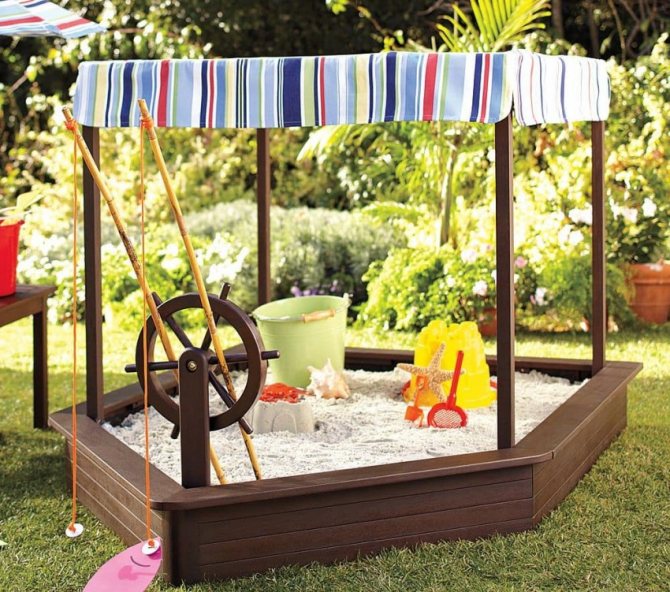
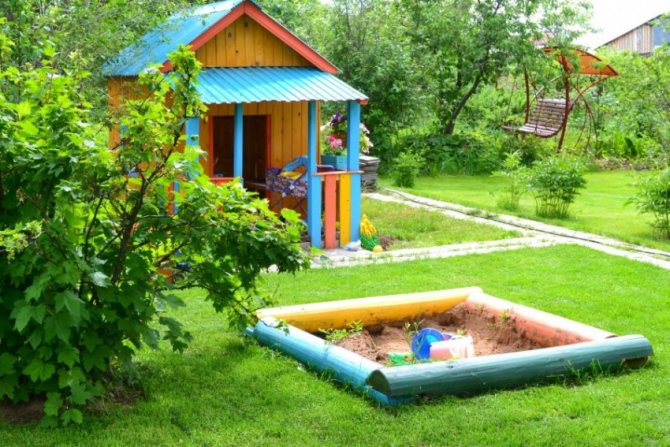
The construction cost is quite affordable, and the sand will never be wet. If necessary, you can make a special cover, as in the photo of summer cottages for children on the resource.
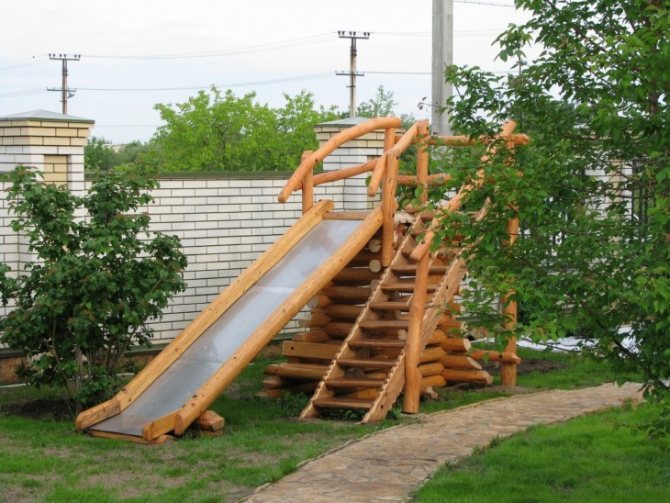
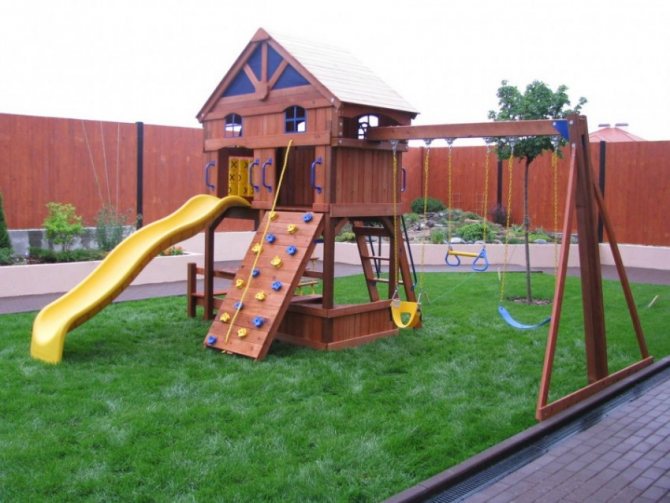
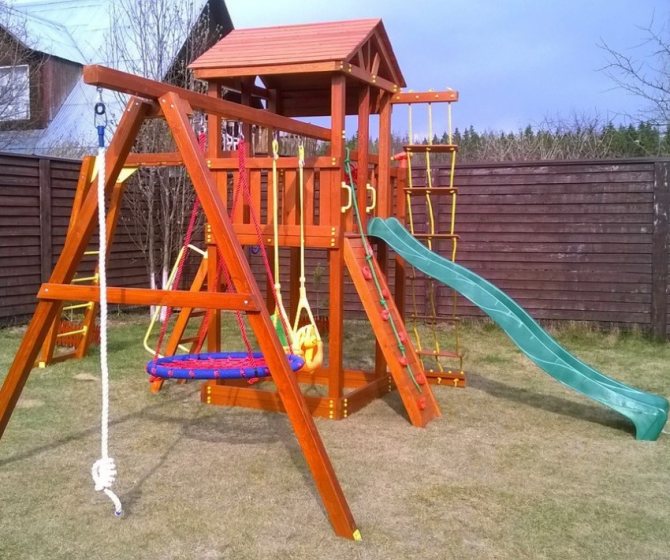
Wood slide
A slide made of natural wood will be distinguished by its environmental friendliness and ease of installation, it consists of the following elements:
- Base.
- Staircase with handrails.
- Descent.
- Top platform and protective details.
Such a slide can be supplemented with a whole game complex of labyrinths, beams, sandboxes or mini rooms with entrances and exits. The construction of a slide made of wood consists in the selection of high-quality raw materials and its normal processing.
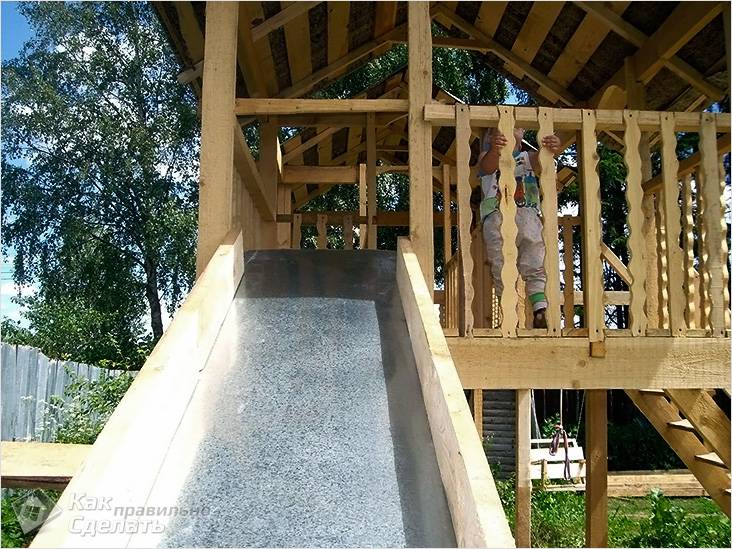
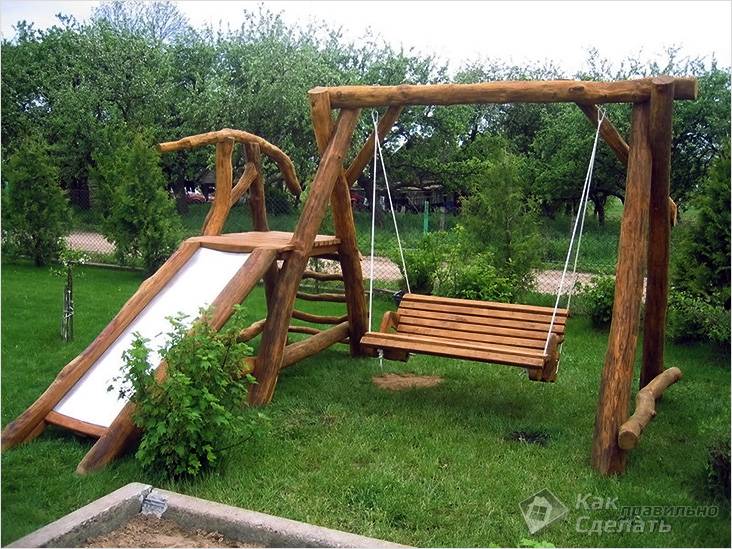
Wooden slide
The slope is made of plywood, pre-varnished to hide grinding errors. The supporting structure is made of timber, and the steps are made of solid planks.
Important! A variety of stingrays are available today, made of durable plastic, fiberglass or wood. The minimum price of a ramp is 1.5-2 thousand rubles. The best option is to create a supporting structure for the slide, followed by the installation of a flat or spiral slope.
A wooden slide is good for everyone, but located in an open space after 3-5 years, it can dry out, be damaged by insects or mold.The tree rots from rain, and the situation can be saved by covering each structural element with a thick layer of varnish. But after winter and hot summer, the slide is worth inspecting, revealing cracked or cracked parts.
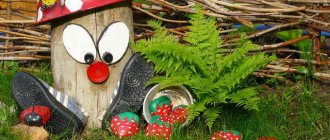
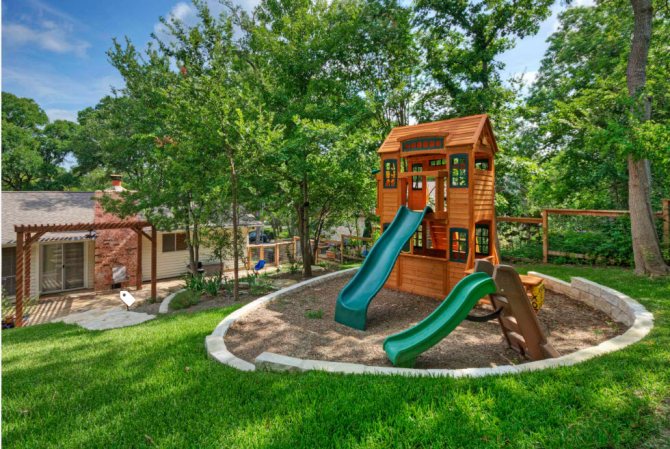
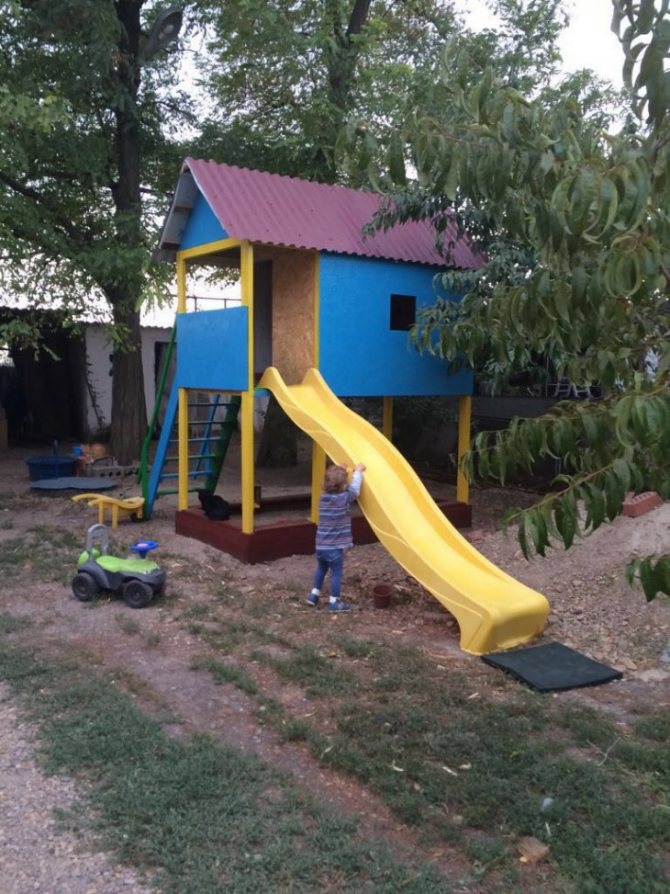
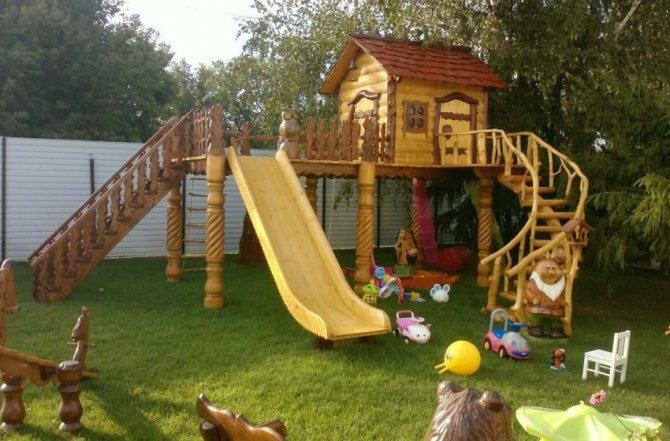
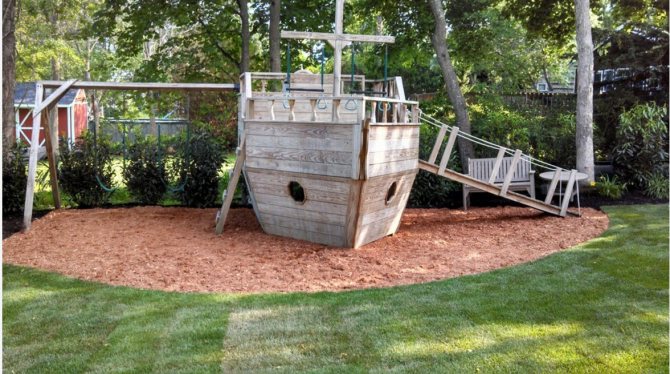
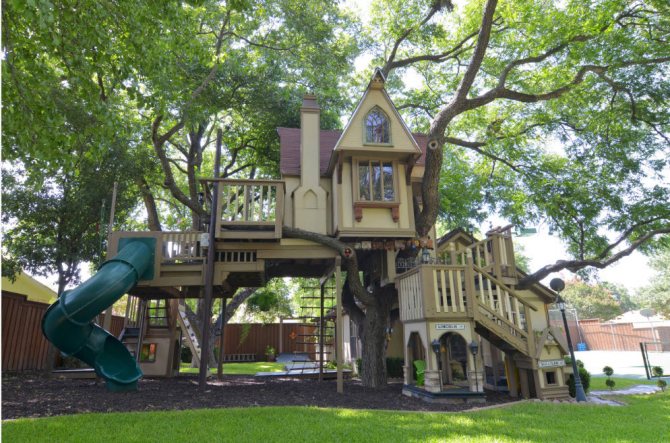
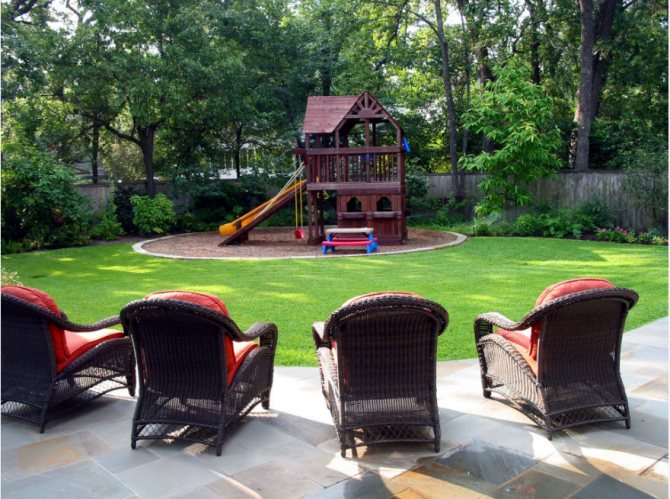
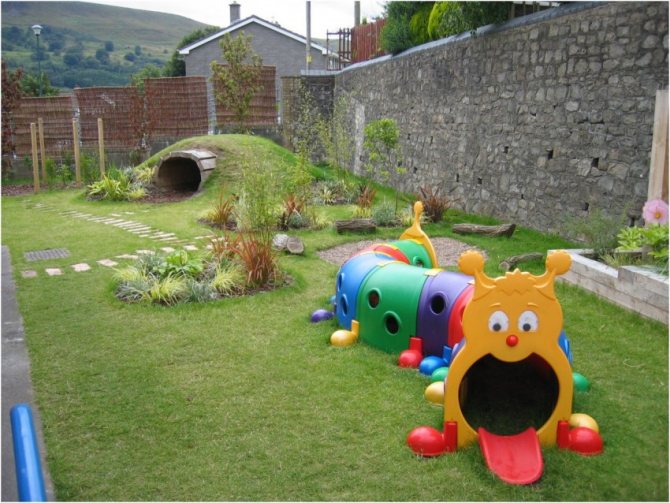
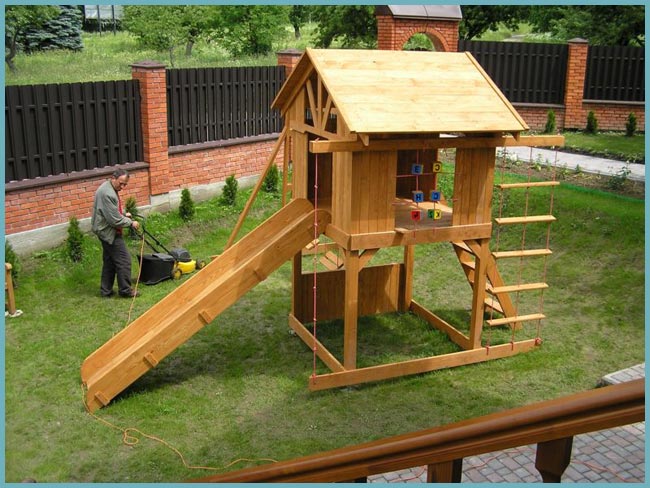
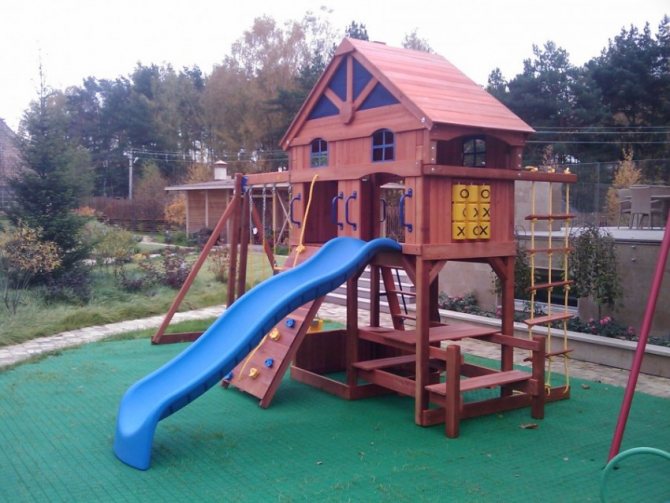
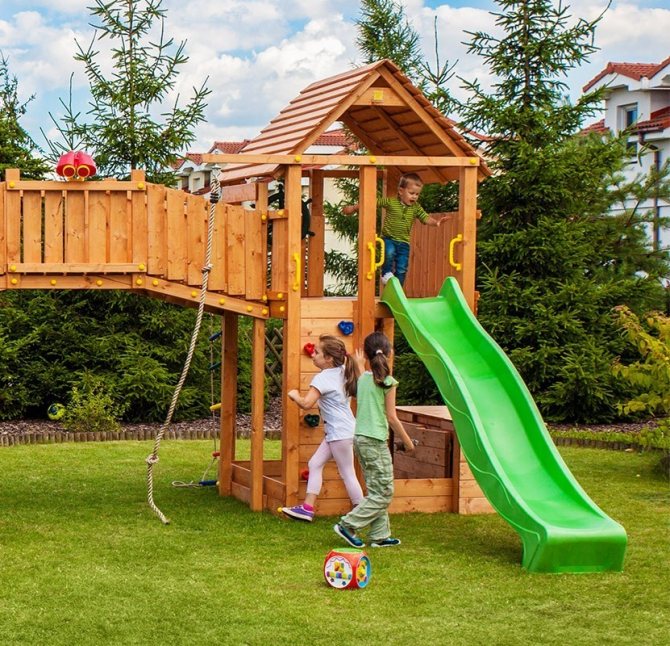
House on the site
Kids have a well-developed imagination, which is why the presence of an original house will bring them a storm of positive emotions. It is for this reason that almost every summer cottage provides for the arrangement of such a structure.
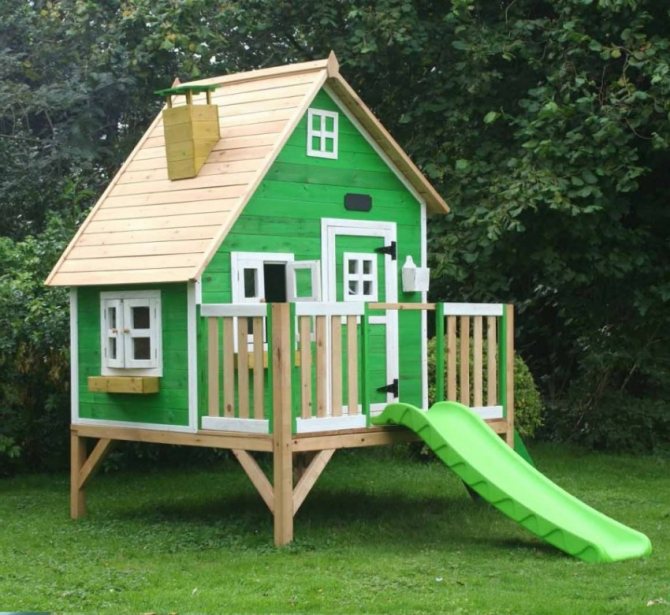
In the construction process, innovative technologies for the construction of the frame are used, while the process is simplified to the maximum, since the main purpose of the house is not to live in it, but to play games. So the work provides for the arrangement of the frame, as well as its sheathing.
Taking into account the minimum load, the foundation is practically not needed, while the pillars are used to level the structure under construction. The beginning of work involves the collection of beams, which are connected at the corners.
In addition, beams are installed at the corners of the erected structure, attached to the harness in the lower part with steel corners to give maximum rigidity.
The traditional technology provides for sampling in the beams of the grooves, however, in this embodiment, this moment can be completely neglected.
Then it remains only to assemble the base for the wood roof, sheathed it with boards. Just like when building a sandbox, the surface of the solid should be smooth, and the corners should be completely rounded to eliminate the likelihood of the baby getting injured.
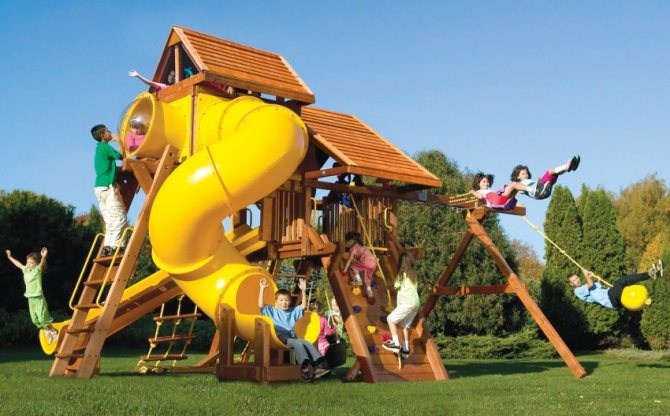
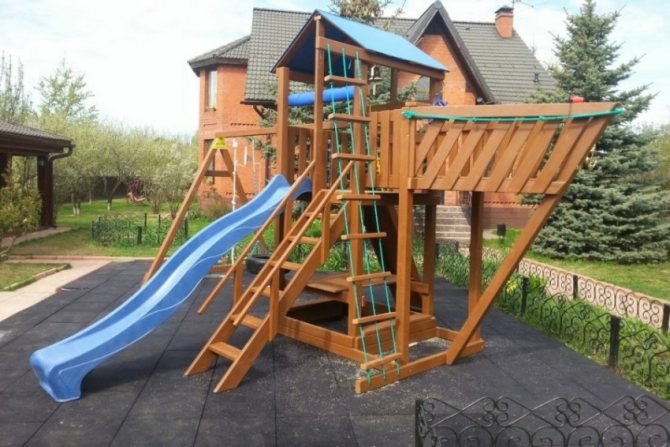
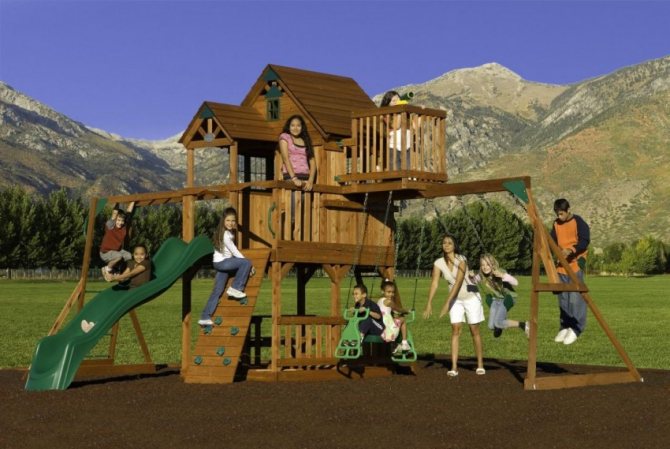
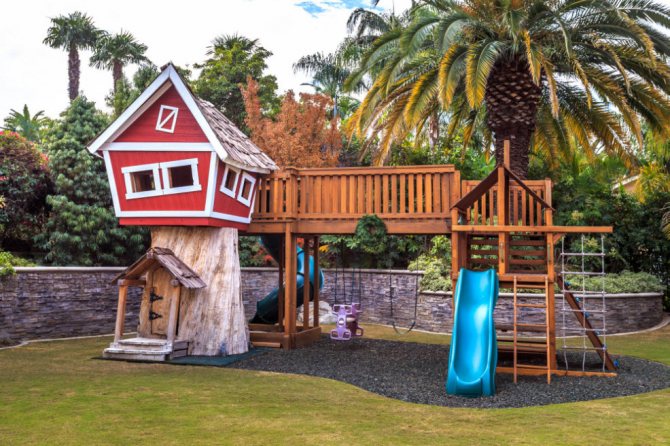
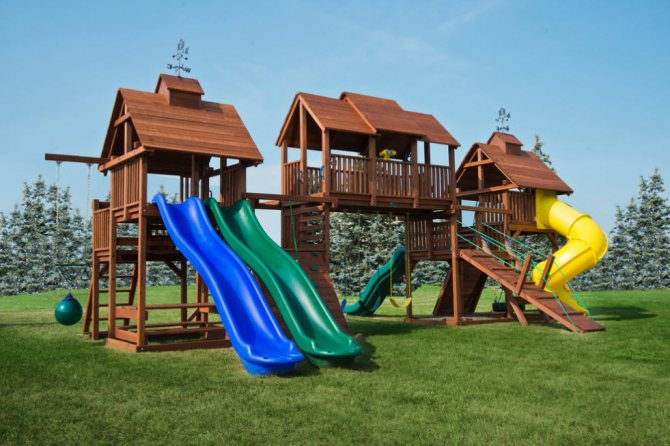
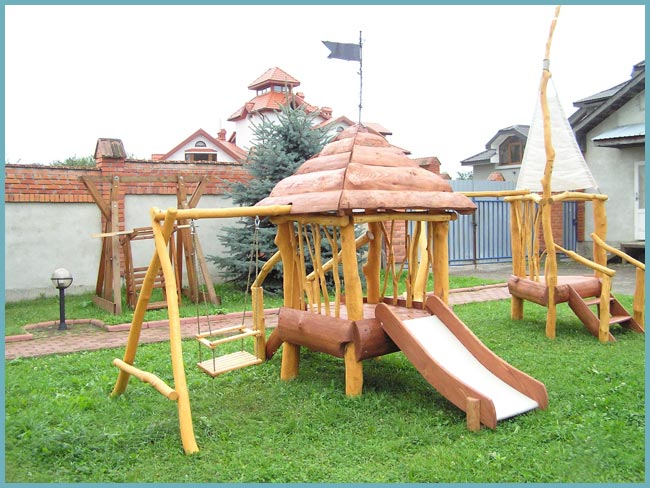
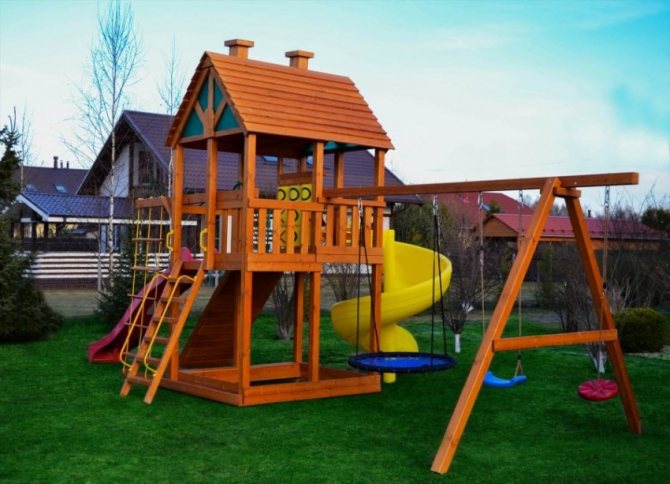
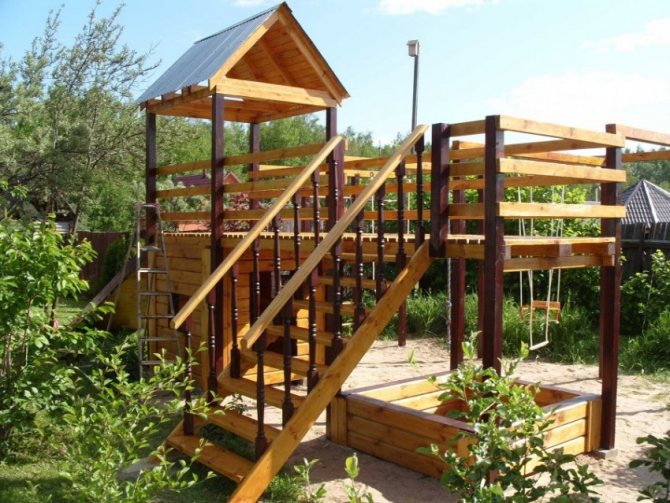
Stages of manufacturing a multifunctional children's complex
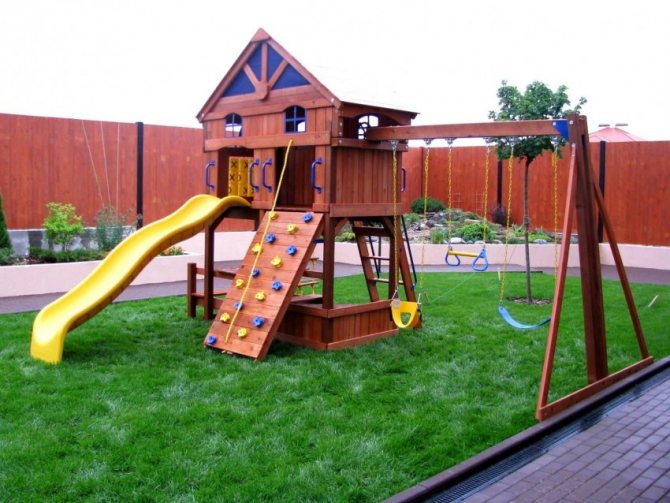
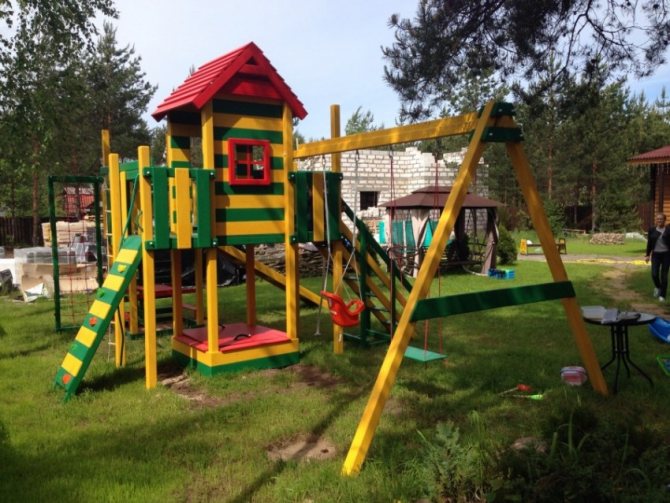
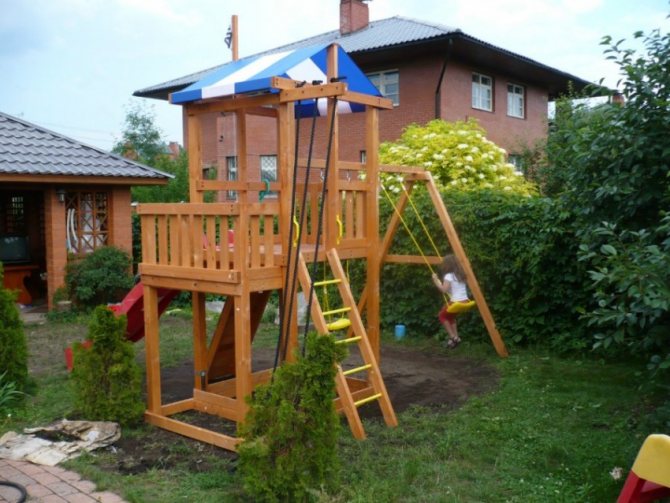
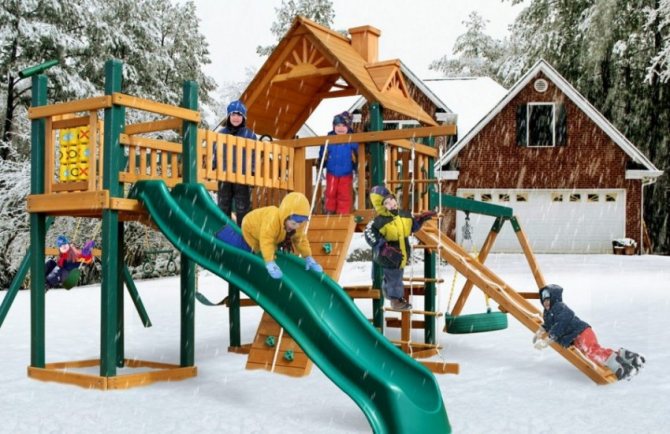
The "heart" of any playground is a complex, usually consisting of a house with a sandpit, a slide, a swing and sports development equipment. Despite the wide selection of finished products, many parents prefer not to spend the money that is needed in the family budget, but to equip the playground on their own. As practice shows, with the right approach, a game complex is obtained that is not inferior to factory models and even better. The experience of the portal user with the nickname DiaZoN is indicative. First, look at what he got in the end.
And now we will tell you how to make such a playground yourself.
DiaZoN Member of FORUMHOUSE
I have a suburban area on which I built a frame house on the foundation of the USP. The first summer showed that children are bored in an uncomfortable area. After thinking it over, I decided to assemble a playground with a slide, a house and a swing on my own. He took industrial samples as a basis, adjusting the dimensions to the existing lumber remaining after the construction of the frame.
First, the user simulated the project in a special program, correctly "planting" it on the site.
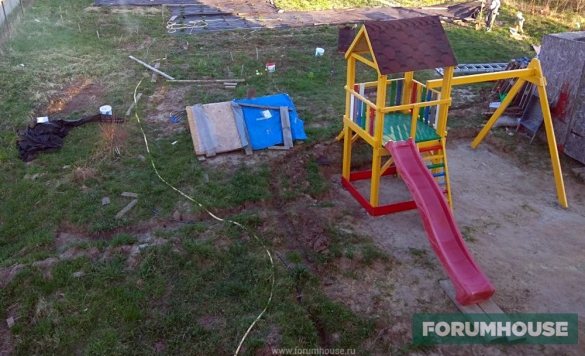
After waiting for the snow to melt a little, DiaZoN started construction. Stage one - clearing a place for the complex.
Step two - marking the playground with pegs.
In order not to trip over the protruding armature, you can put a plastic bottle on top of it.
The user repulsed the zero level with a laser level. The damp earth was easy to dig, and the water flowing into the site from the ditch helped to level the surface as it did so. by the water level, it was clear how much to remove the land.
Third - pouring the foundation for the complex.
To do this, the user did not reinvent the wheel, but used the standard technology for building playgrounds. He poured concrete "shoes" 25x25x40 cm in size and, while the mixture was not frozen, installed the usual supports for the timber in them.
DiaZoN
"Samomes" was stirring in a concrete mixer. Mix proportions: one bucket of cement, two buckets of sand, one bucket of rubble, half a bucket of water.
Because The most common boards were used for construction, with a section of 15x5 cm - the remnants of the construction of a house, then they had to be planed on a thickness gauge.
All boards are chamfered by a milling cutter.
The result is a well-processed lumber without knots and splinters, and this is important when building a playground for children.
The boards were well painted.
And they started to build the complex. First, the user assembled the roof.
"Legs" - the pillars of the house - are assembled on the ground from two cohesive boards (each support) with a section of 15x5 cm.
After marking, the boards were fastened with self-tapping screws.
A roof was attached to the finished frame, which was then covered with flexible tiles.
Because the structure turned out to be heavy for one person, DiaZoN used a device - a mini-crane - a 1100 kg winch attached to a wooden mast.
With the help of a lift, the user previously independently lifted the frame walls.
True, this time the lift, tired after the construction of the house, could not withstand the load and cracked when trying to install the house.
A neighbor came to the rescue and, joining forces, the two men set up the frame of the complex.
At this stage, the contours of a playground with a play complex began to emerge.
DiaZoN
Adding braces for rigidity, I made a fence from a 10x2 cm board.
After completing the fence, the user installed the swing support.
Then I assembled a comfortable ladder.
And a hill for climbing.
Didn't forget DiaZoN about the sandbox.
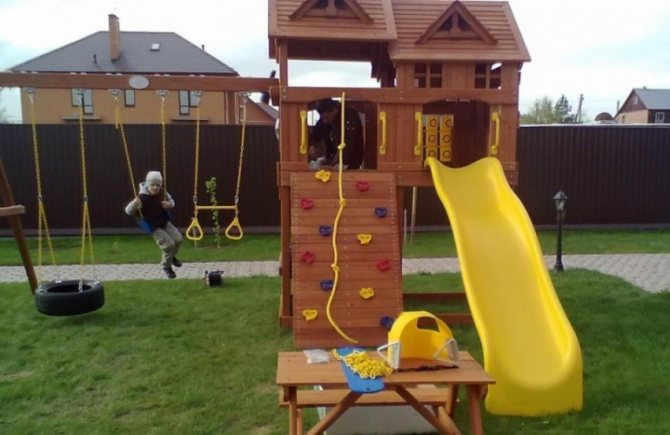
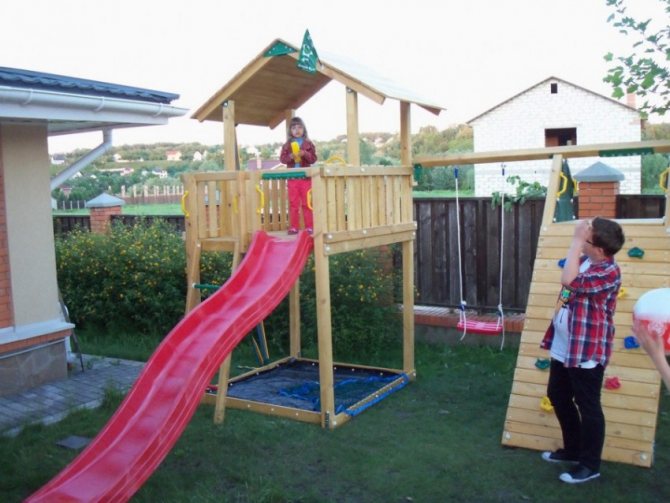
Also installed a purchased slide.
The final version of an almost finished game complex. According to the user, all that remains is to add climbing rocks, a swing and a pool.
DiaZoN
I ordered the "stones" in the online store. I fixed them with M10 bolts.
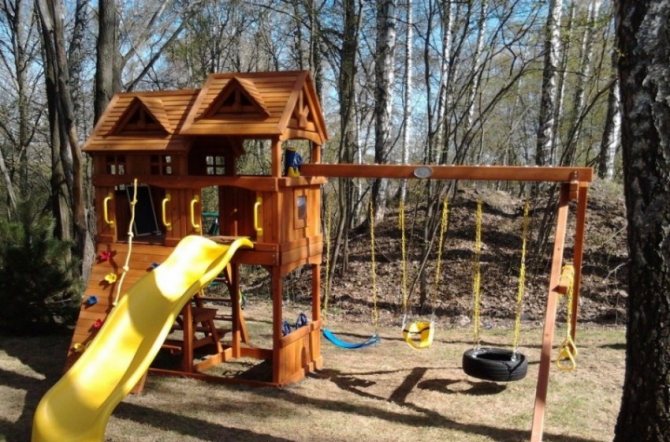
The swing is also purchased.
Mounting on an M10 eye-nut screwed into a hairpin. Top two nuts with a washer.
In the summer, a pool was put up to the hill. The kid, sliding along it, falls directly into the water.
The portal users liked the original design of the children's complex. But questions arose: how much does its construction cost - is it not more profitable to buy a factory version, what tools are needed to make a playground?
According to DiaZoN, the construction budget is about 19 thousand rubles. Time spent - 45 man-hours. For 20 thousand rubles. (the user monitored the market) you can buy a similar slide, but smaller, without a swing support and not really painted.
For 34 thousand rubles. manufacturers offer a slide with a house and a swing beam. But, again, with a smaller slide, unpainted and without a normal roof covering.
DiaZoN
Whether or not to make a children's play complex on their own, let everyone decide for himself. Of the tools I needed: a shovel, a concrete mixer, a sledgehammer, a drill, a circular circular saw, a thickness gauge, a grinder, a milling cutter, and various small things from the arsenal of a home craftsman.
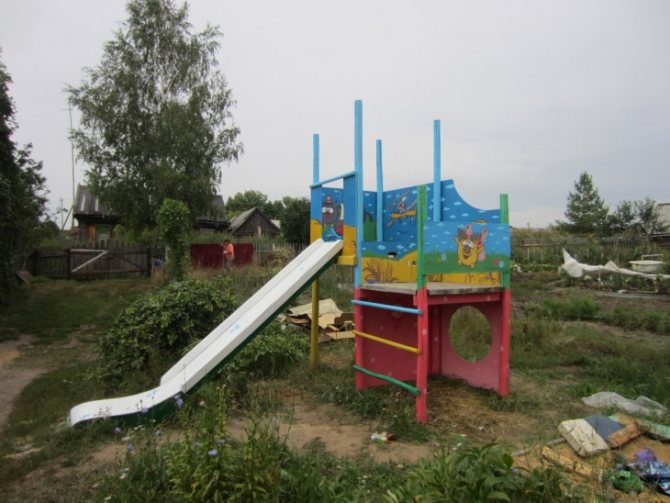
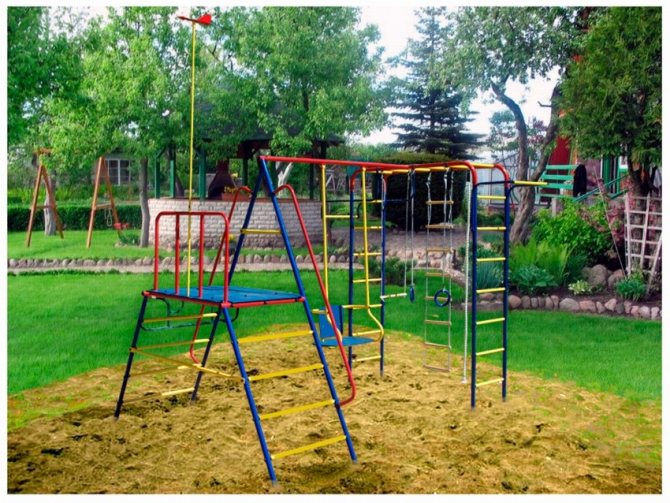
Another similar complex was made by alligator135.
alligator135 FORUMHOUSE User
I made a playground with a metal playground. This design seems to me more reliable than wood.