Coming to the dacha, or living in your own house, there is no desire to walk on the site on the asphalt. Therefore, many people try to make paths in the country with their own hands from other materials.
Such improvement of the garden area not only brings a wonderful aesthetic appearance, but also allows you to feel close to nature.
There are a huge number of different options for how you can give the tracks a finished and beautiful look. On the Internet, you can find various photo tracks made by craftsmen with their own hands.
In this article we will try to tell you about all the possible stages of work, when you independently make paths in the garden with your own hands.
You don't have to run to the store and try to find some special material for making them.
In a private house and on a garden plot, there will always be various materials at hand, with the help of which, with skill and imagination, you can make beautiful and comfortable paths with your own hands.
Preparatory work
Before proceeding directly to any work, you should spend a little time and draw the location of the paths on your site.
If you are good at computer, then you can use CAD programs.
If you do not have these skills, then you can use pencil and paper and draw a rough plan of your site with buildings. After that, it is worth noting the location of the desired tracks.
Marking on the ground
After drawing up the plan, you can proceed to the direct marking of future tracks on the ground. It is necessary to decide on the width and direction of the tracks.
If the tracks will be made of some specific material, then it is worth considering exactly the width that will turn out when installing this material.

The markings should be done with pegs and a rope in order to visually see the tracks and the convenience of their location. When constrained by a rope, you can check the width of the intended path.
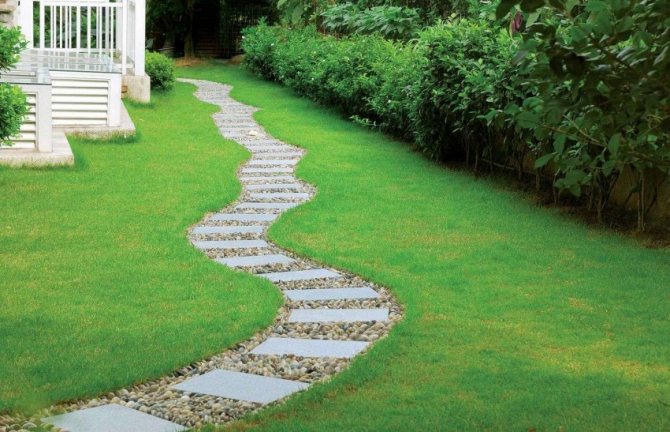
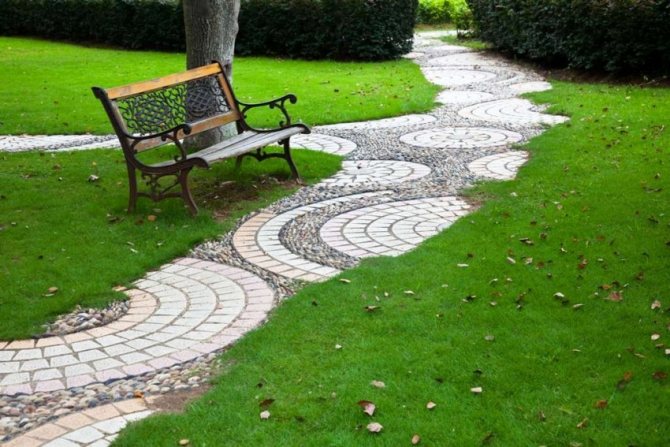
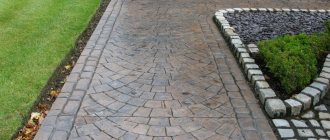
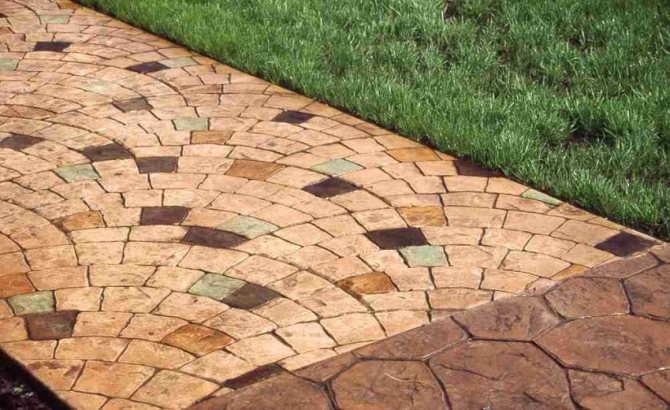
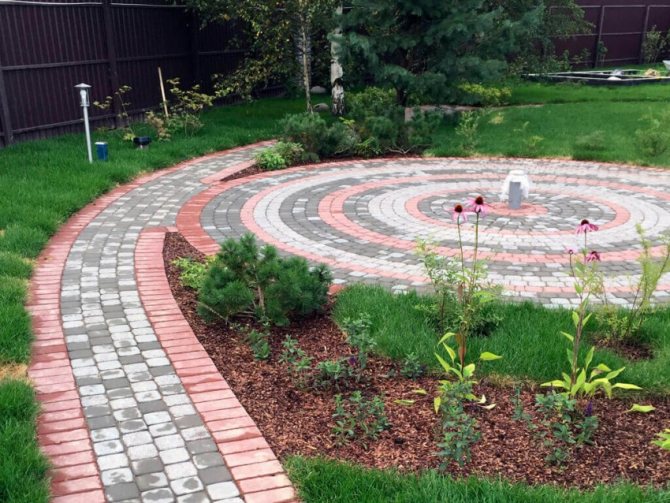
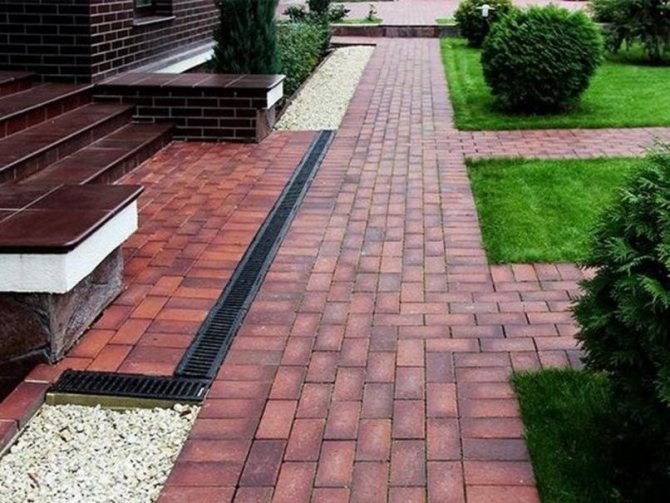
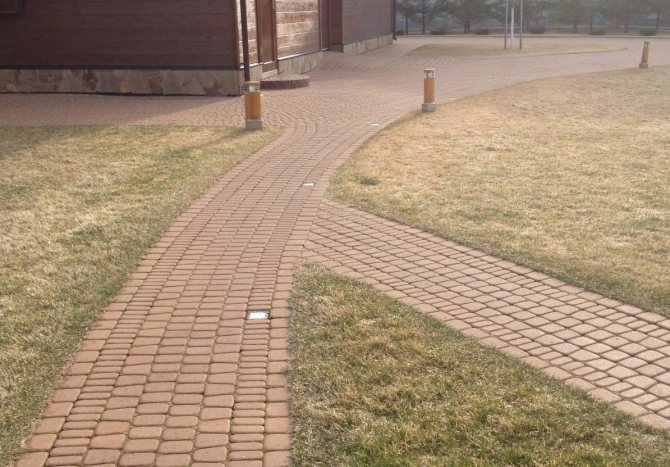
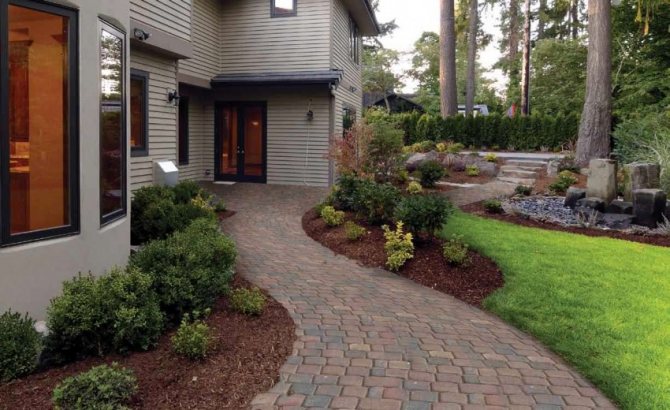
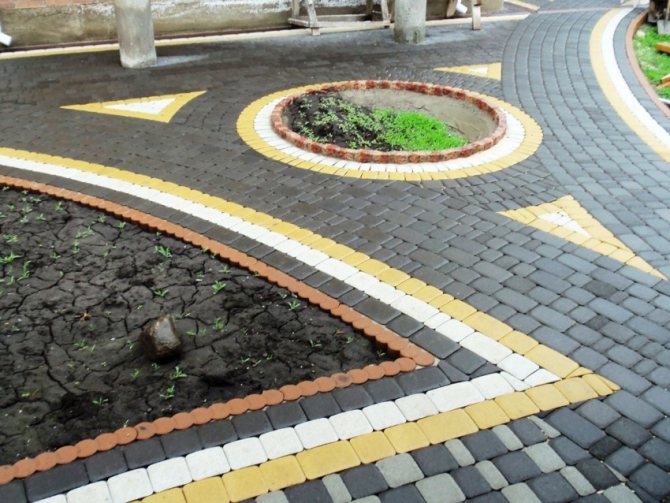
How to work with clinker bricks
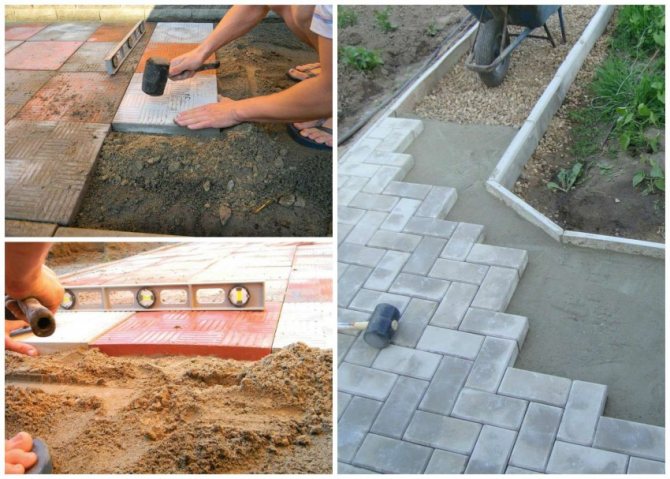
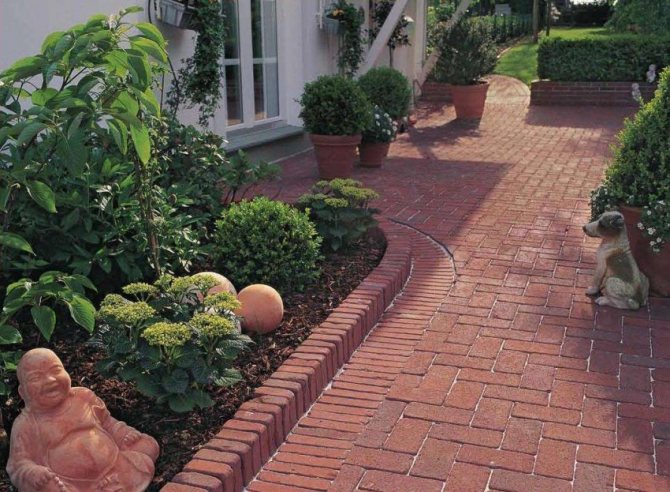
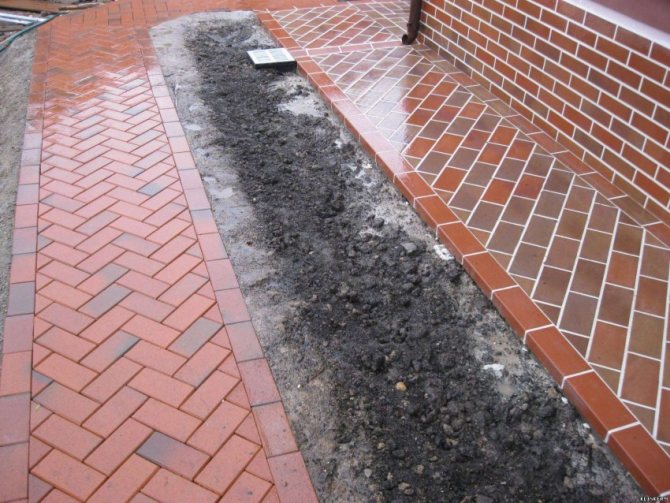
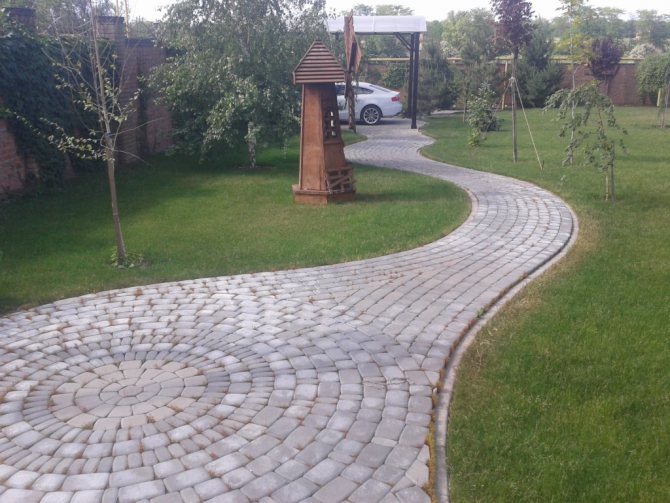
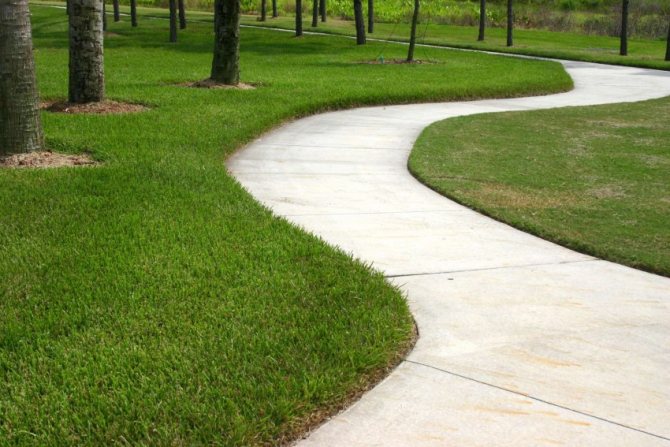
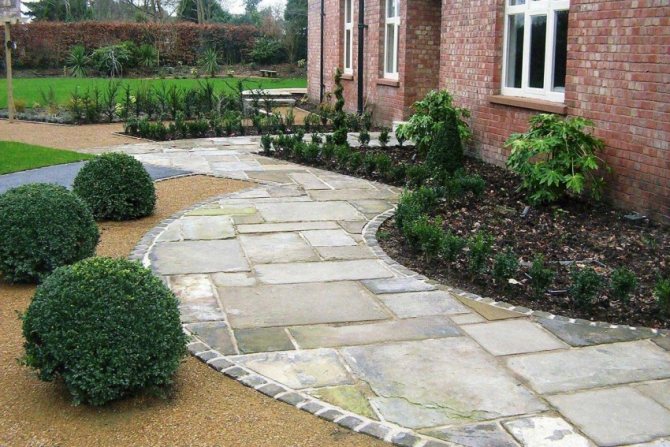
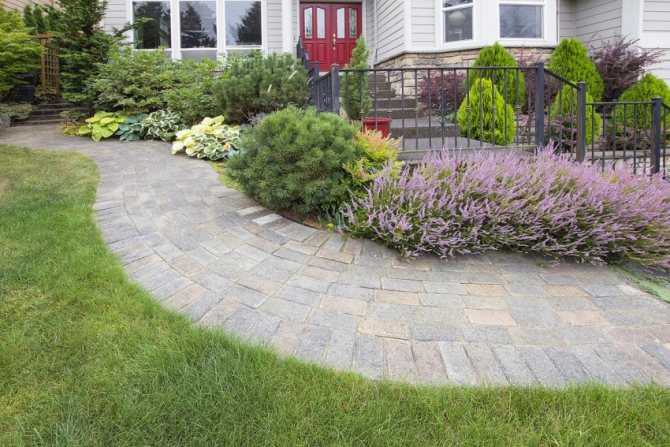
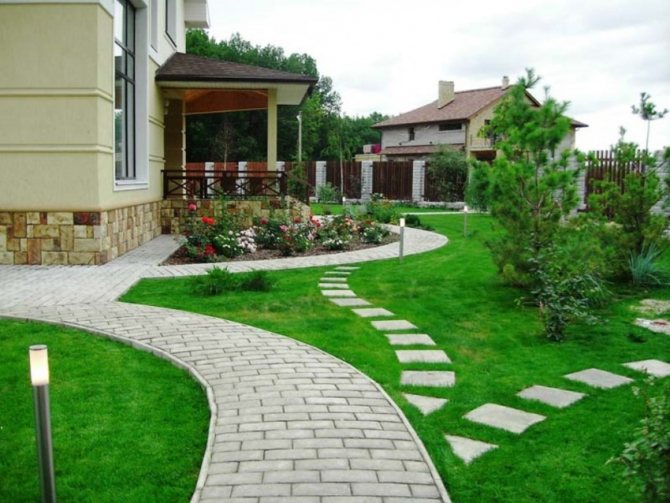
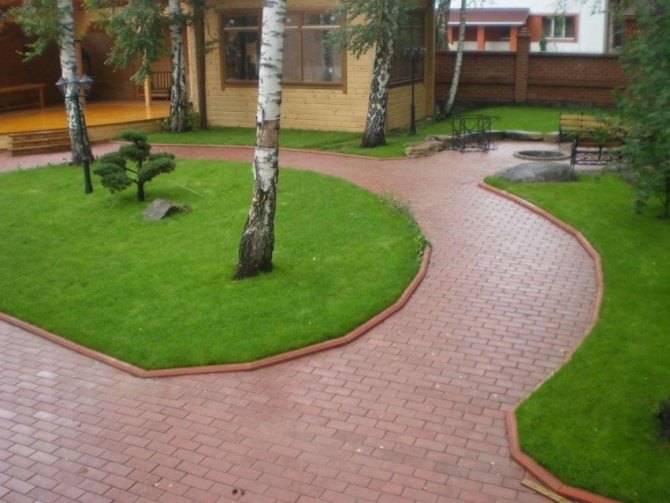
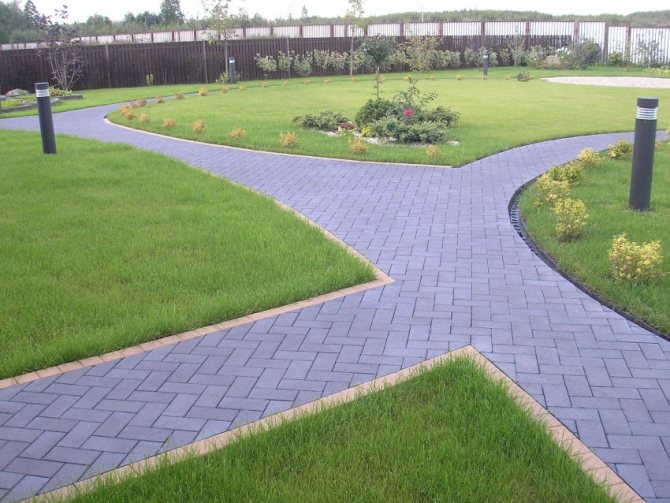
If you decide to decorate a country-style garden, the material will fit perfectly into the overall picture. It is necessary to pay close attention to the method of paving. A garden path with smooth curves will look spectacular. At the same time, pay attention that the path does not consist of sharp turns, this will save you from trampling material along the inner corner. The process of working with the coating is not complicated, but it has several nuances:
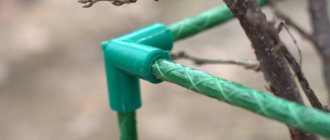
- the plot is being marked to determine the zero line, the slope is made towards the convenient removal of excess moisture;
- pegs are placed in the corners of the site and the rope is stretched along them;
- a second rope is fixed on one of the pegs, retracted by 90 degrees;
- boards are dug into the ground, a little further from the pegs, if necessary, an additional layer of soil is poured and tamped;
- a solution is prepared, consisting of cement and sand;
- clinker bricks are laid with a rubber hammer;
- if necessary, the seams are filled with an additional amount of mortar.
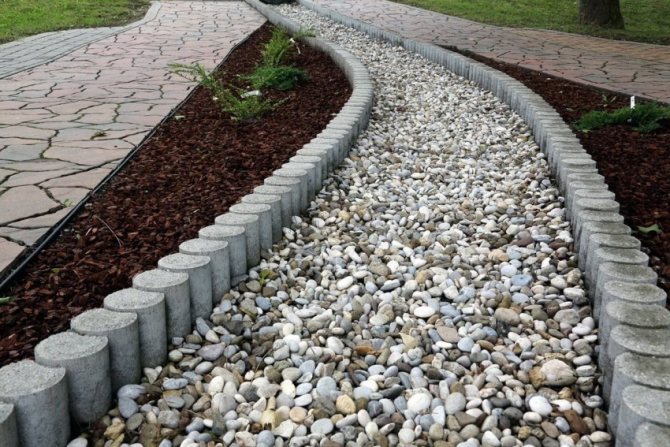
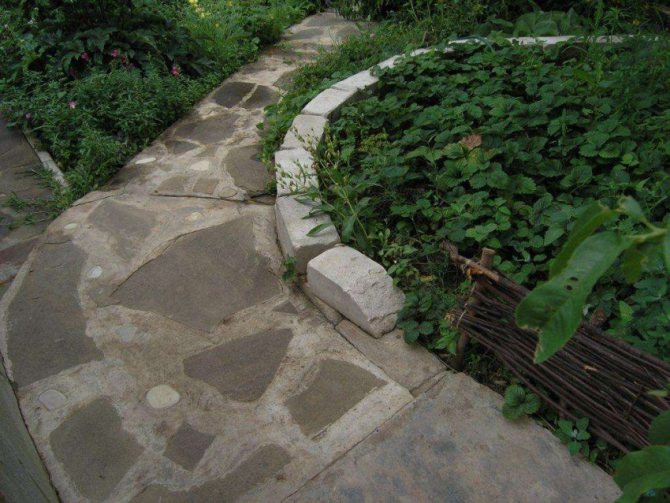
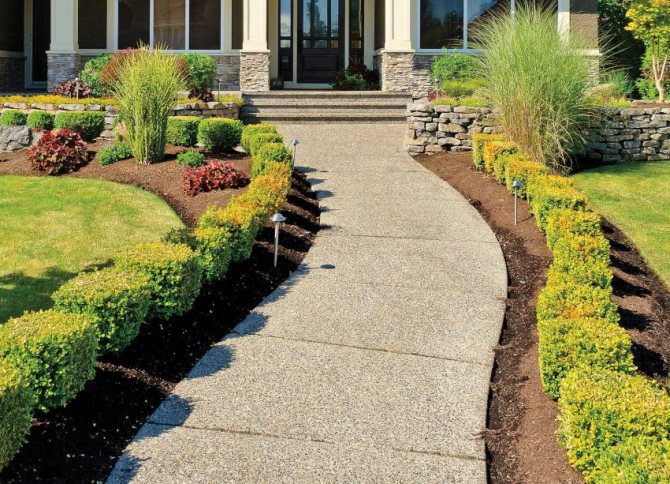
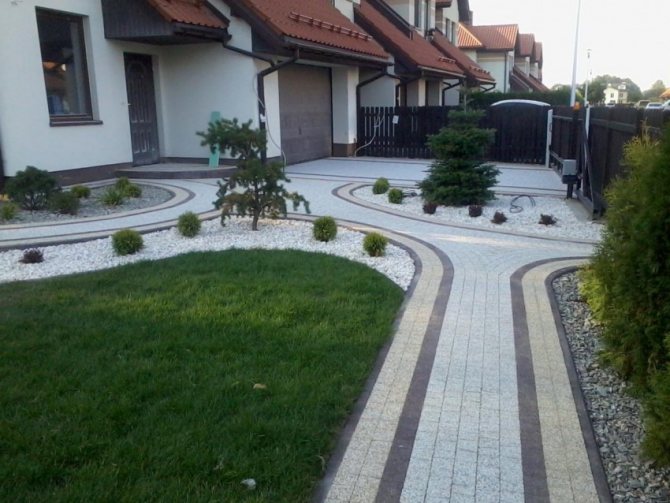
Consider having a curb.The curb will look great from an aesthetic point of view and will help maintain the contours of the path, blocking the path of flowing moisture. It can be designed with bricks by gently placing the material on the edges of the walkway or by burying it in pre-dug small trenches.
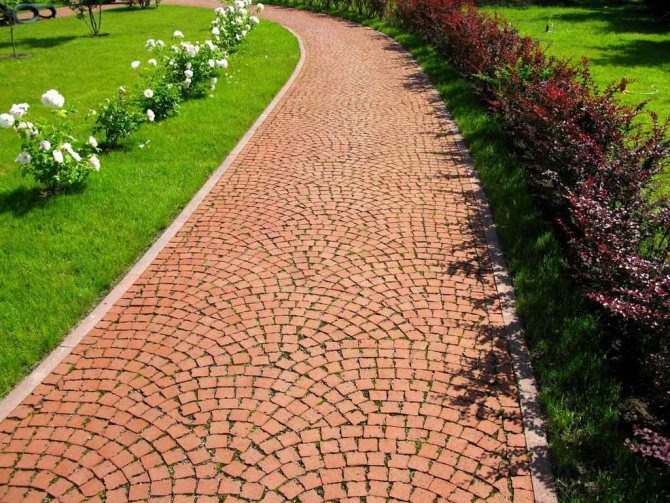
Smooth curves will additionally decorate the overall picture
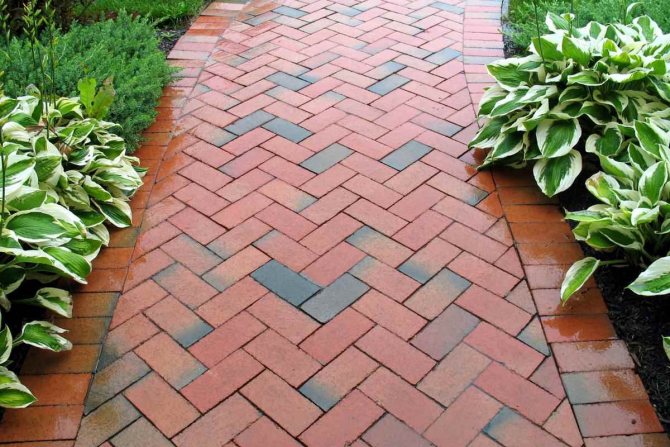
The border will additionally decorate the path
Such material will perfectly fit into the country style.
Preparing the base for the walkway
In order for the path to please the eye for a long time and not overgrow with grass, you should approach the preparatory work with special care and responsibility.
Read here - DIY box - unusual options and original models of gift boxes (125 real photos)
Further conditions and the performance of the following work largely depend on the preparation of the base for the track.
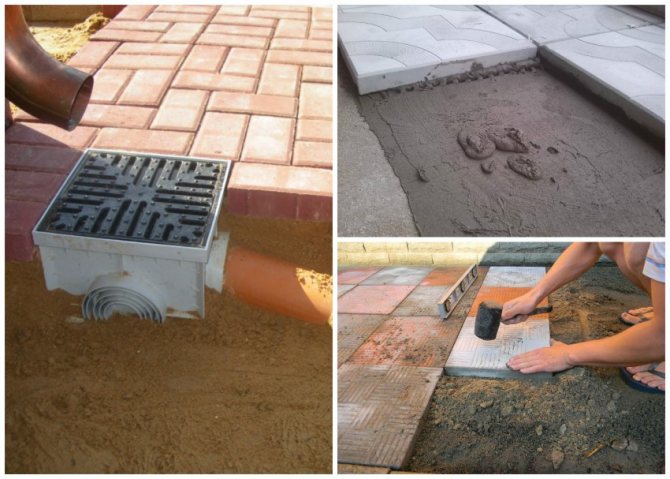
The first step is to remove the fertile layer 15-20 cm deep. If there is a natural slope of the relief, then it is worthwhile to provide for a water drain and make a drainage trench into which water will drain after rain.
So that the edges of the trench do not crumble, we recommend installing boards that will limit the crumbling of the soil. If you have provided for the installation of concrete curbs, then they should be installed on the compacted sand using a level, fixing the curbs with iron bars, driving them to a depth of at least 20-30 cm.
- How to embroider icons with beads - an overview of the best ideas with photos and examples from the masters
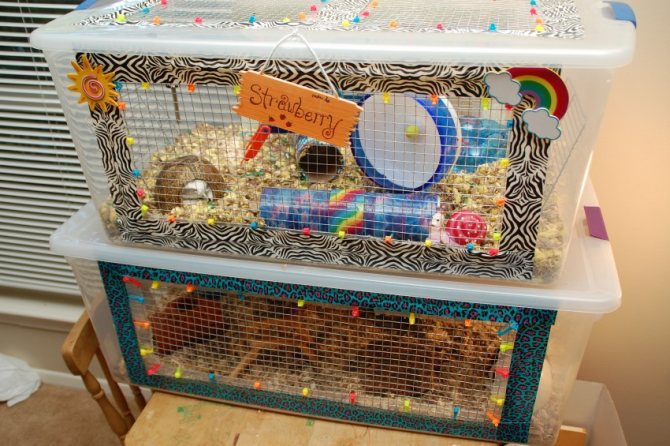
DIY cage: a master class for making decorative and functional cells (115 photos)

Do-it-yourself kokoshnik: 80 photos of making and recommendations on how to make a beautiful headdress
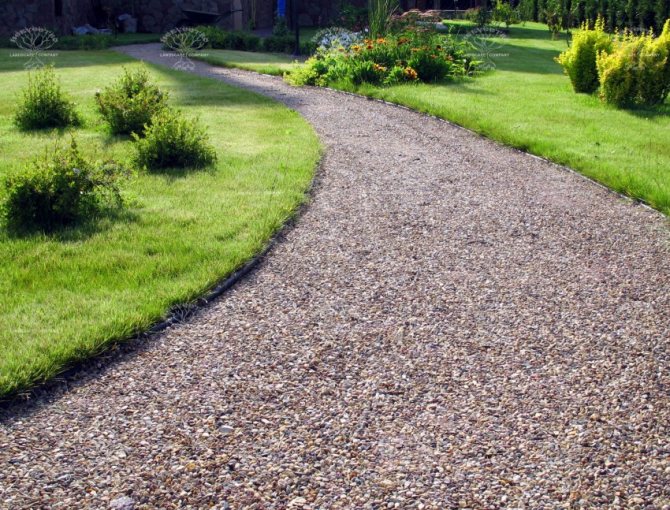
After installing the curbs, a layer of gravel or crushed stone mixed with sand or cement, 5-10 cm thick, should be poured on the bottom of the trench. The layer should be thoroughly tamped.
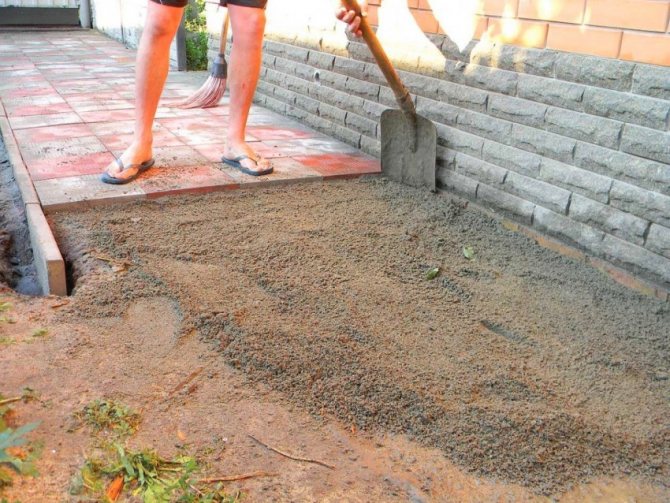
If, after tamping, the layer turned out to be less than planned, you should add another layer and re-tamp. After that, sand should be poured, it is he who will serve as the basis for further coating.
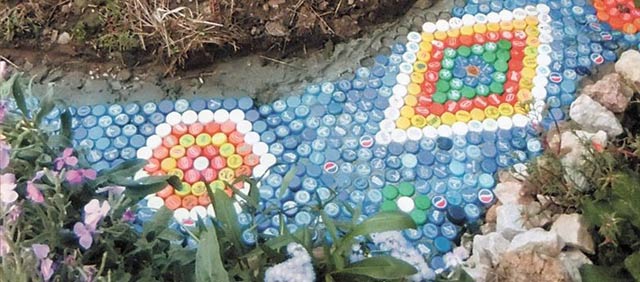
Exclusive paths made of plastic bottles are the pride of every summer resident
Features of the
Garden paths made of plastic bottles look not only original, but also very attractive.
The advantages of bottle tracks are as follows:
- minimum financial costs;
- ease of creation;
- wear resistance;
- long service life;
- aesthetics;
- practicality.
Tracks made of plastic bottles also have significant disadvantages. They are afraid of the harmful effects of thermal and climatic factors. That is, they become slippery after rain, deform under the influence of high temperatures and fade in the sun. But, as practice shows, negative aspects are not a hindrance to creating beautiful paths.
Creature
So, the process consists of the following stages:
- the required number of bottles is prepared, best of all with a volume of 1.5-2 liters;
- sand is poured into plastic containers and compacted well;
- a trench of the required width and depth of 25-35 cm is dug;
- geotextile is spread, but you can do without it;
- from above it is covered with a thin layer of gravel and well rammed;
- then a sand "pillow" is made and carefully tamped;
- bottles are placed upside down on the sandy "pillow";
- boards are laid on the container and pressed;
- boards are removed;
- sand is poured between the rows of bottles;
- the board is again put and pressed well, thereby aligning all the bottles in one plane;
- The filled up sand mass is poured with water, the excess sand is swept away with a broom.
Everything! You can enjoy the work done and show off the wonderful tracks. By the same principle, you can make paths from glass containers.By the way, here's another interesting use of glass bottles.
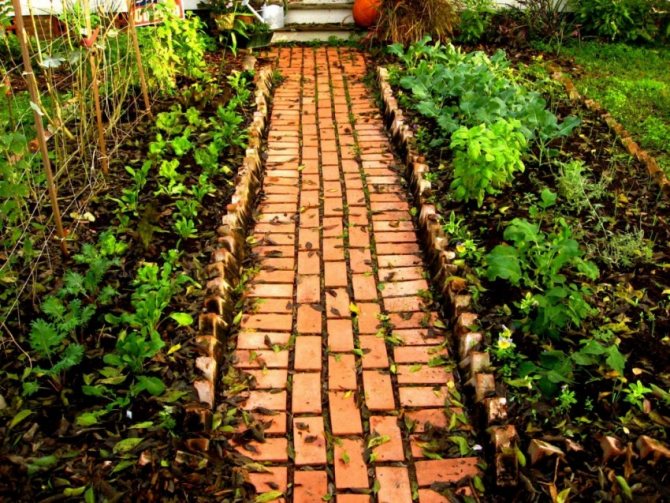
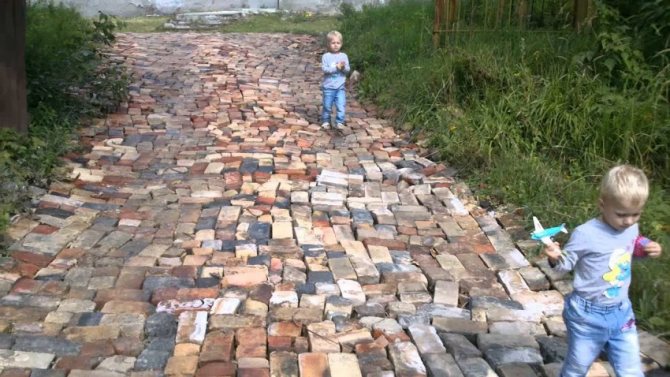
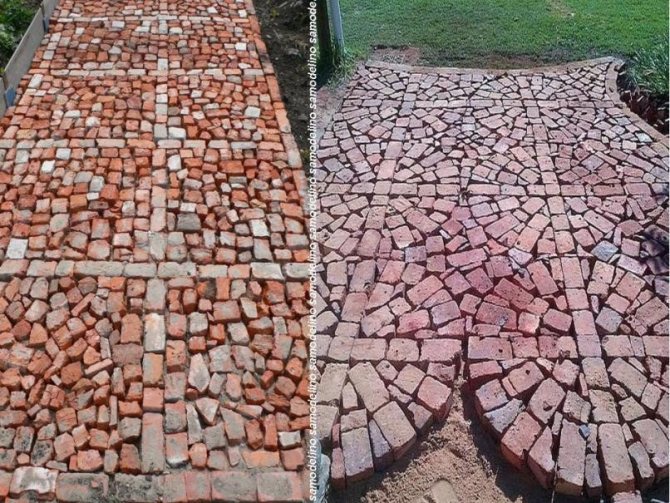
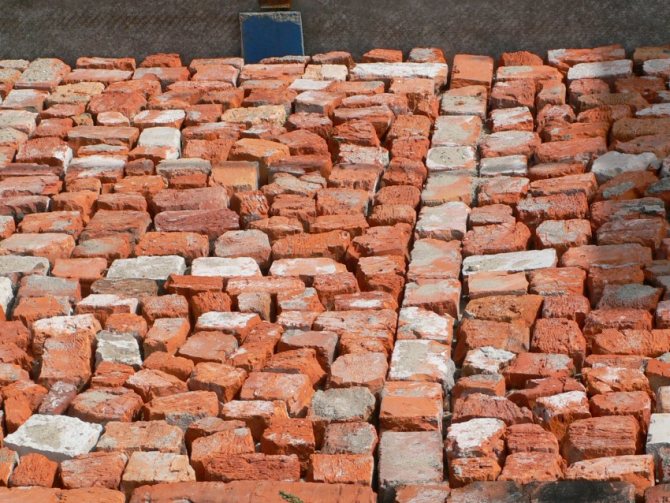
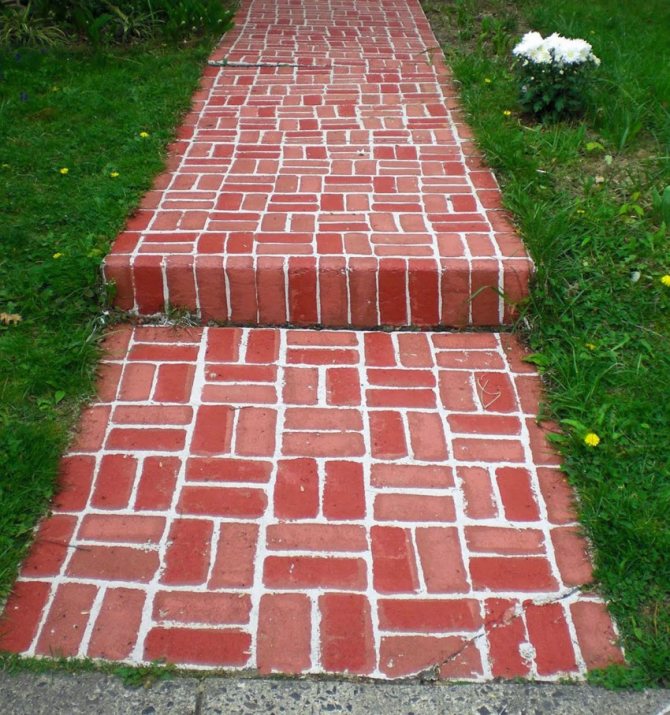
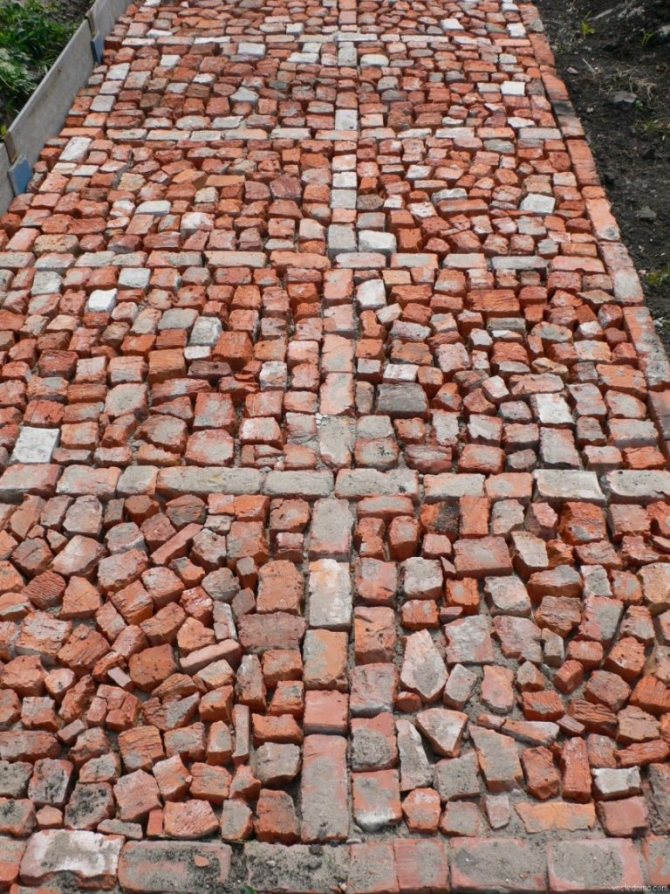
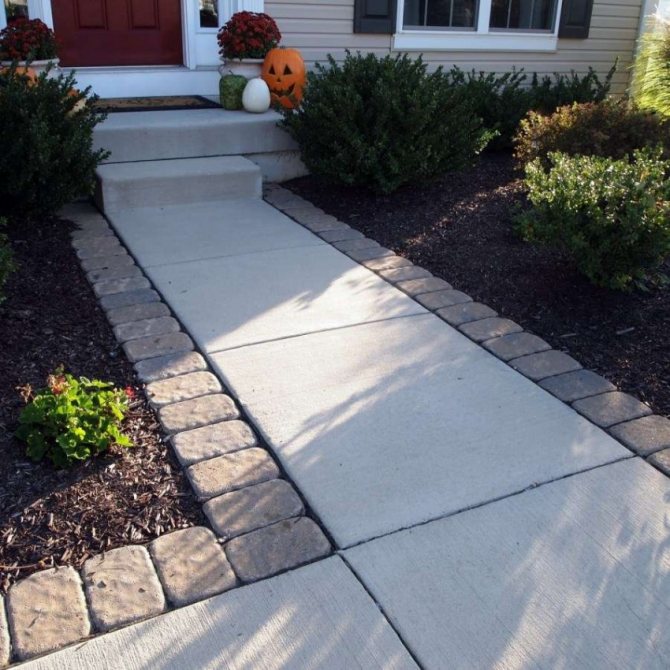
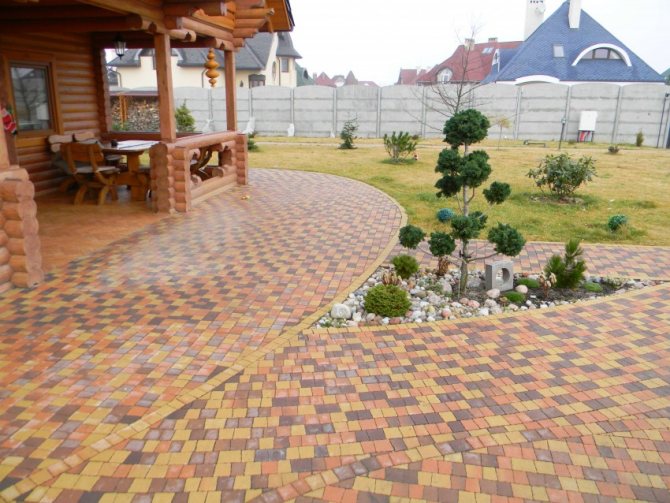
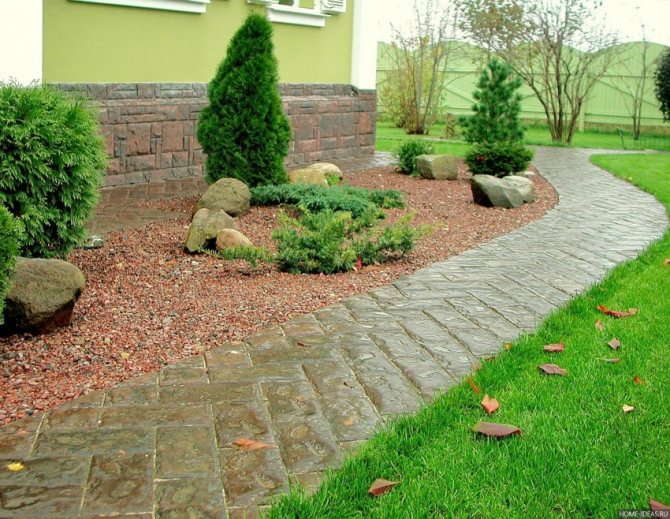
Brick path
When used as a brick track, a reliable and durable option is obtained. When laying it, they use the same method that is used when working on the manufacture of paths from paving slabs.
It should be remembered that the track will serve for a long time, and not collapse due to weather conditions, you should purchase high-quality brick.


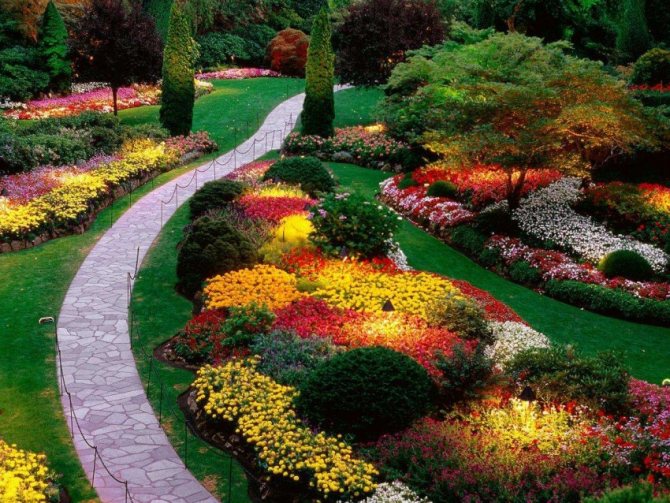
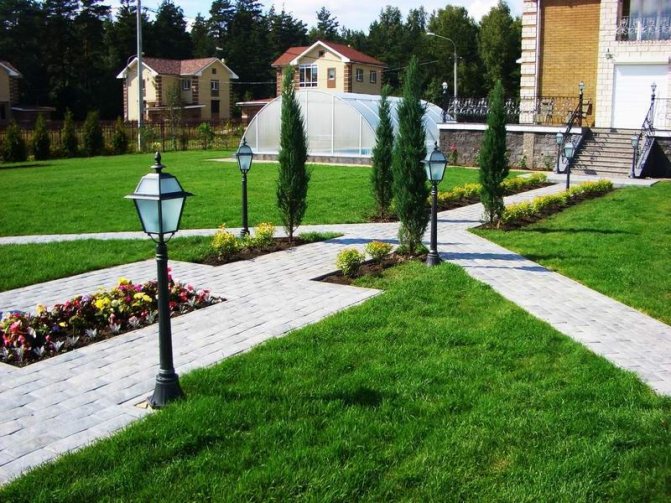
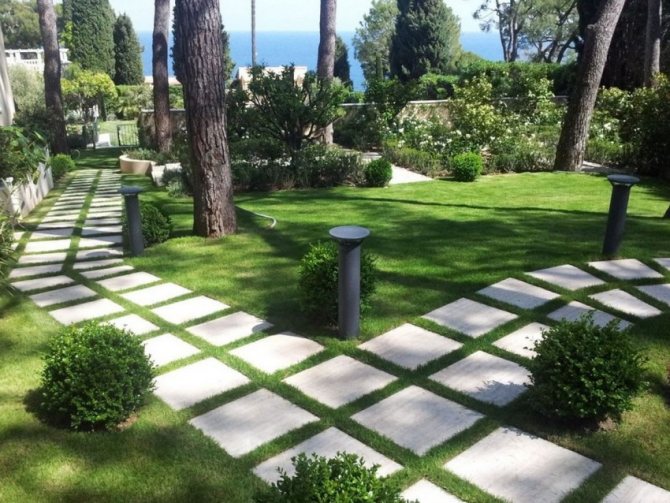
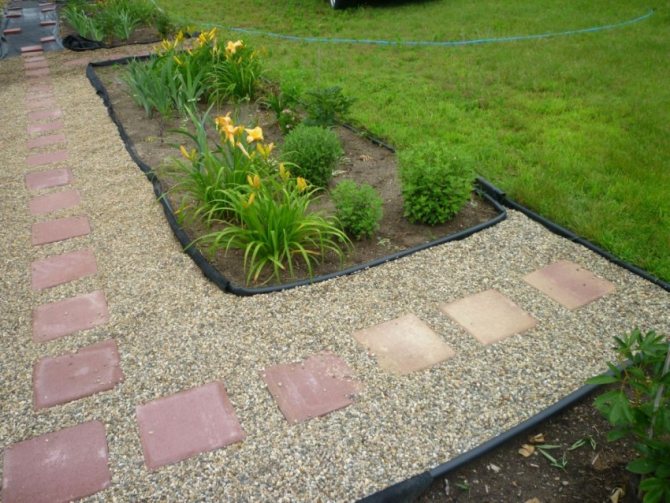
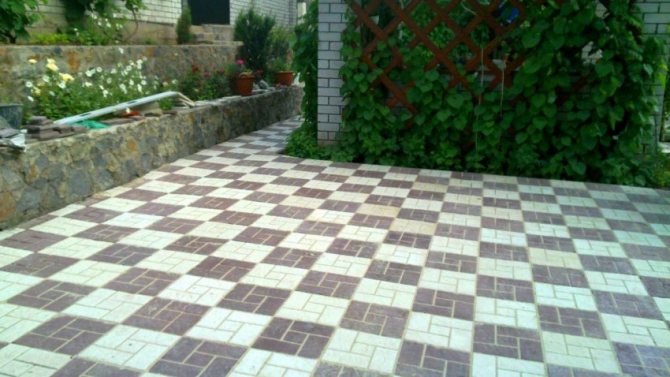
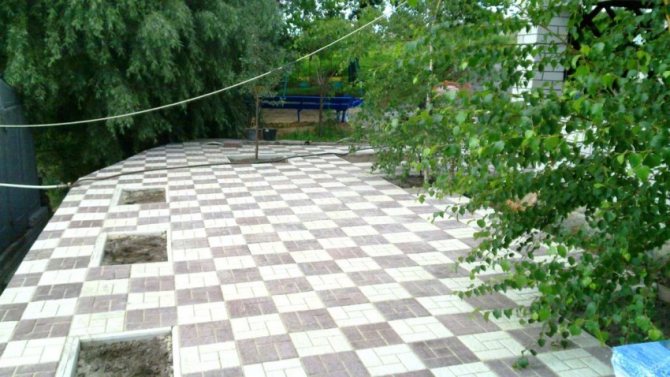
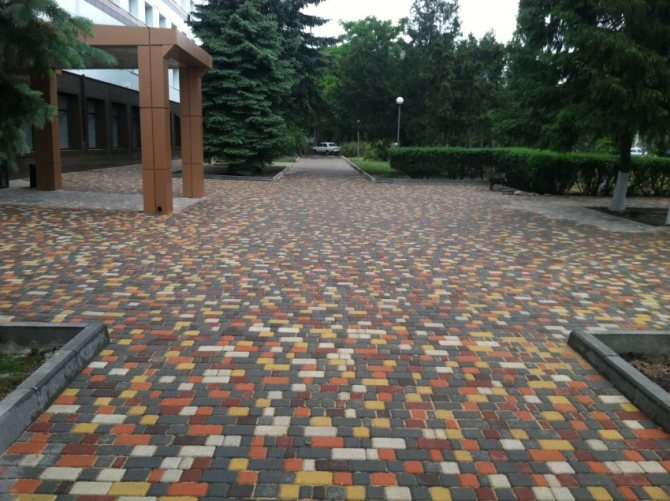
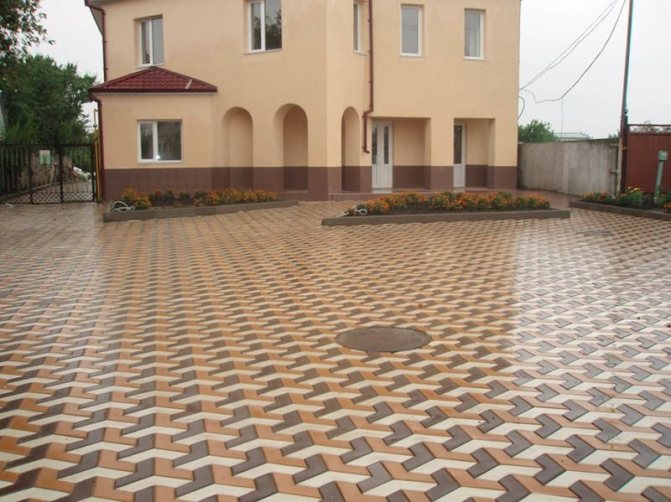
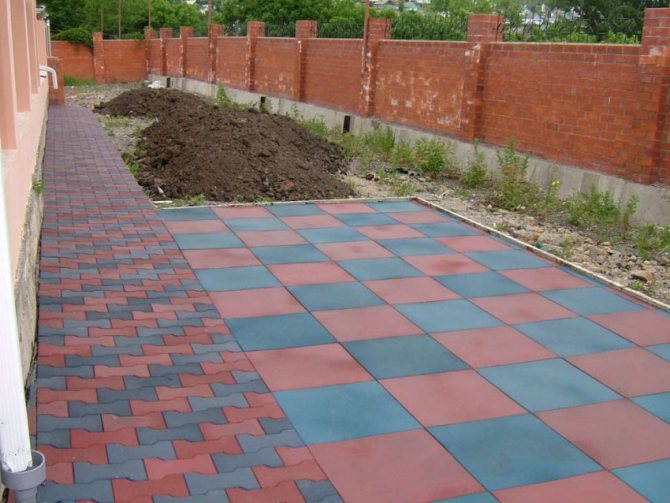
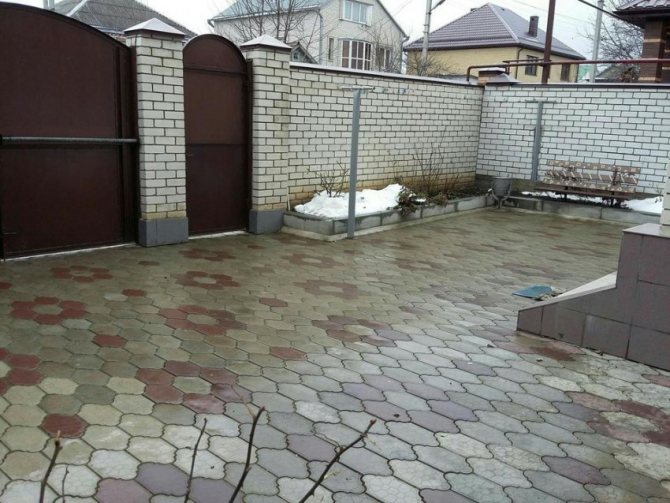
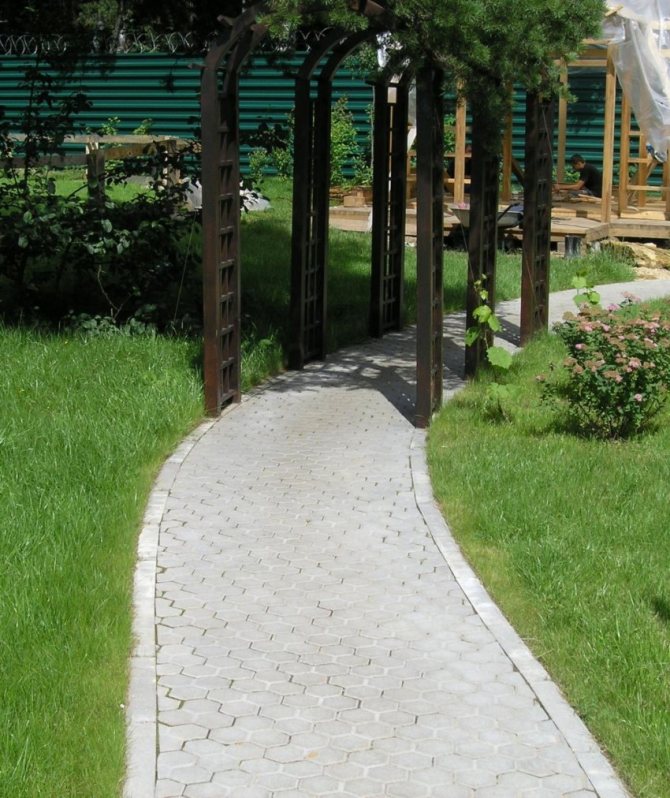
How to install paving slabs
Before starting work, it is required to remove all unnecessary from the territory, remove excess grass. Then go to the marking of the site and think over the width of the paths and their directions. It is irrational to make wide garden paths. It is quite expensive and takes up a lot of space that can be used for other needs.
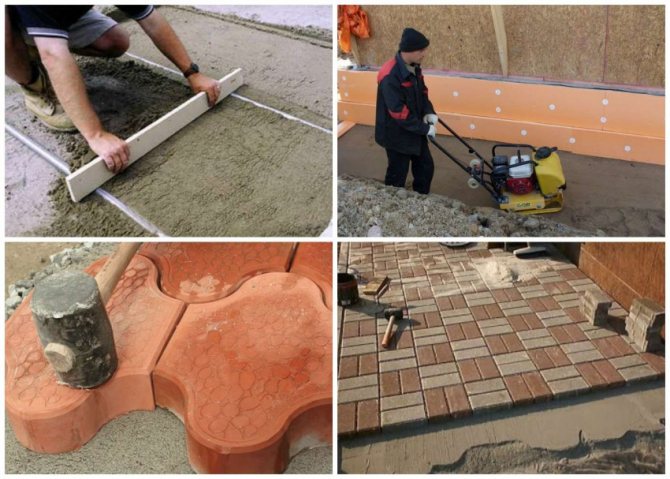
To indicate the boundary of the future surface, pegs are placed and a rope is pulled over them. This is done to give a level surface to the walkway. Depressions are dug in the ground. To determine the depth of the trench, you need to measure the thickness of the tile. For example, if the material is 7 cm thick, then it is advisable to make a 10 cm hole in the ground. Further, according to the boundaries of the rope, the side is beaten off with a shovel. At the same time, the tool must be kept strictly vertical. After work on the bumpers is completed, you can begin to remove excess layers of soil inside. The next step will be to distribute the sand within the formed space, while you need to monitor the uniformity of the surface. You can correct the flaws with a shovel. Now you can start the most important task: laying paving slabs. It is necessary to check the quality of work by means of a level. The slope per 1 m of the track should be 1 cm. The resulting seams are rubbed with sand, treating the tiles with water.
Before laying, you need to clear the area of debris

Next, you need to make the markup
When laying tiles, check the surface with a level
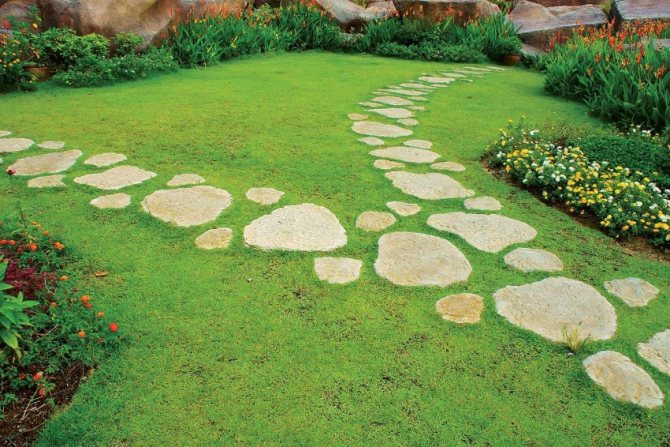
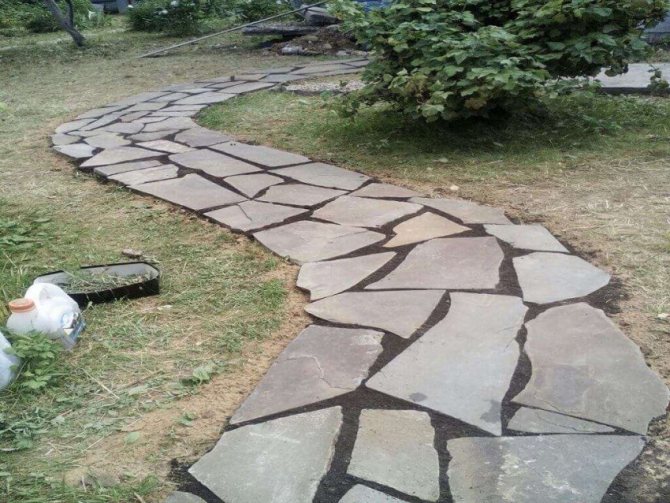
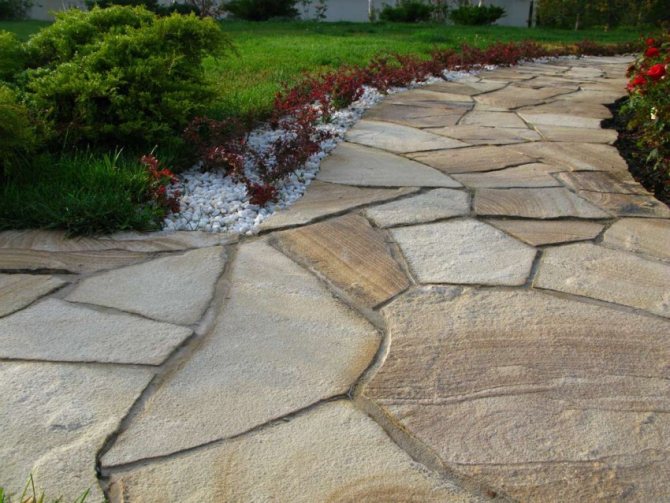
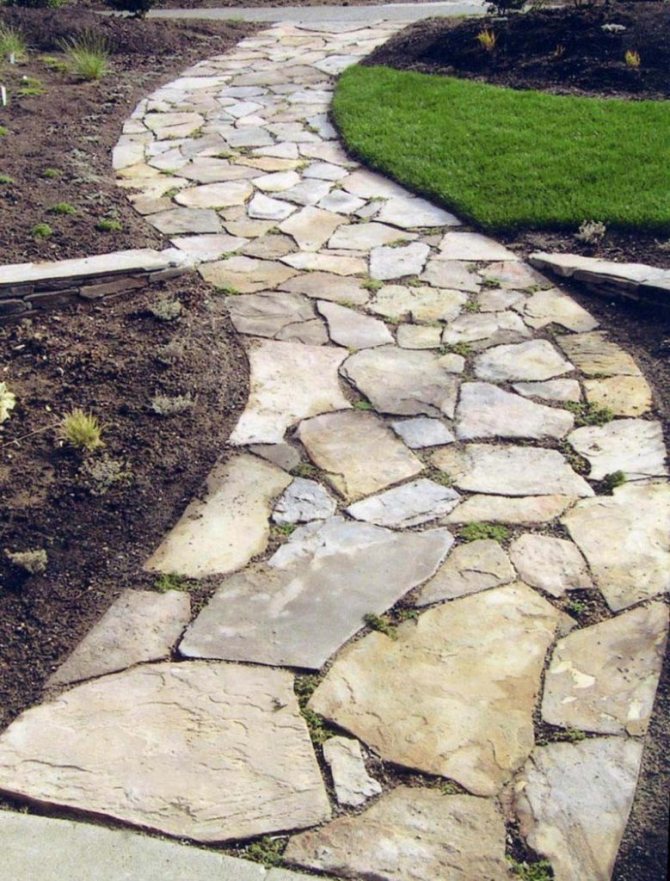
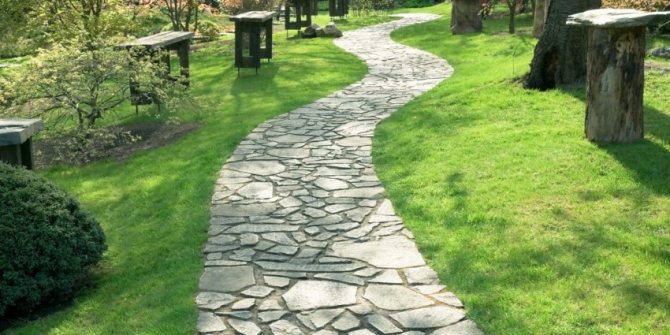
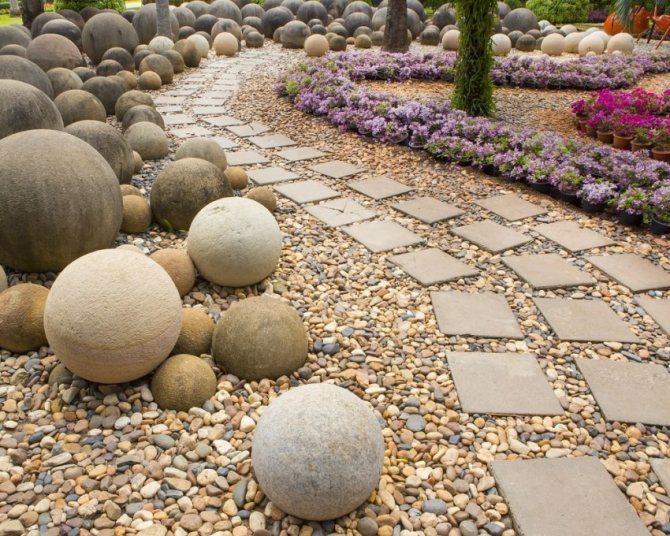
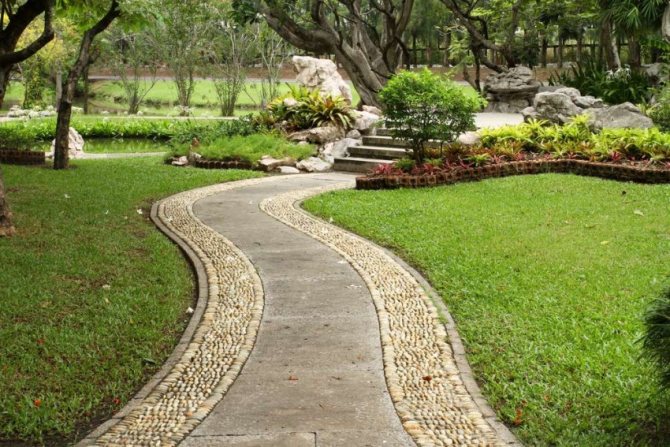
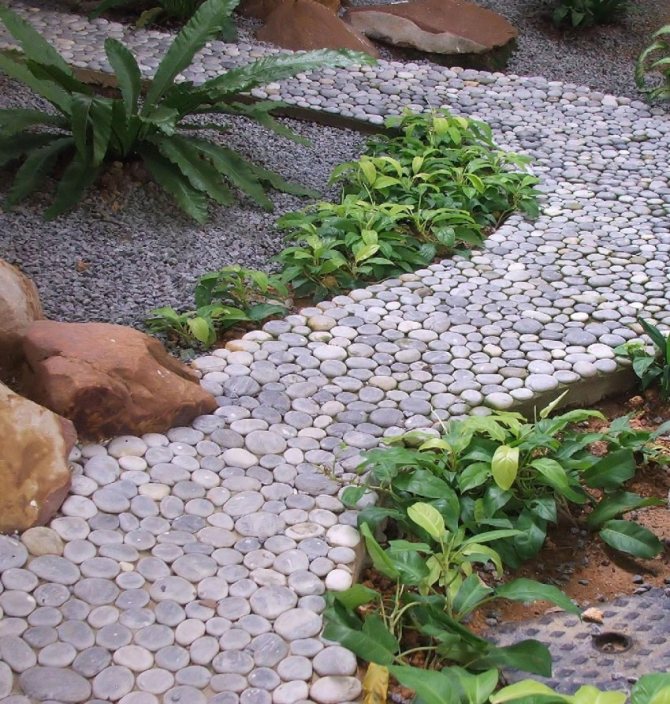
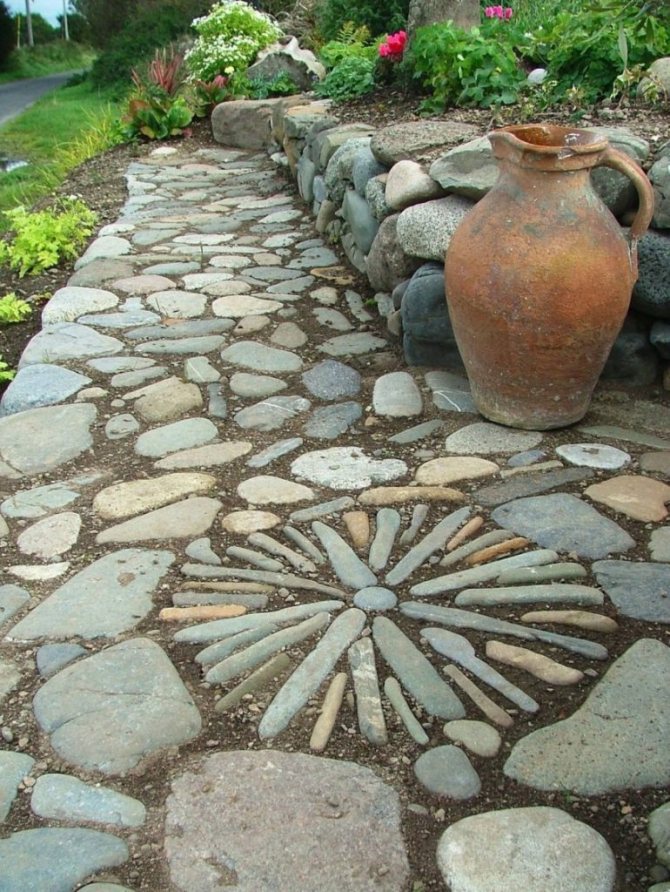
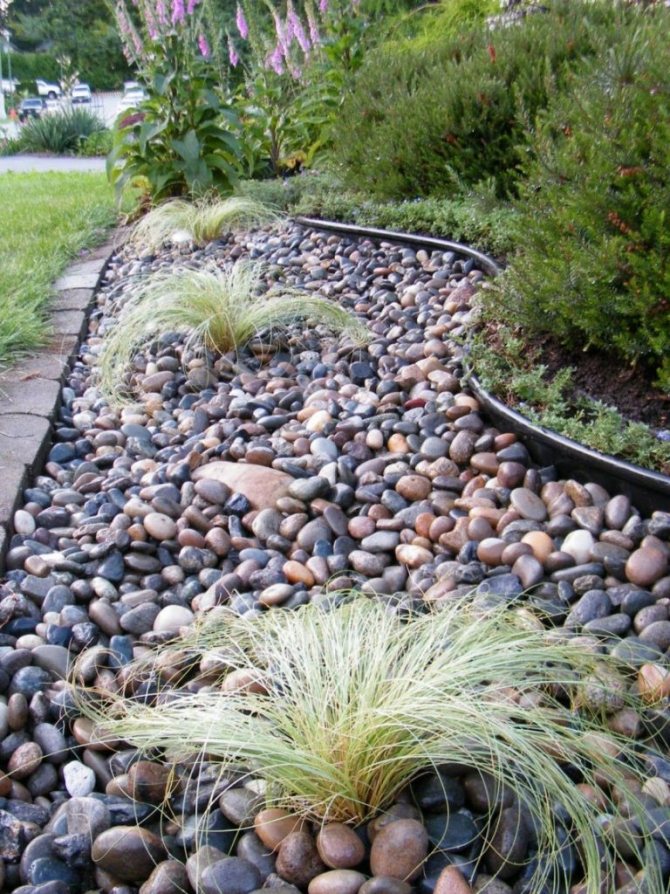
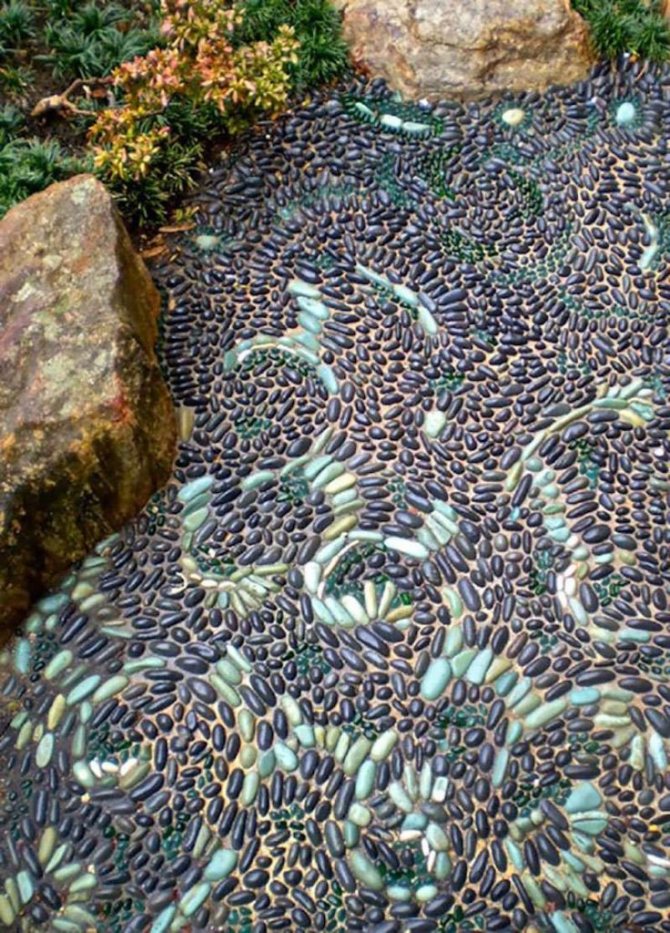
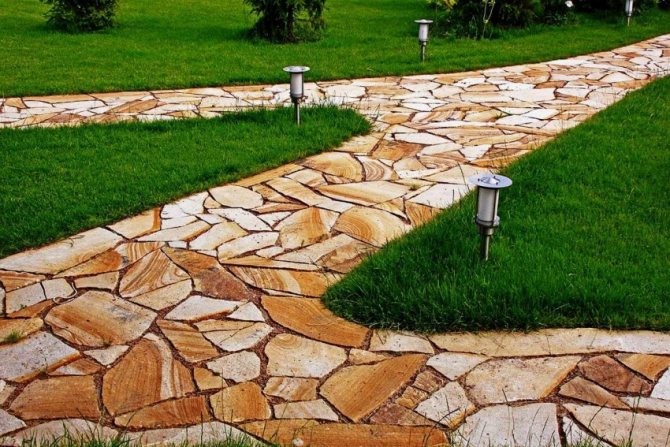
River stone path
If you have a river nearby and there is an opportunity to bring a round river stone from there, you can make your own paths out of it.

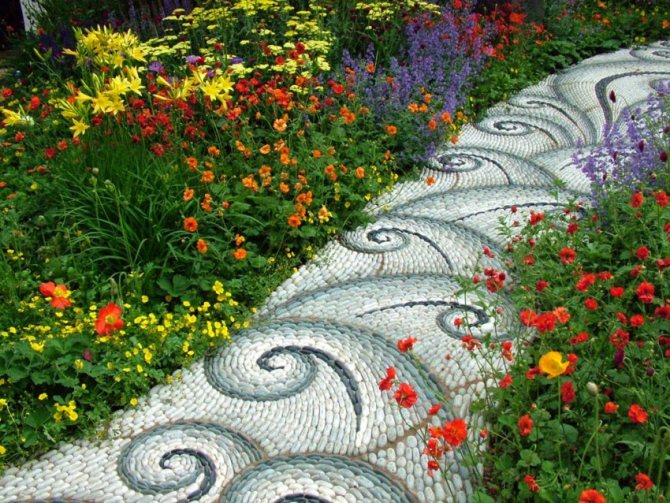
With the help of multi-colored river stones, you can depict various patterns on the paths that can surprise your guests.
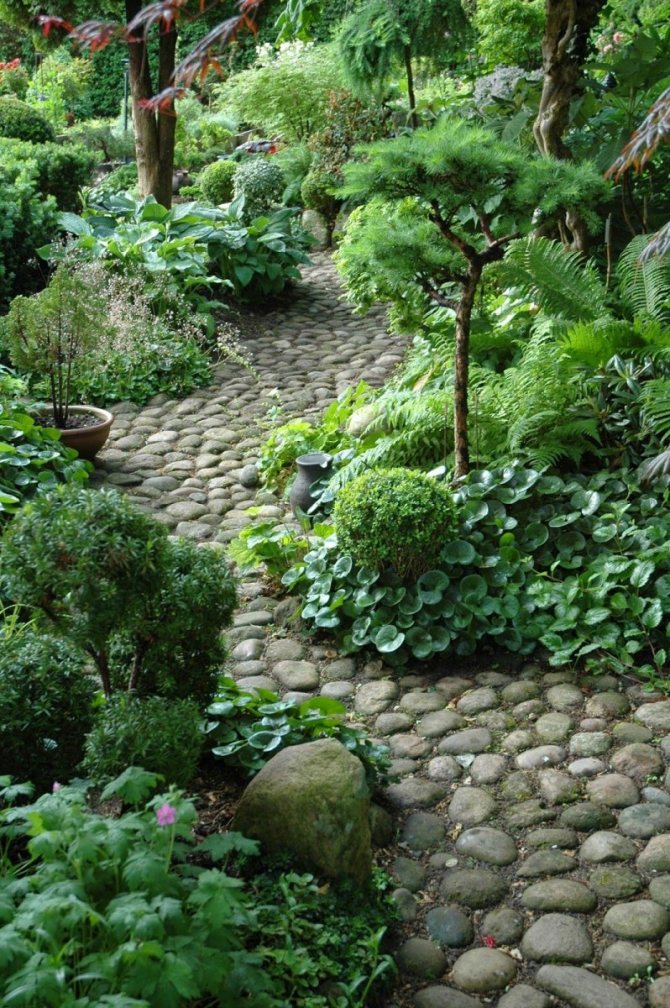
When making a walkway, a river stone can be installed with an edge or a flat surface. Usually, a solution of sand with cement in a ratio of 3: 1 or 4: 1 is used to fix the stone.
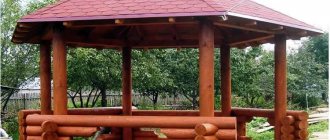
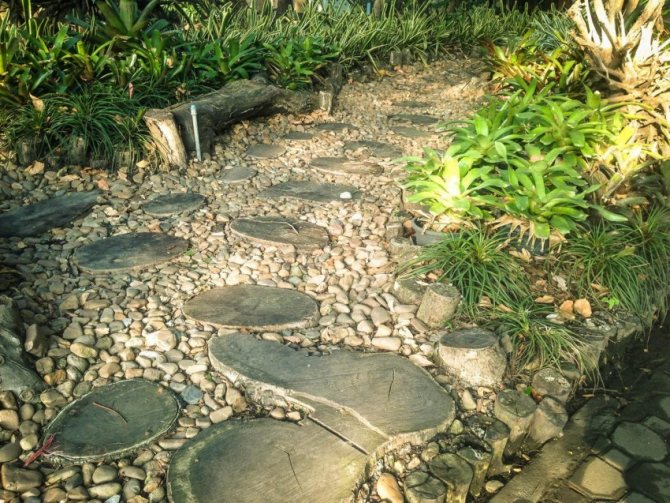
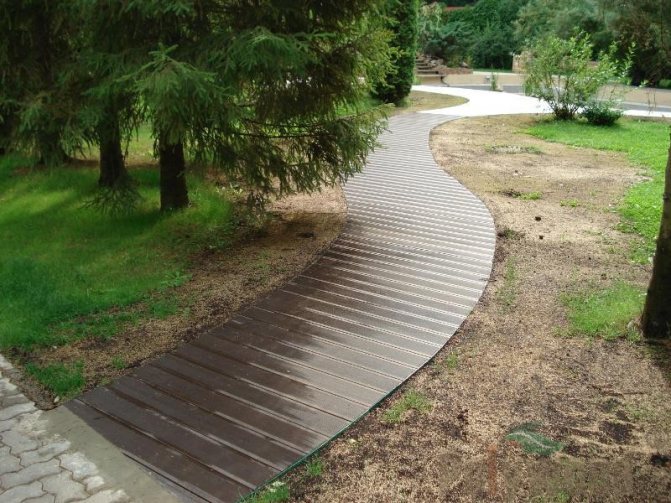
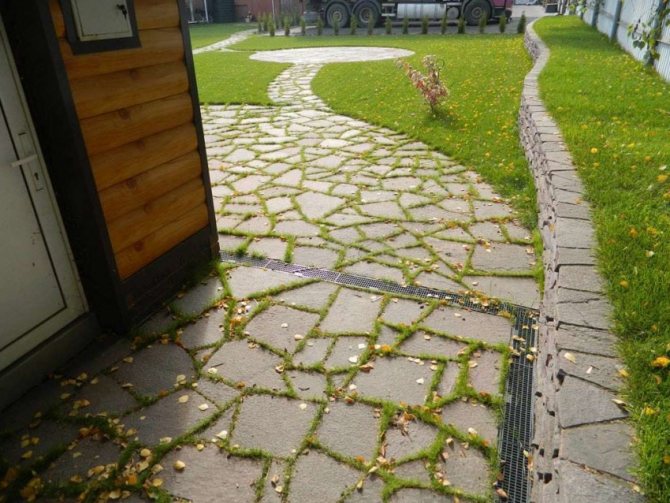
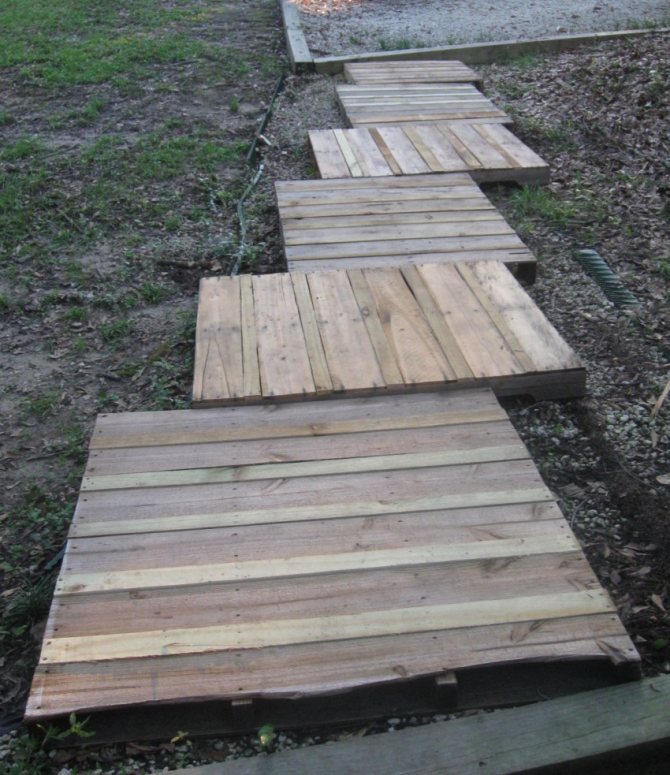
Use of wood
The purpose of any garden path is extremely utilitarian, but what if you show a little imagination and get creative with the issue of arranging the territory. Wood is an environmentally friendly material with an aesthetically pleasing appearance. Wooden paths will decorate any area and will look non-trivial and interesting. Beams, boards, garden parquet or boards can serve as a material. But more and more often, a saw cut from a tree is used to design a personal plot.
Before starting work, you must make a choice between the many varieties of wood. It all depends on how long you plan to use the track. Oak will last about ten years, pine will not lose its properties for 7 years. Larch can be considered the most durable species, it is the most durable and will last about 25 years. The more load is applied to the track, the larger the diameter of the wood blanks. In height, it is advisable to make them at least 15 cm. With such dimensions, the saw cut of the tree is firmly fixed in the previously prepared holes and will not fall out during operation.
IMPORTANT! It is necessary to abandon the saw cut that has cracks. Before laying, it is recommended to clean the tree of bark, this will prolong its life.
The plotting of the site is carried out as in the cases described above.For the comfortable movement of one person, 60 cm of the track width will be quite enough. A waterproofing film is laid on the bottom of the trench. If it is not at hand, you can stop at regular plastic wrap. The next step is to distribute the required amount of crushed stone on the prepared surface. Crushed stone acts as a drainage and protects the wood from unwanted moisture. Sand is distributed in an even layer, after which you can start laying the saw cut. The distance should be minimal. The gaps between the workpieces are filled with sand; for compaction, the material is poured with a small amount of water. You can decorate the track in different ways. For example, paint a saw cut, sow the gaps with grass or decorate with pebbles. Remember, the tree is subject to the negative influence of the environment, therefore, before laying it, it is better to cover it with special compounds that prevent it from rotting.
| Wooden walkways | Installation recommendations |
| From saw cut | It is necessary to dry the material well, place large parts along the edge of the path, the remaining elements can be used for fencing. |
| From a bar | In the center of the dug trench, the base should be significantly higher for the outflow of water. Cover the structure with gravel and compact it well. |
| From planks | In several places of the timber, cuts are made, where transverse parts are inserted. The tree can be treated with wood stain, and a curb can be built around the edges of the structure. |
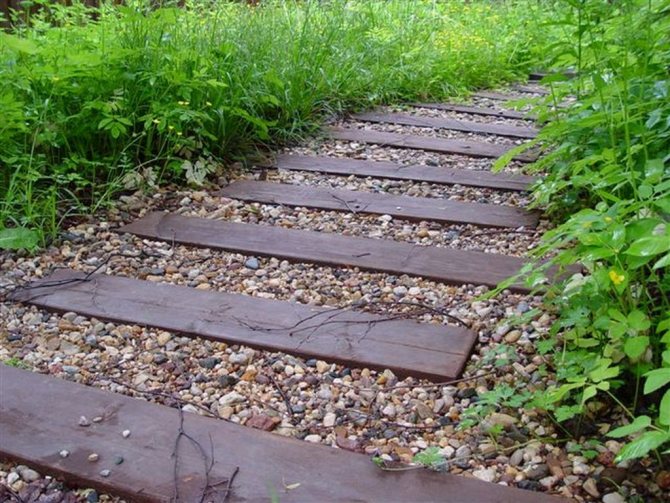
You can make a path made of wood yourself
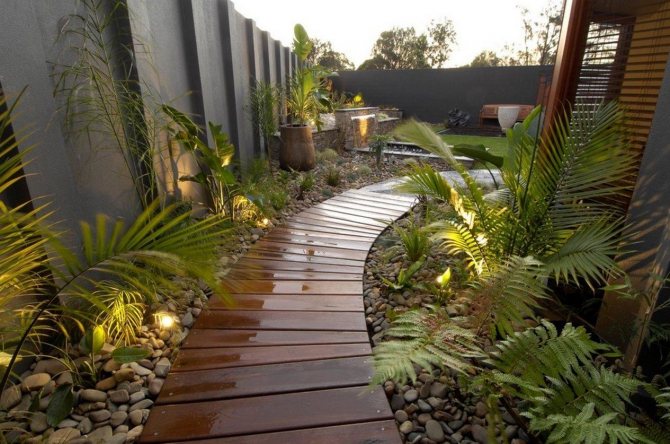
Wooden paths will decorate any area and will look non-trivial and interesting
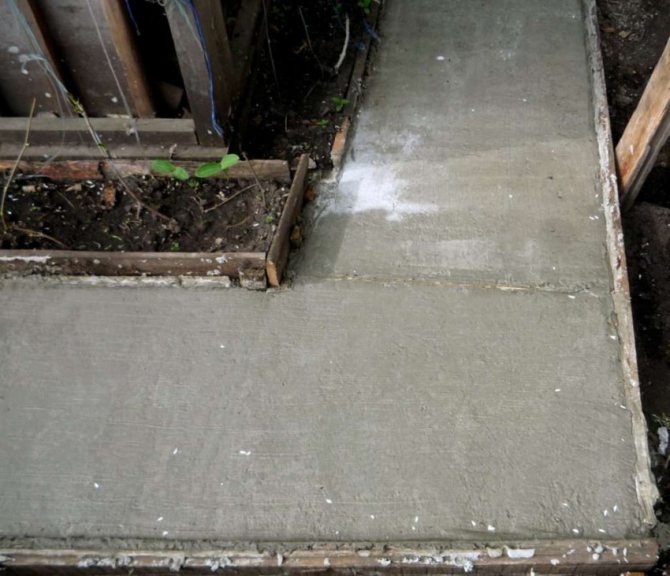
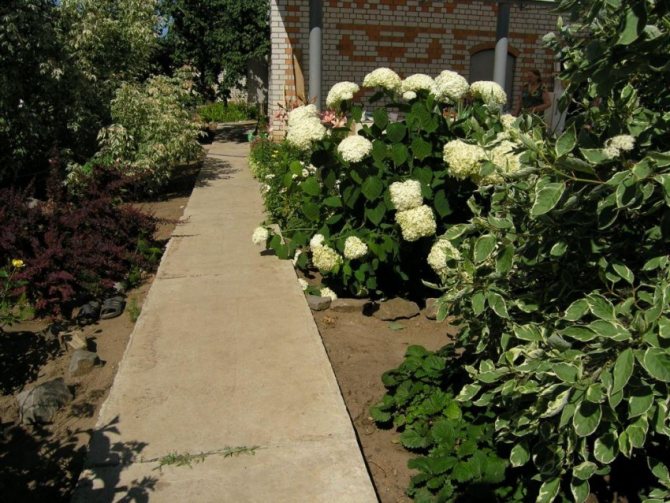
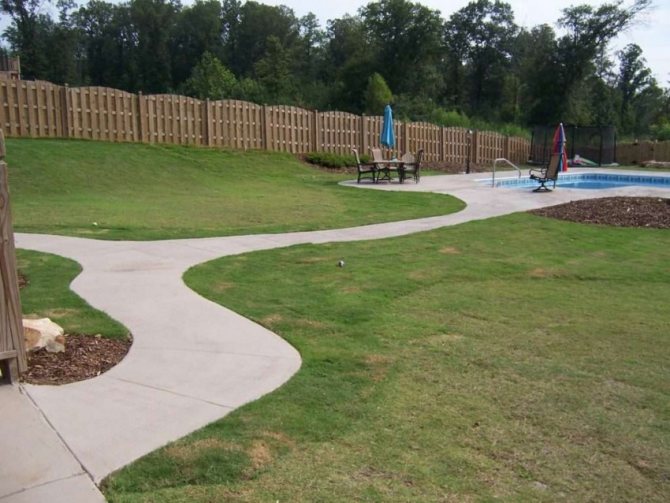
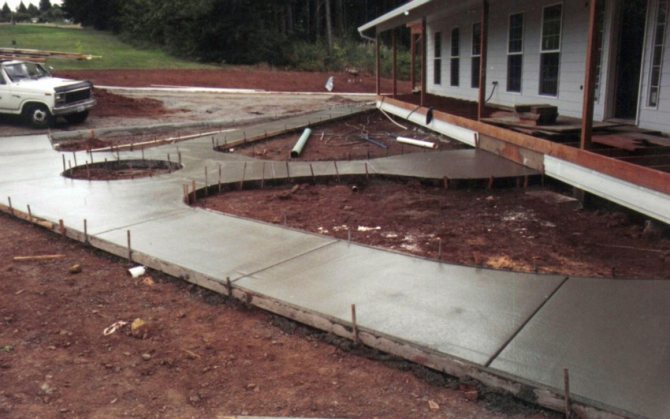
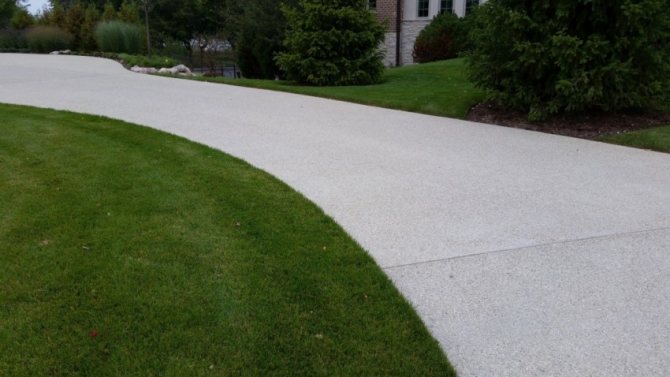
Concrete path
This type of track is one of the simplest options. After carrying out preparatory work and installing curbs or formwork, a grating should be installed on the prepared tamped surface at a low height from the surface. It will help prevent the concrete from collapsing under the influence of weather factors.
With curbs or formwork installed, they are beacons along which the track surface is leveled. After pouring concrete into the path, the surface should be ironed.
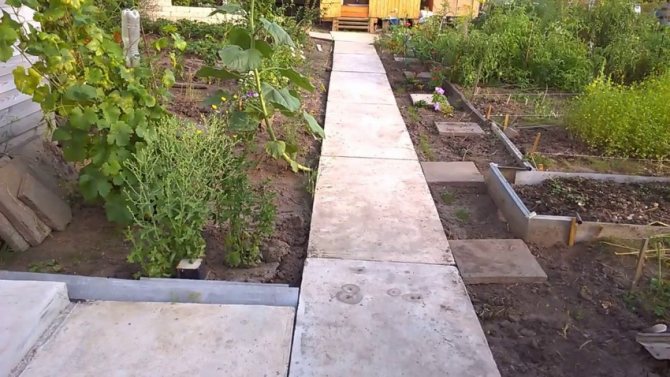
To do this, dry cement is scattered over the wet surface of the track, and using grout, the cement is rubbed into the surface. As a result, a thin layer is obtained, which protects the surface from destruction.
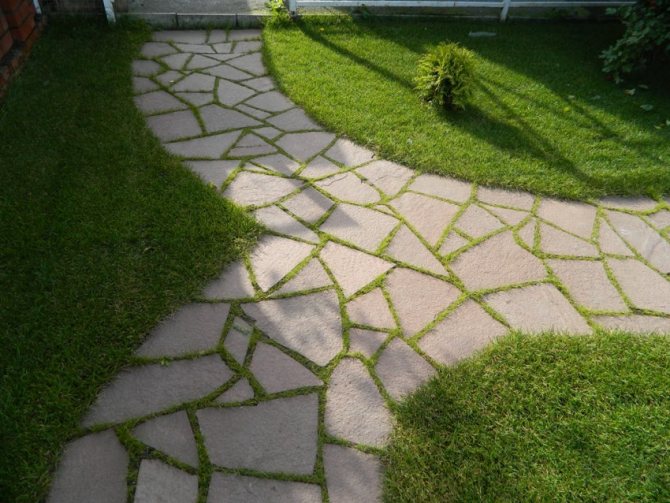
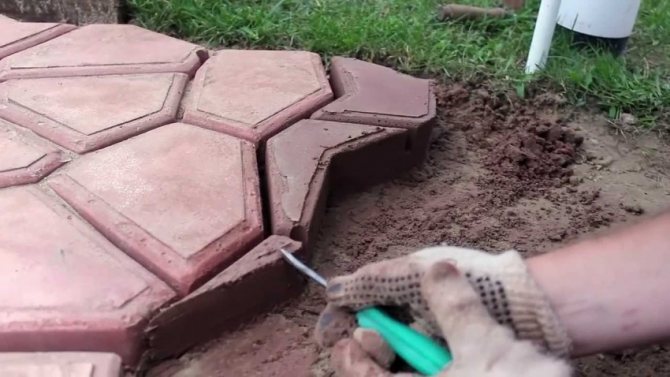
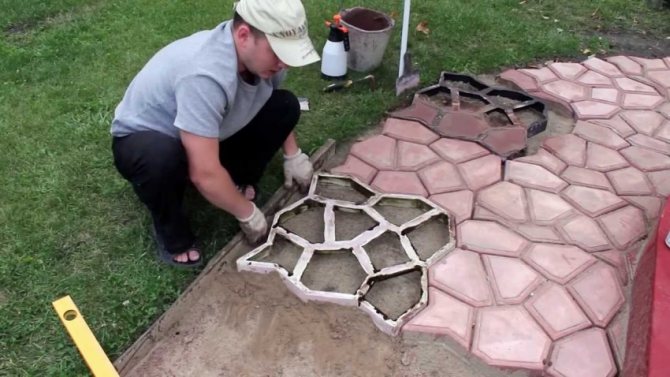
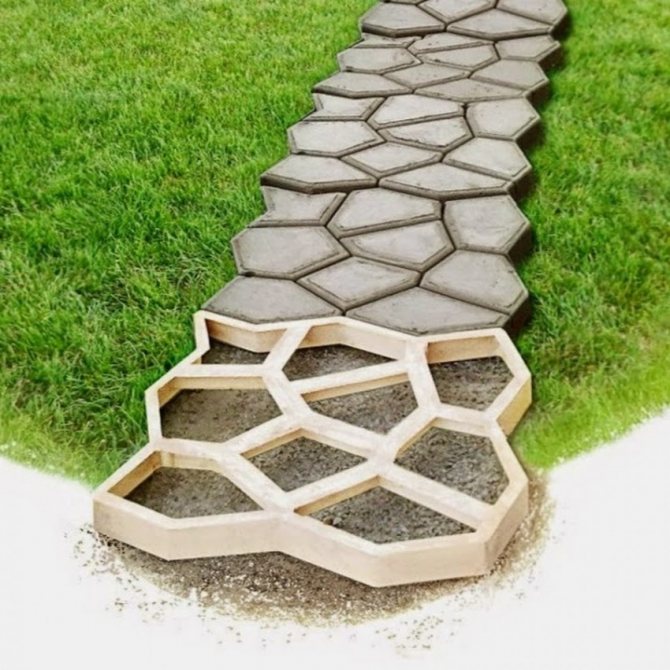
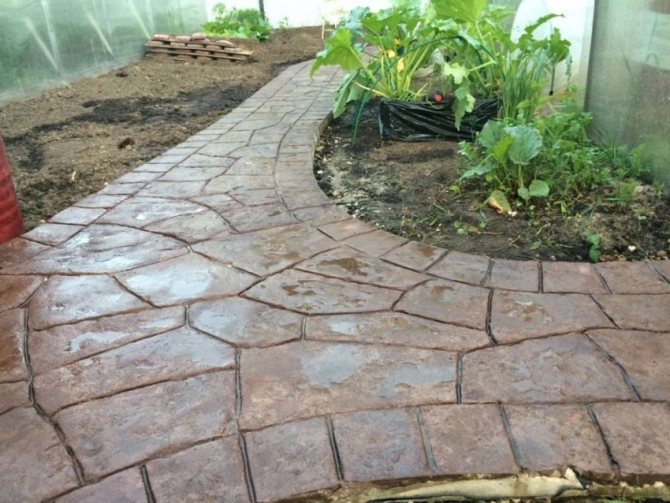
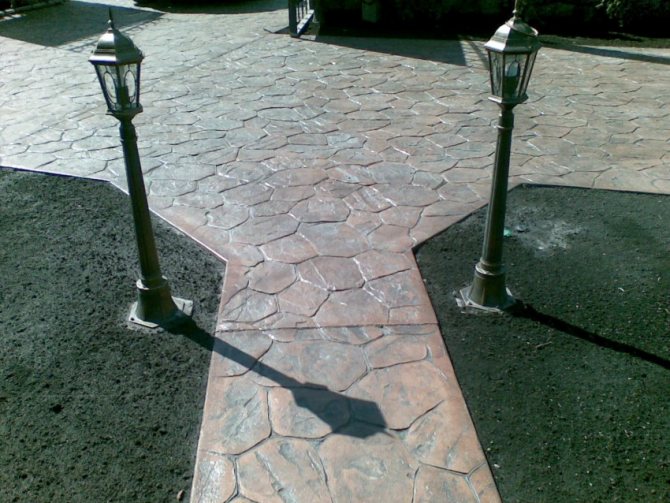
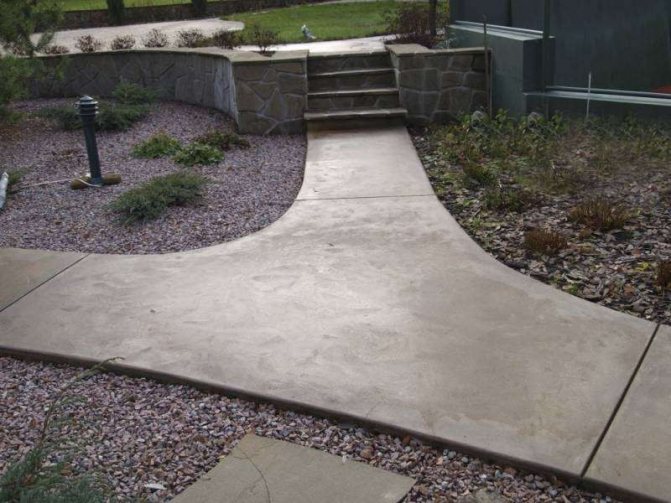
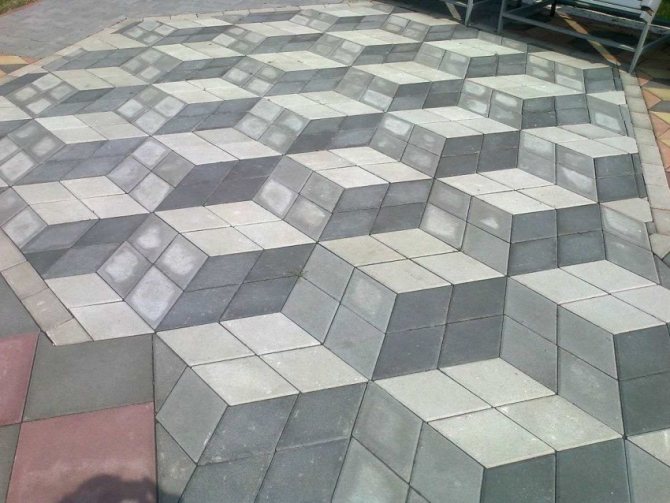
If you are planning to make a concrete walkway using a special form that imitates stone laying, then you should know that in this option, a two-layer concrete is poured.
The first layer is applied to half the depth of the pit and the surface is smoothed. After the concrete has set, you can proceed to the second layer.
For this, a mold is placed and poured with concrete. The concrete is left to harden for several days. After that, the form is removed and moved to another location.
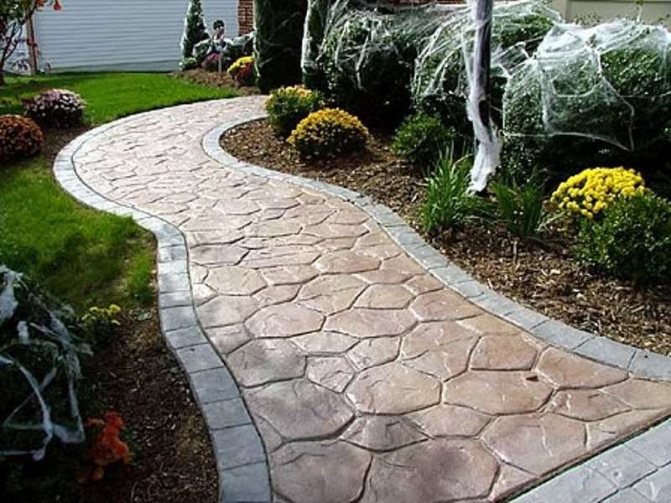
To carry out this type of work, we recommend having several forms. This will greatly increase productivity, and will bring the completion of the track production closer.
The described methods of creating garden paths with your own hands represent a small part of the possible options. Human fantasies are endless.
On various specialized forums, you can find photographs of tracks in summer cottages made with your own hands from materials that are difficult to imagine as a cover for tracks.
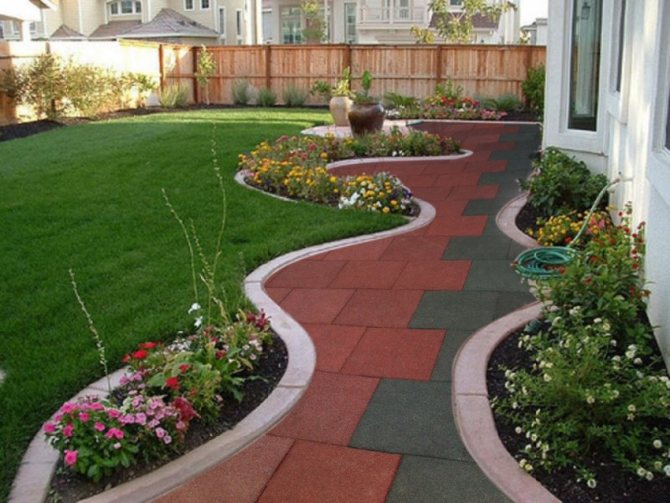
Many people in their dachas make health zones and paths with established attributes for sports.
If you want to purchase these accessories in specialized stores, the cost of these items suggests that it is much easier and cheaper to make your own health zone and the path adjacent to it.
Video instruction
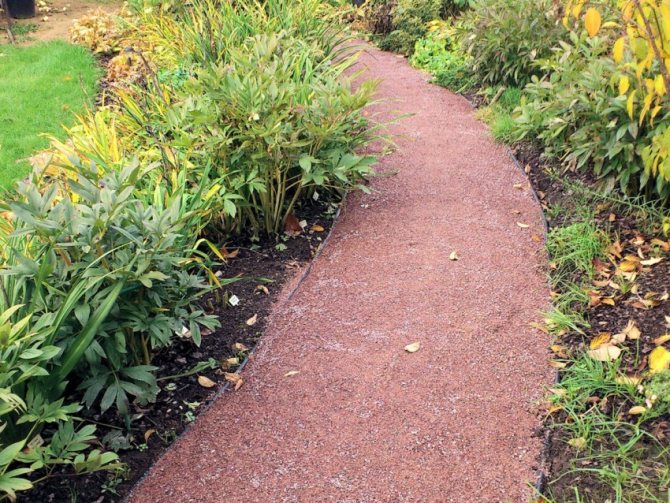
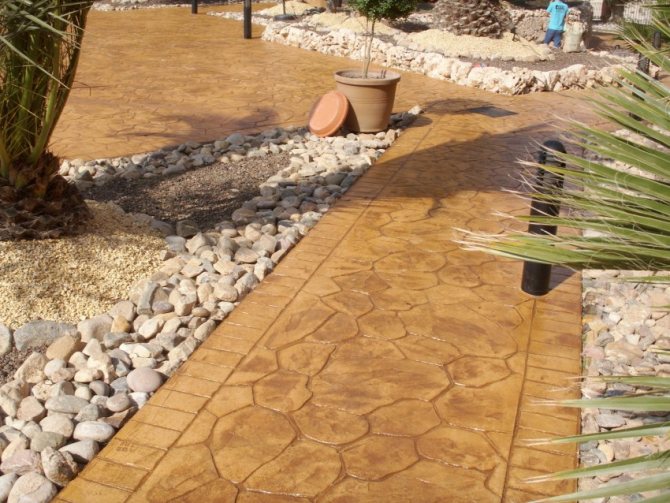
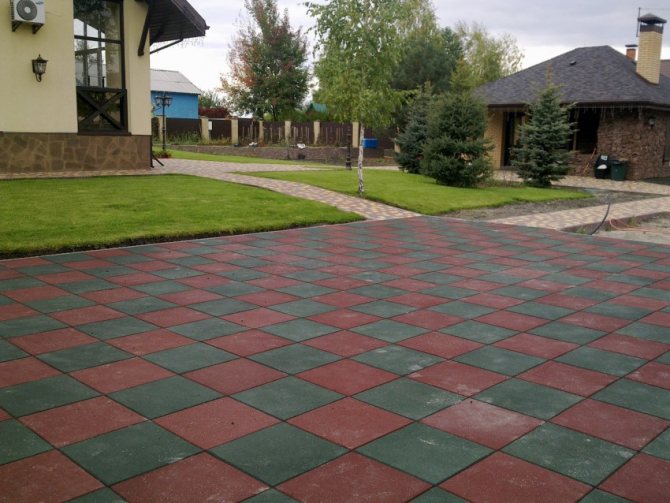
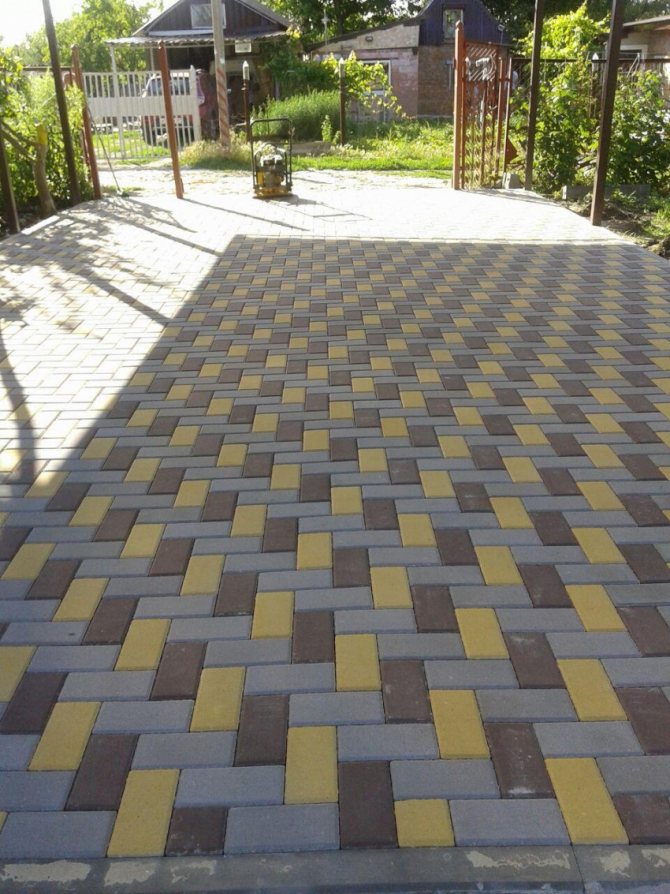
Garden paths painted with a dye that pre-dissolve in deep penetration soil look quite interesting.Thus, it is possible, at relatively low cost, to make the surface of the path similar to a natural stone.
Tiles decorated with a multi-colored stone will be a great addition to your garden.
Important! After painting, do not neglect the treatment of the track with a water repellent, which will not allow moisture to penetrate into the concrete surface.
DIY photo tracks


Did you like the article?
0