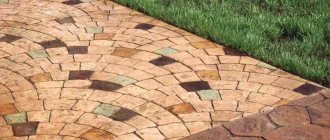
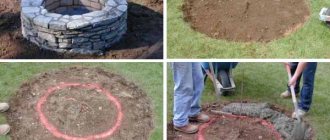
What type of tile is best for a garden path
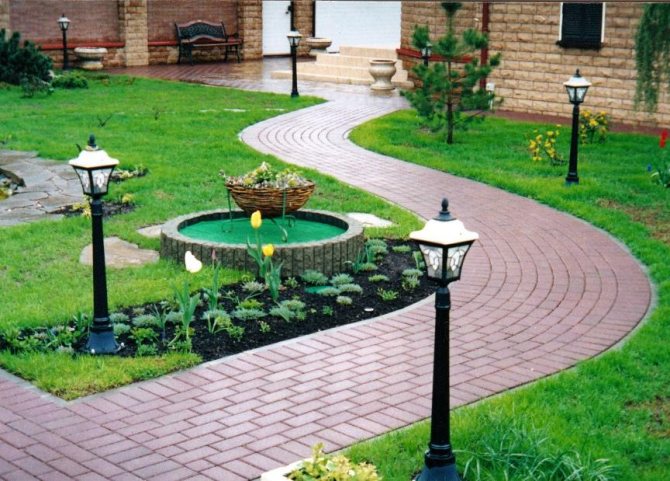
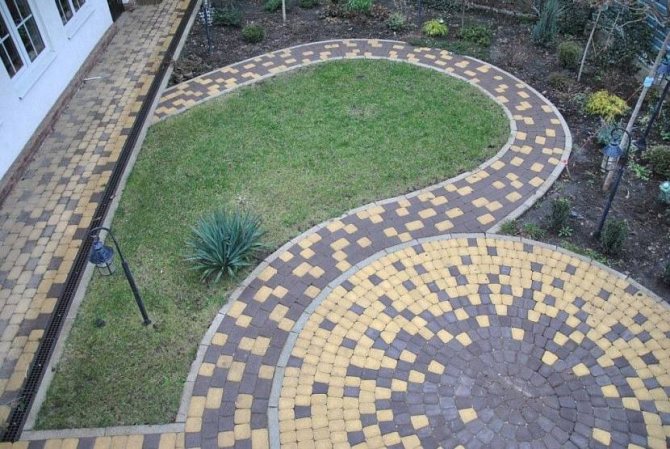
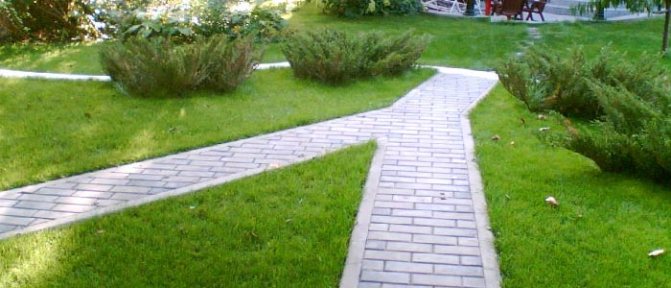
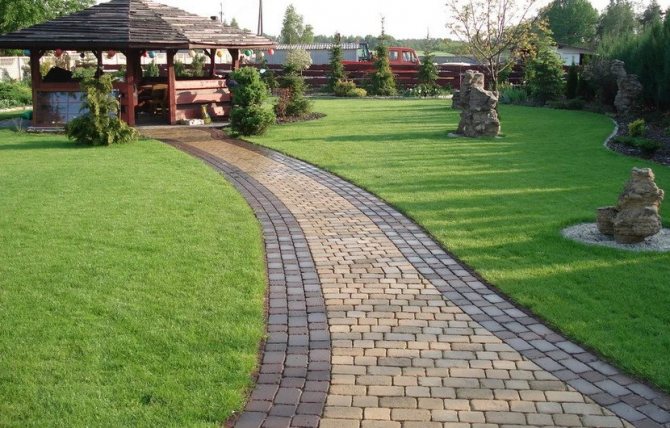
Arrangement of paths in the country requires many factors to be taken into account. After all, this is not only a recreation area, but also a place for growing vegetables, fruit trees and flowers. Landscaping experts recommend making paths with a rounding - this will visually increase the area of each zone. First of all, you need to draw up a plan for a summer cottage with markings of beds, a garden, a recreation area and all objects, and then outline the paths to them.
Did you know? Currently, a paving machine has been invented in Holland. During the shift, she paving the sidewalk with an area of 300 m².
Tracks are conventionally divided into 2 types:
- Utilitarian... They are used in the arrangement of economic zones, vehicle entrances. It is imperative to take into account the dimensions and weight of the vehicles. Their width is 2.5–3 m.
- Decorative... All other paths on the site for approaching various objects. They no longer have such heavy loads. Their width reaches up to 1.5 m.
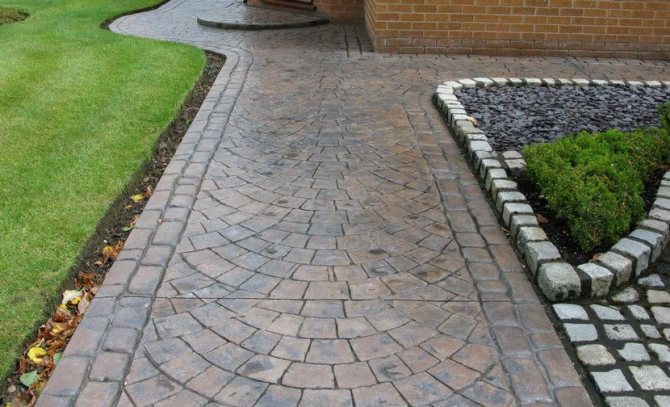
Country paths according to their functions can be divided as follows:
- the main... Connects the entrance to the main buildings and the house. The recommended width is 1.5–2 m.
- Secondary... They lead to the buildings at the summer cottage - farm buildings, summer toilet, bathhouse, pool, fountain, etc. Their optimal width is 0.5-1 m.
- Shallow paths, which connect the suburban areas and provide access to vegetable beds, flower beds, a fountain, etc. They should be unremarkable against the background of everything else. Their width is up to 0.5 m.
We recommend reading how to use expanded clay in landscape design.
When choosing a material for summer cottages, you need to take into account that it should be convenient for walking and moving garden equipment. You also need to ask about its quality characteristics, service life and price.
Depending on the material of manufacture, sidewalk tiles are:
- from natural stone;
- concrete;
- plastic;
- rubber.
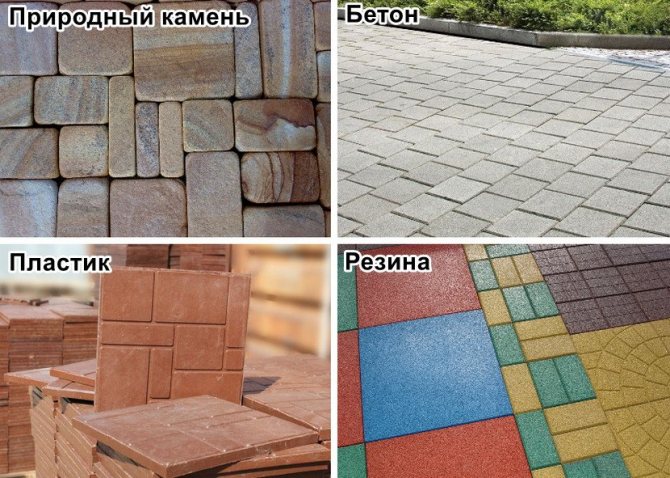

Of course, environmentally friendly natural stone is considered the best. It will be in perfect harmony with the country landscape. In addition, it has the longest service life. But the acquisition of such building material will significantly hit the pocket. The most acceptable option is concrete tiles. It has good characteristics, as well as different shapes and colors.
Perhaps you will be interested in reading about the ideas of landscape design for a summer cottage from scrap materials.
Such building materials are more affordable and the most popular. More modern are plastic tiles. They are lightweight, quick to install and inexpensive. This material can be large, shaped and small.
According to the method of production of concrete tiles, there are:
- vibrated;
- vibropressed;
- polymer sand.
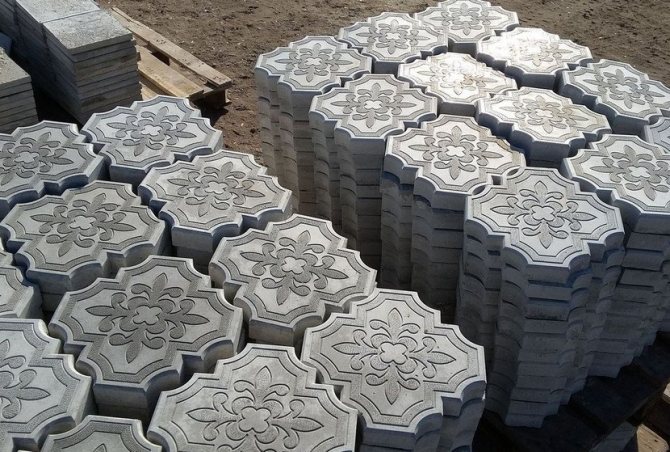

Experts recommend that when purchasing this sidewalk covering, pay attention to the following:
- Composition and method of production. This data can be found in the quality certificates.
- Thickness and dimensions. The height of the tiles is chosen depending on the degree of load. For walking paths, the thickness of the tiled element is chosen up to 3 cm, but for moving vehicles and equipment - at least 5 cm.
- Building material quality. Determined visually. There should be no cracks on it, and on the reverse side - various spots and inclusions. The composition of the material must be uniform.
Important! Avoid buying smooth tiles as they will be slippery. You should opt for options with a rough surface.
The most inexpensive are hand-made tile materials. But to produce them, it will take time, the necessary tools and materials. Then there is the plastic material, but it fades and cannot always be used all year round. Concrete tiles will be a budget and durable option.
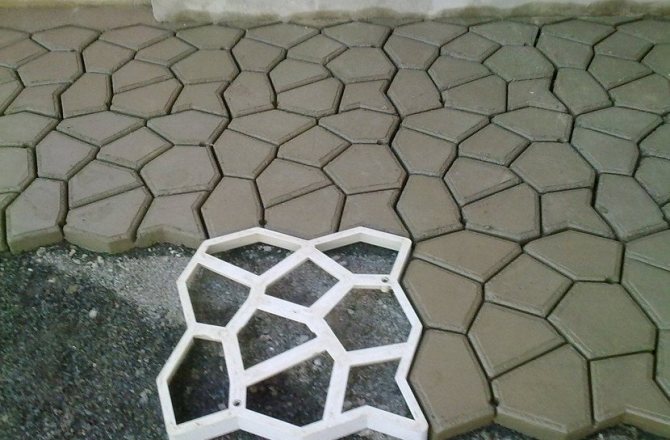

Standard shapes and sizes for paving slabs are as follows:
- Square... It is usually produced with a side of 30, 35, 40 and 50 cm.The latter option is rarely used for garden paths.
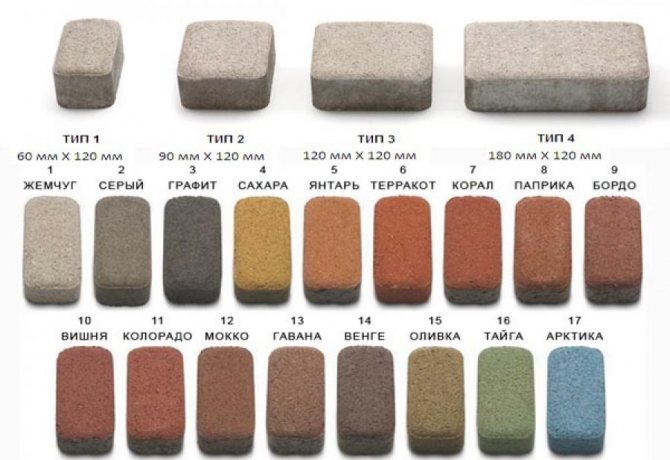
- Rectangular... This is a classic brick shape, similar to paving stones. The most common sizes are 20 × 10 cm and 25 × 12.5 cm. This is the most popular shape as it can be laid in a variety of ways.
- Curly... It can be of different shapes (honeycomb, clover, scales, wave, coil and many others). For example, a popular wave, which creates an imitation of a water flow when laying, has dimensions of 23 × 10.3 × 6 cm, 20 × 10 × 6 (4.5) cm.
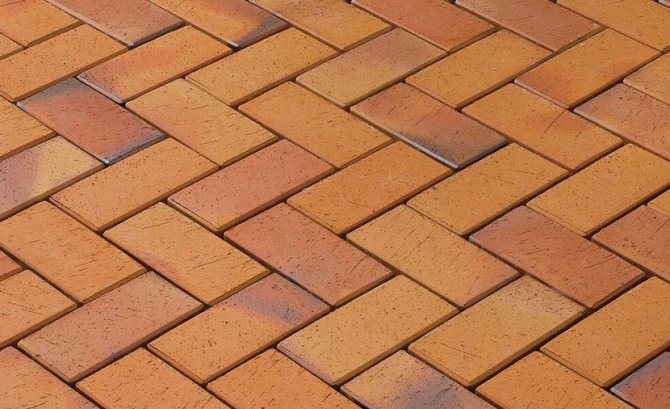

The most durable and expensive type is considered to be clinker tiles, made from refractory clay using firing technology. It is shaped like a brick.
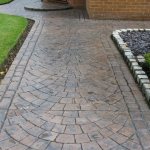
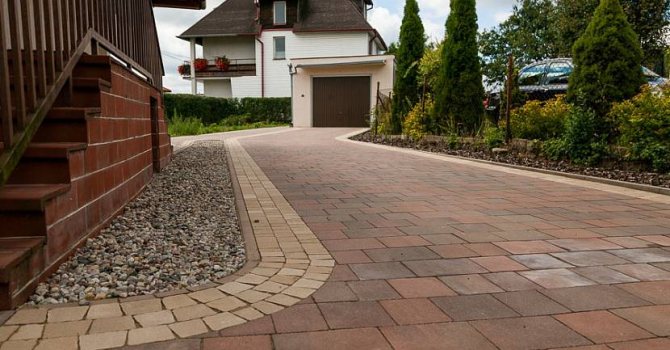
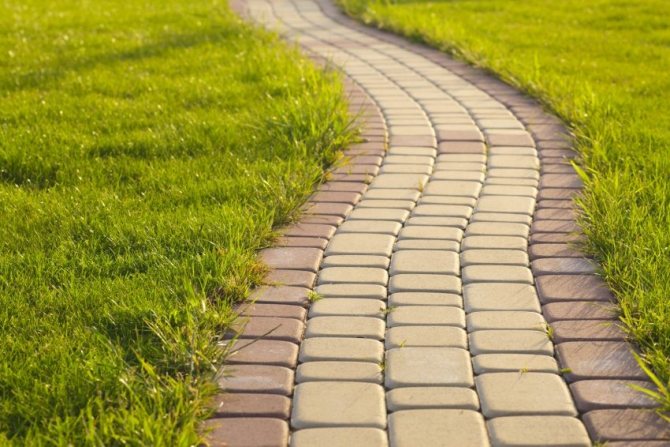
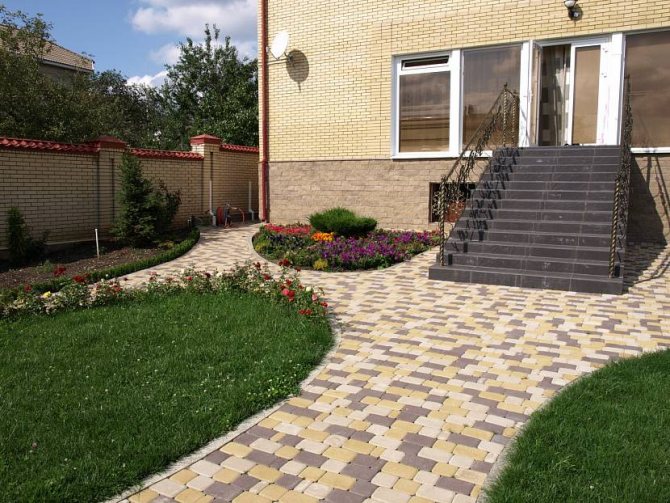
Paving slabs
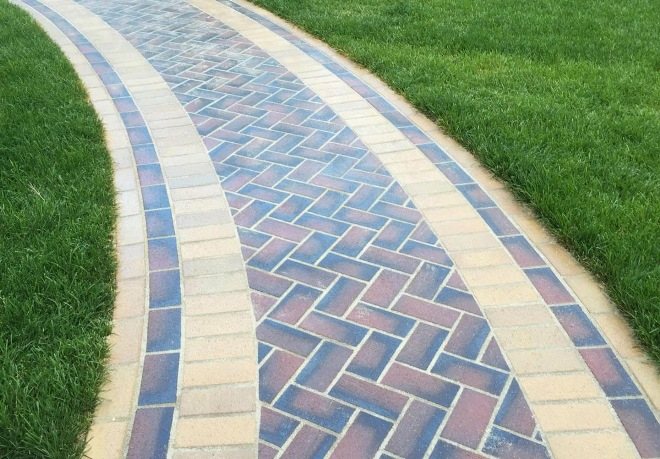

Paths made of paving slabs serve for a long time and look beautiful, but they can be damaged by hail or a fallen branch
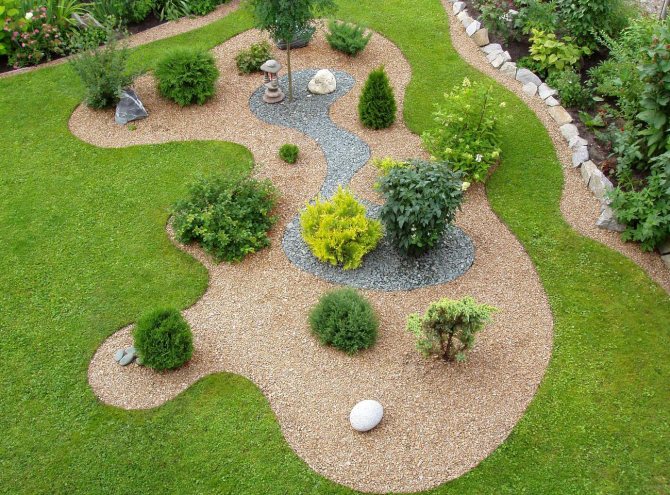

Colored gravel path
Paving slabs are one of the most popular materials for garden paths. This is due to the fact that it has a number of advantages:
- the tile survives temperature changes well, is not afraid of water and can calmly lie under the snow until winter, without changing at all;
- it does not fade in the sun, even if it lies on the most illuminated area;
- the material looks beautiful, and it has many color and pattern options;
- tiles come in different sizes - a large one is easy to lay, and a small one can be used to make a beautiful mosaic path that will look great in the photo.
Less cons: the price, which is high compared to the price of other options, instability against mechanical damage, as well as the complete absence of holes.
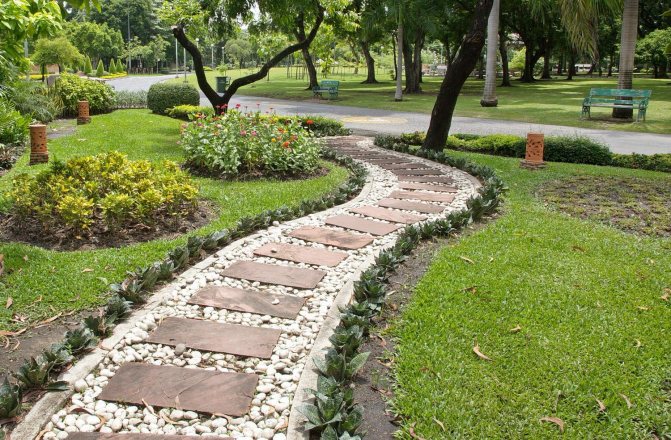

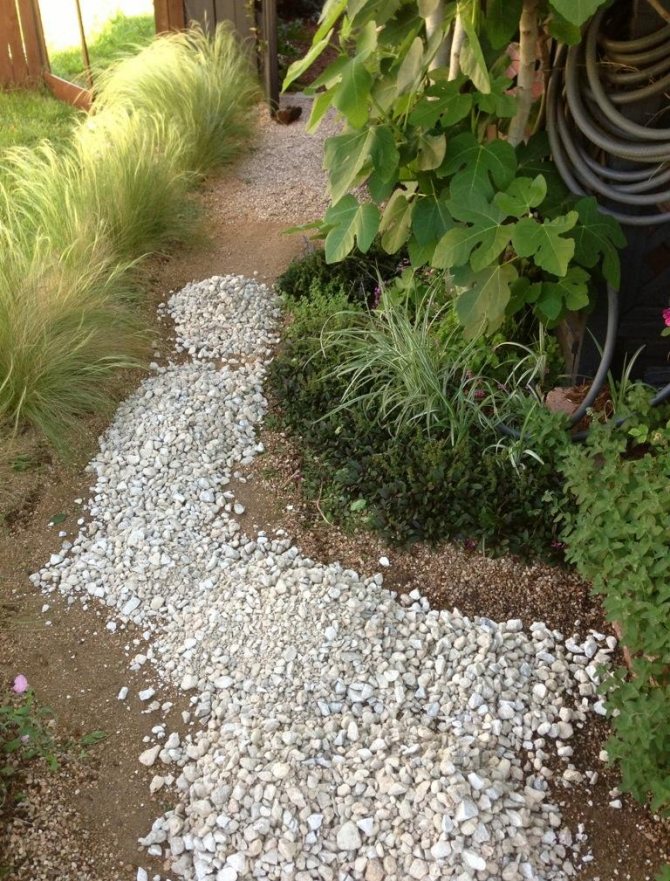
White gravel path
The tile does not allow water to pass through, therefore, it becomes wet and slippery during the rainy period. This is solved by purchasing a special tile, which is equipped with a rough surface, on which you will not slip. But it costs more.
Required tools
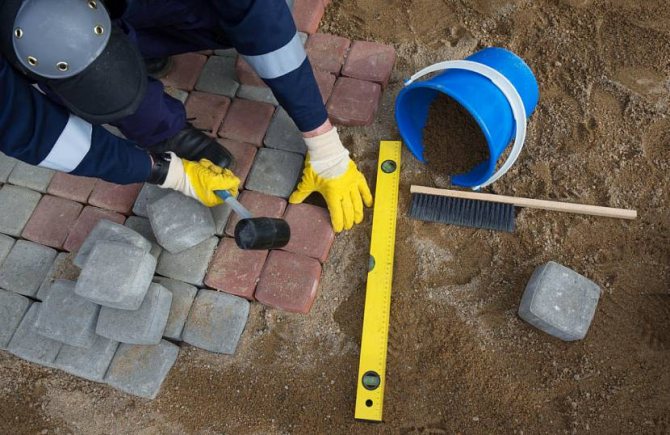
Before installing paving slabs, you need to prepare the following tools:
- pegs made of wood and a rope for marking dimensions;
- mallet (rubber hammer);
- garden rake and bayonet shovel;
- hose with a nozzle for irrigation;
- Master OK;
- building level (at least 80 cm) and measuring tape;
- grinder and disc (diamond-coated);
- manual ramming;
- a board of 5 cm or a bar in a section of 5 × 5 cm, length along the width of the track.


Plastic tiles
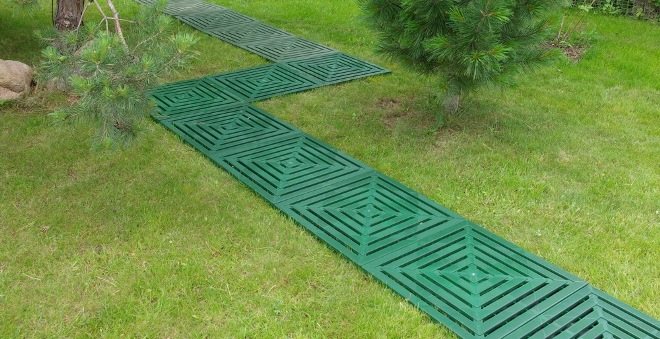

Plastic tiles look cheerful, but very cheap
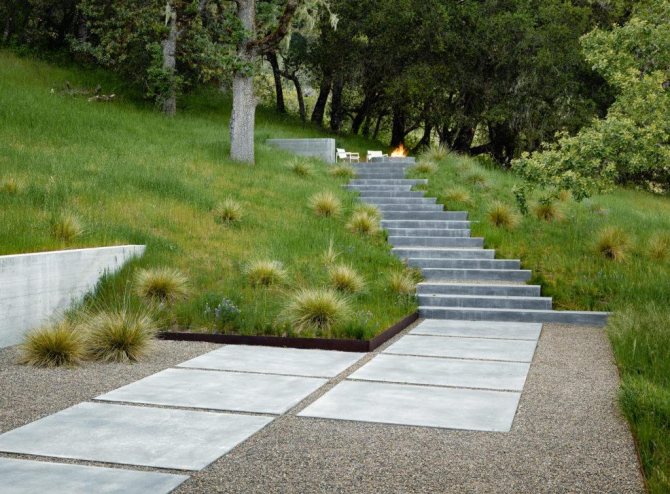

Slab and gravel path
This solution has a number of advantages:
- price - plastic tiles are cheaper than all other options;
- rough coating - you cannot slip on it;
- holes - plastic tiles are made so that it allows water to pass through and does not wash out the path;
- variety of colors - they are usually bright and cheerful.
But of course there are also downsides. First, the look. If plastic looks acceptable in the garden in the country, then next to a stylish country house it will look poor and inappropriate. Secondly, the lack of sustainability.


Fine gravel path
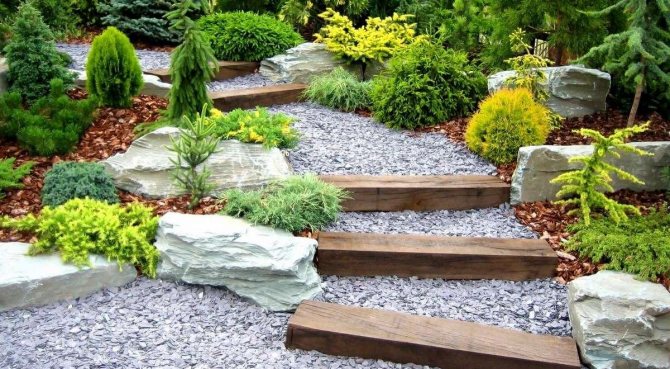

Alpine gravel slide
Plastic suffers from temperature changes and fades in the sun, especially if it was made in violation of technology. If the paths in the garden from paving slabs can last for several decades, then the plastic will have to be changed in five years. However, given its price, it will not be expensive.
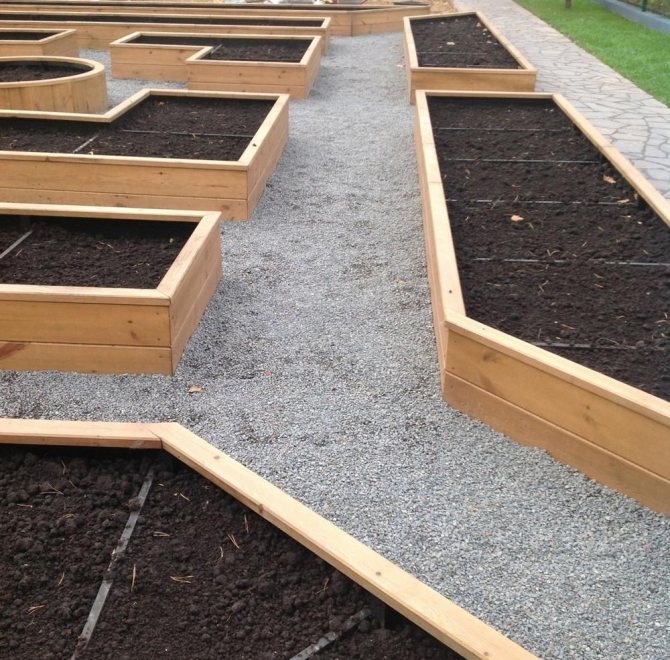

Gravel path in the country
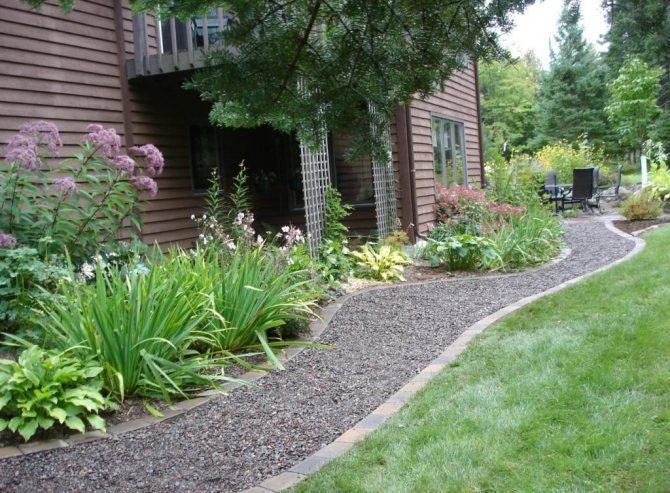

Gravel path around the house
Preparation of materials
It is necessary to purchase the following building materials:
- sand;
- granite crushed stone;
- geotextiles (if the soil is mobile);
- cement grade from M-400 and more;
- tiles and curbs for sidewalks.
Did you know? Pavement tiles were first mentioned in Holland in the early 19th century. Since natural raw materials for the construction of roads were expensive, local craftsmen were able to produce this building material from concrete for the first time. They laid out the road from Amsterdam to Harlem.
It is imperative to make sure that there is electricity and water. Work is recommended to be carried out in rubber knee pads and gloves. Previously, in order not to make a mistake in the calculations, you need to draw up a site plan and outline the location of future tracks. To calculate the number of paving slabs, you must first measure the entire length of the planned paths. But the width should be chosen depending on the size of the purchased building material in order to minimize waste for trimming and fighting.
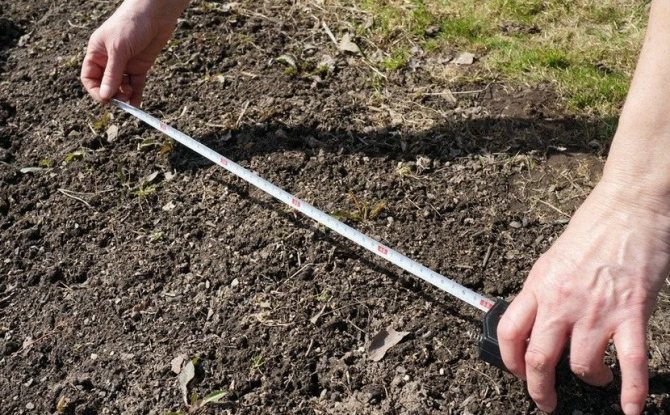

To calculate the amount of curb, the length of the track is multiplied by 2 and divided by the length of this material. The calculated amount should be added 20% to take into account the breakage and trimming of building products.
Clinker tiles
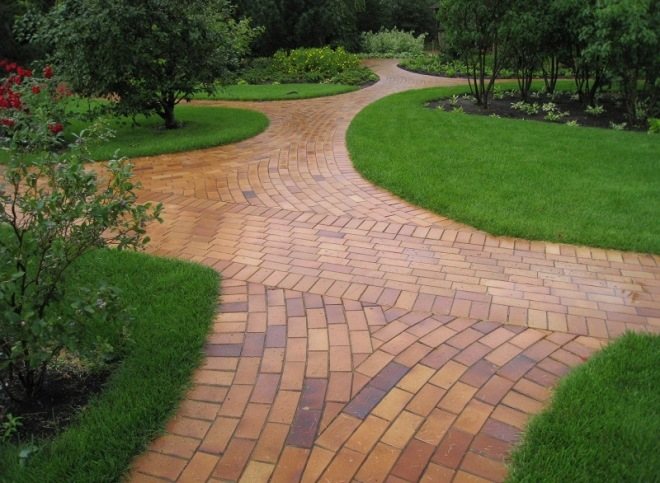

Clinker tiles are made from clay by firing, which gives them strength
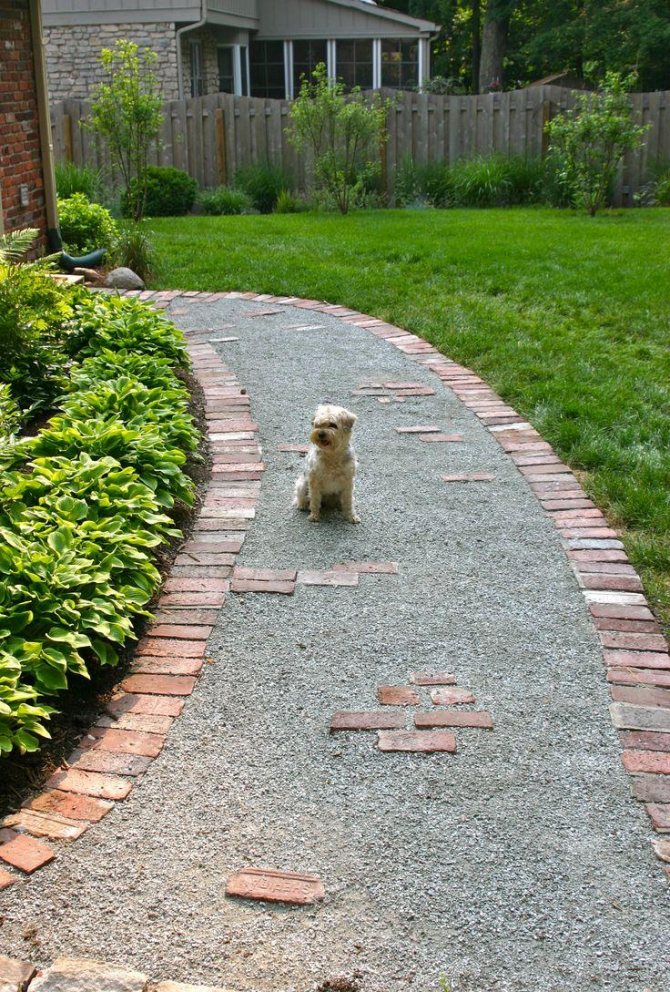

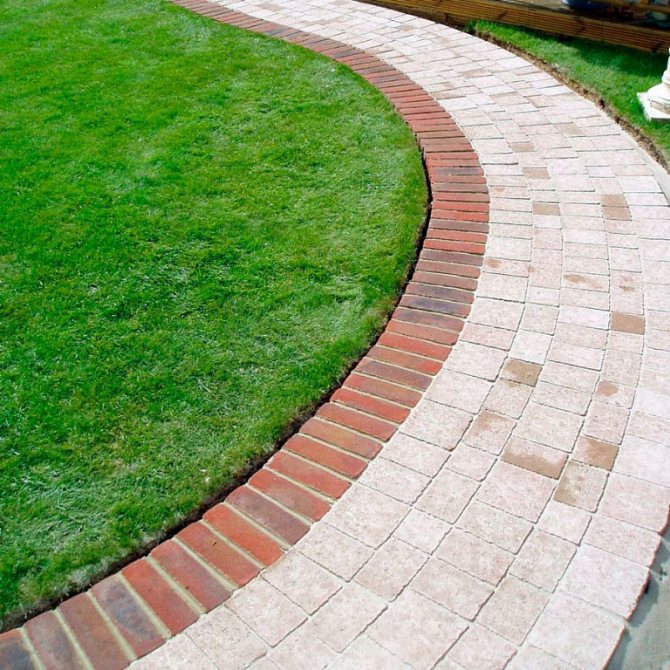
Gravel path with brick
This material was used to cover houses in the nineteenth century, in Holland, and sometimes used for paving sidewalks. Since then, the technology of its manufacture, as well as the list of advantages, has changed little. The pros are as follows:
- beauty - clinker tiles are bright, beautiful, and with its help you can make a mosaic path;
- stability - not afraid of temperature changes, partially passes water, does not suffer from abrasion and sunlight.
However, such tiles are more sensitive to mechanical damage than any other material. For example, pavement surfaces can survive hail. But clinker, most likely, will be smashed to smithereens. Moreover, it is expensive.
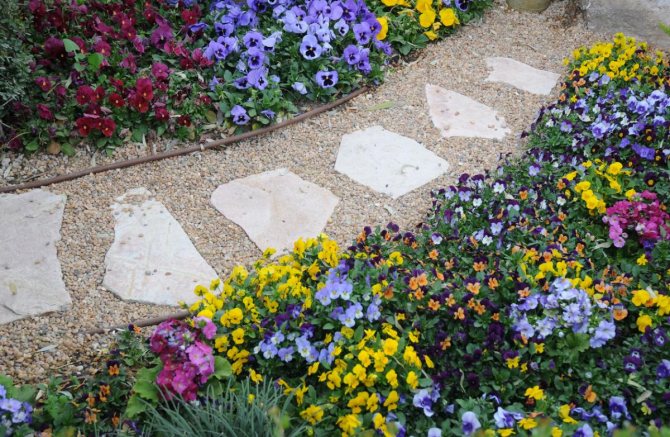

Gravel path in the garden
Construction stages
The construction of paths in the country can go according to a simplified type, when the material is laid on sand, and using cement mortar. In any case, first the place of laying is prepared and marked, the design of the sidewalk is chosen, and at the end of the work, the grout is done. Violation of construction technology can quickly render the coating unusable, so it is important to carry out this process properly.
Important! Before starting work, you should pay attention to the reliability of the soil in the place where the paths are laid. If it is mobile, then geotextile or cement-sand mixture with concrete should be used.
Site preparation
Preparatory work consists in the step-by-step implementation of the following actions:
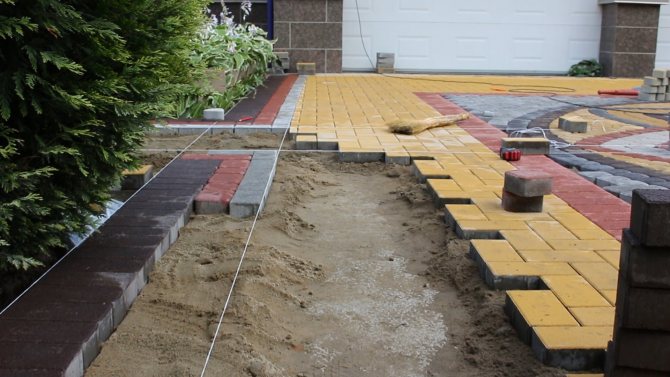
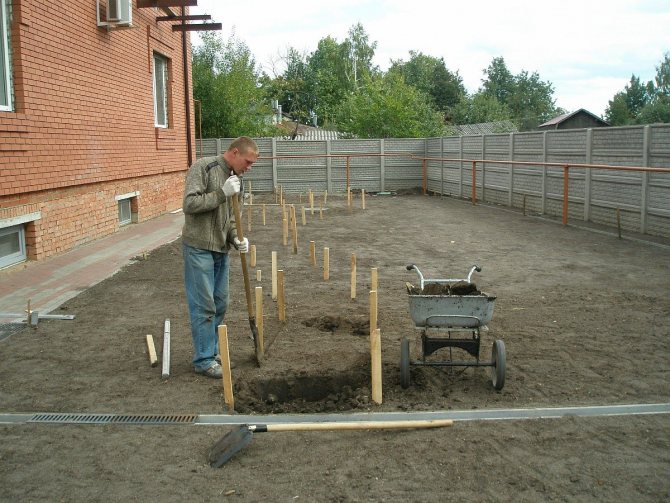
- First, markings are made using pegs and a rope. In this case, one should take into account not only the dimensions of the tiles and paths, but also the width of the borders located on its sides.
- The area along which the sidewalk will pass is cleared of plants and debris.
- In the marked place, soil 20-50 cm deep is removed with a bayonet shovel. These works depend on the load. For garden paths that will only be walked on, it is enough to remove the soil by 20 cm.
- The bottom of the recess is cleaned with a shovel and leveled, and then rammed. If it was not possible to get the rammer, then for this you can use a log or a homemade product from a wooden bar.
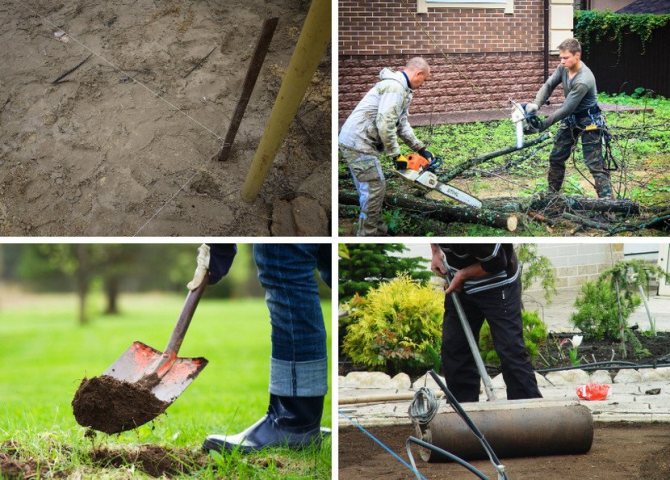

Reinforcing the edges of the track
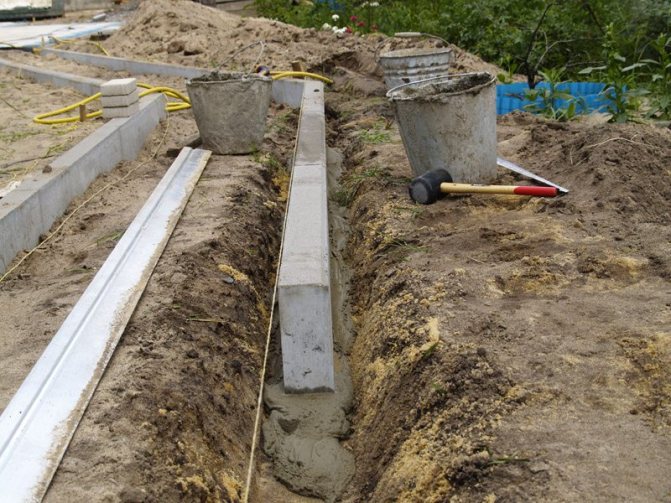
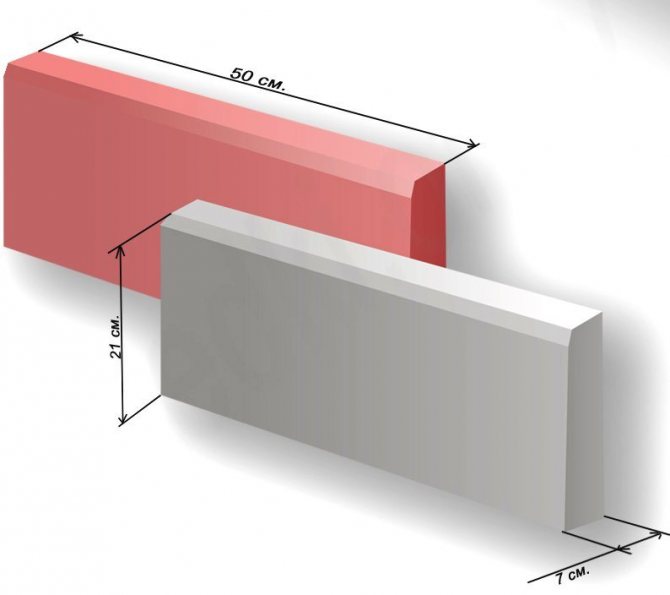
Borders are laid along the edges of the path. They protect the track from deformation and creeping. Curbs can be laid at the level of the tile or just above its surface. Heavy parts are deepened along the edges of the path at the beginning of work. It is recommended to plant them on a cement mortar. Small-sized curbs are installed after the slabs have been laid. In this case, the markup is done without taking into account their size. When the tile is laid, recesses are dug along the edges, slightly deeper than the height of the curbs. Their bottom is covered with a layer of sand. Then the curbs are hammered with a mallet. A small distance is left between them and the tile, equal to the size of the tile joint. It will be covered with sand.
Also learn how to create landscaping around a house with a porch.
You can strengthen the edges of the tracks without borders:
- Deepen the tiles with a surface at ground level. At the same time, the sides of the trench are additionally compacted, they play the role of natural formwork.
- Lay the corners welded together along the edges, treated with an anti-corrosion agent. Holes are drilled in them through which the pegs are hammered, securing them to the ground.
- Fix the extreme row with cement mortar. In this case, a beginner should choose a covering in the form of a large square or lay the slabs in parallel. In this case, up to 10 tiles are first laid out on the mortar from each edge, and then the space between them is filled.

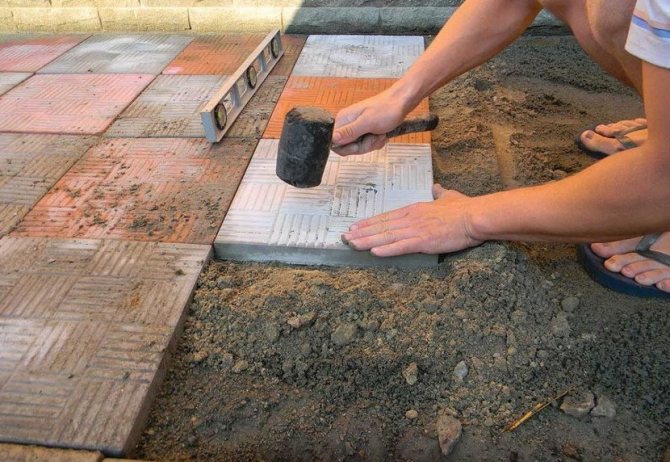
Laying sand cushion and tiles
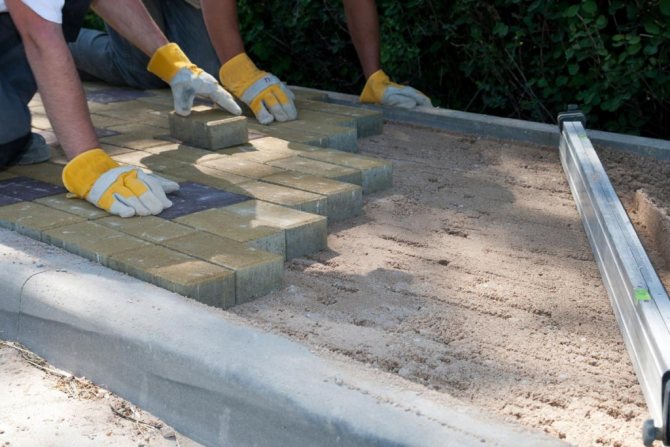
When the preparatory work has been carried out, a layer of sand from 10 to 20 cm is poured into the depression. For the access road, which will carry the load from the transport, a sand cushion or a layer of crushed stone of 20 cm is made. In this case, 2-3 cm should be taken into account for the subsequent shrinkage of bulk material. The poured sand layer must be leveled with a board and moistened with a shallow watering can. Then, after a few hours, align again.
Important! If a path or sidewalk is made against the walls of a building or structure, then a slope must be made. Otherwise, rainwater will erode their foundations.
It is optimal if the track has a slope of 5 mm for each running meter. At this stage of work, communications, storm drains, etc. are also equipped.

Choice of styling design
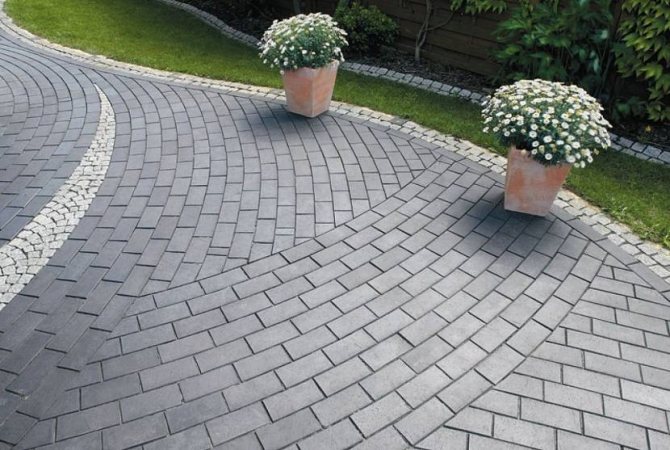
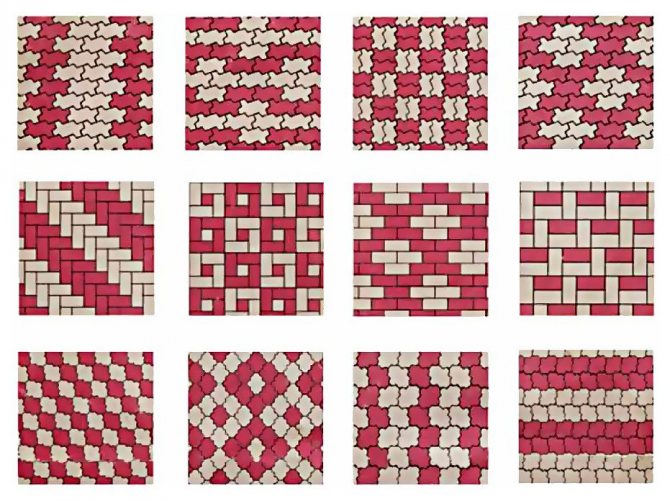
An interesting option would be to make tracks with patterns. This will decorate the suburban area well. But to create a styling design, you need to try and spend more time. The easiest way is rectilinear masonry. In this case, the elements should be mounted diagonally in order to better maintain the evenness of the horizontal line. When laying in a circular manner, you need to lay out the material from the center of the pattern, for this they acquire the appropriate tile. When creating a mosaic pattern from figured pieces, you need to buy more sand, since in this case the gaps between them will be larger than usual.
Check out the use of paving slabs in landscaping.
Step-by-step installation instructions
Tile installation is as follows:
- Tiles are pre-applied between curbs or markings.
- Tiles are trimmed for better joining of elements. It is carried out with a grinder with a diamond-coated disc.
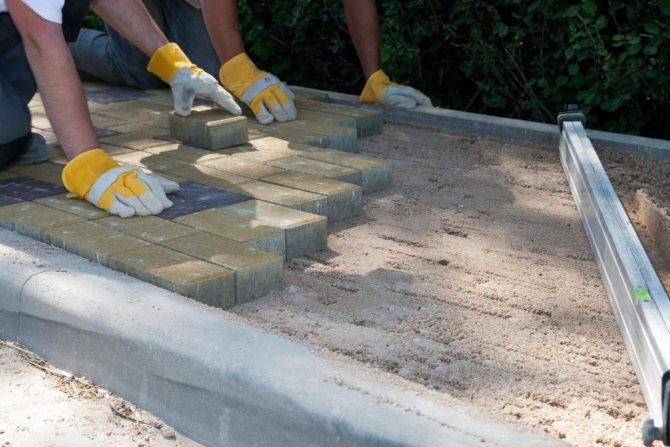
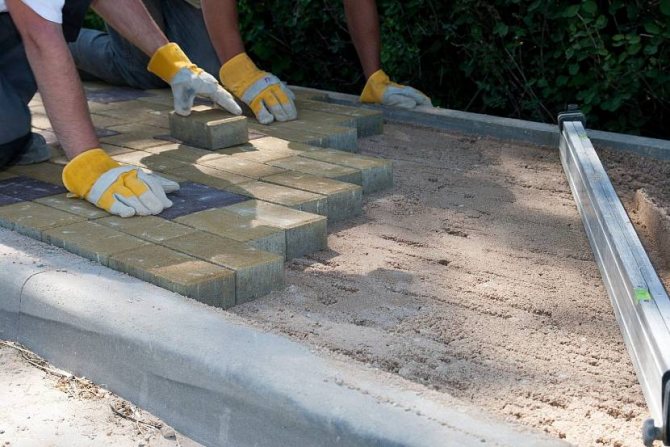
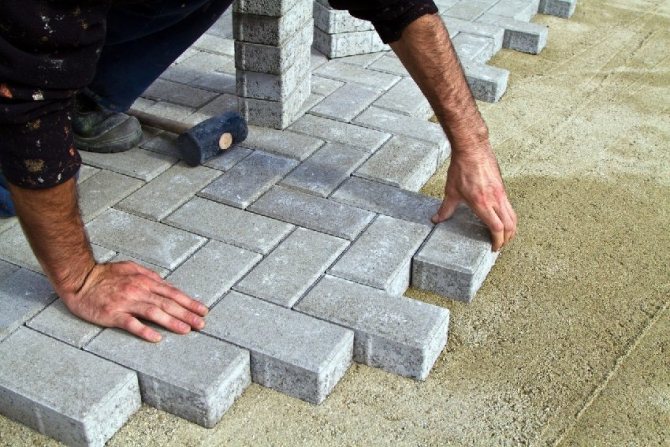
- Tiles are laid. If laying is carried out on leveled sand, then it is moistened before that. Then they pull the cord-ordering or put the guides. Rows are laid from the curb. The tiles are hammered into place with a mallet. To have even seams between them, you should use special "crosses". After each row, the level checks the evenness and slope of the laying. If some tile is not on the level, then it is taken out and poured or sand is removed.
Video: DIY laying paving stones on the sand
Sand laying is considered the easiest way. Professionals prefer to lay tiles on a cement-sand mixture, as heavy rains and melt water wash away the sand, and the coating begins to sag.First, a layer of fine gravel is rammed onto the prepared recess, and a mixture of sand and cement in a ratio of 3: 1 is laid on top of it and then leveled. Then the cement-sand cushion is moistened and the tiles are laid. If the terrain is unreliable and loose, it is recommended to add concrete.
Did you know? Mankind has known concrete for 4000 years. It was used back in Mesopotamia, and the ancient Romans used it in mass construction.
Grouting
ZThe finishing work is filling the joints between the tile elements of the tracks. For this, sand or cement-sand composition should be placed on top in a small layer. Such a flooring must be brushed into the voids between the tiles. Then you need to remove the remaining sand (cement-sand mixture) and pour them from a hose with a splitter. If after that the subsidence of the aggregate between the seams is revealed, then it is necessary to add sand into the formed voids.
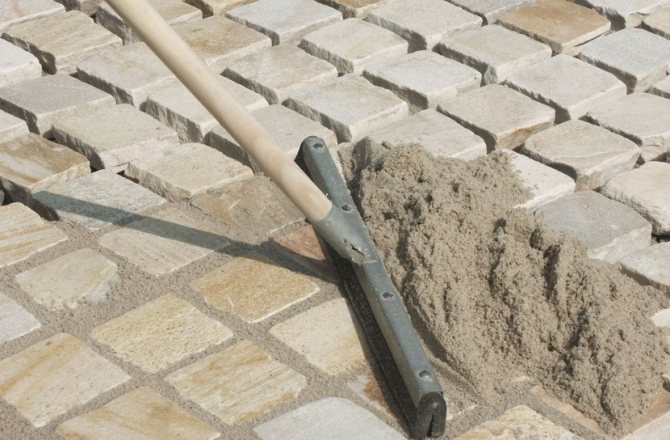

To increase the service life of such tracks, the tile material should be tamped after the grouting process. For this purpose, you need to use a vibrating plate (weight up to 100 kg). This procedure will make the surface smoother.
Tile laying recommendations
Tips from landscape designers who specialize in laying and decorating paths will help you avoid mistakes when doing the work yourself.
- If it rains at any stage of the work, it is important to cover the track with a waterproof material along its entire length. To do this, buy a thick film, which is 50 - 70 centimeters wider than the track. It is fixed with stones. To prevent water from accumulating, small trenches can be drawn in advance along the entire length of the future path.
- When ordering sand, it is important to take into account that the material can quickly settle if the work on the track is stretched for several days, then due to the night humidity and the hot sun in the daytime, the sand pillow will thicken faster and become thinner. In addition, in case of tile defects, sand will be required to create a flat trail surface. Therefore, it is recommended to order 30% more material than calculated.
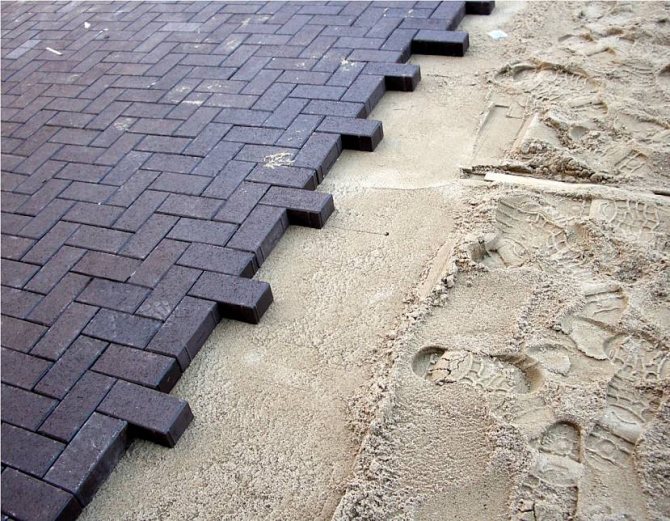

Paving the sand Source
- When leveling the trench, it is recommended to use a shovel moistened with water. Then, when the excess is separated, the earth will be compacted, the walls will become stronger.
- If there has been no rain for several weeks before the start of the development of the territory, it is recommended to water the entire space. This procedure is carried out twice: 18 and 9 hours before the start of work on the territory. Thanks to moistening, the walls of the trench will not crumble and quickly collapse.
- When compacting, it is important not to disturb the even top layer of sand, therefore it is recommended to walk on the ground without shoes. Feet will not leave rough marks on the surface like shoe soles. If a person's legs fall slightly or push through noticeable traces, then you need to reduce the amount of water when watering or increase the drying time.
- If the trenches are not strong enough, a small amount of concrete can be added to the first layers of sand. This will make the base more durable. If curbs are used, a mixture of building material and sand can be added between the blocks and walls.
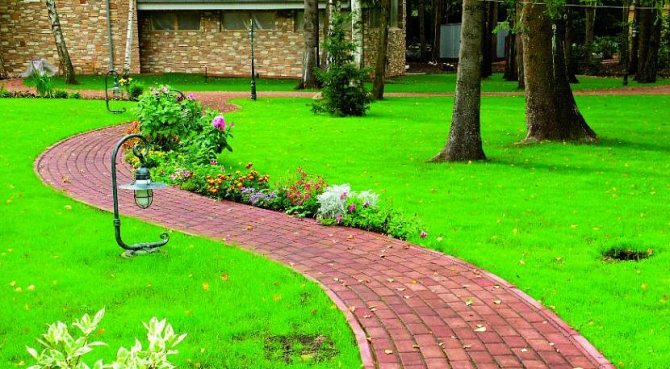

Landscape design
- When adding sand after installation, it is important to leave a few millimeters below the tile level. Due to this, when the paving stones settle, no mushy mixture will appear on the surface.
- In the first weeks, it is not recommended to use a broom with hard plastic or wooden rods. Much better is a straw broom that will not scrape sand from the joints. It is not necessary to clear the surface of the new path unnecessarily. The surplus of earth on the surface is gradually compacted between the tiles.
How to properly care for a tile track
In the future, tiled paths, so that they last longer, you need to properly care for:
- monitor their cleanliness - sweep, remove garbage;
- in case of heavy dirt, water with a hose;
- when cleaning snow drifts, do not use shovels and other metal household tools so as not to damage the coating;
- do not sprinkle with salt during ice, because when the ice melts, this substance spoils the tile;
- if there are places where the tile has risen, then it is necessary to remove it and shift it;
- for additional protection from moisture, you can carry out the treatment with a special solution - a water repellent.
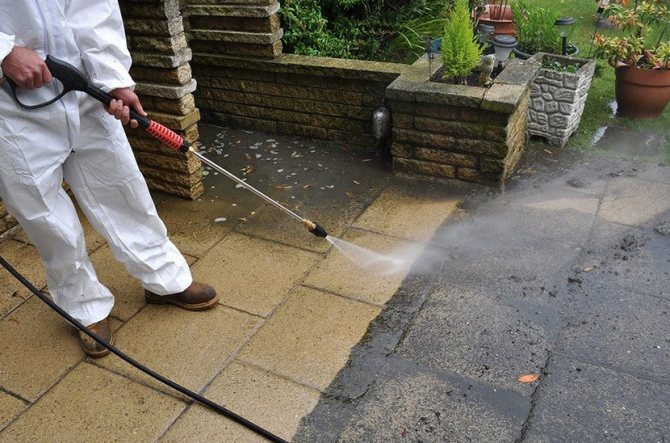

For laying garden paths, concrete tiles are most often used. You can lay it out with your own hands. Before work, you should draw up a site plan and pay attention to the quality of the soil. Then you need to choose a method of installation, calculate the consumption of materials, purchase them and get to work.
A natural stone
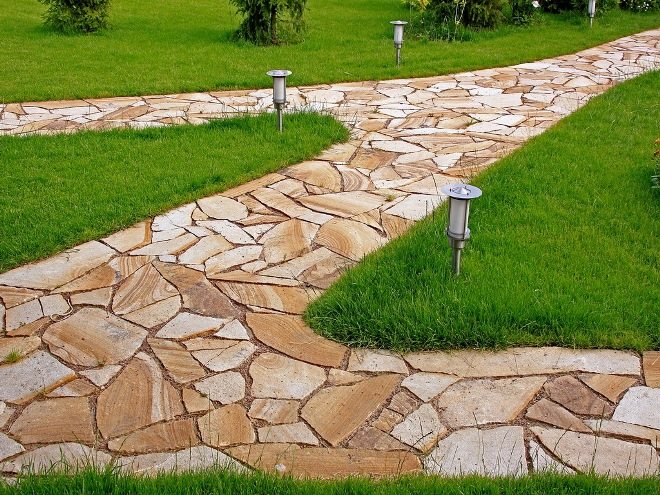

Paths were paved with natural stone in the gardens of eminent Roman patricians
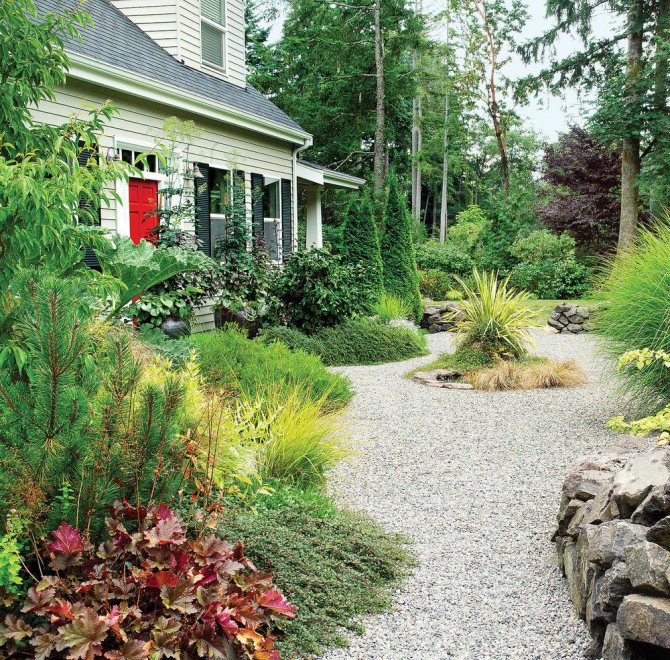

Gravel trail
Garden paths from natural stone have been made since BC. This is primarily due to the fact that previously they did not know how to make tiles from plastic and similar cheap materials. This is also due to the list of advantages that the stone has:
- real stone is a beautiful material that looks good next to any home, both in classic and modern styles;
- the stone is not sensitive to anything - it does not suffer from temperature changes, does not fade in the sun, water does not harm it, and even mechanical damage is not afraid of it.
However, there are also disadvantages:
- price - if you do not use the material at hand, then the stone will cost a lot;
- a specific appearance - yes, the stone is beautiful, but this beauty is discreet and not pleasing with variety, therefore it is not always appropriate;
- heaviness - you need to be able to deliver materials for the path, and then also make a foundation for them so that they do not go into the ground.
Stone paths can last for many decades. The maximum that you may need is to renovate the path itself from time to time so that the stone does not become overgrown with moss and does not sink into the ground.
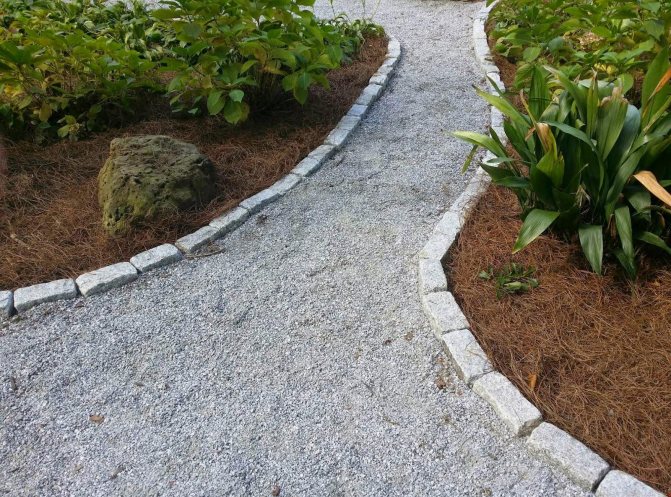

Gravel path with curb
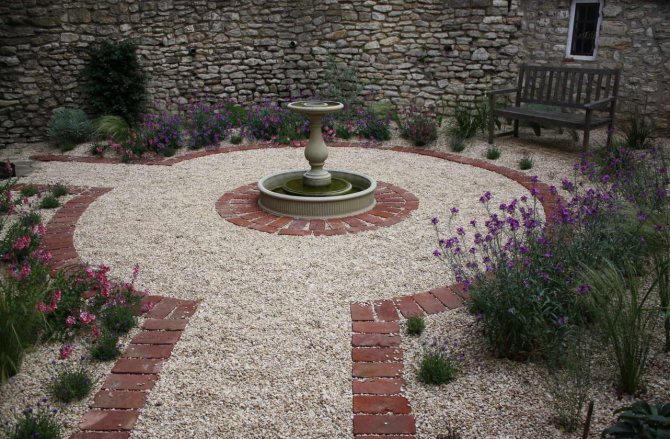

Gravel path near the fountain
Install curbs
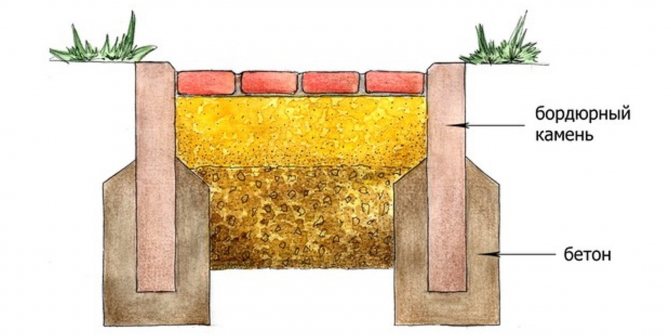

Paving slabs are a relatively mobile surface, therefore, curb stones are always installed along the edges of the paving. They do not allow it to creep apart due to the heaving of the soil. To fix the curbs themselves, they are installed on concrete. The height of the curb can be either higher than the tile or flush with its surface.
- Use a shovel to dig small trenches a bit wider than the curb on either side of the site.
- Prepare a mixture from the following calculation: 1 bucket of cement, 3 buckets of sand and 2 buckets of rubble. Add a little water to keep the solution thick and not spread.
- Place the mortar in the trenches and place curbs on top.
- Set stones on the concrete by tapping with a rubber mallet and align with the cord to the desired height.
- Wait 24 hours for the material to harden.
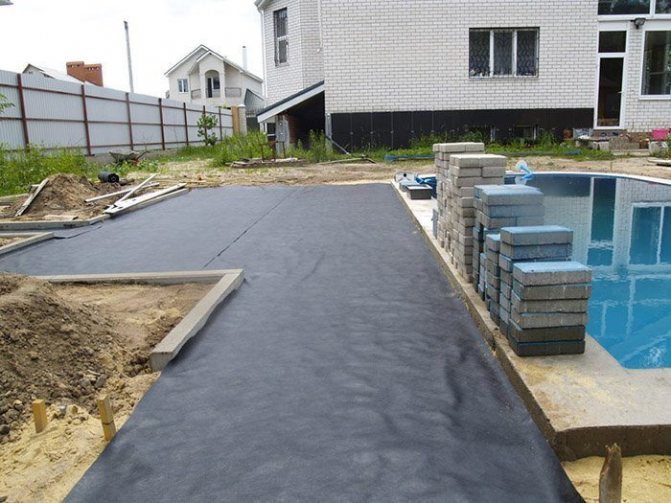
Stage 4. Backfilling of rubble and laying of geotextiles
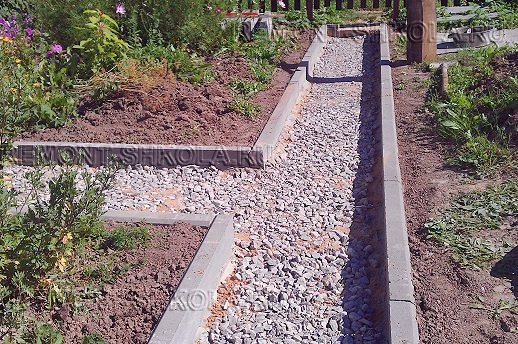
The next layer is crushed stone 10 cm. Note that gravel is not used for the construction of paths. It is round in shape, so it does not "work" as a single layer. The crushed granite used for my walkways is a different matter entirely. It has sharp edges that interlock. For the same reason, crushed gravel is suitable for paths (that is, the same gravel, but crushed, with ragged edges).
Crushed stone of 5-20 mm fraction was purchased. If you use a larger fraction, then you can not lay the second layer of geotextile, but get by with one geogrid. It will prevent sand mixing with gravel. But in my case, there is just such a fraction, and the geotextile has already been laid.
So, I spread the crushed stone with a wheelbarrow evenly along all the paths, and then - leveled it with a modified hoe. Since at this stage the curbs have already been installed, I redid the leveling rail for the hoe - I cut out grooves at the ends, which can be used to rest against the curbs.The grooves should be such that the bottom of the rail falls on the planned level of backfill. Then, moving the rail along the backfill, it is possible to stretch the layer, align it to the desired level.
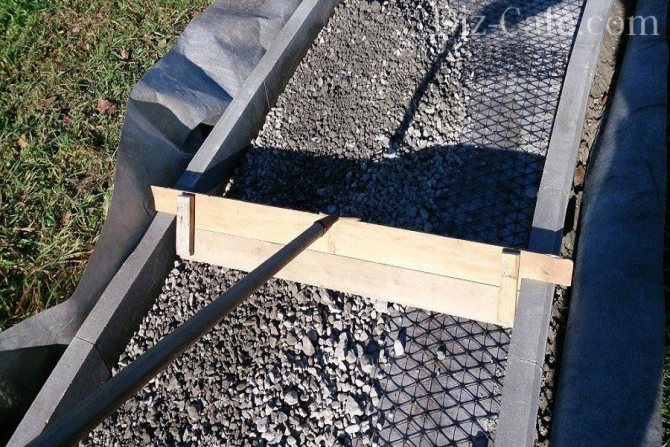

Leveling the crushed stone layer with a lath with cut grooves
He tamped the layer with a vibrating plate.
On top of the rubble - geotextile. This is already its third layer, which is necessary to prevent mixing of the next layer (screening) with crushed stone.
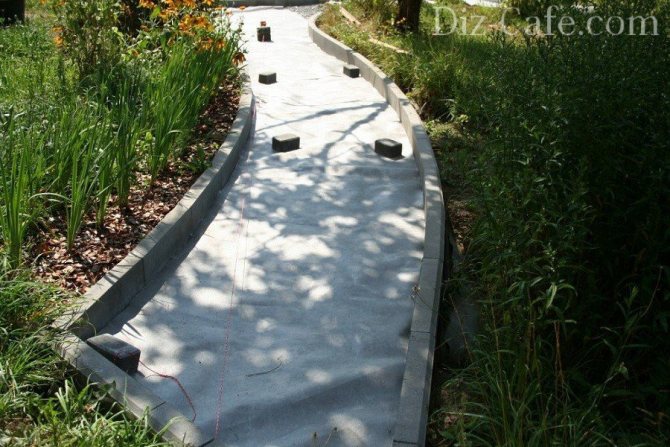

Laying the third layer of geotextile
Make a pillow
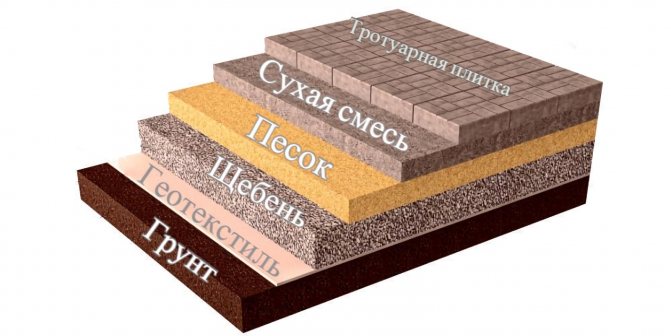

Paving slabs are laid on a well-compacted cushion. There is enough sand for pedestrian garden paths and areas, driveways to the garage and parking lot are additionally reinforced with a layer of rubble. Also, a gravel pad is used at a high level of groundwater, acting as a drainage and preventing heaving. Sometimes geotextiles are laid between the soil and the backfill for greater strength and protection against root germination.
How to make a walkway pillow
- Lay geotextiles on compacted soil (optional).
- Pour sand into the trench and dampen it with water.
- Compact well with a rammer to obtain a layer of 15–20 cm.
- With sufficient density, there will be no shoe marks on the sand.
How to make a pillow for a platform under a car
- Lay geotextiles on compacted soil (optional).
- Smooth out the bottom of the trench with a thin layer of sand and compact thoroughly.
- Fill with medium-sized crushed stone and compact to obtain a layer of 20–25 cm.
- Sprinkle with sand on top, moisten and tamp to a layer of about 5 cm.
Common mistakes
The main mistake when paving a path is the lack of compaction of the material. As a result, there is a displacement from the original position and a violation of the appearance of the track.
Also, the list of common mistakes includes the following:
- Wrong choice of material. Buying the wrong type of paving stone can lead to deterioration due to external influences due to poor quality.
- Lack of sealing. The free space between individual elements often causes a deterioration in the strength of the track.
- Violation of aesthetics. Combining different types of material, it is not always possible to make a beautiful track, therefore, before performing the work, it is worth preparing a project and carefully considering the design.
Sand leveling device
After the installation of the supporting layer of the basement of the summer cottage, the distance from it to the top of the curb stone (the plane of the path) should be about 10 cm (3 cm - a leveling layer of sand and 7 cm - paving stones). First you need to lay a leveling layer of sand.

The guides along which the sand layer is leveled, in our case, are the curbs. We make two simple fixtures with different heights of the lower plank (No. 1 - height 4 cm and No. 2 - height 6 cm).
Important: the height of the planks depends on the thickness of the tiles! If the thickness of the tile is not 7 cm, but 6 cm, then the height of each lower plank is increased by 1 cm. And so on.
We scatter sand over the entire surface of the supporting layer of the foundation. We align with the 4 cm high plank No. 1. We ram the entire surface.
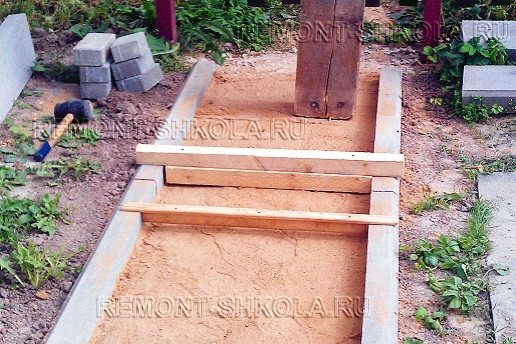

As a result, we get a relatively flat surface of the leveling layer of sand with a distance from it to the top of the curb stone of about 5-6 cm.
Stage 1. Marking and excavation for paths
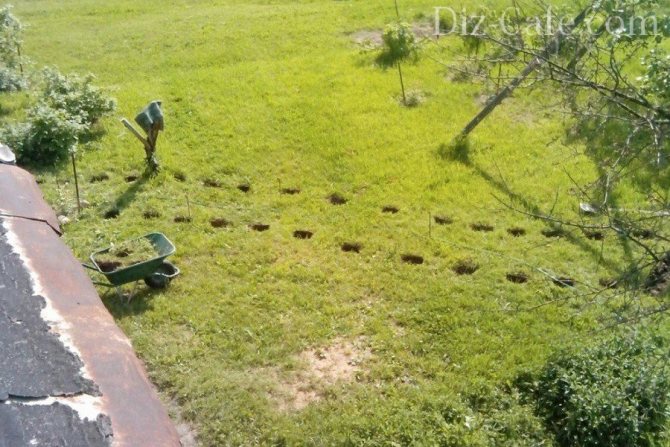
My paths are curved, so it is problematic to use ordinary rope and pegs, as recommended in the literature for marking. The solution turned out to be simple. For shaping, you need to use something flexible, for me a rubber hose turned out to be a suitable marking material. With the help of it, I formed the outlines of one side of the path.
Then I applied a flat rail to the hose and marked the other side of the track with a shovel. Then he “gnawed” pieces of turf in cubes with a shovel on both sides of the path, they served as a guide for further digging a trench.

Sod cutting along the contours of the tracks
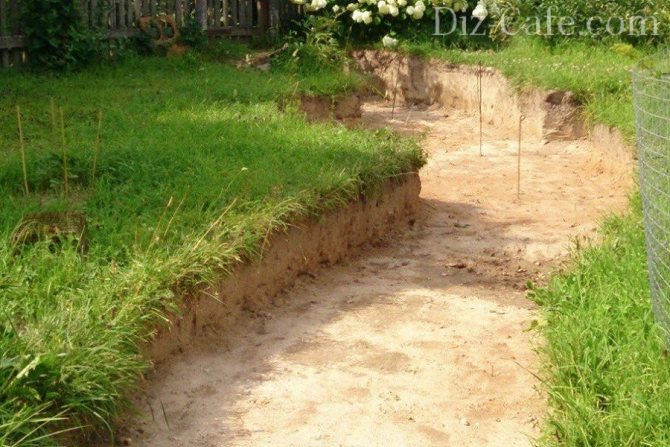
It took several days to dig the trench, at the same time it was necessary to uproot 2 stumps and a currant bush, which, to their misfortune, were in the path of the future path. The depth of the trench turned out to be about 35 cm. Since my site is not perfectly flat, an optical level was used to maintain the level of the trench.

Dug trench

