Clematis in the fall must first of all be prepared for the upcoming wintering. But many lovers of these flowering lianas have a whole series of questions related to what can and should be done with plants at this time of the year.
Here is some of them:
- How to plant clematis in the fall.
- How to transplant clematis in the fall.
- Is it possible to propagate clematis in the fall.
- How to care for clematis in the fall.
Let's take a closer look at each of them. Let's start with the first one.
How to plant clematis correctly
In order for clematis to delight you with abundant and long flowering, special attention should be paid to the correct planting of the plant. At the same time, four points must be strictly observed: choose high-quality planting material, choose a suitable place to place the vine, strictly observe the planting algorithm itself and provide the transplanted plant with optimal care.
Note: As a rule, already grown seedlings with a developed root system are planted in open ground. Such plants take root much faster and begin to build up green mass. At the same time, flowering should be expected no earlier than the second year of the culture's life, since in the first year it increases the green mass and develops the root system.
When the planting material is selected, you can proceed to the rest of the landing activities:
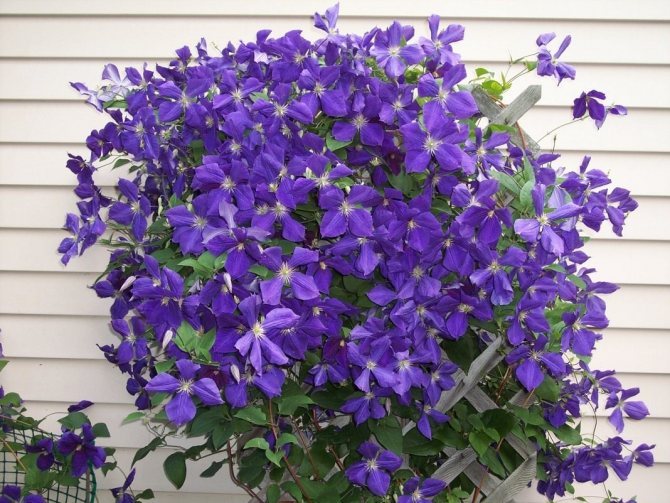
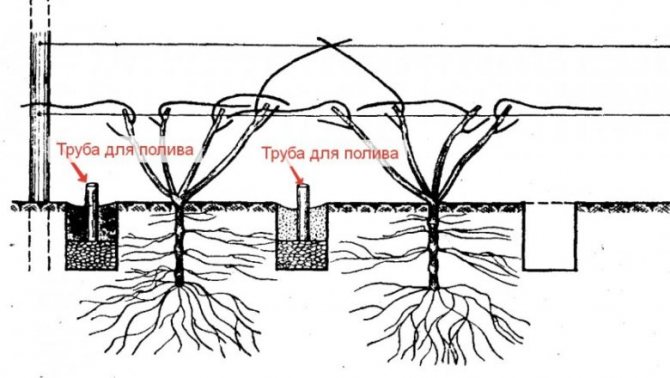
- Finding a suitable place: the area on which the decorative liana will grow should be well lit by the sun. Without observing this condition, you should not wait for abundant flowering. It should be borne in mind that most varieties of clematis do not tolerate overheating of the soil, so the rhizome should be in the shade. To do this, it is advisable to plant the liana on the southern or southwestern side of the site, or shade the near-stem circle with flowering annuals. It should also be remembered that the decorative liana does not tolerate moisture stagnation at the roots. Given this feature, the landing is carried out in areas with the lowest possible groundwater level. If you want to plant clematis near a wall or fence, try to retreat 40-50 from the roof so that the rainwater, flowing down, does not stagnate at the roots (Figure 1).
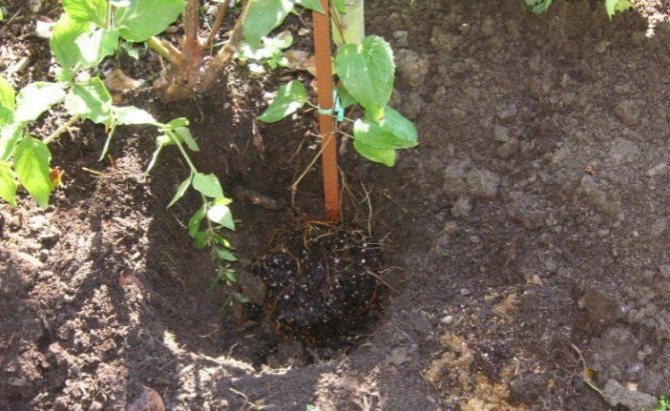
- Direct fit: at this stage, it is necessary to properly prepare the landing hole. Since clematis can grow in the same place for more than 20 years, this stage should be taken with full responsibility. The depth and width of the hole should be 60 cm. A 15-cm layer of drainage must be placed on its bottom, which will drain excess moisture from the roots. In addition, it is advisable to plant the seedling in fertile soil, which will provide the plants with all the necessary nutrients during the first year of life. To do this, take fertile garden soil, peat, sand and manure, and mix them in the same ratio. About a liter of wood ash and 100 grams of complex mineral fertilizer are added to the finished mixture. a small mound of the prepared substrate is poured into the center of the planting hole, a seedling is placed on it, the roots are straightened and sprinkled with the remaining soil. Further, the soil must be compacted and watered well.
- Further care: since in the first year after planting, clematis receives all the necessary nutrients from the fertile substrate introduced into the hole during planting, special feeding is not carried out in the first year of the plant's life. Care is limited to regular watering, periodic loosening of the soil and mulching the trunk circle with organic materials. The last measure will help protect the soil from drying out and stop the growth of weeds.
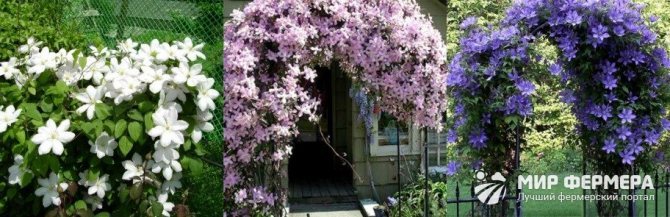
Figure 1. Liana is planted next to buildings or specially installed supports In the first year after planting, it is very important to ensure that clematis does not begin to bloom. To do this, absolutely all formed buds are removed from the plant. If this is not done, the shrub will spend energy on flowering and it will be much slower to build up green mass. It is better to wait a year and remove all the buds, and then the culture will become truly lush and beautiful by the next season.
Algorithm of actions
The transplant is performed in several stages:
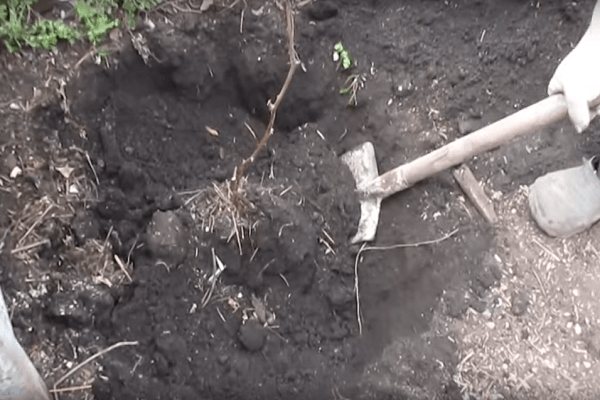
Planting pit preparation
A pit measuring 60x60x60 cm is dug out about three weeks before planting, or earlier. Drainage is laid at the bottom: broken brick, expanded clay, coarse sand or crushed stone.
Then a special soil mixture is prepared, consisting of the following components:
| Component | number |
| Humus or compost | 2-2.5 buckets, for light soil you can take a little more |
| Peat | 1.5 buckets |
| River sand | 1.5 buckets |
| Ash | 100-200 g |
| Complex mineral blend | 100-200 g |
Attention - you cannot use fresh manure, it will burn the roots!
The prepared mixture is mixed with earth in a ratio of 1: 1, after which it is poured into a pit and allowed to brew.
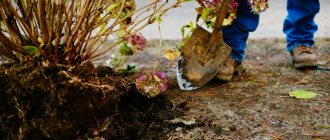
Digging and preparing the bush
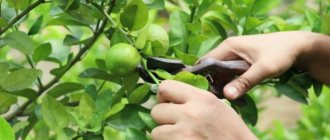
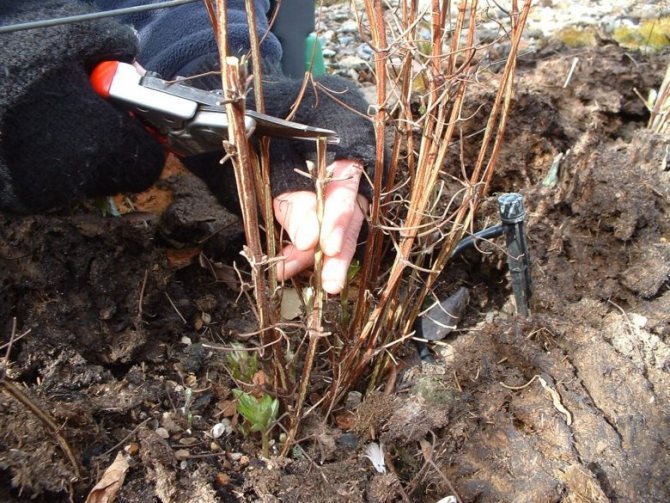
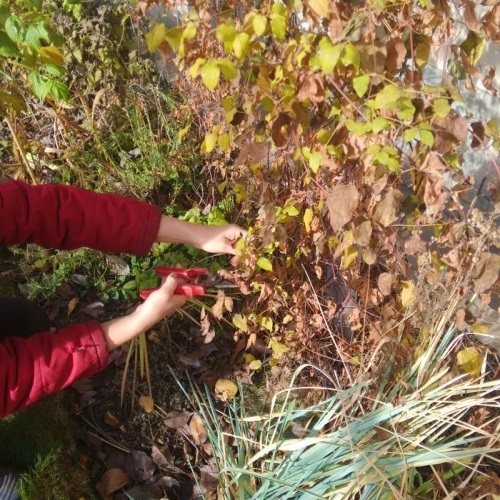
If we are talking about transplanting an adult plant, first of all, you need to prune: until the roots take root, the long stems will still not receive enough nutrition and moisture. The cut is made over the first or second pair of buds, about 10 cm from the soil surface.
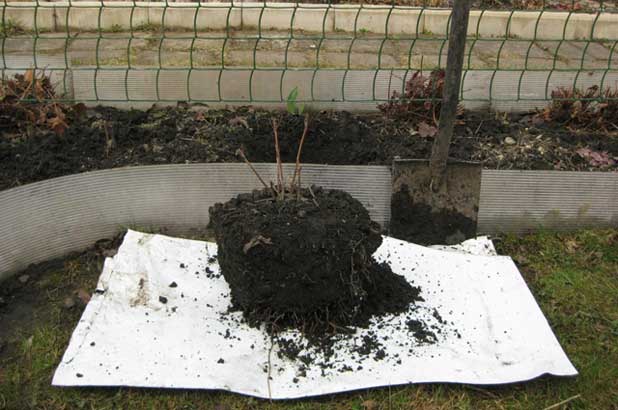
The root system of an adult clematis is very powerful and large, so it will not be possible to completely preserve it. Dig in a bush in a circle with a diameter of 50 cm on one bayonet of a shovel, pry it from below and, if possible, completely transfer the earthen ball to a new place. To prevent it from scattering, wrap it in burlap or strong plastic wrap.
There are times when new shoots sprout from scraps of roots left in the old place.
If, after removing the coma, you see that hanging from it individual long roots, it is better to prune themotherwise they are more likely to break and rot.
When replanting a flower due to its disease, shake off the soil, then rinse the roots and treat them with a fungicide or insecticide, depending on the type of problem. You also need to carefully examine the plant and, if necessary, cut off rotten and dried out areas.
A 5-6 year old bush consisting of 4 or more stems can be divided into parts during transplantation and used for propagation. Moreover, each delenka should have well-developed roots, at least 2 shoots, or at least a few buds on the root collar. The procedure is carried out as follows:
- Shake off the ground from the roots, and then carefully untangle them with wooden chopsticks or a small peg (not a sharp object).
- The bush is cut with a sharp, disinfected knife.
- Sections are processed with crushed charcoal.
- The cut roots left over from another site are removed from each delenka.
You will find a detailed description of the various methods of vegetative propagation of clematis in the article on our website.
Disembarkation to a new location
Clematis is planted deeply: for seedlings and young plants, 10-12 cm will be enough, so that 2-3 lower buds disappear, for adult bushes - 15-18 cm. Full-fledged lashes later grow out of internodes that are underground.Some gardeners note that if the plant has been divided, it can not be deeply buried, but it is enough only to huddle the root collar.
Note - green shoots should not be buried so that they do not sop and rot.
There is an opinion that to get a very lush bush, you need to wrap a small whip around the roots and dig it in completely.
When transplanting a bush with an earthen lump, it is carefully placed in a prepared hole. In another case, a mound is poured at the bottom of the recess and open roots are spread around it, after which they are gradually sprinkled with earth, making sure that no voids remain.
At the end of the procedure, the plant is watered abundantly around the perimeter of the planting pit. You can also use a warm solution of potassium permanganate for concomitant disinfection. After that, it is advisable to loosen the soil and mulch.
It may take a flower a year to adapt to a new place, sometimes two. note that hybrid varieties with a tap root system respond the least to transplanting and in a new place they can get sick for a long time or not take root at all.
Transplanting clematis is a matter that requires accuracy and careful implementation of the rules. Nevertheless, with the proper approach, the plant will grow stronger and again delight you with abundant flowering.
Further care of clematis
After planting, the plant needs further care: a garter to a support, watering, fertilizing, pruning shoots.
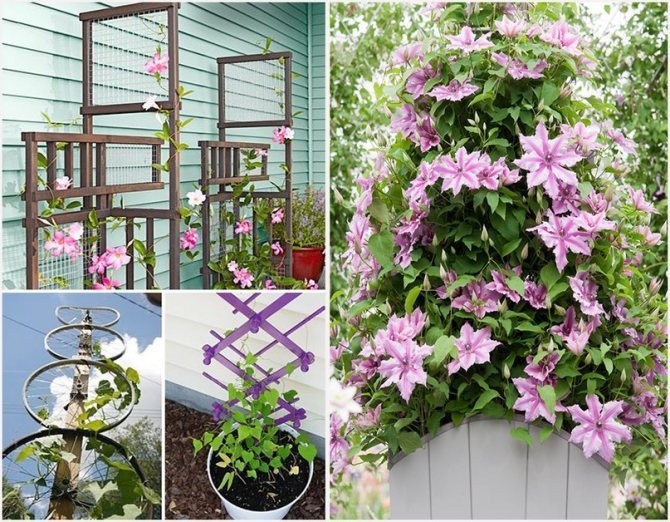
In spring and summer, shoots are tied to supports. Otherwise, they are chaotically intertwined with each other. Care must be taken to ensure that the branches are not damaged or infected. Supports are installed before planting or immediately after planting. Otherwise, there is a possibility of damage to the root system.
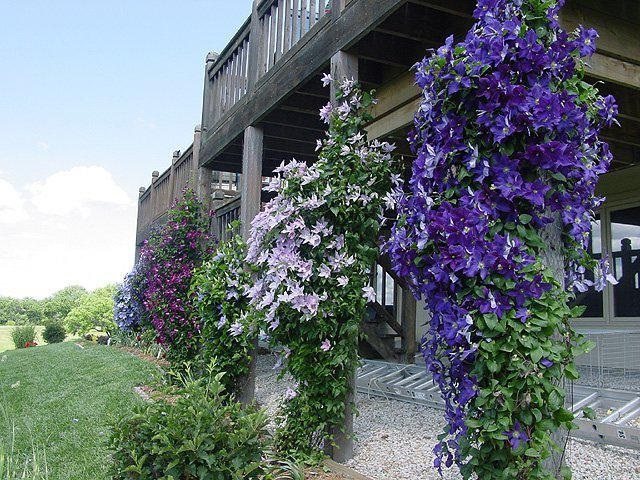
Ready-made buildings for sale. Most gardeners make their own special pyramids, arches, stuff a large metal mesh or wooden mesh structures on the wall of the building. The growing shoots are first tied up and directed along the support.
The supports must be strong, but no more than 1 cm thick in diameter.
It is recommended to regularly loosen the soil around the bushes, remove weeds, last year's cut shoots and leaves.
Watering
The plant needs weekly watering in spring and autumn, in summer - 2-3 times a week. A young bush needs at least 20 liters of water, a mature one - up to 40 liters. Drip irrigation is effective.
Mulching the soil allows you to retain moisture longer, excludes the appearance of weeds.
Top dressing
Clematis need regular feeding. Before carrying out these works, the site is watered.
During the season, at least 5 dressings are required:
- Late April-early May carry out the first feeding with ammonium nitrate (20 g per 10 l of water). 5-10 liters of fertilizer are poured under each bush. Depends on the size and age of the bush.
- After 7-10 days, an infusion of mullein (1:10), fermented grass (1:10) or chicken manure (1:15) is used for fertilization. In the absence of organic fertilizers, a urea solution is used (10 g per 10 l of water).
- Two weeks after the second feeding, they are watered with complex fertilizer. You can take 1 tablespoon of “Kemira universal”, dissolve in 10 liters of water. It is advisable to alternate the application of mineral fertilizers with organic ones.
- The fourth feeding is carried out with the onset of budding - with phosphorus-potassium fertilizers.
- The last top dressing with a full complex fertilizer is after the end of flowering and pruning.
Attention! Shrubs do not fertilize during flowering. Flowering time is reduced.
Between the second and third dressings (in May) it is useful to pour the milk of lime. Dissolve 100-150 g of lime in 10 liters of water. Use on 1 square meter.
In the summer, for monthly dressings, a weak solution of boric acid (1-2 g) and potassium permanganate (2-3 g) are used per 10 liters of water. Shrubs are sprayed with urea (½ tablespoons are dissolved in 10 liters of water).
How to plant clematis seeds
There are many ways to breed clematis. A young plant can be obtained by grafting, dividing an existing bush, or by rooting cuttings. These methods are considered the simplest and most effective, but we will focus on a more complex method - growing and planting clematis with seeds (Figure 2).
Note: It is better to buy planting material in a specialized store. So you can be sure that young plants will retain all the specific characteristics of a particular variety. As a rule, small-flowered species are grown from seeds, while hybrids with large or double inflorescences are best propagated vegetatively.
All clematis seeds are divided into types depending on the size of the planting material:
- Large: germination lasts from one and a half months to a year, depending on the variety. The plants of this group have low and uneven germination, but the planting material remains viable for 4 years.
- Average: the seeds begin to sprout en masse after two months, but if the room is not too warm and the soil is dry, this process can take up to six months. At the same time, the seeds germinate in large quantities, and the viability of the planting material remains for 3 years.
- Small: have the shortest germination period - from 2 weeks to one and a half months. However, it should be borne in mind that the ability of small seeds to germinate is preserved only during the first two years after collection.
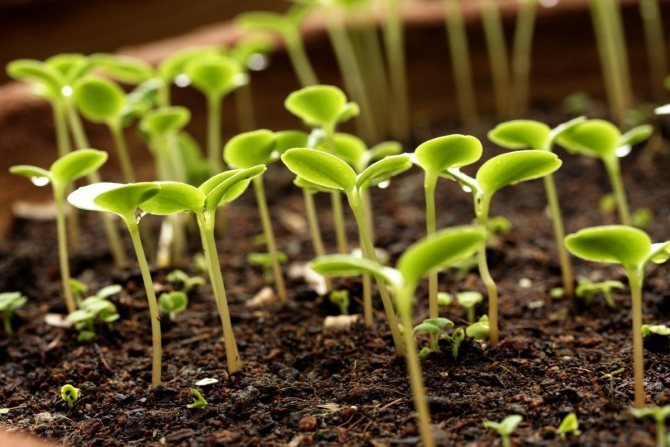
Taking into account the speed of germination of seeds of a certain size and the estimated time of planting seedlings in open ground, the planting material itself is selected. In general, the algorithm for growing clematis from seeds is quite simple. The seeds are spread over the surface of the nutrient substrate, lightly sprinkled with soil and sprayed with water from a spray bottle. Next, the container with future seedlings is covered with glass or film and transferred to a bright and warm room.
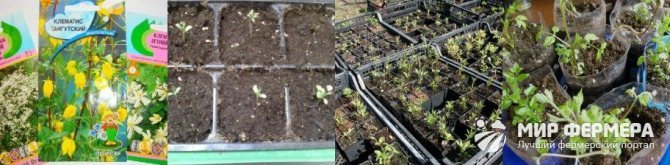
Figure 2. Stages of growing seedlings of an ornamental culture from seeds
In the future, the soil must be periodically moistened, and when the first shoots appear on the soil surface, the shelter is removed and the plant is transferred to a cooler place. Further growing of seedlings is carried out at a temperature of +19 degrees. When the plants form several true leaves, they are dived into separate pots and stored until planting in open ground, which can be done in autumn or spring, depending on weather conditions and climatic region.
The main reasons for transplanting to a new location:
- If the conditions of existence have changed in the old place, the soil has depleted, neighboring trees have grown, covering the perennial with the sun, or a new structure has appeared nearby, and the plant has fallen into dry shade, or vice versa, suffers from rainwater flowing from the roof, it must be rescued by transplanting it to another place ...
- A change of location may be required if the bush is overgrowing and aging. In this case, division and reproduction are carried out simultaneously. Flowering plants are not transplanted, but when it comes to salvation, you can remove all flowers and buds and risk replanting the bush, providing it with all the conditions for survival.
Preparing seeds for sowing
First of all, the seeds of clematis need to be stratified. To do this, prepare a soil mixture of earth, peat and sand in equal proportions, and sow seeds into it to keep them at a temperature of 5 degrees Celsius. Such conditions can be provided either in winter under a layer of snow, or in the refrigerator.
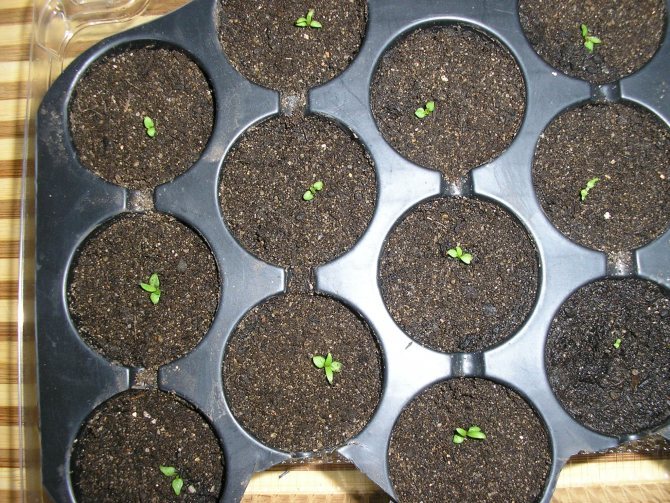
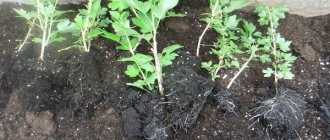
Seedlings of clematis in soil mixture
Remember: clematis seeds, especially the larger ones, can suffer from attacks by small rodents.Be sure to protect crops by covering them with a fine mesh or transparent glass.
Usually, with such a planting, seedlings appear in 10-20 days.
Stratification can also be carried out for medium-sized seeds. At the same time, the period of their keeping in the prepared soil is reduced to 1 month. Many gardeners prefer an easier and faster way: they soak the planting material for several days. If you choose this option, then keep in mind that you need to change the water very often, about every 3 hours.
After soaking, the seeds must be sparged for a week. Get a simple aquarium compressor to oxygenate the water in which you will hold your seeds. Such preparation will ensure the germination of seeds in 10 days, and the emergence of sprouts in 3-4 days.
Small seeds can be simply soaked without recourse to stratification or bubbling.
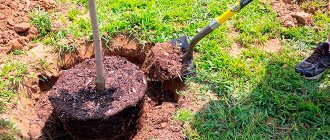
Planting clematis in the fall in open ground
Autumn planting of clematis in open ground is practiced only if a seedling with a closed root system was purchased in a container. But even if you purchase high-quality varietal planting material, you should be prepared for certain conditions of autumn planting (Figure 3).
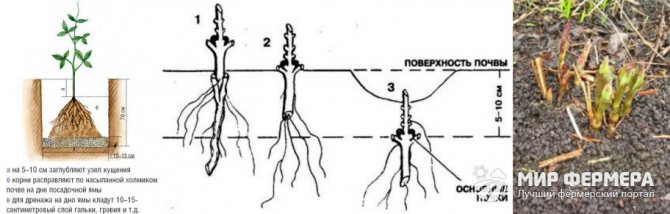
Figure 3. Features of autumn planting
First of all, the timing of the procedure should be strictly observed. This is necessary so that the young plant has time to acclimatize and take root in a new place before the onset of stable frosts. Based on this feature, planting in open ground begins at the end of August and ends at the beginning of October. Much depends on the region of your residence: in the southern regions, planting is carried out until mid-October, but in a temperate and northern climate, it is better to carry out the procedure no later than mid-September.
Wintering clematis
Another important step is preparing the vine for winter. Particular attention should be paid to this stage if you carried out an autumn planting.


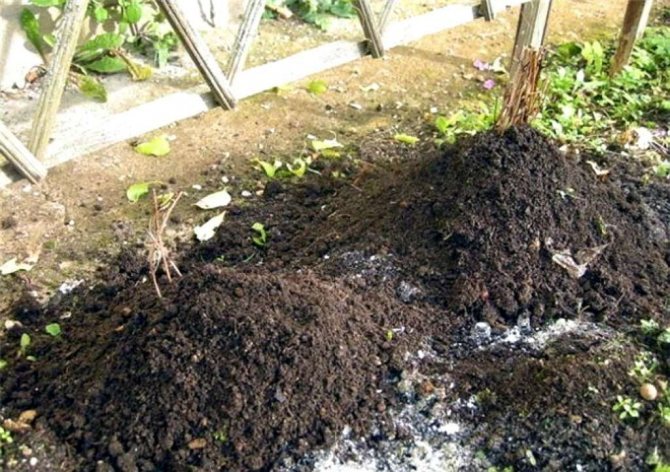
Soil preparation
The selected area for planting clematis is dug up and cleaned of weeds. A site with dense clay soil is loosened by adding garden soil and sand. If the groundwater is close, drainage from gravel, broken brick is laid on the bottom of the hole with a layer of 15 cm. For the planting pit, a nutrient mixture is prepared: they mix two parts of earth and humus, one part of peat, one part of sand. It will be useful to add two glasses of wood ash, a glass of lime and 150 g of mineral fertilizer to the soil.
Important! It is not recommended to use fresh humus to fertilize the soil!
Video
Experienced flower growers tell about all the nuances of the clematis transplantation process in the following videos:
A journalist by training, author of short stories. Loves mountains, grows garden and indoor flowers, collects hyacinths. A special pride is a small "plantation" of coffee trees. He is fond of landscape and interior design, tries to bring his favorite ideas to life.
Found a bug? Select the text with the mouse and click:
Planting clematis in the ground in spring
In most cases, experts recommend planting clematis in the ground in the spring, when the daytime temperature stabilizes and the frost stops. When choosing this time for planting, the vine will have time to get stronger and take root before the onset of cold weather (Figure 5).
The planting algorithm remains common for clematis of any group:
- Seat selection: liana can be planted next to capital fences, residential buildings or gazebos. In this case, you need to make a gap of 40-50 cm between the plant and the building so that rainwater does not accumulate at the roots. If you plan to include clematis in a vertical flower arrangement, you will need to install a solid support next to it.
- Planting hole preparation: the soil in the selected area is carefully dug up and weeds are removed. For each plant, a separate hole 60 x 60 cm is dug.If you are planting several seedlings at the same time, the distance between them should be at least a meter. The planting hole is filled with fertile soil, consisting of peat, humus, compost and garden soil in the same ratio. Wood ash (about 1 liter) and 100 grams of complex mineral fertilizer or superphosphate are used as a source of nutrients.
- Sapling placement: in the center of the hole, a small mound is poured from half of the nutrient substrate. A seedling is installed on it, its roots are straightened and sprinkled with the remaining soil. Further, the soil around the seedling must be compacted and watered well so that the moisture flows directly to the roots.

Figure 5. Algorithm for spring planting in open ground At the final stage of planting, the trunk circle is mulched with natural material (peat, sawdust or fallen leaves). This will prevent moisture evaporation and stop weeds from growing. If you do not have mulch, you can immediately plant flowering annuals with a shallow root system on the trunk circle, which will perform the same function.
Seat selection
The place for growing clematis must meet the following conditions:
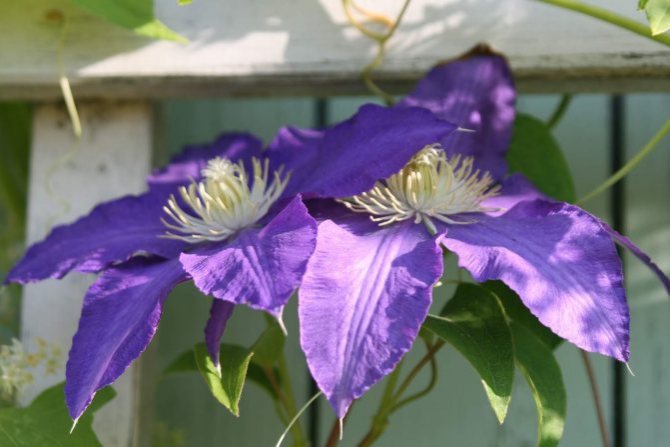
- good lighting - shading is recommended only for southern regions with hot summers. Varieties with brightly colored flowers can withstand slight or delicate shade;
- reliable protection from the wind, which can pluck flowers and break vine shoots, and in winter blow snow off the soil, which threatens to freeze the roots of the plant;
- the occurrence of groundwater is not higher than 1-1.5 m - clematis does not tolerate waterlogging. For the same reason, it cannot be planted in lowlands, where it flows and where rain and melt water accumulates for a long time;
- the soil should be neutral or slightly alkaline, ideally 6.5 pH. Sandy loam or loam is best suited. If the soil is acidified, it is necessary to add “alkalizing” additives, for example, lime, to it in advance;
- the presence of a natural or constructed support for the lashes (wood, strong coarse mesh or wall). When planting a bush next to residential or outbuildings, it is important to place it at a distance of at least 50 cm from the wall and make sure that it will not drip from the roof.
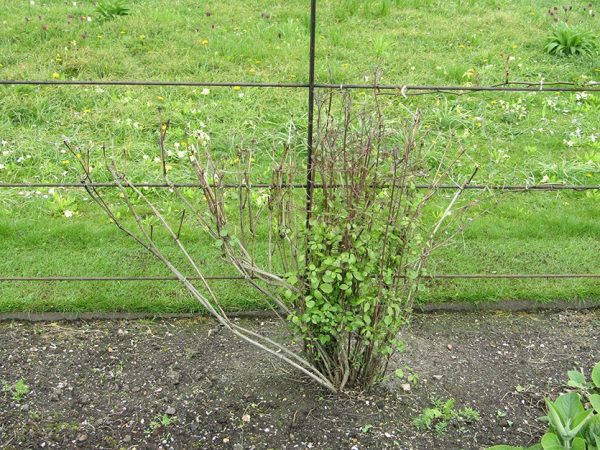
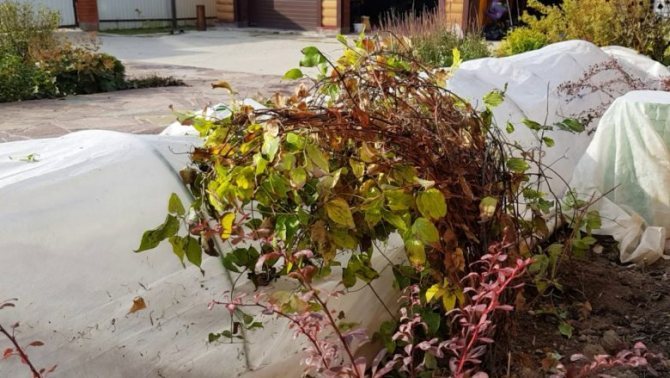
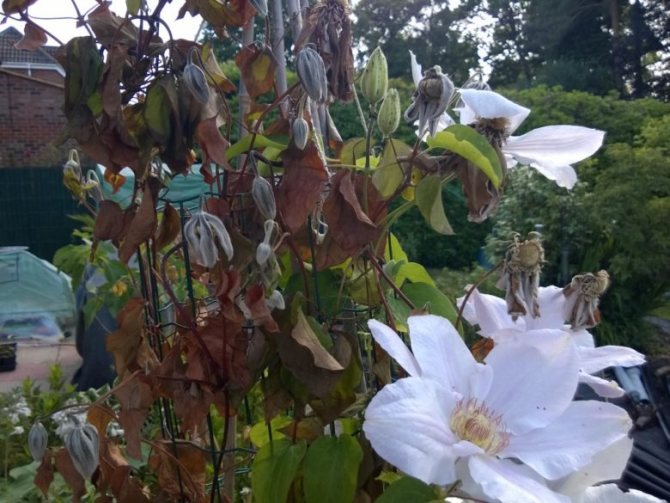
Preparing clematis for wintering
Most of the varieties of clematis are frost-resistant and do not require special shelter.
In the fall, preparatory work begins for the wintering of plants in need of shelter. In dry weather, remove leaves, faded parts. The root collar is treated with a 2% solution of copper sulfate, the center of the bush is sprinkled with humus. Then hilling is carried out with sand with the addition of ash. Shoots are tied close to the roots. Cover with coniferous branches, dry leaves, foam.
An air-dry shelter method is used. Arches are erected or a wooden box is installed, they are insulated with roofing material, film.
In the spring, the top cover is first removed. After the threat of frost has passed, they open it completely, untie the shoots and tie them to the supports.
Planting conditions for clematis
Planting clematis in open ground does not require compliance with any special conditions. If you are doing the procedure in the spring, wait until the soil has completely thawed and a stable warm daytime temperature is established. In addition, it is advisable to wait until the end of the spring frost so that young plants do not accidentally freeze over. Thus, depending on the region, spring planting begins from the end of April in the southern regions and until early June in the northern ones.
If you are planting clematis in the fall, you will also need to monitor the temperature. The procedure should be carried out before the onset of stable frosts. If you did not manage to plant the vine on time, it is better to dig it in a corner of the garden protected from the wind and cover it with spruce branches.So you will protect the plant from cold weather and maintain its viability throughout the winter, and in the spring you will be able to carry out a full-fledged planting in a suitable place according to the algorithm given above.
In more detail, the clematis planting technology is shown in the video.
Choosing a territory for transplanting
This is one of the most crucial moments. If you approach the matter competently, then you can forget about the subsequent transplantation of this instance of clematis for about 30 years. It will develop perfectly in one place.
What to focus on:
- Good illumination. However, clematis does not tolerate excess sunlight.
- This variety of creepers requires a lot of space, as it grows rather quickly.
- Normal soil moisture level. Therefore, it is advisable not to choose the following areas for transplanting clematis:
- near an external fence, walls of summer cottages, large trees, and so on. That is, all that, from where, during precipitation, water can flow onto flowers;
- lowlands, where all moisture is usually concentrated. For the roots of clematis, even its short-term stagnation is destructive;
- segments of the territory in which underground water strata come close to the surface;
- places where it will not be possible to provide effective drainage.
- Lack of drafts. Clematis has a clear discrepancy between the various parts; if the flowers are rather large and heavy, then the shoots, on the contrary, are thin. Even a moderate breeze can break off the stems.
- Soil - any, except for high acidity. The lower limit of the pH value is 6.0.
- The acidity in the area where clematis is supposed to be transplanted (if this is the most acceptable place) can be artificially reduced. For example, organize soil treatment with lime-based compounds. Such techniques are called liming. The nuances of this technology, the dosage of the introduced drugs is easy to find on the Internet.
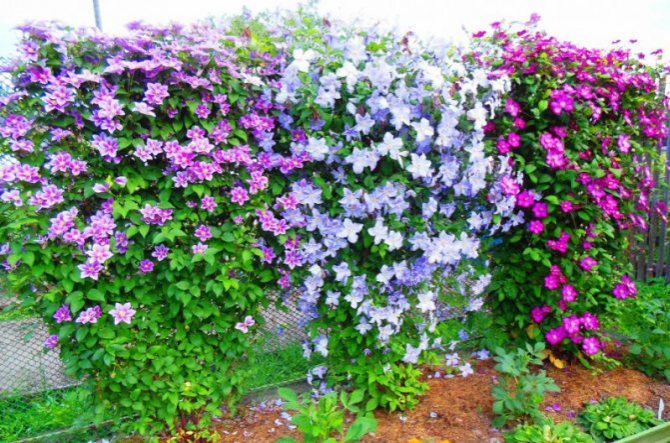
- It is desirable that undersized plants coexist next to the clematis after transplantation. They will reliably cover its near-trunk circle, thereby protecting this piece of land from overheating in the heat.
Varieties and types of clematis
There are tens of hundreds of clematis varieties, which one is right for you, your region and climate, you can determine by watching one of the videos below.
Video: the best varieties of clematis for the Central strip and the Moscow region
Video: the best varieties for planting in the Urals
Video: the best varieties for growing in Siberia
Diseases and pests
Some varieties of clematis are sometimes affected by powdery mildew. In this case, they need to be sprayed with a fungicide. In addition, relatively often you can hear about the appearance of a fungal disease in clematis, which causes the death of shoots.
Affected plant parts should be removed and burned as soon as possible. Sticky, curled leaves can, in turn, be a sign of beet aphids, which can be controlled by spraying with chemicals.
Other pests of beautiful creeping shoots are spider mites, slugs and snails, which infect all foliage, as well as nematodes. You can restore plant health with the help of special aerosol preparations. They are ineffective in the case of nematodes. To prevent their appearance, it is necessary to pre-treat the soil with hot water.
Required tools
In whatever period the transplant is made, the gardener will need tools. Here is a list of them:
- shovel for digging in an earthen clod;
- digging forks;
- secateurs for trimming lashes, for summer and autumn transplantation;
- garden saw or hatchet for dividing the roots of an adult plant.
Important! To prevent the plant from contracting fungal diseases, the tools are disinfected before work.