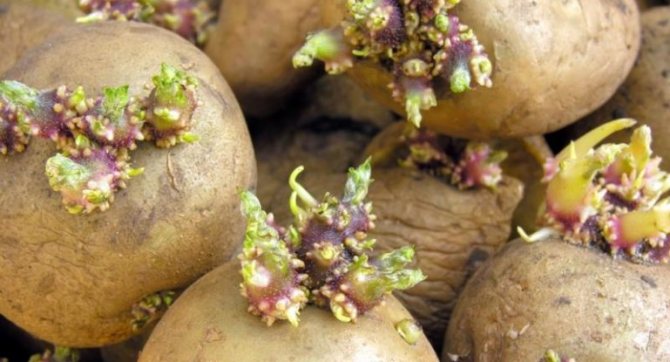
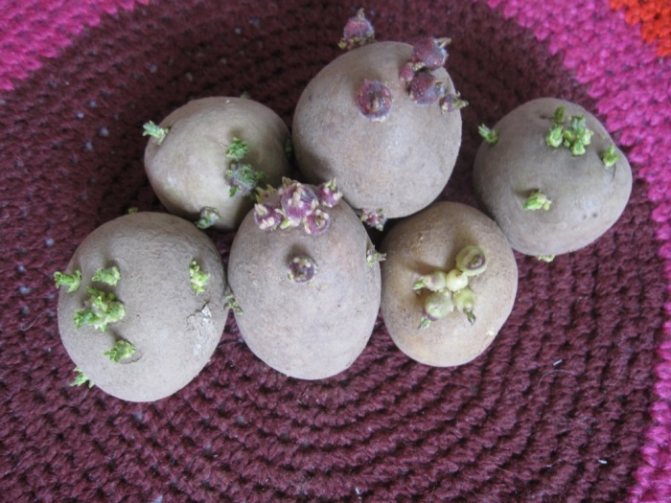
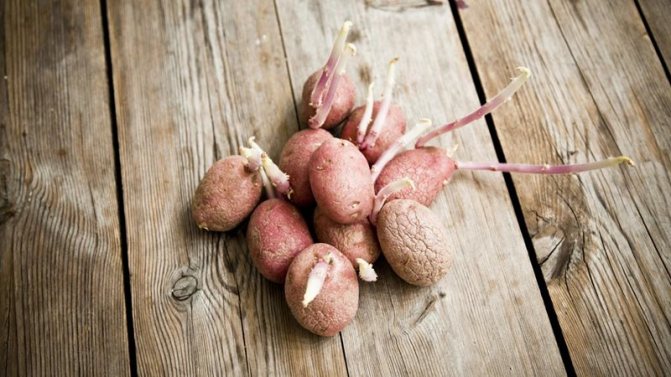
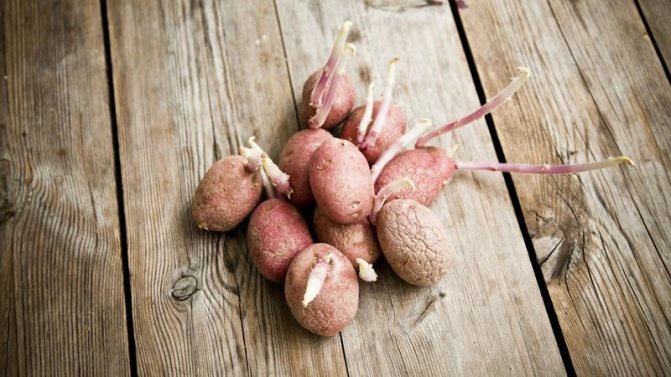
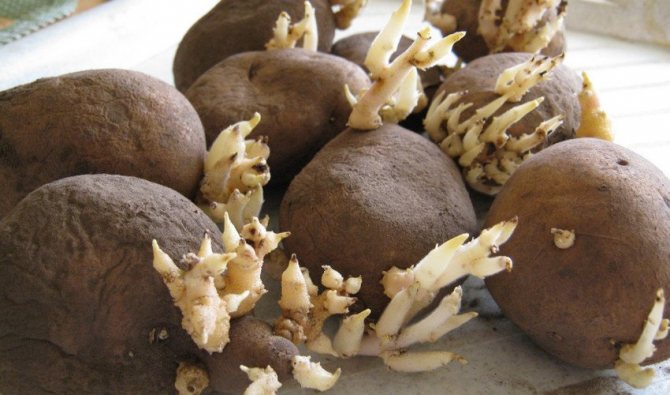
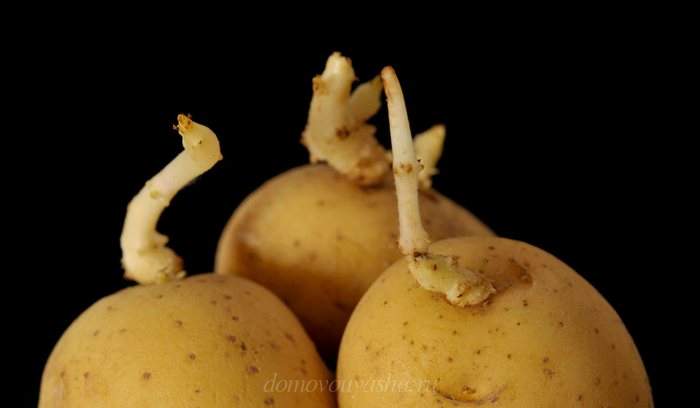
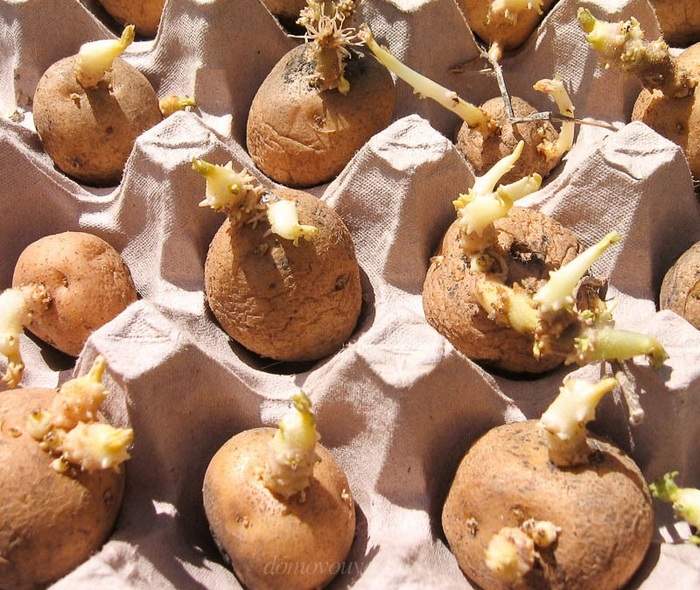
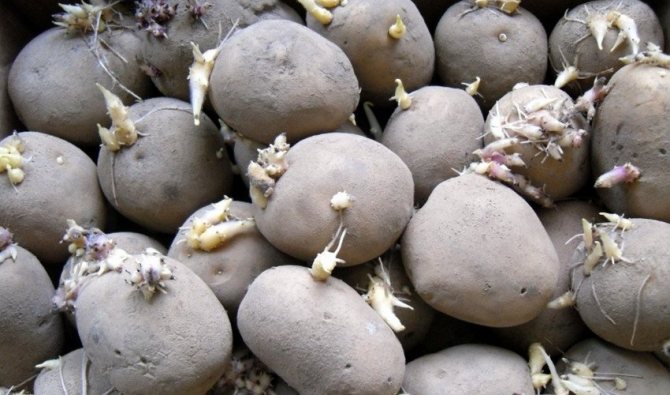
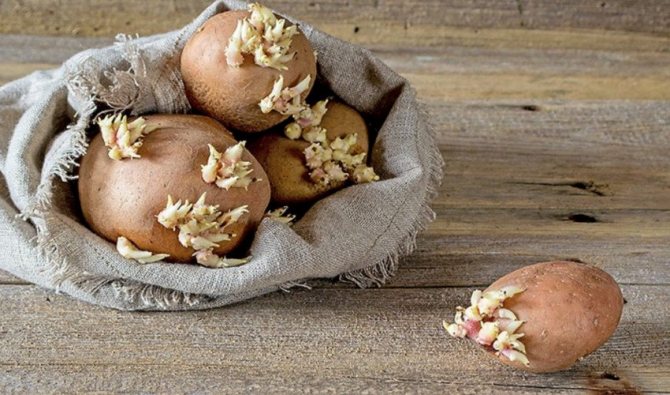
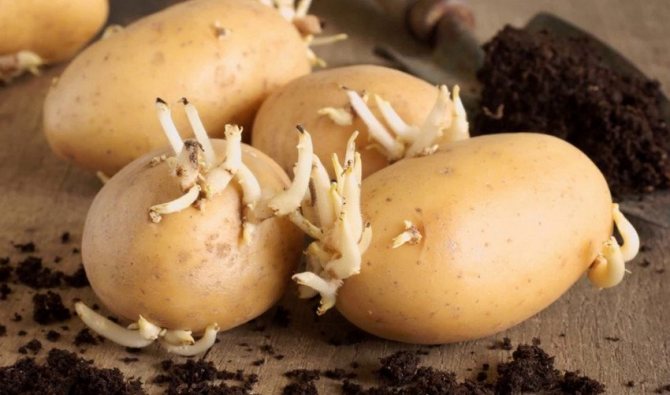
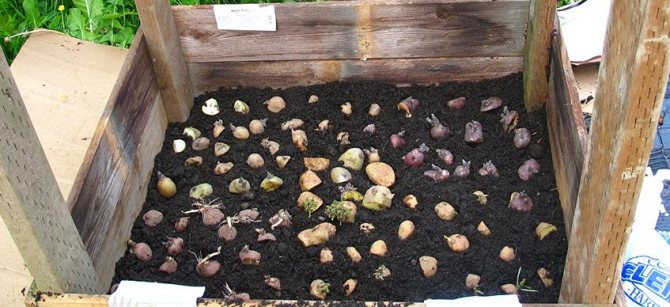
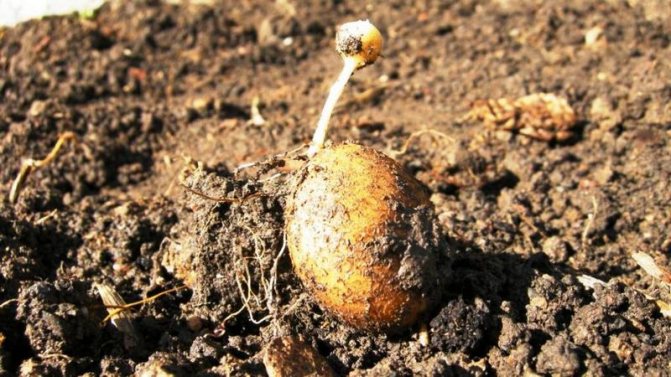
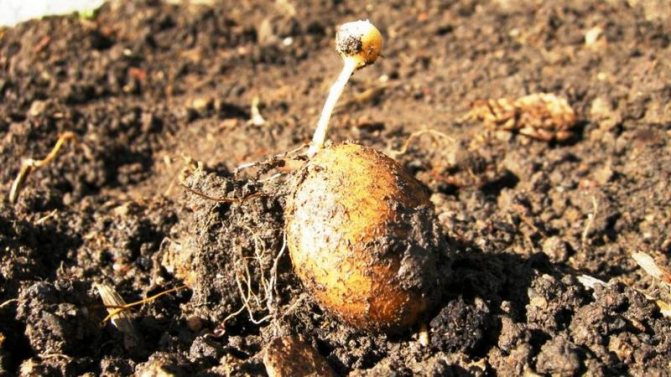
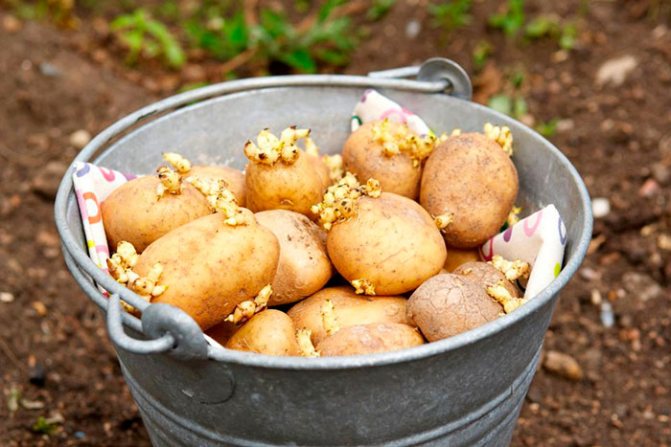
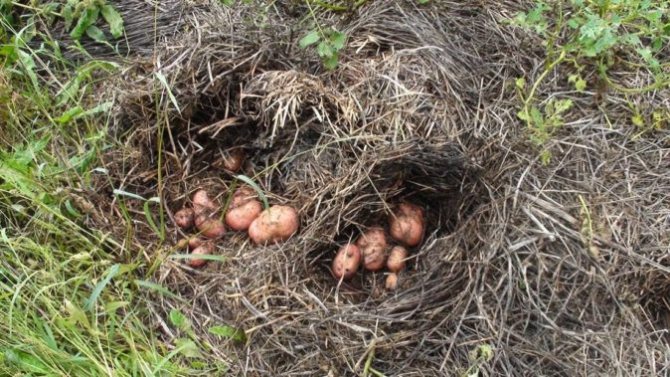
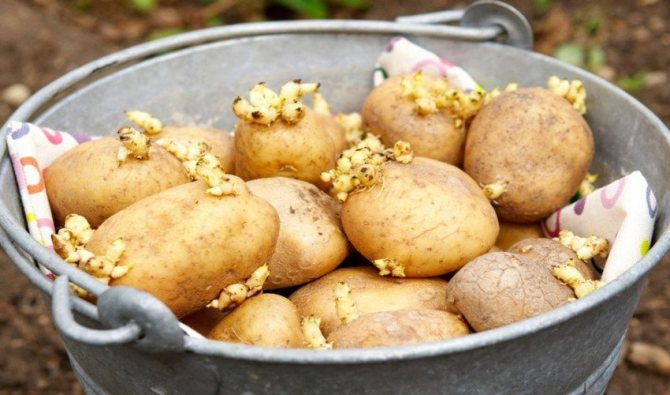
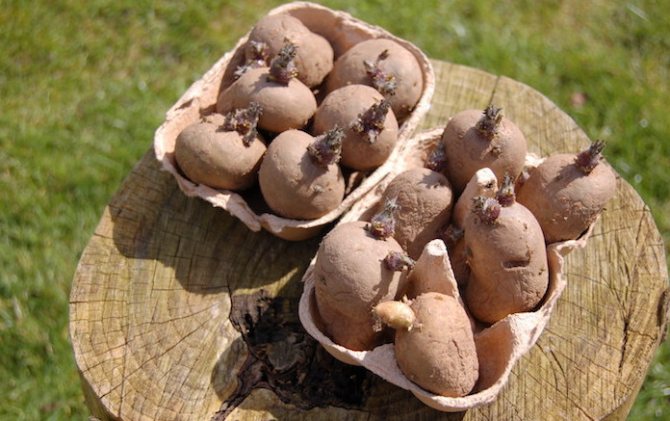
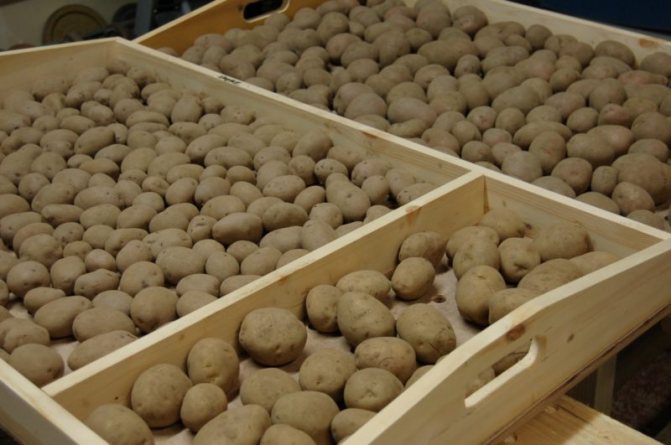
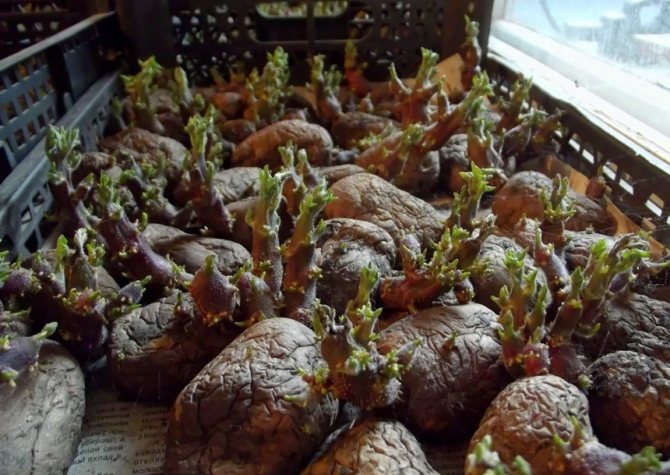
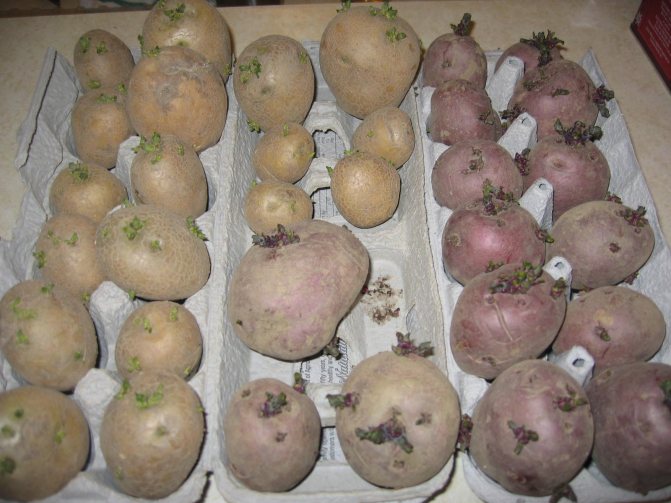
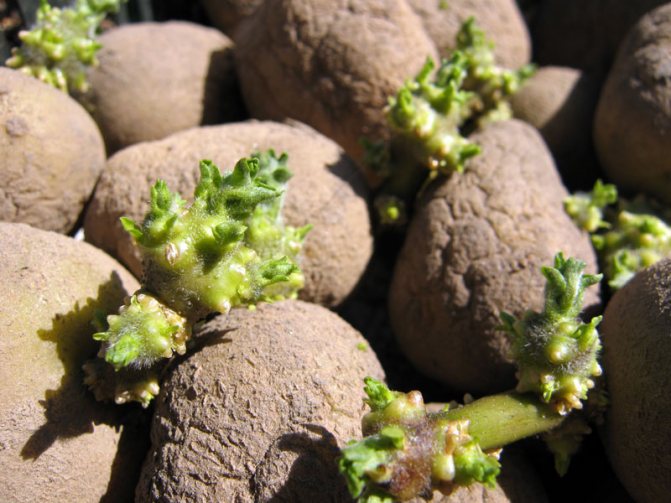
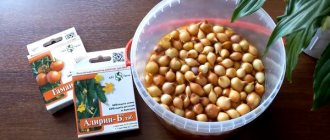
Sprouting potatoes, that is, creating conditions favorable for the awakening of the buds (eyes) on the tubers and the appearance of sprouts, is a simple operation. It is carried out by all gardeners, however, they do not always understand why. But mothers and grandmothers also did this, so sprouting potatoes for planting can be considered a tradition. A natural question arises: what gives the early awakening of the eyes on the tubers, is it not better to just put them in the holes as they are and calmly wait for the harvest.
Why is it needed
In order to fully unleash the potential of the plant, it is important to follow all cultivation technologies. Before burying in open ground, experienced farmers prefer to follow the time-tested recommendations. Such subtleties will not only help to increase the amount of the crop, but will also save you from many problems.
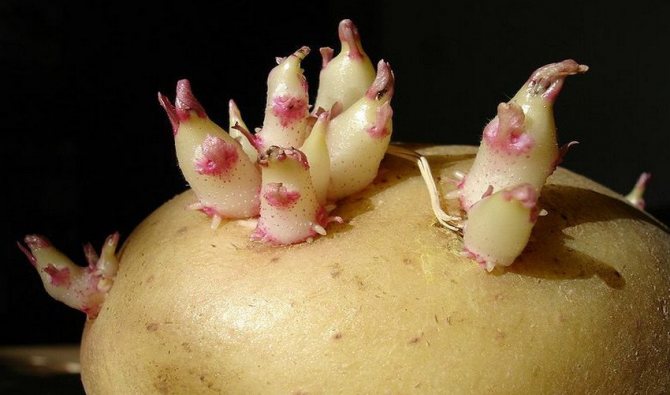
Why sprout potatoes before planting? Under the influence of all factors of the procedure, the process of accumulation of nutrients is activated, which ensures the appearance of roots and green shoots. Seed material grown according to one of the methods is two weeks ahead of unprepared tubers in development. This feature makes it possible to more efficiently assimilate fertilizers in the ground and make better use of spring moisture.
In addition, potatoes that have passed the stages of germination gain visible resistance to many species of diseases. Additionally, during the procedure, it is possible to find specimens affected by ailments. Culling early will protect against contamination of crops on the site.
By the way, when sprouting potatoes before planting, it turns out to achieve a quick harvest from mid-ripening and late-ripening varieties. They ripen at the level of early varieties, while they have all their advantages. The maximum return often reaches 200 kg per one hundred square meters.
Do I need to germinate potatoes before planting and why
Well-prepared planting material will demonstrate fast germination, the absence of empty nests and a bountiful harvest. Untreated seed material will sprout slowly, grow poorly, and give a meager harvest.
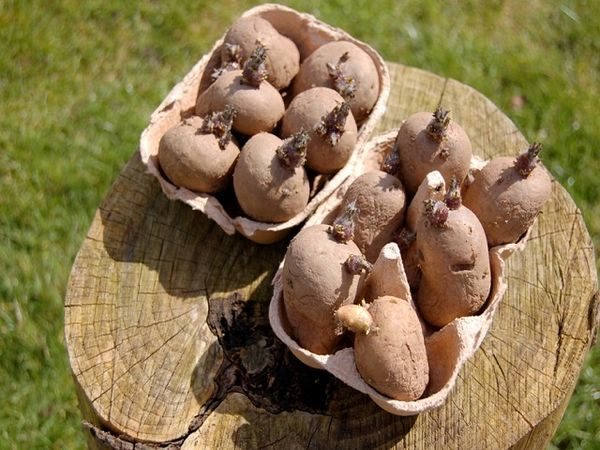
Sprouted planting material guarantees the best germination
In what time frame and for how long to germinate potatoes
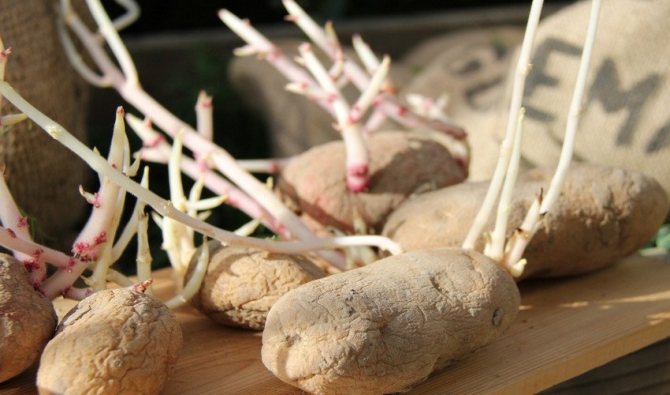
Weak, rotten, damaged seeds are discarded. Tubers with very large, fragile shoots are also not suitable for planting. During transportation, the thin long roots will break easily and the potatoes will not sprout.
What tubers should be taken
Ready planting material necessary since autumn... Suitable for planting are medium in size, slightly larger than an egg. This is the most optimal size. A small variety will be weak, will not give a viable root, will not provide the growth with sufficient nutrition.
It will be correct to cut a large tuber into parts, with the condition that each one has eyes.
Why does potato degenerate
If the preparation of planting material is approached irresponsibly, the culture begins to degenerate and loses its positive varietal qualities. This is because weak, non-standard variants are landing.
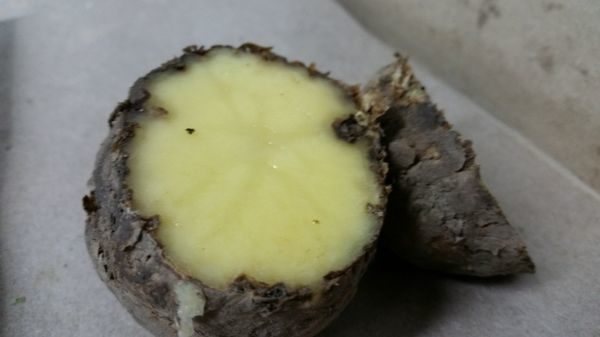

Choosing low-quality potatoes for planting will logically lead to negative results.
Large planting potatoes also does not fit... It will be difficult to "wake up" him.Such seeds are sluggish, inactive, "lazy".
How to germinate potatoes for planting
The preparation looks like this:
- Tubers removed from the vegetable store, again sorted, rejected seeds with signs of disease, rotten. Selected specimens are recommended to be thoroughly washed. In the soil, pathogenic bacteria that are dangerous to root crops can persist for a long time.
- Then etching recommendedto maximally protect the planting material from harmful spores and bacteria. For this, you can use boric acid (10 g per liter of water).
- In the next step tubers are dried... It is best to do this in the shade, in a barn, or in an attic.
- After the potatoes have dried, it must be warm up for a few days at room temperature.
How to get planting material from seeds
Immediately after digging, the potatoes must be subjected to the first preparation procedure for storage. It needs to be "greened". For this, the tubers must be laid out in the sun. For uniform exposure to sunlight, they need to be turned over regularly. How much green do you need? About 3 weeks.
Treated in this way the seeds become hard, the skin becomes stiff, which significantly improves its storage. In addition, it becomes inedible for rodents (green potatoes contain poisonous solanine).
Further, the tubers are laid for storage in a dark cool room (basement, cellar, specially vegetable store). The optimum storage temperature is + 5 °. If the temperature is higher, the seeds will begin to germinate. If the temperature drops to 0 °, the potatoes will freeze.
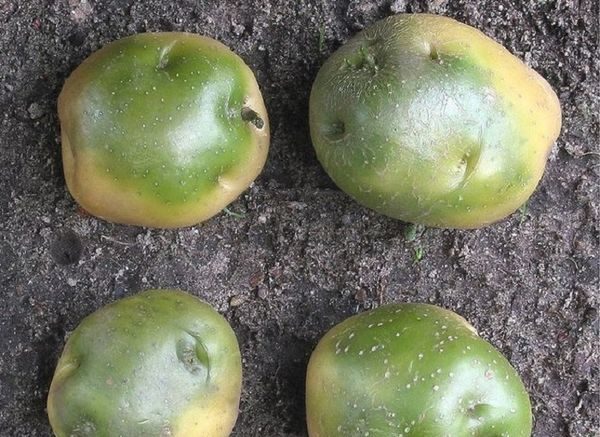

The potato turns green due to the appearance of solanine, which protects it from pests
How to quickly germinate potatoes for planting
Thanks to these types of processing, sprouts on potatoes will appear in record time: in a week, in two. You can also recommend the use of plant growth stimulants and fertilizers. They stimulate intensive root growth.
Planting sprouted potatoes
When planting sprouted potatoes, it is necessary to take into account the region, the type of planting, the ripening time and the characteristics of the soil.
The "flat" type of landing is the most common. Suitable for nice, sunny areas. Potatoes are planted in holes and covered with earth without a hill.
The “comb” method is intended for the territory of Siberia. Potatoes are planted on a hill, in shallow holes. Fertilizer is applied immediately. As you grow sprinkle the bush, sprinkle it with earth.
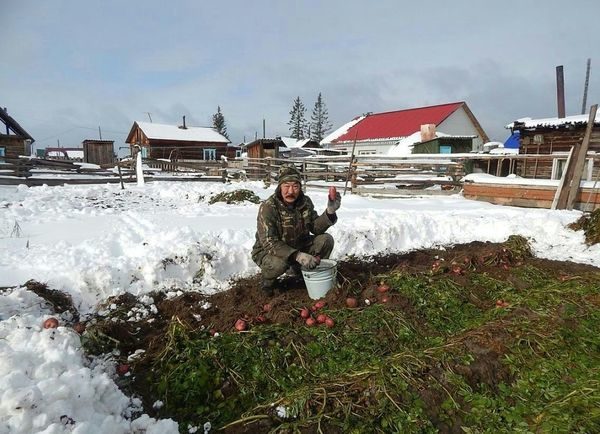

Planting crops in Siberia requires a specific method due to climatic features
So the plant is protected from temperature changes and adverse weather conditions. Reduces the risk of freezing potatoes.
The trench method is used on light peaty and sandy soils. In such soil, plants lack moisture. For this type of planting, a ditch of about 10 cm is dug, fertilizers are applied.
The hole is spilled, covered with soil. Top can be covered with mulch to retain moisture.
Preparing for the procedure
When choosing seed material, many farmers often use poor-quality residues. You can not plant tubers that are affected by scab, rot and other potato diseases. During germination, certain conditions arise that provoke the activation of ailments. Such specimens will become a source of spreading diseases to healthy seeds.
Experienced farmers know that potatoes weighing less than 30 g should not be planted outdoors. There are too few nutrients in root crops, so the result of the harvest will not please. The best option would be medium nodules, without irregularities. Any changes in shape will not have a positive effect on fertility.
Sorted potatoes are cleaned of soil residues; in advanced cases, it is allowed to wash in water.The fact is that many microorganisms remain viable in the ground, which are activated when the light increases and the temperature rises. In farms where "hygiene rules" are ignored, such specimens become the reason for the destruction of all sowing material.
Before sprouting potatoes, all workpieces must be disinfected. The most economical way is treatment with boric acid solution. Experienced farmers use more serious means, giving preference to professional dressing agents.
"Additional processing of potato tubers with 0.01% solution of copper sulfate, manganese, boron stimulates development and growth, significantly increases the starch content in mature tubers."
After processing, the tubers are thoroughly dried in the dark. Three days before the start of the procedure, all the potatoes are heated at a temperature of 25 degrees. After finishing the preparation, you can start germination.
Germination time and seed preparation
You need to start sprouting tubers in advance. The timing depends on the region where you plan to grow potatoes.
Table: timing of the germination of potatoes
| Region | Germination start | Sowing in the ground |
| South of Russia | End of March - beginning of April | End of April |
| Central regions of Russia | Early April | First decade of May |
| Ural, Siberia | Second decade of April | Mid may |
Having decided on the timing, you need to prepare the seed for germination. For this:
- Manually sort and remove too small and diseased (rotten, softened, holes, etc.) tubers.
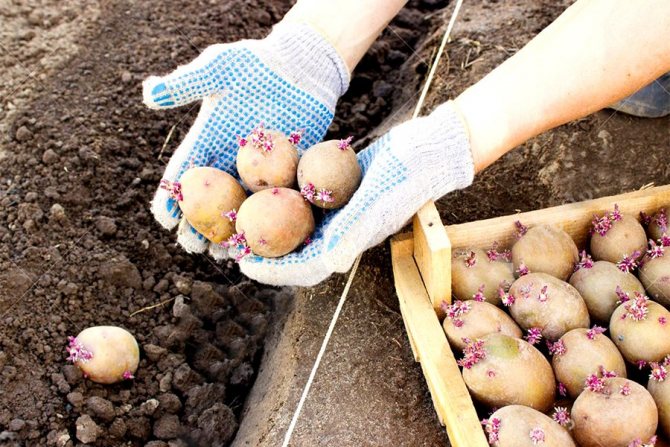

Only healthy, intact small tubers are suitable as planting material.
- Rinse the remaining tubers well in running water to rinse off all the soil and remove the thin (threadlike) light shoots from them.
- Then place the potatoes in a disinfectant solution. To prepare it, dilute potassium permanganate (1 g) or boric acid (10 g) in a bucket (10 l) of water. It takes 30 minutes to keep the tubers in it.
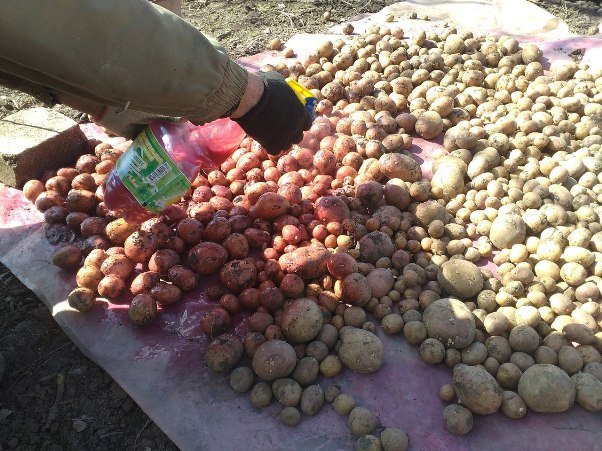

If there is a lot of seed and the gardener stored it correctly (which almost always guarantees good immunity), you can not soak the potatoes in a solution of potassium permanganate, but simply spray the tubers
- Rinse the tubers again in clean water, and then dry them in a warm (+ 22–25 ° C), dry and dark room for 3 days, spreading out in 1–2 layers.
If stored improperly (in a too warm and humid room), the tubers may sprout ahead of time on their own, which is usually revealed quite late. In this case, lower the temperature to + 1–2 ° C and leave the tubers in complete darkness. It is undesirable to remove or shorten the processes if their length is less than 20 cm.
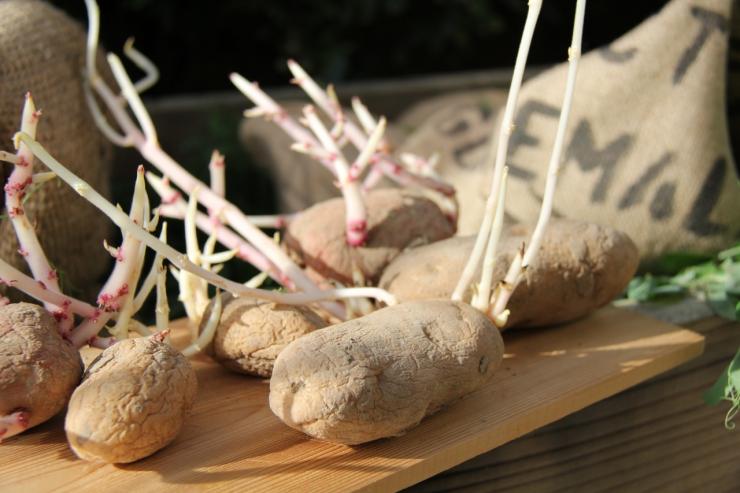

Overgrown potatoes should be stored in a cool, dark place until planting.
In the light
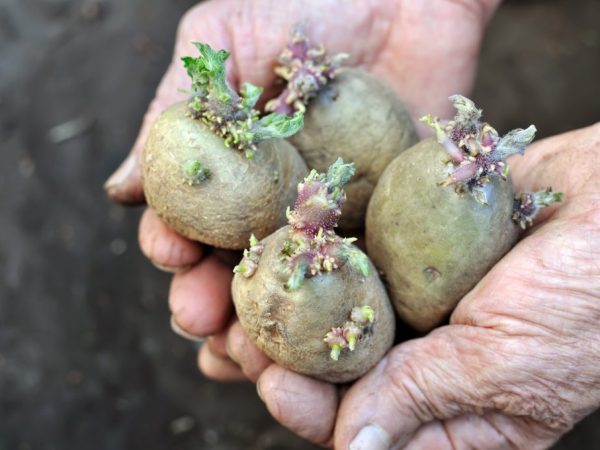

Very long branches are not needed
The time-tested method is very popular among both experienced farmers and home owners. Work is carried out in any well-lit room. It is important to maintain optimal climatic conditions, otherwise the sprouts will weakly adhere to the surface and break off during transportation.
Sprouting potatoes in the light is allowed to be carried out both with natural sources and with incandescent lamps. Seed material is laid out in one layer in a specially prepared place. The procedure has its own characteristics.
- Activation. Potatoes should be abundantly treated with a nutrient solution of water, manganese and ash. The substances wake up the tubers, forcing them to build up roots and shoots.
- Temperature. In the first 10 days, the heat is maintained in the room from 18 to 20 degrees. By day 11, it is advised to reduce the intensity to 14.
- Hardening. 72 hours before planting in the ground, all potatoes are covered with a dark opaque rag. Heat is reduced to 12.This stage accelerates germination in the garden.
How long does the procedure take? On average, events take from 30 to 40 days. It is important to stop heating after the shoots have reached 2 cm in length. By the way, at a temperature of 5, root development slows down, and at 20 and above, the tubers dry out and become covered with a hard crust.
When should you start sprouting potatoes to get an early harvest? To plant seed in the second half of May, it is necessary to start preparatory work at the end of March or in the first days of April. Lighting lasts at least 8 hours a day.
Combined germination or regrowth of roots
In a humid environment, after forcing the sprouts, you can grow roots on the seed tubers. This is the method that has the greatest effect. Six days before planting, the seeds (having passed all the stages of preparation and germination) are laid out in containers as for wet germination, in the same way.
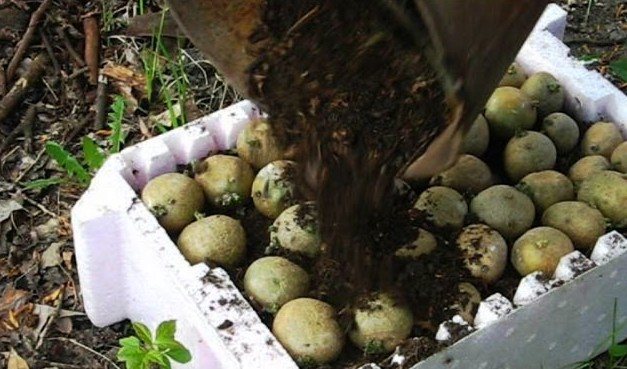

Combined germination
Important! Every day, control the regrowth of roots so that the tubers do not overlap. Overgrown roots will be difficult not to damage when dividing for planting. The process usually takes about five days.
It is especially recommended to regrow the roots after the light forcing of sprouts, since tubers with sprouts formed in the light are reluctant to form a root system. This implies a substantial proportion of tubers that did not emerge or that emerged late in the garden bed, despite the preparation and preliminary germination.
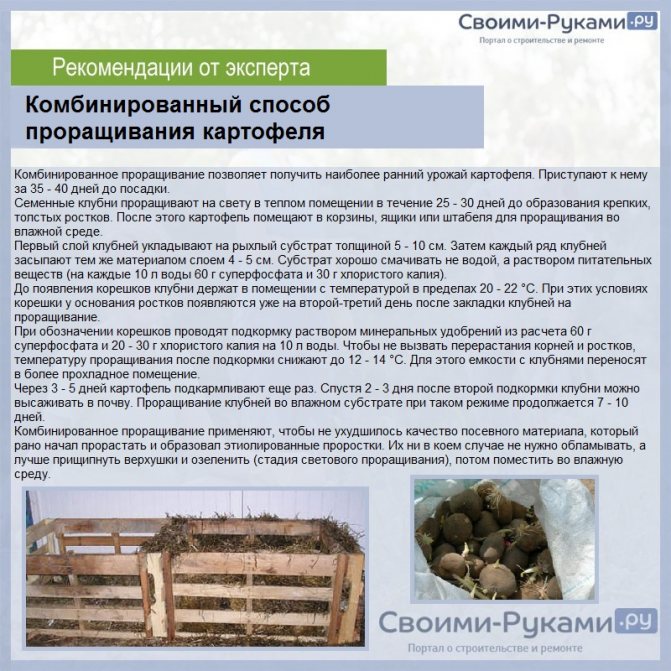

Combined method of sprouting potatoes
In the substrate
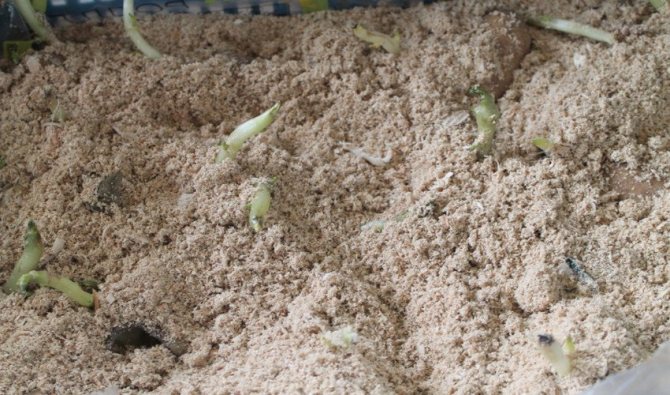
Need to get your seeds ready for planting quickly? A mixture of sawdust and peat will become a nutrient medium in which tubers will develop. The accelerated method is less energy-consuming than the method in the light, however, all preparatory procedures must be carefully carried out.
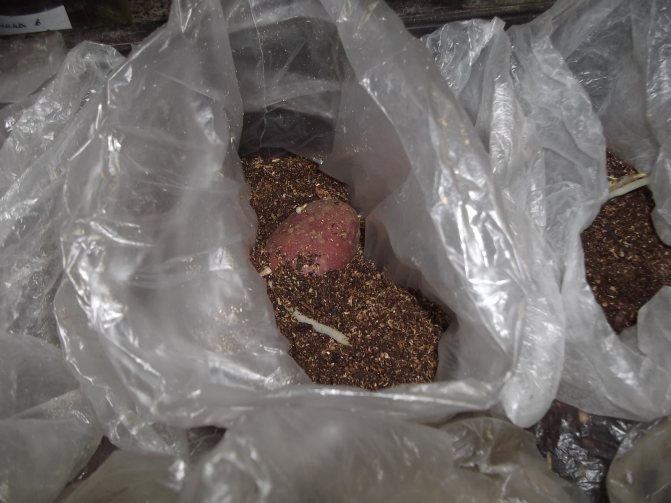
For wet germination of potatoes, take rigid boxes or boxes, the bottom of which is covered with a film. To prevent the liquid from stagnating, you do not need to perfectly seal all the holes. The substrate should not turn into a swamp, and excess water should drain off.
Potato seeds are laid out in two layers, sprinkling each tier with a mixture, the containers are protected with polyethylene. After the top is completely covered with earth, sprouts begin to form after twenty days. The main condition for activation is maintaining constant heat (from 12 to 20), fresh air and a damp ball.
By the way, if there is no suitable room for sprouting potatoes, then the method allows you to create manure heating. A layer of warm manure is spread on the ground, sprinkled with a mixture of earth. On this pile, nodules are placed in two layers, which are covered with peat, straw (at least 10 cm). In such conditions, the material is formed up to 15 days, after which you can start planting.
How to sprout potatoes quickly?
Faster germination of potatoes consists in the use of special solutions and an increase in the number of sprouts. The combination of methods will help you quickly (in 1-2 weeks) get the desired number of shoots.
Stimulating incisions
This procedure is done to increase the number of shoots. To do this, you need to make cuts across the potatoes 1 centimeter deep. For a more uniform appearance of sprouts, a circular incision is made to a depth of 1.5 centimeters. Further, the seeds are germinated in any way, but it is better to choose the method in the light.
Use of solutions and fertilizers
In solutions and fertilizers, potatoes germinate 2-3 weeks faster. Using any method in combination with the use of special means, you can get a harvest ahead of time.
Fertilizers to accelerate germination:
- humus;
- sawdust;
- peat;
- moss.
Fertilizers are placed on the potatoes in layers, the width of which should not exceed 5 centimeters, otherwise the clooney will rot.
Before sprouting potatoes, you can hold it for 40-60 minutes in a mineral solution. This accelerates the appearance of sprouts and nourishes them with useful substances.
Solution recipe:
- water - 10 liters;
- superphosphate - 60 grams;
- ammonium nitrate - 30 grams;
- potassium chloride - 20 grams.
Processing sprouted potatoes before planting
For the prevention of diseases, potatoes must be treated with a boric solution or a solution of copper sulfate. They kill fungal and viral infections.
Solution for sprouted tubers:
- water - 10 liters;
- ammonium nitrate - 20 grams;
- potassium salt - 20 grams;
- superphosphate - 60 grams.
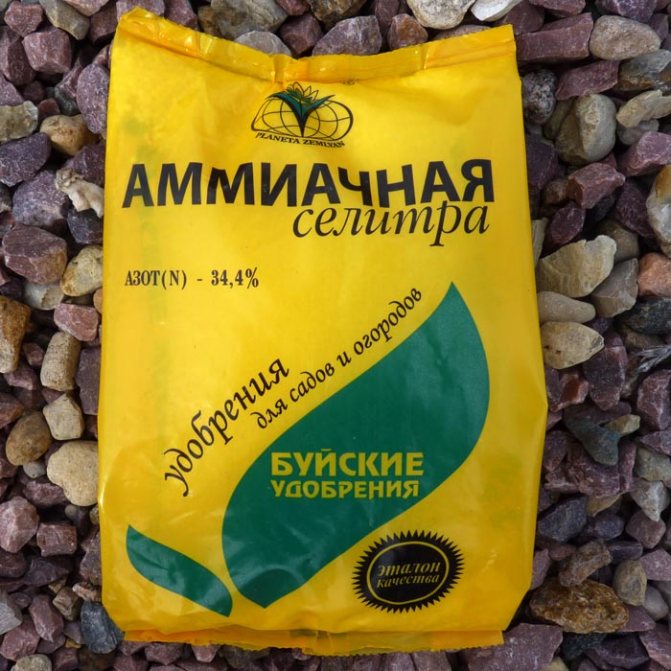

Ammonium nitrate - 45 rubles
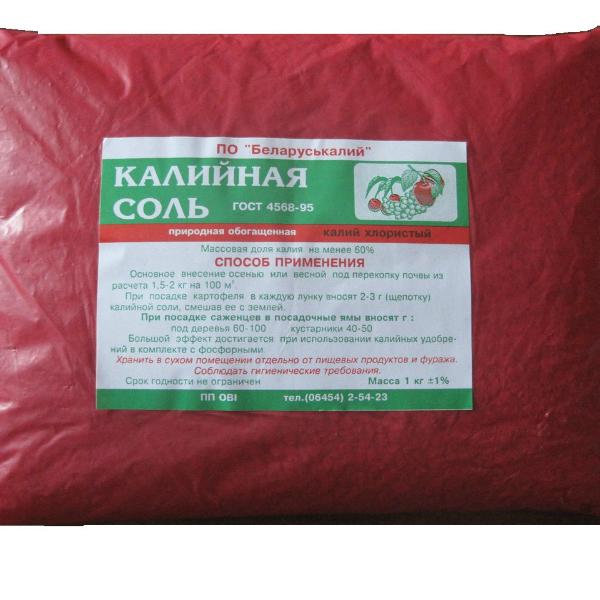

Potassium salt - 70 rubles
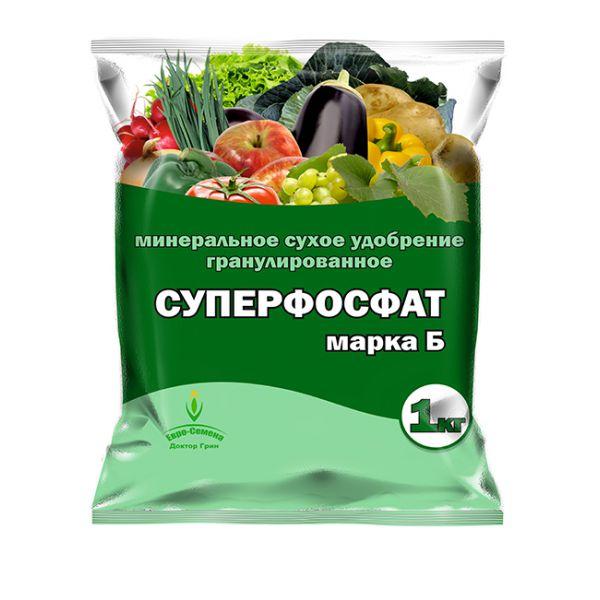

Superphosphate - 100 rubles
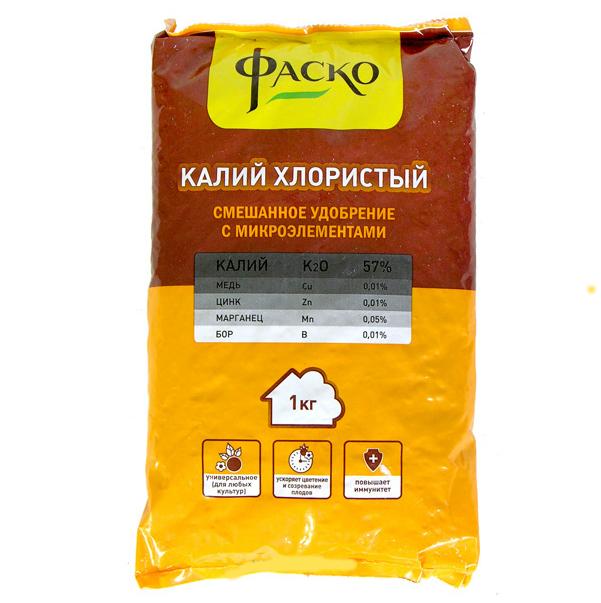

Potassium chloride - 101 rubles
In polyethylene
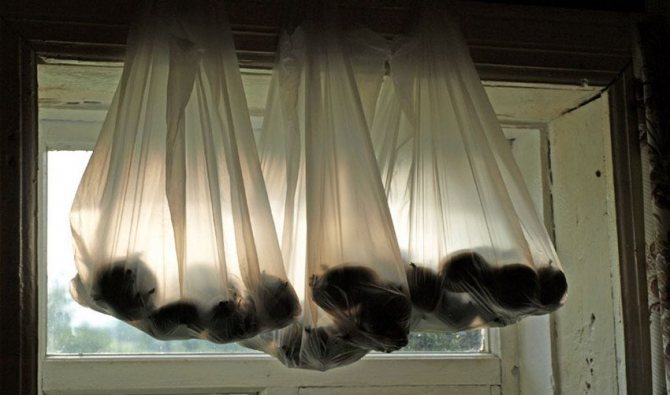
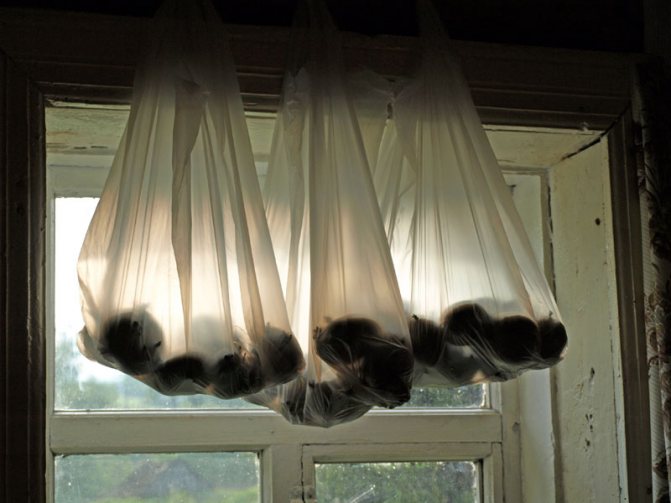
Root vegetables can be prepared in small transparent T-shirts. Holes are made in the bags, which will provide natural ventilation of the seeds. Put up to 12 tubers inside, tie and hang in a bright place.
Potatoes, sprouting for planting which takes place in such a structure, wake up due to the greenhouse effect. Remember that a humid climate and high temperatures can provoke an intensification of diseases, so do not forget to treat with chemicals. Carefully monitor ventilation and lighting, avoiding direct sunlight. For even development, we recommend turning the tubers every day.
This method is convenient for transporting seed. Remember that it is necessary to carry out transportation and take out of the package very carefully. The germs of culture have an unpleasant tendency to break off from awkward movement.
Tips & Tricks
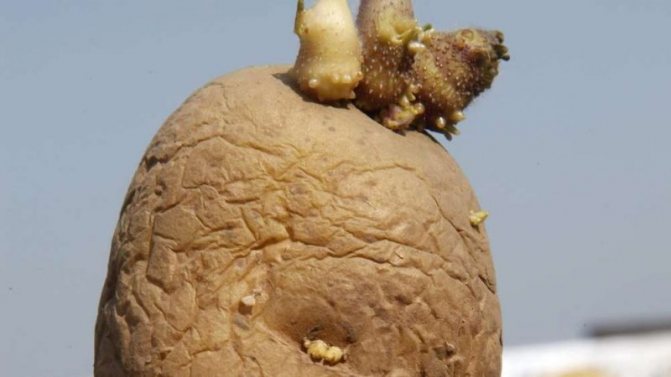

Gardener tips for the correct sprouting of potatoes:
- Before placing tubers in the germination trays, rinse them thoroughly under the tap to rinse out any remaining soil and bacteria that cause rotting.
- Leave the container with seed potatoes in a ventilated area with a humidity of up to 85%. At low humidity, the tubers wilt quickly, and the sprouts develop at an accelerated rate. Spray potatoes with a spray bottle to prevent moisture loss.
- For light germination, spread the potatoes in 1-2 layers.
- For early young potatoes, use a complex method involving landscaping and germination in a humid environment.
- Remember to disinfect the tubers before sprouting. This will protect the planting from fungal infections and insect attacks.
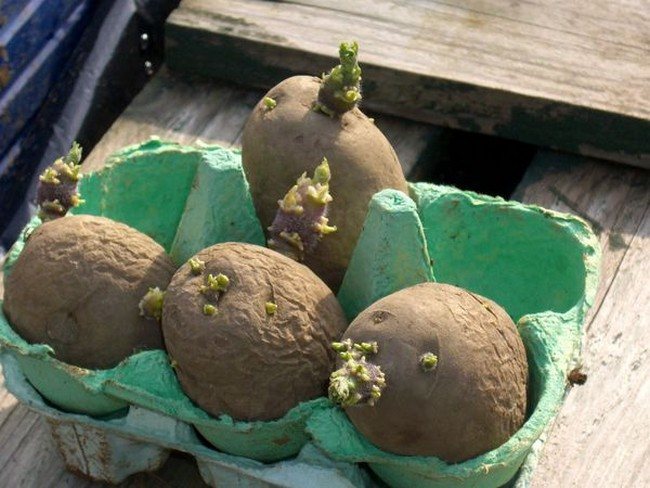
- The appearance of green roots on the tubers is the main sign that it is time to plant.
- To accelerate the appearance of roots that sprout on potato tubers, this method will help - immediately after the formation of seedlings, place the tubers in the dark for 3-4 days.
- When transporting sprouted tubers, be careful not to break off the sprouts.
- If the seedlings have grown large, gently break them out without damaging the eyes and use them for potato seedlings.
With dressings
How to sprout potatoes quickly? There is an original method, a bit like preparing in the light. The seed boxes contain special additives that accelerate the formation of shoots.
The material is placed in containers, evenly covered with a substrate of humus, peat and sawdust. Experienced farmers can lay up to 6 layers of seeds in this way. After the structure is assembled, pour water from the watering can. Wet soil will saturate each specimen, then the structure is left indoors at a temperature of 15 to 18 degrees.
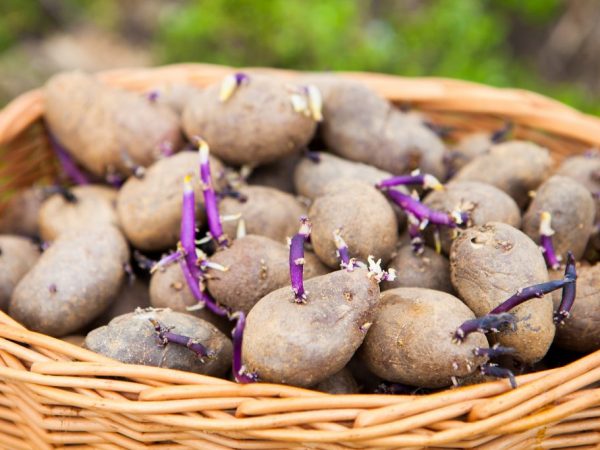

We use top dressing
After the first shoots have appeared, you need to use fertilizers. Lovers of sustainable products will love the mixture of liquid and glass of wood ash. However, professionals recommend the following top dressing (in grams per bucket of water):
- saltpeter, potassium chloride - 10 each;
- superphosphate - 50;
- copper, boron - 2 each.
Watering is carried out twice, with an interval between procedures of 48 hours. After seven days, the culture starts up strong and healthy roots, which are a sign of readiness for planting in open ground. The material is easily transported and does not have any special requirements for maintenance.
Processing potato tubers during germination before planting
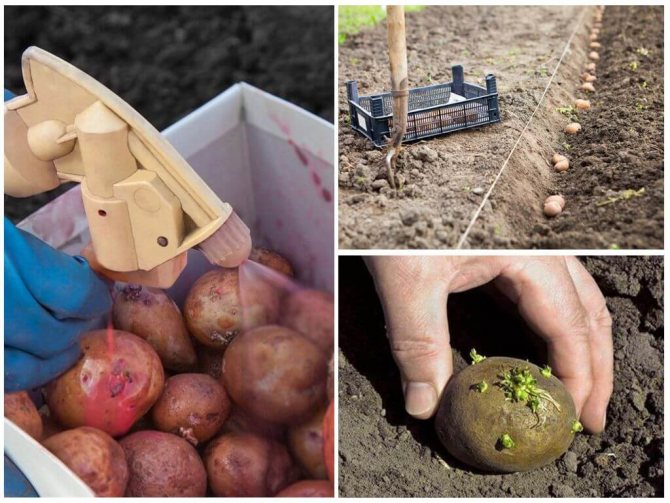
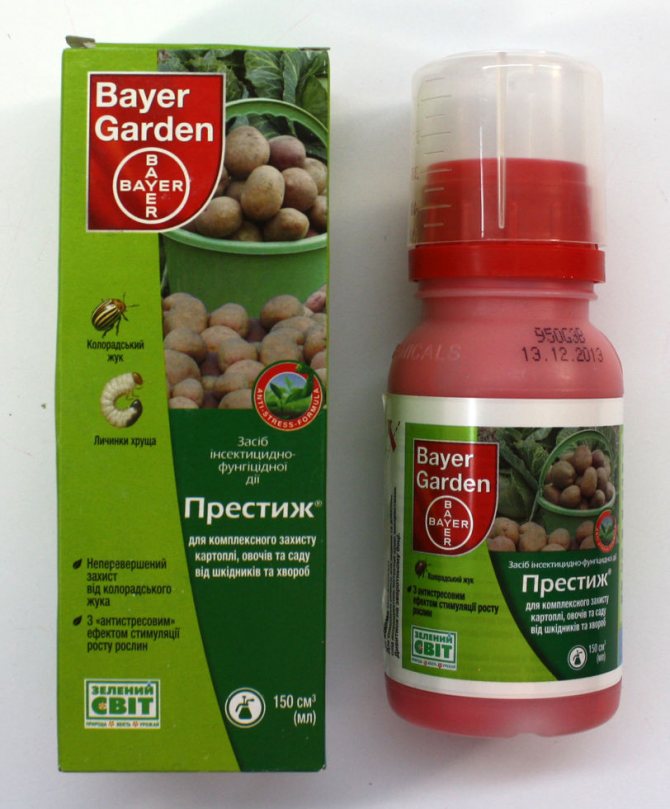
There are many drugs on the market today that can be used to treat potatoes before sprouting. They protect the crop from a whole range of diseases and pests, and the methods of use are indicated in the instructions or on the labels. But are they so harmless? How can the supporters of organic farming treat the tubers before planting?
When germinating in the shade or in the light, potatoes are sprayed with humate, phytosporin, zircon or epin once a week. In the wet method, these preparations are added to the water to irrigate the substrate.
Important! When drying tubers, do not spray them!
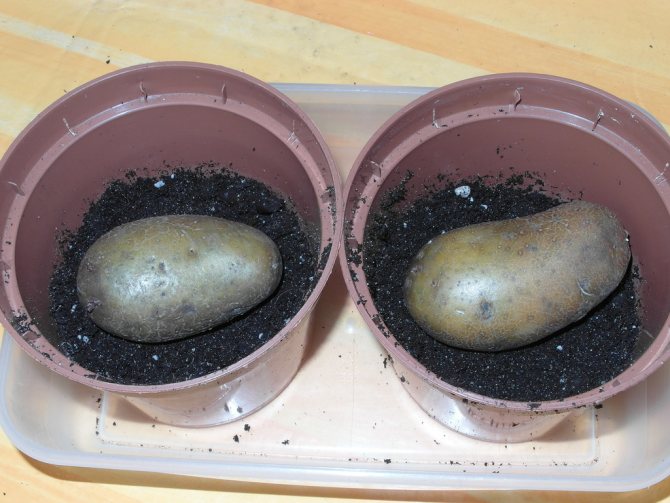
In pots
The quick method of sprouting potatoes in sawdust is not suitable for those who need to plant a lot of seeds. This method will be relevant for tiny areas or as an experiment for a new variety. In time, the preparation procedure begins thirty days before boarding.
First of all, the tubers are covered with damp remnants of woodworking, and after a couple of weeks - in a pot or a cut plastic bottle. Fertile soil and humus act as a substrate. The most suitable time to start work is considered the first half of March.
Capacities are installed near windows, if natural sources are not enough, then lamp supplementary lighting can be used. After a month, the roots are sufficiently formed, after which they are taken out into the street for hardening during the day. Remember that at temperatures below 10, the development of sprouts stops, so do not forget about the optimal climatic conditions.
With the rapid germination of seed potatoes in sawdust, one must not forget about treatment for diseases, choosing any means for disinfection. In the first ten days, it is necessary to carefully monitor the moisture content of woodworking residues and substrate. You should not save on containers and try to awaken root crops using this method in packages.
How seeds are harvested
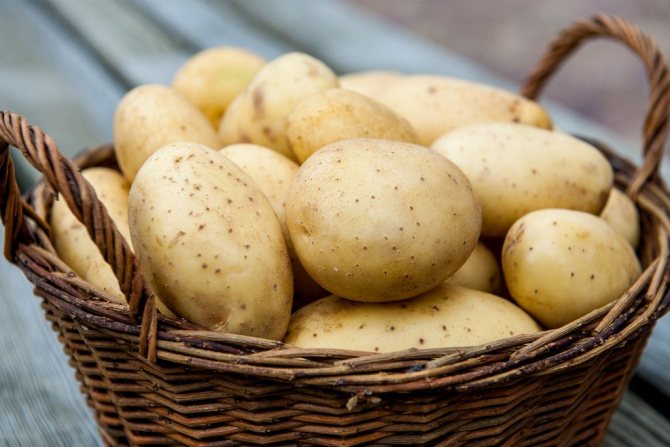

Seed potatoes
But first, the seed tubers must be properly dug up and stored. To do this, even during the growing season of potatoes, in the previous season, the most powerful and strong bushes should be noted in some way. You can put pegs near them, put large stones. Tubers from these bushes intended for seeds are dug out before the main harvest. The best potato is selected from this potato - the first sorting.
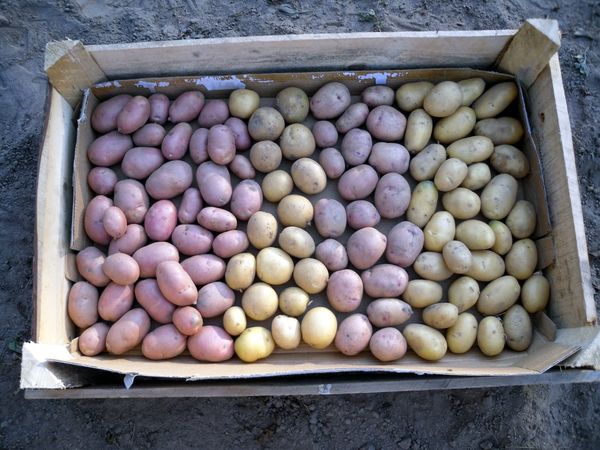

Seed potatoes are selected immediately
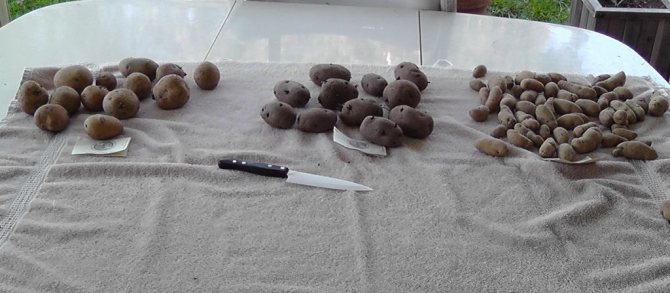

Sorting tubers by size and grade
Important! The best potato for seed propagation does not mean the largest. It should be slightly larger than a chicken egg. But it should not show signs of damage, disease.
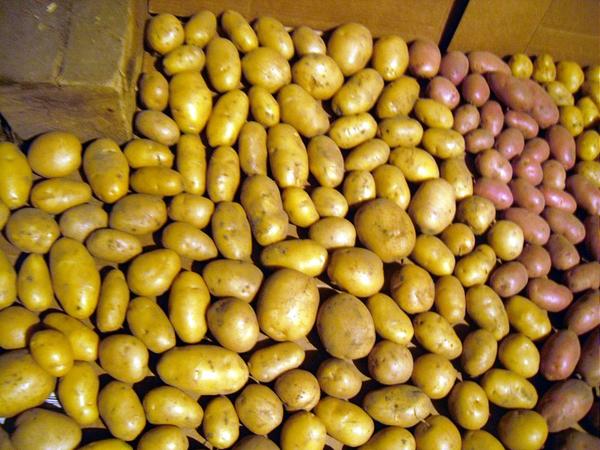

Sorted potatoes need to be dried well
After the first sorting, the selected tubers must be greened. To do this, you need a bright light for three weeks, plus a temperature of + 12 ° C and higher, but not lower. After the expiration of the term, each seed tuber is examined, and doubtful ones are rejected again. This is the second sort. Obviously, at the first selection, you need to prepare a larger number of potatoes, taking into account the rejection.
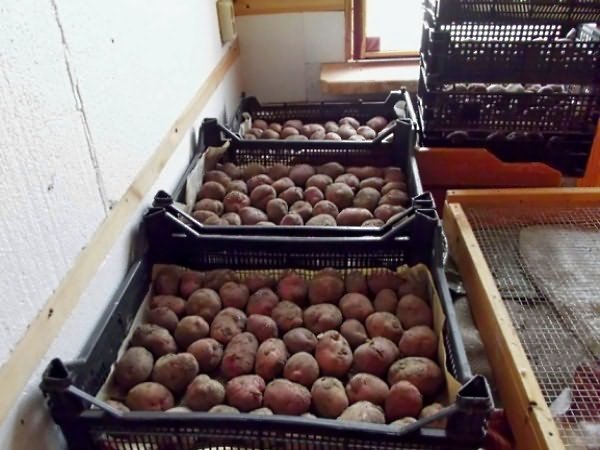

Greening potatoes is an easy way to add 20% to your future harvest


Why green tubers in the sun before planting
The sorted tubers are stored in winter at a temperature of + 4 ° C and a humidity of 60%. If the temperature and humidity are higher, they can start growing prematurely, which will significantly reduce future yield. If it is lower, the potatoes may freeze.
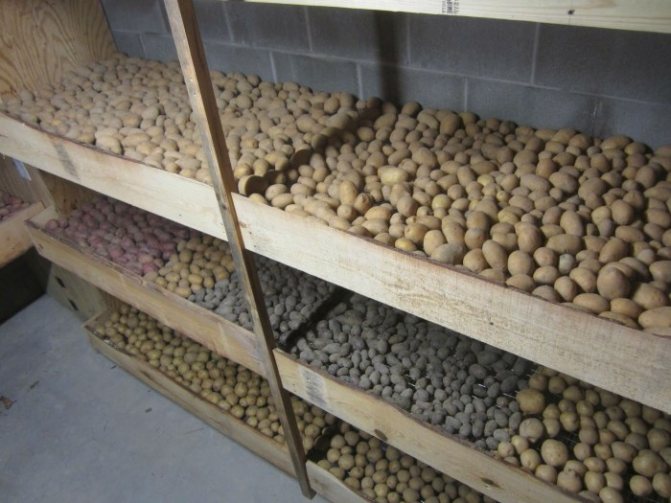

How to store potatoes
Table.Permissible and optimum temperature for different stages of potato development.
| Vegetation stage | Lower temperature (° С) | Optimum temperature (° С) | Upper temperature (° C) |
| Development of eyes | 5 | 18-20 | 28-30 |
| Sprouting | 5 | 14-22 | 30-35 |
| Growing tops | 6 | 17-23 | 40 |
| Tuber formation | 6 | 12-17 | 27-29 |
Wilting
How to germinate potatoes correctly if the planting time is running out? We recommend placing the tubers in a dry room in one layer on the floor. The procedure lasts from 7 to 10 days, during which the material is ventilated and the eyes awaken. During this period, there is a chance to notice sick and low-quality specimens.
Sometimes in private farms, root crops can be scattered in the attic or on the shelves of a dry barn. By lengthening the drying time by a week, you can achieve the appearance of small sprouts. Remember that the method does not require the grower to wait for the roots to grow.
To speed up the process, the ambient temperature must not be increased. If the degree rises above 25, then active metabolic substances begin inside the potato. Lacking access to moisture and nutrition, the nodule is depleted and dies. To avoid this, we recommend soaking in nitrogen-containing agents or sprinkling with ash before taking it out of the basement.
Secrets to Improve Yields
To increase the quantity and quality of the crop, the following tips from experienced gardeners should be considered:
- Mineral treatment is recommended on the day of planting. The tubers are soaked for several hours in fertilizer, dried and immediately planted.
- A large number of planting potatoes easier to fertilize by spraying... The procedure must be performed every week for a month.
- The day before planting, it is recommended to treat the tubers with a growth stimulant. This activates germination, speeds up metabolism and increases yields.
- If there is no specially planting material, you can prepare the seed yourself from ordinary potatoes. To do this, large tubers are cut into several parts, so that each one has eyes. Such manipulation is performed not only for reasons of economy. In a cut tuber stress hormones are produced, and the process of accelerated regeneration and root formation begins.
- Mulch will help to preserve moisture and nutrition in the soil for a long time.
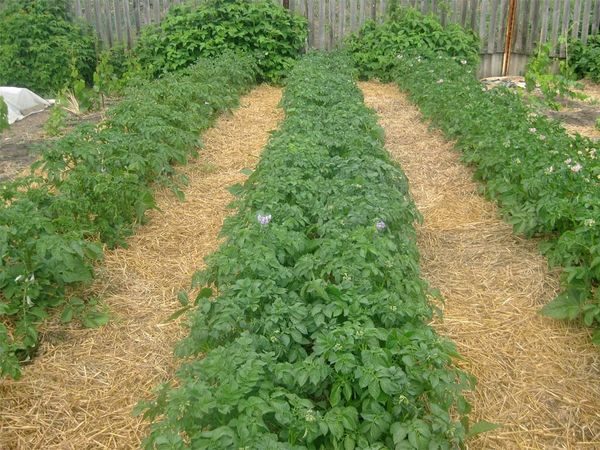

Mulching potatoes
Do not be lazy when preparing seed potatoes for planting. There are many ways to process planting material. This can be done with minimal financial and time costs: in the basement, in the garden and even in your own apartment.
Well-sprouted tubers are capable of producing an early, bountiful harvest. And the application of all the secrets and recommendations proposed in this article will help increase the yield of potatoes at times.
On open air
If there is no suitable germination room, where can the procedure be carried out? Some farmers use any site or deliberately dig a pit in the garden. After the snow has gone and the temperature is above 10 degrees, a flat, dry place is selected.
A thick layer of straw, peat and earth is poured onto the ground. The tubers are placed in several tiers, sprinkling each with a nutrient mixture. The passages are filled with dry grass, and plastic wrap is laid on top.
When using the method, we recommend starting the procedure a week earlier. Within a month, healthy roots develop, and the surface of the tubers is covered with protective greens. By the end of the term, all copies are ready and you can plant in the garden.
Correct sprouting of potatoes is an important and useful activity that allows you to increase crop yields. During certain periods of time, proven methods were developed to help farmers. The recommendations provide the most relevant methods.
Why do you need to sprout potatoes?
When potatoes are planted, then at this moment they are already growing, regardless of whether the root crop is in the soil. Potato seedlings grow faster after germination.
Also, during germination, the following risks can be prevented:
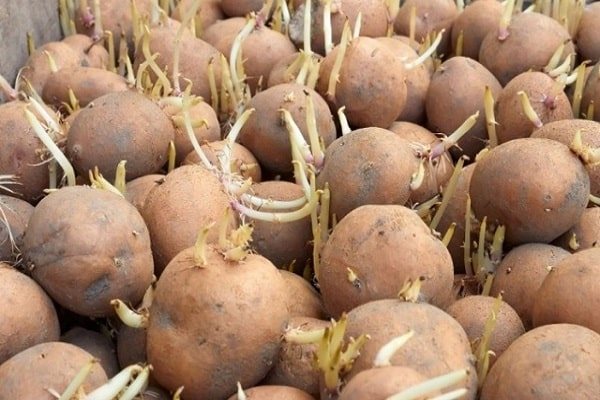

- The presence of rotten, moldy or gnawed root crops in seed potatoes. Before the process, the tubers are inspected in advance and discarded unsuitable for planting.
- Planting small tubers in the soil, the mass of which does not exceed 30 g.
- Use irregularly shaped roots. Such tubers rarely produce a normal crop, so it is not recommended to use them for germination.
Tubers unprepared for the summer cottage season sprout within 10-15 days, and the sprouts appear after another 12-20 days. The whole process takes more than a month. To reduce it, you need to germinate potatoes.
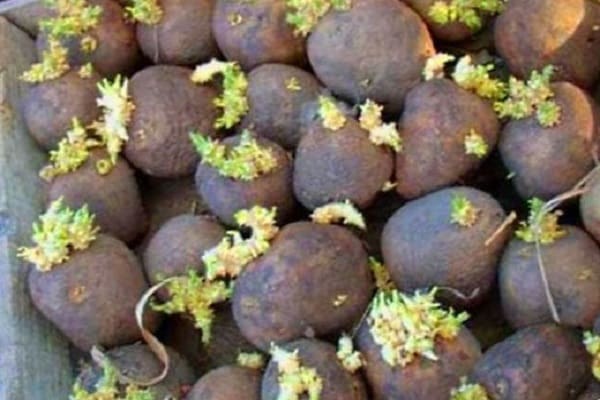

Harvesting seed tubers
Harvesting seed tubers for cultivation on a potato plot is a crucial moment on which the entire crop depends. At this stage, the foundation for yields is laid. Root crops begin to prepare for the season in the fall after harvesting from the site. The largest and healthiest ones are selected and placed separately from other root crops. In the spring, preparation continues and includes the selection of moldy, gnawed or blackened tubers. Then comes the germination of the sprouts and the planting itself.

Selection and calibration of potatoes
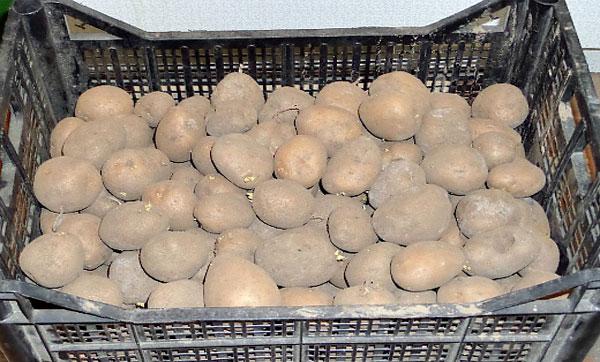
After the harvest has been harvested, care must be taken to select the highest quality tubers for seeds. They must be sorted by weight, size. For planting, you need to choose tubers, the size of which does not exceed the size of a chicken egg. Try to avoid specimens that are infested with pests, have signs of disease, or are injured during digging. Thus, it is necessary to select potatoes for planting, free from any defects. Otherwise, it will not be stored. Before planting, the tubers need another careful revision. At the same time, those that have signs of frostbite, are spoiled by pests, suffocated during storage, rotten, and ugly are rejected. Only healthy tubers can provide an increase in yield of up to thirty-six percent and shorten the time from planting to digging potatoes by ten to fourteen days.

Germination methods
After the preparation of the tubers is completed, you can proceed to the germination itself. How and where to do this is up to the grower himself. There are several ways to sprout potatoes before planting. They differ from each other in some peculiarities.
In the light
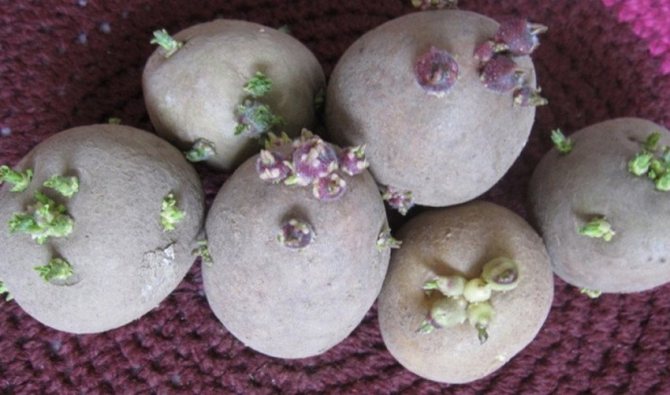
They begin to germinate potatoes in the light 1.5 months before planting them in the beds. The place of germination must certainly be light (but without direct sunlight), in which the potatoes will be most fully illuminated.
Recommended to read
What fertilizers can you feed potatoes
How to properly handle potatoes before planting
Review of the drug Prestige for potato processing
Optimal timing of harvesting and harvesting potatoes for storage
In plastic boxes
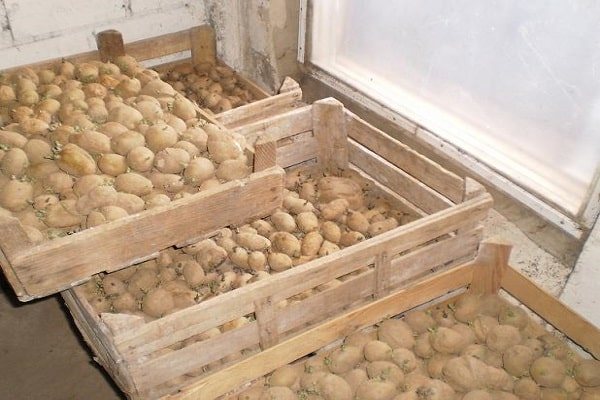
The tubers are inspected, then the prepared potatoes are placed in 1 layer in shallow plastic boxes with holes and they are installed one by one near the window. The light should be diffused, so the boxes are covered with a regular perforated transparent film. From time to time, the boxes are reversed, and the tubers in them are turned over so that the sides that were below are in the light.
A week before planting, the tubers are cut by eye, the knife after each tuber is disinfected in a dark purple solution of potassium permanganate, and the slices on the potatoes are processed in ash or cement. As a result of sprouting potatoes in the light, the sprouts are strong, short and green.10 days before planting, the boxes are covered with a cloth, as if imitating planting, that is, finding the tubers in the dark. On the day of disembarkation, they are soaked for 1 hour in Fitosporin solution, and then planted in the holes.

In plastic bottles or glass jars
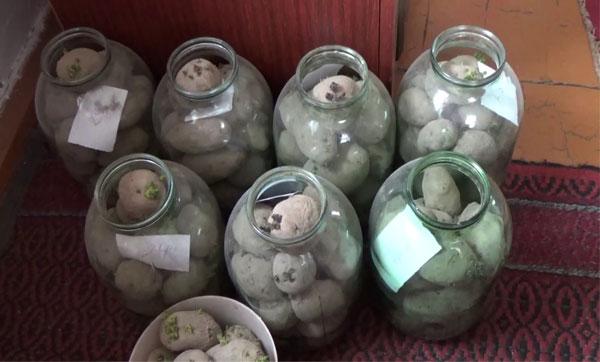
The germination of potatoes in this way begins in 30 days. For this, 1.5-2 l plastic bottles and 3 l glass jars are prepared. The top of the bottles is cut off, the cans must be clean and dry.
The tubers are placed loosely in the container, the neck is left free, then bottles and jars are installed in a bright room. The containers are covered with gauze. Potatoes germinate at room temperature. By the time the tubers are planted, they have short green shoots. Pull tubers out of jars and bottles carefully so as not to break them off.
This method is so convenient that it is even suitable for sprouting potatoes in an apartment.

In plastic bags
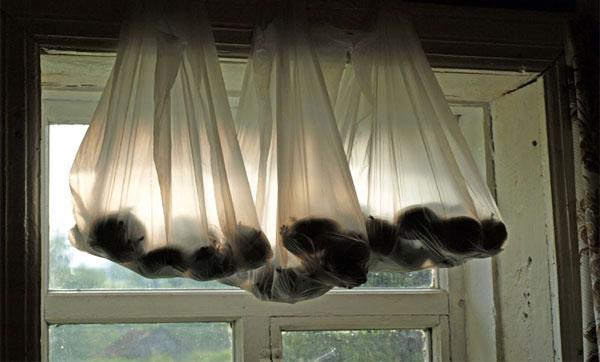
The method of sprouting potatoes in bags is suitable for those who need to germinate a small number of tubers. To do this, you will need ordinary bags - T-shirts. They need to pierce several holes for ventilation, put a dozen medium-sized potatoes inside each, tie bags and hang them in a sufficiently lit place, but not in direct sunlight.
Every 2-3 days, the packages with tubers are turned upside down to the light so that they germinate evenly. With this method of germination, potatoes germinate quickly due to the fact that the film creates a greenhouse effect: in it, the tubers are in warmth and moisture, which is exactly what is required.

In the dark
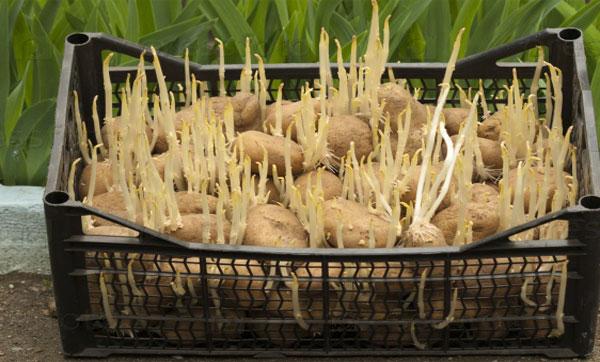
Another popular method is sprouting potatoes in the dark, which some gardeners consider the most correct. Seed tubers are placed in shallow plastic boxes or baskets covered with newspaper so that the emerging sprouts do not grow into the cells, they are covered with something so that light does not penetrate them, and they are placed in a dry room that is well ventilated.
When the sprouts appear, the potatoes are sorted: small ones are selected separately, with a small number of sprouts, which then need to be planted in 4-5 pieces in one hole, medium ones with several sprouts and large ones (they can be cut into pieces). If the potato does not germinate well, then it is transferred to a warmer room. As a result of sprouting potatoes in the dark, the sprouts are light and should be powerful (thin ones are discarded).

Wet germination
The advantage of wet sprouting potatoes is that you can keep the tubers in a large container and not necessarily in a bright room. Another plus - in this way you can greatly accelerate the germination of potatoes: tubers sprouted in this way form not only strong sprouts, but also numerous long and strong roots. Planted in the beds, they will take root faster, begin to expel the green mass and form tubers. This way you can shorten the time to harvest and get your potatoes earlier.
In addition, wet germination itself does not take a month or a month and a half, like other options, but about 10-15 days, therefore, if the right time is missed, and you still need to germinate potatoes or you need to quickly germinate potatoes of early varieties, then this is the best way.
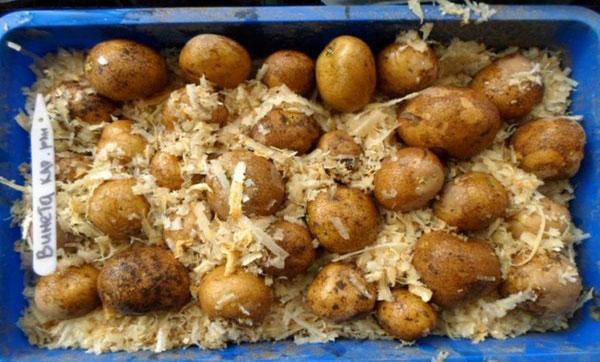
It is better to germinate potatoes in wet sawdust or straw. For wet germination, you need an ordinary plastic box, at the bottom of which a polypropylene bag is placed, potato tubers are placed on it in 1-2 layers, sprinkling each with wet sawdust and covering everything with the remaining free part of the bag. The tubers remain in the box until the very moment of planting in the beds.
From time to time, they need to be moistened with plain water, solutions of growth stimulants, for example, heteroauxin, or weak solutions of mineral fertilizers.By the time of planting, the tubers will have powerful roots and sprouts, therefore, being in the ground, they will quickly take root.
Likewise, you can sprout tubers in damp straw. The sequence of actions in this case is as follows: a bag or a piece of perforated film is placed on the bottom of the plastic container, a layer of potatoes is placed on it, a layer of wet straw is poured on top, another layer of tubers and again wet straw are poured on top of it. Further germination is exactly the same as in the case of sawdust. On the day of planting, the tubers are carefully pulled out of the straw, taking care not to damage the sprouts.

How to get planting material from seeds
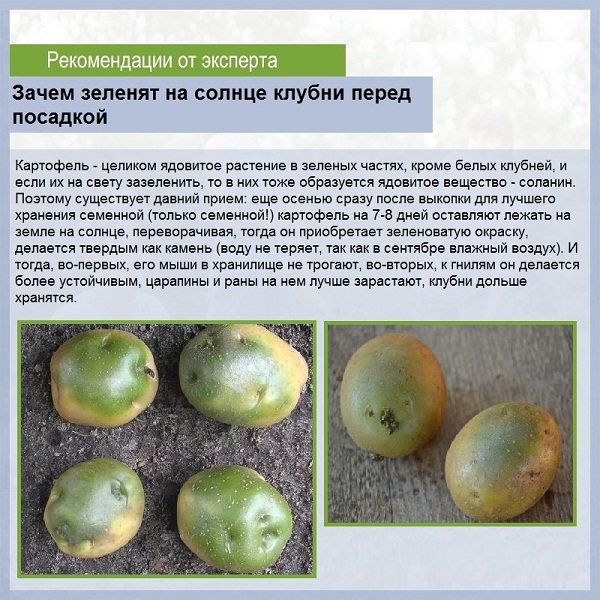
After harvesting and sorting it in the fall, you should immediately prepare the planting material for winter storage. Professionals advise to "green" the potatoes by placing them in the sun for 20 days. For the entire period of greening, the tubers should be turned over, which will ensure the uniformity of the rays.
Greening provides:
- the formation of seed hardness;
- improves safety in winter;
- protection from rodents, as potatoes become unusable.

After going through the procedure, the planting material is placed in boxes and lowered into a basement or cellar for storage. The temperature in the vegetable store should be no more than 5 degrees, since at higher rates, the tubers will begin to germinate. At a temperature of 0 degrees, the planting material will freeze and die.
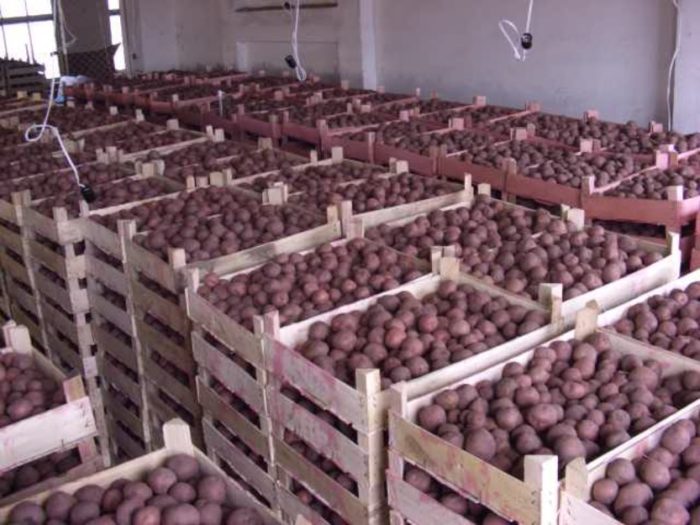

Why does potato deteriorate and degenerate and how to improve it?
The reason can be many, the main ones are;
- wrong choice of planting material;
- ignoring dressing of tubers.
If you do not fertilize before planting, before the flowering period of the vegetable and, if necessary, additionally, from year to year the quality of the potatoes will rapidly deteriorate. Gardeners should also pay attention to the "health" of the soil. It can contain pathogens that not only affect the level of yield, but the quality of the harvested potato and its ability to be a good growing material in the future.
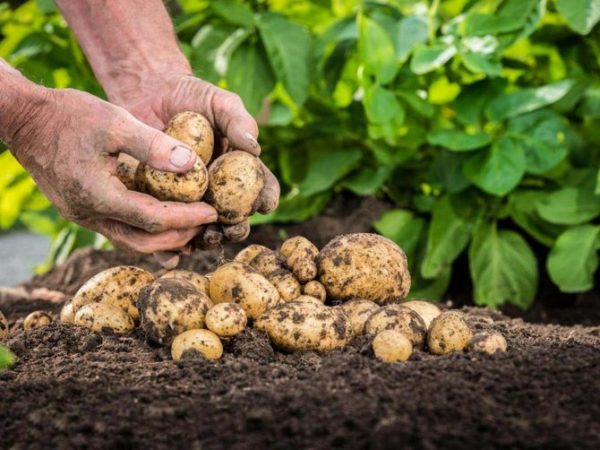

Which tubers to choose?
Potato tubers for planting should only be healthy. Potatoes with mold, black spots and any other lesions are not recommended for planting. Also, do not choose too large root crops. It is advisable to give preference to medium-sized potatoes with a dense skin and small eyes.
The selected potatoes are placed in a boric acid solution for disinfection and stored separately from the entire crop. It is useful to place fruits in manure for several days.
You should not choose too small fruits. Stems grow out of them a little, and they practically do not give a harvest. The disadvantage of large root crops is the fact that the aboveground part (leaves and stems) develops more actively than the underground part (tubers and root system). As a result, it turns out that the rhizome cannot provide a sufficient amount of nutrients to the stems and from this they begin to turn yellow and wither.
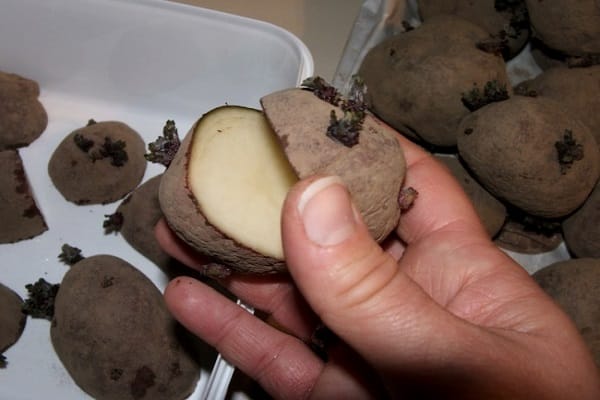

It is recommended to plant small, medium and large potatoes separately from each other and mark where that grows. This is due to the fact that the care for them will be different. An effective method for growing a rich harvest is buying seed in the fall. But in this case, carefully examine them before purchasing tubers. Elite potato varieties give a good harvest for about three years. Such varieties are practically not susceptible to the development of diseases. Buying a variety should be based on your own observations of the potatoes during the growing season. And it is recommended to purchase only those varieties that grow best on the site.

