Processing early potatoes before planting
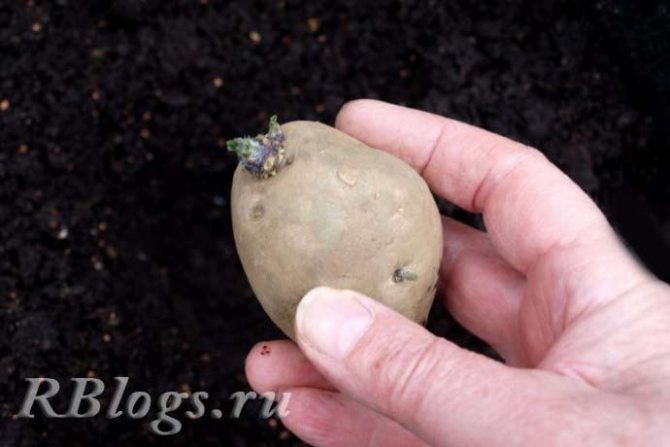
Before planting early potatoes in the ground on tubers that form one large sprout, it is advisable to make a transverse annular cut so that as many buds as possible appear on them. At the same time, the number of stems increases, and the yield increase, depending on the variety, is 18-56%.
Tubers can be cut in advance, in winter, when they are dormant, but no later than 1.5 months before planting. If the incision is late (after the buds have awakened), only the apical buds will sprout.
The tuber is cut in the middle, between the apex and the umbilical cord, no deeper than 10-15 mm. At the same time, it does not dry out, and a cork layer forms on the cut surface, which prevents the penetration of infection.
Early potato tubers that have not undergone pre-planting treatment are not protected from various diseases.
Urea treatment
To heal the planting material, it must be kept for 2-3 minutes in a urea solution (1.9 kg per 10 liters of water), and then rinsed in clean water. About 100 kg of potatoes can be processed in this solution.
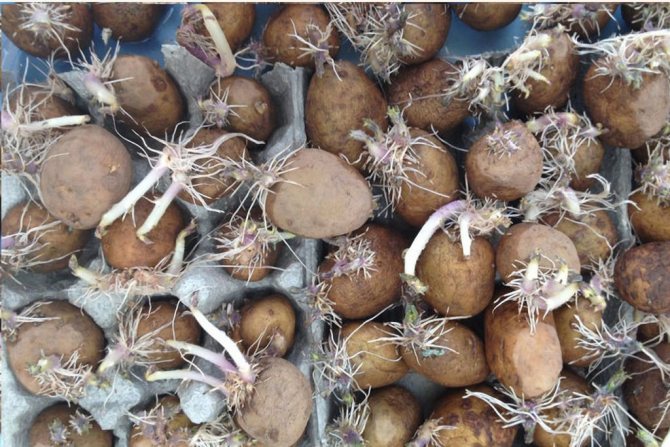
How to germinate correctly
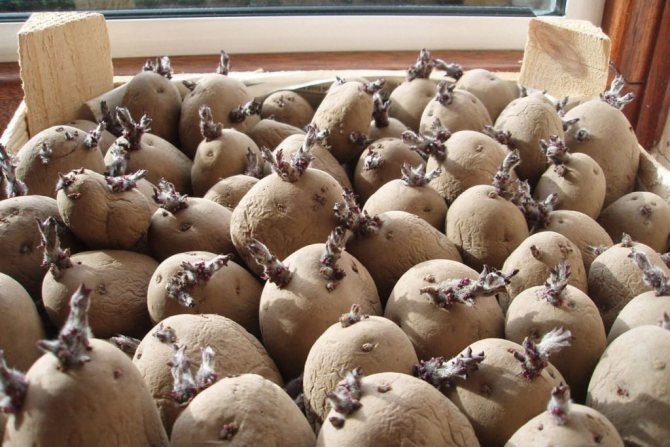
It is even better to hold the tubers in the light (vernalize) or germinate before planting. In pre-germinated tubers, seedlings appear in 10-15 days, that is, 10 days earlier than in unprepared ones.
To obtain early potatoes a month before planting, it is advisable to warm the tubers at 16-20 ° C in a semi-dark room. But it is impossible to increase the temperature too much, because this can cause a viral infection.
Processing with vitriol, potassium permanganate or ash
Before planting, the tubers are treated with trace elements or wood ash.
Treatment of seed material with a 0.01-0.05% solution of microelements is effective. For 10 liters of water, it is recommended to take 2 g of copper sulfate and 10 g of potassium permanganate. Spraying can be carried out before planting at the rate of 1 liter of solution per 50 kg of potatoes. The same effect is obtained by dusting the planting material with ash. (For 30-35 kg of tubers, 1 kg of ash is enough.)
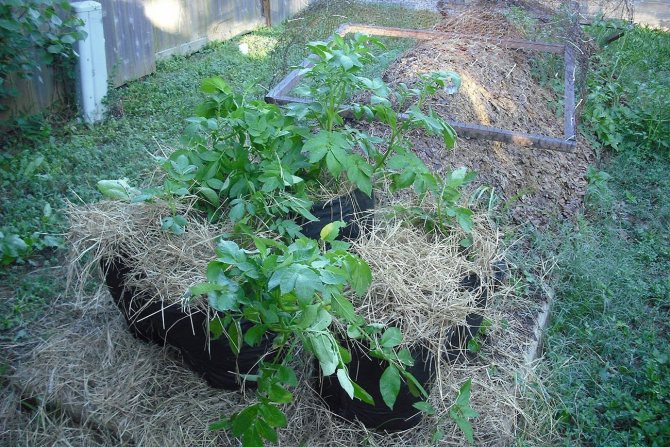
Growing potatoes under cover
You can get an early harvest of potatoes by growing them under film or agrofibre. When covering a plot with plantings, favorable conditions are created for the rapid growth of plants and the development of their root system.
Under the film of the potato - ideal conditions for growth
Under the film, potatoes will survive frost well and grow much better. Tubers under cover usually ripen 2-3 weeks earlier than in unprotected soil.
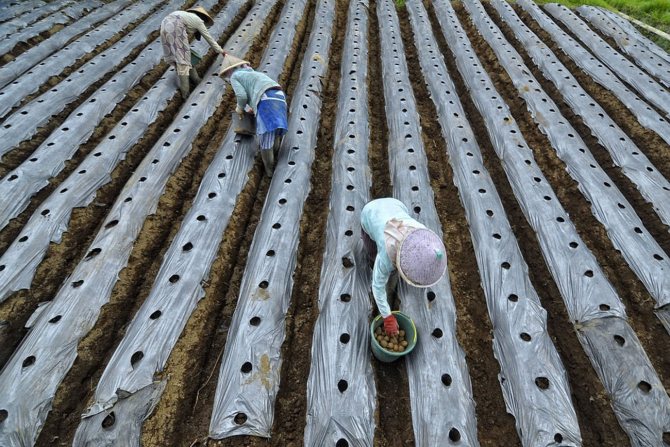
How to grow early potatoes under plastic:
- In advance, draw up a layout for the beds and prepare the required amount of film.
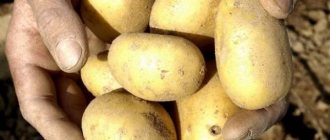
- Choose an early variety. Select only large tubers for sowing.
- Germinate seed potatoes.
- Protect the potato patch from the winds.
- Wait until the soil warms up well.
- Make a film cover: frame or frameless. With frameless covering of seedlings, the film is pressed down with the help of heavy objects so that it is not blown away by the wind. With frame covering, the film is stretched over arcs.
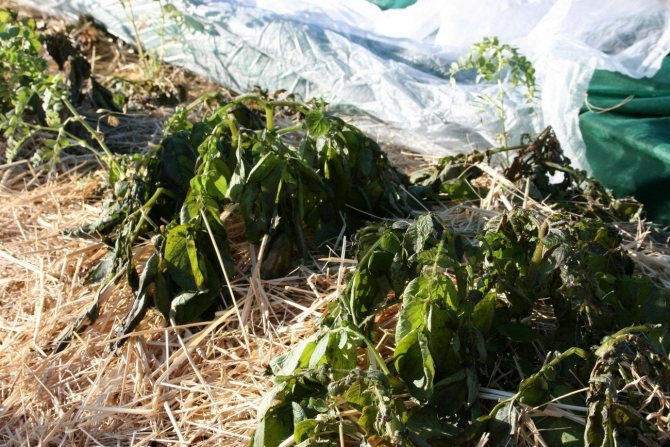
- Observe the temperature regime. In sunny weather, the soil under the film can warm up to + 45 ° C, so it is necessary to open the film for ventilation.
When growing potatoes under a film, the crop can be harvested already in the second half of May.
Potatoes are grown in the same way under agrofibre. The only difference is that agrofibre, unlike film, allows not only light to pass through, but also air, so it does not have to be opened for ventilation.
With sharp drops in temperature, a double cover of plants is used: a film is stretched over the fiber.
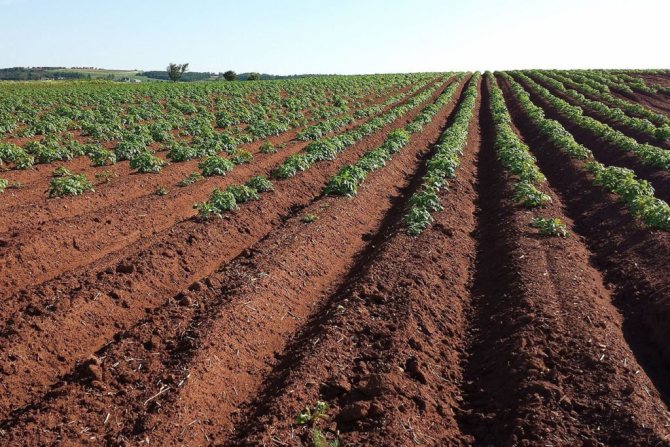
Place and soil
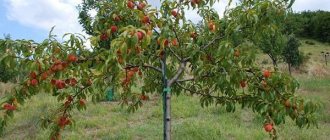
The harvest of early potatoes depends on the place of cultivation and even on the direction of the ridges. A place should be chosen that dries quickly in spring, with a southern or southwestern slope. It is recommended to place furrows or ridges from north to south so that the row spacing is better illuminated. The harvest will be disappointing if potatoes are planted under apple trees, in shaded areas.
In areas with a humid climate, to obtain early potatoes, it is necessary to cut furrows in the fall, which are straightened in the spring, loosened, and then the tubers are planted. The same should be done where frequent rains after planting in May clog the seedlings.
So that the snow melts faster and the soil warms up better, peat or ash is scattered in the area intended for early potatoes and drainage grooves are made to drain excess water during the snowmelt period.
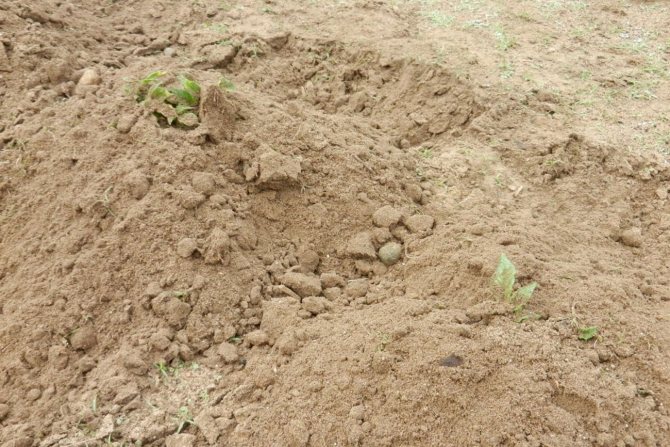
One of the most common mistakes is growing early potatoes in dense soils, in which they sit like in a shell. The soil in the places where the tubers are located should always be loose so that air and water can freely flow to the tubers. This contributes to the formation of a powerful root system and the active development of tops.
In garden plots, it is not always possible to correctly alternate crops. If you have been growing potatoes in the same place for more than three years, be sure to use green fertilizers. Sowing oats, peas or mustard gives a good effect in disinfecting the soil and saturating it with organic matter. For a month and a half, the site is covered with a dense carpet of greenery, which is then mowed, and the soil is dug up. Before the spring digging, it is advisable to treat the area where the potatoes will grow with a solution of copper sulfate (1 tablespoon per 10 liters of water).
The best varieties
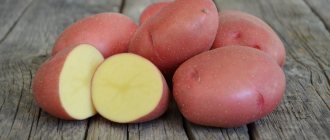
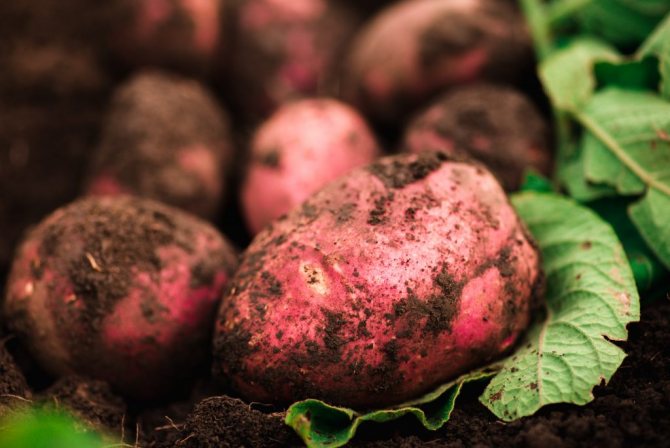
- Alyona - a table variety of potatoes with a yield of 170 to 190 kg from one hundred square meters of land. Tubers are oval, light red in color. Their weight is about 80-150 grams.
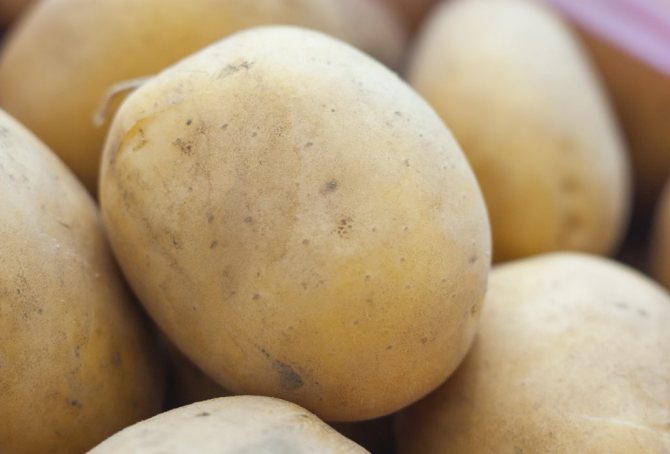
- Luck - is appreciated for its good keeping quality. She has a relatively high yield, about 1.5 kg per bush. The nodules are oval in shape, light yellow in color, their weight is from 125 to 250 grams.
Karatop - a high-yielding variety of early potatoes, up to 500 kg can be harvested from one hundred square meters. The shape of yellow tubers is oblong-oval, weight is about 130 grams. Resistant to diseases: late blight, cancer.- Kamensky - high yield, about 180 kg per one hundred square meters. Its red, elongated tubers are small, no more than 100 grams. Not afraid of viral diseases and the Colorado potato beetle.
- Romano - variety unpretentious to the soil, drought tolerant. High yield - up to 430 kg per one hundred square meters. Tubers are oval, reddish, weighing 80-100 grams.
- Gala - has a very high yield, up to 600 kg per one hundred square meters. The variety is excellently grown in many regions of Russia, is unpretentious and resistant to diseases. Yellow, round tubers weighing 70 to 120 grams.
- Nevsky Is the most popular early potato variety. Productivity from 370 to 500 kg. Disease resistant. Grows well in any conditions. It has very beautiful, round and even yellow fruits.
- Red Scarlett - high-yielding (up to 600 kg per one hundred square meters) variety. Suitable for almost all regions of Russia. Large red fruits with yellow pulp. The mass of a potato is from 80 to 110 grams.
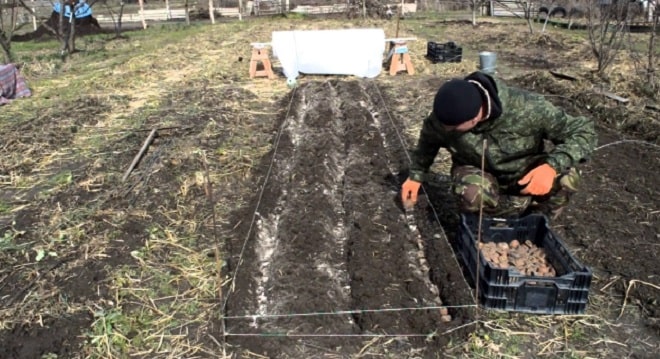
How to plant correctly
When planting early potatoes, it is very important not to deeply deepen the tubers, which go even deeper in rainy weather. This is especially harmful on clay soil.
On medium loamy soil, it is recommended to plant potatoes to a depth of 4-6 cm. This reduces the risk of rhizoctonia disease and ensures early and friendly shoots.
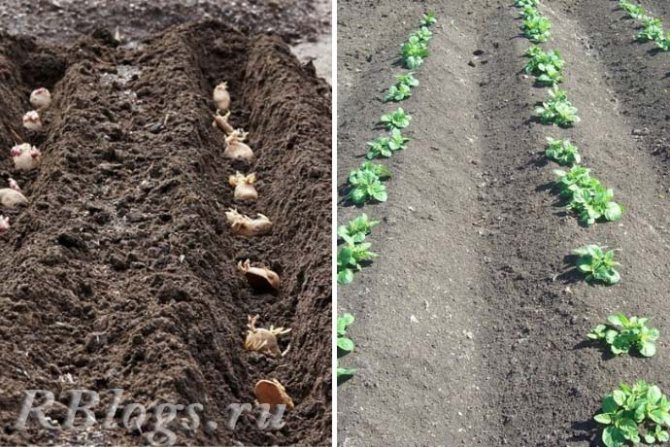
Some gardeners throw tubers at random during planting. You need to carefully put them in the soil, sprouts up. In this case, the bush turns out to be more sparse, grows better, and more tubers are formed. The oblong tubers are positioned lying down.
When planting with a mixture of different varieties, you often have to observe the following picture: some plants have already reached 10-15 cm in height, and seedlings are just breaking through nearby. This is wrong, each variety is planted separately.
Seedlings usually appear 2-3 weeks after planting.
No-till technology
For an early harvest, you can use the no-till method. Its essence is simple:
- Beds are marked with a width of about 4 meters and borders between them with a width of 30 cm.
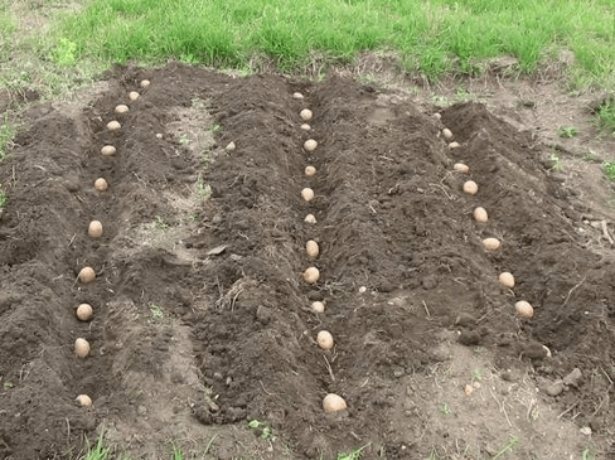
- On the bed, transverse grooves are made at intervals of 90 cm.
- Tubers are laid out in the grooves at a distance of 25 cm from each other.
- The laid tubers are sprinkled with ash and fertilizers and covered with earth from above. The combs will be taller than a traditional fit.
- Over the entire period of potato growth, until the tops are intertwined, it will be necessary to weed the aisles several times.
- Grown bushes require hilling. When hilling, the soil must be scooped up from the space between the furrows; at the same time, shallow grooves are formed between the rows of hilled bushes.
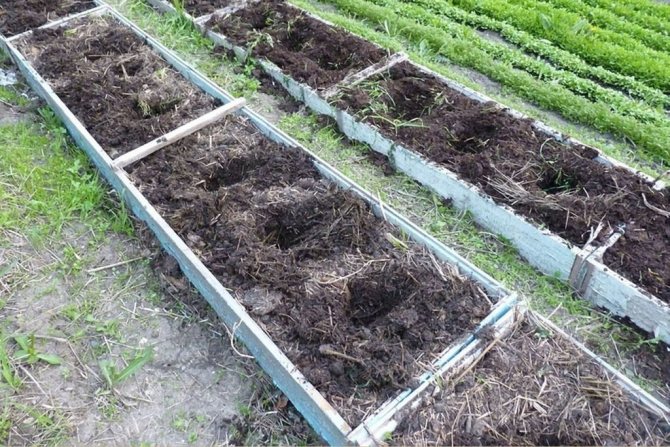
Photo gallery: no-till potato planting method

Tubers are neatly laid out at a short distance from each other
If necessary, fertilizers are added to the grooves before backfilling.

The land for hilling is raked up from the rows, deepening them
About 10 days before harvest, the tops should be cut in half. When harvesting, you need to pull it out, destroying the ridge with movements in the opposite direction from the landing side. Thus, the grooves will be half-filled, but noticeable. The next spring, potatoes should be planted in them, covering them with soil from the former ridges, which, in turn, will become grooves. This will change the landing rows.
Video: how to plant, grow and harvest potatoes no-till
When growing potatoes using this method, the moisture in the soil lasts longer, the consumption of fertilizers is reduced and the harvesting process is easier. This method is suitable for small, waterlogged and inconvenient terrain areas.
Early potato care: weeding, loosening, hilling, watering
The main care for potatoes is carried out mainly before flowering.
How to loosen
It is necessary to loosen the top layer after the rain with a rake, otherwise most of the weeds will germinate. Even a slight delay in processing makes it difficult to subsequently deal with them, as it will take more time and effort.
Begin to loosen the soil from the top of the ridge, and then position the rake so that the soil moves from the bottom of the ridge to the top. When loosening, accidentally turned out tubers must be planted in their original place.
In rainy weather, the soil sometimes has to be loosened 3-4 times to prevent the formation of a soil crust.
In small areas of planting, it is advisable to mulch with peat or a film, which is removed after emergence.
Periodically, you need to look at the bushes and remove weak and diseased plants when they reach 10-20 cm in height. And shortly before harvesting, dig out bushes with early dead tops, and use the tubers for food.
Some hobby potato growers loosen their potatoes often and deeply. This is very harmful, since the roots die after damage. Loosening should be done carefully!
When and how to huddle for the first time
Hilling is started when potato plants reach a height of 18-20 cm and when the soil is not too dry and not too wet.It is important that it does not thicken in the future. The hilling time for early potatoes varies from region to region.
With a lack of moisture, it is better to make the ridges low, and with an excess, narrow and high.
On sandy and sandy soils, hilling is impractical, especially in dry weather. And on loamy and clayey soils, it is necessary, and with each hilling, the soil layer above the uterine tuber increases by 2-4 cm.
In the Central region, two hilling are enough, the second is carried out before closing the plants.
Do I need to water
It is generally accepted that potatoes do not need watering, but this is not the case. The need for moisture is quite high. Good watering in hot weather significantly speeds up potato development and always pays for itself. It is especially important to provide the plants with water in a timely manner during the period of intensive tuber formation - from complete budding to the cessation of tops' growth.
When watering, care must be taken that the water does not erode the ridges and expose the potato nests. After watering, as well as after rains, the soil must be loosened and at the same time the rows must be corrected. Watering is stopped two weeks before harvesting.
Top dressing
Do not apply large doses of fresh manure under the potatoes - the tops grow strong, and the tubers become watery and easily get sick. It is used in a rotted form and only in the fall. Fresh manure can be applied directly to the ash hole or mixed with mineral fertilizers.
Potatoes are responsive to feeding, including potash fertilizers, but you should not get carried away with them, especially if they contain chlorine: the taste of the tubers deteriorates.
It is necessary to feed early potatoes only if it was not possible to fill the soil in sufficient quantities either in the fall or in the spring and the plants grow poorly. A good result is given by top dressing 6-7 days after germination (1 tablespoon of complex mineral fertilizers for each bush).
For better ripening of potatoes and improving its taste, foliar dressing with mineral fertilizers on the leaves is effective. This should be done 2-4 weeks before harvesting. One hundred square meters will require:
- 40 g of ammonium nitrate;
- 200 g superphosphate;
- 10 g of potassium salt;
- 2 g of copper sulfate.
Mix everything thoroughly and insist in 10 liters of water for 34 hours. The yield increases, and the nitrate content decreases by 25-30%.
The only activity after that is the fight against diseases and the Colorado potato beetle. Wireworms are also very damaging to early potatoes, especially in dry weather. Wireworm larvae accumulate in heaps of manure mixed with sawdust and shavings. This pest loves to feed on wheatgrass and prefers areas where this malicious weed grows.
Potato predecessors in crop rotation and fertilization
To obtain a good harvest, it is necessary to observe the crop rotation. The best predecessors of potatoes are cucumbers and cabbage. The culture grows well after beets and other root crops, pumpkin seeds, legumes, onions and garlic. But after nightshades (tomatoes), you can plant potatoes in 3 years. This is due to the fact that plants are affected by similar diseases, have the same pests.
Fertilizing a bed intended for planting potatoes is best done in the fall after harvest. For 1 sq. m of the area, 6 buckets of humus, 15 g of potassium sulfate, 30 g of superphosphate are introduced. Then the earth is dug up, covering fertilizers. After harvesting the tubers, it is good to sow the ridges with green fertilizers - siderates.
Potatoes receive additional nutrition at the time of planting. A handful of wood ash and 0.5 liters of dry humus are added to each hole. Then put the tubers and cover with soil. The first early potatoes do not have time to get all the nutrients from the soil, therefore, it requires fertilizing with mineral fertilizers. Most often, a mixture of nitrophoska, dolomite flour, ammophos is used. The amount is taken according to the instructions on the package of the substance.
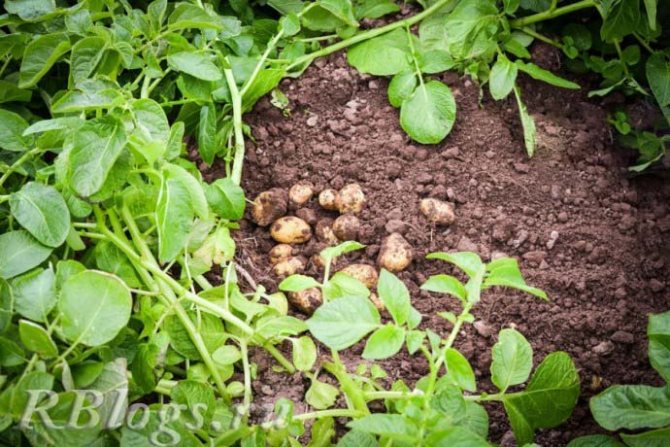
Harvesting early potatoes
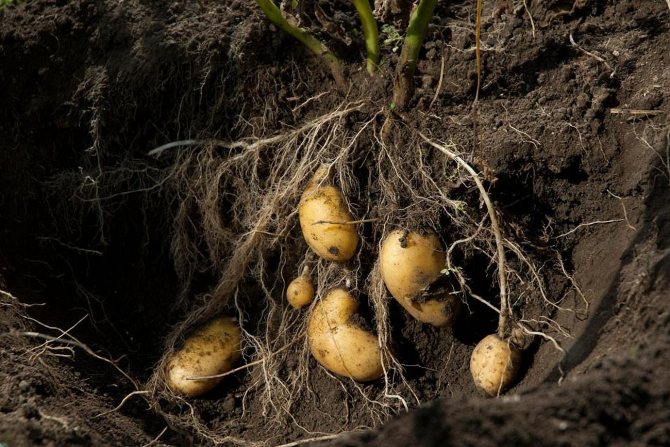
As soon as the flowers of the early potato plants open, selective harvesting begins. This usually happens in the second decade of June. The bush is buried in and the largest tubers are selected, then they are spud and watered, slightly compacting the ground.
Complete harvesting of potatoes in central Russia is carried out from July 20 to August 5. The yield from 1 m2, as a rule, is 2-4 kg.
During harvesting, some gardeners pour potatoes into heaps to dry, and in case of rain, cover them with tops. In no case do this, because if the tops are sick, they can infect the tubers as well. Do not dry young potato tubers in the sun to avoid sunburn. Burnt tubers deteriorate quickly.
Dry wet potatoes under a canopy or in the yard, but it is better to harvest potatoes in dry weather, after drying the tubers for 2 hours. It is especially important to dry unripe tubers or those collected from plants affected by late blight.
SAVE USEFUL INFORMATION ON YOUR FAVORITE SOCIAL NETWORK PAGE:
Features of planting and growing in different climatic zones
Growing potatoes in different climatic zones has its own characteristics. In order to avoid an annoying mistake and not be left without an early harvest, you need to choose varieties that are suitable for growing in a specific area.
Middle lane
The middle zone of Russia is its European part, characterized by a temperate continental climate, snowy and frosty winters and humid summers. Average daily temperatures throughout the year range from -10 ° C to + 24 ° C. The soils are not very rich in nutrients. From high humidity, potatoes are often exposed to diseases. Late varieties do not have time to form fruits. Therefore, for cultivation here you need to choose early varieties with the best adaptation to any type of soil. Most popular in the middle lane:
- Vyatka;
- Arina;
- Spring;
- Ural early;
- Zhukovsky early;
- Uladar;
- Red Scarlett;
- Volzhanin;
- Nevsky.
Nevsky is the most widespread variety in Russia
In this climate, you can even get two crops of potatoes per season.
Moscow suburbs
The climate of the Moscow region also does not allow growing late varieties of potatoes, because planting is carried out in late April - early May. Local vegetable growers have to choose from early, mid-early and mid-season. It is necessary to grow zoned varieties adapted to local climatic conditions. Since the soil and climate of the Moscow region are often the cause of the spread of potato diseases, it is necessary to choose varieties that have good immunity. For this region, Zhukovsky early is suitable, since it has good resistance to diseases, and it can grow in any climatic conditions and on any soil. In addition, the following varieties are successfully growing in the Moscow region:
- Gala;
- Nevsky;
- Red Scarlett;
- Rosara;
- Uladar;
- Caprice.
Caprice is very unpretentious in cultivation
Southern regions
The southern regions are not the most favorable area for growing potatoes due to the too warm climate. Potatoes thrive in moderate humidity and medium temperatures. In hot weather, the growth and formation of tubers slows down. The soils in the south are predominantly dense chernozems. They interfere with the normal growth of tubers, cause their deformation. Nevertheless, potatoes in the southern regions are grown quite successfully, choosing varieties that are zoned and well adapted to high temperatures and black soil:
- Impala;
- Zhukovsky early;
- Good luck;
- Red Scarlett;
- Ditu;
- Roco;
- Romano;
- Picasso.
Romano can grow in any soil
Far East
The climate of the Far Eastern region is distinguished by contrast, but in general it is too cold for growing potatoes: the average daily temperature in July is only + 11 ... + 13.5 ° C. However, the daylight hours are long, in July-August it lasts about 19 hours. Thanks to this, plants have time to build up green mass and even form tubers, but only ultra-early varieties with the shortest growing season. The cultivation of late potatoes in the Far East is not expected, since the frost-free period here lasts from 52 to 111 days. Suitable for growing in this area:
- Priekulsky early;
- Yenisei;
- Spring;
- Falensky;
- Cupid and others.
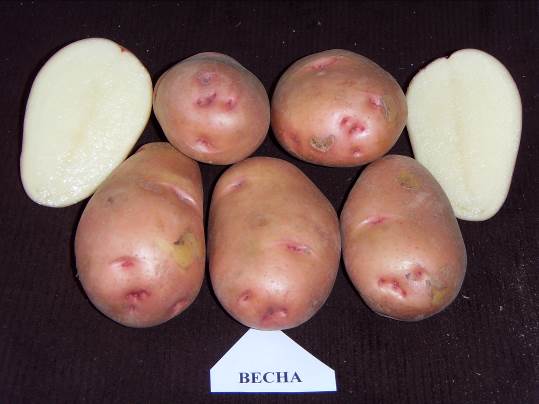
The short growing season allows you to grow Spring even in the Arctic
Central Black Earth
The mild climate of the Central Black Earth Region is the most favorable conditions for growing potatoes. 55 varieties of this vegetable are cultivated here. Compared to the Moscow region, the yield here is one third higher. Good weather conditions allow for two harvests per season. And yet, experts recommend growing only zoned varieties to obtain high yields and save fertilizers and pesticides. The most common here are Red Scarlett, Ramos and Nevsky.
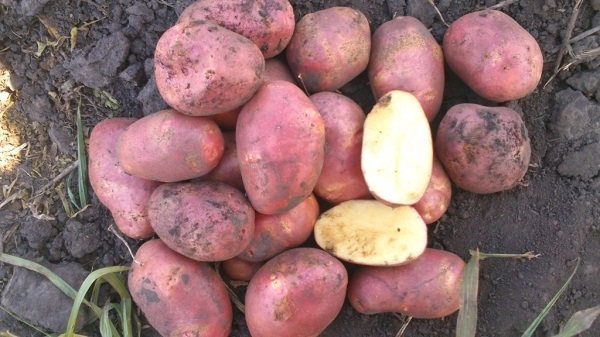
Red Scarlett is a widespread variety in the Kuban
When to water potatoes
There are two ways of irrigation - sprinkler and drip. Both methods are quite effective, but drip irrigation has some advantages over sprinkler irrigation.
Drip tubes are installed from the spring. The owner does not need to rearrange, drag and adjust the system. Since watering is carried out directly on the roots of plantations, the crops are not afraid of cold snap and heat. You can moisten the soil at any time of the day as needed.
It is not advisable to use the sprinkler method in hot weather, except for the option when water is sprayed all day. Otherwise, if the tops were watered in the morning, hot weather during the day promotes drying out and wilting, which inhibits the growth of tubers. Night watering is the best option for sprinkler irrigation.
Which variety to choose: criteria
To grow crops using seedlings, you should not choose late varieties. During the season, they often do not have time to ripen. Best suited:
- early ripe ones - Fun, Antonina, Red Scarlett, Luck, Vega and many others;
- mid-season - Ryabinushka, Amur, Romano, Breeze, Ilyinsky.
Important! If tubers are to be used for germination, the seed must be carefully checked for suitability.
All tubers should be medium in size. If the root crop is small, germination will take longer. There should be 8-12 eyes on the tuber. If there are fewer of them, this reduces the germination percentage.
Seed requirements
Those who plant the same varieties of potatoes from year to year, the culture is rapidly degenerating. The harvest is getting smaller, and the tubers are getting smaller. The varieties "American", "Nevsky", "Mike", "Zhukovsky early" are especially exposed to degeneration. Therefore, the seeds should be renewed annually.
It often happens that tubers that remain after sorting for food purposes are taken as seed material. These are mainly small tubers from low-yielding and even diseased plants. Their reproduction also leads to a significant decrease in yield due to the degeneration of the variety.
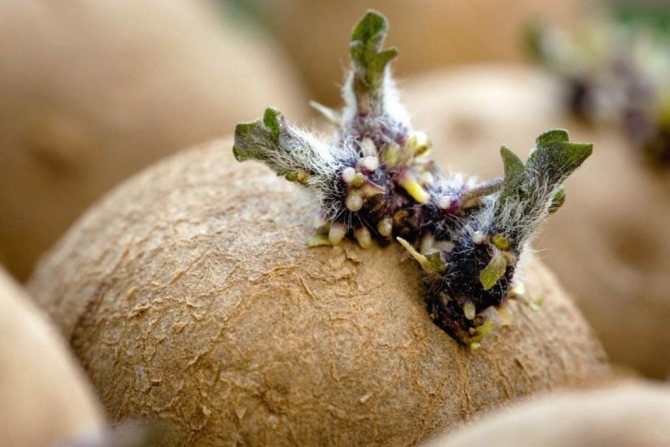
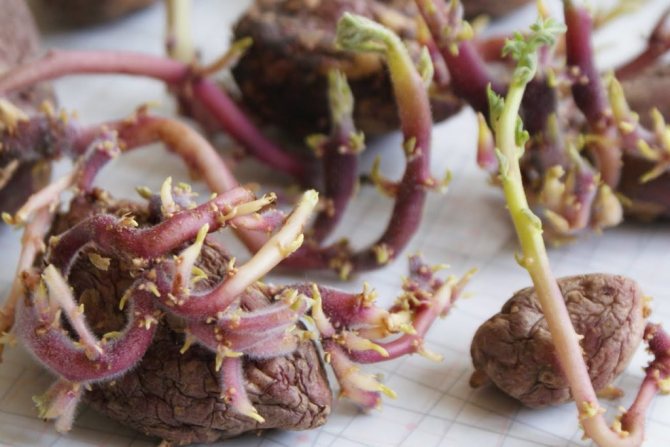
In addition, proper storage of seed material is not always given due importance. Premature sprouting of tubers is especially common. This results in a loss of 25-35% of the crop. The tubers should be stored at a temperature of + 2 ... + 3 ° С in a bright, cool place. Then, when germinating, powerful shoots with root tubercles will form on them, and seedlings will appear quickly and amicably.
Another common mistake is made by those farmers who plant only one potato variety. Planting of different varieties, differing in their characteristics, and in terms of growing season, and resistance to disease, allows you to insure against unfavorable factors.
Gardening of tubers.For planting, it is best to select even specimens weighing about 100 g. It is very useful to rinse them in a warm solution of dark pink potassium permanganate or in a suspension of wood ash (10 g of ash - in a bucket of water, leave for two days, strain).
At the slightest suspicion of infection of tubers with scab, wash them in a weak formalin solution (dilute 1 part of a 40% solution with 80 parts of water).
Then the tubers must be thoroughly dried. If there are not many of them, it is most convenient to use household nets. In them, the tubers can then be greened.
It is necessary to keep the planting material in the light in a cool dry place for 10-15 days. In this case, the tubers must be periodically turned over for uniform gardening. Planting material should be stored separately from ware potatoes, because green tubers contain a strong poison solanine.
When to plant potatoes
It is possible to plant early varieties in open ground at a temperature of +8 degrees. But no one can foresee the vagaries of nature. Sudden night frosts, despite the daytime temperature of +18, can destroy early seedlings. The basic rule is that the ground should warm up to 15-18 degrees before planting.
But by this time, weeds are already breaking through and insect pests wake up, which begin to spoil the tubers that are in the ground.
Folk omen - you should start planting potatoes after the buds on the birches come to life and turn green