
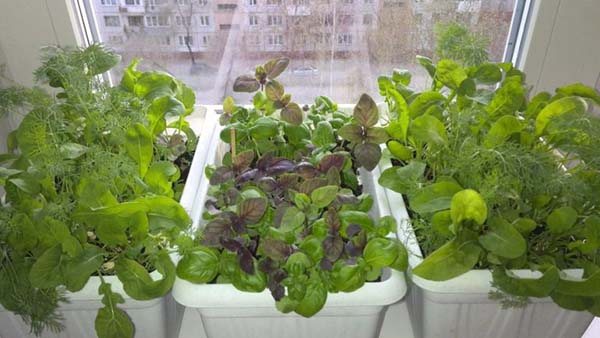
The once familiar "landscape" on the windowsill in Soviet apartments has now been replaced by a more exotic one. The need for self-cultivation of greenery in the apartment has disappeared. In the store you can find fresh plants for every taste at any time of the year. But not everyone is satisfied with the store greenery from the greenhouse. These products do have many of the disadvantages associated with greenhouse varieties. Therefore, even today, experienced gardeners prefer to provide themselves with herbs on their own. However, greenery on the windowsill for beginners is also quite affordable. Not only gardening professionals can pamper themselves with fresh dill in a salad or mint in tea.
Features of growing some types of greenery on the windowsill
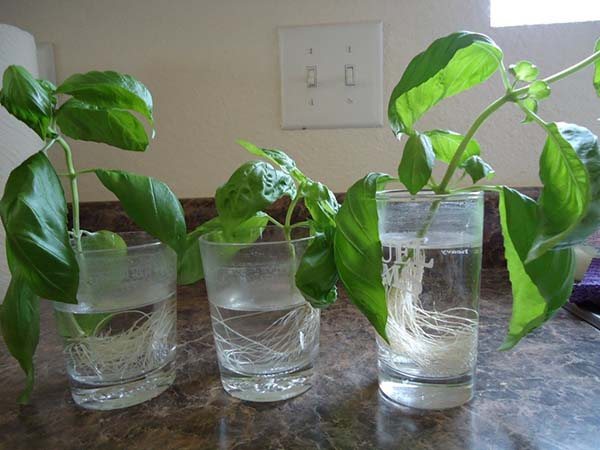
- Basil the most convenient and fastest growing from cuttings germinated in water.
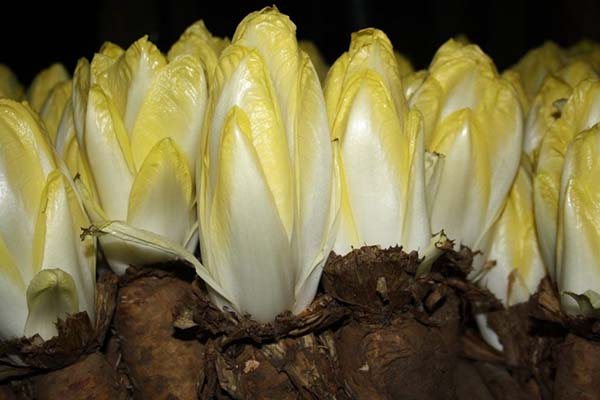
- It will not work to grow witloof (salad chicory) at home according to the standard scheme, because first you need to sow and grow root crops in the open field, and then they (root crops) can already be planted for distillation. At the same time, they need to germinate in a cool (about 15 degrees) and dark room (a window sill or window will not work).
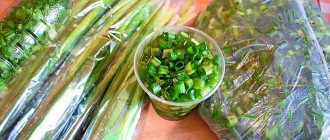
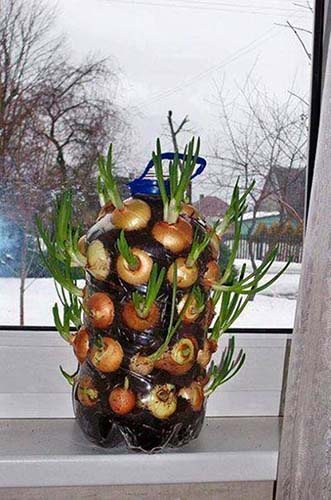
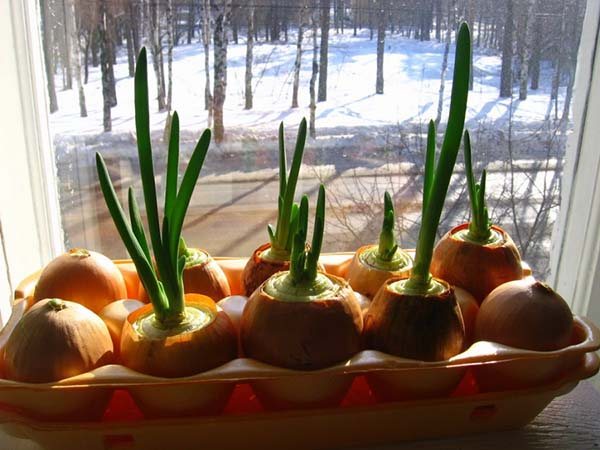
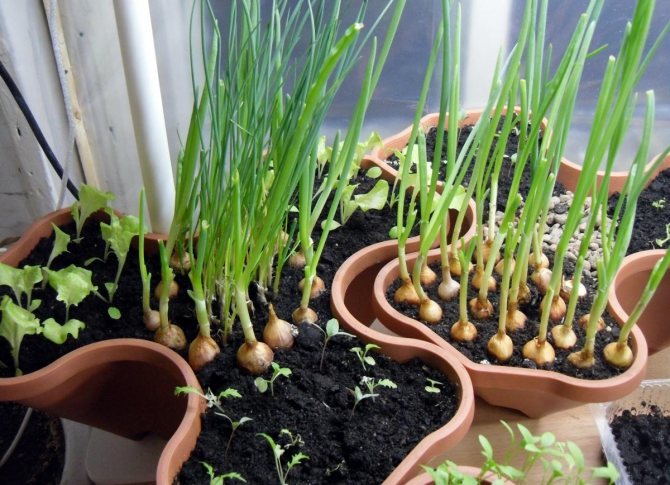
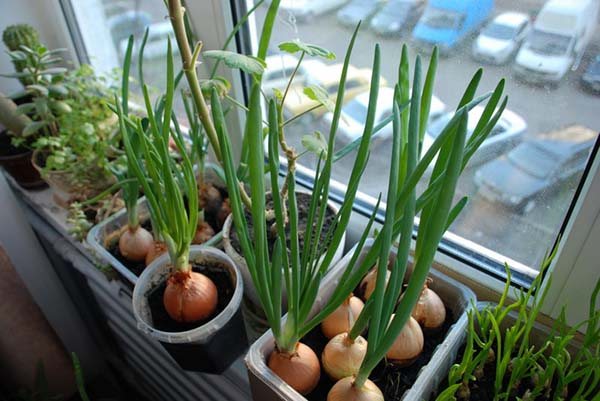
- Green onions convenient to drive out, for example, in cans of water or many other ways you can read about in this article.
- Parsley and celery in winter it is better to sow not with seeds, but root out (soak for 2-3 hours in water and plant in the ground).

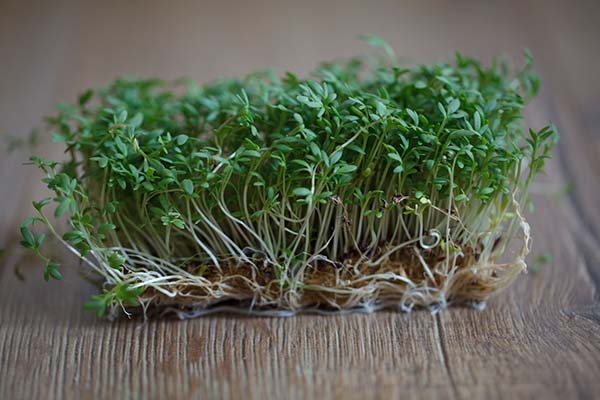
- Watercress and leafy mustard can be grown without land... You just need to put a layer of porous paper, cotton wool or a special hydrogel on the bottom of the planting container. Moisten the top and sow seeds over the surface, and in the case of watercress, this should be done as thickly as possible.
Important! If you want to practice, then first you should try to grow the most unpretentious fast-growing crops to care for (under the necessary conditions), which means that it is best for you to stop at the following: green onions (per feather), watercress, lettuce, parsley, chives onions, arugula and basil.
And here grow dill (you need a low temperature - 16-17 degrees and a 14-hour daylight hours) and cilantro is a little harder and more troublesome, especially witloof.
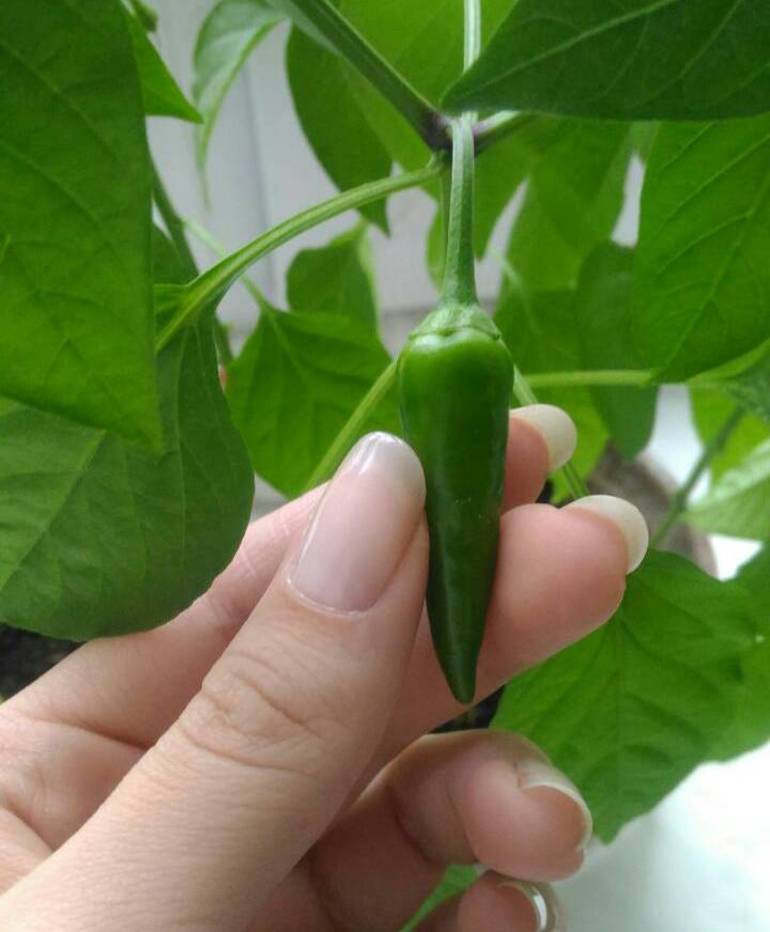
Basil
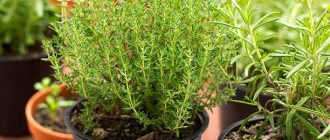
What can be grown on the windowsill besides the usual onions, parsley, lettuce? Something more exotic like basil or rosemary.
The type of basil doesn't matter, either green or purple will do. Basil can be propagated using both seeds and cuttings. The plant is thermophilic - the optimum temperature is 20-25 degrees, and it is hygrophilous - good drainage and abundant watering are required.
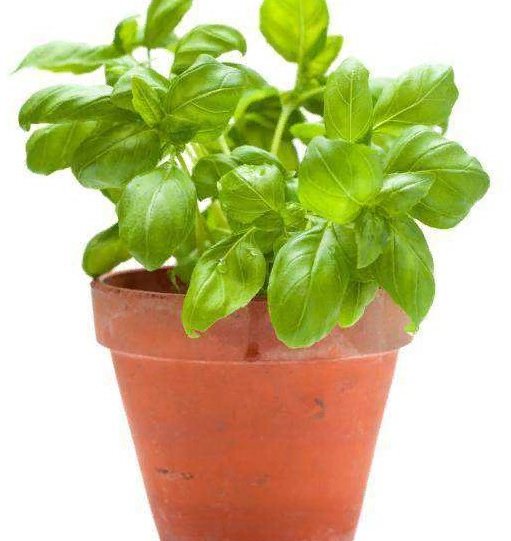
Cutting is a quick way to grow basil. You can just buy a few twigs from the store, put them in water and after one to two weeks move the seedling with roots into a pot. Young shoots will be ready for cutting in a couple of weeks. It is better to cut off side shoots.
Basil, planted with a cut, grows quickly, but blooms quickly too. As you know, after the beginning of flowering, the plant is unsuitable for food. To have fresh basil on your table all the time, you need to update the planting every 3-4 months.
Planting basil with seeds will take more effort. But such a bush will not bloom for about a year. Seeds need to be soaked, covered, sprouts must be transplanted into pots.It is better to grow basil using seeds in spring, since additional lighting will be needed in winter.
How to sow or plant greens on a windowsill: general rules for creating a garden bed in an apartment
When sowing greenery at home, as well as when planting indoor plants, you should take pre-planting measures, such as choosing planting containers (pots) and soil, as well as creating a drainage layer and preparing seeds for sowing, very seriously.
Planting containers
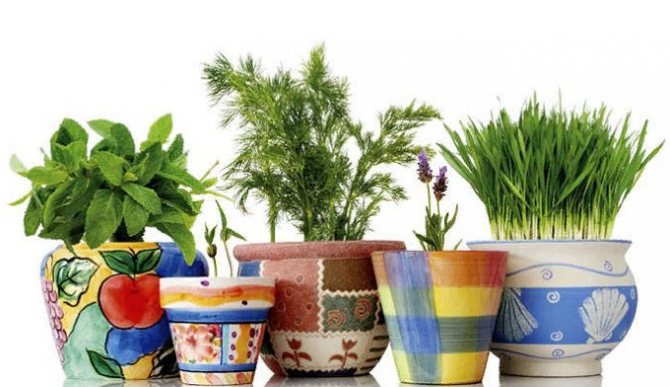
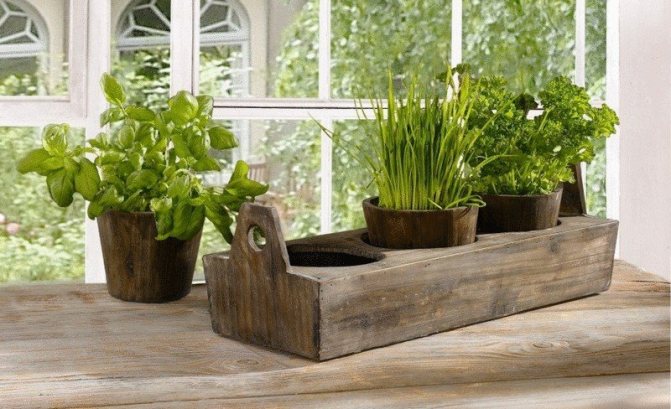
In principle, you can sow green seeds in any container, it all depends on how much crop you plan to grow. If you just want to try, then it will be logical to take small pots (greenery will look especially beautiful in flower pots). If you are going to sow a lot of seeds, then the containers are needed wider and more spacious (for example, you can take containers).
Important! Almost all greens tend to grow quickly, so you should not take pots that are too small. The minimum container height is 10-15 centimeters. In addition, the diameter must also be sufficient. For example, to grow chard, you need a pot with a diameter of 30 cm. For other, simpler greens such as dill, parsley, spinach - much less (10-20 cm is enough).
Homemade greens will look especially attractive in hanging pots.
Soil
As always, you have 2 choices: dig up garden land or buy ready-made soil in the store. At the same time, one should not think that the first option is more budgetary and advantageous, because such land will be necessary without fail. disinfect (eg, heating / steaming in the oven or microwaveor spill with a pink solution of potassium permanganate or phytosporin), as well as fertilize to improve its fertility. Let's say you can add ash. Among other things, ash is a good deoxidizer, because the soil for greenery should not be acidic.
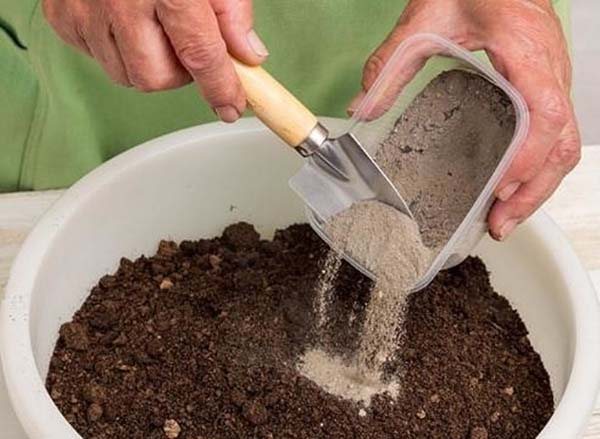
To grow green crops, you need an air- and moisture-absorbing soil (light and loose), supplied with all the necessary micro and macro elements. Therefore, if you buy an ordinary universal substrate, then it is advisable to add a little river sand and perlite (vermiculite) to it. It is also necessary to add humus to the garden soil.
Drainage
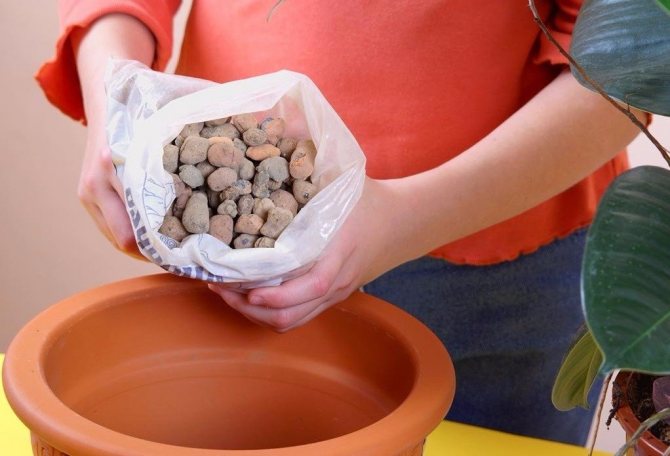
First of all, a drainage layer should be laid on the bottom of the planting pit (this can be shards from ceramic products, expanded clay, pebbles, gravel, crushed stone, brick chips or broken brick, coarse river sand), at least 2-3 centimeters thick.
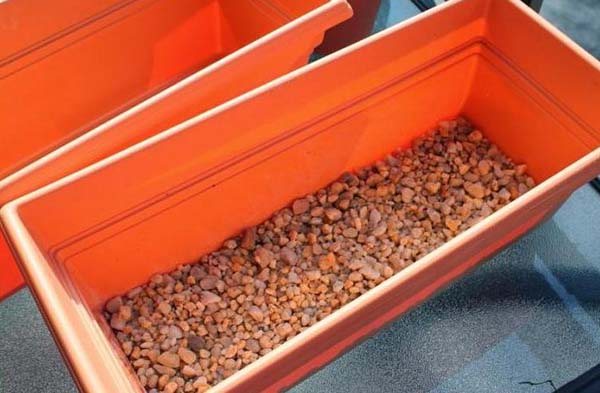
Reiteration! Drainage is needed so that water does not stagnate in the ground. Thanks to the drainage layer, air exchange is noticeably improved, root rot, soil acidification, and mold formation are prevented.
Seed preparation
For example, in order to accelerate the germination of dill seeds in the ground, they should first be kept in warm water for 1-2 days (on a wet napkin). It is even better to germinate parsley seeds (this will take about 2-3 days).
By the way! For better germination and rooting in water, you can add honey (1 teaspoon for 1 liter of water).
But there is usually no special need to prepare for sowing the seeds of lettuce, basil, cilantro and spinach, chives, rucolla. However, if you wish, it is possible and even necessary to prepare them.
Important! Preparing seeds for planting is a recommended activity, but if you are used to sowing without soaking (in water or special preparations) or germination, then you do not need to do this. However, carrying out these procedures significantly increases the likelihood of a successful outcome, namely, the speed of germination (it is obvious that dry seeds germinate longer) and the further active development of plants.
Video: how to grow greens on the window - pre-sowing preparation and sowing seeds
Direct sowing
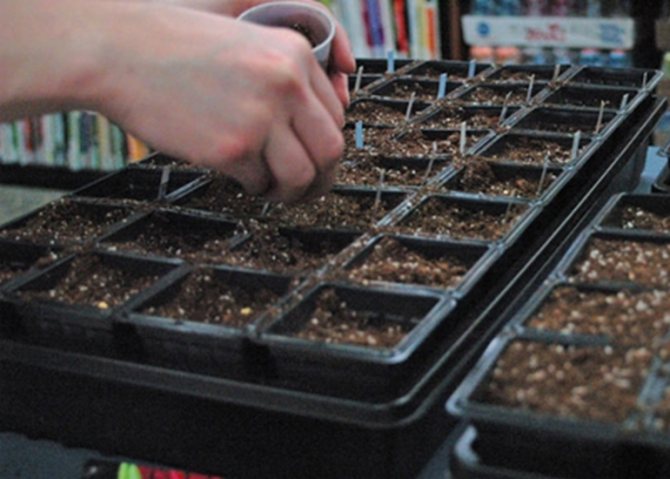
Step-by-step instructions for sowing greens for growing on a windowsill at home:
- Choose a suitable container.
- Lay out a drainage layer (at least 2-3 cm).
- Fill the planting container with prepared soil.
Important! It is impossible to fill the pot completely with earth (i.e. to the very edges), it is imperative to leave 2-4 cm so that the water does not pour out when watering.
- Moisten the earth by slightly spilling it with warm (room temperature) water.
- Sow seeds (superficially, in holes or grooves).
Pay attention to the features for different greens! Seeds parsley, dill, lettuce, basil, arugula, chives
you can just
sow evenly over the surface of the soil, randomly scattering at close range (it is better to be thicker, since the germination rate is by no means 100%). Or you can sow in very shallow (up to 1 cm) grooves (lines)... And here are the seeds spinach and cilantro sow better in separate holes (1-1.5 cm deep), at some distance from each other (at least 5 cm). Seeds chard - to a depth of 3-4 cm.
- Sprinkle lightly with earth (that is, cover it literally a couple of millimeters).
- Spill water again.
Advice! In order not to wash or excessively deepen the seeds, it is better to moisten the surface of the soil from spray bottle. In this case, it is advisable to use warm water.
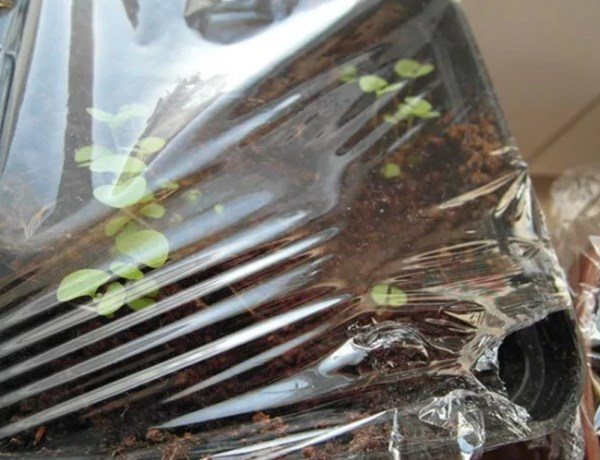
- Cover the crops with plastic wrap or a bag (you can also use a shoe cover) to achieve a greenhouse effect.
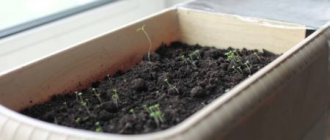
- Put in a warm (the warmer, the faster the shoots will appear) and not necessarily a bright place.
When the first shoots appear, it is recommended to quickly rearrange the containers to the light (on the southern windowsill or under artificial lighting).
Video: how to sow greens and grow at home

Tomatoes
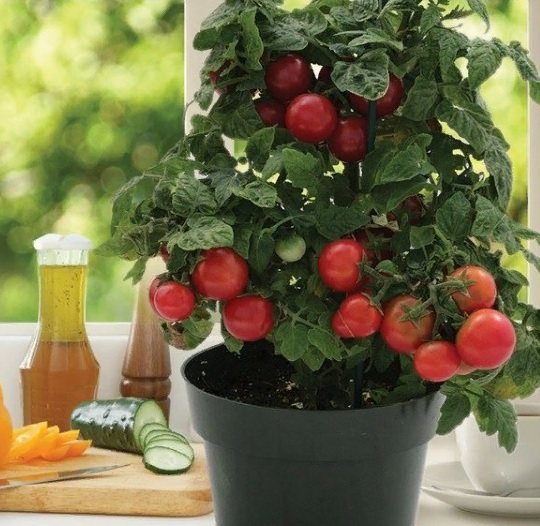
It seems to many that growing tomatoes on a windowsill is very difficult and inaccessible to a beginner. But this is not at all true! Moreover, there are special varieties for indoor cultivation.
When visiting a gardener store, note that some seed packages say “Recommended for pot growing”, “Harvest on the window”, “Home garden”. And the names of the varieties themselves are speaking - Room surprise, Balcony miracle, Japanese room. There are also ampelous varieties that will look great in pots - Peruvian home, Cherry, Talisman.
Even if you don't find special indoor varieties, regular ones will do. Please note that these tomatoes must be determinant (undersized, or better dwarf), self-pollinated (for pollination, the bushes are shaken during flowering) and small-fruited. For example, Alaska, Bonsai, Bonsai micro, Pearl (red and yellow), Canada News, Minibel, Pinocchio, etc.
Tomatoes can be planted directly in large pots or pick the strongest sprouts. During flowering and fruit setting, tomatoes should be watered abundantly and the leaves should be sprayed.
The room where tomatoes grow must be regularly ventilated - plants do not like stagnant air. In winter, they need additional lighting. The plant needs to be fed periodically. The first fruits can be obtained in 3-4 months.
Tomato is a perennial plant. At home, with good care, it will bear fruit for several years. After a period of active fruiting, the bush needs to be transplanted into a larger pot and renewed by pruning the branches. In addition, the tomato can be propagated by cuttings. A plant grown from a cuttings will begin to bloom within a few weeks.
Caring for greens on the windowsill: the main secrets of getting a good harvest in your home garden
To grow a rich harvest of greenery on the window, you should create all the necessary conditions for comfortable growth and development at home.
Important! Your little boyfriend is required open for airing almost every dayso that too much condensation does not collect inside (causing mold to form). And here you can completely remove it only after the shoots appear, and it is better to do this gradually, allowing the greenery to get used to (adapt) to the changed conditions (light, moisture).
It's time to shoot the film!
Place in the apartment: lighting, temperature and more
Sufficient daylight hours are one of the main, if not the main conditions for the successful cultivation of any greenery at home. So if you sowed greens in winter, then you can't do without additional lighting.
Important! For normal growth and development of greenery at home, it is required 12-14 hour daylight hours (the minimum is 10 hours).
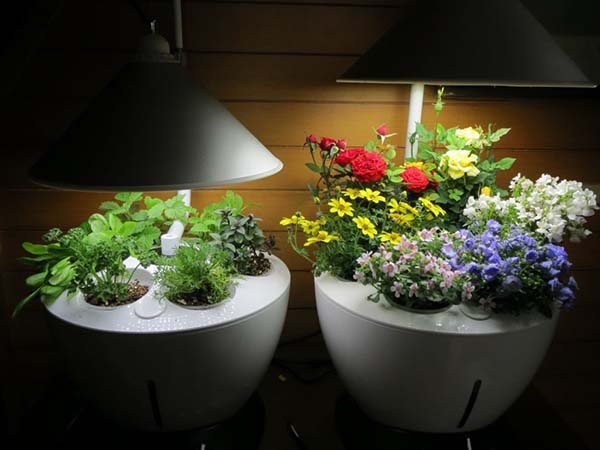
Grow greens at home all year round you will be allowed special lamps (phytolamps) or the most common LED or fluorescent (incandescent lamps are not suitablesince give off too much heat). They must be turned on every morning and evening, as well as on very cloudy autumn-winter-spring days.
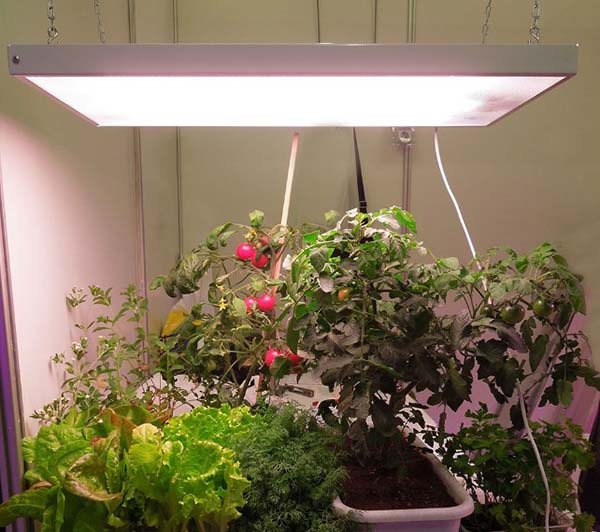
Note! Artificial light should fall on the plants from above, and not from the side.
It's another matter if you decide to grow greens on the windowsill in late spring, summer or early autumn, when the length of daylight hours is quite sufficient. In this case, the best place would be southern (or southwestern, western) windowsill or balcony (loggia).
Important! Direct sunlight is very undesirable, otherwise your greenery will simply burn out. Therefore, planting (especially in summer) is recommended to be shaded (curtains) or set aside / rearranged.
In order for the plant to develop harmoniously (from all sides), do not forget periodically twist containers, turning in different directions to the light (if you have a long pot, then at least 2 sides).
By the way! Green onions are the only plant that practically does not need additional lighting.
It is also very important that the greens did not suffer from drafts (windows must be airtight) and excessively dry air (it is not necessary to put the pots close to the heating devices, but it is better to cover them with something at all).
Worth knowing! Not very suitable conditions for growing greens are formed on the windowsill: it pulls cold from the window (drafts), and the batteries are “fried” from below with might and main.
It is optimal to place a home garden on a table specially designated for this purpose., of course, under the lamps. In principle, it is very convenient to take it under the home garden place on the balcony or loggia (there will definitely not be problems with air dryness due to batteries). Unfortunately, however, it can get too cold there.

As for the optimal temperature, remember the conditions under which greens grow in an open field or greenhouse. Plus, don't forget that plants need fresh air. But periodic temperature changes (hypothermia or too high temperatures) will definitely not benefit them.
At all, ideal conditions for greenery - this is a temperature in the region of 15-20 degrees and good lighting for 12-14 hours, as well as moderate soil moisture (about which later).
Watering
The rules for watering greenery grown on the window practically do not differ from those growing in the garden. Watering should be carried out regularly, avoiding both drying out and waterlogging of the soil (you need exactly moderate humidity). The very frequency of watering, of course, will also depend on the structure of the soil, and on the type of greenery itself.
Advice! For irrigation, use only settled water at room temperature. It is categorically impossible to water with cold water.
For example, basil loves moisture very much, and it should be watered every day (and preferably in the morning).
When, after the appearance of the first shoots, you remove the shelter, then during the first 2 weeks, seedlings should be sprayed with a spray bottle, and not pour from a watering can, even from the smallest. Further it is better to use a sprayer for wateringbecause this way you can also saturate the green leaves.
Important! If you have very dry air (due to central heating), then regular spraying is a must.
The optimal level is air humidity 60-75%.
Loosening
To improve the access of oxygen and moisture to the root system of the plant, the soil in the pots should be loosened at least occasionally. This will also keep the roots from rotting.
Pick or thinning
Obviously, when planting with a margin, in other words, thickened, you get thickened seedlings that will not be able to develop normally in the future, because they will not only lack space, but also light. The fact is that they will simply shade each other, which means that they should be subsequently thinned out, leaving the strongest.
Note! It is highly recommended to thin out the following green crops: lettuce, Swiss chard, arugula... So, the Swiss chard is thinned out for the first time immediately after germination, and the second time after the appearance of 3-4 leaves, leaving 15-20 cm between shoots. Arugula should be thinned about 8-10 days after germination. And here no need to thin out dill and parsley, they can grow quite densely, especially the watercress (it should grow as densely as possible).
Top dressing
You can feed home greens with any complex mineral fertilizers with an increased (predominant) nitrogen content, because it is he who is responsible for the green mass gain by the plant. For example, such popular fertilizers as "Kemira Universal" or "Gumi" are suitable.
Top dressing must be carried out only in liquid form.
Cucumbers
Growing cucumbers on a windowsill in winter is a pretty tempting prospect. This can be done not only by an experienced gardener, but also by a beginner. Cucumbers grow quite quickly, you can get the first harvest in a month and a half.
Not every variety of cucumbers is suitable for growing on a windowsill. First, it must be self-pollinated. During flowering, the bush must be shaken daily for pollination to occur. Secondly, it will be much more convenient if the plant is bush. Thirdly, an early variety is better suited for home cultivation.
Finally, a shade-loving plant is ideal. You can grow cucumbers on the windowsill in the winter of the varieties Connie, Masha, Legend, Debut, Flight, Babylon. Knowing the necessary parameters, you can choose another variety.

Growing cucumbers at home has its own subtleties. After all, providing all the necessary conditions can be difficult. Cucumbers are photophilous, therefore windows on the south and east sides are suitable for growing them. If there is still not enough light, then additional illumination with the help of fluorescent lamps will be required.
The temperature in the room should not be lower than 20 degrees, so you should not move the flowerpots too close to the cold window. Cucumbers are very fond of moisture, so you need to make sure that the soil does not dry out. The pot with the plant can be placed in a bowl of water. Leaves need to be sprayed with a spray bottle twice a day.
Preparation for work
Making a garden on the windowsill with your own hands is not difficult. First you need to organize the space and acquire the necessary equipment:

Plastic containers. You can use flower pots, unnecessary baby baths, or cut-off bottles.- Soil and fertilizer for the appropriate plants.
- Watering can and spray bottle.
- Ultraviolet lamps to create lighting.
- Polyethylene or lids.
- Thermometer.
All of this inventory can be purchased at the gardening store. The soil must be poured into containers and poured with water, then seedlings or seeds must be planted.If seeds were used, the containers will need to be wrapped in plastic and placed in a warm place until they germinate. Plastic lids are also suitable for creating a greenhouse, if containers that will be used as pots have them.
It is advisable to take more foil to install it behind the plants as a reflector. If it is not there, then once a week you should turn the pot with its other side to the sun.
The soil can be taken from the dacha, for example, but then you need to take into account that weed seeds and insect larvae remain in it, they can cause a lot of inconvenience.
Watering plants with tap water is not a good idea, because it contains impurities that will only harm fragile plants. Better to stand the water for a couple of days and only then use it.
The main thing for the garden at the window is timely watering, good lighting and fertilization. Since the amount of soil in the pots is small, it loses its nutritional properties rather quickly, so recharge is necessary for harvesting.
The garden grows beautifully on the windowsill and in winter. For beginners, it is important to remember that at this time of the year there will not be enough sunlight for the plants, so it is imperative to install an ultraviolet lamp so that it illuminates all plantings. If in the summer there is not enough daylight in the place where the vegetable garden is located, then lamps will be needed all year round.
Characteristics and description of the persimmon tomato variety
Where to begin
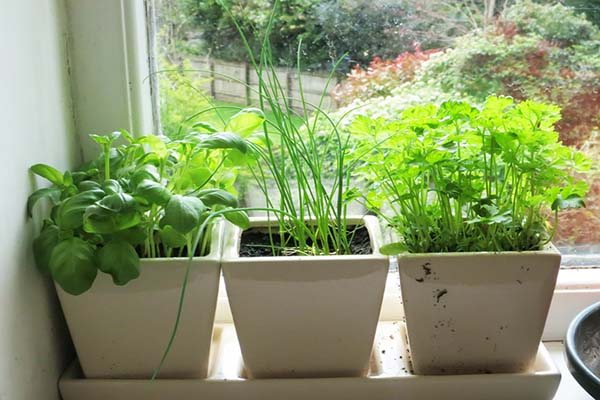
The simplest type of home garden is to grow herbs and herbs. Surely, in the middle of winter, everyone had to put an onion in a jar of water so that it would start up appetizing green arrows. Forcing green onions is, in fact, home gardening. It won't be much more difficult with other types of greenery. Caring for them is simple and does not require a lot of hassle and time consuming. Therefore, we recommend that the most-very beginners in the gardening business start with greens and herbs.
Growing vegetables on the windowsill is somewhat more difficult. Some gardening skills are already required here. If you do not have any experience at all, the first time you may not be able to grow a vegetable bush and collect a good harvest from it. But experience comes with time. Home gardeners enthusiasts have learned to successfully grow not only traditional cucumbers, tomatoes, lettuce and onions on the windowsill. Through much trial and error, they manage to grow even such capricious and difficult for home cultivation vegetables as eggplant, cabbage and potatoes. For growing more familiar vegetable crops, there are a lot of recommendations and tips that you can use.
For experienced gardeners, a miniature home garden is not only an opportunity to do what they love during the long winter. It is also a kind of testing ground where they can test new technologies for growing certain crops, get acquainted with new types of fertilizers, and master new methods of protecting plants from diseases.