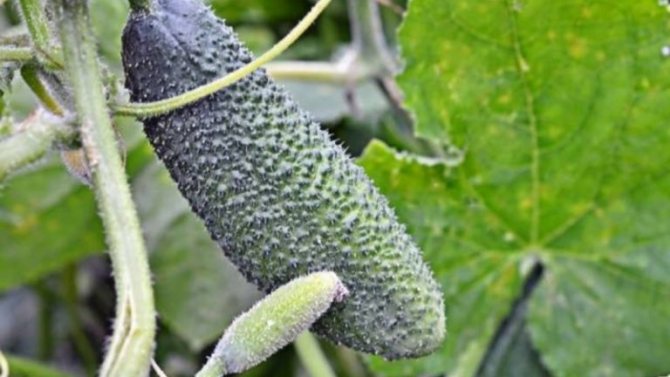
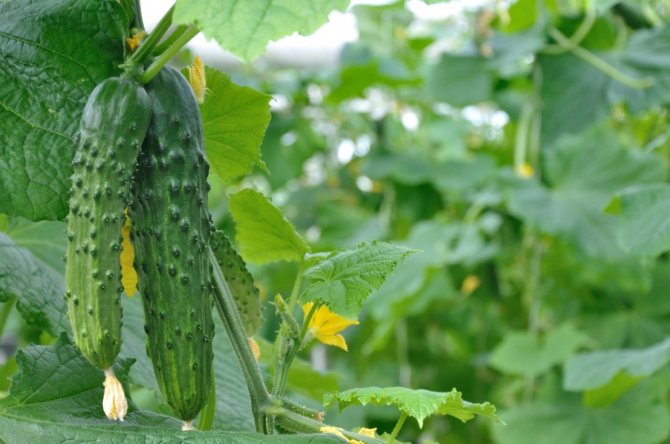
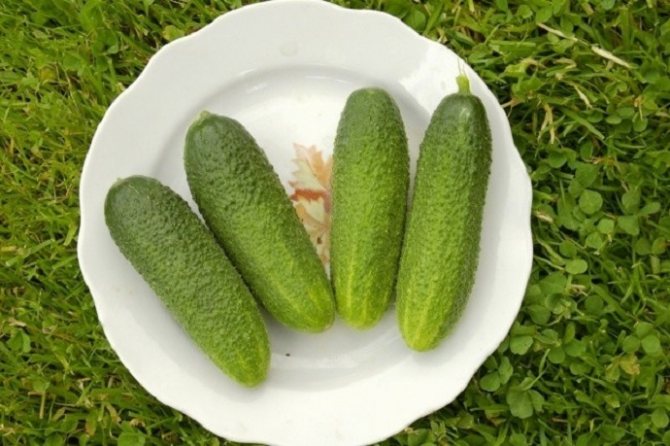
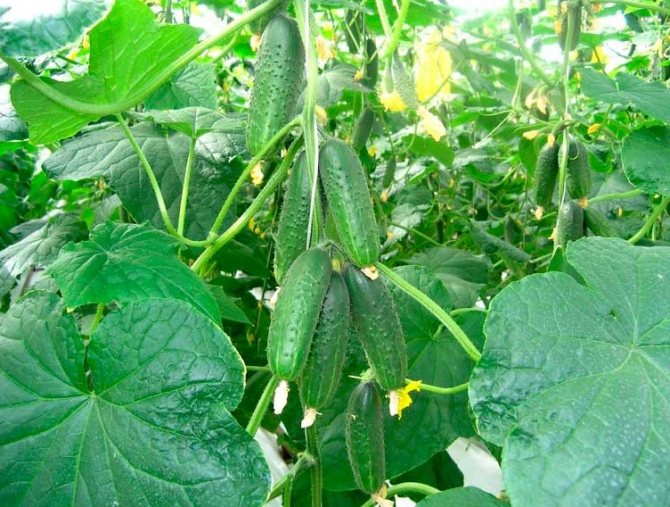
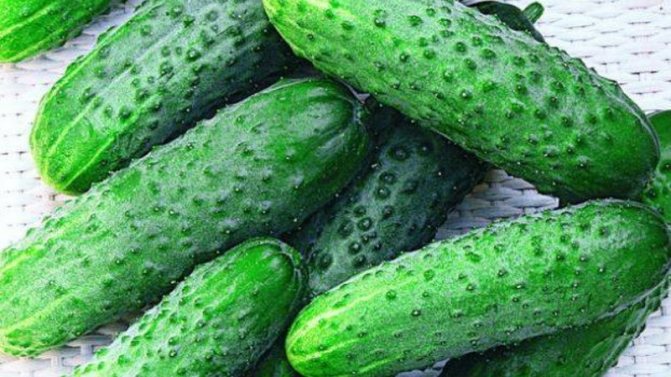
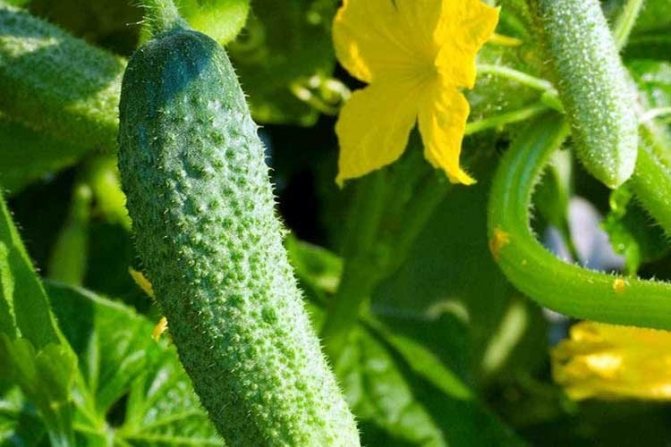
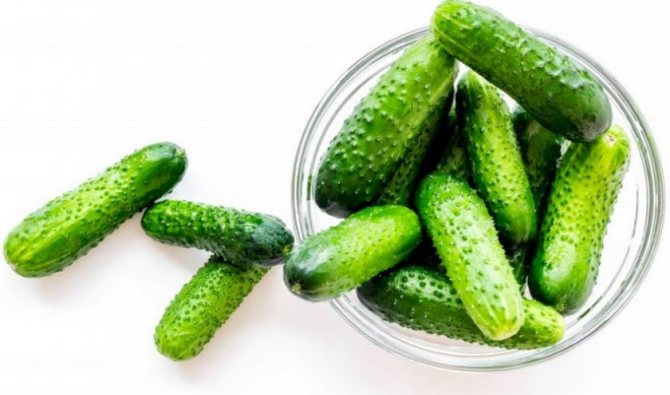
Cucumber Claudius F1 immediately catches the eye thanks to the skin with unusually frequent tiny tubercles. He has an excellent taste, which opens up perfectly both in salting and in fresh dishes.
| Pick-up location | Ripening terms | Mode of application | Fruit length | Group | Fruit smoothness | Pollination method |
| Universal | Early ripe (35-45 days) | Universal | Medium - from 10 to 15 cm | Hybrid | Slightly hilly | Parthenocarpic |
Short story
The Claudia F1 variety was developed by hybridization and has an early maturity. As a result of selection, the crop received a high yield. It has been cultivated on the territory of the Russian Federation since 1999. The variety was most widespread in the North Caucasian and Lower Volga regions.
Important! The F1 mark means that the variety is a hybrid. Such a culture will be distinguished by high yields, early maturity, uniformity of fruits and resistance to unfavorable environmental factors.
Characteristic
In the early stages of cultivation in the Russian Federation, agronomists preferred to plant cucumbers in the Lower Volga and North Caucasus regions in greenhouses. After passing the test there, it was decided to start expanding the planting zones of the hybrid throughout the country, preferably doing it in enclosed spaces - greenhouses, greenhouses or temporary film shelters.
The peculiarity of Claudia is low calorie content and a large amount of necessary vitamins:
- vitamins A, C;
- group B;
- folic acid;
- mineral elements.
But the most important thing is the sufficient content of structured water, which cleanses the body of heavy metal salts and unnecessary components in the kidneys.
Attention! Claudia F1 is a mid-season and parthenocarpic vegetable variety that gives its first harvest 45-55 days after germination.
The cultivar does not need pollinators. Mostly on the stems there are female inflorescences, from which full-fledged ovaries come. Barren flowers from males are not formed. In bunches, there can be 3 or more ovaries, and the plant itself is indented, that is, having unlimited growth.
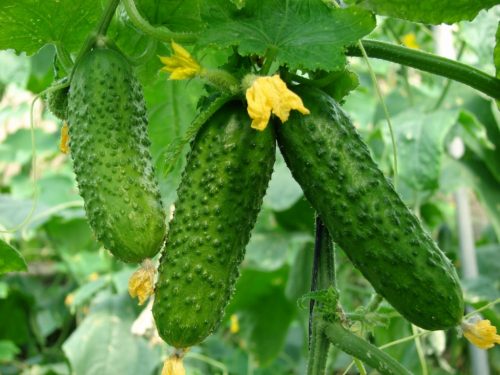

What is so special about the Claudia F1 cucumber variety?
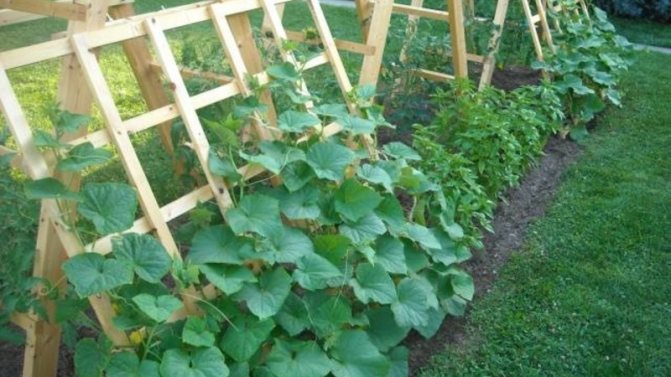
The variety is distinguished by good productivity: from 1 m2, with appropriate agricultural technology, from 20 to 27 kg of fruits are obtained. Ripening occurs 45-50 days after sowing. Claudia F1 is a herbaceous plant with climbing shoots and medium foliage. The growth of cucumbers is directed upwards, this makes it easier to grow crops in greenhouse conditions. Green leaves, wrinkled.
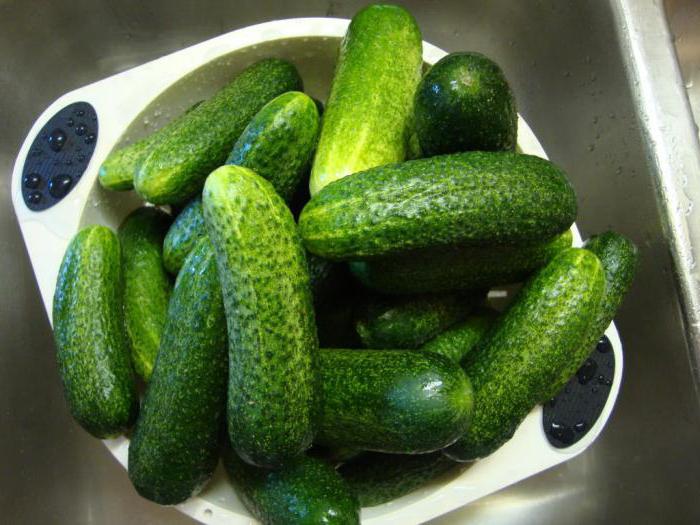

Cucumbers Claudia F1 - a yielding tasty variety
The flowering is female, that is, ovaries will form in all flowers. Claudia F1 is a thermophilic variety; when the temperature drops, the fruiting of the crop slows down. For this reason, in the northern regions, these cucumbers are grown exclusively in a greenhouse.
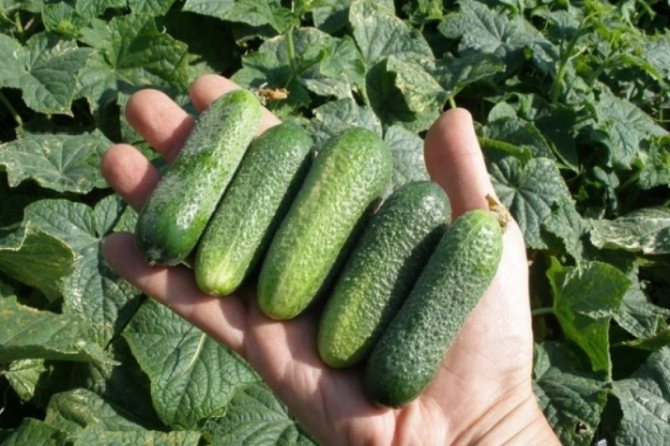
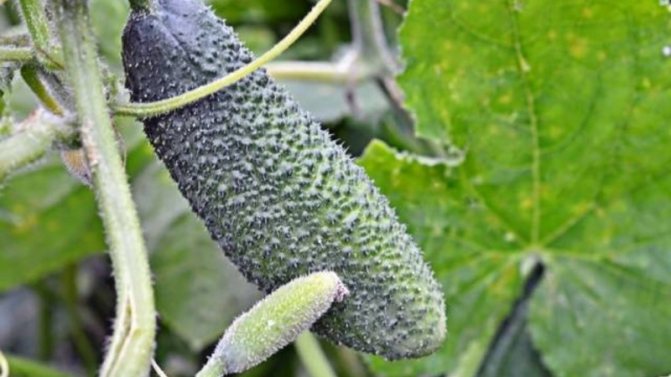
The fruits are ellipsoidal, reach 10–12 cm in length and gain 70–90 g of weight. The surface of the cucumbers is slightly ribbed, covered with small tubercles and pubescence. The color can be green or dark green. Cucumbers have spots or light stripes that occupy a third of the fruit. The pulp is juicy, crispy, there is a slight sweetish aftertaste, but the bitterness is completely absent. Cucumbers have a characteristic aroma. The seeds are small, their size does not change when the fruits are overripe.
Table: advantages and disadvantages of the variety
| Dignity | disadvantages |
| Lack of bitterness in the taste | Susceptibility to powdery mildew as well as cucumber mosaic |
| Stable fruiting | Thermophilicity |
| Compact size of fruits, which makes them easy to preserve | |
| Suitability of the variety for growing in beds and in greenhouse conditions | |
| Resistant to light deficiency |
Soil preparation
Since Claudia F1 does not tolerate heat well, you should choose a place that is lit in the morning and has good shade in the afternoon when the air temperature reaches its maximum. The cucumber thrives on tall plants that protect from the sun and support the stem.
The culture is not resistant to powdery mildew, peronosporosis, therefore, to prevent these diseases, it should not be planted in places where melons have recently grown (zucchini, squash, watermelon, pumpkin). If this is not possible, then before digging the soil is disinfected by sprinkling with quicklime, or by treating it with a solution of copper sulfate. The solution of the drug Previkur Energy of the German company Bayer has shown itself well. In addition to destroying the causative agents of peronospora and root rot, it has the properties of a bioactivator, accelerating the development of cucumber.
During autumn digging, ammonium nitrate, containing sparingly soluble phosphates, is added to the soil. Nitrogen and potassium are washed out with water, so they are applied in the spring before planting. For this, the bed is sprinkled with ash and well-rotted humus, the soil is leveled and watered.
Never use fresh manure, horse apples and other animal waste - you risk burning the roots.
You can add ash and humus during planting. To do this, add a scoop of a mixture of ash, humus and garden soil to the prepared hole, after which seedlings or seeds are planted.
Cucumber planting rules
Planting correctly is half the battle in growing record yields.
Selection and preparation of seeds
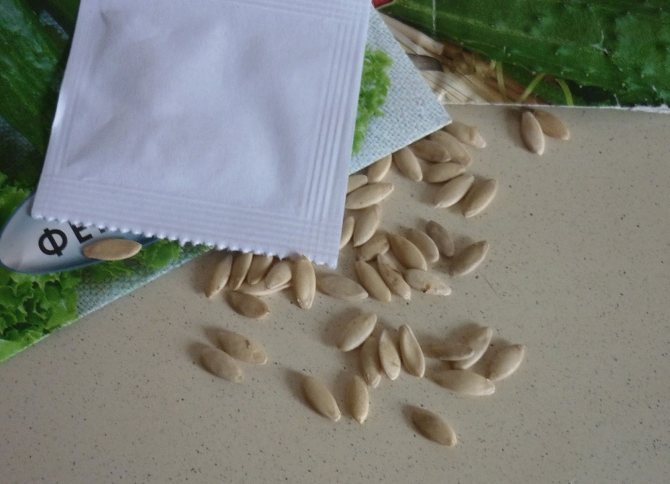
The quality of the fruit directly depends on the planting material. Plants with the highest number of ovaries grow from seeds that are two or three years old. But you should not use too old material. If it is more than 5 years old, the yield will be low.
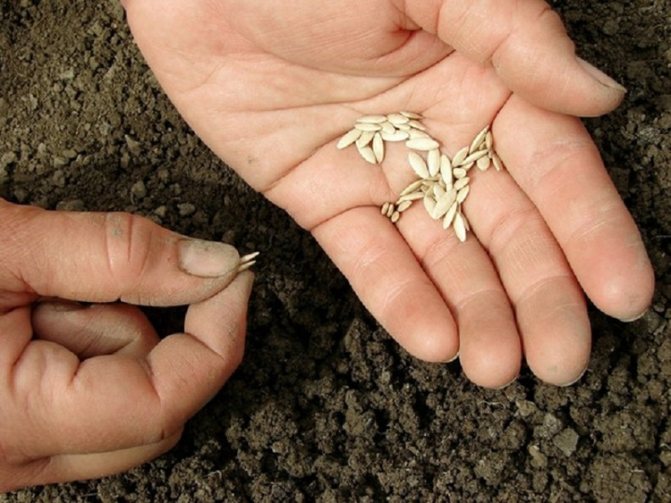

Before planting, the seeds need to be prepared in a certain way.
The use of one-year seeds is also allowed. But they must undergo special treatment:
- During the cold period these seeds should be stored at a temperature of 25–35 ° С. To do this, they can be placed near a heater, battery or stove.
- Immediately before planting, the seeds are sent for 3 hours to the oven, where they are kept at a temperature of 50 ° C.
Important! Planting material 2-3 years old should be stored in a warm dry room, wrapped in a piece of cloth or paper.
To select viable seeds for sowing, they should be immersed for 20 minutes in a saline solution, for the preparation of which you need to dissolve 50 g of the substance in 1 liter of water. The material floated to the surface is not suitable for use, and the seeds found on the bottom are suitable for planting. After the saline solution, they should be rinsed well with water.
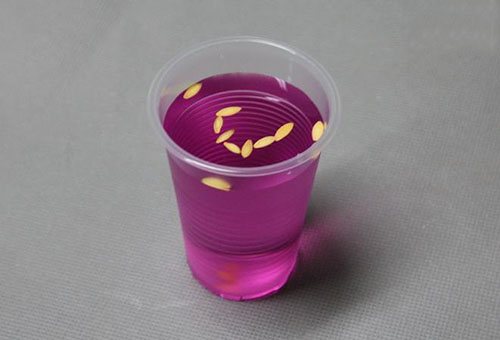

Disinfecting seeds will allow you to grow healthy seedlings
Disinfection of seeds is an important stage of preparation, which is necessary in order to prevent the development of viral infections and increase germination rates. The planting material is sent to the oven for 2 hours, where it is kept at 60 ° C. Also, before planting, they can be placed next to heaters for 1 month.
Next, you need to disinfect. To do this, prepare a solution of potassium manganese at the rate of 10 g per 1 liter of water. The seeds are dipped in the composition for 20 minutes. Then washed with water.
Important! For this purpose, a solution of streptomycin is also used (50 units per 1 ml of water), in which the seeds are soaked for a day.
In the absence of the necessary preparations, you can use garlic, since it also has disinfectant properties. One clove is crushed, then mixed with 800 ml of water and filtered through cheesecloth. The seeds are immersed in this solution for 30 minutes.
Important! To accelerate germination, it is recommended to soak the planting material for 12 hours in a nutrient solution (1 teaspoon of nitrophosphate and copper sulfate per 1 liter of hot water).
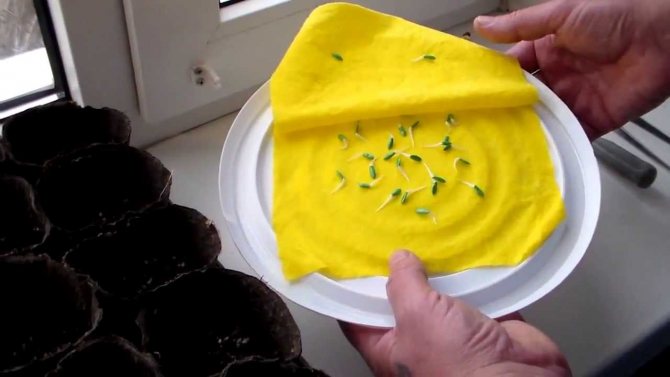

Germinating seeds improves seedling germination
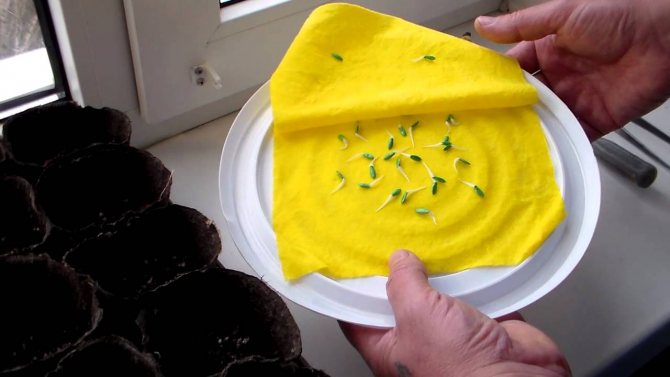
Germination will help to increase the germination of planting material. The seeds are pre-soaked for 24 hours in a solution of boric acid (20 g per 1 l), baking soda (5 g per 1 l) or zinc sulfate (2 g per 1 l). After that, they are wrapped in a damp cloth, then in a plastic bag and placed in a warm place with a temperature of 20-25 ° C for 1-2 days. During this time, the seeds swell, then small roots appear. There is no need to wait until a large process is formed, otherwise it may break during planting..
To increase the resistance of cucumbers to cold weather, they need to be hardened. After germination, the seeds are placed in the refrigerator for 2 days. At this preparatory stage is completed, you can proceed to planting.
Important! Hardening will strengthen the cucumber's resistance to infections and temperature fluctuations.
Site preparation
For cucumbers, choose a well-lit area with neutral soil acidity, on which legumes, cabbage or potatoes were previously grown. But plants of the pumpkin family will be unsuitable predecessors. The places where they grew should be avoided.
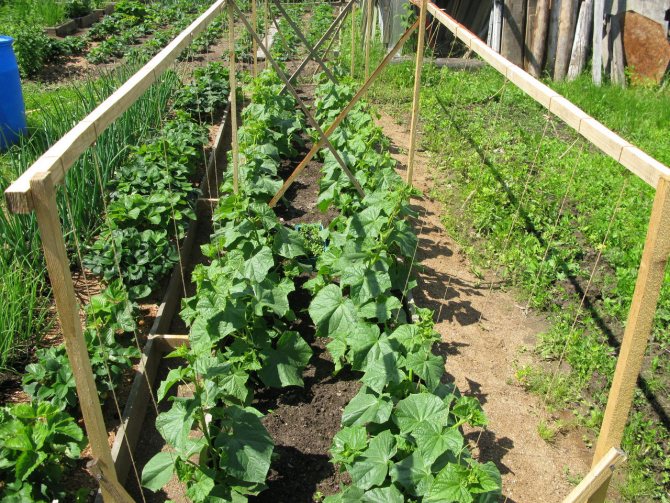

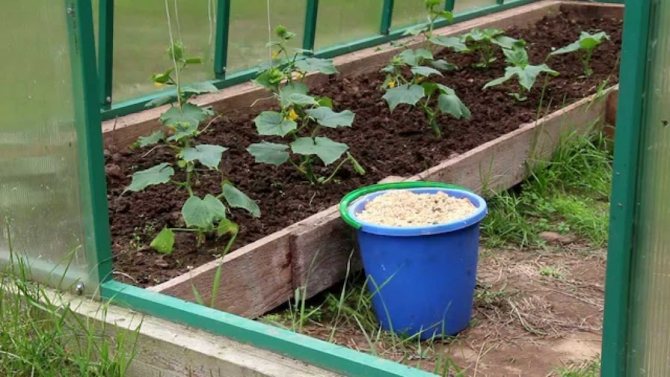
Cucumbers are planted in a sunny area
In the fall, during the digging process, 60 g of nitrophoska, 30 kg of manure and 3 glasses of ash per 1 m2 are introduced into the soil. In the spring, it is necessary to loosen it to a depth of 25 cm. Then the top layer of soil up to 15 cm thick is mixed with the fertilizers introduced in the fall using a rake.
Step-by-step planting process
Cucumbers are planted when the soil warms up to 12-15 ° C. This can be done in two ways:
- seedling;
- reckless.


Seedless method - fast, but does not guarantee high seed germination
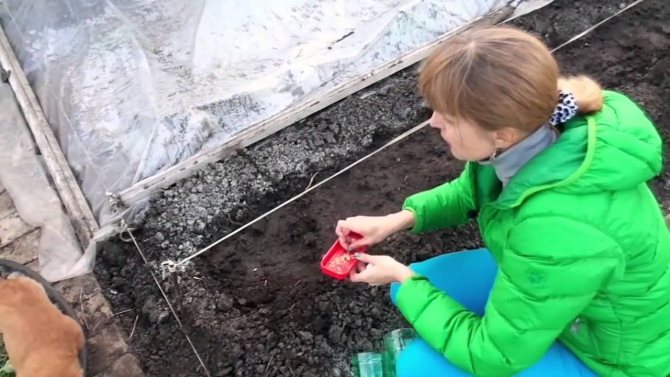
With the seedless method, the seeds are planted directly into the ground. The process goes like this:
- In June, holes are prepared with a depth of 2 cm, which should be placed every 10 cm. Rows are formed every 60–70 cm.
- Pour 0.5 liters of water into each hole and place 4–5 seeds.
- After 10 days, shoots will appear. At this time, the cucumbers need to be thinned out, leaving 10 cm of space between them.
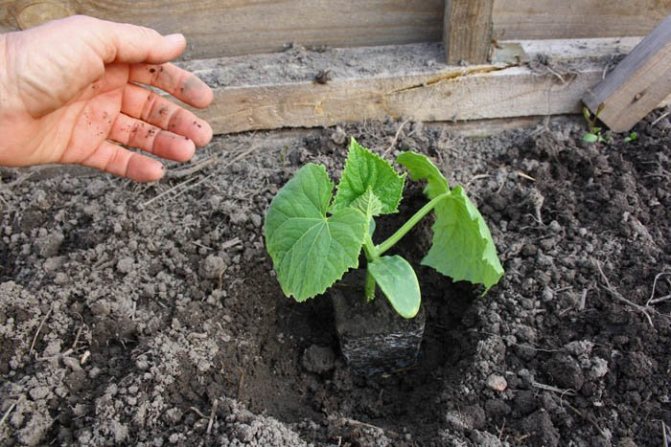

Seedling method - more time consuming, but more reliable
The seedling method will help speed up fruiting. It has the following features:
- In April, the seeds are planted in 12 cm cups.
- The containers are filled with a soil composition prepared from 1 kg of peat, 1 kg of sawdust and 2 kg of humus. For 10 liters of such a mixture, add 2 tbsp. l. ash and 1.5 tbsp. l. nitrophosphate.
- The seeds are buried 1–2 cm, sprinkled with soil, then the glasses are covered with polyethylene.
- Cucumbers are placed in a warm place with a temperature of 25 ° C. When seedlings appear, the cover is removed.
- When the sprouts form 3 leaves each, they are fed with a solution of 1 tsp. nitrophosphate and 1 liter of water. With this composition, seedlings are watered abundantly every 5 days.
- When the height of the seedlings reaches 20 cm and 5 leaves appear on them, you can start planting in open ground.
- At the end of May or the first decade of June, holes are dug on the site at a distance of 35 cm, and a space of 50 cm is retained between the rows.
- Previously, the pits are watered with a solution of potassium permanganate (0.5 g per 10 liters of water). For each plant, use 0.5 liters of the composition.
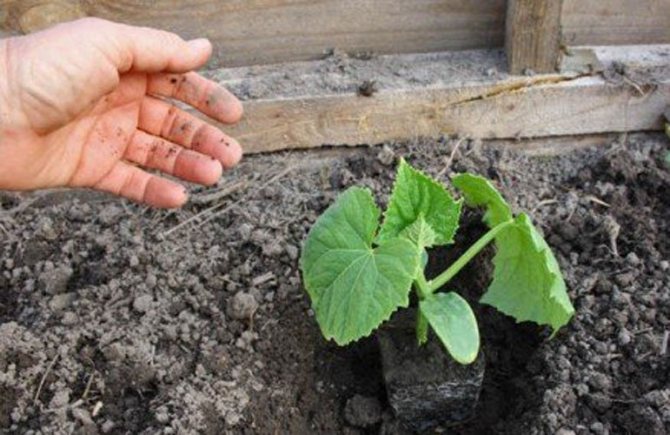
- Seedlings are placed in the holes and covered with earth. If the cucumbers were grown in pots, place them so that the hypocotal knee is exposed.
- After that, the plant is watered again at the rate of 0.5 liters per 1 well.
The seedling method has a certain drawback. The roots of cucumbers are quite fragile and in the process of transplanting they are inevitably injured. To minimize the amount of damage, gardeners recommend using peat pots for seedlings. Thanks to the porous structure of this material, good air exchange is maintained. In addition, peat pots do not contain pathogens. And after moving into the soil, the roots grow through the walls.
Important! When using peat pots, you need to regularly moisten the soil, since when it dries, the salts that make up it crystallize and can injure the roots.
Video: landing master class
We grow in the ground
Cucumber seeds are planted in the ground when the soil warms up to 16-18 ° C, and the air temperature rises to 20-24 ° C. Without compliance with these requirements, seedlings will not work - the seeds will die. The first shoots appear on about 5-6 days. With sufficient watering and comfortable, without sudden changes, temperature, the first real leaves will appear in a week. In the event of a threat of frost, the seedlings must be protected with foil or agrofibre.
Tunnel shelters, consisting of plastic or aluminum arcs and agrofibre stretched over them, are excellent defenders from frost. They create a greenhouse effect, let in a sufficient amount of light and air, and retain heat.
The distance between the plants should not exceed 10 cm, between the rows - 60 cm. After the seedlings get stronger, the plantation is thinned out, leaving a distance of 30–35 cm between the cucumber bushes.
Photo gallery: types of shelters for cucumbers
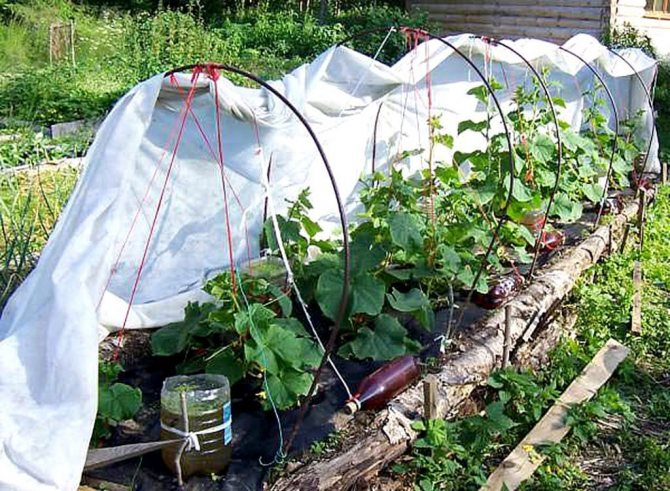

If necessary, such a greenhouse can be easily moved to another place.
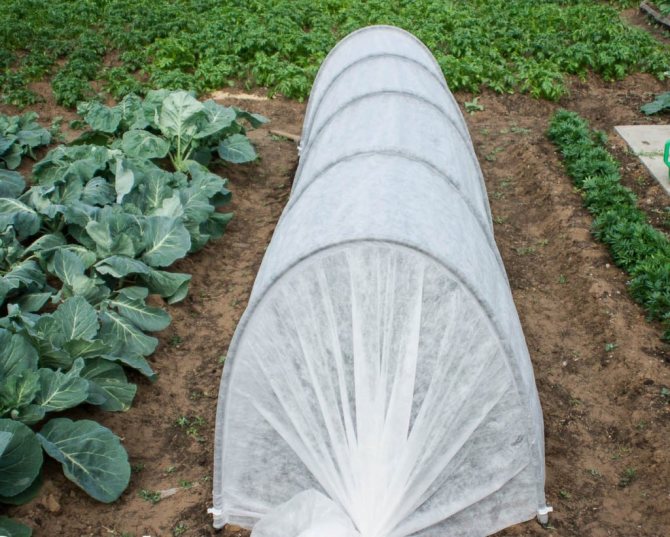

For a tunnel greenhouse, you need arcs that you can buy or make yourself from coarse wire or plastic pipes, or use strong hazel branches that bend easily
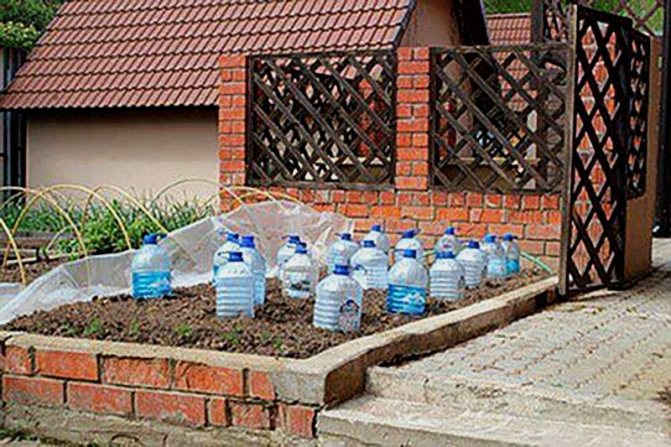

During freezing, you can cover the plants with plastic bottles without a bottom.
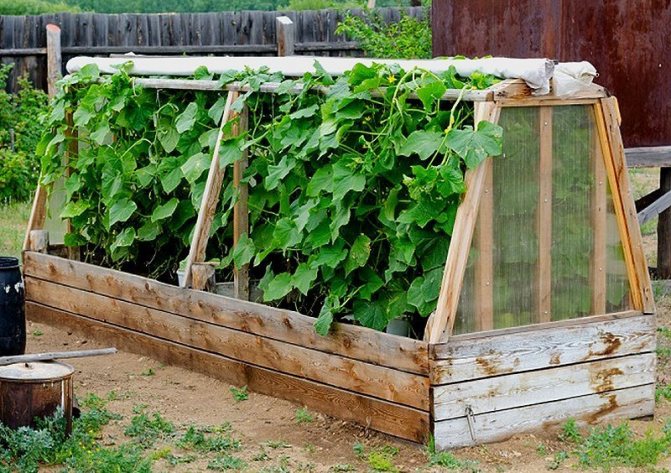

The greenhouse retains heat and significantly accelerates the growth of seedlings, the crop ripens here much earlier than in the open field
Video: tips for growing cucumbers in a tunnel greenhouse
Culture care
Caring for cucumbers is not very troublesome, but there are some important points to keep in mind.
Garter features
The shoots of the Claudia F1 variety are medium-leafy, therefore it is recommended to form them. This procedure will avoid overgrowth. Ovaries located on too long stems fall off. At the same time, the plant spends a lot of energy on growth to the detriment of the fruit. The main stem is pinched at a level of 100 cm.The length of the side shoots should not exceed 50 cm, and their growths should not exceed 15 cm.
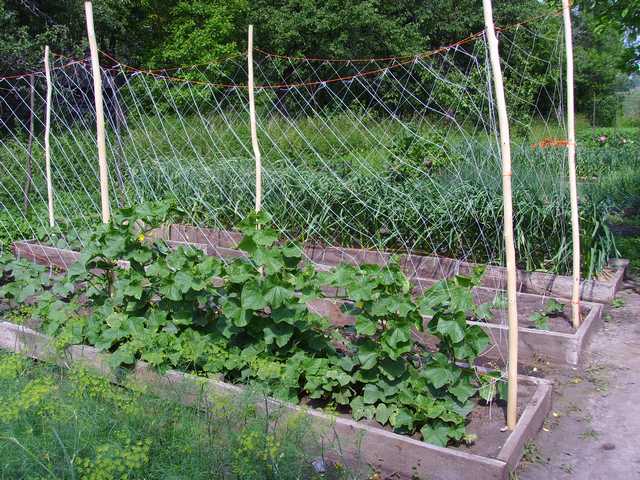

Garter cucumbers improve their yield
Video: garter master class
Watering and loosening the soil
In order for the roots to be regularly saturated with air, the soil near the plant must be loosened... Typically, this procedure is performed once every one or two weeks. Loosening of the soil is carried out between rows to a depth of 4–8 cm. It is advisable to do this after rain or watering in order to avoid evaporation of water and the formation of a crust.
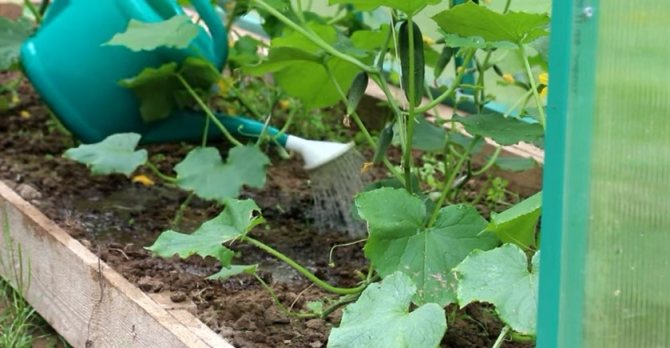

Watering is an important event in plant care
The regularity of watering depends on external factors. The main indicator of moisture deficiency in cucumbers is leaf wilting. Moisturizing is carried out with a watering can in the morning or evening.
Important! In the process of watering, water must be directed to the root and avoid moisture getting on the leaves, as this can provoke the appearance of burns and the development of powdery mildew.
Table: order of watering cucumbers
| Watering frequency | Water rate | |
| In hot weather | daily | 3 L per plant |
| On cloudy days | once a week |
Fertilization
The volume and quality of the crop also depends on the top dressing.
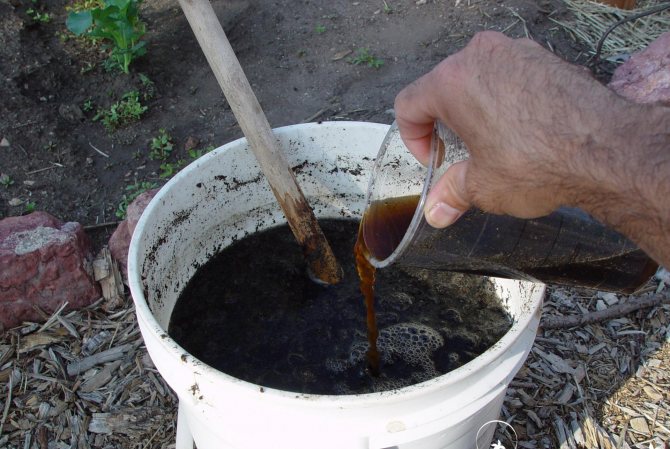

Fertilizers will allow cucumbers to bear fruit more abundantly.
Table: top dressing schedule
| Type of feeding | Application period | Nutrient mixtures | Consumption per plant |
| Root | June 10th | 1 tsp. superphosphate, potassium sulfate and urea per 10 liters of water. | 1.5 L |
| June 20 | |||
| during fruiting 3 times with an interval of 10 days |
| ||
| Foliar | in any growing season | 10 g of superphosphate, 8 g of potassium salt, 5 g of nitrate per 10 liters of water. | 1 l |
Top dressing
The Claudia f1 hybrid belongs to high-yielding varieties with the formation of a powerful bush. Therefore, it needs fertilizing every two weeks with mineral fertilizers.
An increase in the vegetative mass requires the introduction of nitrogen, a plentiful bundle ovary will not fill fully without potassium-phosphorus supplements. The easiest way is to use specially prepared complex mineral fertilizers for cucumbers. You can alternate mineral supplements with organic ones (infusion of mullein or bird droppings).
Diseases and pests
Vegetable growers growing the Claudia F1 variety note good resistance to many cucumber diseases, but susceptibility to diseases such as powdery mildew, green and white mosaic.
Table: diseases affecting Claudius F1
| Diseases | Signs of defeat | Control methods | Prophylaxis |
| Green mosaic |
|
|
|
| White mosaic |
| ||
| Powdery mildew |
| spraying with colloidal sulfur (20 g per 10 l of water) |
|
Photo gallery: typical plant diseases
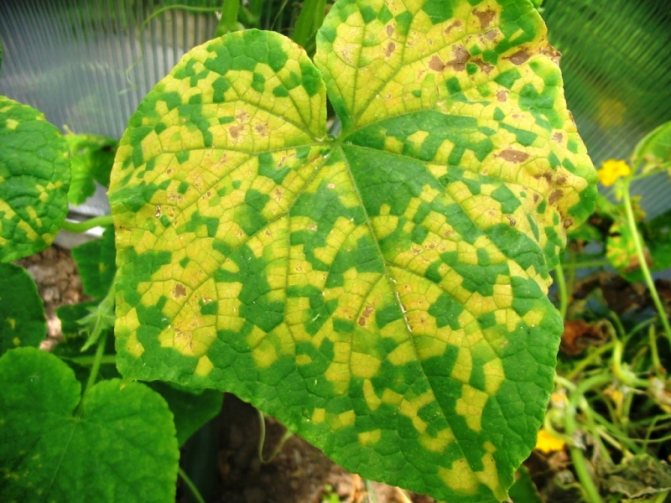

White mosaic - a viral disease that oppresses the leaves
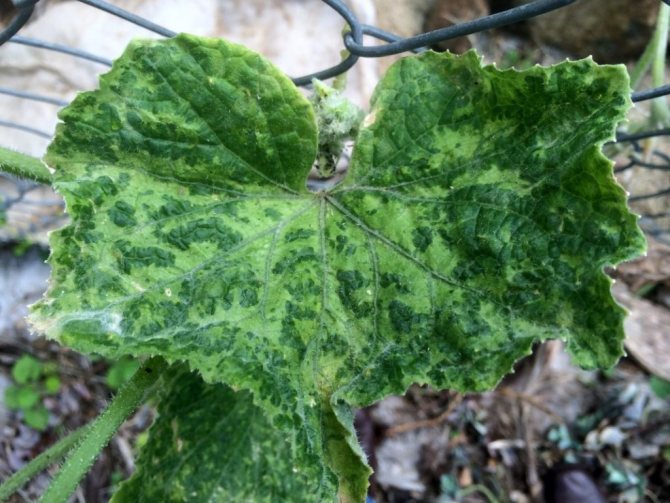

Green mosaic often affects greenhouse cucumbers
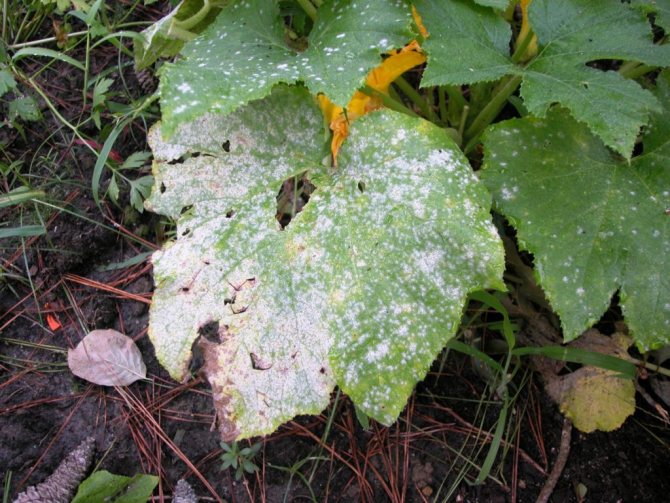

Powdery mildew causes leaves to dry out
Table: Insects Attacking Culture
| Pests | Signs | Ways to fight | Prevention measures |
| Melon aphid | The pest feeds on the sap of the plant, which leads to curling and drying of the leaves, as well as the fall of flowers. | Spraying with a solution of urea and tobacco (20 g per 10 l of water). | Loosening of beds, removal of weeds, which may contain pests. |
| Spider mite |
| Treatment when a pest appears every 5 days with Karbofos (20 g per 10 L) or Thiofos (5 g per 10 L). | |
| Whitefly | Insects suck out the juice from the leaves, as a result of which the leaves turn black and dry out. | Treatment with insecticide Inta-Vir (1 tablet per 10 liters) or Actellik (1 ampoule per 2 liters of water). | Weeding regularly. |
| Sprout fly | The larvae of the pest damage the seeds or stems, causing the plant to wilt. | Treatment with Iskra (10 g per 10 l). | Spring digging to a level of 25-30 cm. |
| Cucumber gnat | The larvae attack the root system and stems, which leads to the death of the plant. | Spraying with Thiophos or Spark solution. |
Photo gallery: insects threatening cucumbers
The melon aphid affects cucumbers and other pumpkin crops
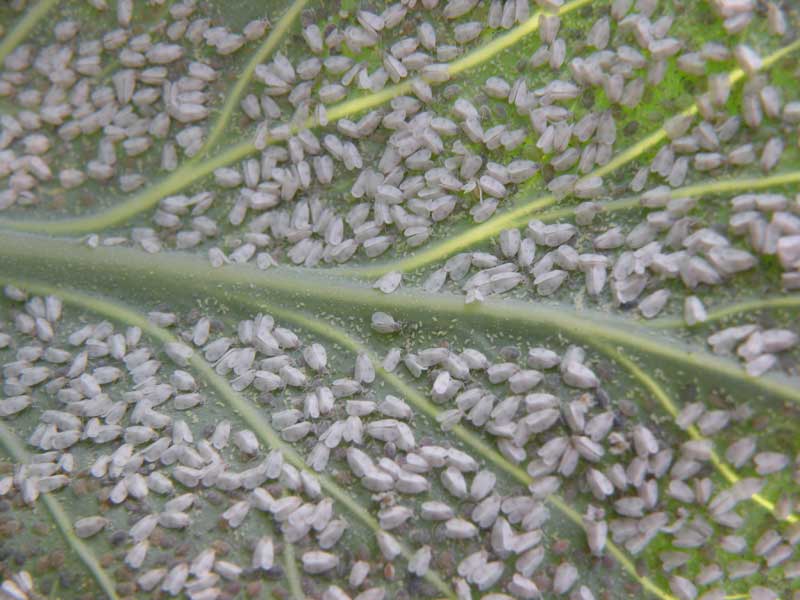

Whitefly is a dangerous crop-depleting pest
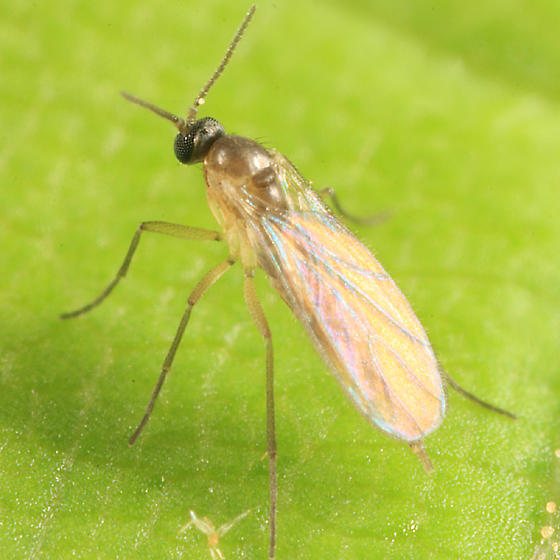

Cucumber mosquito damages the shoots and roots of the plant
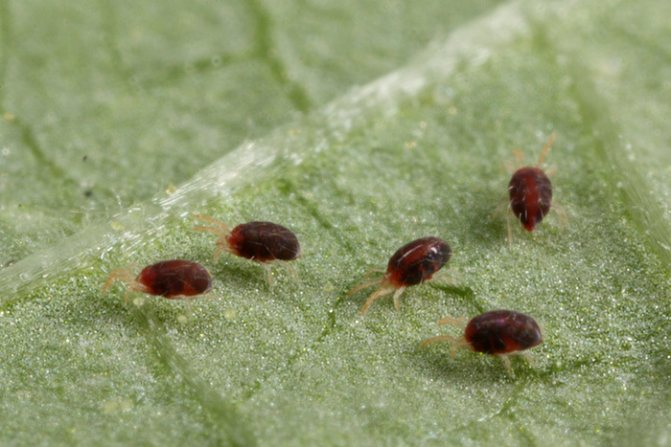

Spider mites inhibit leaves, causing them to dry out
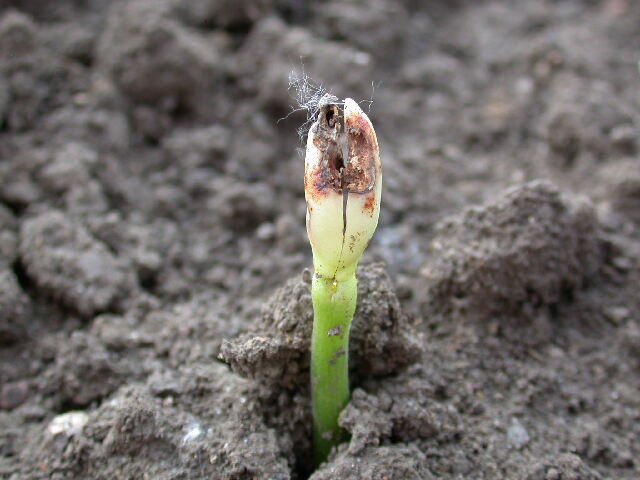

A sprout fly damages shoots at the stage of their formation
Harvesting and storage
They start harvesting the fruits when they reach a length of 10–12 cm. The crop is harvested with regularity once every 1–2 days. But at the same time, breaks of 3 days are allowed, since the variety does not tend to overgrow.
In the process of collecting, only cucumbers are removed, it is advisable to leave the stalks on the stems.
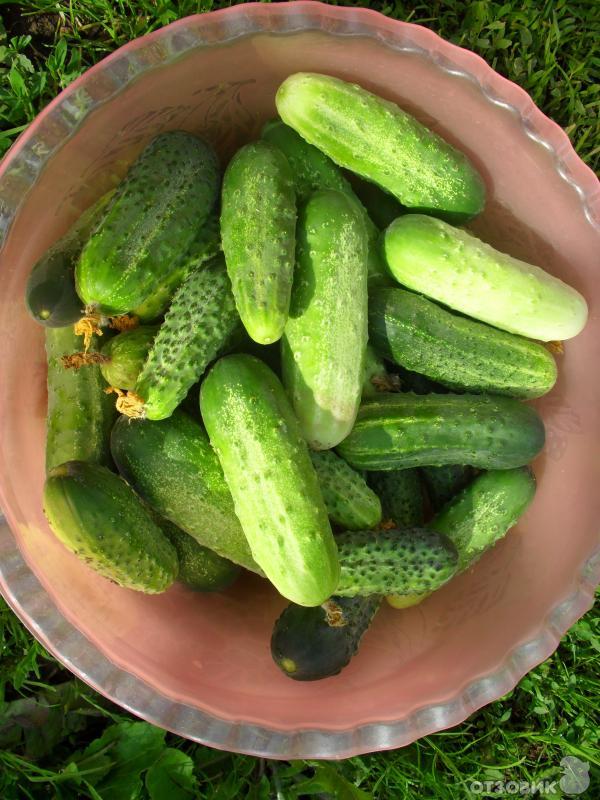

Claudia F1 cucumbers are ideal for preservation
The Claudia F1 variety is universal. Cucumbers are consumed fresh, and also used for pickling and canning. The fruits are stored in the refrigerator, where they do not lose their appearance and taste for a month.
Reviews of gardeners
Olga, Kirov
There is never a bad harvest with the "Claudia" cucumber. A cucumber without bitterness, when salted, it turns out to be crispy and without voids.
Lyudmila, Moscow
I like this variety for its high yield, the cucumbers themselves are even, small in size, juicy, without bitterness. The versatility of the use of fruits attracts, they are suitable for all types of processing.

