Geese have been used for growing on home farms for a long time. These birds are chosen by livestock breeders not only because of their good meatiness, but also eggs, which are distinguished by decent energy value and rich composition. But eggs are used not only for food - with their help, the process of breeding geese takes place. Incubating goose eggs is something that every farmer should know, especially if his farm is home to a large number of birds.
Incubation of goose eggs
How to choose a goose egg incubator?
Incubation devices, depending on the performance, are divided into industrial and domestic.
Industrial ones are designed for the simultaneous breeding of more than a hundred chicks.
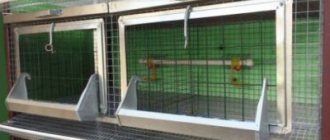
For a small farm, it is better to choose a household incubator with a capacity of 2 to 5 dozen. Many modern models are equipped with additional features and sensors that you can do without. But some points are worth paying special attention to.
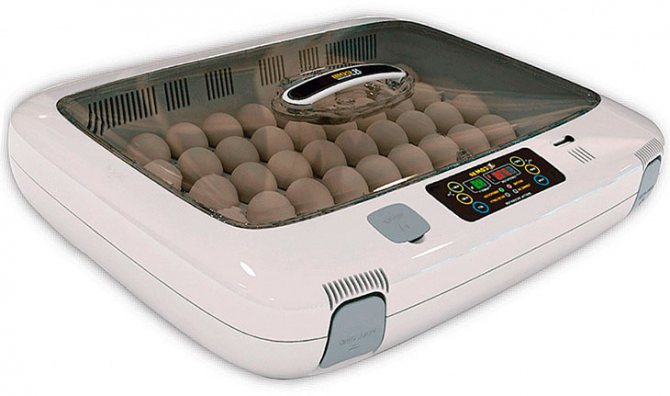
Incubator Rcom 50
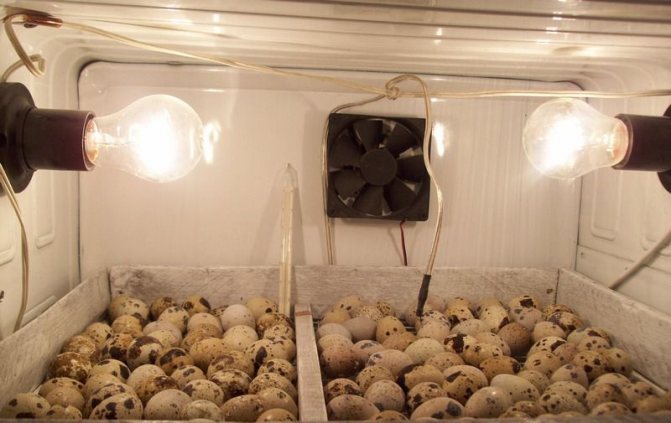
- It is important that the appliance maintains a stable temperature regardless of accidental power outages. It is quite understandable that incubators with the ability to automatically connect to the battery are in high demand;
- As you know, eggs in an incubator must be regularly turned over; doing it manually is quite troublesome. It is easier to choose a device with a mechanism for automatically rolling eggs in a tray at a given time interval. Such a device will cost more, but it will greatly simplify the maintenance process;
- The ventilation system must be permanent and reliable.
What it is?
Incubation refers to the natural development of animals that lay eggs. This includes birds, lizards, amphibians, reptiles, worms. It can take place at a certain temperature or climatic conditions.
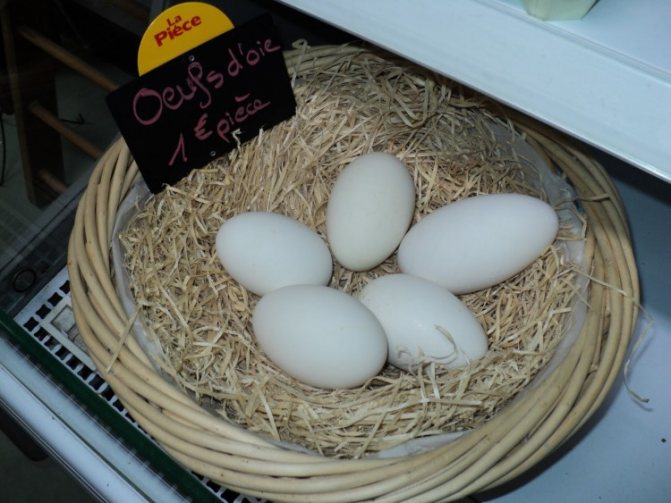
A few words about the features of goose eggs. This product contains a huge amount of nutrients. It contains vitamins of group B, as well as A, D, E, K. The use of such eggs has a great effect on the functioning of the brain and genitourinary system.... The specific substances contained in eggs completely cleanse the body of toxins and help to reduce fat on the walls of blood vessels. They are also good for memory and vision.
During pregnancy, it is important to introduce such eggs into a woman's diet, as they will contribute to the development of a normal nervous system in the baby.
The yolk contains lute, recognized as a powerful antioxidant. It allows human cells to rejuvenate properly and significantly slows down the aging process.
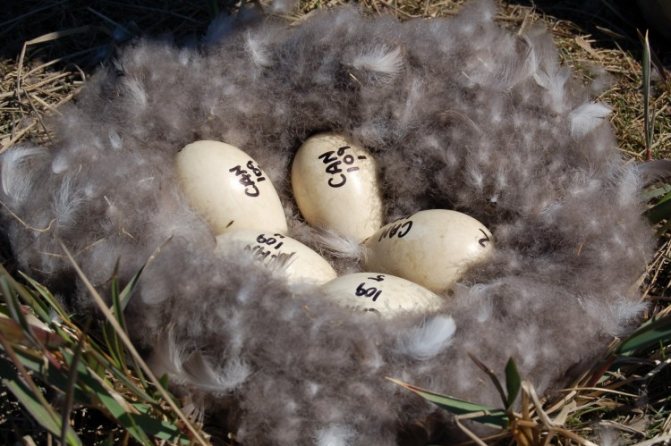
Collection, selection and preparation of eggs for incubation
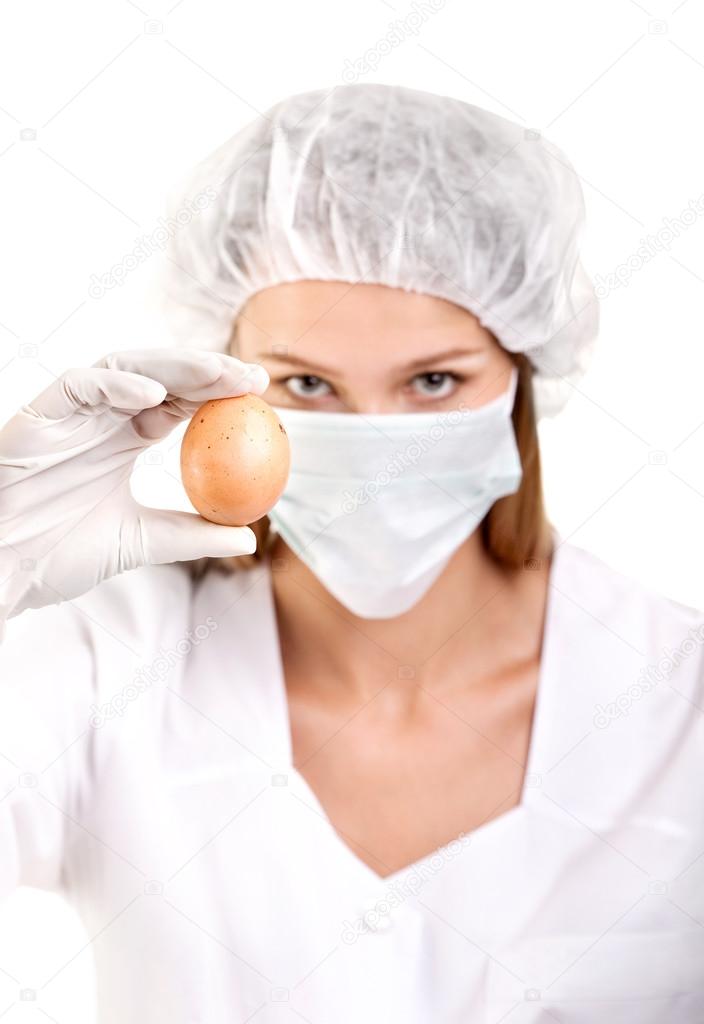
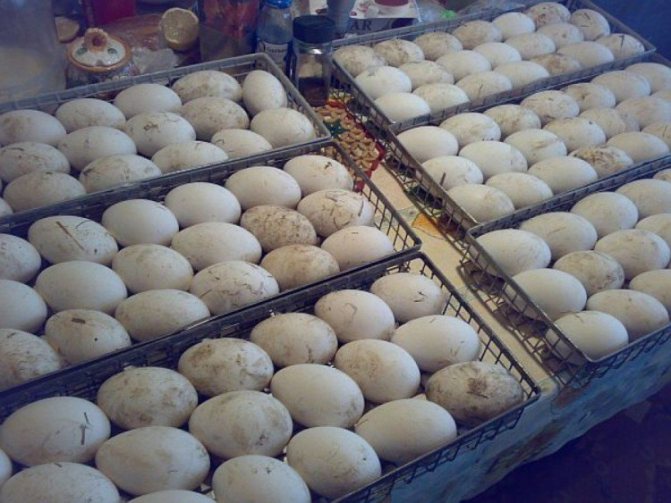
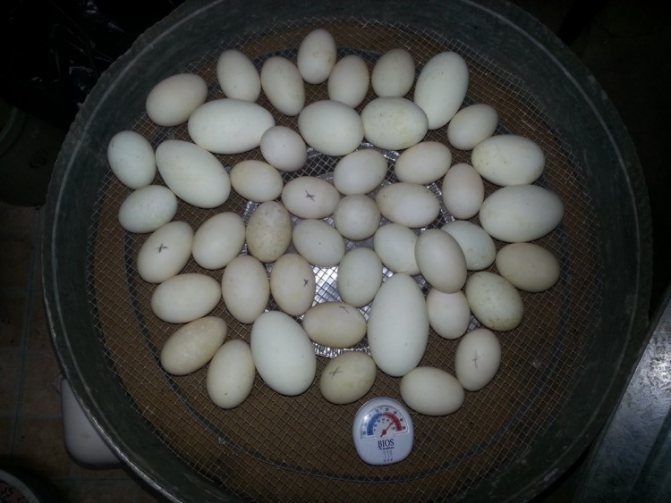
How successful the process of hatching goslings will be depends on the correct selection of material for incubation. Preparation for setting includes collecting, peeling, grading and culling eggs.
For incubation, products obtained only from healthy geese at least 9 months of age are suitable.
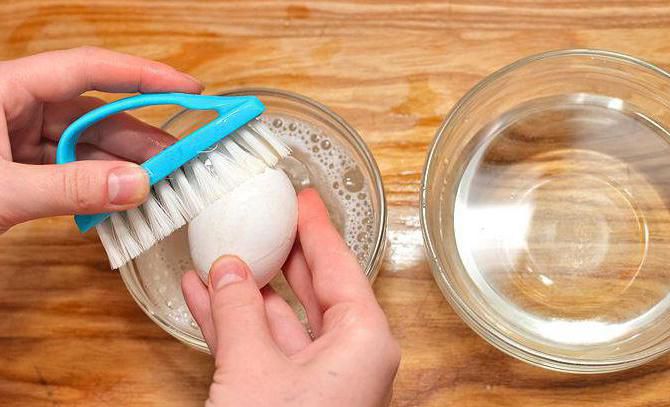
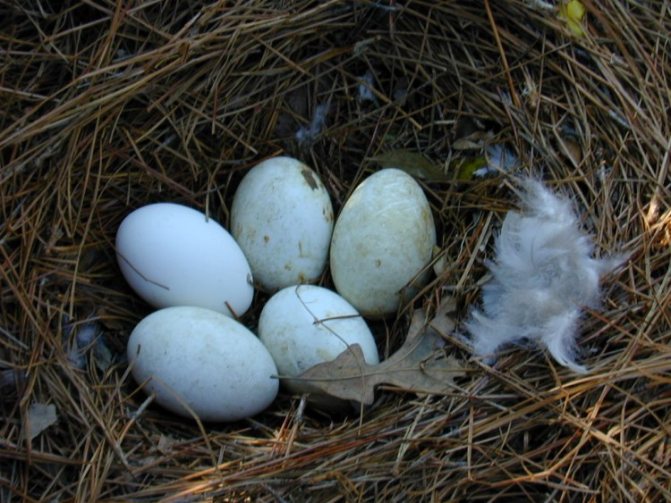
Goose eggs are taken from the laying hens while they are warm, for this they check all the nests several times a day. Contaminated specimens are cleaned immediately.
It is unacceptable to use alcohol or chlorine-containing preparations for disinfection.
You can use a pink solution of potassium permanganate, hydrogen peroxide (1-1.5%), persintam (3-5%), deoxone-1 (0.2-0.5%).Eggs are soaked for a few minutes in a warm solution (35-40 ° C), rinsed and dried. It is not recommended to rub the surface with a brush or hard sponge to avoid damaging the protective layer.
Parameters for the selection of incubation material:
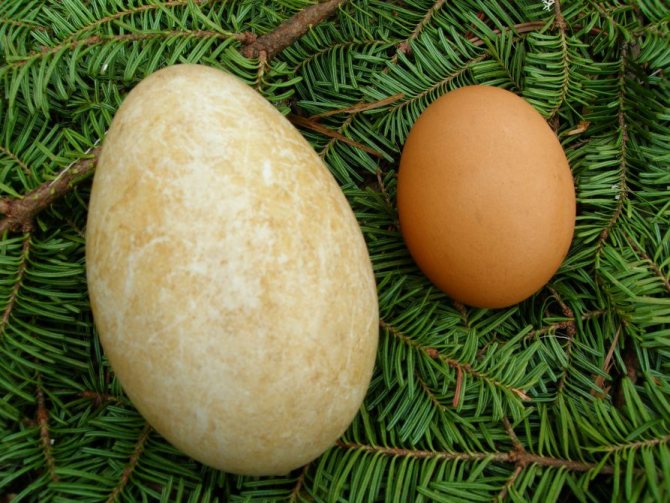
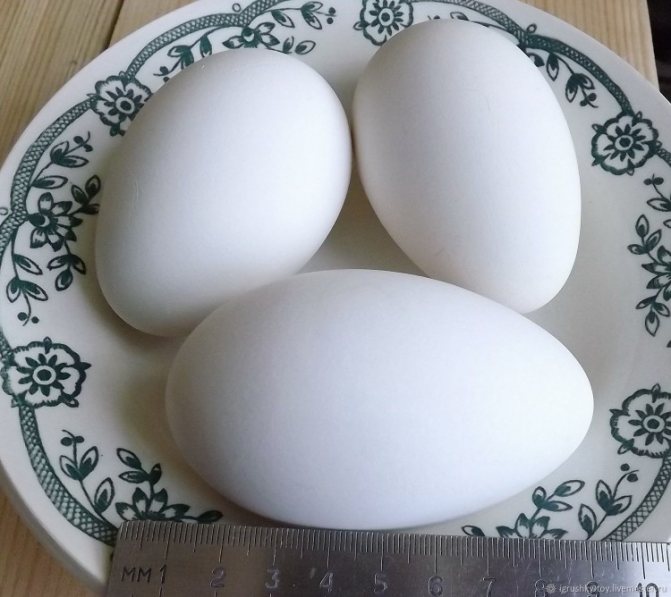
- Standard weight - 170-200 g for large and 140-160 g for light breeds;
- Average size: length - 8-10 cm, width - 4-5 cm;
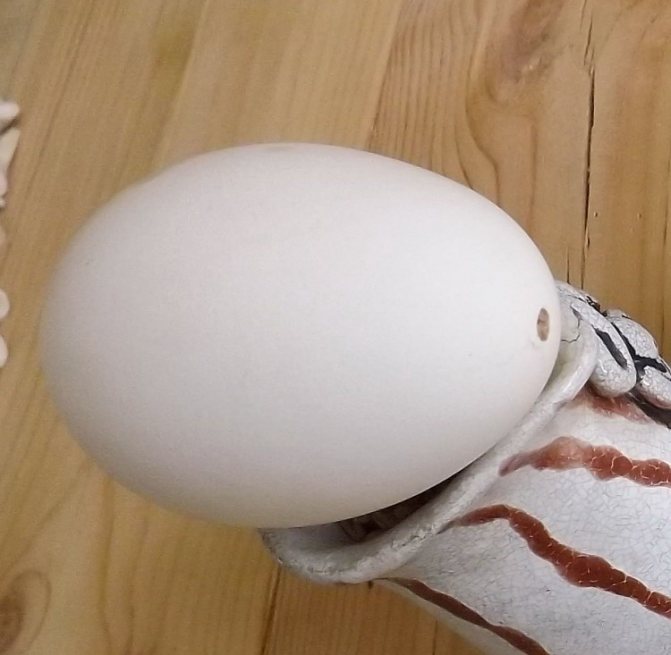
- Smooth shell without streaks, microcracks, sagging and other defects.

How to store goose eggs?
Ideally, use only freshly laid eggs for incubation. But in practice, it is not always possible to quickly collect a sufficient number of copies for a complete bookmark. Operating the machine with a partial load is inexpedient from an economic point of view. Therefore, it is very important to preserve the collected material until incubation without loss of reproductive qualities.
The shelf life of goose eggs intended for incubation should not exceed 10 days after collection.
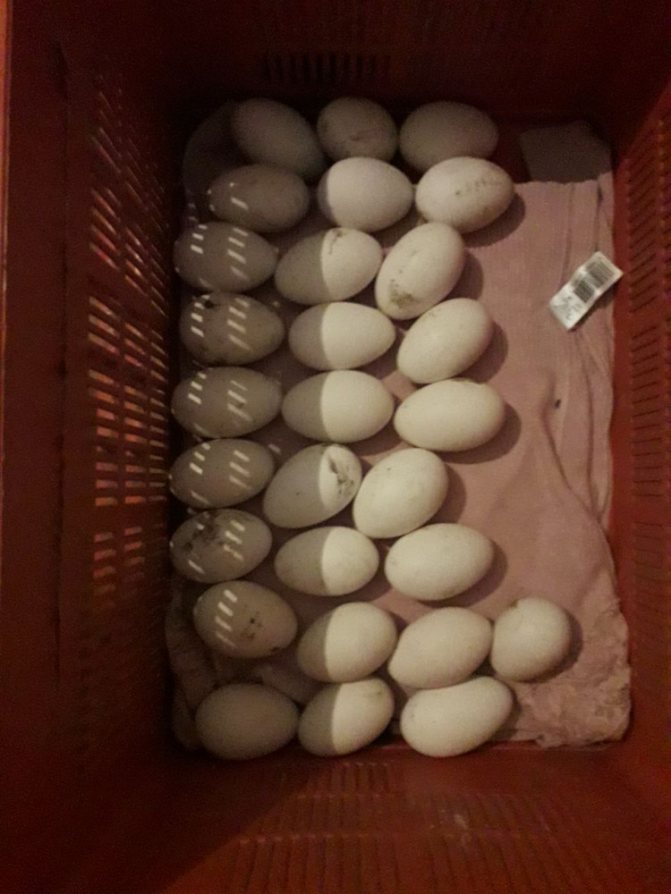
Incubating a stale product simply does not make sense, since the hatchability rate for two-week-old eggs drops by half, and for those harvested 20 days ago, it barely reaches 30%. Store eggs on their side in a horizontal position. Beginning on the 5th day, they should be turned over regularly. The temperature in the room must be maintained within the range of + 8-15 ° C with an air humidity of 75-80%.
Storage rules
Fresh eggs can be laid for a while before incubation, but not for long. Already a week will be critical, and the longer, the higher the risk that the offspring will not be born at all.
The following measures are recommended for storage.
- The cleaned and selected products are collected and laid horizontally in a place where the following conditions are met:
- the temperature should be 8 - 15 degrees;
- humidity 75 - 80%.
- On the fifth day, the eggs begin to turn over from time to time, this will allow them to stay in "working" condition longer.
| Storage (in days) | Hatchability percentage when bookmarked |
| 5 | 79,8% |
| 10 | 72,7% |
| 15 | 53,7% |
| 20 | 32,5% |
| 25 | 0 |
Experienced farmers use a reliable method to significantly extend the shelf life of eggs laid for incubation. The essence of the method is as follows.
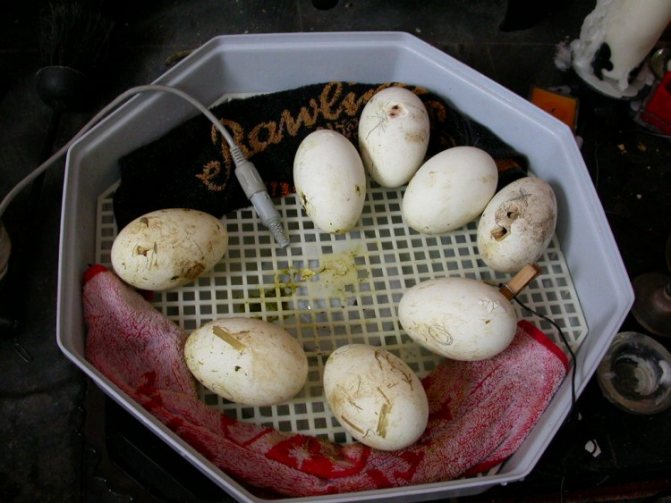
- The eggs are still placed in the incubator, but only for five hours. Incubation temperature - 37.2 degrees.
- The heated eggs are placed in the same place as described above.
The method was named "as if in a nest", thanks to it, it is possible to preserve production for up to 15 days, and the percentage of hatchability will remain at a high level. It is advisable to warm up the eggs with this method from one to four days after laying.
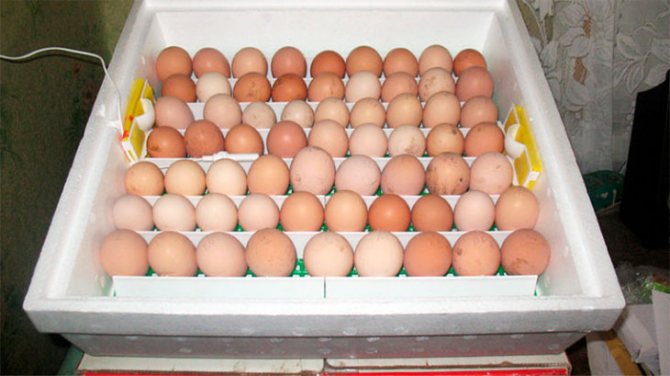
How do I lay eggs in the incubator?
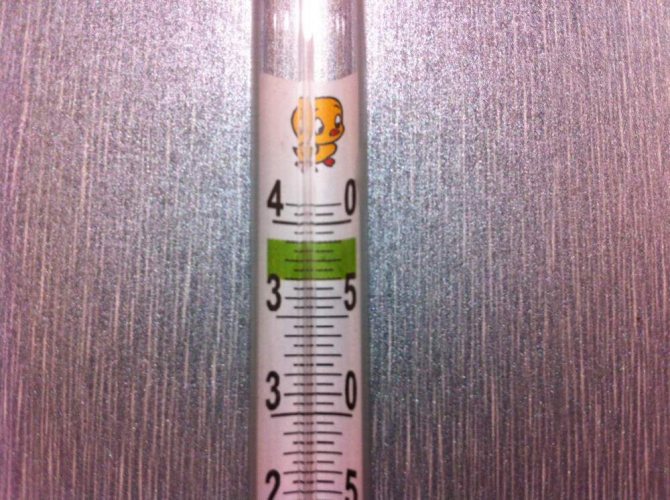
Before laying eggs, the incubator should be warmed up for 3-4 hours to a temperature of + 37.8-38 ° C.
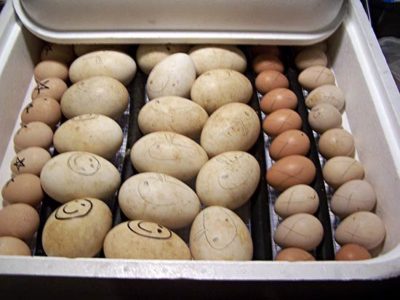
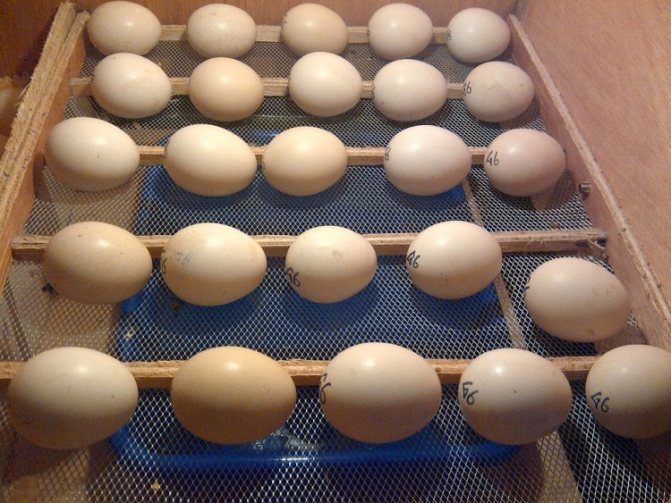
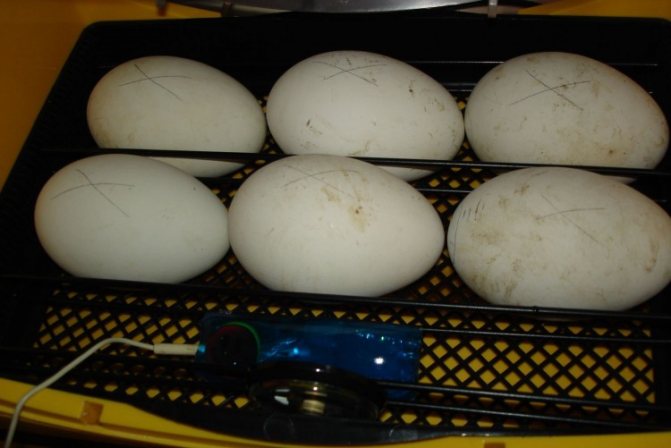
Goose eggs, unlike chicken or quail eggs, are placed on trays only horizontally.
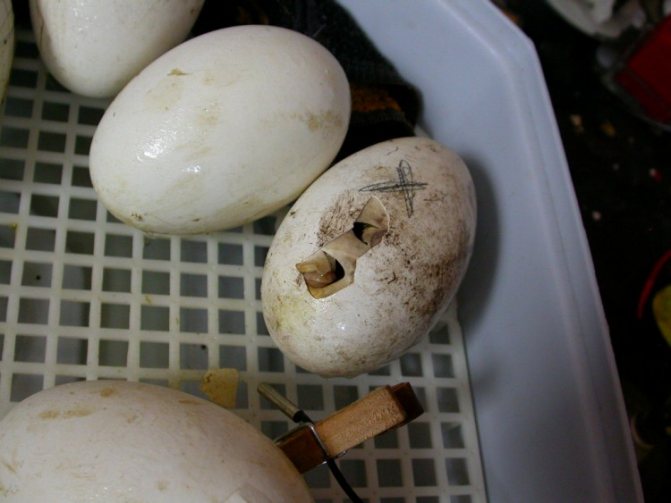
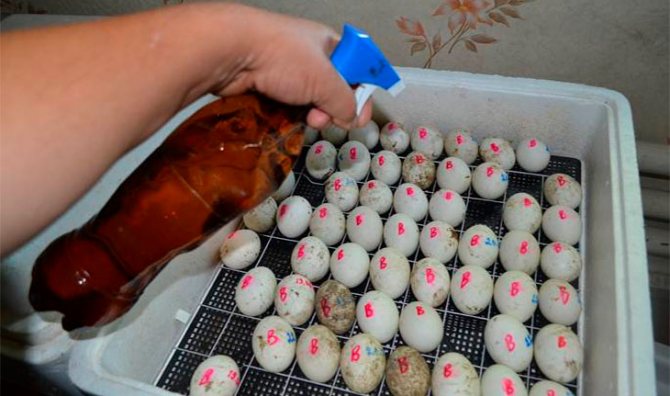
Before laying eggs in an incubator with a manual overturn mode, it is recommended to mark them on both sides, for example, "B" - top and "H" - bottom, or just a cross and a zero. This will help eliminate errors when flipping a single instance.
Experienced poultry farmers advise to irradiate the masonry under a quartz lamp for 3-5 minutes on each side immediately before laying.
How to hatch goslings in an incubator?
The incubation of goose eggs lasts 29-30 days. All this time it is necessary to ensure that the microclimate in the chamber is not disturbed. A certain temperature and humidity must be maintained.
Goose eggs are incubated according to a clear scheme, including regular turning, airing, spraying.
The development of the embryo largely depends on how correctly this is done.
Rolling over and spraying
For the uniform and harmonious development of the embryo, regular egg turning is necessary.Thanks to this procedure, gas exchange improves, the circulatory system develops. When the egg is in a static state for a long time, the embryo simply sticks to the inner wall of the shell.
In the special literature, there is a recommendation - to shift goose eggs from side to side every two or three hours throughout the entire incubation period. But as practice shows, a sufficient number of turns is 4-6 times a day.
The coups are completed 24 hours before the expected hatching of the chicks.
Starting from the fifth day, the masonry is sprayed from time to time to prevent overheating. A weak solution of potassium permanganate is used for irrigation. On the 28th day, before hatching of the chicks, this procedure is stopped.
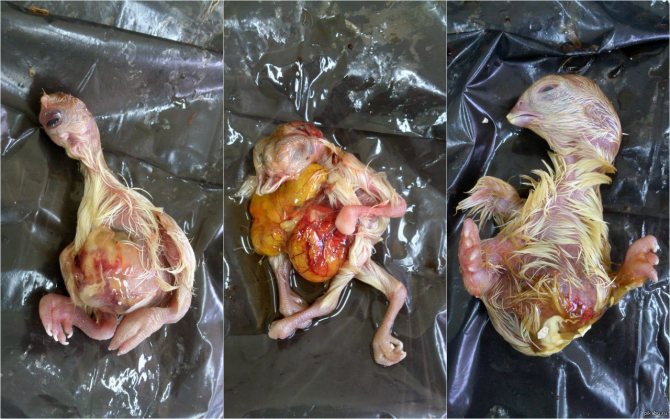
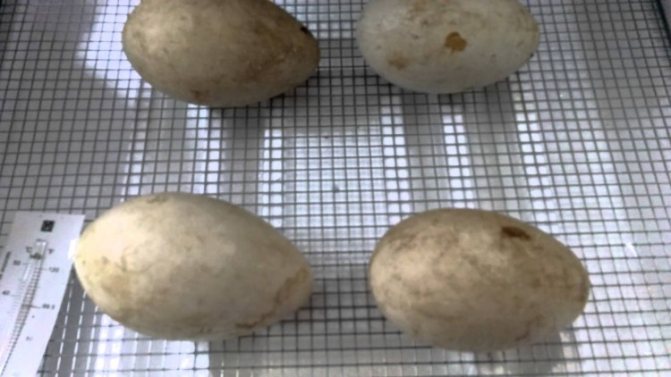
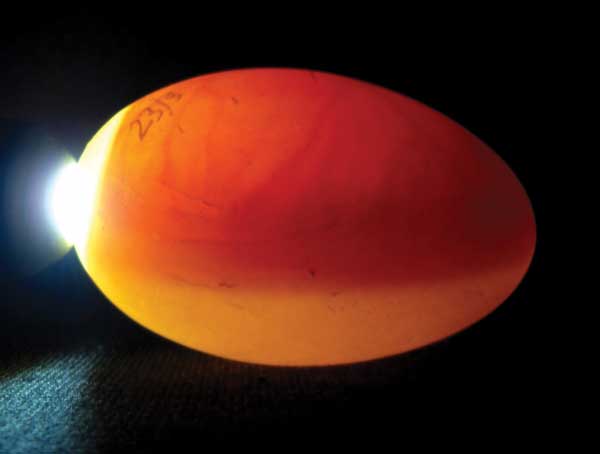
Ovoscopy
An ovoscope is a simple device that allows you to verify the fertilization of the material selected for incubation and subsequently monitor the process of embryo development. There is a light source (light bulb) inside the device; there is a special opening on the body for directional illumination. They use an ovoscope in complete darkness, bringing each egg to the hole and examining its internal structure in the light.
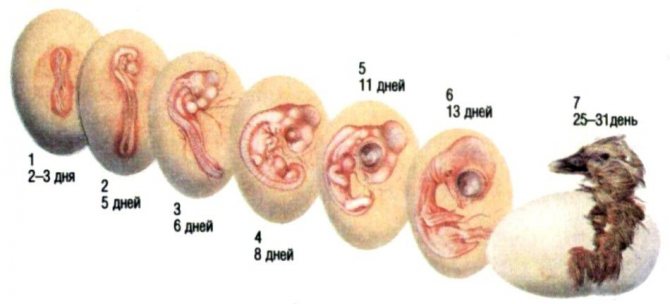
Ovoscopy of goose eggs by day of incubation:
| Incubation period | The purpose of the inspection | Signs of a suitable material | Indications for rejection |
| Before setting in the incubator | Reveal hidden defects | The yolk is located in the center, without clearly defined boundaries, it is mobile when the egg is turned over, the air chamber is fixed from the blunt edge | Cracks, limescale build-ups and other defects on the shell, displaced or wandering air chamber, presence of a second yolk or dark spots, yolk "stuck" to the shell |
| On the 8th day | Discard unfertilized eggs | The circulatory system of the embryo and the shadow of the embryo are seen | Absence of an embryo, presence of damage on the shell |
| On the 21st day | Identify the developmental pathology or death of the embryo | Only the air chamber is visible, the rest of the space is completely darkened | Complete transillumination of the inner space, the presence of a small dark spot |
It must be borne in mind that there is a strong heating from the lamp of the device, therefore it is not recommended to keep eggs on the ovoscope for more than 20 seconds.
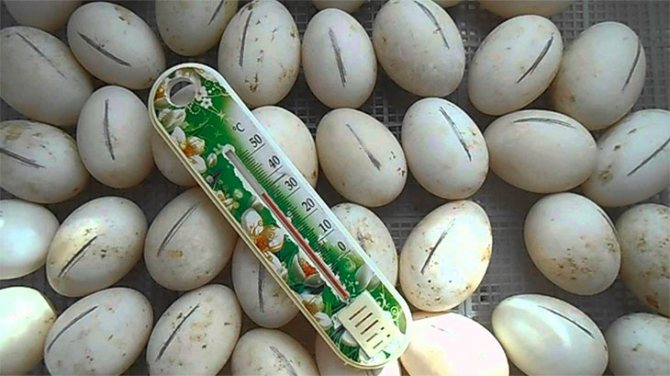
Temperature and humidity in the incubator
The main task of the poultry farmer during incubation is to maintain the required microclimate with maximum accuracy.
Hypothermia, like overheating, entails irreversible consequences, up to the death of the embryo.
Particular attention should be paid to the indicators of air humidity in the incubator.
Incubation table for goose eggs:
| Day | Recommended humidity mode,% | Recommended temperature mode, ° C | Cooling to + 32-34 ° C, times / day |
| 1-2 | 70 | 38 | not |
| 3-4 | 70 | 37.8 | 1 (10-15 min.) |
| 5-9 | 70 | 37.6 | 1 (10-15 min.) |
| 10-28 | 60-65 | 37.5 | 2-3 (15-20 minutes each) |
| 29-30 | 85-90 | 37.3 | not |
The need to provide more humidity in the last two days is due to the increased density of the walls of the goose testicles. The chicks do not have enough strength to break through the hard shell. At maximum humidity, the shell softens, which helps the goslings get out faster.
Industrial Apparatus Brands
Taking into account the needs of buyers when breeding geese in an incubator at home, our industry offers many types of ready-made devices.
The following devices are suitable for breeding goslings:
- Blitz 72 - automation, robust plywood case, temperature and humidity control;
- "Laying hen-104-EGA-12V n / n 64g" - automatic, precise regulation of humidity and temperature conditions;
- Poseda M-33 - automatic, but the product is rotated only by 45 degrees;
- "Petushok IPH-10" - an automatic device - if there is even the slightest deviation from the set rate, a sound signal is given;
- "Stimul-4000" - an automated device for breeding goslings at home, two heating elements, one drawback - the most expensive of all those proposed;
- Tengfei TFFH-21 - robust, steel case, fully automated.
These incubators meet all the requirements of the farmer, there are the necessary functions for the convenience of working with them, you can lay a different number of eggs. However, they cost money.
It's cheaper to build an incubator with your own hands.
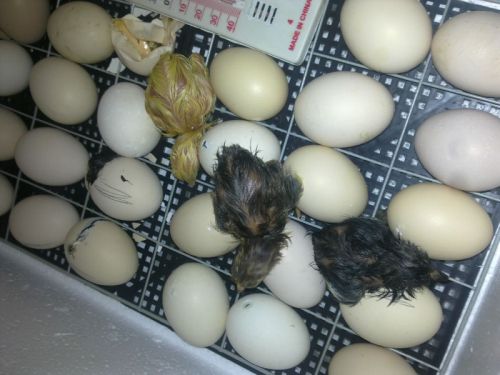
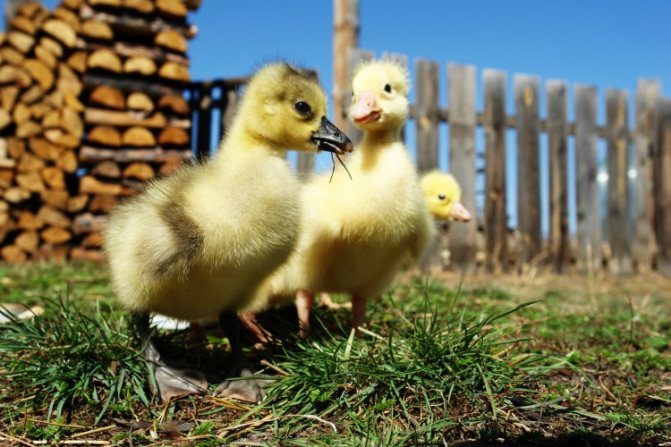
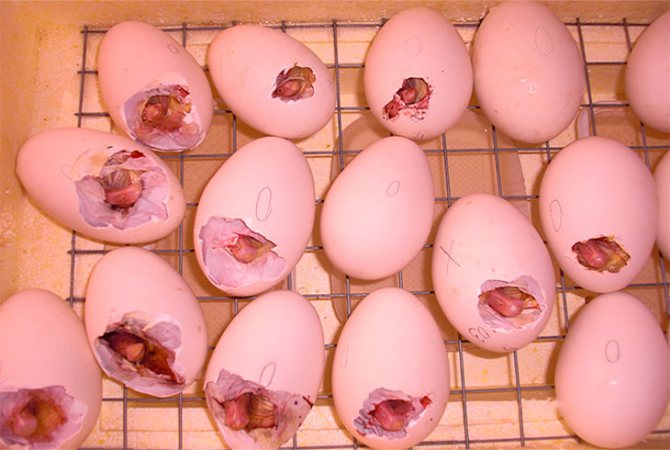
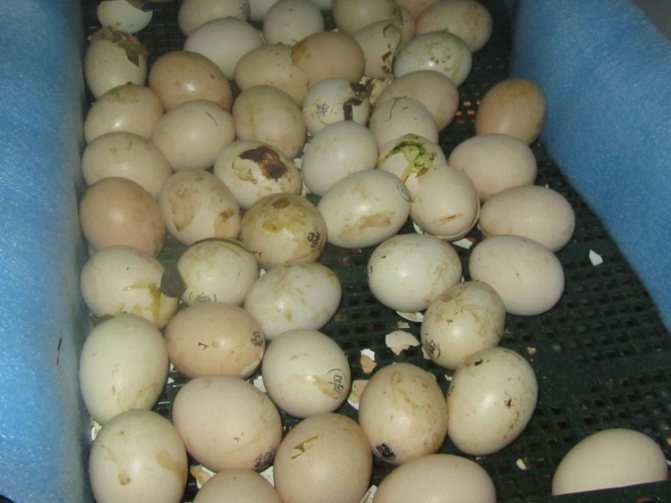
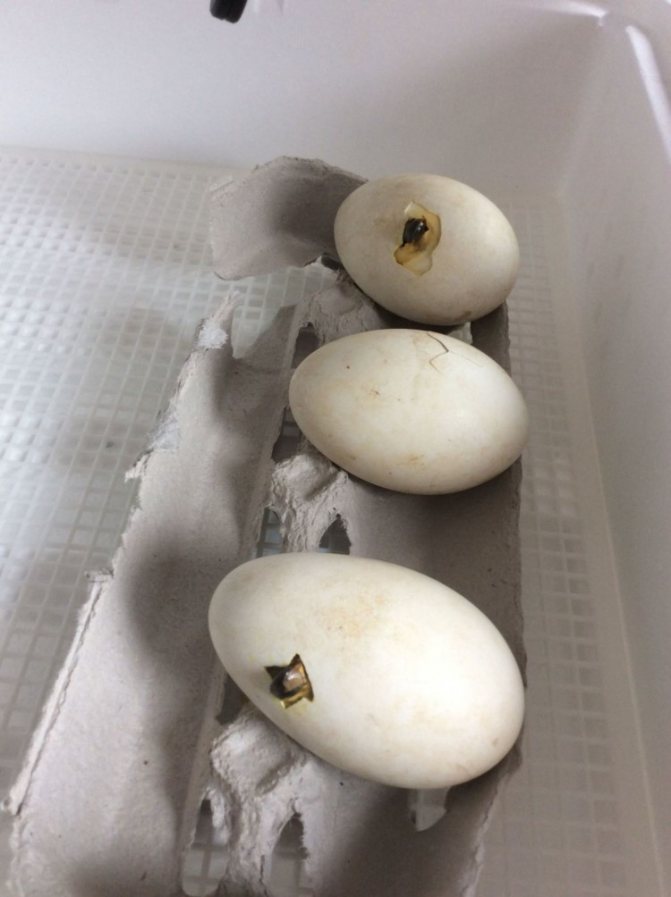
Hatching eggs and further actions
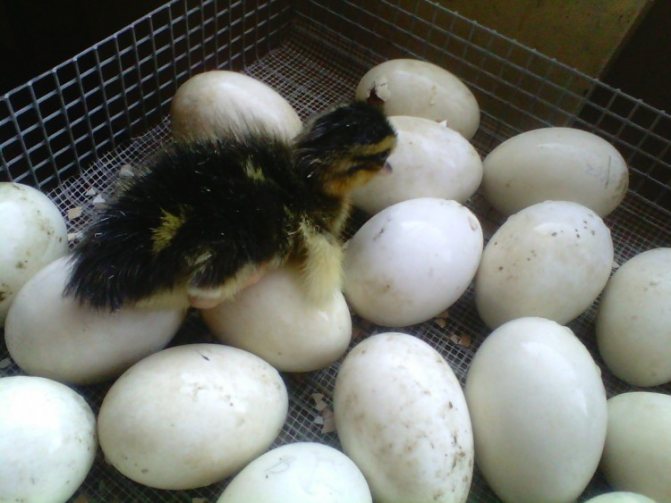
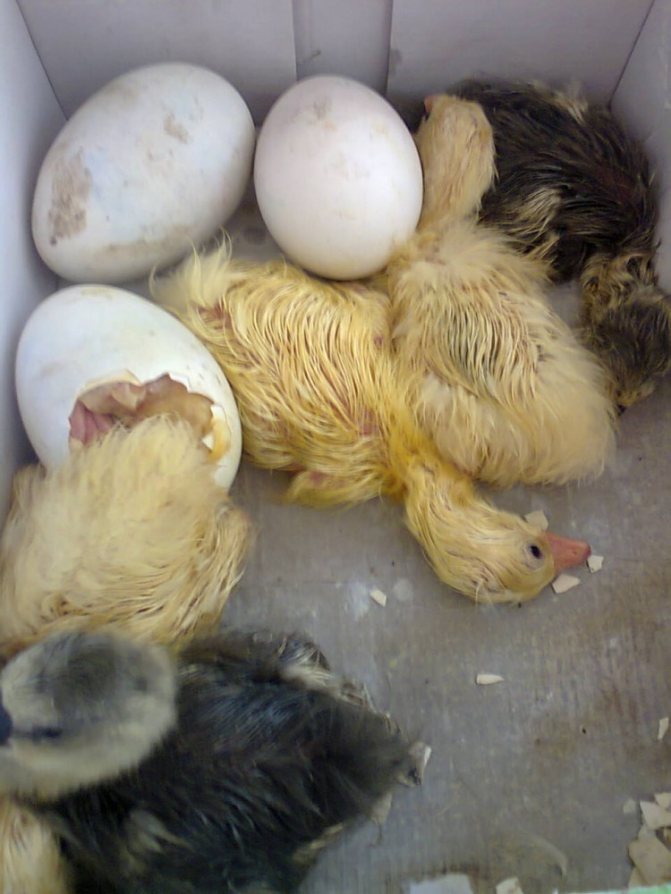
It takes about a month to hatch goslings in an incubator. As a rule, goslings begin to hatch on the 29th day. But due to errors in observing the temperature regime, hatching of goslings in an incubator can take up to 32 days. If an already hatched chick cannot free itself from the shell within 24 hours, then it needs help. The shell is removed very carefully, provided that there are no traces of blood on it.
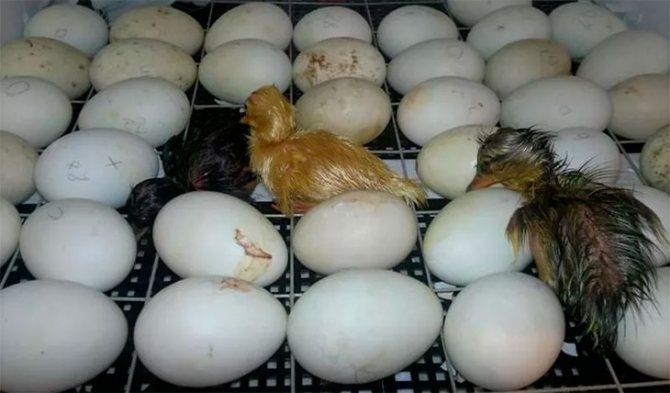
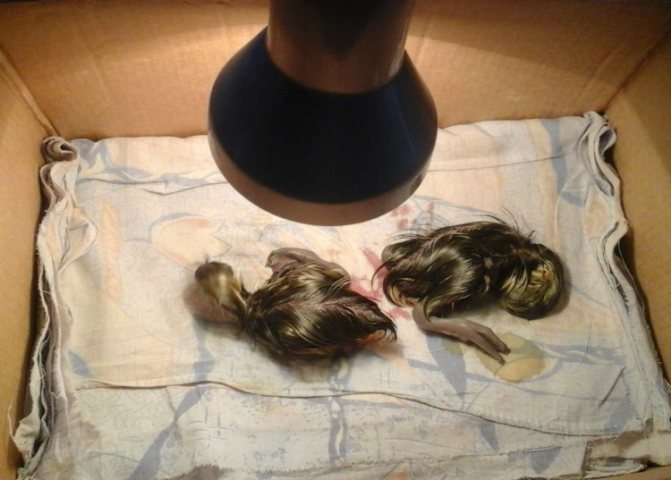
In no case should the chick be removed from the incubator immediately.
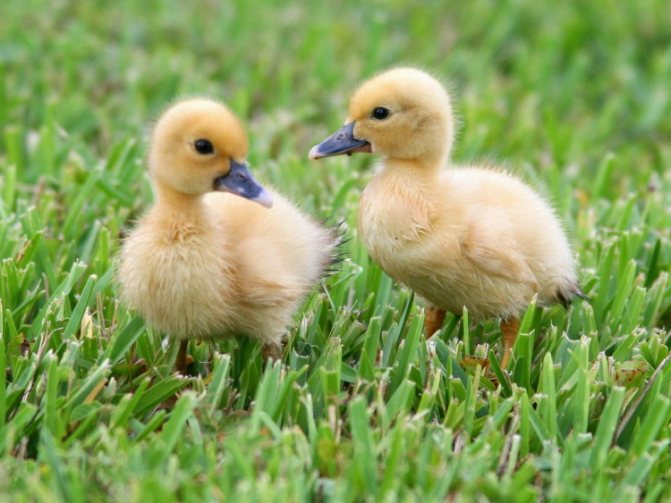
It should dry completely. On the first day, the goslings are provided with the most comfortable microclimate: not lower than + 30˚C with an air humidity of 75%. Within a month, the temperature is gradually reduced to + 18-20˚С. In order to avoid hypothermia and mortality of young animals, it is necessary to ensure that the fluff on the body is always dry.
They begin to feed and water the chicks as soon as they dry out.
In the first 2-3 days, feed is given up to 8 times a day.
Food during this period consists of finely chopped boiled eggs, grated cottage cheese mixed with oatmeal or soaked crushed peas. By the age of one month, the number of feedings is reduced to 4, crushed grain, wheat bran, chopped vegetables (carrots, zucchini, beets) and hens (nettles, alfalfa, clover) are introduced into the diet.
A huge role in the full development of young animals is played by the duration of daylight hours - at least 14 hours a day. In intense light, chicks eat more, therefore, grow faster.
Common mistakes
Novice poultry farmers who do not have sufficient experience and knowledge of incubation often make mistakes that lead to the death of embryos.
- Sharp temperature drops. It is necessary to take care of the uninterrupted power supply of the system in advance;
- Unstable lighting mode. Do not turn off or dim the light in order to save energy. Interruptions in lighting lead to embryos freezing;
- Unregulated humidity. It is necessary to monitor the sensors and maintain the desired microclimate throughout the entire period;
- Excessive control of the incubation process. It is unacceptable to constantly open an incubator with the aim of "checking how things are going." This leads to hypothermia of the masonry. It is allowed to open the incubator no more often than after 4-6 hours;
- Premature removal of chicks. To avoid hypothermia, do not remove goslings from the incubator until they are completely dry.
If you strictly follow all the rules and conditions of the process, you can achieve 80-90% hatchability and get a healthy, strong offspring.
Conditions
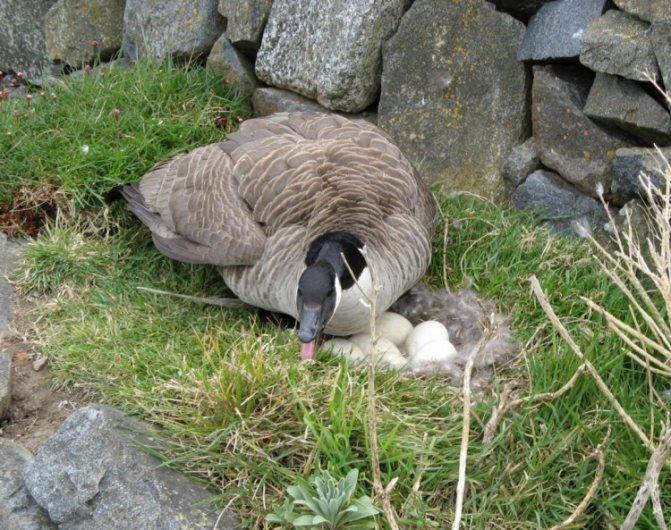
The approximate period for the beginning of incubation is March and April. Place dummies in the nest to make sure the bird is ready. If the goose begins to look after them, it is ready to hatch.

First, separate the goose nests so they don't see each other. The hen must be separated from the hen, otherwise the latter will mix the eggs, and they cannot be determined by their freshness.
Of course, the goose bed should be warm - within 16 degrees Celsius, ventilation is permissible, but not drafts.
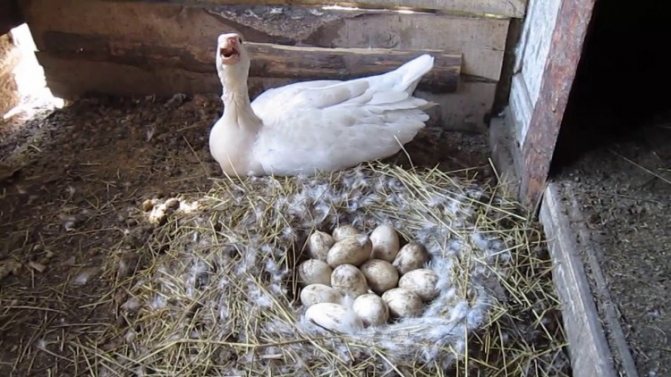
Watch the behavior of the goose - it must eat and bathe. If she does not leave the nest at all, you should not drive her away - just move food with water to her.