Features of growing orchids from seeds
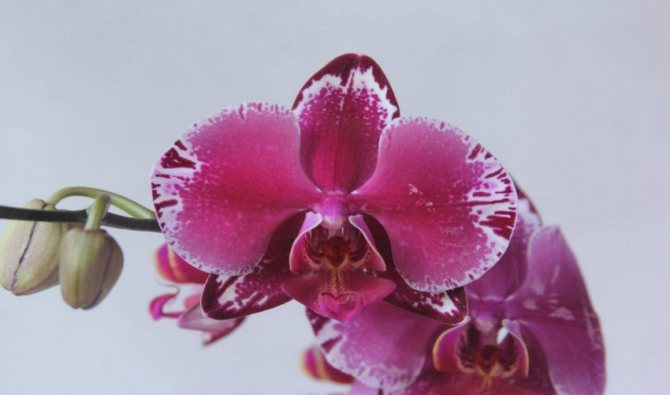
How to properly grow an orchid from seeds at home? A question that worries many people who love this interesting and unusual flower. The procedure for growing seeds is quite lengthy and can take from 4 to 5 years until the plant blooms for the first time. But despite this, many growers grow a healthy and beautiful plant.
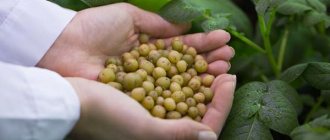
Orchid seeds
Worth knowing! You can buy seeds at a pharmacy, an online store, or by pollinating the plant to wait for the seed pod to ripen, which must then be separated from the plant and the seeds taken out.
Preparation of planting material
The homeland of the orchid is China, where the plant has been cultivated for more than 4 thousand years. When growing in the wild, after the seed pod has ripened, its full disclosure occurs, after which the seeds of the plant are carried by the wind. But even in the wild, to which the orchid is accustomed, not all seeds can germinate.
In order for the tiny nucleolus to open up and take root, it will take a lot of effort and it is the nutrient substrate that has a big deal in this process. If the seed is lucky, it will be carried by the wind into a nutrient medium with fungal microflora, where it can germinate.
The process of seed germination in a nutrient medium
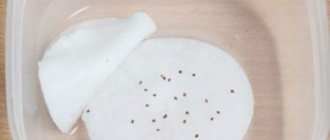
What do orchid seeds look like?
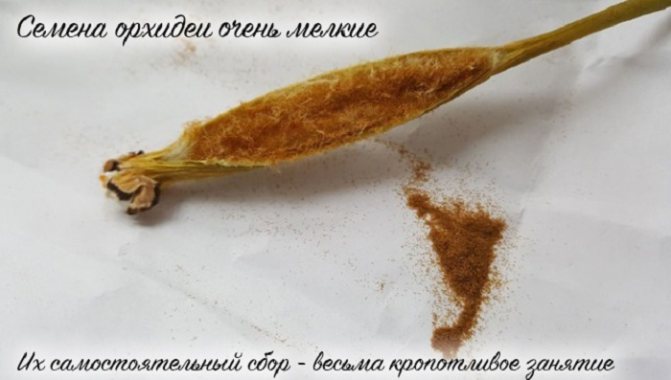
They are so small that looking at them gives the impression that they are just dust. But if you look under a microscope, you can see every grain. If we compare it, for example, with wheat, then it is 15,000 times less.
Now it becomes clear why it is so difficult to germinate at home - it does not have a protective shell that would protect it from death.
Preparation
In order for the cultivation of such a tiny grain to give results at home, it is important to prepare a nutrient medium. The recipe is as follows:
- purified water - 400 ml;
- honey - 1 tsp;
- 1 tablet of activated carbon;
- sugar - 1 tsp;
- banana puree - 2 tsp;
- starch - 70 g;
- fertilizer for the plant.
Advice! You can replace banana puree with pineapple juice in the amount of 40 ml.
The prepared amount of substrate should be enough for about 5 cans. Now you need to measure the pH level using litmus paper, it should not exceed 5.2.
If it is necessary to increase the acidity, then they do it with the help of lemon juice. And if, on the contrary, lower it - then with the help of baking soda. They need to be poured in very small drops, periodically measuring the pH level.
Conditions for seed germination
When the mixture is ready, according to the recipe, it is poured into a metal saucepan and put on fire. The consistency should be cooked until sour cream is thick, after which it is removed and poured into banks. The mixture is filled into a jar only 3 cm from the bottom and closed with a lid.
Next, you need to sterilize the mixture with cans. This will require a small saucepan and a steamer. Jars are placed in a saucepan, which is covered with a lid and sterilized in a double boiler for about half an hour. This procedure must be carried out twice with a break of 24 hours. The nutrient medium for seed germination is ready.
Important! Florists recommend germinating grains in different compositions, so that if they do not germinate in one nutrient medium, so that this happens in another.
Required inventory
When germinating, the Chinese orchid requires sterile conditions, which is quite difficult to do at home. Therefore, it is necessary to build a box. To do this, you can take an ordinary plastic container, about 25 cm high and up to 50 cm wide.On one side, two holes are cut so that you can stick your hands in and attach rubber gloves with tape or plaster.
It is also worth remembering that if you plant an orchid in winter, then a phytolamp must be installed next to the box.


Sowing seeds for nutrient solution
At all stages of sowing orchid seeds, it is extremely important to maintain complete sterility. Ideally, this process takes place only in microbiological boxes. However, even without them, you can try to minimize the risk of contamination of the nutrient medium by microorganisms. This will require the following tools and materials:
- hydrogen peroxide:
- any chlorine solution (for example, household "Whiteness");
- sterile surgical gloves and gauze;
- small sterile containers for seeds (for example, test tubes);
- disposable syringes without a needle or laboratory pipettes;
- sterile scissors;
- Scotch.
The seeding procedure is performed as follows:
| Stage | Performance |
| Preparation |
|
| Sowing |
|
| Sealing |
|
Next, the cans are placed on a shelf illuminated by a phytolamp. The air temperature should be from +25 to + 280C. This creates the same conditions under which orchids are grown in glass flask on orchid farms.
The seeds, and then the seedlings, will spend many months in a hermetically sealed jar. Therefore, sowing must be carried out as quickly as possible so that the microflora contained in the air does not settle on the nutrient medium, and subsequently mold does not develop.
Growing an orchid at home
After the box and jars with the nutrient medium are prepared, you can start planting seeds. This raises the question of how to plant orchid seeds? And this is not so difficult to do.
Sowing
How to grow rosemary from seeds at home
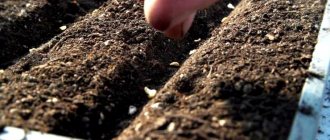
It is necessary to transfer the seeds to the nutrient medium using a pipette or syringe. It is better to do this directly above the steam so that microorganisms in the air do not get into the composition, and it remains sterile.
Important! It is necessary to sow seeds in jars as quickly as possible to avoid contamination, otherwise all efforts will be in vain.
After the seeds are all laid out in banks and everything is installed in the box, it is necessary to sterilize it. To do this, hands are pushed into the holes, into gloves, and the inside of the box is treated with a sodium hypochlorite solution.
Sowing care
In a box with seeds, a temperature regime of +18 to +22 ° C must be observed. In addition, the box should be installed in a place where there is no direct sunlight, and the light is diffused throughout the day.
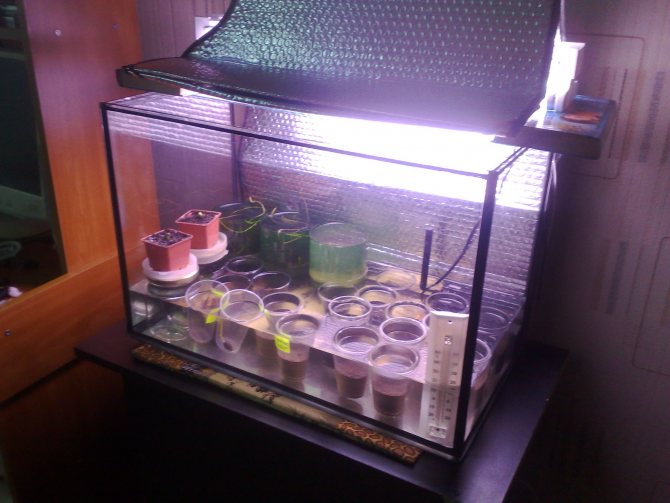
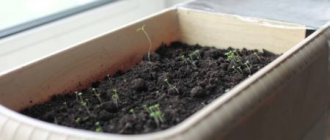
Box to maintain all conditions for seed germination
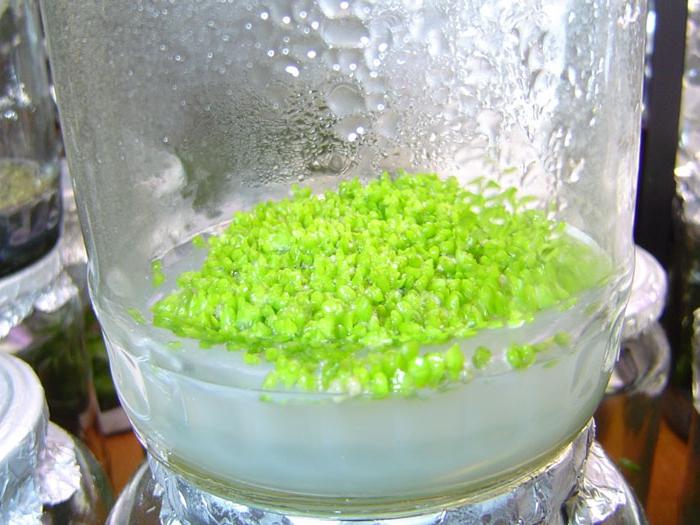
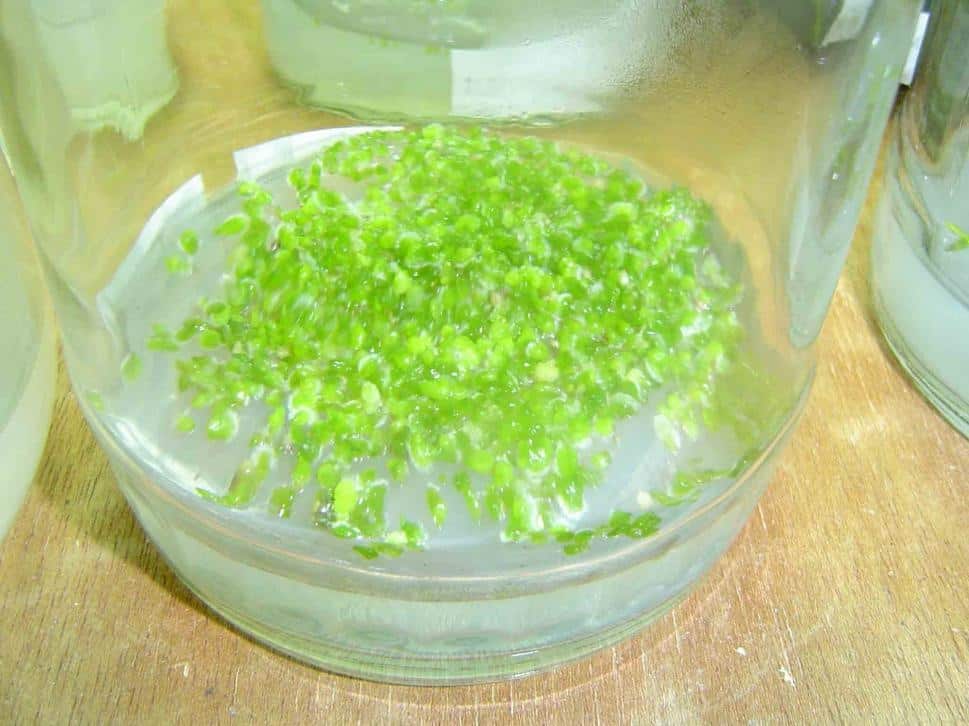
For several days, the plant should stand, and if no plaque or mucus forms on the surface of the jar, then we can conclude that the sowing was successful. Further, the following pattern of seed germination can be observed: green balls → rhizoids → leaves → sprouting of roots.
The choice of planting material
It should be fairly noted that the first flowers in a domestic orchid can appear only after five years. First you need to choose the right planting material. The seeds of these exotic favorites are very small: if you compare it with a grain of wheat, the ratio will be approximately one to several thousand.
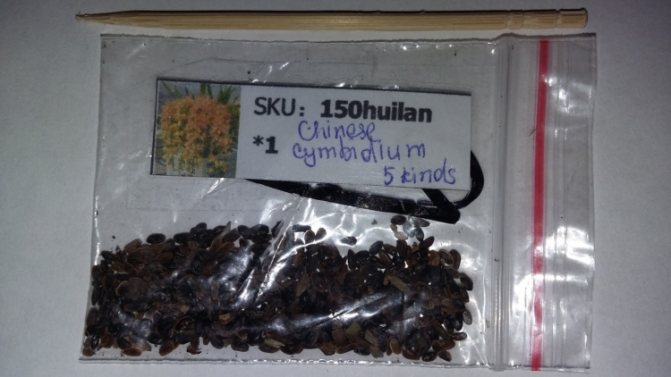
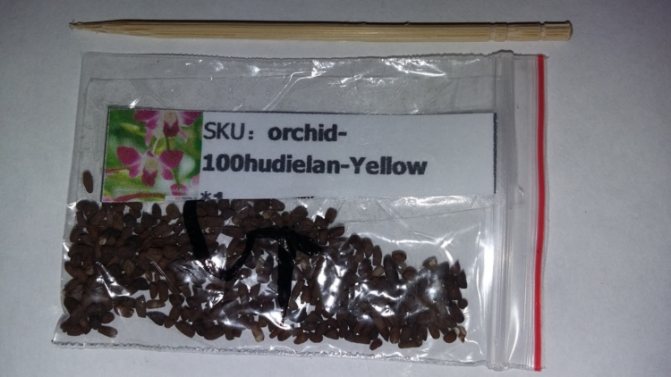
Seeds suitable for growing can only be obtained under laboratory conditions. You can, of course, look for seeds from domestic florists, but a similar material for planting from the Chinese "Ali Express" will cost you much less. The main thing is not to get a pig in a poke. In this regard, before buying, be sure to check whether this is what you need.
Orchid seeds lack endosperm and are therefore vulnerable to pathogenic microorganisms. In order to obtain healthy planting material, conditions of strict sterility must be observed, which are almost impossible to ensure at home.
It is also necessary to take into account the fact that the seeds are devoid of nutrients, they need a special nutrient medium for growth. Often, symbiosis with various kinds of fungi, both microscopic and of the highest order, helps orchid seeds survive.
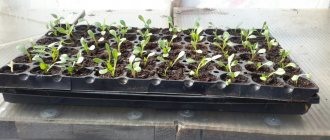
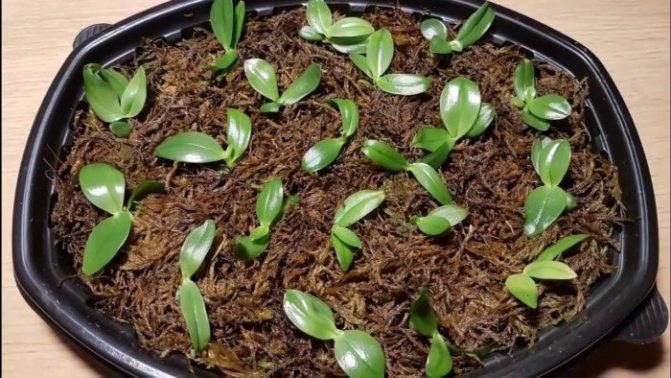
Planting sprouts in a pot
How to grow mint at home on a windowsill from seeds
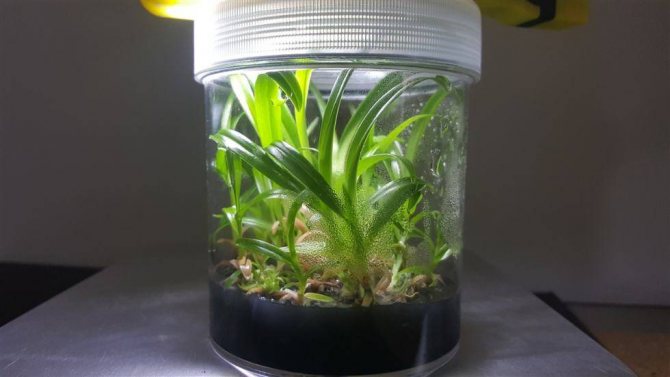
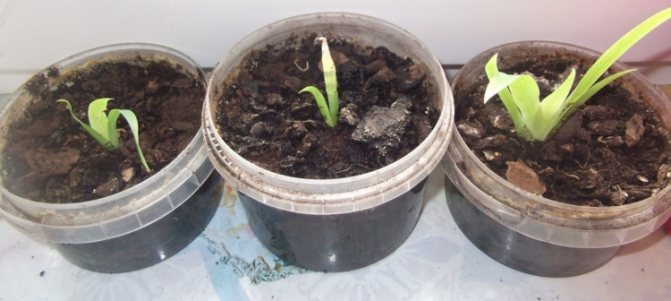
With sowing, everything is clear, the next step is how to grow an orchid from seeds and when it can be planted in a pot. The first shoots in the nutrient medium can appear after a month, and sometimes you have to wait up to 9 months. First, the first thin threads that hold onto the surface of the nutrient composition will become noticeable. Then the leaves will appear, and only then the real roots will begin to form.
As long as the bores are in sterile conditions, in the box, they do not need special care. But when the sprout has already formed and needs to be transplanted, the nutrient medium is changed to a special substrate.
The composition should be as follows:
- crushed activated carbon in the amount of 10 tablets;
- sphagnum moss;
- chopped bark of a coniferous tree;
- fern rhizomes.
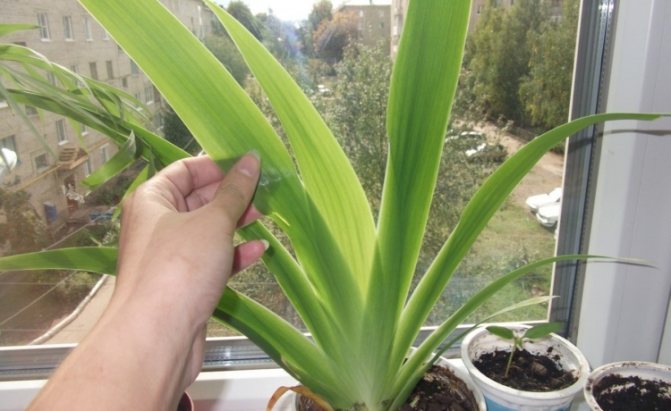
Planting orchid sprouts
The last three components are taken in equal proportions.
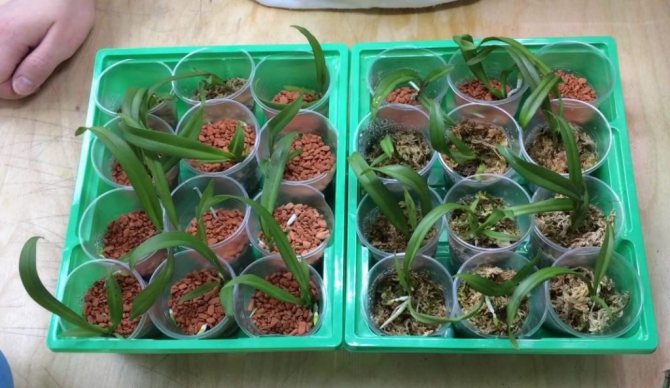
To begin with, drainage must be done in a plastic cup: pour a few small stones, and then pour them on top with a prepared substrate. Now you can remove seedlings from the nutrient medium with neat and smooth movements. The roots of the plant must be washed and can now be planted in the substrate.
Important! At first, the orchid does not need watering. Sometimes it is enough to spray the leaves and the ground so that it is moistened.
For 6 months, the orchid should be in a glass to strengthen its stem, after which it can be planted in its usual land.
What to propagate
Growing orchids from seeds is carried out in a special container - a glass flask. Planting seeds in plastic pots, vases, bowls and ceramic flowerpots is not worth it. Some flower growers use containers for chemical reagents with a volume of 200-300 ml.
If you do not have such dishes, you can use a regular half liter transparent jar.
To successfully germinate seedlings, you should use containers with absolute tightness. For flasks, special stoppers are used. If there are no plugs, you can make a tight cotton swab to seal the container. Make 2-3 holes in the lids of the cans and fill them tightly with cotton wool.
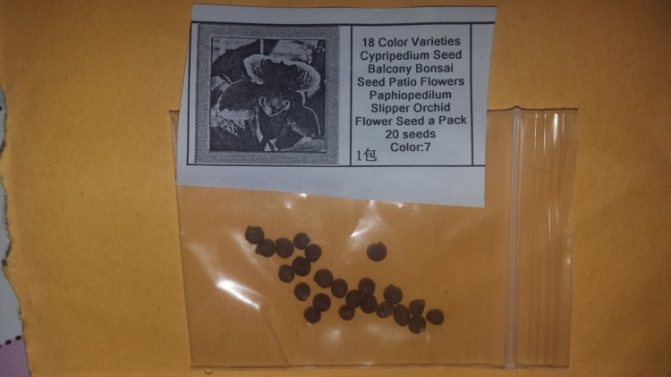
Features of Chinese seeds
Some Chinese sellers, instead of orchid seeds, send customers planting material of completely different plants, as well as lawn grass or just weeds.
After such a deception, many growers abandon the idea of growing an exotic flower on their own. But, since the planting material is quite cheap, you should not worry.If you are ready to achieve your desired goal, try placing your order several times.
From the video you will find out what can grow from Chinese orchid seeds:
Preliminary preparation
First you need to purchase seed, substrate and containers for germination and picking of seedlings, as well as think over where to place crops in order to provide them with the necessary conditions.
Typically, China is the main supplier of orchid seeds today. Seed material is ordered online.
Special flasks (sold in specialized stores) or glass jars with resealable lids are used as utensils for germination. As a substrate - agar-agar gel nutrient, Lewis Knudson nutrient medium.
Orchid seeds will not grow in soil or sand. Sphagnum moss is also suitable, but it is not always possible to achieve its sterility and a certain acidity.
The preparatory process consists of the following stages:
- Disinfect the containers for planting - boil, rinse with steam for an hour, or bake in the oven for half an hour at a temperature of + 130 ... + 150 ° С.
- Pour 10-15 g of agar-agar with water, leaving until it swells.
- Boil 200 ml of distilled water.
- Add agar-agar, 10 g of glucose, 10 g of fructose to it, without stopping stirring.
- Wait for dissolution.
- Add a solution of potassium carbonate or potash, orthophosphoric acid drop by drop until the acidity level is 4.8–5.2 pH (checked with litmus paper).
- Pour the hot solution into flasks. The substrate should fill one third of the container.
- Close the flasks with lids and place in a pressure cooker or a saucepan of water for half an hour.
- Check the containers and substrate for sterility, leaving them covered with cotton wool for 5 days.
- After this period, if no mold has formed, 10 minutes before planting, place the seed in a chlorine solution (10 g CaCl² / 100 ml water).
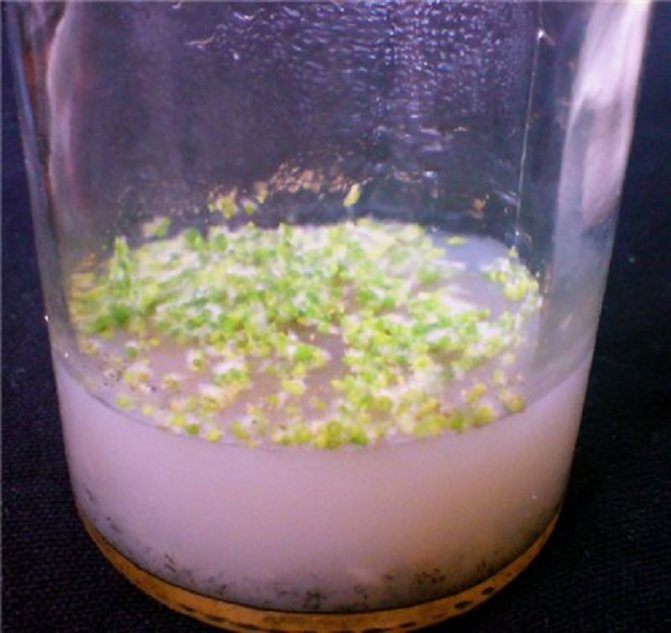
Important! Do not place seeds in moldy soil. It is necessary to re-prepare a new substrate, observing sterility.
Is it realistic to grow orchids by seed method at home?
Seed cultivation of Phalaenopsis is an extremely difficult but possible process. If you can get the real seeds of this plant (for example, from Chinese sites), then in theory you can grow a full-fledged plant from them.
However, for growing you will need special equipment, absolute sterility and constant temperature. Some people call it a laboratory, and in some ways they are right. At best, you will get a noticeable result in 4-5 years.
To grow an orchid from seeds, you will need:
- Indicator paper. This material is necessary to measure the acidity in the nutrient medium in which the orchid will grow. You can buy at any flower shop or, as a last resort, on the Internet.
- Seeding tanks. You need a minimum of 50 containers for each seed pod.
- Plastic container with a sealed lid. It is best if the container is transparent and allows sunlight to enter the incubator.
Important! Any deviation in temperature, humidity level or substrate quality will lead to the death of the plant. So take on such a difficult experiment only if you have been doing floriculture for several years. If you feel able to create all the necessary conditions for the seedlings for a long time.
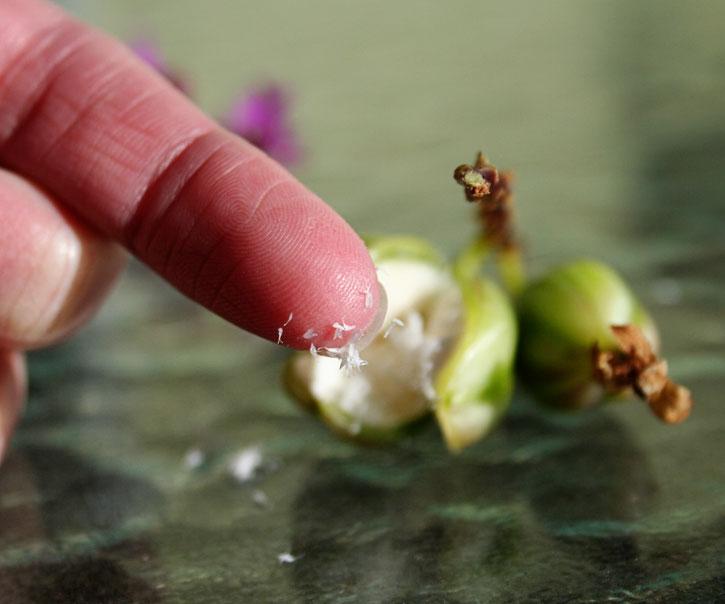
How do they look in the photo?
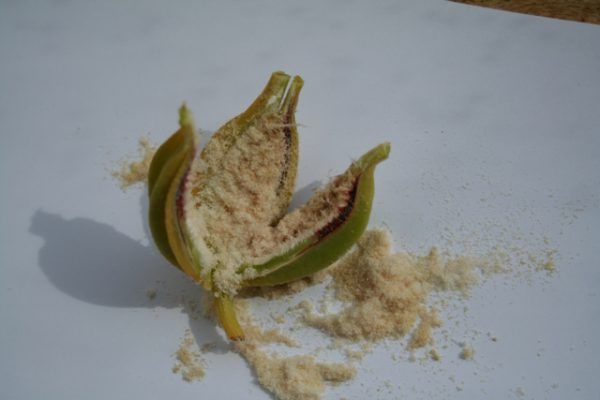
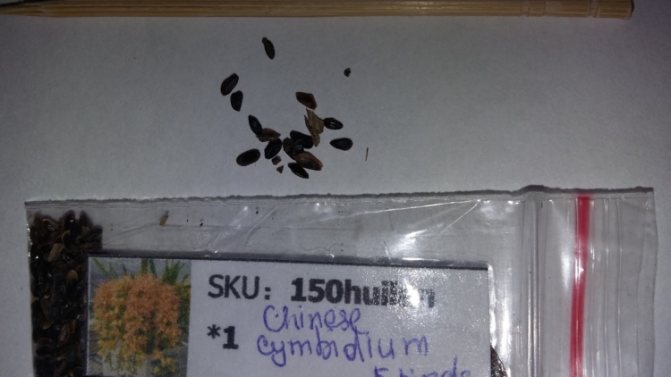
Orchid seeds are 15,000 times smaller than a grain of wheat, and outwardly resemble simple dust or even small wood chips. In addition, they have a very small supply of nutrients. These disadvantages are compensated by a large amount of planting material (one flower gives up to 3-5 million seeds), which allows the orchid to reproduce without problems.
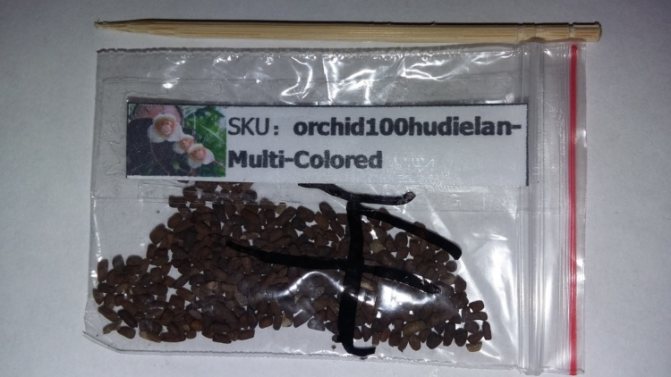
Below you can see how the Chinese seeds look in the photo:
How to check for authenticity?
After the order arrives, open the package and carefully examine its contents. Each seed should look like this:
- elongated, slightly widened in the middle;
- length - 0.35-3 mm, width - 0.08-0.3 mm;
- color from beige to light brown.
If in the received package you find planting material, the appearance of which does not correspond at all to the description given above, most likely you will not be able to grow an orchid from it.
Under natural conditions, the seed pods of an exotic flower open on their own at the moment when they fully ripen. Therefore, do not hope that you will be able to order a real, unopened seed pod.
Sowing care
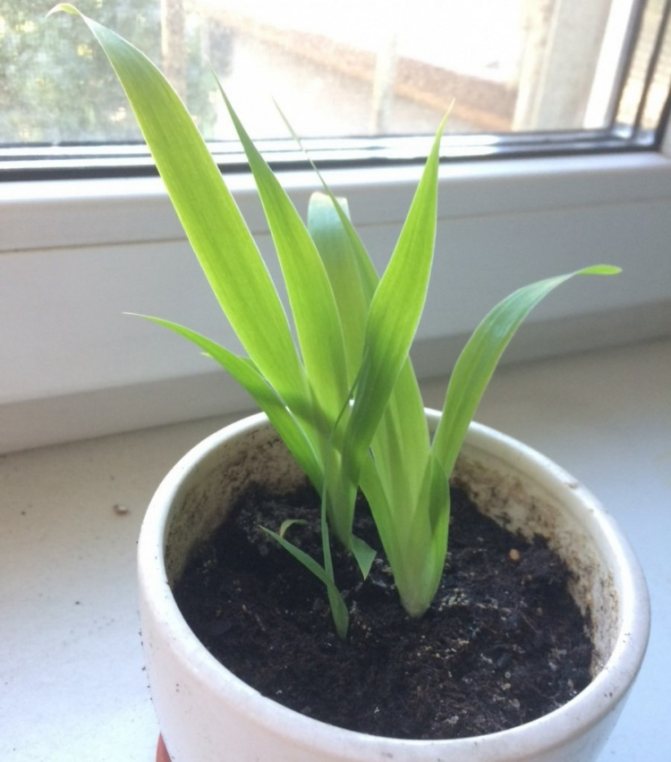
About a week after planting, the flower acquires green balls. After a few days, small hairs appear on it, from which leaves sprout. After the appearance of 2 to 5 true leaves, roots are formed. Sprouted seeds are transplanted into a pot no earlier than a year later, when the plant has already grown.
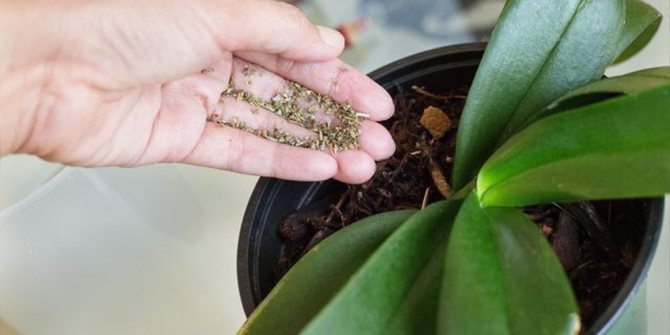
For growing orchids, after planting them in a permanent place, a moss substrate, a substrate from pine bark or fern rhizomes is suitable. In this case, the soil is made small and dense.
Before planting the shoots, the soil is poured with boiling water for 30 minutes.
The scions are removed from the jar carefully using forceps. Then they are thoroughly washed in running water to remove all remaining mixture from the plant. Then it should be carefully planted. Once the flowers are planted, optimal lighting and humidity are created for them.
For growing in a permanent place, use a soil of fine and dense consistency.