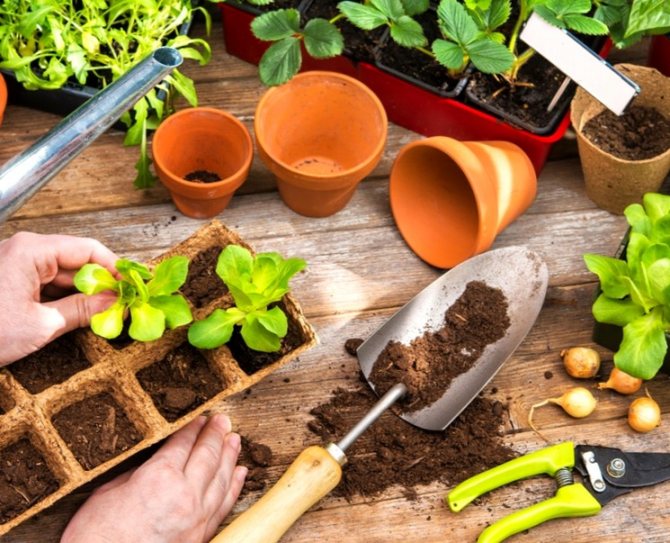
Of course, you need to decide when to plant seeds of vegetables and flowers in the middle of winter. First, time is fleeting, but there are many worries. Secondly, everything must be prepared in a planned manner without panic. Buy your preferred seeds from the very best varieties of tomato, leek, bell peppers and flower crops. Purchase or prepare planting soil for seedlings of vegetables and flowers. Take care of the correct landing container.
It is also important to prepare a place for germinating seeds and further care for developing seedlings, which would correspond to the light and heat conditions of this troublesome household chore. Considering that vegetable seedlings grow intensively on a fertile substrate, you should take care not only of the sunny side of placing containers with seedlings, but also of additional lighting with a phytolamp.
If you are an experienced gardener and you have home-grown vegetable and flower seeds that have been tested over the years, it will still be useful for you to update your agrotechnical knowledge about the new best varieties of tomatoes, peppers, leeks so that this will give you the opportunity to expand their range on your site and enjoy their new flavoring advantages.
- When to sow vegetable seeds for seedlings Seedlings eggplant
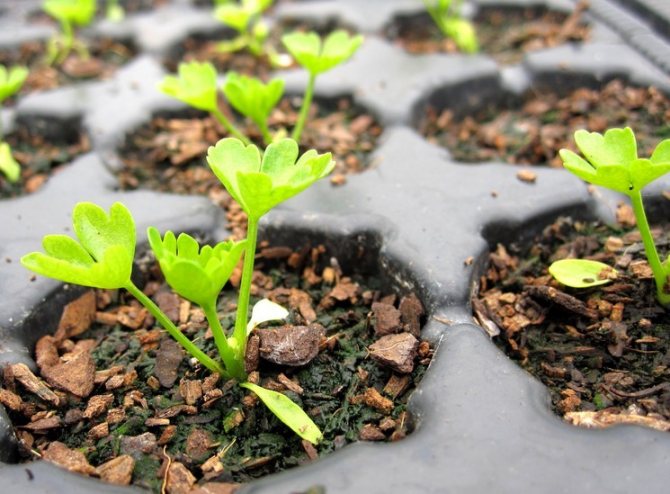
- Celery seedlings
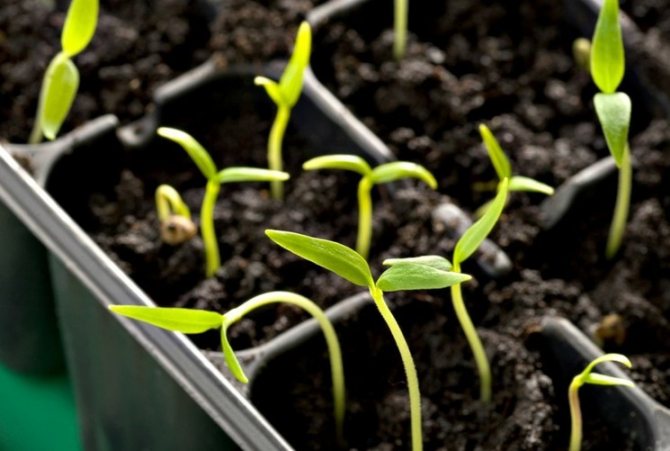
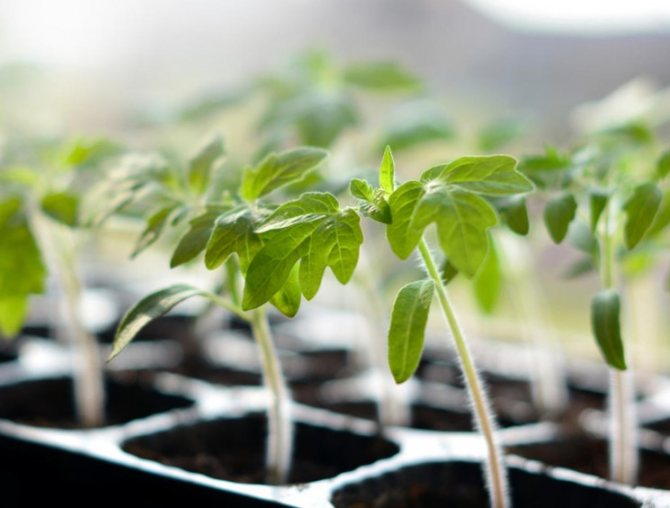
- Seedlings of tomatoes
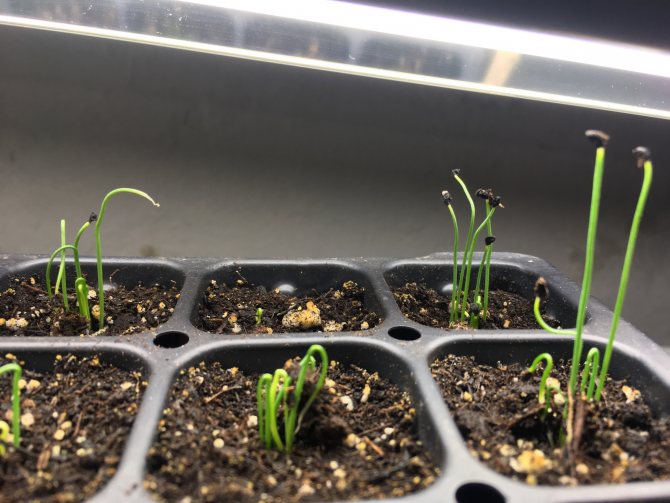
- Leek seedlings
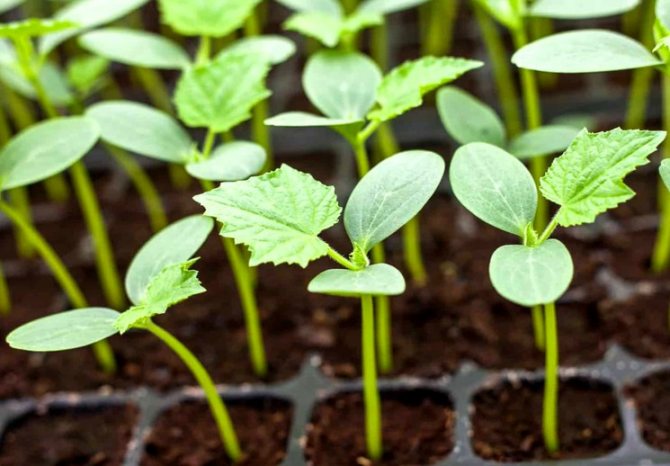
- Seedlings of cucumbers
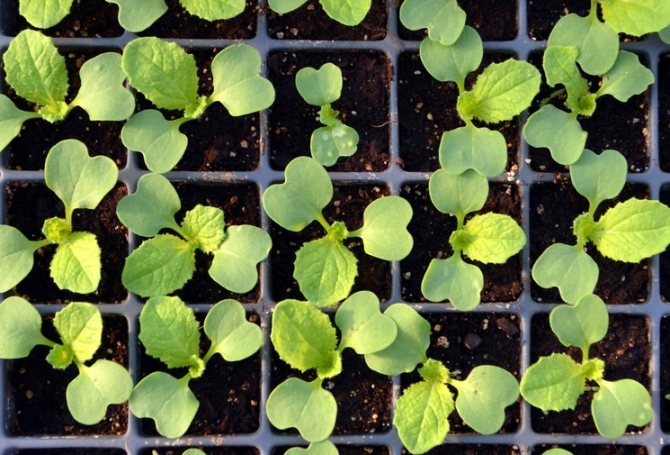
- Seedling cabbage
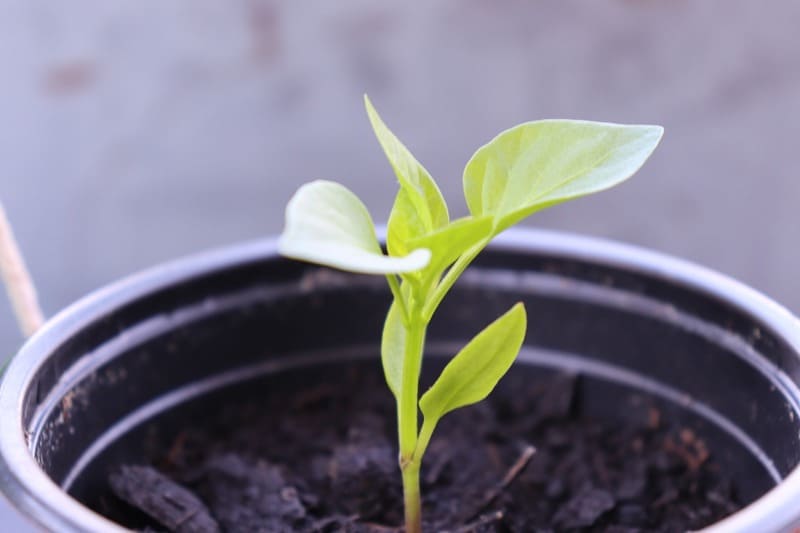
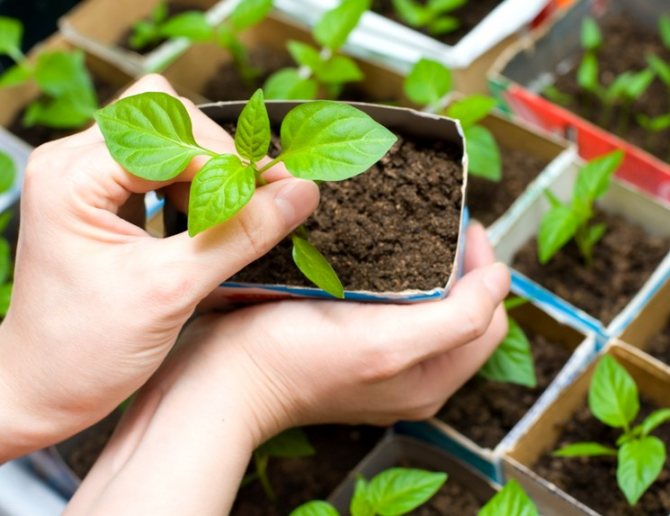
- Seedling peppers
- Petunia
Growing seedlings of vegetables in winter and early spring, of course, is necessary in rooms where the room temperature is uniformly maintained in the daytime and not lower than +17 C at night. Most often, such a place is light window sills, glazed heated balconies or loggias. In some cases, with a wide scope of home vegetable growing - in heated greenhouses.
The practice of experienced gardeners shows that it is early to sow seeds of heat-loving vegetables with a long growing season in the third decade of February at home or in greenhouse conditions. Crops include leeks, root celery, eggplant, bell peppers, and tomatoes.
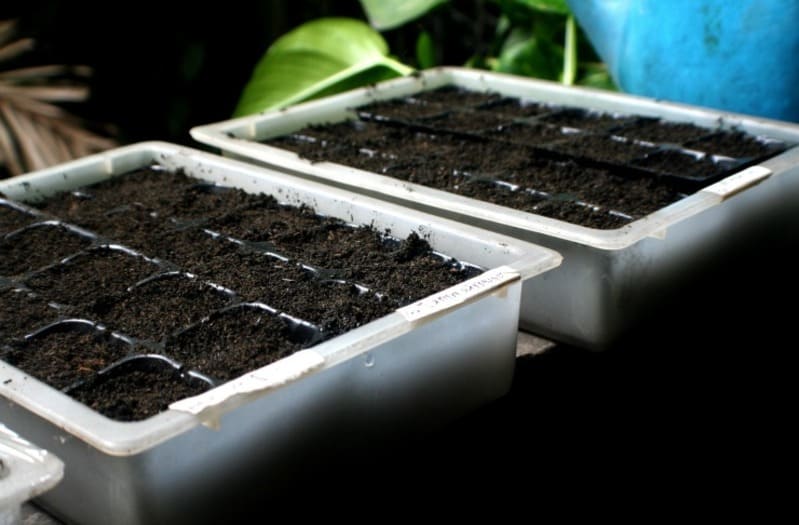
Sowing on toilet paper
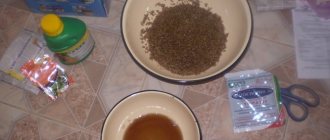
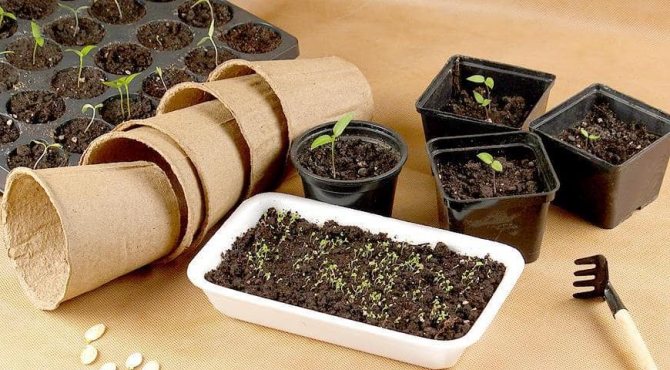
For sowing, prepare in advance:
- Container no more than 5 cm deep,
- White toilet paper or tissue paper
- Priming,
- Fine spray with chlorine-free water,
- Seeds.
How to sow?
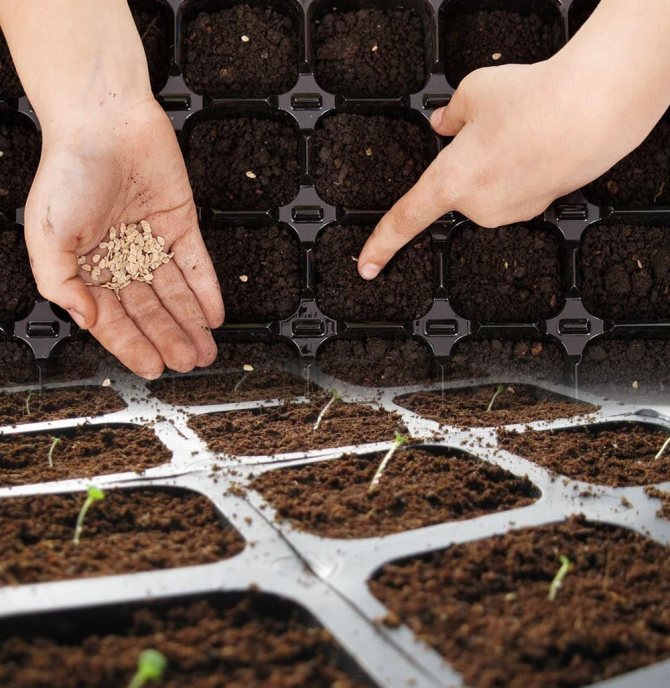
- Pour the prepared soil 5 cm thick into the container, tamp it tightly with the back of the spoon or just with your fingers. Thus, we create a dense and even surface. This is necessary for shallow sowing of seeds, so that when irrigated with water, they do not fall deeper into the ground.
- Cut out a piece of toilet paper or thin napkin equal to the area of the soil in the container. The paper must be white, so scattered seeds will be visible on it.
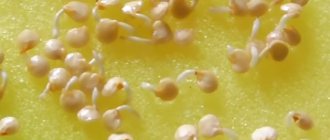
- Pour the seeds from the bag onto a sheet of white paper, bend it slightly in half and carefully and evenly scatter the seeds over the surface of the white paper. On a white background, the seeds will be clearly visible. If the seeds are scattered in a bunch, then with dry fingers on a dry surface, you can touch them up, evenly distributing them on paper.
- Then we moisten the seeds sown on paper from a distance of 20 cm from a fine spray. When irrigating with water, use water with Fitosporin.
- We cover the container with a lid or foil, put it in a warm place. When shoots appear, remove the cover or film.
How to choose the right soil
The next important point is the choice of a suitable soil. The soil for growing pepper seedlings should be light, nutritious and loose.
ON A NOTE. This is a general soil requirement for any seedling.
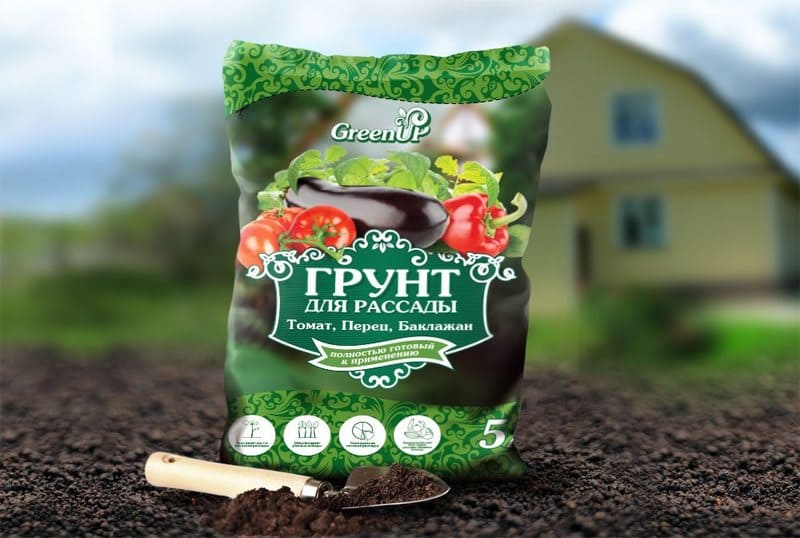
For sowing, you can use the most common universal soil. It is sold in all hardware and flower shops, and sometimes it is even delivered to regular supermarkets. This soil meets all the requirements and is completely suitable for seedlings.
Some summer residents purchase specialized soil for peppers, tomatoes and eggplants. In fact, it is not much different from the universal one. Sometimes there are slightly adjusted proportions of different components. But this is not critical at all.
The most experienced gardeners, who grow seedlings not only for themselves, but also for sale, prepare the substrate on their own.
The proportions are as follows:
- 2 parts of humus;
- 1 part river sand;
- 2 parts of peat.
All components can be bought at the store or prepared by yourself. The substrate is thoroughly mixed and sieved. Then disinfection is carried out using a solution of potassium permanganate or calcining in the oven.
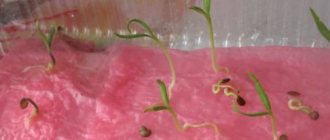
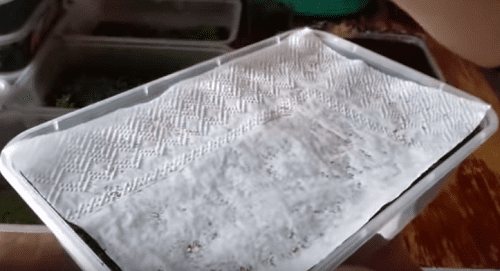
Sowing seeds in the snow
Pour nutrient soil 5 cm thick into the container, cover it with a 2 cm layer of snow. The snow will gradually melt and feed the seeds with moisture. In addition, the seeds sown in this way undergo mini-stratification.
Pour the seeds onto a sheet of paper and carefully scatter them over the surface of the snow. This method is good because the seeds are clearly visible on the surface of the white snow, so it is easier to spread them evenly. A similar method can be changed by sowing small seeds on wet soil with a toothpick, and already putting a layer of snow on top.

How to choose pepper varieties for growing in the Middle Lane?
1. Choose varieties of early maturity: an average of 80 to 100 days from germination to fruiting. These are, for example, such varieties as Nathania, Morozko, California Miracle Golden, Health, Winnie the Pooh, Yolo Miracle, Jupiter, etc. ___________________________________________________
Description and characteristics of early ripening peppers can be found in this article ___________________________________________________
2. As a rule, for open ground varieties are taken undersized, compact.
3. Give preference to modern varieties and hybrids. They have complex disease and pest resistance.
Sowing seeds in snails (roll-up)
For this sowing option, you will need spare parts packages. Why are they, and not plastic? Spare parts packages are two-layer and dense, keep their shape well and can be used repeatedly. In addition to the bags, you will need soil, seeds, disposable 100-gram cups and a spray bottle with water.
How to sow?
- Spread the bag out on the table and sprinkle 2 tbsp on top of it. l. soil, which is slightly moistened from a sprayer with a weakly diluted chlorella suspension;
- We tightly roll the package with soil into a roll (roll), sign. Rolled up, put in a disposable cup. Sprinkle more earth on top of the snail so that its layer is even with the edge of the bag, tamp it slightly with your finger, otherwise the soil will still settle during watering. After adding earth, we wet the surface again with a solution of chlorella;
- On the surface of the earth, carefully lay out the seeds with a toothpick soaked in water or in the same solution of chlorella;
- This is done until other small seeds are sown. We sign each roll. You can again sprinkle the soil on top with any growth stimulant;
- Cover the glass with a film on top and put it in a warm, bright place at a temperature of + 25-30 ° C.
A few days after sowing, cover the film and check if the earth is dry.If necessary, moisten the crops with a sprayer - the soil should not dry out.
What to do after planting: caring for cellosi seedlings
Seedling care and proper cultivation techniques are the key to healthy, strong, viable seedlings. It is necessary to care for seedlings of cellosis according to the following rules:
- Immediately after planting and watering, you needo cover the container with foil, glass or a lid to create optimal greenhouse conditions. In the future, do not forget to remove the shelter for 30 minutes every day to airing and removing condensation from the lid. When the seeds germinate, the lid, glass or film must be removed permanently.
- After the emergence of seedlings, you need fragile seedlings for a week protect from direct sunlight, but at the same time the plants should be properly lit! Subsequently, a full-fledged lighting about 12-15 hours, it is recommended to supplement the illumination of plants with phytolamps in the morning, evening and afternoon in gloomy weather.
- Before seed germination temperature should be 22-25 degrees Celsius. After emergence, the temperature should be reduced to + 17-20 ° C.

- There should be good ventilation in the room where the seedlings grow, but there should be no cool drafts!
- Watering should be regular, but very moderate! The earth should not dry out or be flooded with water! The fact is that the seedlings of celosia subject to decay of the root systemwhich can be caused by excess moisture. Therefore, water very sparingly. Watering is desirable in the early morning!
- Also seedlings of celosia also prone to blackleg, which is a dangerous fungal disease. You cannot cure it, you can only save the rest of the healthy plants. Because of the black leg, the base of the stem of the seedling softens, rots, the seedlings die and die. Pathogens are activated due to low temperature, high humidity of the soil and air. Therefore, it is impossible to overmoisten the substrate when watering! And also you should maintain an optimal temperature regime. If you notice signs of a disease, you need to immediately remove the affected seedling and sprinkle the area with wood ash. And you also need to adjust the care regimen. Subsequently, after each watering, you can sprinkle the surface of the earth with dry sand. Watering the seedlings with a solution of a biological fungicide, for example, Fitosporin, Gamair, will also not hurt.
- Celosia seedlings respond favorably to feeding. The first time you can feed it 10 days after the pick (or if you grow seedlings without picking, then 10 after the appearance of 2 real leaves). The second feeding is done 7-10 days before planting seedlings in open ground. You should use a complex fertilizer for seedlings, for example, Aquarin, Fertika Lux, Krepysh, Zdraven Aqua. Alternatively, you can use Nitroammofoska (1 tablespoon per 10 liters of water).
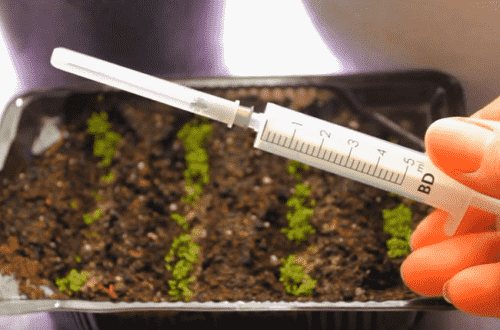
Sowing seeds with a syringe
This method has several advantages, including
- the possibility of watering row spacings,
- when pulling seedlings, you can sprinkle them with earth,
- seedlings are well lit and ventilated.
Seed preparation
The seeds are pre-soaked overnight in a small (50 ml) amount of hot water, the temperature of which is 70-80 ° C. Hot water will stimulate seeds for friendly and fast germination, as well as disinfect them. Any growth stimulant is added to the water, but only after the water in the cup has cooled.
Syringe preparation
For sowing, an ordinary medical syringe with a capacity of 5-10 ml is used. First, remove the cap with the needle from the syringe, we do not need the needle. You only need a cap, it will act as a spout.
To do this, cut off the closed end of the cap at an angle of 45º, and cut off the thickening at the other end. The cap prepared in this way is easily put on the syringe cannula.
Soil preparation
We fill the container with disinfected soil, dilute it with vermiculite, perlite, coconut substrate so that the soil turns out to be loose and nutritious.Before sowing the seeds, we compact the soil with a spoon, and then make grooves at a distance of 3-4 cm from each other.
Sowing seeds
With a syringe, we collect the seeds along with water from the cup in which they were soaked. And then we carefully release the water along with the seeds into the grooves. The result is simultaneous sowing and watering. If, after sowing, the soil was not sufficiently wet, spray it again with water from a spray bottle.
After that, the container is closed with a lid or foil and placed under a phytolamp or on a warm window sill (+ 23-28 ° C). After a couple of days, check the crops, if the surface layer is dry, spray the crops with a spray bottle.
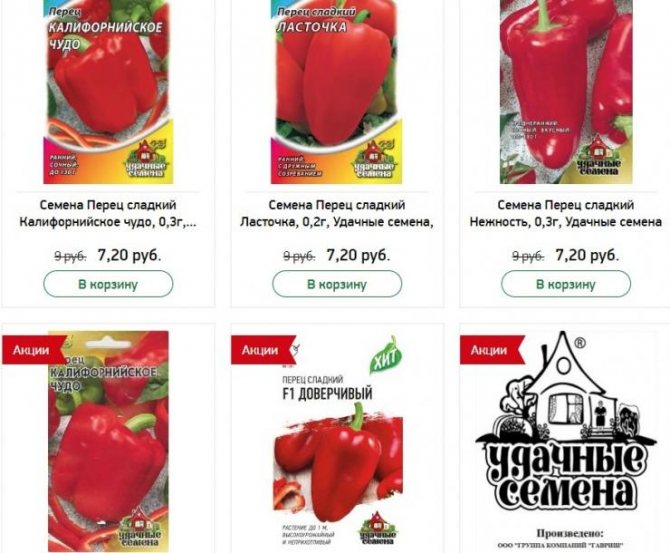
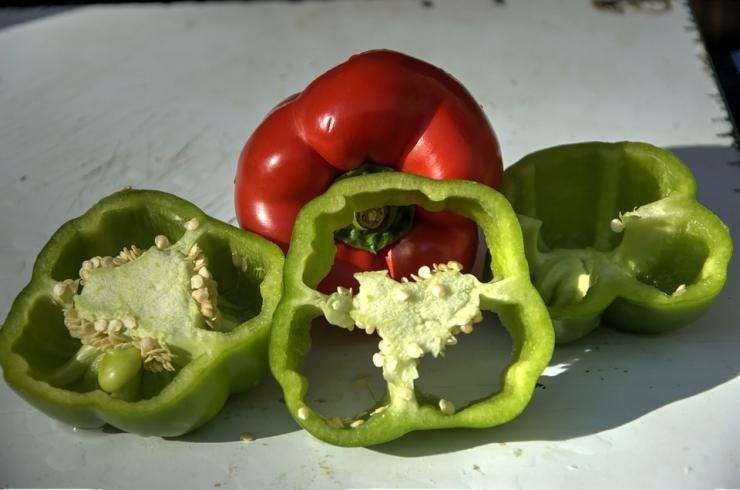
Can I take seeds from purchased peppers?
If you see bright, juicy, fleshy thick-walled peppers in the store, novice gardeners want to take seeds from them in order to get the same wonderful harvest.
Such seeds can be taken, properly prepared and sown. They will even sprout and give a harvest, but the fruits will be far from those beautiful peppers that flaunted on the shelves.
A similar situation can happen with seeds from your own garden. If you bought a bag of seeds from which fruitful and tasty peppers grew, but you cannot get the same harvest from your seeds. The fruits grow small, sometimes ugly, not so tasty and fruitful.
This story is just for those who have not yet figured out what is the difference between varieties and hybrids. The store most likely sells the fruits of hybrids - most likely, they were bred for the purpose of long storage, easy transportation, keeping keeping quality and presentable appearance.
If you buy a bag of seeds, pay attention to the F1 designation. This means that you have a hybrid of the first generation in your hands, and in the second generation (i.e. when you yourself collect and sow seeds from these fruits) the signs do not repeat.
You can only collect your seeds from varieties. Hybrids do not repeat their properties during seed propagation, and each time you need to purchase seeds from the producer again.
Sowing through a stencil
The essence of the method consists in sowing seeds through a stencil, on which small holes are made at the same distance from each other. Therefore, first, a stencil is made of plastic. You can, of course, use other materials, such as cardboard. But a plastic stencil can serve you for more than one year. The holes are made with a hot nail or screwdriver. The diameter of the holes is no more than 5 mm, the distance between them is 1-2 cm. The area of the stencil should be equal to the area of the container so that it fits easily on the surface of the ground.
Drainage holes are also made at the bottom of the container, and then they are filled with soil. Perlite or vermiculite is added to the soil to make it loose and light. We compact the earth with a spoon or palm so that the seeds do not go deeper into the soil when watering. We moisten the soil with settled water at room temperature, add any growth stimulator to the water.
How to sow?
- We put a stencil on the surface of the soil, slightly press it to the ground.
- We sow seeds into cells. To do this, pour the seeds onto a sheet of paper and very carefully pour the seeds into the holes in small portions. If they hit the stencil, then with dry hands we drive them into the cells.
- We carefully remove the stencil.
- Once again, from a distance from a distance of no closer than 20 cm, we moisten the soil from a spray bottle. We close the container with foil and put it in a warm, bright place.
When to plant seedlings for seedlings: optimal timing
If you love bright and unusual flower crops, then you should definitely plant the seedlings on seedlings in order to plant them in a permanent place in the garden at the end of spring. But when is it better to plant seedlings on seedlings, in what month? The procedure is better late March or early April... However, when choosing the time for the procedure, do not forget that in different regions, due to different climatic conditions, the timing may differ:
- In the Central lane (including the Moscow region) - you can plant seeds at the end of March.
- In Siberia, in the Urals, in the Leningrad region - it is better to sow in early April.
- In the south, it can be sown without any problems in mid-March.
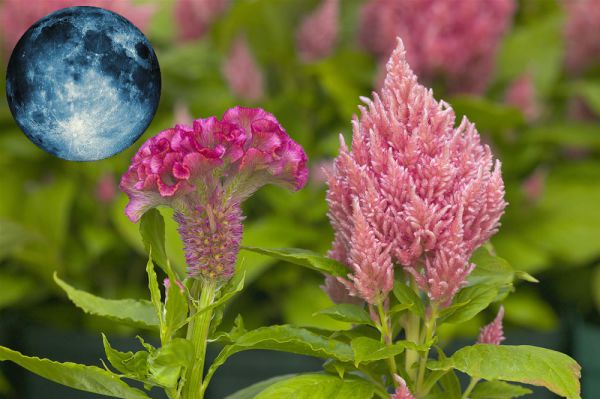
By the way, when choosing the timing for sowing cellosis for seedlings, you can focus on Lunar calendar 2020:
- Favorable days for the procedure: in February -1-8, 10-20, 25-29;
- in March - 2-8, 10-14, 29-31;
- in April - 1, 2, 5-7, 9, 18-20, 24, 25;
- in May - 2-4, 8, 9, 11, 12, 16-19.
- in February - 9, 21-23;
Sowing seeds on a hydrogel
This seed sowing option also has many advantages.
- You can observe the germination of seeds;
- The disease of seedlings with a black leg is excluded;
- Seedlings are irrigated much less frequently.
Small seeds are usually sown on the surface of the soil, so they germinate better. However, they need to create such conditions so that they are constantly wet, since any drying out of the soil surface together with the seeds sown on them delays their germination. A hydrogel is used here, it is designed to retain moisture.
At the first stage, adding hydrogel to the soil ensures constant surface moisture and protection of plants from the black leg. But later, when the seeds have already sprouted, and the roots reach the soil layer, the seedlings receive all the necessary nutrients for normal growth.
How to sow seeds on a hydrogel?
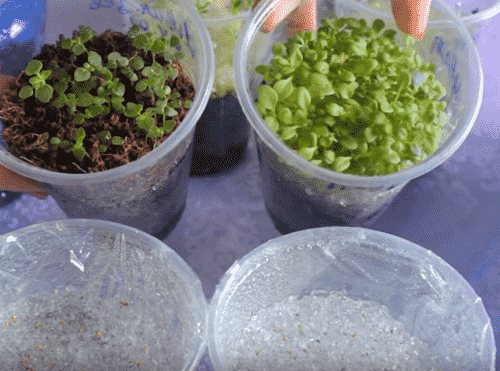
- In a 100 gram disposable cup, drain holes are made at the bottom;
- The soil is poured into the glass for 2/3 of its volume;
- The soil is moistened with water from a spray bottle;
- The hydrogel is laid out on top of the ground over the entire surface with a layer of 1 cm;
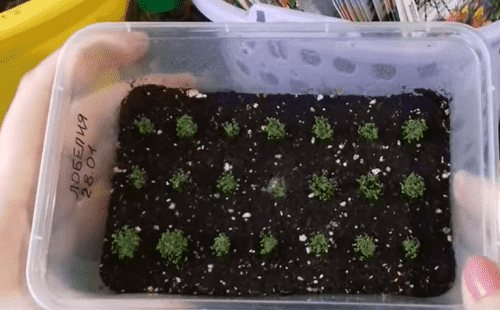
- The cups are signed with a marker (what is planted and when);
- Seeds are spread evenly on the surface of the hydrogel;
- Wet the seeds again with water from a spray bottle;
- We close the cups with a film on top and put them in a warm place, as soon as shoots appear, we transfer the cups to the light.
When the seedlings get a little stronger, the seedlings are sprinkled with some landless substance: vermiculite, coconut extract, river sand. This will continue to protect the seedlings from the black leg. You can also add earth if it is of good quality and disinfected.
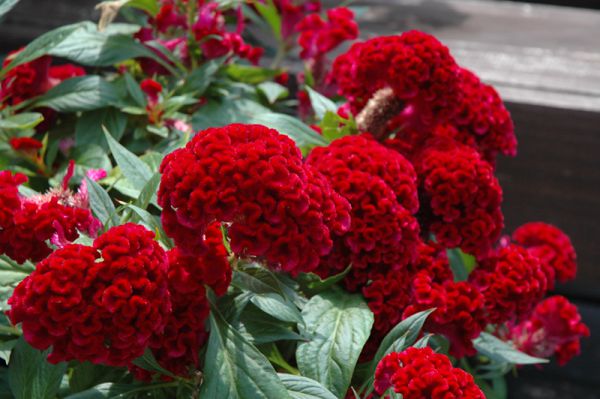
Brief information about cellosis
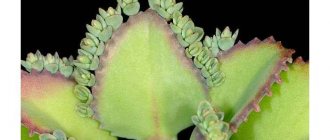
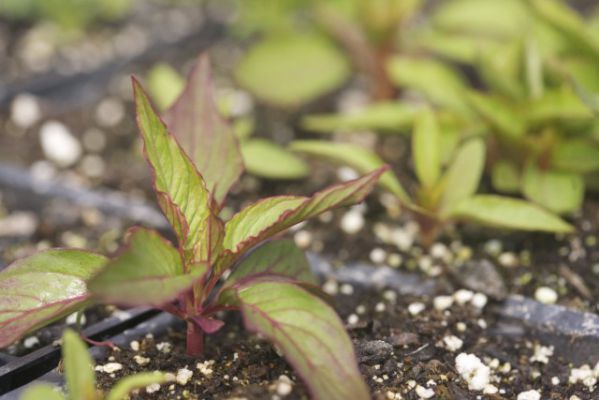
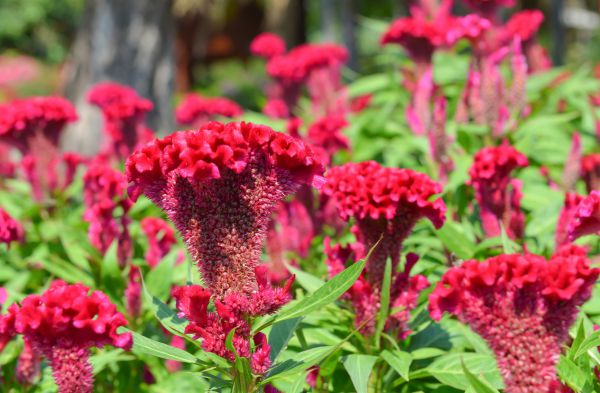
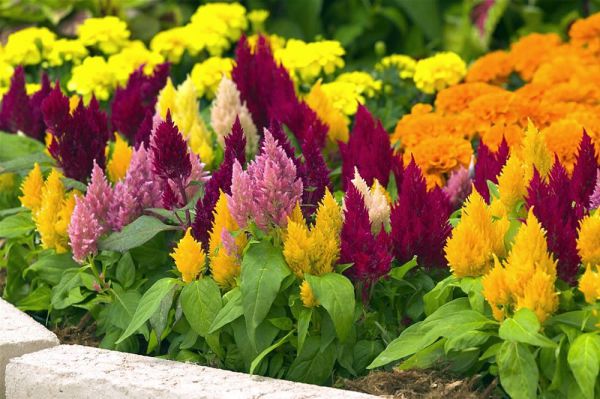
Celosia is one of the most exquisite and unusual garden flowers. It can be an annual and perennial plant, but in our country it is more often grown as annual.
Velvet inflorescences are amazingly beautiful, they can have a red, purple, pink, yellow, orange tint. Spectacular and beautiful cellosis can bloom all summer long! Blossoming dates of cellosis: from mid or late June to late September.
A representative of the Amaranth family can have different heights, therefore, there are:
- dwarf varieties - a height of about 30 centimeters;
- medium-sized - about 50 cm high;
- tall - more than 50 cm, can reach up to 1-1.3 m.
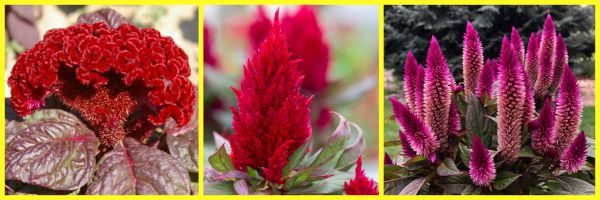
The following plant species are distinguished:
- Celosia silvery comb (or Cockscomb).
- Celosia is silvery pinnate.
- Celosia spikelet (or Hutton's celosia).
That is, inflorescences can have different shapes depending on the type: comb (pictured on the left), feathery (center) and spikelet (in the picture on the right). By the way, the comb and feathery species are grown in our country much more often than the spikelet.
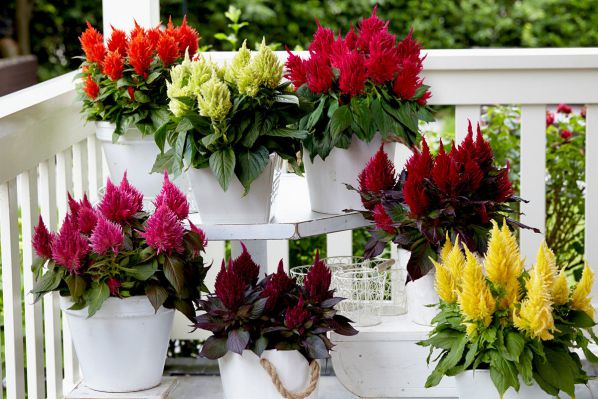
Amazing plant ideal for:
- growing in the garden in flowerpots and tubs;

- discount;
- creating flower beds;
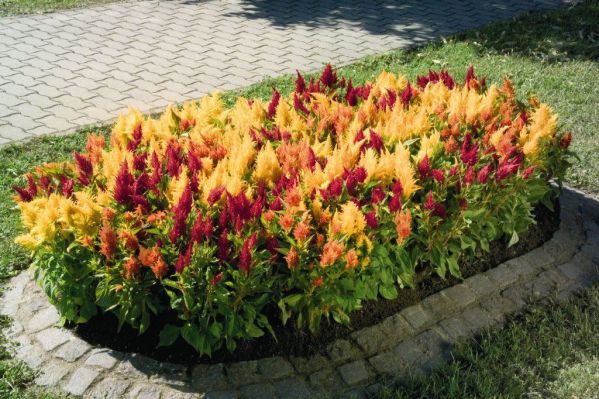
- borders;
- decoration of balconies and loggias.
For growing plants outdoors, you need to choose the best place. It should be warm, well-lit, sunny, and sheltered from the wind.The soil is loose, slightly acidic, well-drained, nutritious. In general, it is not difficult to grow an amazing plant with seedlings, but in the open field it is unpretentious and requires moderate care.
Sowing seeds evenly with a toothpick
We prepare the container and soil as described in other options. We well spill the earth in the container to the bottom with water from a sprinkler.
Pry 1-2 seeds with a toothpick soaked in water directly from the opened bag and transfer it to the ground. In the place where the seed was sown, we stick a toothpick. She will say that a seed has already been planted in this place. We repeat these actions until we completely sow the entire container with seeds.
Cover the container with crops with foil and put it in a warm place in the light. As soon as shoots appear, carefully remove the toothpicks without damaging the root system of the seedlings. Then we sprinkle the seedlings with earth and again irrigate them with water from the sprinkler.
Coconut substrate for pepper seedlings
If you do not harvest your own seedling soil from year to year, which has been tested by time and enviable yields, the question of buying arises.
Instead of store-bought soil (which may be of questionable quality), try sowing peppers in coconut substrate. Its quality is less dependent on the manufacturer, there is less counterfeit and guaranteed absence of pathogens.
Coconut suspension is sold in braces (bricks). It looks very hard, so it needs to be properly soaked before use. They put it in a bucket and fill it with water.
From one briquette, 7 liters of moisture-absorbing, loose, light, sterile soil is obtained. No other substances need to be added.
In such a breathable substrate, the roots of young seedlings develop very well, they do not get tangled, which means they are not injured when diving.
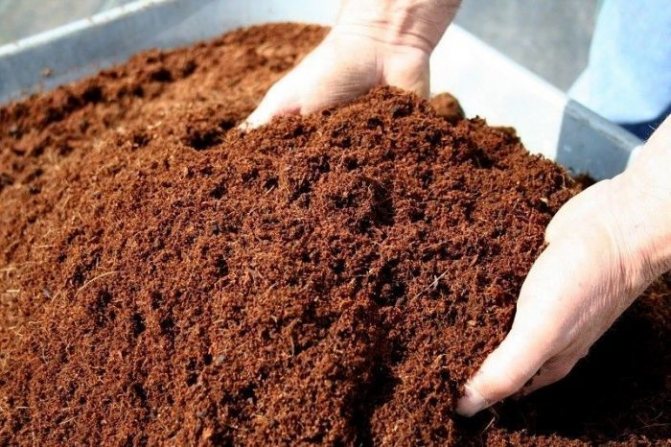
Photo: soaked coconut substrate for growing seedlings
Frequent mistakes
A list of the 5 most common mistakes when growing pepper seedlings:
- The seeds are too deeply buried.
- Presowing preparation is not carried out or outdated planting material is sown.
- Failure to comply with growing conditions (temperature, lighting).
- Incorrectly selected variety for the climatic zone.
- Seedlings are not hardened before transplanting.