During the preparatory work before planting seedlings, it is quite often necessary to grow seedlings. In addition to the selection of seed, containers and soil should be prepared. This is where the problems begin.
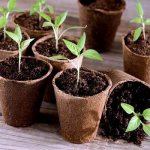
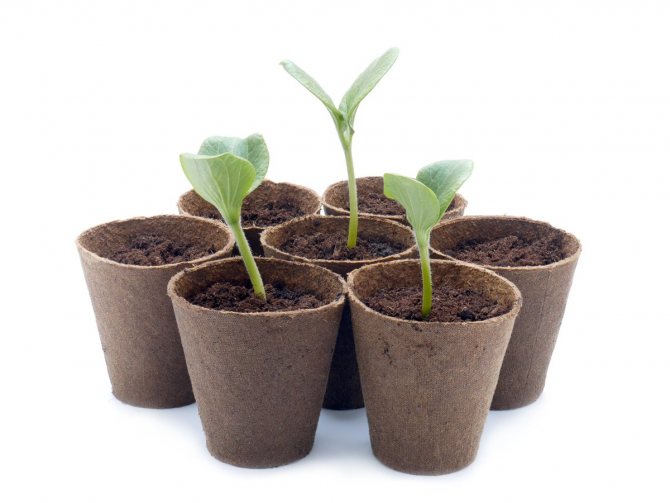
Questions arise about the composition of the soil. The best size and material for the container. The most rational solution for beginners and experienced gardeners is peat seedling pots.
They are ideal for all cultivated plants without exception, as they are made of natural material.
Which is better, a pot or seedling box
There are two main options for growing seedlings at home:
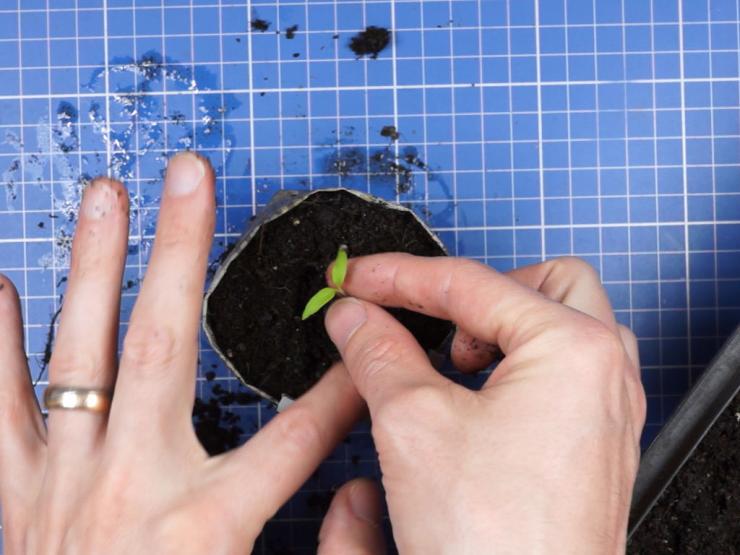
- Pots... This method allows you to do without picking seedlings of flowers and vegetables - during transplanting, move the earthen lump from the pot directly to the ground. Thanks to this, the likelihood of damage to fragile roots is reduced to zero, so there is more chance that the plant will take root. It will not be possible to place a large amount of containers on a windowsill or other suitable surface.
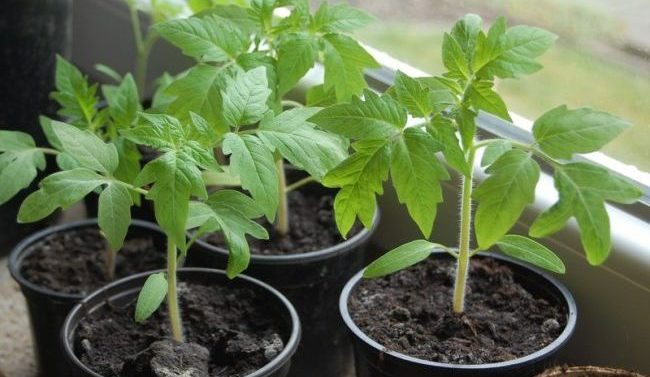
Potted tomatoes
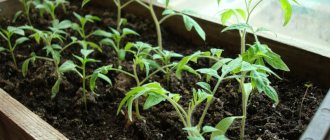
- Boxes... The main advantages are space saving, ease of plant care. The box can be matched to the size of a plastic or wood window sill, bought or made at home. It is advisable to plant the grown seedlings in a separate glass. During transplantation, young roots are injured from the box, therefore, the chances of successful rooting of the plant are reduced.
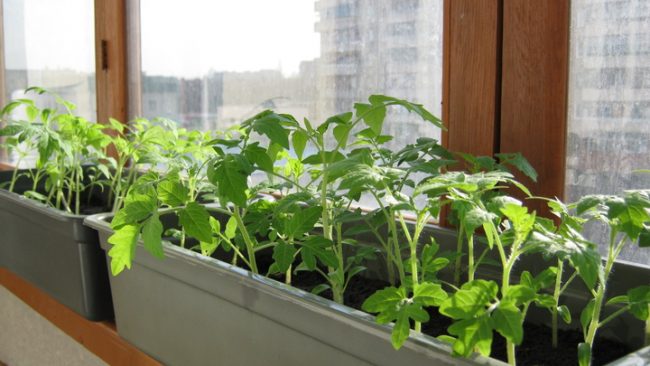

Seedlings in a container
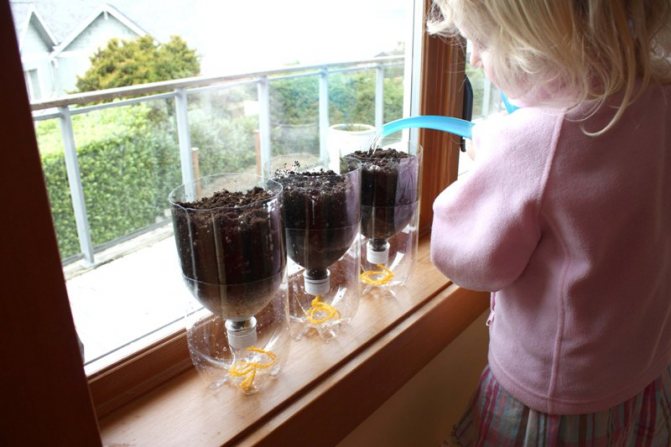
Cups from metal and plastic jars
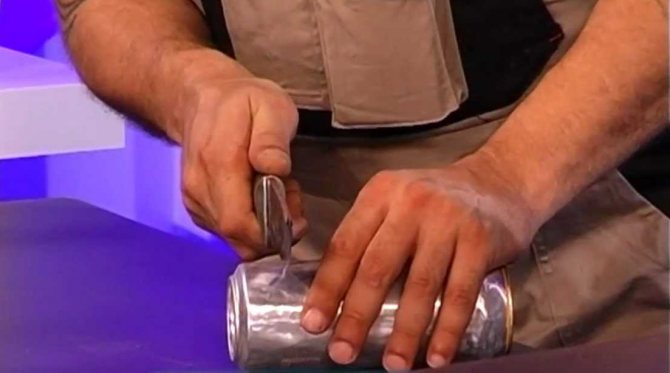
The classic version is a container made of metal cans from canned food. Several holes should be drilled in the bottom (best from the inside), and in order to make it easier to remove the seedlings from the container, several cuts are made on its walls. If the cups are supposed to be used more than once, it is better not to cut them, but just put a strip of thick paper or polyethylene on the bottom - in order to get an earthen ball and not damage the roots, you just need to pull it. Likewise, you can use top-cut cans, plastic bottles and toilet paper rolls.
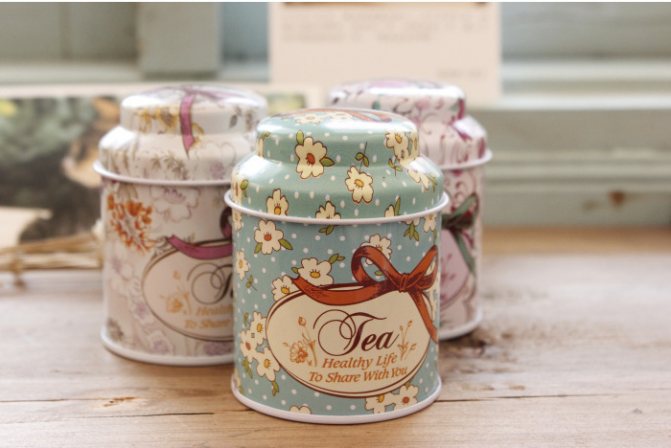

Tin cans are suitable for growing seedlings
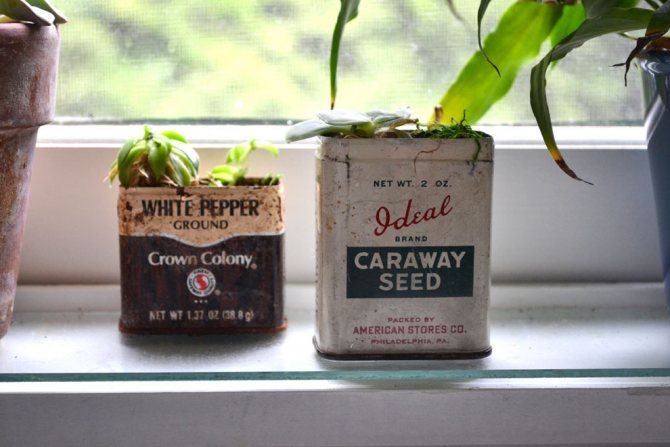

Old jars for planting plants
Plastic cups from under yogurt can serve as containers for seedlings of vegetables and flowers. First you need to cut out the bottom of the can, and instead put a circle of tin or cardboard that is suitable for the size.
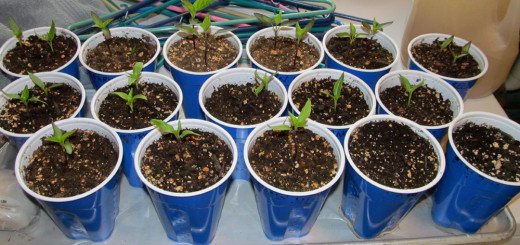

Pepper seedlings in plastic cups
When the shoots need to be planted, it will be enough to press on the improvised bottom with a stick. It is important to note that transparent disposable cups are the worst for seedlings, since the roots in such containers do not receive enough light and shoot growth slows down.
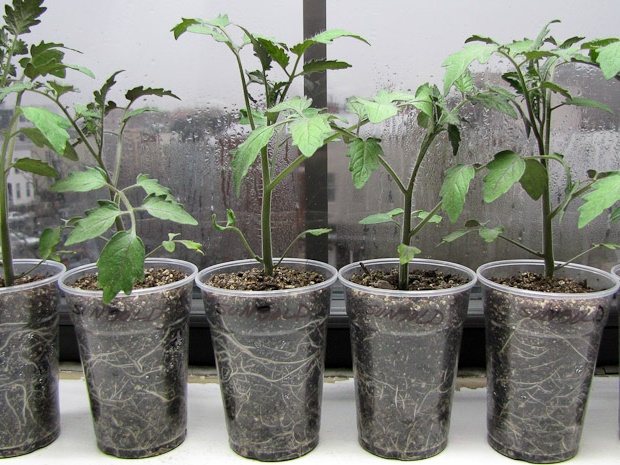

Seedlings in plastic cups
DIY seedling cups
When making seedling containers and cassettes with their own hands, they use:
- food waste - eggshells, citrus peels, tea bags, coffee filters;
- unnecessary plastic, tin, cardboard, foil containers;
- other materials at hand - cardboard, cellophane, napkins, plain or toilet paper and sleeves from it, etc.
This will not only save and protect plants from low-quality chemical materials, but also significantly reduce the amount of waste discarded. Another plus is that many materials quickly decompose in the ground, so you can transplant plants into the soil directly from the "cup".
The disadvantages of homemade containers include:
- Inconvenience of installation... For example, cellophane bags must be additionally folded into a box or pallet.
- Fragility... Paper cups will quickly become soaked, lose their shape, and citrus containers can rot.
Containers from plastic or metal jars
Unnecessary plastic or tin cans from canned food, quick meals, coffee, tea are suitable as a pot for a plant. Instructions for creating:
- Cut some drainage holes at the bottom of the can.
- Sow 1-3 seeds into each cup, depending on its volume.
- For easy extraction of the bush with the ground, make 2-3 cuts on the sides.
Such a pot for flowers and vegetables is characterized by durability, therefore, it is suitable for reusable use. Likewise, use cans of energy drinks or beer if the top is cut off.
Seedling pots are made from yogurt cups. At the bottom of the container, you need to cut a hole on which to put a cardboard circle. If you do not cut the yogurt seam, you get a seedling cassette. When transplanting, press on the hole, and the earthen lump with roots will be easily and without damage removed.
Citrus peel
In the manufacture of natural seedling pots, peel from any citrus fruit is used. Step-by-step instruction:
- Cut the fruit in half and remove the pulp.
- Make a drainage cut at the bottom of each half.
- Fill with planting mixture and sow 1-2 flower or vegetable seeds.
- When the seedlings are older, plant them in open ground right with the pot.
Peat seedling pots
At home, you can make peat or peat-distilled cups and cassettes, which will be much more effective than industrial counterparts. Manufacturing instruction:
- Prepare a nutrient mixture to form containers: 45-50% peat, 35-40% mullein, 10-15% black soil.
- Mix the mass well, pour in water, phosphorobacterin and azotobacterin. The mixture should be thick.
- The formation of a peat cup is made with a special device, but at home use available materials - metal or silicone round, even muffins for muffins, glasses.
- Tamp the prepared peat mass into the mold in a thin layer, leave a small hole at the bottom, when the glass dries up - this will be a drainage hole.
- If you fill an ice mold or a solid muffin mold with the compounds with peat mass, you will get a seedling cassette.
The difficulty arises when removing a dried product from a metal mold - it can burst or crumble (with silicone, such problems do not arise). If you make the wrong peat mix, the pots (especially cassettes) may not be strong enough or not soaked well in the ground.
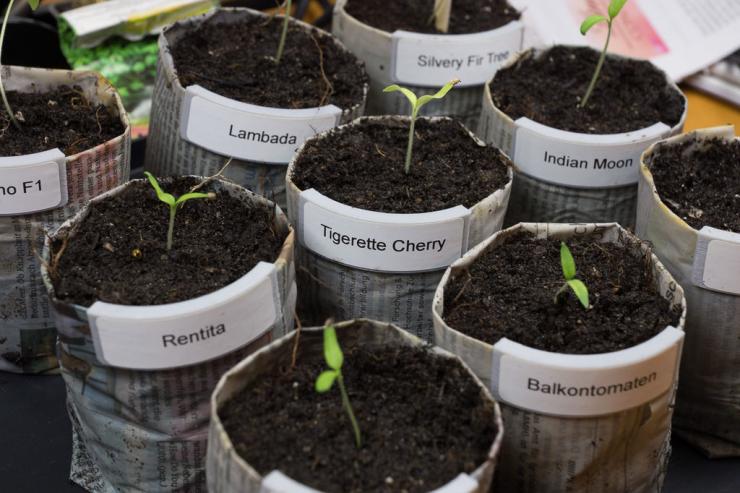
DIY paper cups
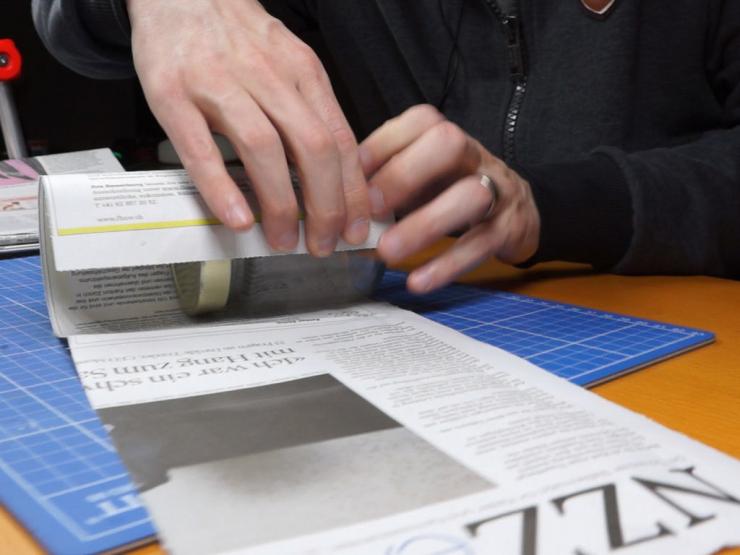
To create containers, you will need paper (newspapers, magazines) and a base (bottle, can, rectangular profile). Procedure:
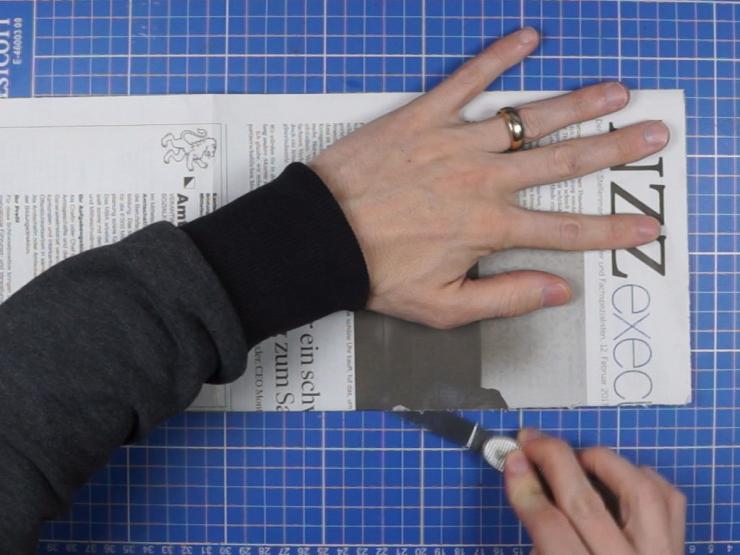
- Cut paper strips up to 50 cm long and 15-20 cm wide.
- Wrap the base for the glass so that the paper extends 4-5 cm over the edge.
- Wrap the protruding part to form the bottom of the container.
- Carefully remove the cup from the base, if necessary, attach with a stapler, paper clips or PVA glue.
The second option for making paper containers using the papier-mâché technique. To do this, take paper, water and containers, for example, cans, bottles, bakeware. Step-by-step instruction:
- Tear the paper into small pieces, soak it in water.
- Cover the base with wet paper: the bottle is on the outside, and the baking dish is on the inside.
- Leave the workpiece to dry for 24 hours.
- Use toilet paper in the same way.
Eggshell
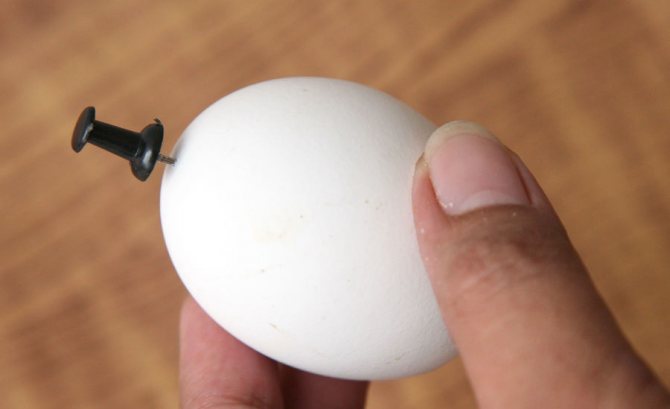
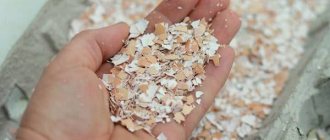
If you have a large number of eggshells, then make a container for seedlings out of them. Procedure:
- Wash and dry the workpieces.
- At the bottom of each, make a small hole with a button or needle.
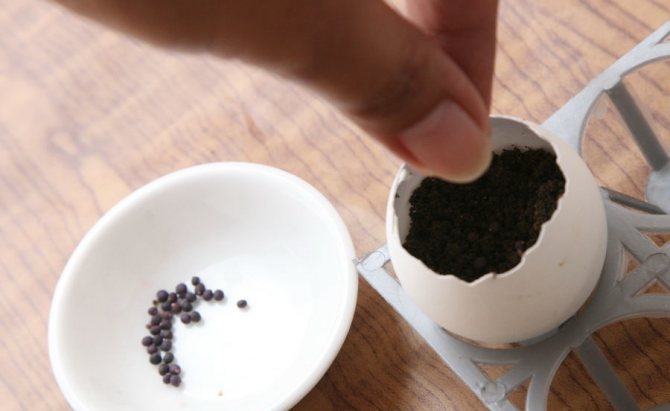
- Fill the container with soil to the middle, plant the seed.
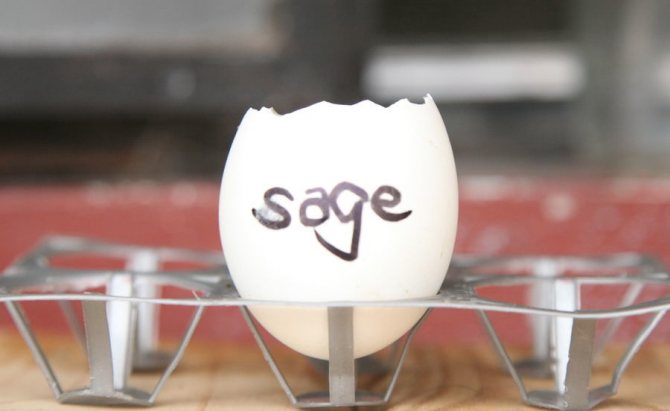
- Place the filled pots in trays or egg trays for greater stability.
- Plant the plants in the ground right with the shells.
Film pots
For this purpose, use a dense greenhouse film, a base and a stapler. Manufacturing instruction:
- Cut the cellophane into strips, a little more base.
- Wrap the mold and connect the bottom and sides with staples.
- Remove the workpiece from the base.
Another option is to roll up the film with a tube, bend the edges on one side and secure them. Place the seedling bags in the boxes.
Pots are made from cellophane bags in a roll, like from newspapers. The base must be wrapped in several layers of film, leaving 3 cm of free edge. The bottom is bent, filled with soil, and then removed from the base - a bag-shape is obtained. It is better to put such pots in a box close to each other for greater stability.
From filter bags for a coffee machine
Waste paper filters from the coffee machine are suitable material for the seedling pot. Instructions:
- Fill each filter halfway with earth.
- Place containers tightly on a pallet.
- Sow seeds.
Nutritional cubes
The main advantage of homemade nutritional cubes is that you can control the chemical composition of the harvest depending on the crop being grown. The main requirement for soil cubes is moisture capacity, air permeability, nutritional value, absence of pathogens. The composition may include: peat, black soil, garden soil, compost, mullein, humus, lime, sand, chopped straw, sawdust, complex fertilizers, ash.
Recipe for making universal nutritional cubes:
- Mix 5 kg of black soil and 5 kg of compost.
- Add 2 cups of ash.
- Mix 100 g mullein and 1 liter of water separately.
- Moisten the soil mixture with a nutrient composition so that the mass does not crumble during formation.
- Put the mixture in a tray, flatten, cut with a knife into cubes of the desired size. Move them away from each other.
Collapsible trays
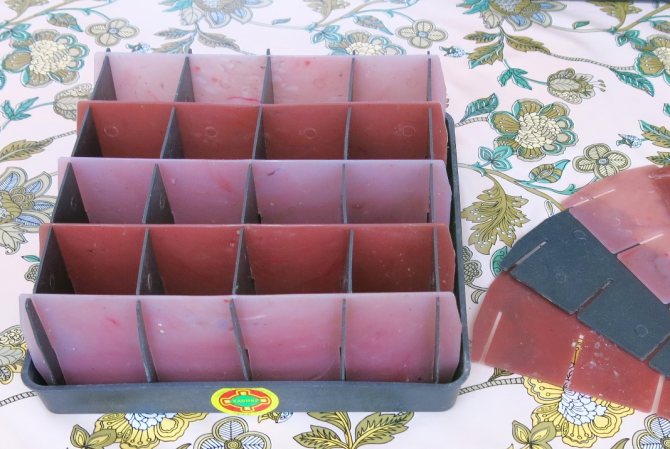

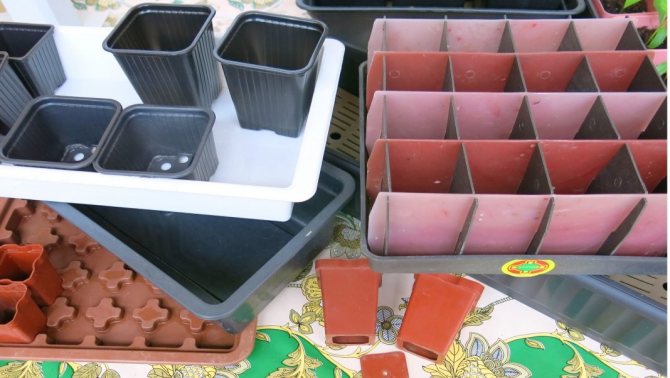
I use 16 cells collapsible EM plastic seedling trays (dimensions 28x28cm, cell dimensions 5x5x8cm). EM plastic is the development of Khabarovsk scientists, its effect on plants is somewhat similar on the effect of homeopathic medicines... More information about EM plastics can be found on the website
Collapsible trays are quite convenient, the cells in them are not wide, but deep. Peppers can be sown in such cells and grown without picking right before planting in open ground. This size is also suitable for corn, for leeks. I dive basil into the same trays.
To get seedlings from such a tray, you just need to remove the top plate, very convenient! Collapsible trays are also good because they take up a minimum of space during storage, which for me, for example, is very important.
Of the minuses - the cells are stationary, and if suddenly the seed did not sprout, the place will remain empty. You can, of course, annoy, but the surrounding seedlings, which have sprung up earlier, will shade new shoots. That is why, by the way, I prefer separate pots for seedlings: they can be interchanged if necessary.
Plastic pots
These pots can be purchased at any store that doesn't even have a horticultural focus. They are made of plastic and can be of two types - with a round and square section.Sizes range from very tiny (about 50 ml) to quite large (1 liter or more). There are also large plastic pots, but they are no longer intended for growing seedlings - rather, only for indoor flowers or landscape design.
The ease of use of a pot often depends on its shape. According to gardeners, it is more convenient to fill with soil with round pots, but square pots can be made more compactly on the window. The disadvantages of square products can also be attributed to the fact that it is not very convenient to take out the plant together with a lump of earth from them: if a round pot can be "crushed" with your fingers, and a lump of soil will come out immediately, then it is more difficult to compress a plastic one, especially if it is made of dense and high-quality plastic.
On a note! To make life easier for gardeners, round inserts are often made at the bottom of the pots, which help to push the earth along with the plant out of the pot.
Plastic pots for seedlings usually have drainage holes, although the cheaper the container, the more likely you will have to make holes in the bottom yourself.
Very often, seedling pots are sold as a set, and a pallet is included with them, which will protect the windowsills from moisture flowing from them.
So, here are the benefits of using this type of seedling container:
- plastic pots are optimal for growing absolutely any types of crops;
- they keep the necessary moisture well in the right amount;
- can be used for several seasons in a row, as they are durable;
- perfectly protect the root system of plants from damage;
- they are very convenient to store.
Disadvantages of plastic pots:
- non-compact and take up a lot of space;
- it is not always possible to carefully remove the root ball during transplanting;
- are quite expensive and will cost a round sum if purchased in large quantities.
Below is a table that will allow you to select the required pot volume for a specific type of plant.
Table. Selection of plastic pots for seedlings.
| Plant species | Height, cm | Width, cm |
| Cucumber | 7-10 | 7-10 |
| Tomato | 12-17 | 12-17 |
| Eggplant | 10-15 | 10-15 |
| Pepper | 10-15 | 10-15 |
| Cabbage | 6-8 | 6-8 |
By the way, the following recommendations will help determine the size of the pots.
- To grow seedlings of crops that definitely need a pick, use the smallest volume of pots - 50 ml.
- Small crops that grow without picking are suitable pots of 100-200 ml
- Pots of 500 ml and above are suitable for tall and large crops that grow for a long period of time and grow strong roots.
On a note! When choosing a pot, remember to consider diameter and height, not just volume. This is essential for proper root formation.
Prices for plastic pots
Advantages and disadvantages
Experienced gardeners who are not afraid to experiment have no consensus about peat cups. To appreciate the advantages of this planting method, the products must be used correctly. The advantages are as follows:
- Peat cups are environmentally friendly as they are made from natural materials.
- They have sufficient mechanical strength and do not fall apart during the period of seedling growth.
- The walls are porous, which provides free penetration of air and water to the roots of young plants.
- When transplanting to a garden bed, there is no need to remove the plant from the container. The roots are not injured, which is very important for plants such as cucumbers and eggplants, which do not like transplanting.
- Seedlings easily take root in a new place, because peat soaks and decomposes, enriching the soil with useful substances that are needed to feed the plant.
There are also disadvantages:
- Manufacturers do not always make quality products. Sometimes the cups are too thick. For this reason, they do not soak in the ground, and roots cannot grow through the walls.
- Excessive watering leads to moldy cups.
- The porous material does not retain moisture, which causes the soil to dry out quickly.It is necessary to ensure very precise, dosed watering.
To avoid drying out, it is recommended to cover the tray with seedlings in peat cups with a film and from time to time remove the cover to remove excess moisture and fumes.
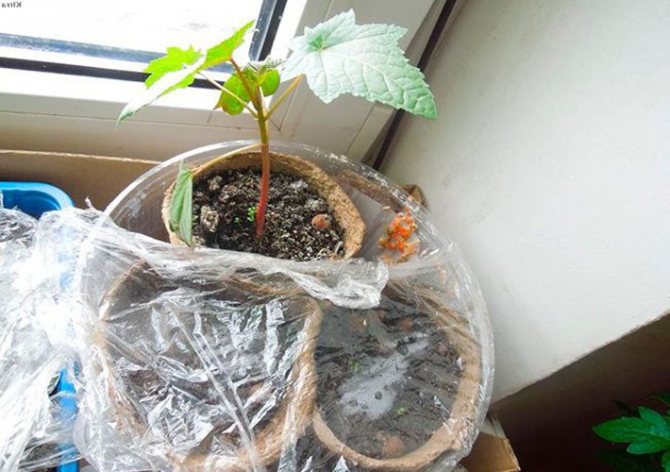

To prevent the soil from drying out, the seedlings in peat cups should be covered with foil.
Which cups to choose: peat, paper or plastic
Vegetable growers often use homemade plastic and paper cups. Peat has several advantages over them:
- Plastic cups are required to be cut before planting in the garden. With this action, a clod of earth with roots can crumble; seedlings do not need to be removed from a peat pot.
- Plastic walls do not allow air and moisture to pass through, peat walls provide good aeration and moisture to the roots.
- Homemade paper cups break and soak. They do not guarantee the safety of seedling roots. It takes time to prepare them for landing.
- Neither plastic nor paper cups provide additional fertilizing to the roots of the plant.
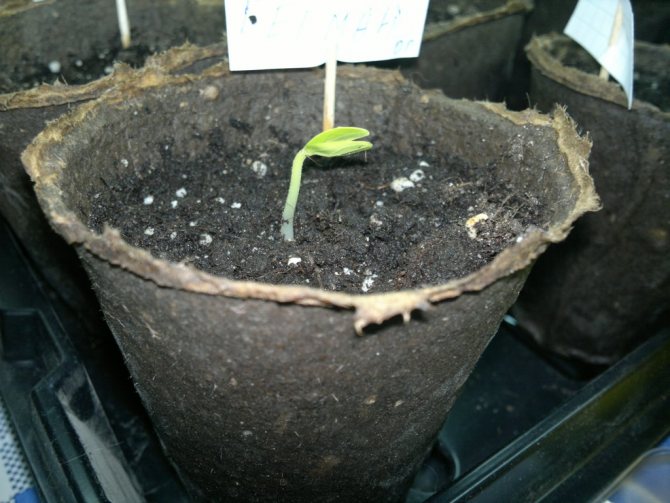
Peat pots
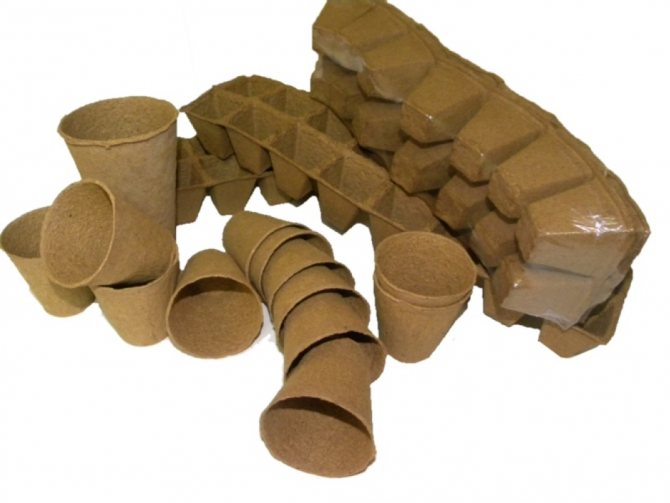
Externally, the walls of these pots resemble thick cardboard, however, they consist of more than 70% natural natural peat. And the rest of the pot is, by the way, just paper.
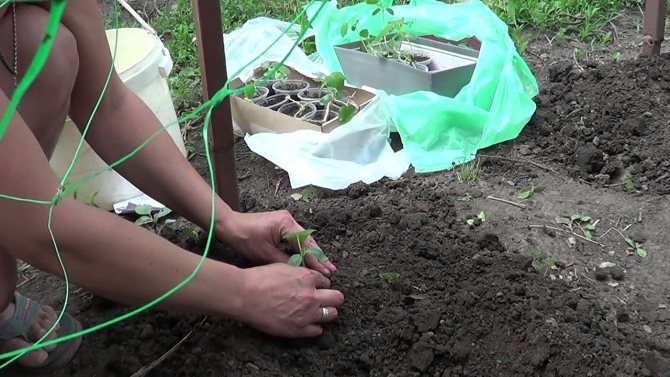
The main advantage of peat pots is that there is no need to remove the seedling bushes for planting in the ground directly from the pot. To do this, it is enough just to dig a hole of the required size in the garden bed and place the pot there without removing the seedlings from it. Gradually, the peat will rot, turning into a nutritious fertilizer, and the seedlings will grow into a beautiful and strong plant.
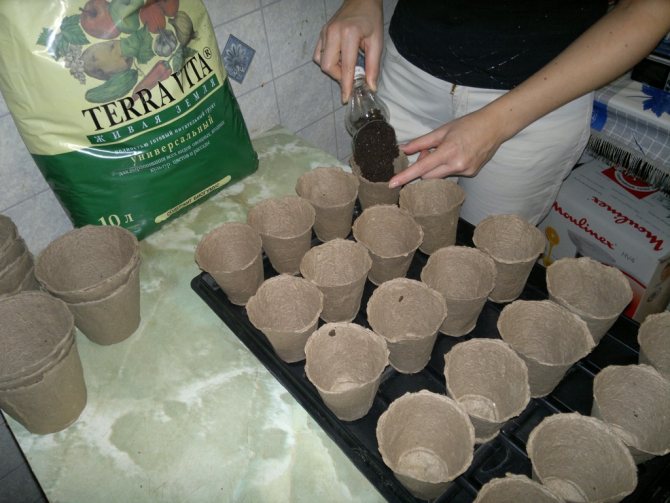
Peat pots are ideal for growing capricious crops - as a rule, these are cucumbers, zucchini, peppers, eggplant and others. And using them is extremely simple: just fill it with soil, spill it, place the seeds, put it on a pallet and that's it. Further work on growing seedlings goes on as usual.
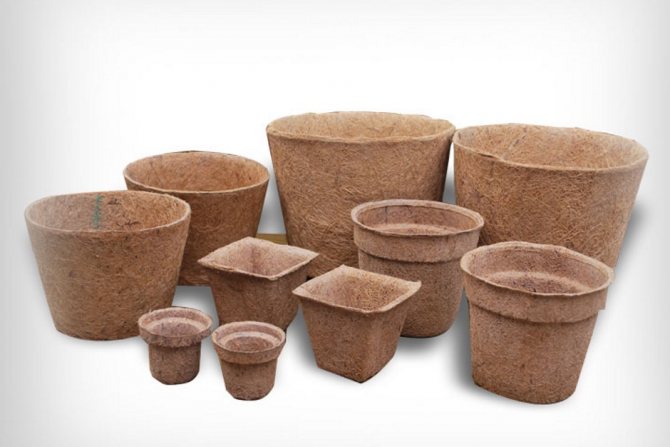
Peat pots come in various sizes and, like plastic pots, come in two shapes - round and square in cross-section. However, here the form does not play a special role, since it is no longer necessary to shake out the seedlings with the earth from the container. Unless one should take into account the free space on the sunny windowsill - square pots can be arranged more compactly.
The advantages of peat pots:
- convenient to use;
- allow you not to injure plants with dives once again and not to extract them during planting in the ground;
- are themselves nutritious fertilizers;
- made from environmentally friendly materials.
Disadvantages of peat tanks:
- they quickly become limp from water, so you need to water the plants in them moderately;
- if the pots are dry, then the soil in them may become too dense for plants;
- when buying, there is a great risk of running into a low-quality product, which will contain only one compressed cardboard;
- excessive watering can lead not only to deoxidation of containers, but also to moldy walls of pots and soil.
Peat seedling tablets - how to use
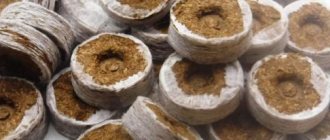
A peat pellet is a washer of compressed peat, small in diameter and height. Before the production of this type of container, peat is enriched with microelements useful for seed germination and seedling development. Read more here.
How to use peat pots? It's simple.
Step 1. Select the size of the peat pots and process them. To do this, soak them for a short time in a solution of mineral and organic fertilizers, and then dry them.
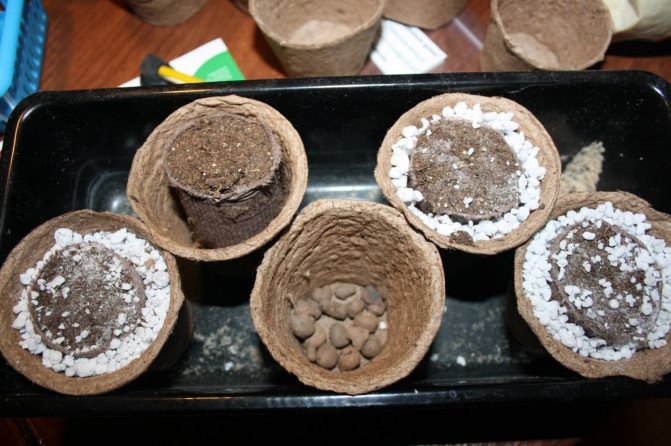
Step 2. Make drainage holes at the bottom, place expanded clay there.
Step 3. Fill the pots with seedling soil, but not very densely, to create the cavities necessary for successful root development. Spill soil.
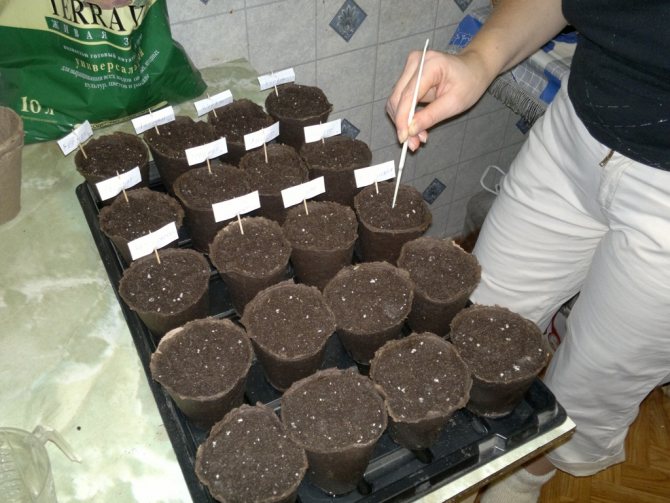
Step 4. Plant the seeds of the crops, each in a separate cup.
Step 5. Cover the pots with plastic and place in a warm room. Next, wait for the shoots and continue to care for the seedlings, watering them moderately.
Step 6. As the seedlings grow, you will increase the distance between the pots on the pallet so that the branches and leaves of the plants do not interfere with each other.
Step 7. When the seedlings have grown, transplant them into the soil in the garden area as described above, without removing them from the pots. Place containers 2 to 3 cm below soil level.
What are peat pots
Peat pots - containers for planting seeds or seedlings at the picking stage. The container is made of natural material, as the name indicates. The basis is peat.
Additional ingredients for the composition by 30% can be: food cardboard or sawdust. To reduce acidity, a small amount of chalk / lime is added during manufacture.
Suitable for germinating crops:
- floral;
- vegetable;
- cereals;
- legumes;
- melons and so on.
They are in the form of glasses of different widths and heights. This is convenient when there is a question about choosing a container for seedlings.
Homemade pots
Many gardeners do not want to spend money and purchase ready-made seedling pots in the store. They persistently and fanatically collect various containers or are looking for new ways to make containers for growing crops. And often they are right - why spend money on something that you can do with your own hands?
There are a huge number of methods and master classes for creating containers for seedlings, and a wide variety of materials can be used.
Table. DIY materials for making seedling pots.
| Material | Advantages and disadvantages |
Plastic cups from dairy products
Video - Polyethylene seedling pots
The main advantage of such homemade pots is the lack of costs, since containers can be safely accumulated during the winter period by buying essential products. The most important thing is not to forget to make drainage holes in such containers.
Advice! Water drainage holes are easier and more convenient to make with an ordinary thick nail. It must be well heated over a fire (for example, in a candle flame) and with a sharp end melt the holes in the bottom of the container. Be careful - hold the nail with pliers, as the metal heats up very quickly (you can burn yourself).
Peel from oranges
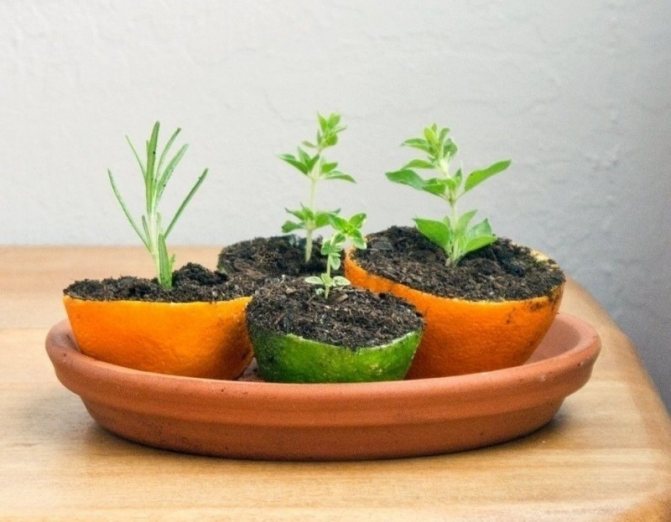

If the family loves freshly squeezed orange and other citrus fruits, then there is always a large number of skins of the correct shape. They can be used as a kind of pots.
Grown shoots are planted in the country along with a nutrient support, during the rotting of which nitrogen is released, which is very necessary for the development of flora.
In addition, the peel, decomposing in the soil, will fight pests and diseases of the young plant - the fragrant peels contain a large amount of essential oils. Citrus fruits do not kill beneficial microflora. The decomposition process takes a long time, so volatile compounds will also drive away ants and aphids, which actively reproduce throughout the summer.
Unusual seedling pots
Seedling pots can also be made from very unusual materials. Gardeners are creative people, and what they can think of to make their work easier and provide the plants with proper care. Consider three types of fancy seedling pots - some made from eggshells, some made from aluminum cans, and some made from newspapers.
Aluminum can pots
Not a bad option for those who are fond of carbonated drinks in 0.33 liter cans. This material is not afraid of rust, durable, strong enough. It is convenient to rewind such jars one by one with adhesive tape among themselves - a kind of aluminum "cassettes" are obtained.
Step 1. Use scissors or a knife to cut off the bottom of the cans.
Step 2. Cover the opening-neck with the remaining tongue, but not tightly.
Step 3. Place some eggshells or expanded clay on the bottom of the resulting container for drainage.
Step 4. Make gauze pouches, place in containers and fill with soil.
Step 5. Sow seeds and grow seedlings.
Step 6. Remove the grown seedlings from the containers using a gauze bag and plant them in the ground with it.
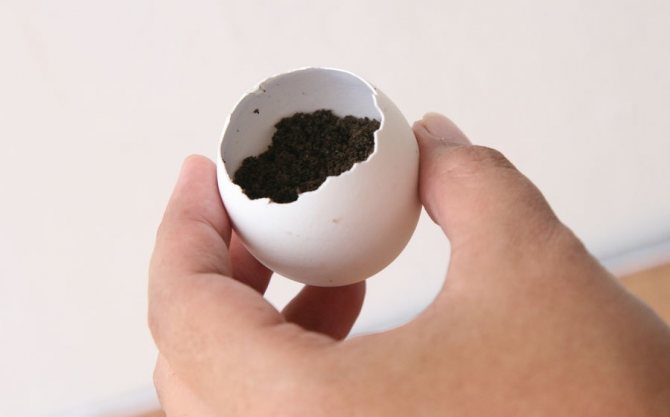
Eggshell pots
A very interesting way. Convenient in that in the future the plants, together with the shells, are planted in the ground - you don't have to dive and take them out of the "containers". And the "pot" will serve as an additional fertilizer
Step 1. Take the eggshells and make a small hole in the bottom of each with a needle.
Step 2. Fill them halfway with earth.
Step 3. Plant the seeds and cover them with soil.
Step 4. Place the filled pots in the egg tray and grow the seedlings (as usual).
Step 5. Transplant seedlings into the ground when strong leaves appear. Just crush the shell lightly before dipping it into the ground.
On a note! Growing seedlings in eggshells is only suitable if the seeds of those plants are planted that do not grow too much.
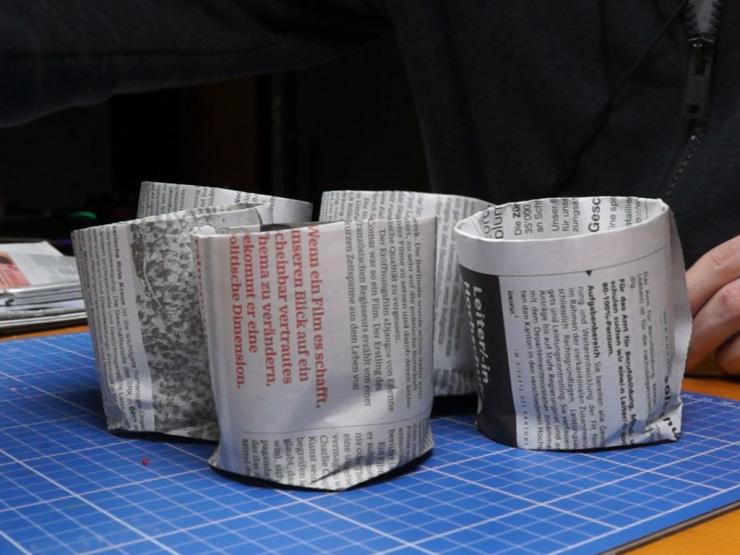
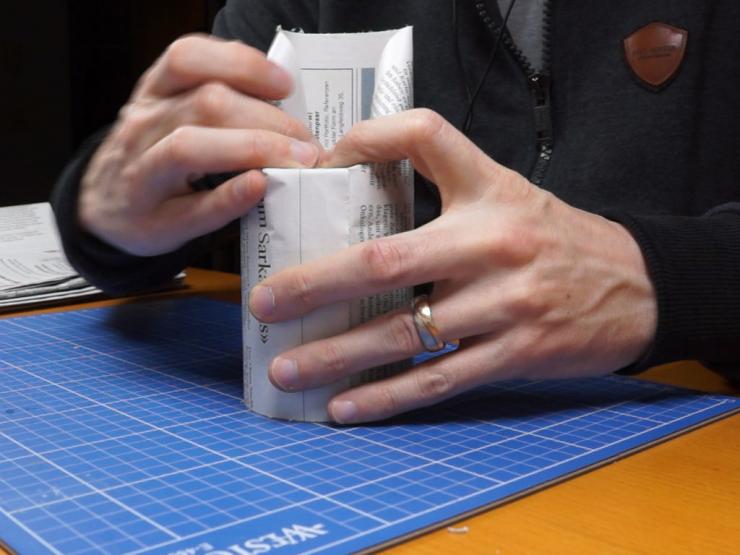
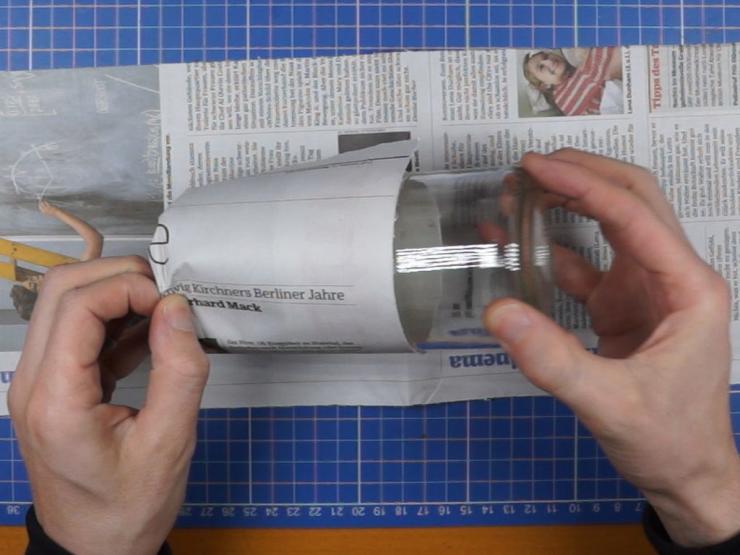
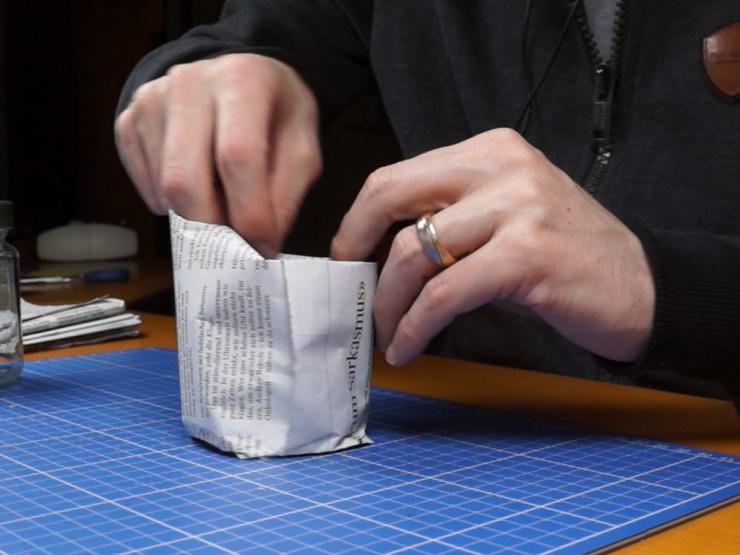
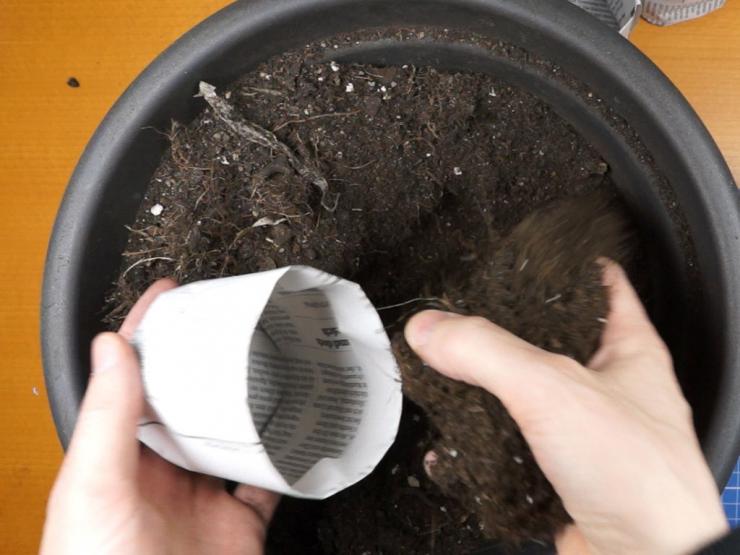
Newsprint pots
The method that came to us from the West. Such pots can be made quickly and easily, besides, you can plant seedlings in the ground directly with paper.
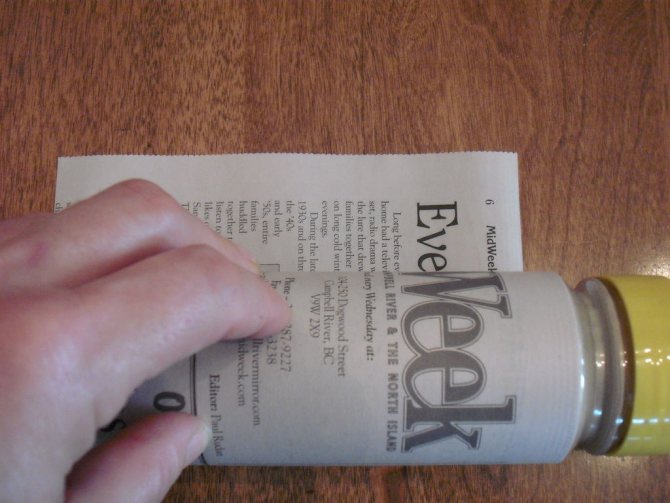
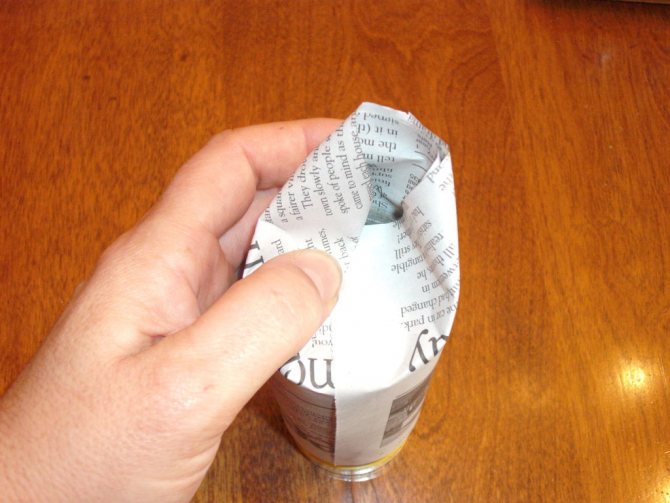
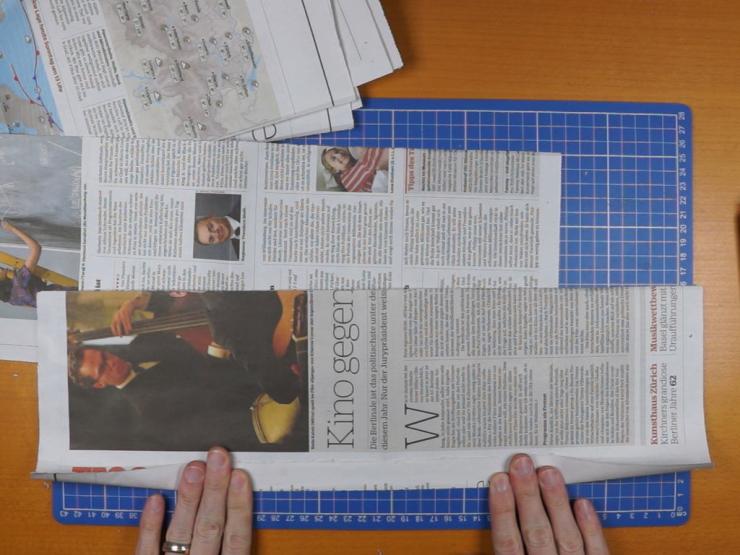
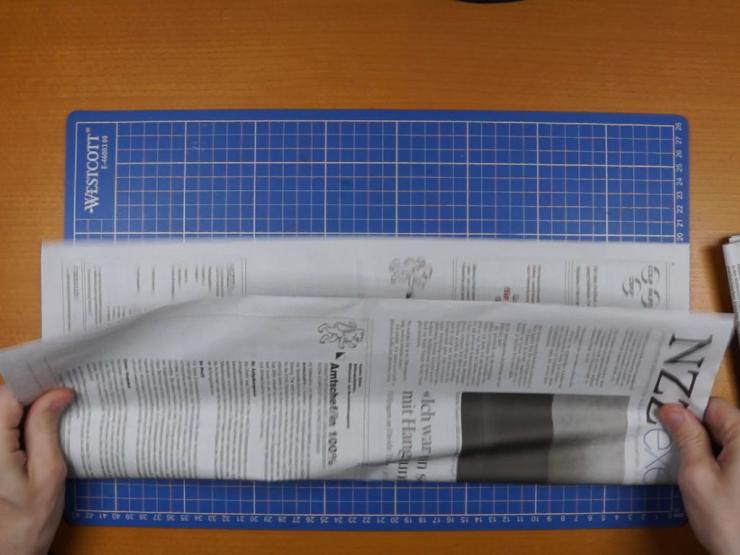
Step 1. Fold the newspaper in half and wrap it around the glass jar in several layers. Leave an allowance for the bottom at the bottom.
Step 2. Staple the edges together.
Step 3. Fold the bottom allowances down to form the bottom. Remove from the can.
Step 4. Fill with earth and plant seeds.
Step 5. When planting seedlings in a summer cottage, simply place the plants together with containers in the holes - the newspaper will disintegrate by itself.
From a toilet paper roll
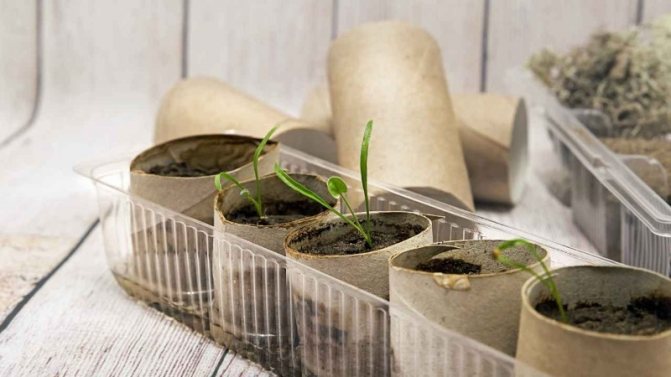

One family uses several dozen rolls of toilet paper per year. From each remains a cardboard sleeve. Many people just throw them away, although they are good for creating interesting crafts.
It is very easy to convert the cardboard boxes into a biodegradable seedling cup. Tubes left over from paper towels will also work.
If you need a small pot, then you need to cut the sleeve in half. The bottom can be made, leaving a drainage hole, or simply put stylized pots on a pallet with earth - they will divide the area of the stand into cells with different seedlings.
When planting seedlings in a garden bed, you can not get the plants out of the cups.
Seedling boxes and cassettes
Since the days of the USSR, many remember the huge batteries of wooden boxes that stood on the windows of grandmothers. It was in simple rectangular devices that summer residents grew absolutely any crops. They usually made such boxes on their own, because there is nothing difficult here - I put together five boards, and you can start gardening. And there were no problems with wood either - old boards during the days of active construction could be found everywhere.
Seedling cassettes
A seedling cassette is a block consisting of separate containers of different sizes (from 20 to 500 ml). The number of cells in the cassette can be different - from 4 to 390. A separate sprout is planted in each cell. Read more in this article.
Boxes are popular now, but with the active use of all kinds of polymers, plastic containers have now entered the market. They are cheaper and more practical than wooden ones, perhaps more fragile. Such containers can be of any size, so it will not be difficult to choose a box of the necessary parameters of work.
You will have to choose which type of pots is more suitable, depending on your preferences, wishes and, of course, the type of crops grown. And remember - if you do not have the extra money to buy ready-made pots or boxes, you can always make them yourself.
How to plant seeds in cups correctly: instructions
Planting seeds in cups is a simple process.
- Make a small hole at the bottom of the glass to drain excess water.
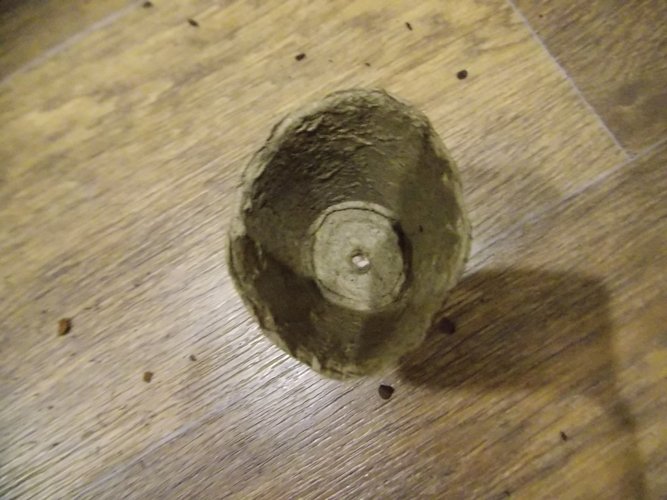

Before planting the seed, it is recommended to pierce a hole in the bottom of the cup.
- Put a small amount of crushed eggshells on the bottom to ensure drainage and deacidify the soil.
- Pour into the pot the soil prepared in advance in accordance with the requirements for each type of plant. There should be a distance of about 1 cm from the soil surface to the edge of the cup. There is no need to compact the earth.
- Place the seed on the surface of the soil and sprinkle it with earth.
- Place the cups with the sown seeds in a box, box or pallet, cover with plastic wrap.
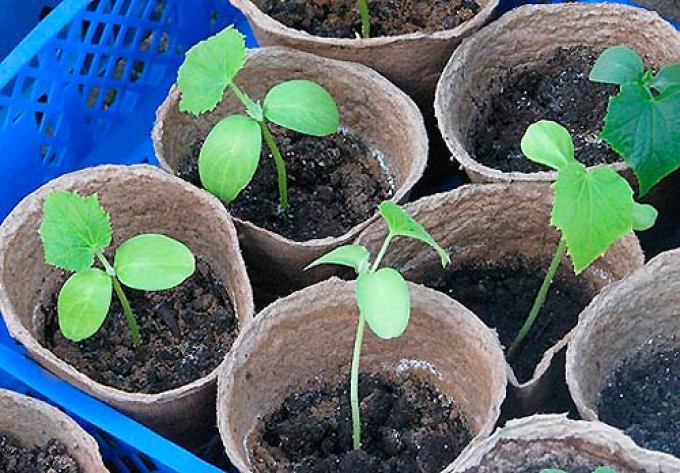

At the bottom of the box, where peat cups with seedlings are displayed, water should not accumulate
- Provide temperature control and watering in accordance with the requirements for this plant.
If the peat cups are covered with mold, it means that they are waterlogged. At the bottom of the pallet in which they stand, there is water that needs to be drained. Wipe the surface of the glass with alcohol, vinegar or soda solution. If mold damage is significant, such containers should be disposed of. For prevention, regularly ventilate the room in which the seedlings are located, reduce the dose of watering, carefully loosen the top layer of soil in the cups.
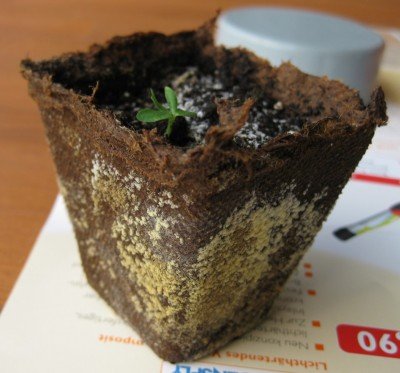

Mold should be removed and the glass wiped with alcohol, vinegar or baking soda solution

