Vegetable growing »Potatoes
0
948
Article rating
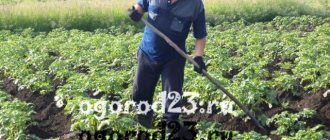
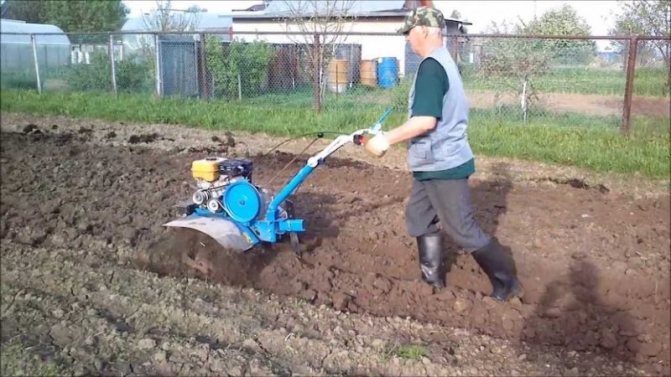
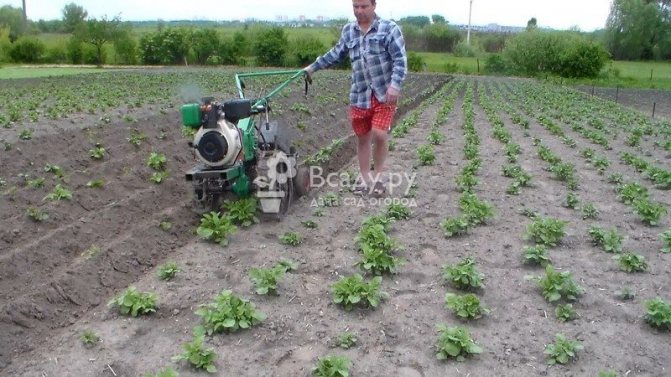
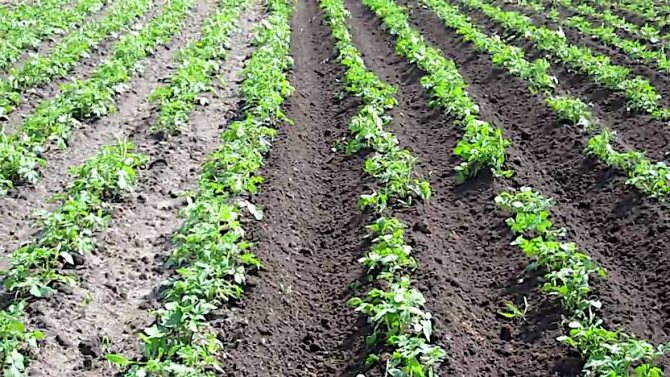
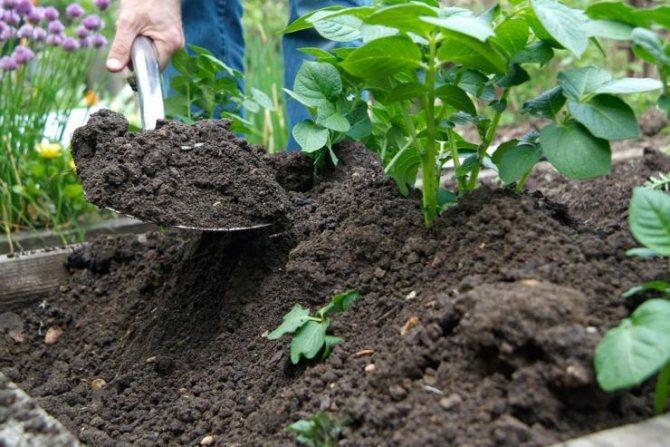
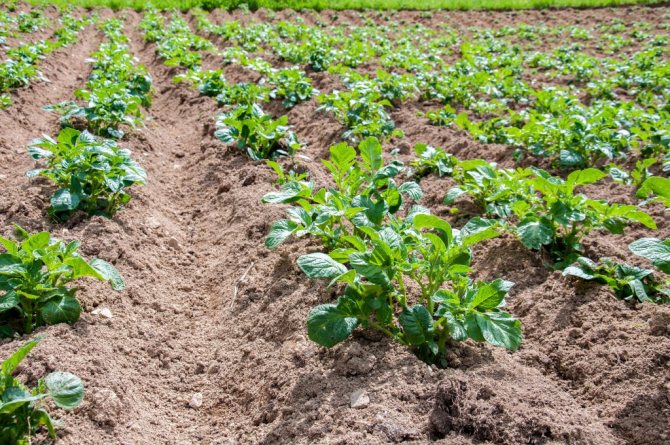
Growing potatoes consists of planting, hilling and weeding. Weed control is an important step because pests grow much more intensively on prepared soil and take nutrients from crops. Weeding potatoes with a walk-behind tractor allows you to quickly and efficiently rid your garden of weeds.
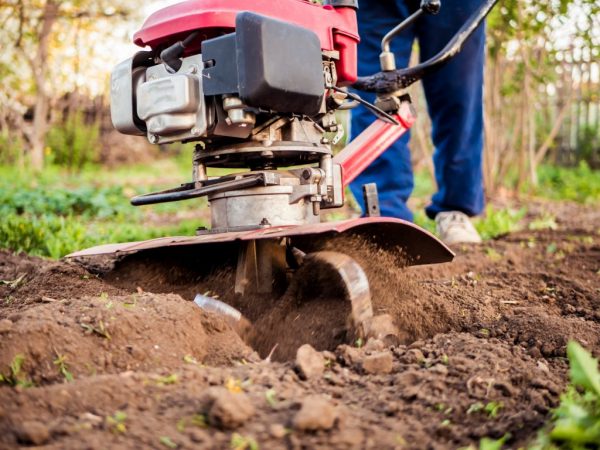
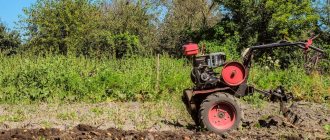
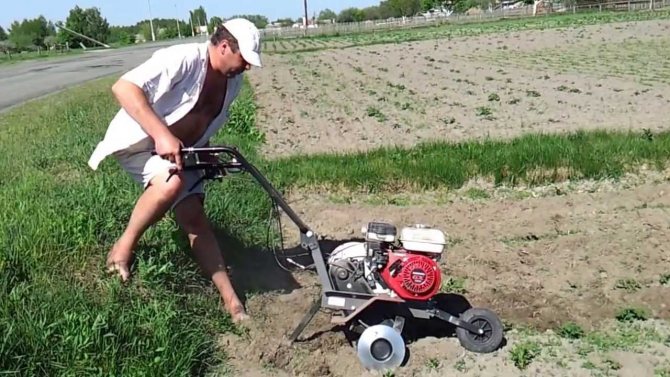
Motoblock for weeding potatoes
Using a walk-behind tractor
A motor-cultivator is a versatile technique used to perform agricultural operations. Neva is a popular brand among farmers.
The technique is used for:
- weeding of potato rows with a walk-behind tractor;
- plowing the soil;
- planting culture;
- hilling bushes;
- harvesting.
If necessary, the walk-behind tractor is used to combat grass thickets on the site. The unit can be easily modernized for household needs by adding special parts.
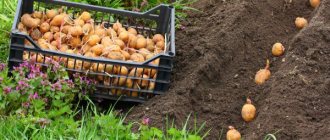
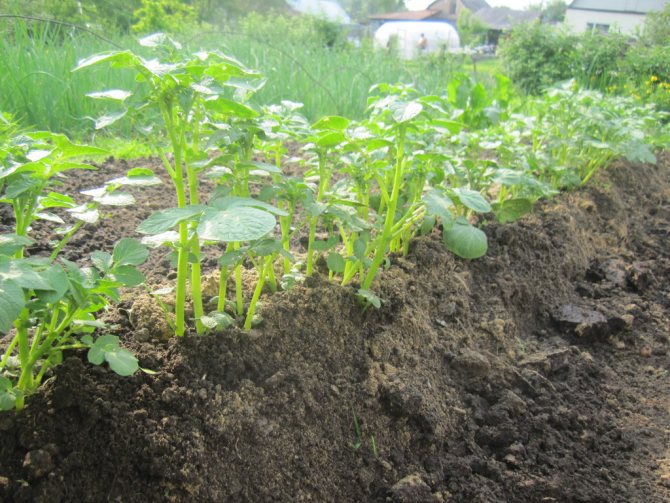
Planting process
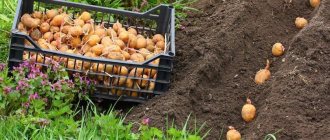
So, for planting potatoes with a walk-behind tractor, 2 methods are used:
We have already considered the types of hillers and their advantages. The difference between a potato planter and a hiller is that it allows you to perform several operations at the same time. This unit is equipped not only with a hiller, but also with a potato spreader. With its help, you can independently plant a large area. You do not need to additionally lay out the tubers in the holes, and then spud them, everything is done at once in one pass. This method is very effective for large vegetable gardens or fields.
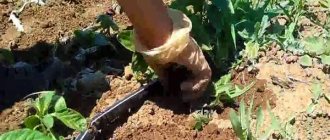
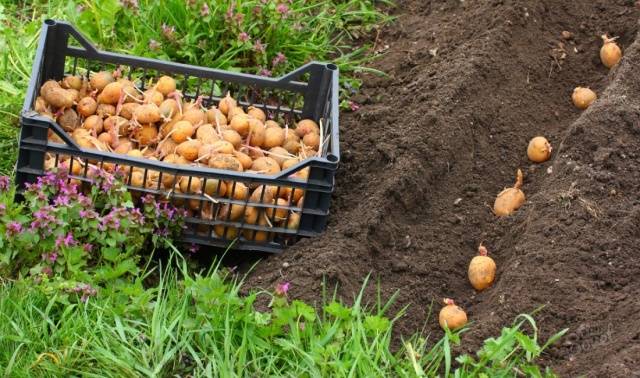
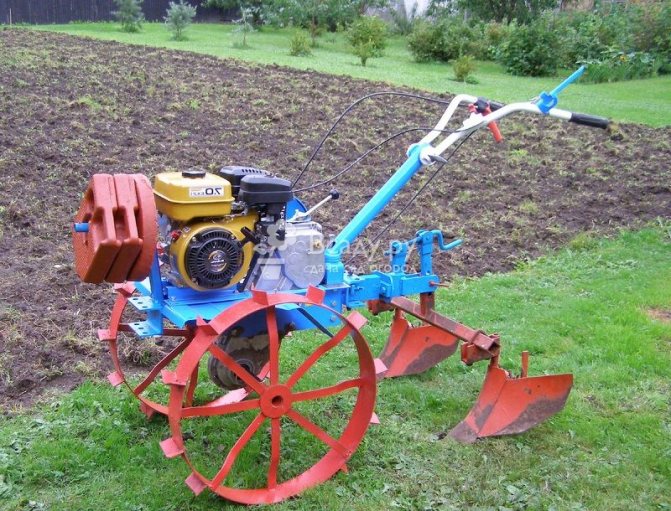
The method of planting tubers under a plow is also practiced. In this case, lugs and a plow are installed on the cultivator. The first pass is being made, and we will be guided by it. It is very good to plant potatoes with this method together. While one makes a hole, the second immediately spreads the tubers along the cut furrow. Having finished the first row, the plow is turned around and the second hole is made, while digging in the previous one in parallel. This method is also very convenient, although it takes more time.
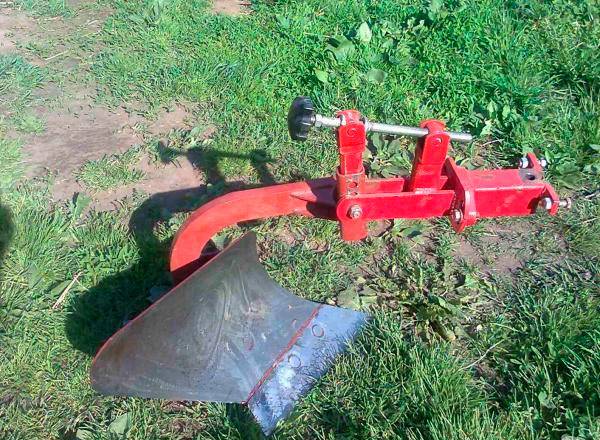
Place the potatoes in the cut furrows at the same distance. Further, the wheels on the walk-behind tractor are changed to ordinary ones. At the same time, the row spacing and the distance between the wings remain the same. Now the walk-behind tractor is ready to fill and huddle potatoes.
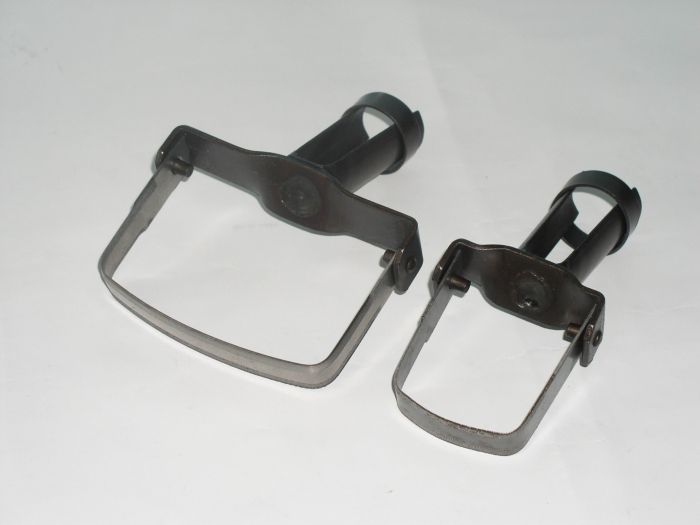
Weed control paws
A motor-cultivator for weeding potatoes is equipped with the following paws:
- one-sided;
- bilateral;
- lancet.
Weeding with paws is the most common method due to its simplicity and efficiency. Installation of paws does not require special knowledge and skills. They do not take up much space during storage.
The paws gently act on the soil during processing, without touching the potato root system. When choosing the depth of processing, they are guided by the type of soil. For loose soil, a depth of 3-5 cm is suitable.
Dense soil requires deeper processing, but not too much. The optimal value is 6-8 cm. With deeper processing, the movement of the cultivator becomes difficult.
The tines are attached to the unit with special holders. The width depends on the size of the furrow. The devices are placed with the sharp part towards the center of the row spacing. To prevent the cultivator from getting stuck in the ground, 1-2 paws are placed slightly behind the rest.
The disadvantage of this method is incomplete destruction of weeds: their roots remain in the soil.

Why weed potatoes
Long-term manual labor can be harmful to health, takes a lot of effort and resources, so some of the processes familiar to gardeners become automated. Weeding potatoes is a rather laborious process, so many people wonder: is it possible not to weed them at all. Many leave it to grow naturally, but the result is usually not too optimistic. There are too many types of weeds, and the potatoes simply will not have time to adapt to the conditions.
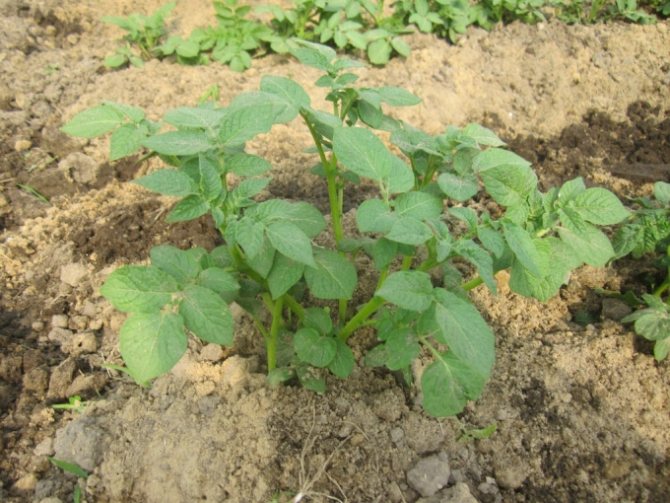
At the first stage, especially in the growth phase, a clean vegetable garden is especially important, otherwise you will not have to wait for a good harvest. You can rinse the potatoes some time after planting. Some harmful plants damage the root system by sucking nutrients out of the soil faster than the crop you are growing. If weeds are not removed in time, they can obscure the plant with a dense layer, depriving sunlight and access to oxygen.
Important!
Insect pests are also actively developing in weeds. In the fall, they lay eggs, and after two seasons they begin to spoil the crops.
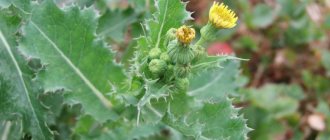
The root system of potatoes is not as strong as that of other crops: it needs air and regular strengthening. Weeds deprive the plant of access to nutrients, preventing the tubers from forming normally. The most suitable soil for active growth is loose, with access to oxygen and medium moisture. Such conditions are also suitable for more powerful malicious neighbors. Appearing on the same bed with potatoes, they quickly draw attention to themselves. The most deadly pest is wheatgrass: it draws out all nutrients from the soil and leads to rotting of tubers.
Using a flat cutter
Weeding potatoes with a walk-behind tractor with an installed flat cutter removes pests from the upper ball of the soil. The tool is classified as a hinged one and is also used for planting potatoes and hilling. There are 2 types of attachments: with simple knives and weeding drums.
Fly a plane cutter so that the wheels are in the furrow when moving. At this time, the sharp part cuts off the weeds. If a special drum is additionally installed, it swings them to the sides.
The disadvantage is incomplete destruction of pests. Also, flat cutters do not cope well with old plants with a strong root system. They are best used when the weeds are young.
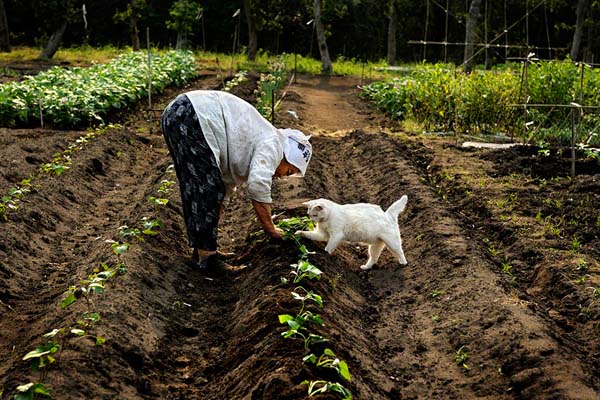
Terms and basic rules
Clearing the site from weeds is carried out several times per season. It is especially important to do this until the time when the vegetable culture is strong enough so that it itself can defend its rights to full-fledged growth.
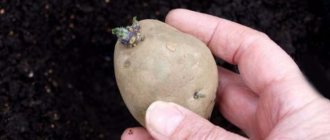
Weeding should be carried out for the first time about 15-20 after planting. Weeds grow much more actively than potatoes, so it is necessary to remove competitors and allow the vegetable sprouts to strengthen.
If the tubers were planted sprouted, then the seedlings will appear quickly and during the first weeding the potatoes will be easily distinguished from other vegetation. In the case when the planting was done with not sprouted tubers, the emergence of vegetable sprouts will be late and weeding must be done very carefully.
See also Description, cultivation and characteristics of Riviera potatoes
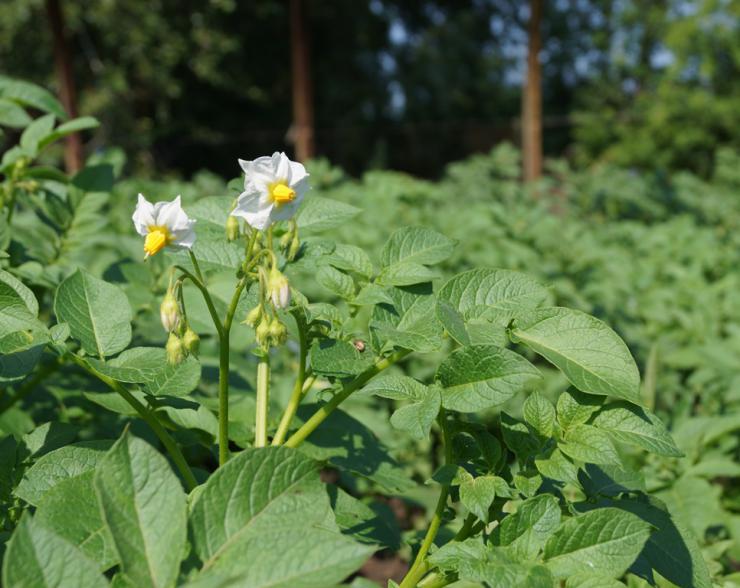
The next weeding should be done before flowering. It can be combined with hilling. It will be in early July. It is necessary to thoroughly clean the area from weeds. Since it will be difficult to use different mechanisms for weeding potatoes in the future, and it is very difficult to remove the grass by hand.
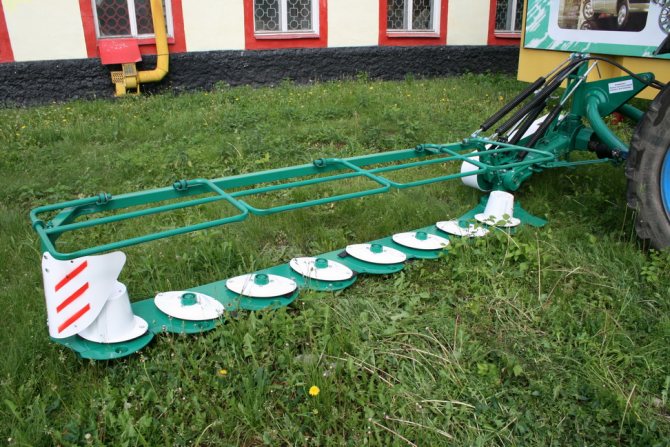
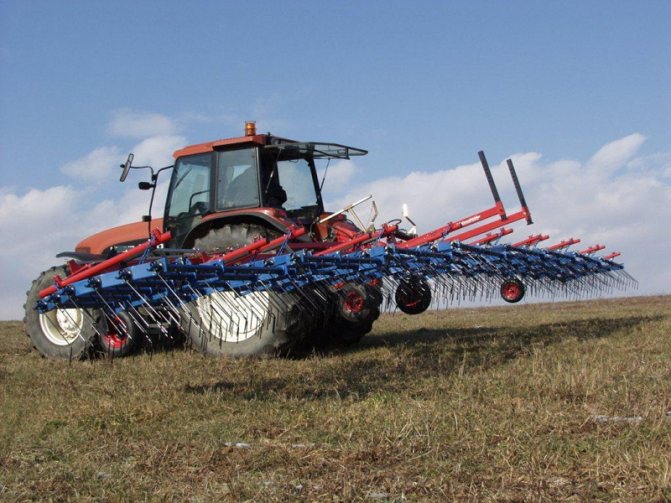
Installing the harrow
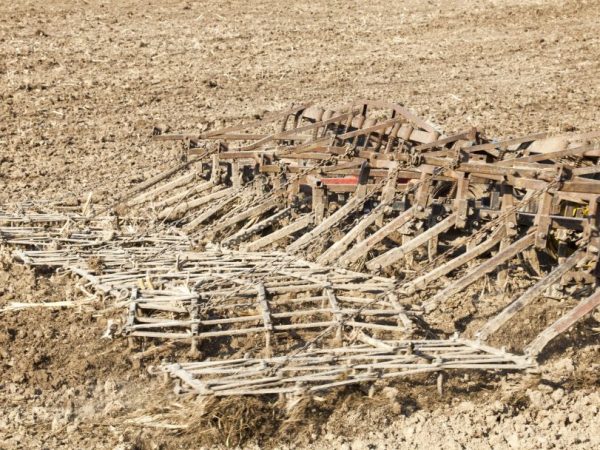
The harrow weeds the aisles
The device is a hinged structure that is used when processing row spacings. The harrow belongs to the dragging types of aggregates.
The mesh structure consists of a frame and teeth set on it, which grab weeds and pull them out of the soil by their roots.
Harrow sections are performed in the following form:
- square;
- rectangle;
- hexagon;
- triangle.
The length of each cell is 15-15 cm. It is most effective to arrange the teeth in a checkerboard pattern for a larger processing area. The harrow loosens the soil and weeds the aisles.
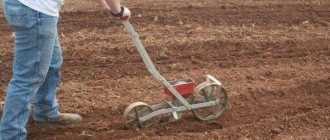
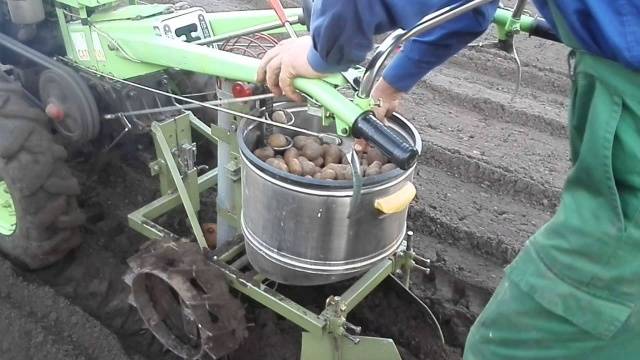
Planting a potato planter
It is obvious that planting potatoes with the help of a potato planter is much easier and faster than with a shovel and a bucket of potatoes. Of course, a potato planter for a walk-behind tractor is a mechanism consisting of several parts:
- bunker for root crops;
- potato feed mechanism;
- baking powder;
- disc mechanism for filling the furrow with soil.
This unit consists of several elements
Since many farmers and summer residents prefer to independently assemble a potato planter, the designs may differ, but the principle of their operation is the same: a deepening is made in the soil, seed material is immersed in it, the deepening is covered with soil. Planting potatoes is divided into several steps:
- Prepare the soil for planting in the traditional way for this type of soil - plowing or harrowing.
- Adjust Potato Planter - adjust the furrow depth and row width.
- Fill the seed hopper with potatoes.
- Place the walk-behind tractor on the site at the place where planting begins and start planting potatoes.
It should be borne in mind that homemade potato planters for walk-behind tractors are no less popular than purchased ones. The reason is that a homemade potato planter, made for a walk-behind tractor, copes with the task no worse than a purchased analog, but at the same time it was developed by the owner for himself.
To make a potato planter for a walk-behind tractor, you need to have the necessary parts. There are enough drawings on the Internet, and the design itself is quite simple. To assemble a potato planter with your own hands, you need the following materials:
- to assemble the bunker - plywood or sheet metal 2-2.5 mm thick;
- metal pipes with a diameter of 25-40 mm;
- wire 5 mm thick;
- chain (for example, the one that is put on engines);
- bearings;
- profile pipe made of steel, required for assembling frame parts, - with a wall thickness of 2 mm;
- wheels.
You will also need tools:
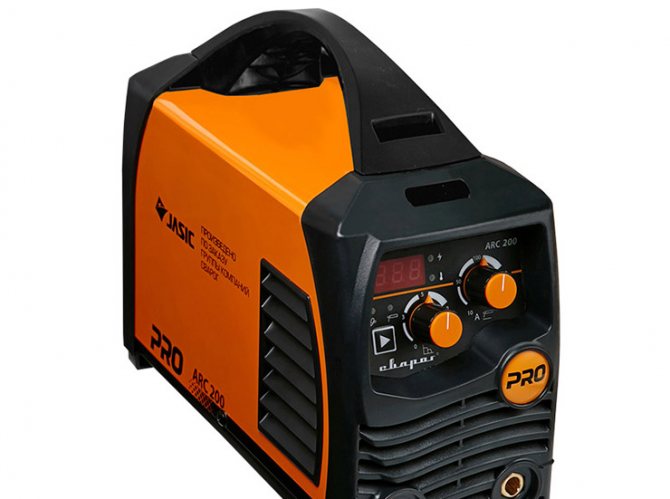
- welding machine;
- grinder (requires a disc for metal);
- drill with drills;
- pliers;
- a hammer;
- screwdrivers.
Do not forget about the appropriate tool for the assembly of the hopper
When creating a potato planter for a walk-behind tractor with your own hands, the first step is to draw up a project. The type of device is selected, the parameters of the potato planter are set and applied to the drawing. Note that the easiest way to make a potato planter is one of two common and proven types:
- Potato planter with spoon feeding of seed material. Such equipment provides for the presence of a belt with fixed spoons for planting tubers in the soil.
- Flat-feed potato planter - Placing potatoes with horizontal belts.
Experience shows that the most convenient sizes of a single-row potato planter for a walk-behind tractor are as follows:
- height - 60 cm (measured from the bottom edge of the baking powder to the top edge of the potato hopper);
- bunker height - 27-30 centimeters;
- bunker width - 22-28 centimeters;
- the section of the wheel is 15-20 centimeters.
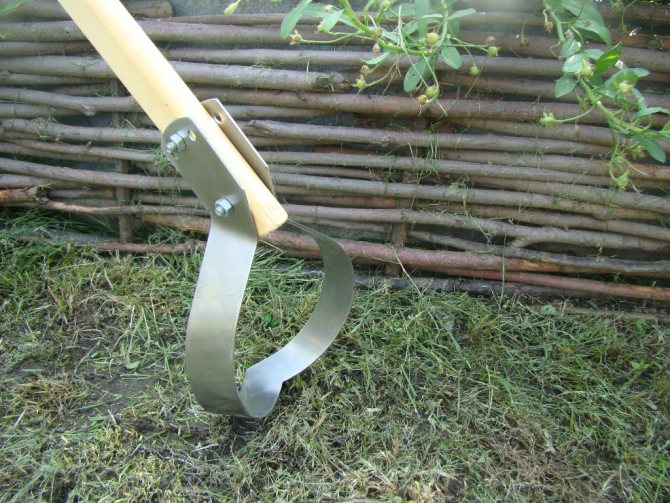
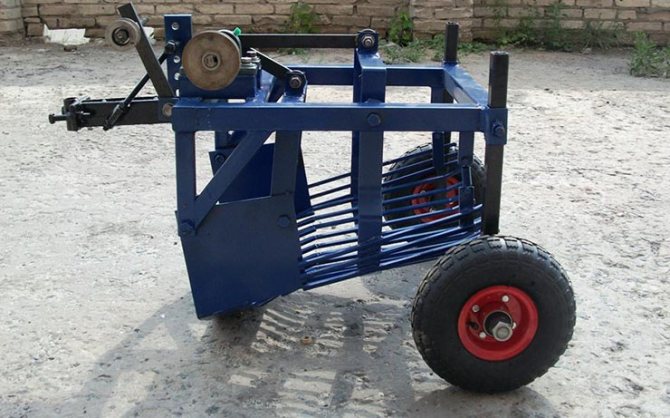
Propolnik
A simple device that gardeners often make themselves. It is used for weeding and hilling potato rows. The weeding machine uproots the weeds, which prevents the plant from re-emerging.
The device consists of a metal frame on the base of which the knives are fixed. In the rear part there is a cylindrical drum, the blades of which are made in the form of plates.Its purpose is to throw the plucked weeds aside.
When the walk-behind tractor moves, the knives penetrate deep into the soil to the roots and catch the plants. The rotating drum catches them with its blades and throws them away.
Weeding tools are made with L-shaped cutting tools without a front frame. A solid wall is installed at the ends of the drums.
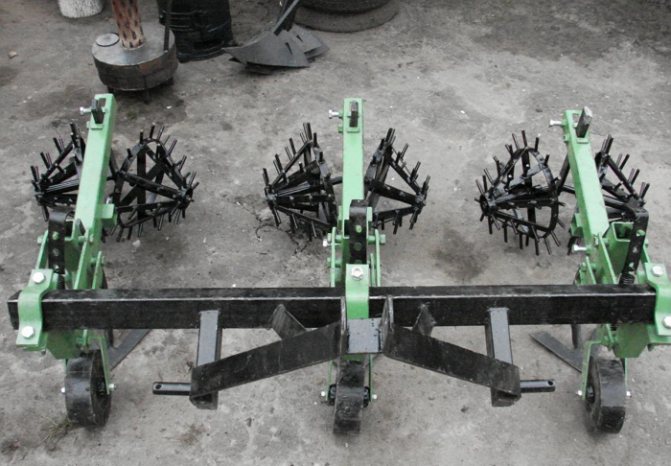
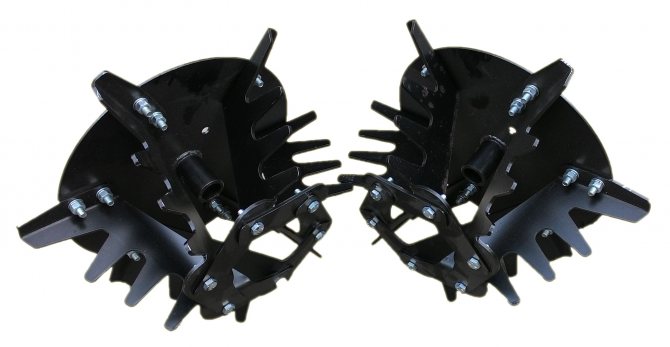
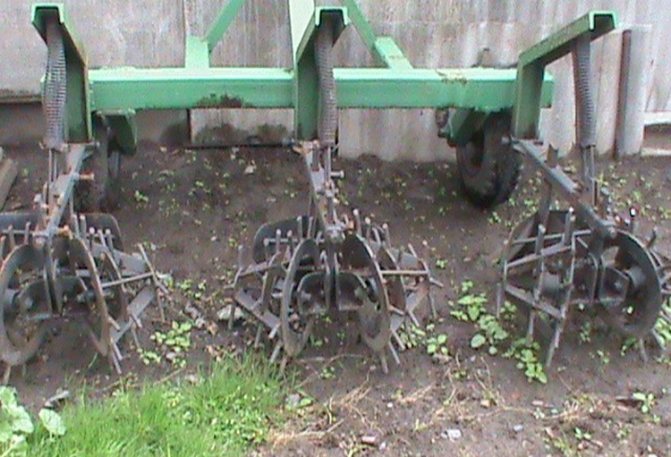
Weeding hedgehogs
Inter-row cultivation is carried out with a special ripper, which is called a hedgehog. The device is made in the form of several metal rings with different radii. They are located at a small distance from each other, forming together a kind of cone.
Each segment has sharp thorns that are designed to pull out weeds. To increase efficiency, the structure is made paired, but asymmetrical. The parts are positioned at an angle to each other.
Impact of hedgehogs:
- Weed control. The thorns catch the plants and pull them out of the soil along with the roots, while not touching the crop.
- Loosening and furrowing of the soil. The process improves the penetration of air and moisture into the soil.
- Formation of ranks. The landing structure looks neat.
Hedgehogs are used both for weeding potatoes and for hilling. They are suitable for all types of soil and site areas.
The device works on the principle of a rotary harrow. The thorns penetrate the soil, and the rings rotate, thereby pulling out the plant and loosening the soil.
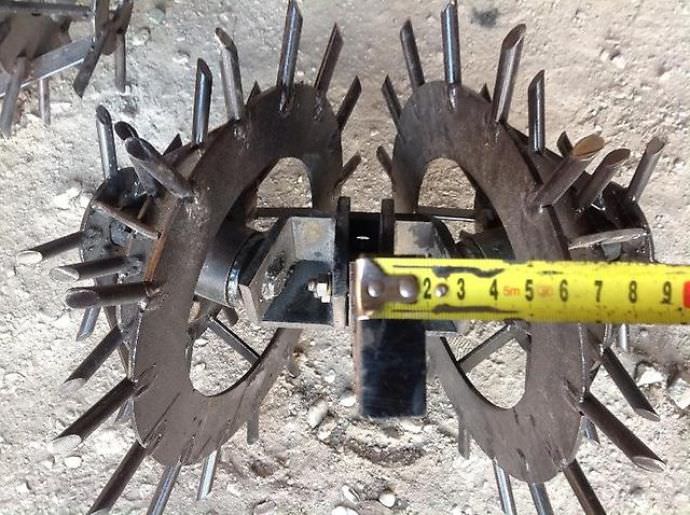
Self-made hedgehogs
For the manufacture of a hedgehog, a metal disk structure is chosen as the basis. Find 3 discs of different sizes. Rings are more effective because they are lighter and less harmful to the soil, but discs are easier to make.
With a paired design, circles with the following diameter are taken:
- 250 mm, 170 mm, 90 mm;
- 280 mm, 190 mm, 100 mm.
The frame is a thick one-inch pipe. The axial dimension of the hedgehog is 25 mm. The distance between the outermost circles should not exceed 160 mm. The maximum disc diameter is 340 mm.
The thorns are prepared from a metal rod of medium thickness. The entire structure will need 80-90 pieces. The length of the spike for weeding potatoes is 12-15 cm.
Number of spikes per disc:
- small - 6-8;
- medium - 12-15;
- large - 16-20.
Sometimes several spikes are installed on the axle for additional loosening of the soil. The large circle is placed in the center. The small disc is played first, and the middle disc comes at the end. Discs are attached to the walk-behind tractor with bushings and jumpers.
Metal polygons are also suitable instead of discs. For better rotation, a closed-type ball bearing is installed in the hedgehog.
General rules
The main task of weeding is to destroy pests quickly, spending as little effort as possible. Is it correct to weed potatoes during flowering? It is not recommended to use chemicals during this period, so yes: if weeds appear, it is best to remove them manually. It is necessary to water the beds even before the first shoots appear. Weeds appear on the field faster and develop faster. The usual work schedule is once every two weeks. You can stop when the bushes gain strength and finally get stronger: then the weeds will not be able to interfere with the growth of potatoes. There are a few rules to help you make the process more efficient and get the most out of it.
- Clean your garden before the plants grow and overlap. If you skip this moment, it will take much longer to weed. Weeding early is easiest: you can safely maneuver between plants without harming them.
- Develop a weeding pattern. If you do this randomly, you can skip some areas or accidentally harm the plants. Select a separate lane or corner - and move away from it, capturing all the beds in a row. Simultaneously view the condition of the plants, immediately calculating the diseased.If you can see the disease in time, you will be able to avoid problems in the future.
- Choose the right time: it is best to weed the plants in cloudy weather in the morning or afternoon. This will allow a good view of weeds or painful plants.
- When weeding the beds, look at them for pests. At this stage, you can still collect them by hand, without resorting to the use of chemicals.
Important!
If you do weed on a sunny day, be sure to wear a hat to avoid sunstroke.