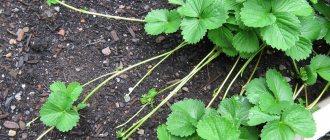
Strawberries (or garden strawberries) are the very first and long-awaited berries in the country. In order to enjoy its unique taste every summer, it is necessary to properly prepare the soil and beds for planting crops. The composition and acidity of the soil is critical for a flavorful crop.
- Preparing the soil for planting in spring
Soil acidity
- Soil disinfection
Chemical method
- Biological way
- Agrotechnical method
- Bed-box
- The easy way
Video: planting strawberries on the combs
- A bed of car tires
- Photo gallery: mulching strawberry beds
Dimensions (edit)
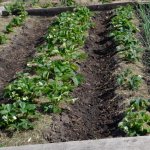
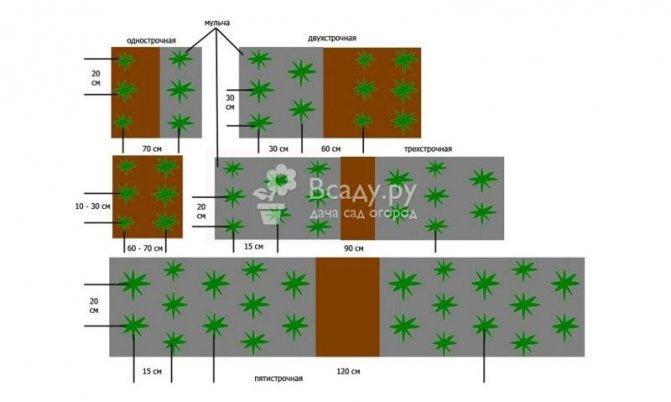
The optimal width of a classic bed, consisting of a strip where strawberries will be planted and a furrow, is 50 cm.The strip is 20 cm wide, the furrow is 30 cm.The distance between the holes for bushes is 40 cm.
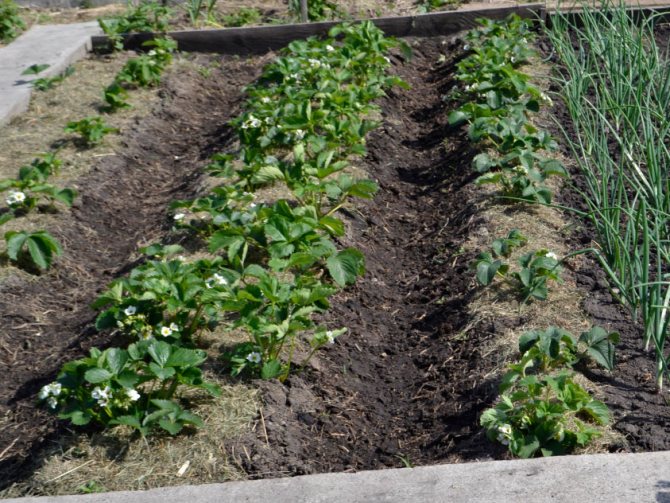
The bed should turn out to be elevated, the depth of the furrows for water drainage is about 25 cm.These recesses are also designed for the passage of a person
Important! You can not plant bushes too close to each other in order to save space. Thickening slows down the development of plants and leads to a decrease in yield. With a dense planting, the mustache is intertwined with each other, interfering with weeding. In addition, if one plant gets sick, the disease will quickly spread throughout the garden.
Soil preparation
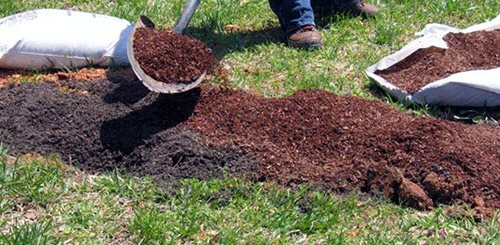

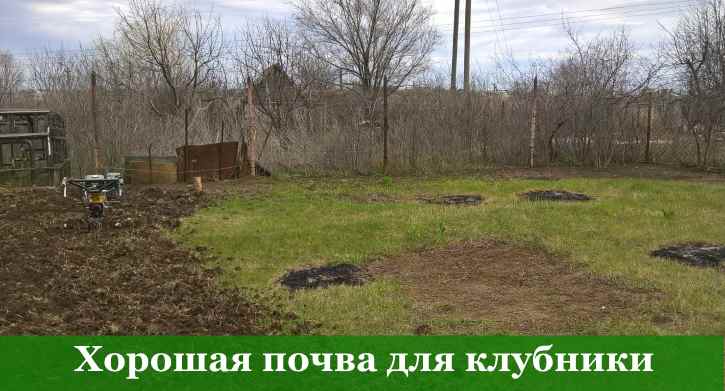
Strawberries grow well on loamy, slightly acidic (pH 5.5-6) soils with a high organic content. But whatever the initial soil on our site, we can provide a strawberry bed with light, loose, fertile soil.
There are two ways to prepare soil for strawberries:
- dig up the ground with the introduction of fertilizers and organic matter;
- mix several components separately, and then fill the garden with the finished soil mixture.
Digging is pretty simple. No later than a month before planting, we dig the selected area onto the bayonet of a shovel. If the ground is heavy, clayey, add one of the loosening materials to the garden bed:
- rotted sawdust with urea and ash (for 10 kilograms of sawdust, 2 tablespoons of urea, dissolved in 2 liters of water, and 1 glass of ash);
- peat with ash (one glass of ash per bucket of peat);
- sand.
Also, when digging for each square meter of soil, it is recommended to apply fertilizers:
- 5-6 kilograms of manure (another option: 6-8 kilograms of compost or humus);
- 50 grams of superphosphate;
- 15 grams of potassium sulfate
- 50 grams of urea.
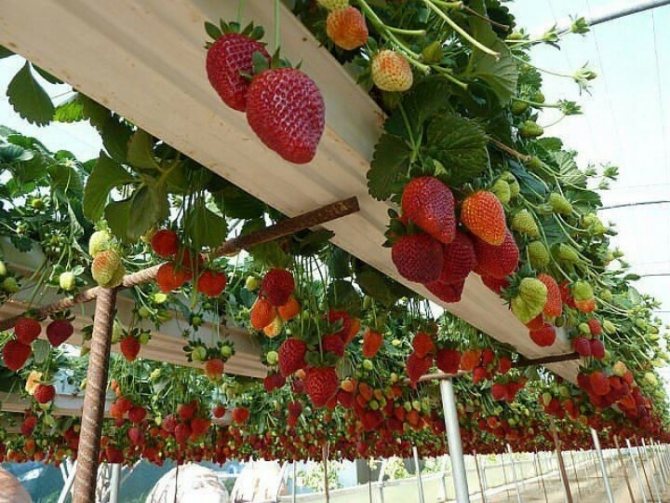
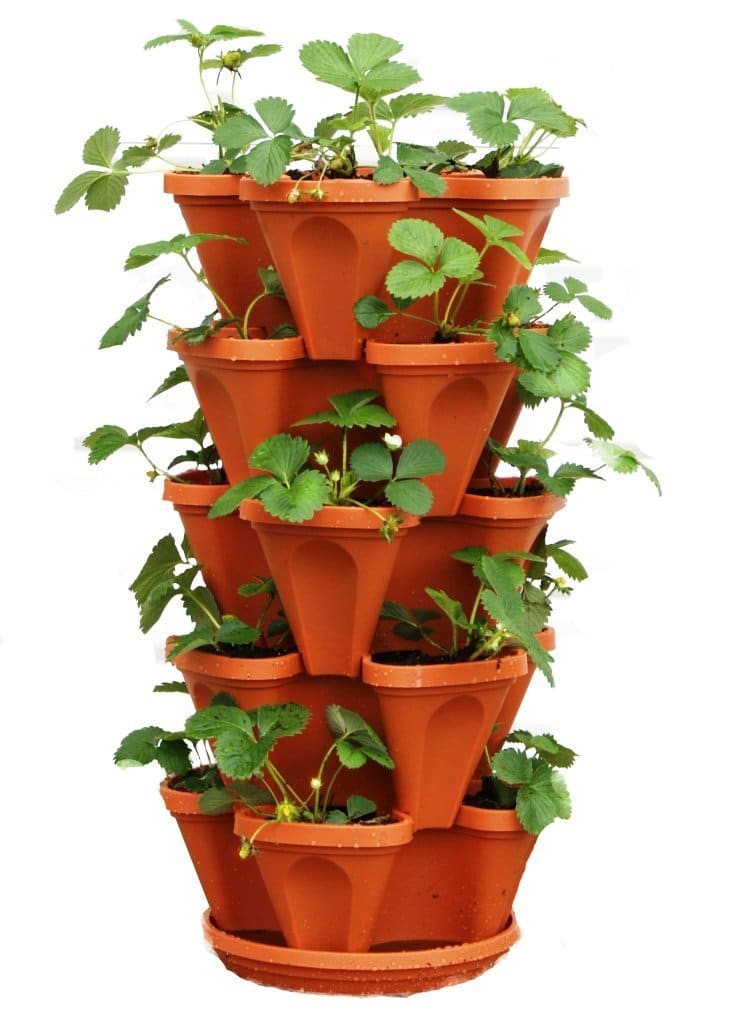
You can do without digging. In this case, we need sod land, compost (or humus), peat and sawdust. We take all components in equal parts and mix. Then we fill the prepared place for the garden. In this way, the soil is prepared for growing strawberries, for example, in vertical beds - in pipes, pyramids, etc.
Choosing a place for strawberries
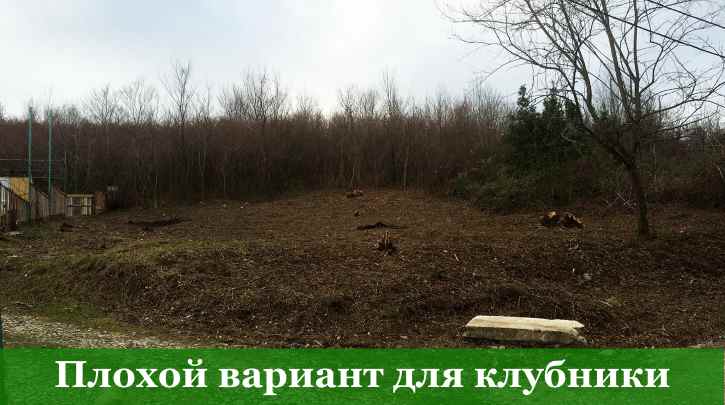
Before you start preparing the soil, decide where to plant your strawberries. The quantity and quality of the crop depends on the correct choice of place.
The place for planting strawberries must have the following characteristics:
- well lit by the sun. If you plant strawberries in the shade, leaves will develop more actively, rather than berries. The fruits will be smaller and sour, and ripening will be delayed;
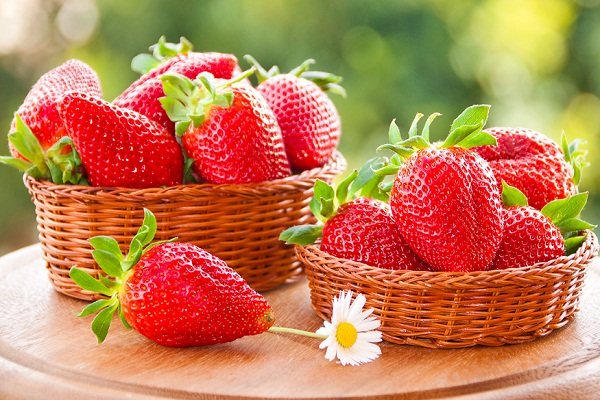

To get large, sweet berries, you need to plant strawberries in a well-lit area.
- have a groundwater level not higher than one meter. With prolonged waterlogging, the delicate roots of strawberries can rot. If your site is with a high groundwater table, plant strawberries in bulk beds 15–20 cm high;
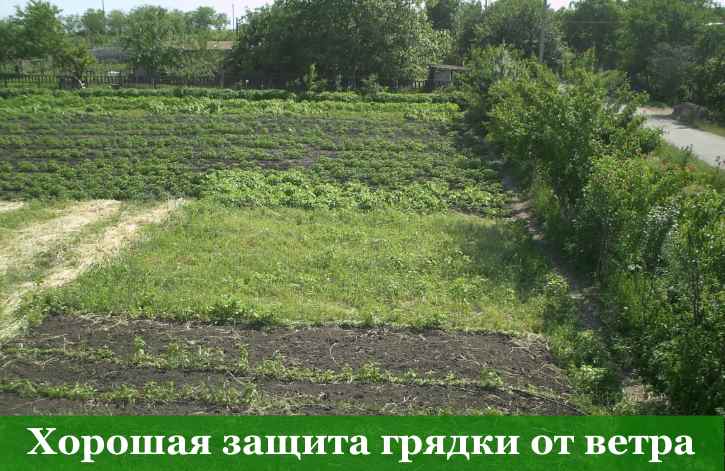
- be protected from the wind. Experienced gardeners advise planting strawberries between currant and gooseberry bushes;
- be located on level ground. It is good if there is a slight slope in the southwest direction. Place the rows not along, but across the slope. This will help keep the spring melt water, and during heavy rains, the top fertile layer will not be washed off. Avoid planting strawberries on steep slopes or in low areas where cold air builds up;
- to be cleared of perennial weeds - wheatgrass, sow thistle and others.
Strawberries are grown in one place for no more than 4-5 years. After this period, the berries become smaller, the yield decreases. When choosing a new location, observe the crop rotation. The best predecessors are:
- onion,
- garlic,
- carrot,
- any greens,
- legumes and green manure.
Do not plant berries after potatoes, cucumbers, and tomatoes. These crops are often affected by fungal diseases, which are dangerous for strawberries. The berry can be returned to its original place no earlier than after 4 years.
When choosing a place to plant strawberries, try not to place the garden close to trees. Once I made a mistake with the choice of the place, having made a bed not far from the apple tree. In the spring, when the leaves had not yet blossomed, the strawberries were fully illuminated by the sun. Then, due to the abundant foliage, my garden bed was in the shade for a good half of the day.
Crop rotation rules
The best option is to place the young bushes in an area where beans, peas, celery and garlic were cultivated in the previous season.
Bulbous flowers, turnips, radishes are suitable as predecessors. It is better to abandon planting in places where nightshade crops or cucumbers previously grew.
By properly distributing neighbors, you can get rid of slugs. To do this, sow parsley, scaring off with its smell. Beets, radishes and onions also have a beneficial effect on development.
How to prepare a site for planting
Collect the fallen leaves from the soil. After that, organic matter is scattered on the ground, that is, 5-6 kg of humus, rotted manure, compost, 35 g of nitroammofoska per 1 m². They dig up the soil, weeds get away.
In the spring, as soon as the soil warms up enough, it is loosened with a pitchfork, lumps of earth are broken, as a result, the earth is saturated with oxygen.
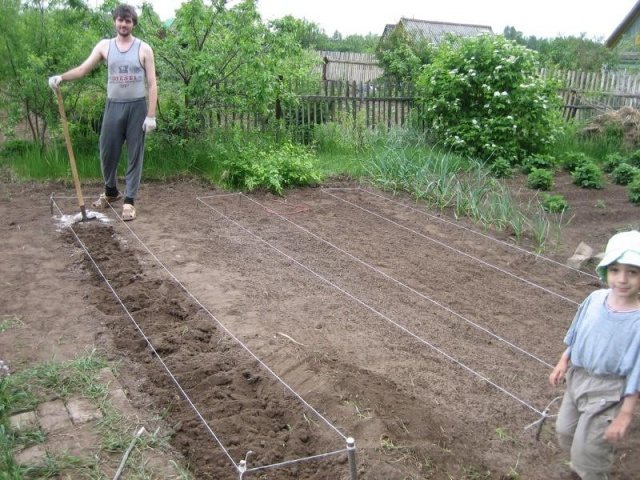

Then they wait a week for the soil to settle enough, then make beds, placing them from north to south, then they will be as illuminated by the sun as possible.
The width of the beds is made 0.9 m, and an indent of 65 cm is observed between the rows, you should not make too wide beds, since then it will be difficult to care for the bushes.
Next, you need to arrange drip irrigation. Take a garden hose, insert a plug into its end, make holes in it along the length, then dig into the ground to a depth of 5-10 cm. The length of the hose should be identical with the length of the beds.
How to grow strawberries in high ridges (step by step recommendations)
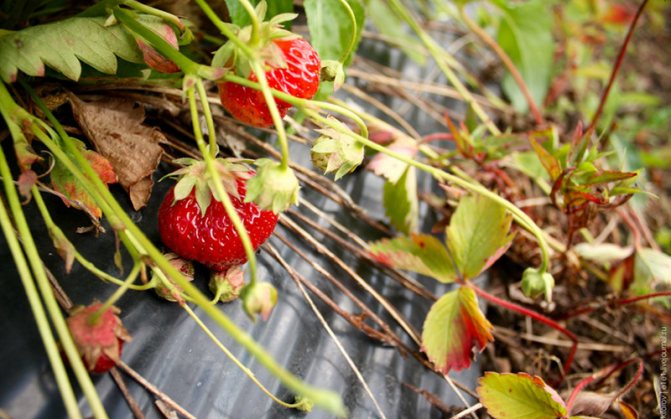

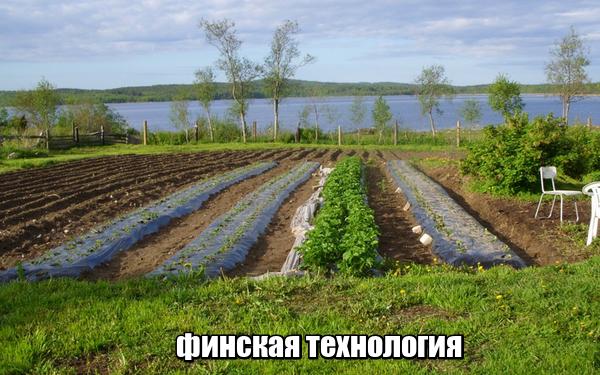
Nowadays, when residents of even the most remote areas can buy a special non-woven fiber or mulch film, or even the most remote areas can buy high-yield varieties of garden strawberries, it is not so difficult to apply the Finnish technology.Perhaps at first something will not work out, but temporary difficulties will pass, and after 1-2 years the result will certainly please.
Site preparation
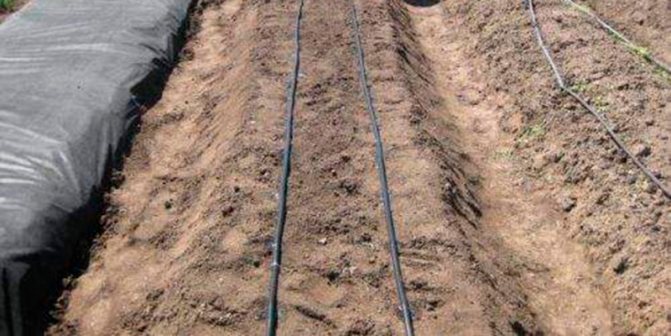

To begin with, at the dacha, they choose a suitable site for Victoria planting. Areas well lit by the sun, with fertile soil of a neutral reaction, are suitable.
On a note! When planning planting crops, it is advisable to prepare strawberry beds in the fall.
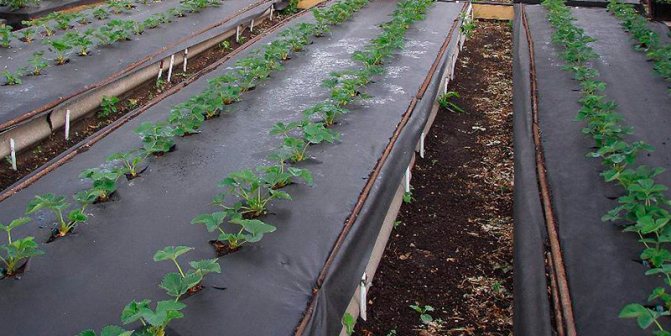
The ridges are dug up, weeds and rhizomes are removed. Humus, superphosphate, complex fertilizers are introduced. Then, after about a couple of weeks, they raise the beds to a height of 40-50 cm, leaving a distance between them up to 30-40 cm.The width of the ridges is 55-60 cm.To make a reliable high bed for strawberries, summer residents build frames from boards, slate, falling asleep in them fertile soil (see photo).

For irrigation, a drip system is equipped:
- lay a hose in the middle of the ridge;
- one end is connected to the pump, the other is closed with a stopper (plug);
- slightly deepen the hose into the ground.
To supply water, use a drip tape, a perforated hose. You can make such a device with your own hands by making holes in advance.
Material selection
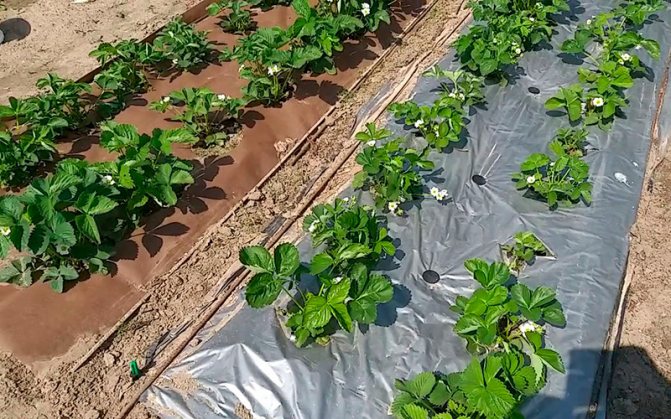

For mulching, a film (usually black) or special agrofibre is used to cover the soil in the beds, to preserve the necessary heat.
| Type of material | Dignity | disadvantages |
| Agrofiber |
|
|
| Film |
|
|
What to choose, every gardener decides independently, weighing all the pros and cons.
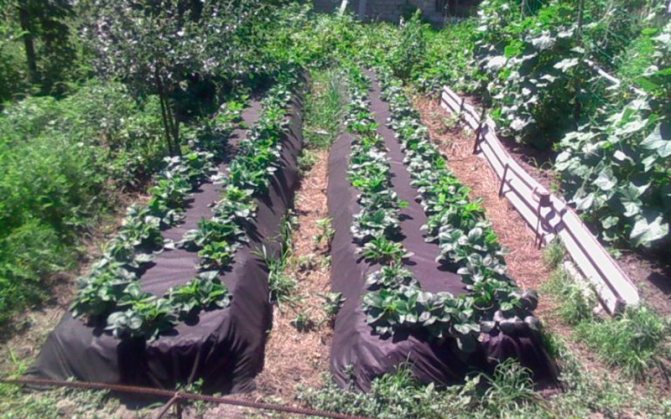

The length of the strips of material should correspond to the ridges, taking into account the allowances for fastening. The width also depends on the size of the beds. For planting in two rows, strips 1.3-1.5 m wide are needed. For single-row beds, 1 meter is enough. The sides are fixed with stones, boards, bricks, and other improvised means.
Varieties
Despite the fact that any varieties of strawberries are suitable for planting using Finnish technology, early maturing garden strawberries are preferable. On high ridges, such species begin to bloom early and give a bountiful harvest of ripe berries.
Suitable varieties:
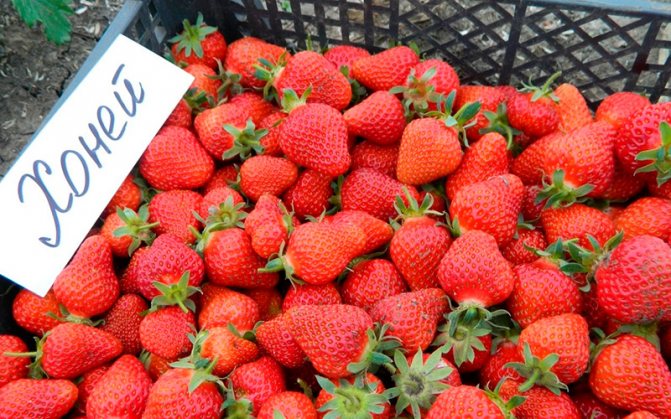
- "Honey";
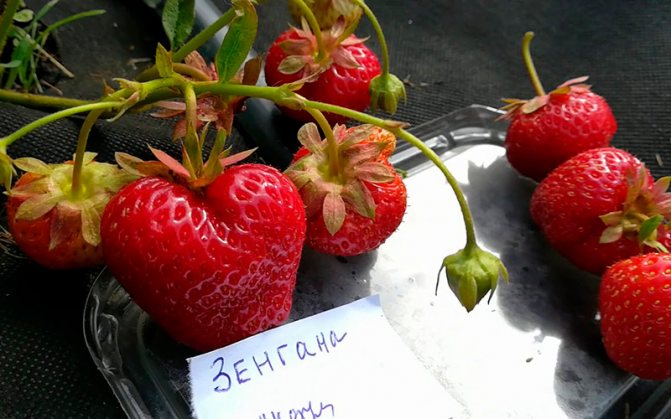
- Zenga-Zengana;
- "rumba";
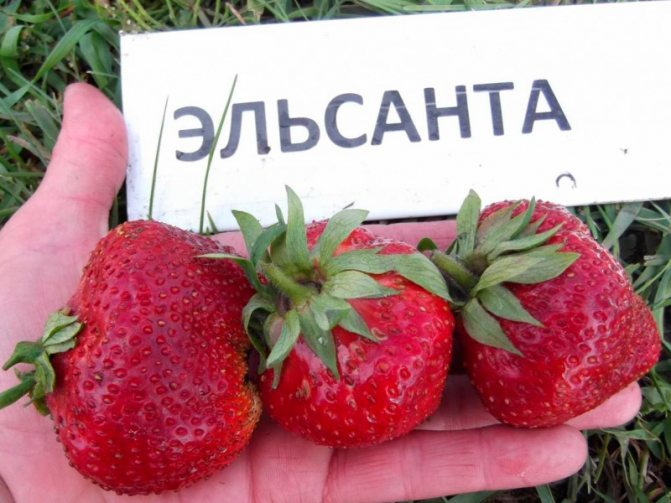
- Elsanta;
- "crown";
- Bounty.
All these varieties have a short growing season, excellent yield indicators, large sweet fruits.
Landing
On the ridges, strawberries are planted in 1, 2 or 3 rows. Judging by the reviews of summer residents, the most convenient are two-row ridges, on which drip hoses are laid in the middle.
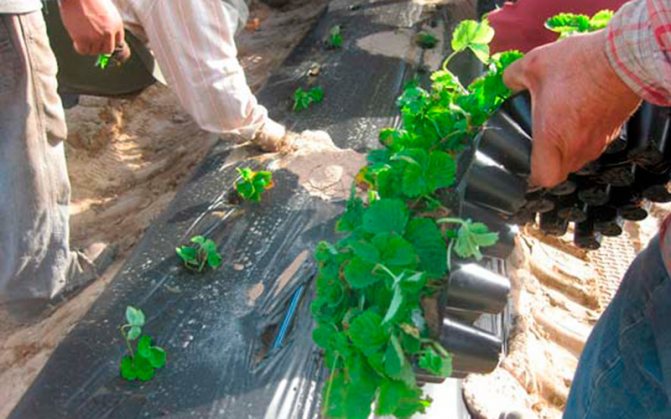

The prepared areas are covered with a cloth (film), carefully stretched, and fixed around the perimeter. Places for holes are marked on the surface, then circles are cut out (up to 10 cm in diameter).
On a note! Sometimes cruciform incisions are made, but they are not particularly convenient for planting. In addition, the holes then enlarge, expand, and the film becomes unusable.
They maintain a distance of about 20-30 cm (depending on the selected variety and size of the bushes), and between the rows - 30 cm.The holes for the plants are marked in a checkerboard pattern or along one line (see video).
Prepared seedling bushes (rooted rosettes or seedlings) are placed in the holes in the holes. The growth point (heart) remains above the ground surface. After completing the work, they get a bed with neatly planted bushes, covered with mulching material.
Advantages and disadvantages of the method
Finnish agricultural technology has several advantages over traditional methods:
- a favorable nutrient medium is created due to the accumulation of nitrate nitrogen in the upper soil layer;
- the activity of microorganisms that ensure plant growth increases;
- there are no weeds;
- a stable level of humidity is provided;
- rooting of outlets is prevented;
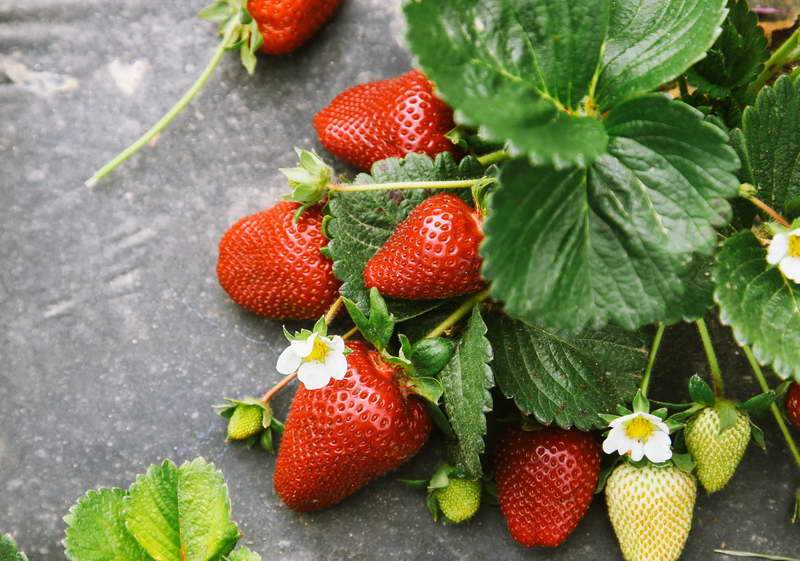
- the presentation of the berries is preserved, since the fruits do not come into contact with the ground;
- the soil warms up evenly.
The only drawback of the method is that for cultivation using this technology, you will need black plastic wrap, which is produced in Finland.

Care of strawberry seedlings after planting
2 weeks after planting, the seedlings are checked, dried plants are removed and new ones are planted. The bushes are watered at the rate of 1 liter of water per plant by rain or drip.
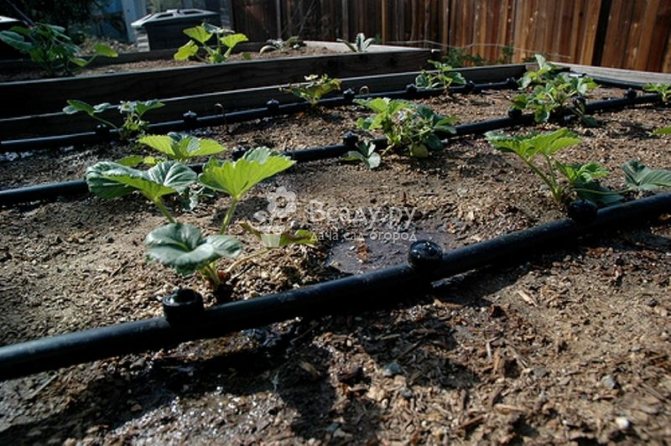

Drip irrigation of strawberries
At the end of April, 1 watering is carried out, from May to July - 2-3, in August and September - 2 waterings. With a lack of moisture, yields will decrease, and with an excess, the risk of diseases will increase.
In the first year after planting, weeds are fought by agrotechnical methods: weeding and treatment with targeted herbicides. Periodically, whiskers and grown leaves are removed on young plants, preventing the weakening of plants, and protecting strawberries from diseases and pests.
In winters with little snow, young bushes are covered with mulch:
- coniferous branches;
- dry grass;
- covering material.
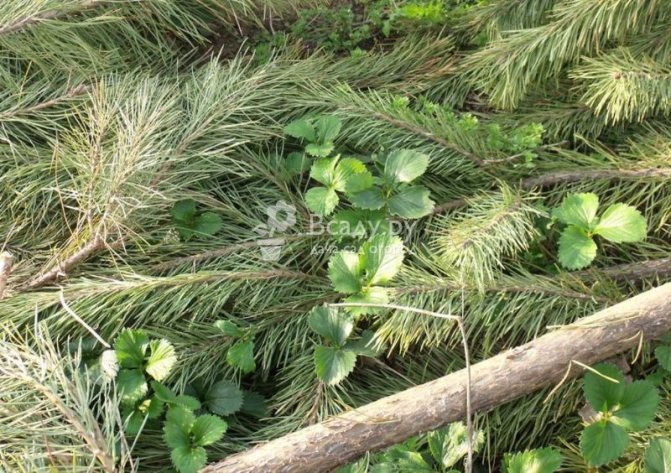

Mulching the needles of strawberry beds
Mulching begins with small, but well-established frosts, up to minus 5 grams. Celsius. The correct laying of a strawberry plantation will provide a tasty and healthy berry for several years.
Selection of mulching material
You can mulch the plantings with a black polyethylene film or white, or you can use a non-woven polypropylene fabric (Agril, Agrotex).
Black and white film
Advantages of using film:
- many useful elements are preserved under the film, since the earth is protected from rain;
- weeds stop growing;
- beneficial microorganisms increase their activity;
- under the film, sufficient moisture in the earth remains for a long time, so you can reduce the amount of watering;
- berries are poured faster;
- the berries are clean, not stained in the ground;
- less mustache is formed.
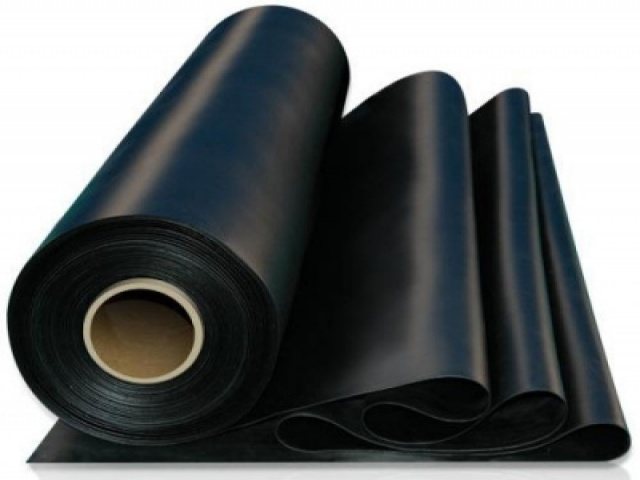

Disadvantages of using the film:
- When using the film, it is imperative to do drip irrigation, since if you water with a watering can, the water will roll down the film into the aisles.
- There can be pests and slugs under the film, and mold can develop in heavy rains.
- Also, the black color contributes to the strong heating of the film and in the heat of the culture, it will also be necessary to add mulch from hay and cut grass.
- If you cover the ground with a white or transparent film, then your soil will not overheat in the heat, but varietal grass can grow.
- The film has one more drawback - even with slight frosts, condensation appears on it, so the film needs to be heated. This can be done with sawdust, covering them with a layer of 8 cm.
Agrofiber
This material has more advantages than film:
- the earth is perfectly saturated with oxygen;
- the soil does not heat up in heat;
- berries are aesthetically pleasing;
- when using Agrotex or Agrila, mold does not appear on the material, since the canvas freely passes air;
- berries are poured and ripen faster;
- the mustache cannot grow on the canvas.
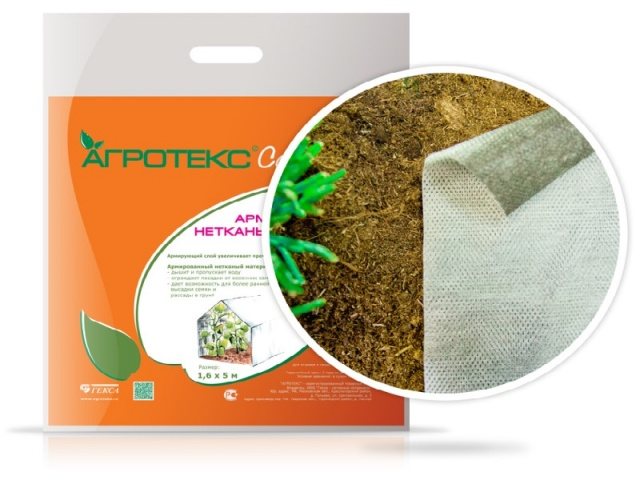

But the disadvantage of agrofibre is that the soil dries out quickly, so strawberries need to be watered more often. Also agrofibre is quite expensive.

