Phloxes are relatively easy to care for, they are distinguished by a huge variety of flowering and the ability to decorate any area with themselves. There are several ways to vegetatively propagate them, allowing you to increase the collection of your favorite flowers. This article will answer the question of whether phlox can be propagated by cuttings, and will tell you how to carry out a similar procedure.
Propagation by cuttings
When grafting, all varietal characteristics of the mother plant are transmitted. Phlox cuttings and root quite well. However, you need to know that varieties with dark flowers need more care due to their lower winter hardiness. Reproduction of phlox by stem cuttings is possible in spring, summer and autumn. Spring cuttings are the most common.
Propagation by spring cuttings
Cuttings are harvested at the end of May. For cutting cuttings, healthy, vigorous bushes are chosen, without signs of any oppression. Cut cuttings are immediately placed in boxes of wet river sand. After planting the cuttings, the boxes are taken to the shade and covered with foil on hot days. For rooting, it is necessary to constantly monitor the moisture content of the sand and air, to carry out frequent spraying of the leaves from the sprayer.
The survival rate of stem cuttings in spring is maximum and amounts to 98-100%.
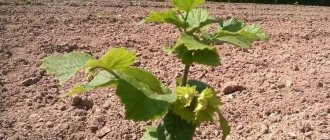
After the appearance of the root system, the cuttings are transplanted into open ground (preferably not in the sun), where seedlings are formed during the summer. In the fall, phlox plants are ready for planting in a permanent place. Abundant flowering in this case can be expected in the third year of life.
The timing of cuttings can be shifted to earlier months, if in the fall after flowering, select several young bushes and transplant them into a pot for transferring to a room with a temperature of 5 ° C, not forgetting about moderate watering. At the end of January, the temperature is raised to 8–10 ° C, increasing the frequency of watering. The first cut of cuttings is made in March, the yield can exceed 100 cuttings per bush.
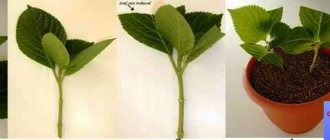
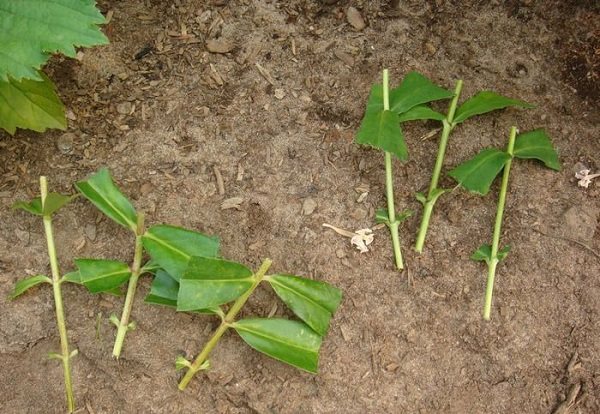
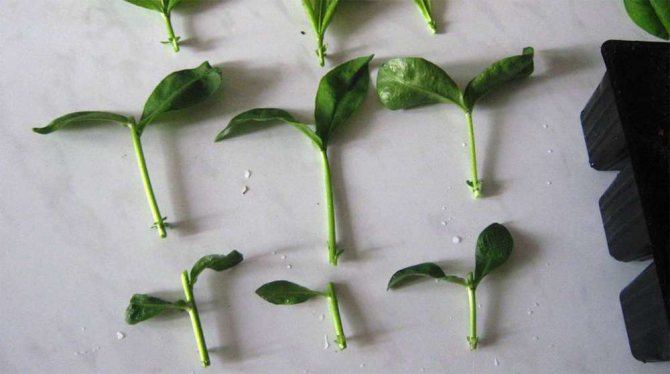
- Cuttings 8–10 cm long are suitable for rooting; when cutting, they leave the lower leaves for further shoot growth.
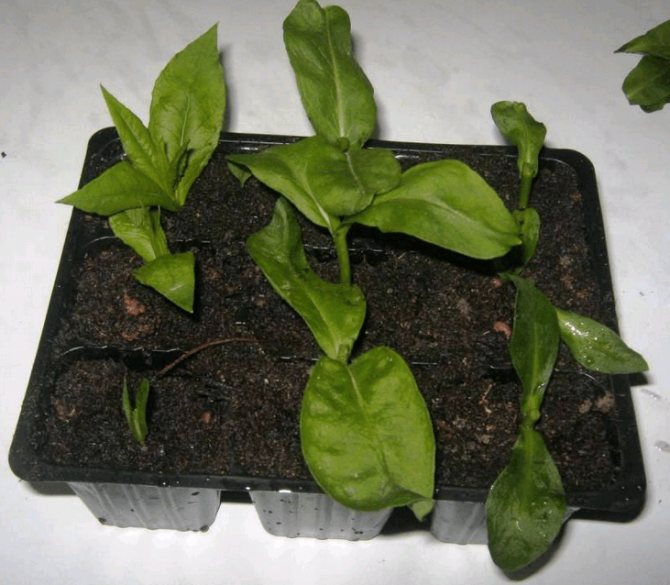
- For planting cuttings, fertile soil of light granulometric composition is poured into the box, and a 2-3 cm layer of river sand is scattered on top.
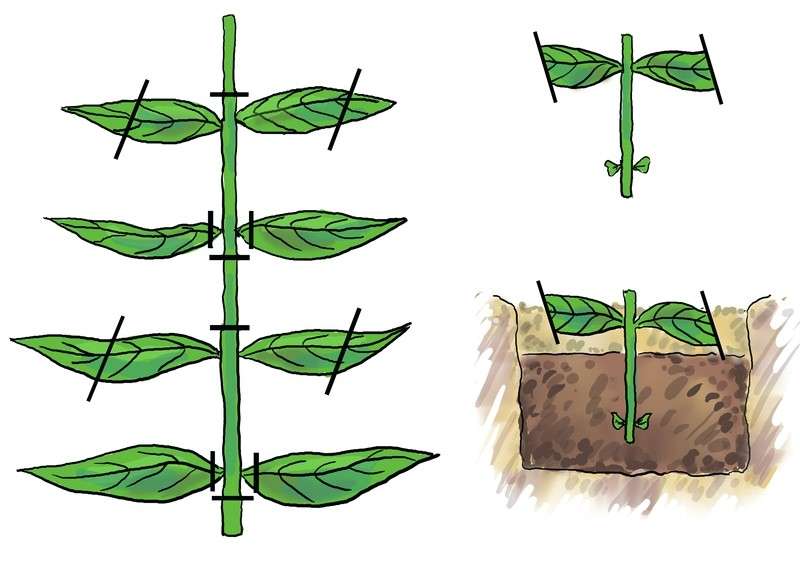
- The cuttings are planted tightly enough to each other, not deeply deepening so that the cut of the cuttings remains in a layer of sand, where better oxygen access is provided.
- With excessive deepening, the growth of callus slows down and its decay is possible.
Under optimal conditions, root buds (callus) appear one week after planting. To reduce the processes of assimilation and evaporation, it is advisable to remove the leaves from the cuttings. In this case, there will be no need for lighting. If the leaves are not removed, then the room should be equipped with a source of diffused light.

Greenhouses are well suited for spring cuttings. A few days after rooting, the glass frames begin to open (morning and evening). Gradually increasing the hardening time in direct sunlight and fresh air, after a week the frames are removed altogether.
Reproduction of phlox by summer cuttings
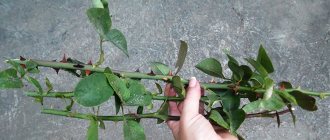
The summer propagation period lasts from the second decade of July to the second decade of August - during the mass flowering of phlox.Cuttings are cut from shoots without inflorescences. Cuttings can be cut every 5 days. Since in summer, higher air temperatures and lower humidity are factors that contribute to intensive evaporation of moisture, it is better to cut the cuttings early in the morning after dew. On the shoots selected for cuttings, the leaves are first pruned, leaving 1/3 of the leaf, which is enough for photosynthesis and nutrition of future roots and not enough for strong evaporation. Then they begin to cut the cuttings, focusing on the middle part of the shoot, since the cuttings from the top practically do not take root.
Cut cuttings should not be placed in water.
Without delay, they start planting in a pre-prepared substrate.
- The substrate is prepared from equal parts of turf, forest floor and humus.
- From above, the substrate is covered with river sand with a layer of several centimeters.
- It is advisable that the greenhouse is in the shade, otherwise artificial shading is created.
- Immediately after planting, the cuttings are covered with foil or glass frames.
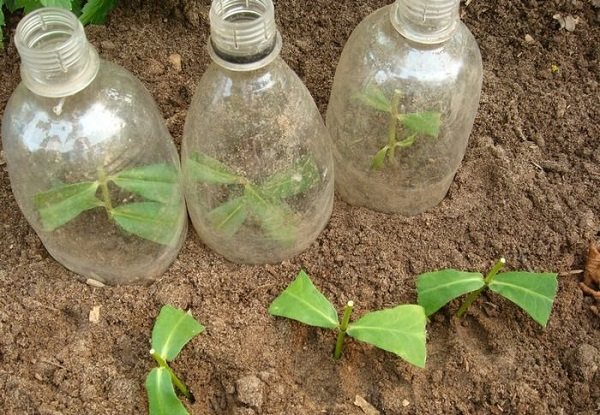
During the entire rooting period, it is necessary to strictly monitor the level of soil and atmospheric moisture in the greenhouse. To maintain one hundred percent moisture, watering, spraying and irrigation of the area around the greenhouse are used. With summer cuttings, root buds appear in 2-3 weeks. The number of rooted cuttings decreases in comparison with spring cuttings to 80–90%.
Reproduction of phlox by autumn cuttings
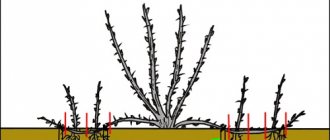
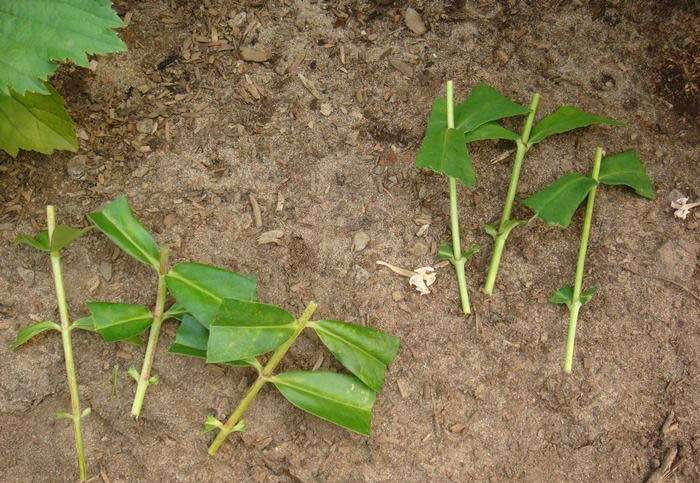
From the second decade of September, autumn cuttings can be carried out. Phlox bushes form a rich cutting material during the growing season. Planting cuttings is carried out directly into open ground, choosing areas with loamy soil, which is recommended to be mixed with peat. Cuttings are slightly buried in the soil, placing them at an angle. After planting, the soil is mulched with a layer of fallen leaves (preferably birch leaves). Overwintered cuttings are transplanted in the spring on ridges with fertile soil for growing, and in the fall they are transplanted to a permanent place.
To increase shoot formation, all shoots are cut off from the bushes marked for autumn propagation in mid-August, leaving stumps 10 cm high. By September, the bushes will form an excellent material for propagation. Sliced cuttings are planted in a greenhouse for wintering. In this case, the cuttings take root earlier and already in May are ready for transplanting to the beds, and at the end of summer you can admire their flowering. This method is especially relevant for the propagation of poorly rooted varieties.

Types of cuttings and their advantages
Each grower chooses the most suitable method for him. There are main types:
- propagation by stem cuttings;
- leafy;
- root.
The essence of each of them is approximately the same. The difference in the origin and size of the cuttings used. In any case, breeding phlox with cuttings gives a similar result. Among the advantages of such reproduction of phlox, it is worth highlighting:
- large full-fledged phloxes are obtained from small parts of the plant;
- the decorativeness of the mother plant is preserved;
- in itself, this method is quite easy and suitable even for beginners.
Each of the types of cuttings should be discussed separately.
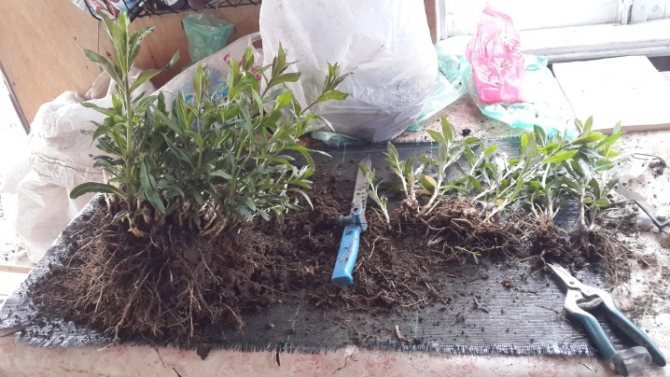
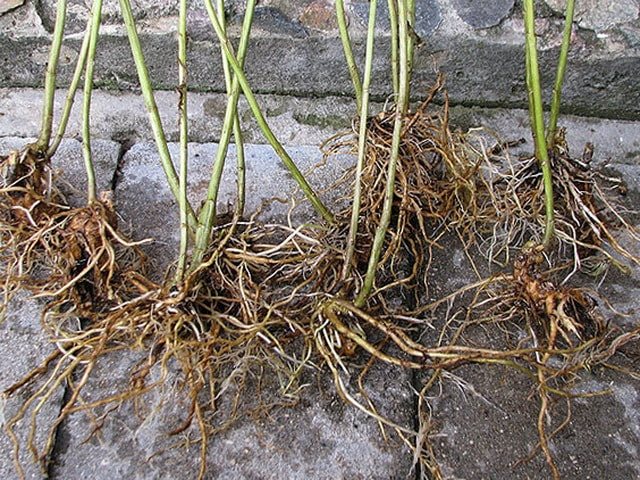
Reproduction by dividing the bush
Bushes are subject to division at the age of 3-4 years. This is the fastest and least laborious breeding method that can be used at any time from early spring to autumn.
- Before digging up the plant, its stems should be cut to half the length.
- After removing from the ground and cleaning the rhizomes from the soil, they are divided into several parts using a sharp shovel or knife.

Note. Try not to damage the vegetative buds located at the base of the stems during division. Each new bush should have at least eight of them.
If the roots are too long, they need to be shortened with pruning shears to 15 cm, but no more than one third. Delenki are transplanted to prepared places with straightened roots. They are buried three centimeters into the soil.
Timing
In order for the bush to survive reproduction well, and the new plant quickly grows, it is important to choose the right timing for the procedure. Depending on what kind of material will be chosen for the work, the time of its carrying out will differ. In the case of working with phlox stems, it is best to cut them at the moment when the buds are formed. If you prepare the material in late spring and early summer, then it will be possible not to harm the mother bush, and also give enough time for the cuttings to germinate, and new plants have time to form before the onset of cold weather. Despite the recommendations, many gardeners germinate cuttings throughout the summer and even with the onset of autumn. Due to the varying degrees of culture activity, some blanks may not germinate and will disappear, therefore it is advisable to cultivate phlox at a time when they are at the stage of the most active growth and development.
Cutting crops with the help of sheets is best done in summer, in June or July, when the bush is already formed. Then the loss of any of its parts will not cause serious damage to the entire plant. It is worth using root cuttings either in early spring or late autumn.
In August, you need to outline those plants that are suitable for the procedure, carry out preparation, full-fledged care in the summer, and with the onset of coolness and at rest, prepare the necessary root cuttings.
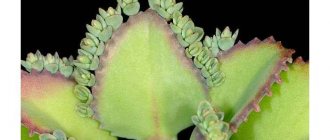
Propagation by leaf cuttings
For this method of reproduction of phlox, the optimal timing is the third decade of June - the first decade of July. Only mature stems are selected for grafting. With a sharp knife (preferably a garden budding knife), cut the leaf petiole with a thin plate of the stem 2 cm long. The output of cuttings from each stem depends on its length and can be up to 15 pieces.
The survival rate of such cuttings is 100%.
- The boxes are filled with a rooting substrate made from compost, peat and river sand, and a thin layer of river sand is poured over the substrate.
- Cuttings are planted in a moist substrate well saturated with moisture.
- The cuttings are planted so that the leaf is on the surface at an angle to the substrate, and the bud with part of the stem is in the sand.
- The distance between the cuttings is about 5 cm.
- The boxes with cuttings are transferred to an open greenhouse with the possibility of shading and shelter from the weather.
Callus begins to form after 2 weeks. As with other grafting methods, special attention is paid to the level of moisture. Rooting of cuttings lasts for a month, after which a gradual hardening begins with direct sunlight and cool air. To stimulate the laying of new buds and increase bushiness, the top of the cutting is pinched. When the plants form and get stronger, they are transplanted into open ground to a permanent place, pinching the roots. The strongest and tallest specimens will bloom in the same year. To increase the winter hardiness of plants, they should be covered with peat and spruce branches to prevent deep freezing of the soil.
Phlox paniculata.
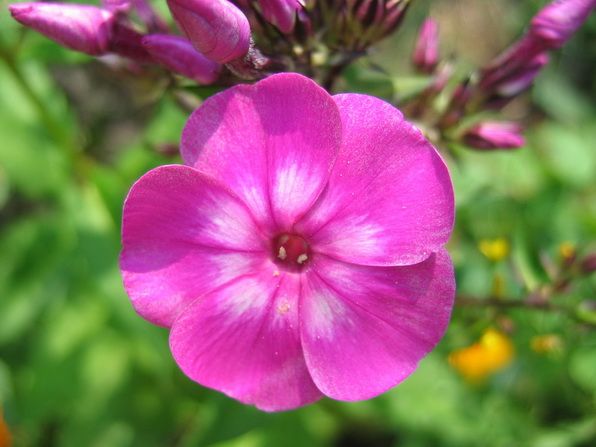
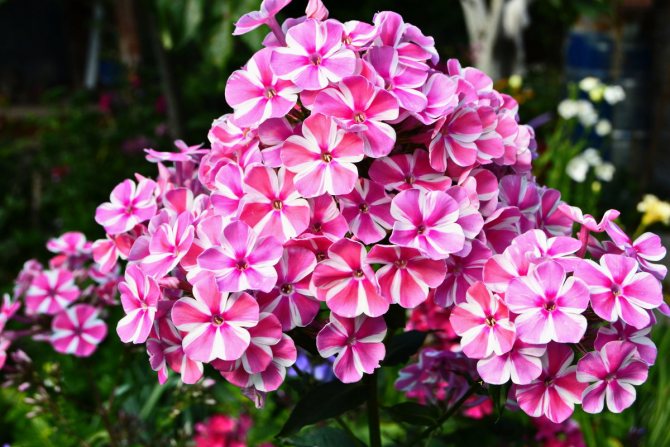
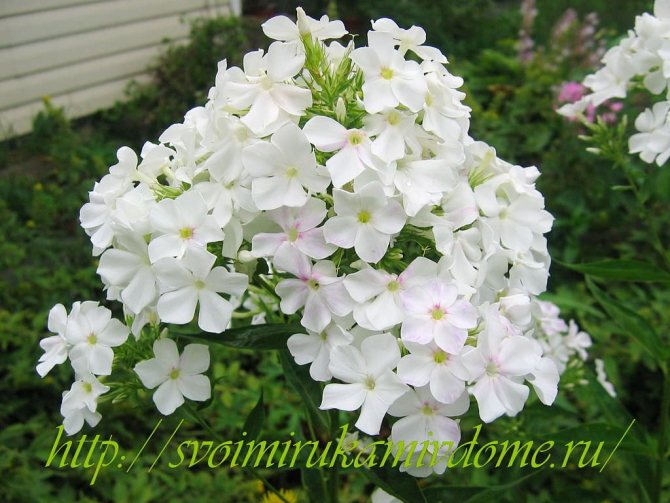
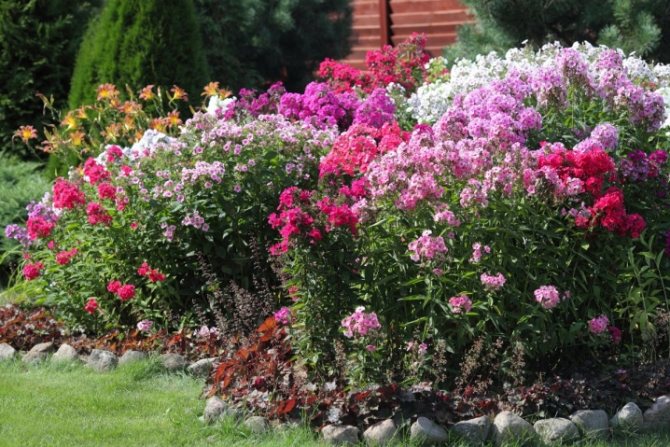
Phlox paniculata, flower When fragrant flowers of phlox paniculata bloomed in my garden, I admired them and breathed in a delicate aroma. They bloomed in turn, revealing delicate pastel petals. Phlox bloom luxuriously. Well, how can you resist not to take numerous photos. Opened pink, then coral, lilac, with a pink center ... And now all 8 varieties are blooming. They bloomed in July and some delight me until the beginning of October. The best part is that the reproduction of paniculata phlox is not difficult. Moreover, this is done in various ways.
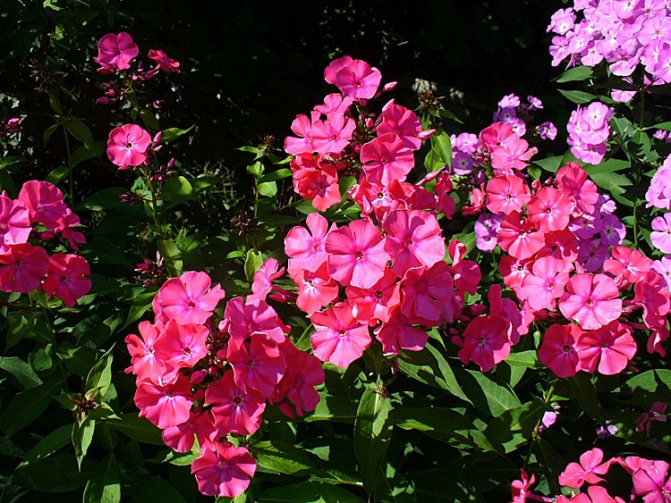
Phlox paniculata - the most beautiful perennial flower of the garden, the best decoration of flower beds. Its advantages include: beautiful flowers with a pleasant smell, long flowering, a variety of bright and juicy colors, unpretentiousness, winter hardiness and ease of reproduction. A huge number of different varieties allows you to choose plants with different flowering periods, different heights and colors. The main value of these spectacular flowers is that they bloom when peonies, delphiniums and other perennial flowers have faded, and dahlias and gladioli bloom later.
Phlox paniculata
Propagation by root cuttings
It is even more difficult to get phlox bushes from the remaining roots. Therefore, this method is suitable only when the stems and leaves of the plant are sick and cannot be cured. It is best to propagate flowers using root cuttings in early spring:
- Remove the phlox bush from the ground and set aside the most well-nourished, strong and juicy rhizomes for harvesting cuttings.
- Cut the roots into cubes at least 5 cm long.
- Thin long roots should remain on them.
- Prepare the box for planting by covering it with fertile soil.
- Stick the roots into the soil according to the 8x8 cm pattern so that the thin root "looks" down, and the thick one - up.
- Cover the cuttings with sand on top. Its layer should be 4 to 5 cm.
- Moisten the soil. Place the boxes in an area out of sunlight.
- The temperature in it should be constant (about 13-14 ° C).
After 2 weeks, raise the temperature to 18-25 ° C. The heat will stimulate the formation of shoots. When the first shoots hatch, start hardening them in daylight. To do this, briefly take the box outside, excluding direct sunlight. In May, transplant the cuttings with new shoots into the garden to get a full-grown phlox bush. They can be sent to the flower bed next May.
You can propagate phlox by root cuttings in the fall. But then, after planting them, the box must be moved to a dark cellar or closet, where the temperature will remain at the level of 2-3 ° C throughout the winter. Your task is not to let the earthy one dry out. Therefore, moisten the soil from time to time by spraying. But the soil should not be flooded, otherwise mold will form. In late February or early March, the box must be taken out and transferred to a dark, cool place (8-10 ° C). You can put it under the bed: in winter it is cool and dark. Increase the room temperature gradually. Provide access to sunlight when sprouts appear. And in May, transplant seedlings for growing in open ground.
Follow-up care
Plants planted in the ground require careful care:
- The first 5-8 days are watered with warm water little by little, several times during the day to prevent wilting.
- After rooting, the plants are fed three times per season with a solution of nitrogen fertilizers.
- Transfer the rooted cuttings for growing to the school.
- Phlox water, loosen the soil, remove weeds and mulch the soil.
- After planting in a flower garden, the plants are shaded, watered and weeded.
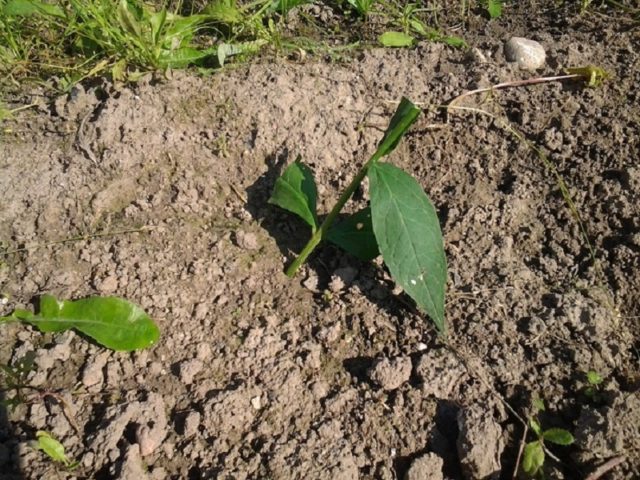
The stalk is planted at a slight slope, deepening the lower knot by 1.5 cm
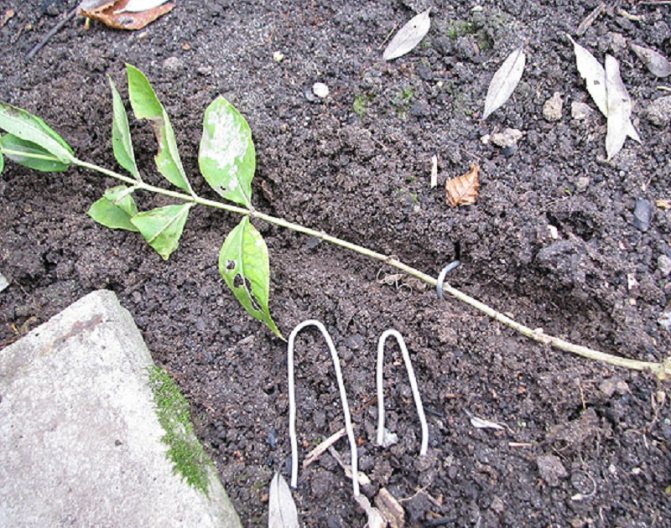
Reproduction by layering
This method does not require frequent transplants and space in a greenhouse. At the beginning of summer, uterine bushes of phlox are selected, which are heavily spud with moist loose soil and begin to water regularly. The stalk you like is bent to the ground and sprinkled, tamping it down with soil. You can do it differently. A strong shoot (so that it does not break) is covered with earth, as high as possible. After a while, young roots will appear on the branches. A little later, such a root with processes must be carefully separated and planted in a prepared place.
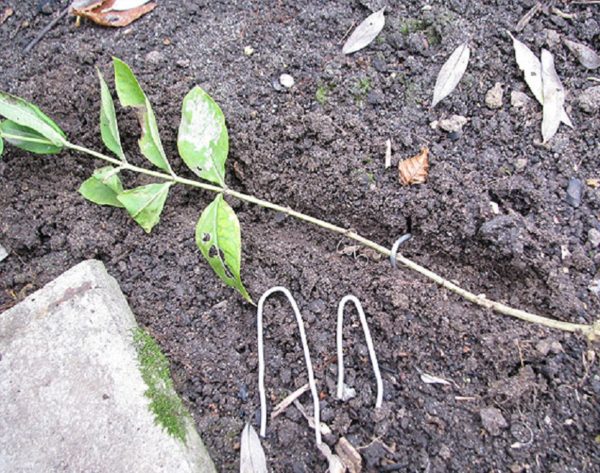
The sprinkled parts of the shoots begin to form roots.In August, shoots are cut off with roots and planted immediately to a permanent place.


Gardening tips
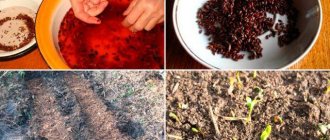
Some gardeners recommend propagation by cutting phlox in water. Shoots with an angled cut should be placed in a container with water, adding a growth stimulator to it. It is believed that water should be cold because it is more oxygenated than warm. In a liquid at room temperature, roots cannot form and the stem will rot.
Root formation continues for a month. For the process to be successful, the water should be changed every 3 days and the plant should be kept on a cold windowsill. After the roots appear, the stalk is planted in a school for growing.
Important! "Kornevin" and other stimulants should be used for leaf and stem cuttings.
Hello dear readers!
Let's continue the conversation about phlox
, about these most popular colors in summer cottages. They have no equal in the variety of colors.
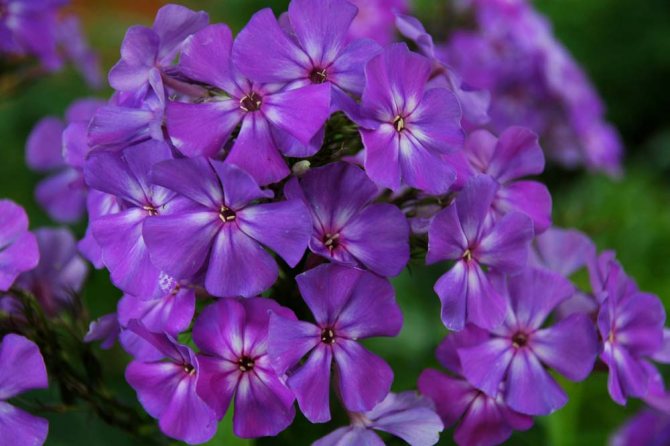
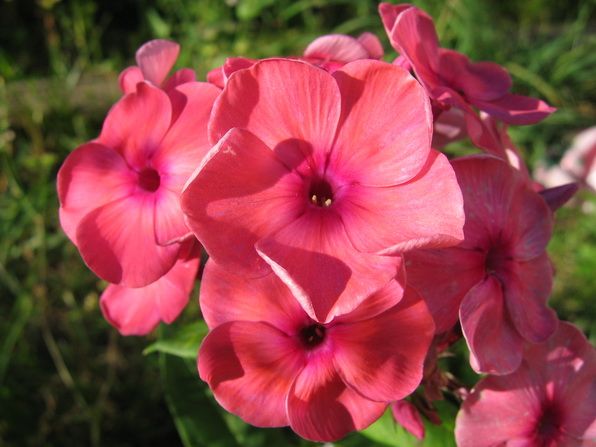
These flowers give us a wonderful aroma and a real feast of color: all shades of red, purple, lilac, white, the most delicate play of pink.
The articles published earlier talked about the variety of species and varieties of phlox and the secrets of their successful cultivation. Today we will talk about breeding methods
these colors.
This can be done in several ways, which we will now consider.