Vegetable growing »Tomatoes
1
2381
Article rating
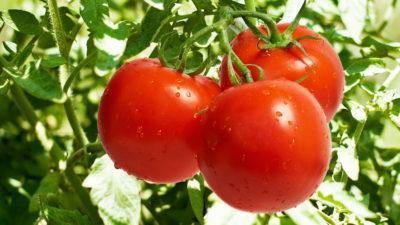
Planting tomatoes has a lot to do with their future yield. It is important to choose a good place on the site, to prepare the soil. Another condition is compliance with the optimal distance when landing. Seedlings of tomatoes can be either purchased or grown independently.
Correct planting of tomatoes
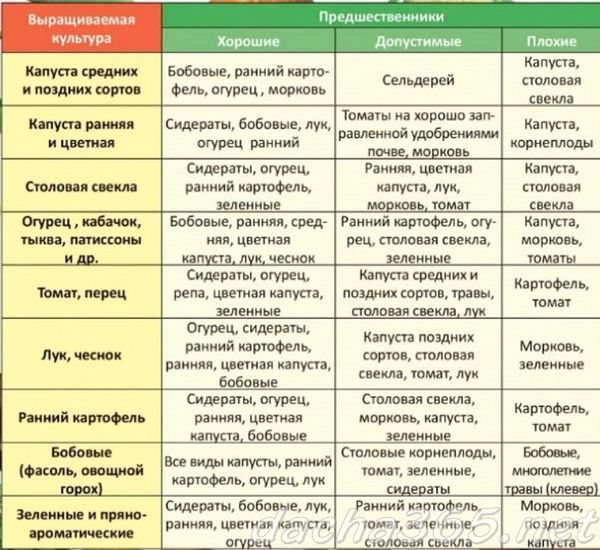
Predecessors and neighbors of tomatoes
The first step is to choose a bright area for planting tomatoes. Any land will not work for them, so you need to decide where you can plant the tomatoes. It is important to know the predecessors, and determine the neighbors of tomatoes.
Why do you need to know about predecessors? First of all, this is necessary so that future plants are comfortable in such a soil. The predecessors are plants that grew here last season. Some crops are incompatible, which can adversely affect the harvest. Therefore, we will analyze the good and bad predecessors for tomatoes. Good predecessors include: beets, carrots, cucumbers, onions, beans, peas, herbs, zucchini, corn, green manure. Harmful predecessors are: potatoes, cabbage, eggplant, pepper.
White mustard. Excellent green manure before planting tomatoes
The right neighborhood can also affect the harvest. Good neighbors tomatoes will be: asparagus, celery, garlic, parsley, peas, radishes, radishes, currants and gooseberries. For example, it can be helpful to alternate tomato beds with garlic beds.
| Good predecessors | Unwanted predecessors | Good neighbors | Unwanted neighbors |
| beets, carrots, cucumbers, onions, beans, peas, greens, zucchini, corn, green manure | potatoes, cabbage, eggplant, pepper | carrots, asparagus, salads, celery, garlic, onions, parsley, peas, radishes, radishes, currants, gooseberries | potatoes, cucumbers, cabbage, dill, fennel, broccoli, cauliflower, eggplant, pepper |
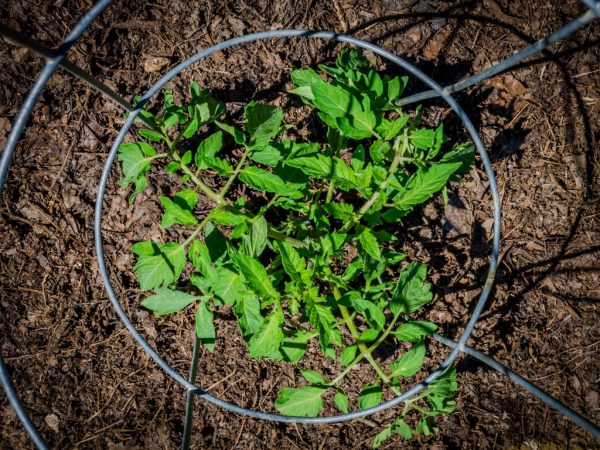
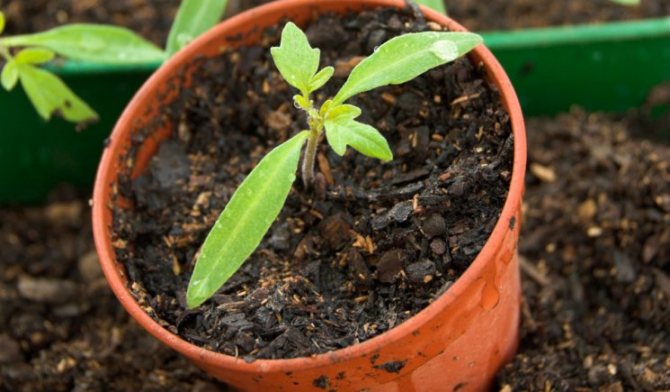
How to determine the readiness of seedlings?
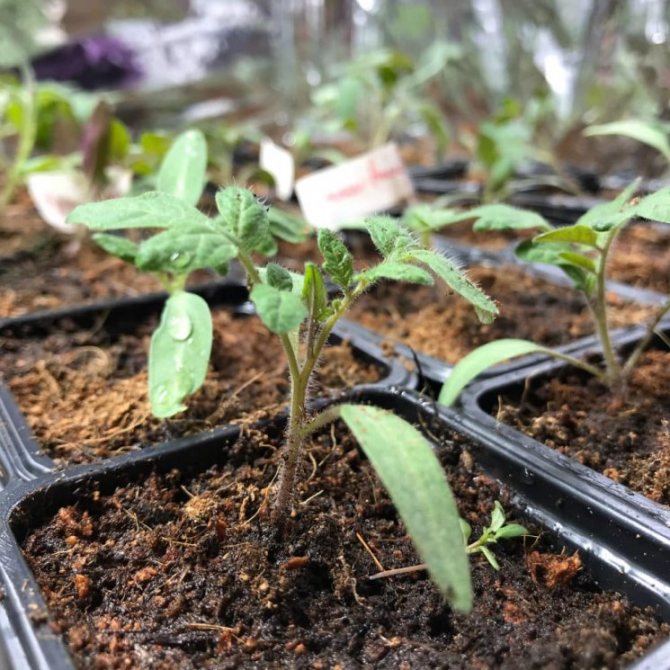
The readiness of seedlings for planting is determined visually.
Bushes should have strong stems 20-35 cm high with 6-8 true leaves and even 1 flower brush is allowed.
When properly grown, the distance between the leaves should be about 5 cm. If it is larger, then the plant is weak and you will not get a good harvest from it, or you will have to choose the right feeding.
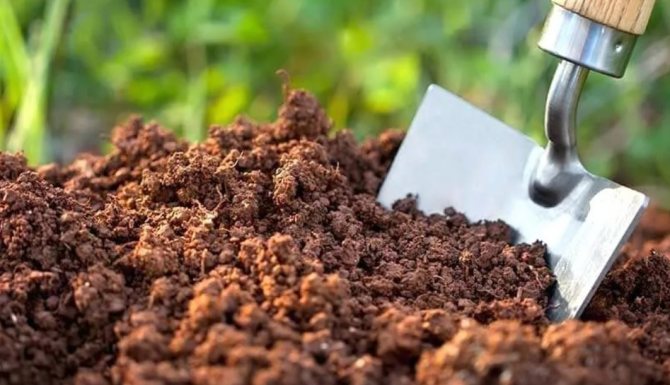
Site selection, soil preparation and beds for planting tomatoes
So, based on the above, you were able to choose a suitable site. Next comes the preparation of the soil for future beds. It is best to prepare the ground in the fall, namely to dig up the soil, adding wood ash and humus to it. To improve the nutritional value of the soil, you can sow the site with oats for the winter. In the spring, it will be much easier to dig it up a second time, remove the weeds and add fertilizer.
When the soil is ready, you need to form the beds. There are the following types of tomato beds:
1. Warm beds in the open field... Tomatoes are very thermophilic plants, so many summer residents choose this type of garden. They work on the principle of a compost heap: organic matter decays and gives off its heat.
Such a bed is done as follows: a trench is dug a meter wide and half a meter deep, chips, sawdust, dry grass, bushes are laid on its bottom. A layer of organic matter is placed on the layer of wood, on top of which manure is poured.Next, proceed to the completion of the top layer, consisting of last year's compost and earth. Planting tomatoes in such beds is carried out a little earlier, as well as harvesting.
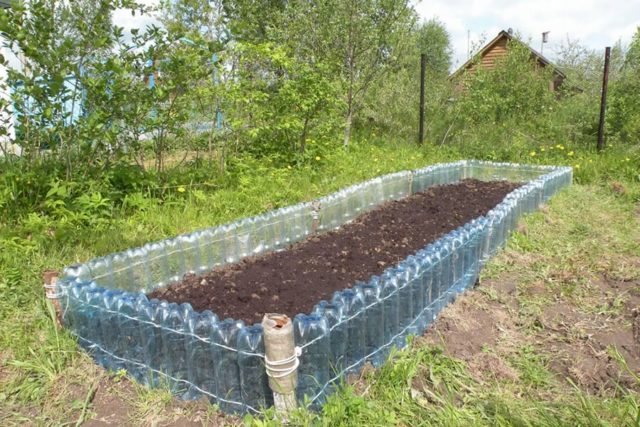
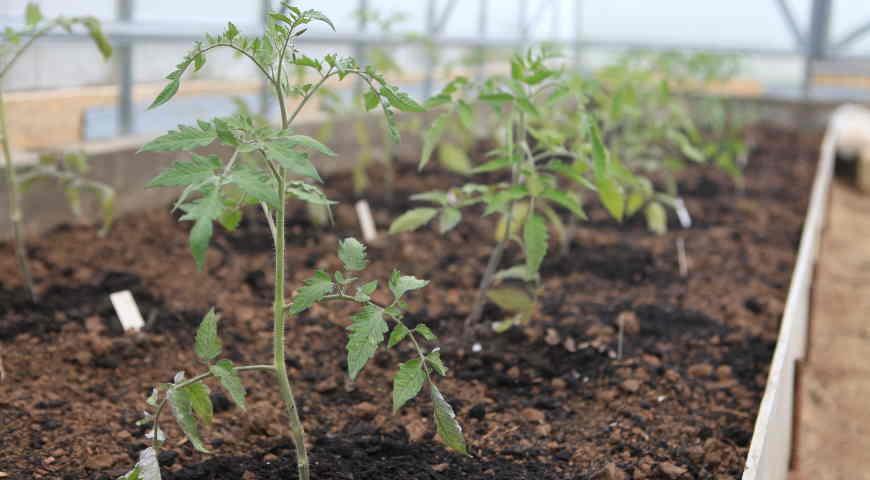
High bed for tomatoes
2. High bed... This type of arrangement is very similar to a warm garden bed. A high bed is a soil raised above the main level of the garden and framed with special bumpers. Tomatoes in such a soil are easy to care for, since the appearance of weeds is hampered by the sides. Such beds are not destroyed during the winter and during unfavorable weather conditions.
3. Ordinary garden bed... Many gardeners are negligent in preparing the beds and make the usual dug beds. Unfortunately, they have many disadvantages: a large number of weeds, it is impossible to cover from frost, wide beds complicate the care of plants. Therefore, these beds are more suitable for greenhouses.


Neighborhood tomato with other plantings
It is also necessary to take into account the compatibility of cultures with each other.
Important! Tomatoes grow well next to spinach, beans, carrots, radishes, asparagus, onions, radishes, lettuce, beets, zucchini, garlic, cabbage, pumpkin, celery, parsley, basil, marigolds, mint, sage, calendula.
- Basil is considered the best neighbor, as it protects against pests and improves the taste of tomatoes.
- Garlic and radish protect against spider mites and late blight. It is better to plant them on the sides of the tomato beds.
- The bow protects against earthen fleas.
- Asparagus fights tomato-loving nematodes.
- Gooseberries and bird cherry are protected from scoops, moths and sawers.
- The beans will be a barrier to the wind. But they should not be too tall, as tomatoes do not grow well in the shade.
- Tomatoes contain saponin, so any plantings near them will grow more intensively.
Bad neighbors of tomatoes are:
- Potatoes, peppers and eggplant - as they belong to nightshades, just like tomatoes. They are prone to the same diseases.
- Fennel and dill take all the nutrients from the soil.
- The corn is too tall and creates shade and attracts the same pests as tomatoes.
- Turnips, grapes, sorrel and quinoa have a negative effect on the development of tomatoes.
For more information about the rules of crop rotation, read the article: Table of crop rotation in the garden ...
Growing strong seedlings for open beds
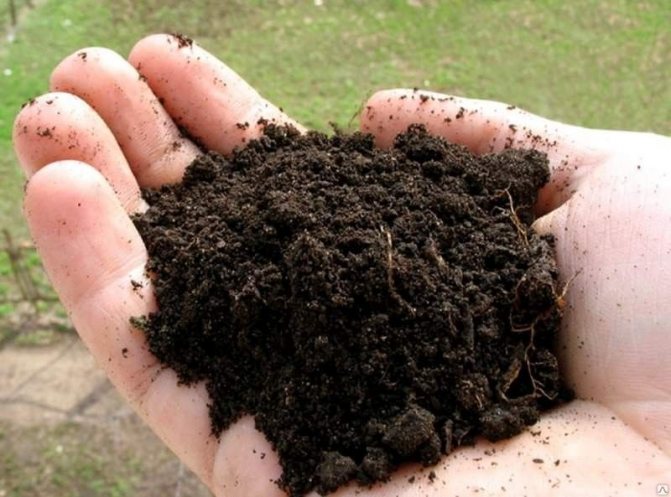
We chose high-quality seeds, now it's worth tackling the right soil. It is better to prepare the land for seedlings a week before planting. Before that, it must be disinfected with a weak solution of potassium permanganate or heated in the oven. You can use commercially available soil or prepare it yourself. In the second case, you will need to mix several ingredients. The best options are:
Option 1 - 4 parts of peat, 1 part of sod land and ¼ part of mullein. For every 10 liters, you need to add 3 liters of river sand, 10 g of ammonia, 2-3 g of superphosphate and 1-1.5 g of potassium chloride.
Option 2 - 3 parts peat, 1 part steamed sawdust, ½ part mullein. For every 10 liters of the resulting soil, add 3 liters of river sand, 10 g of ammonium nitrate, 2-3 g of superphosphate and 1-1.5 g of potassium chloride.
It is better to mix purchased soil with garden soil, which was previously disinfected, in equal proportions. The fact is that such soil contains a large amount of peat and has a high acidity.
Next, you need to prepare the seeds for sowing. You can keep them for some time in a growth stimulant or in aloe juice, honey water. The next step will be seed germination. You will need a wet cloth or napkin. Place the seeds on one side and cover the other, place them in a plastic bag and send them to a warm place. Make sure that the fabric does not dry out. After a while, they hatch and are ready for sowing.
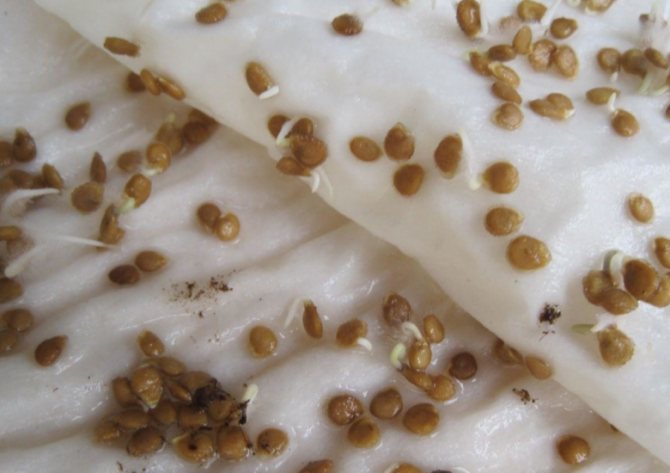
Hatched tomato seeds
Take a container for sowing, pour about a centimeter layer of drainage on the bottom, and 5 centimeters thick soil on top. It is best to sow seeds in grooves one and a half centimeters deep and 3 centimeters apart. Then cover them with soil and take them to a warm place. And don't forget to cover the ground with glass or cellophane. The best place for seedlings will be a well-lit place, for example, a heated balcony or windowsill.
Maintain a comfortable room temperature at first. As soon as the sprouts appear, transfer them to a cool place with a temperature of no more than 16 degrees Celsius. This is necessary so that they do not stretch too much. After a week, they can be returned to a warm place.
Proper watering is also important when growing seedlings.
At first, the sprouts can only be watered from a spray bottle. Do not overfill the immature plants, but also do not let them dry out.
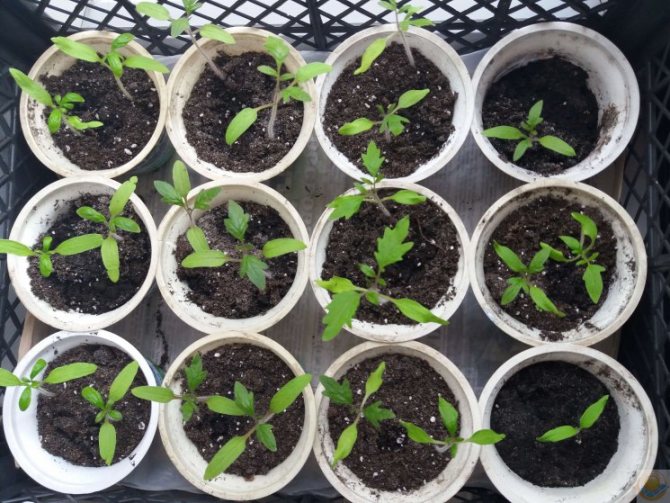
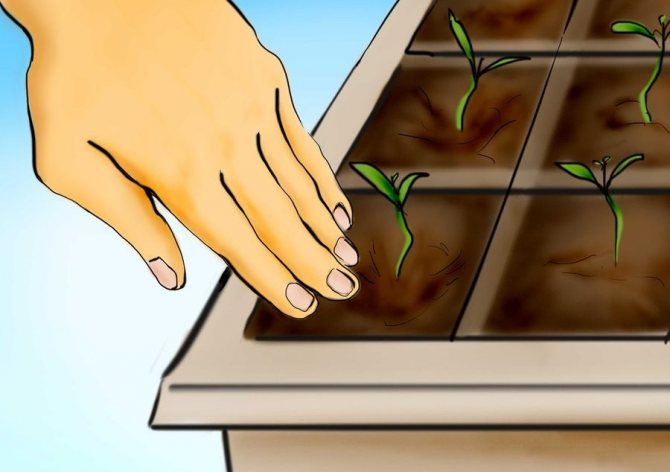
After about two weeks, you need to dive the sprouts. You need to water the plants very well, and then transplant them into separate containers or into a box at a distance of 6 centimeters from each other in each direction.
After diving, the seedlings need to be fed for the first time. To do this, 8-12 g of ammonium nitrate, 40 g of superphosphate and 7-10 g of potassium sulfate are diluted in 10 liters of water. The second time is fed after 10 days. For this purpose, a mixture of mineral fertilizers is used. A few days before planting, a third feeding is carried out.
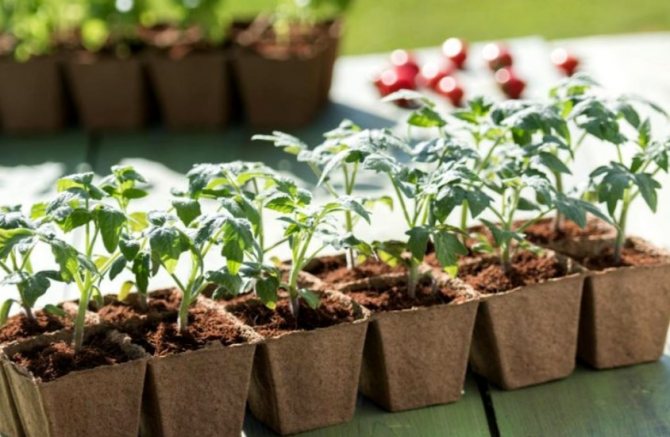
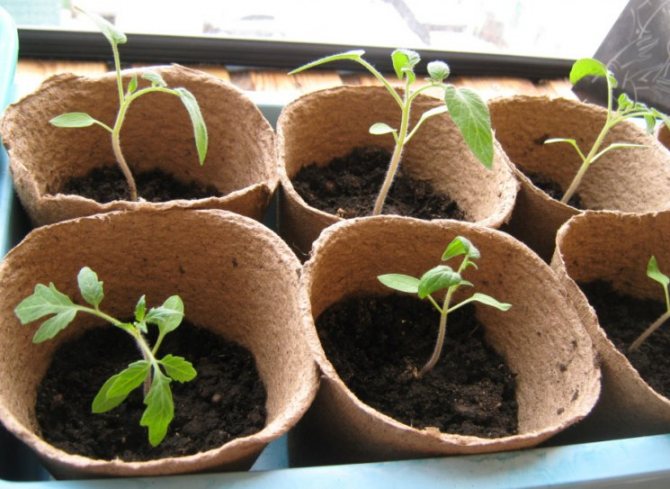
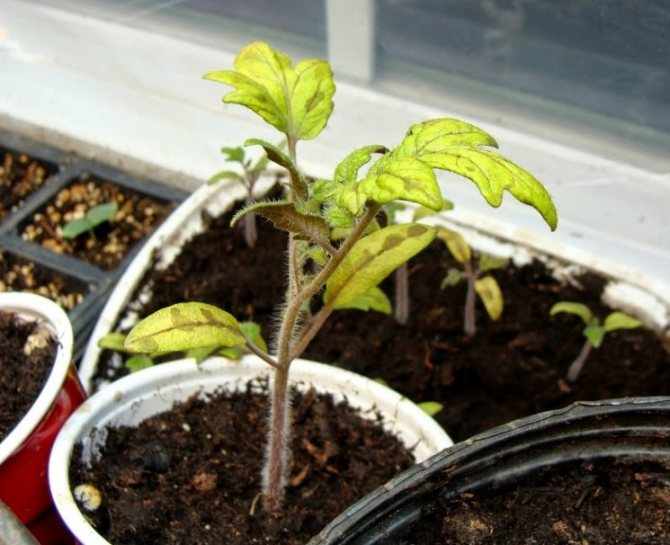
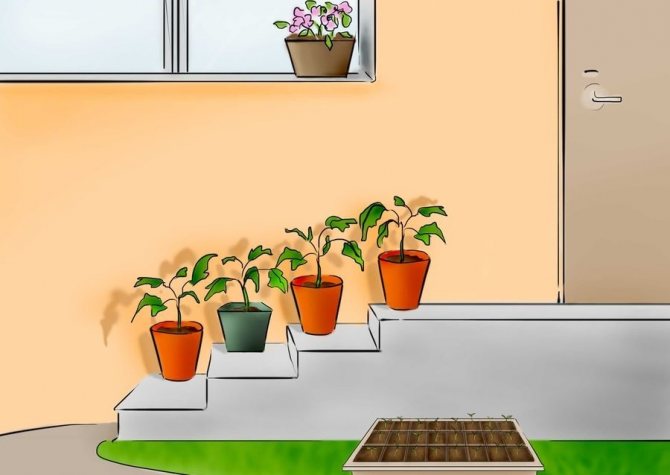
The last condition for growing strong seedlings for open beds will be hardening before planting. This procedure will allow the plants to adapt to changing weather conditions. Hardening should be started a few days before planting. First of all, for several hours, open the window window, where the seedlings stand. Gradually, this time increases to 8 hours. At the end, the plants are taken outside to get used to the open air.
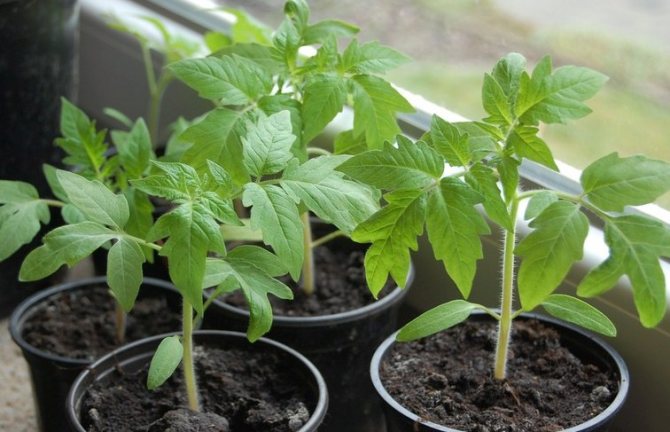
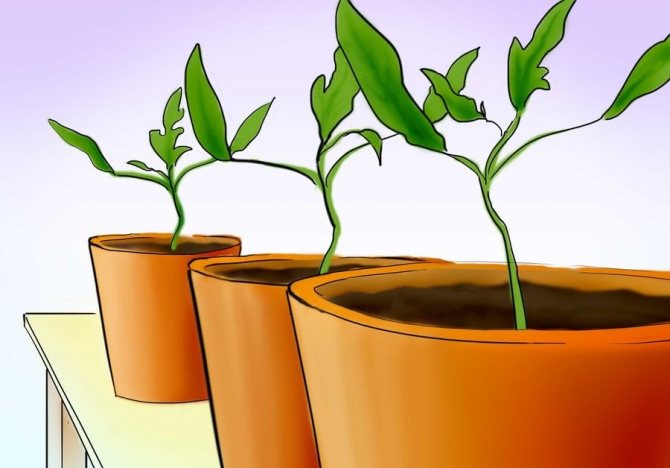
Seedlings of tomatoes at home on the windowsill
Harvesting and storage
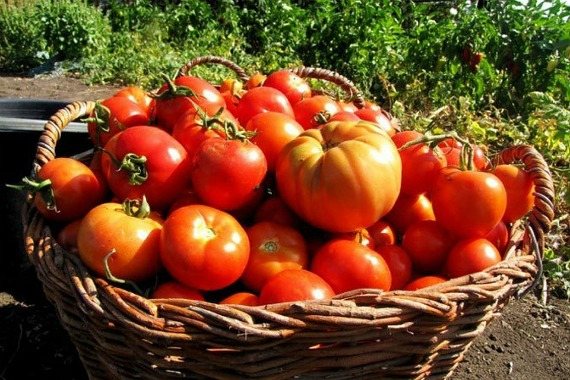
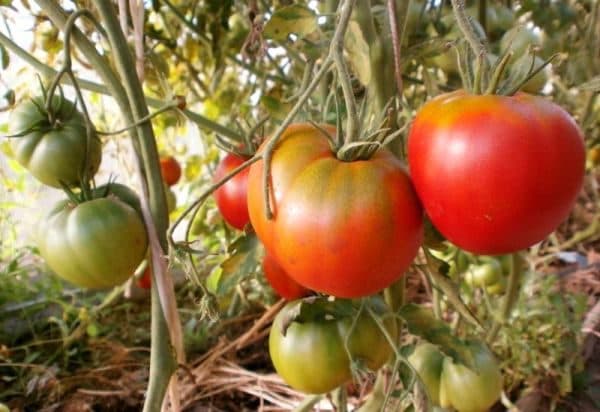
Tomatoes are harvested by hand in the morning. During the day, the fruit can be very overheated under the sun. If you plan to immediately use tomatoes for food, they are picked at the stage of full maturity. For storage and transportation, yellow and orange fruits are more suitable.
Especially carefully you need to remove large tomatoes from the branches. It is recommended not to tear them off, but to unscrew them.
If the variety is carp, then the brush is completely cut off. Unripe fruits in this case are removed. It is advisable that vegetables do not receive mechanical damage during the collection process, otherwise they will be worse stored. The harvested harvest of ripe tomatoes must be cooled as quickly as possible to a temperature of 10-12 degrees. This measure will reduce moisture loss and prevent rotting.
Green and yellowish tomatoes are allowed to ripen by placing them in boxes at room temperature. It is these fruits that are subject to long-term storage (4-8 weeks) in a cool room (at a temperature of 12.5-13 degrees). Ripe tomatoes are stored for no more than 1-1.5 weeks at a temperature of 10-13 degrees.
On a note! If you store unripe tomatoes at temperatures below 12.5 degrees, the production of pigment in them will stop and the fruits will begin to rot.
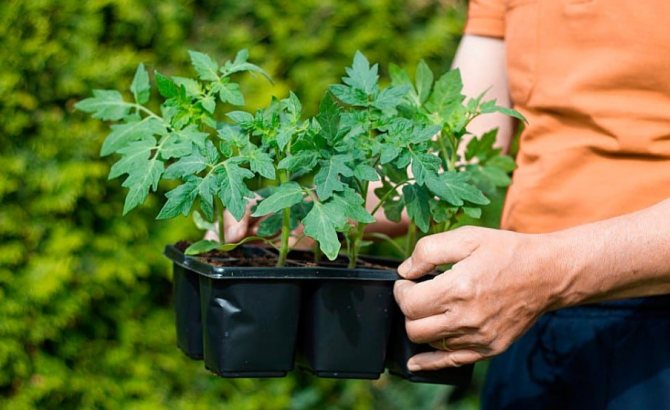
Timing and preparation of seedlings for planting
Now let's talk about how long it takes to prepare seedlings. We mentioned the preparation of plants above. It should be added that for planting, you need to choose the best seedlings with a large number of leaves and a developed root system.
The best time for planting is the end of spring. In May, the seedlings are still covered with foil. And in open ground can be planted from the first days of June. Planting tomatoes depends not only on weather conditions, but also on the age of the seedlings. Optimum ages are considered to be from 50 days in early-ripening to 70 days in late-ripening tomatoes.

How to get tomato seeds yourself
If you like the tomato variety, you can prepare its seeds in order to grow exactly the same vegetables in the future.
It is important to know that this method is only suitable for varietal tomatoes, the property of hybrids through seeds is not inherited. Hybrid plants are obtained by crossing several varieties at once, they completely degenerate in 1-2 years.
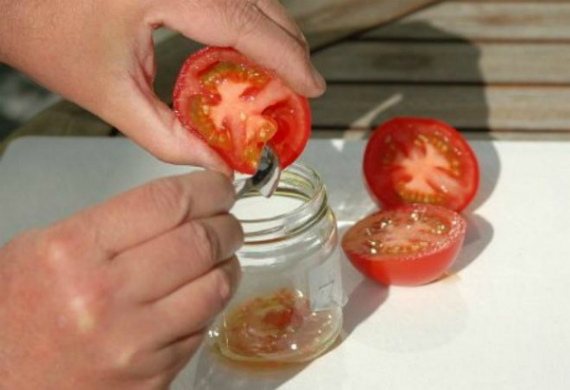
For self-harvesting of seeds, the fruits must be removed from healthy, strong bushes. It is necessary to remove tomatoes from the lowest branch, then there will be less risk of getting a cross-pollinated hybrid. The tomato should be fully ripe on the branch. The vegetable is then cut into wedges to gain access to the seed chambers.
The seeds, together with the juice, are removed with a spoon and placed in a glass bowl. There should be enough juice to completely cover the seeds. After that, the container is loosely covered with a lid. Then they wait about a day until the fermentation process is completed.
As soon as a film appears on the surface and air bubbles begin to form, the seeds are removed, washed in running water, and then dried thoroughly. The seed is stored at room temperature in a paper bag, on which the name of the variety and the date of collection should be written. The bag must be removed before spring in a dark, dry place.
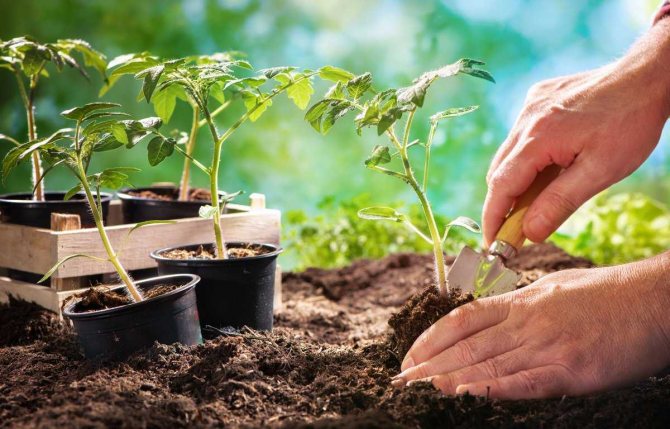
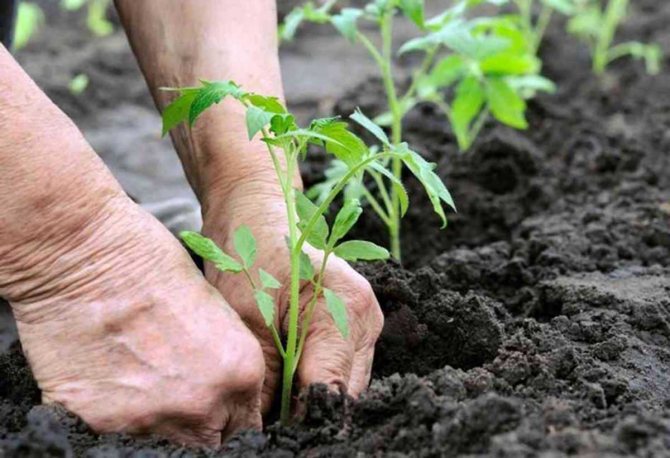
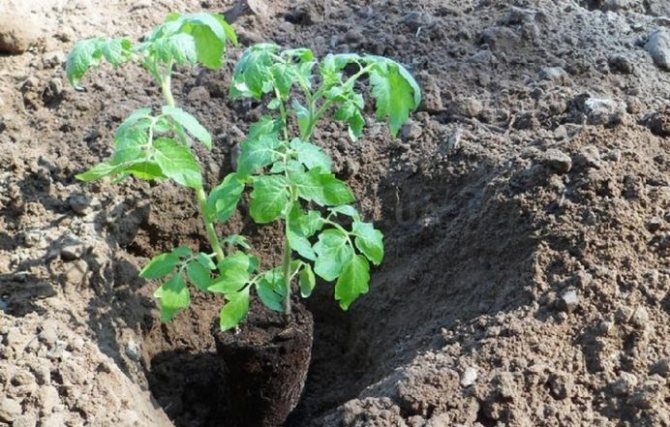
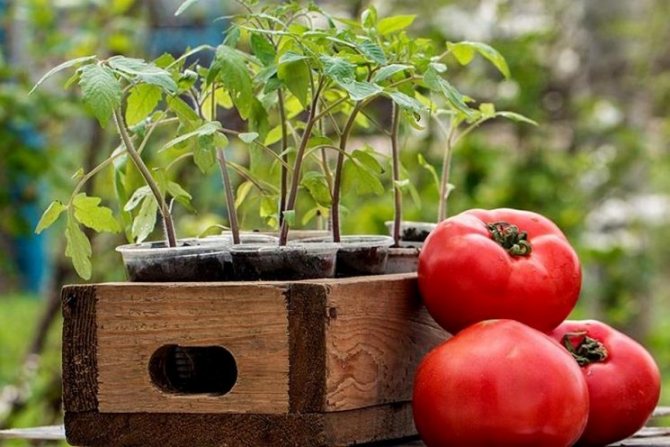
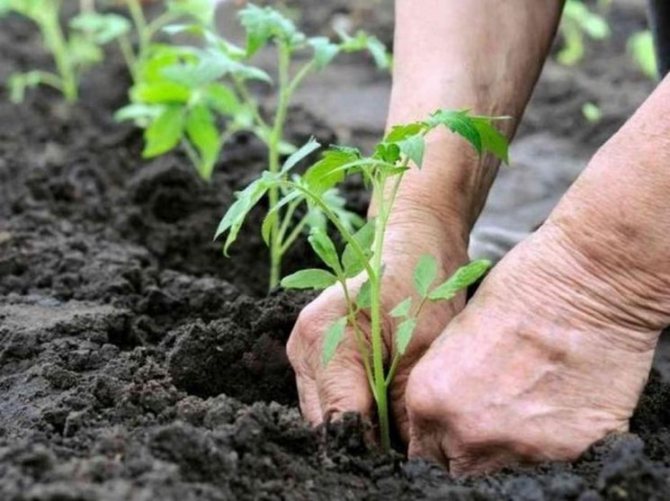
Transplanting
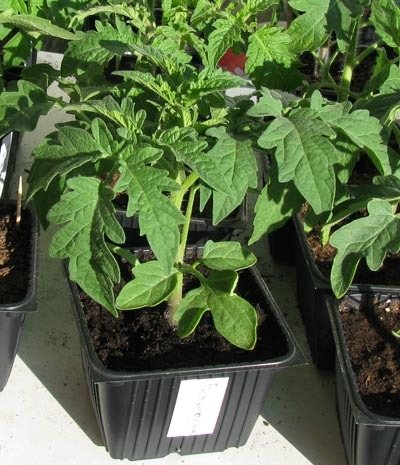
Homemade tomato seedlings ready for planting
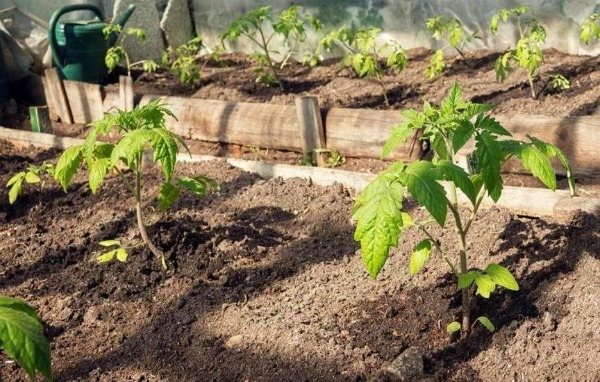
The sprouts are ready and the time comes for the main event in plant growing - planting tomato seedlings in open ground. On a previously prepared bed, you need to make holes at a distance of 40 centimeters from each other. Next, you need to carefully remove the seedlings from the container and put them in the hole together with the earth, then cover with earth from the garden. After all the seedlings are planted, they are thoroughly watered with water. You can immediately put pegs in order to tie up the stems later. If the plants are overgrown at home, they are buried deeper or planted lying down.
It is better not to water the tomatoes for the first 5 days. Then you need to water them abundantly once a week, if the weather is dry, then more often. After 10 days, you can carry out the first feeding.


To the greenhouse
When grown in a greenhouse, plants must be tied to a trellis a week after planting.
Greenhouse tomatoes must be shaped.
- Indeterminate varieties are pinched over the 5th brush, leaving two leaves on top.
- Determinant varieties are formed in such a way that 4-5 brushes remain on the bush.
The lower yellowed leaves are periodically cut off. Watering is carried out in the first half of the day, after which the greenhouse is ventilated.
Root dressing is applied three times per season. As a top dressing, you can use mineral complexes, liquid organic fertilizers, infusion of cut grass.
For more successful pollination, the bushes are shaken during flowering.
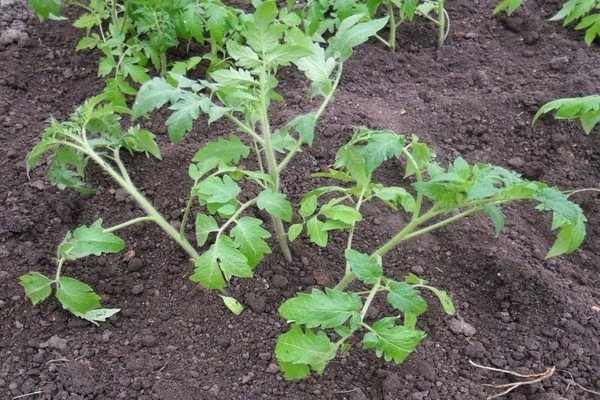
Outdoor tomato care
After planting, you should not relax, because the plants require constant care and attention. Let's talk about caring for tomatoes outdoors.
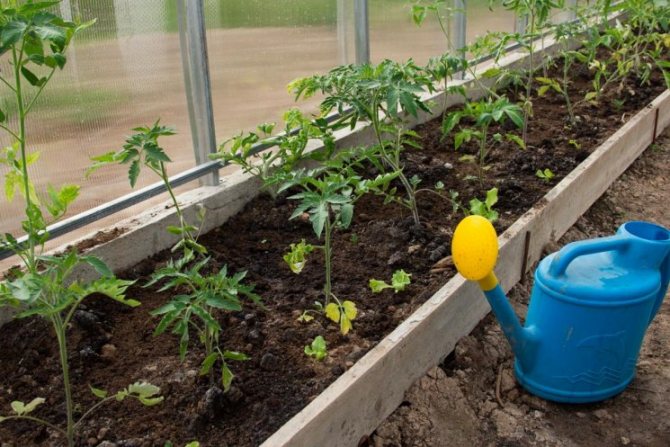
Watering
Before the ovary appears, it is not recommended to be zealous with watering, you just need to moisten the soil a little. As mentioned above, watering is carried out once a week. In this case, the water should be poured exactly at the root. To begin with, 1 liter of water will be enough, then you can increase it to 2 liters. The water should be well and warm, so it is better to water the plants in the evening. Cold water can harm tomatoes. If you use tap water, it must be defended before that.
Remember! Tomatoes do not tolerate excess moisture, this can lead to fungal diseases.
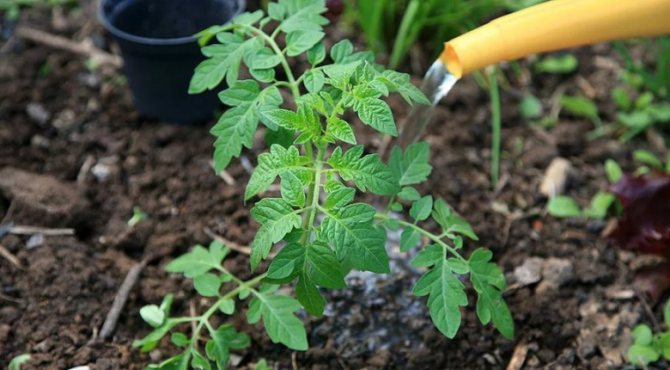
Proper watering of tomatoes at the root
Top dressing, fertilization and seedling processing
For feeding, the same fertilizers are used as at home. It should be done every 2 weeks. If you do not want to use chemical feeding, you can use folk remedies:
- Watering plants with nettle infusion... This infusion contains many useful trace elements.
- Using wood ash mortar... This will not only saturate the earth with phosphorus and potassium, but also protect the tomatoes from pests.
Garter
Remember when planting tomatoes, you have pegged. Now it's time to tie the grown stems to them. This should not be done tightly, it is enough that the stem simply rests on a peg. As you grow, it is worth tying them up higher.
Stealing and pruning
When analyzing the types of seeds, we mentioned that some species do not need pinching. At the same time, it is necessary for most tomatoes. This is necessary in order to form the bushes, as it directly affects the growth, maturity and size of future fruits. During pinching, the main stem is left, and all excess is removed. In this way, all nutrients enter the fruit, and not the leaves. This procedure should be done constantly.
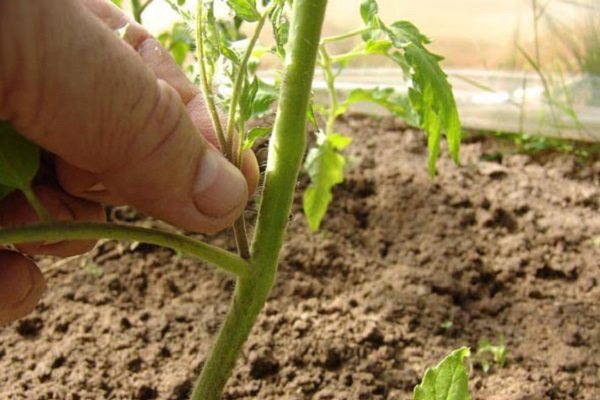
Removing stepchildren from tomatoes
Diseases and pests
Like any crops, tomatoes are prone to disease. The most common ones are:
1. Mosaic... With this disease, yellow spots appear on tomatoes. It is useless to treat it because it is transmitted through infected seeds. Only prevention will help - the seeds must be processed before use.
2. Bacteriosis... This disease consists in the wilting of plants in the shortest possible time. It is useless to treat diseased plants, but healthy ones can be protected. To do this, spray them with Fitolavin solution.
3. Stem necrosis... This disease affects the stem during fruit formation. The plant withers and dies before it ripens. The source of the disease can be seeds and contaminated soil.
4. Alternaria... It is a fungus that infects leaves and stems. You can get rid of it if the infected leaves are torn off in time.
5. Phytophthora... Almost all gardeners are afraid of this terrible disease. This is a fungal disease that spreads in areas of high humidity. She is able to destroy almost all fruits. Even in the evening you can admire your tomatoes, and in the morning you can find them blackened. In order to avoid this, you need to monitor the humidity in the garden. Another way to protect plants is to water the beds with lactic acid, which prevents the appearance of fungi.
6. Gray rot... This disease manifests itself at the end of the season, when the air temperature begins to drop. To eliminate it, it is necessary to cut off the affected leaves.
7. Brown rot... It attacks the core of the fruit, so they become unsuitable for food. To avoid this, fresh manure should not be used.
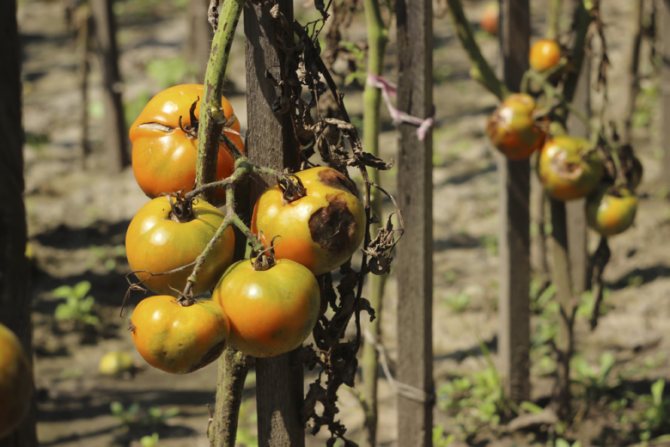
Disease of tomatoes. Phytophthora
Now let's talk about pests that can become a threat to the tomato crop.
The most common among them:
1. Whitefly... At first glance, you might think that such a small white butterfly is completely harmless, but it can destroy plants in two weeks. She lays eggs in the leaves, from which caterpillars subsequently appear. They begin to feed on the stems and leaves of tomatoes, which leads to the death of the plant. To prevent this, you need to spray the stems with Aktar solution.
2. Bug bugs... Unfortunately, they live in almost every vegetable garden. Bedbugs infect tomato fruits. You can get rid of them with the help of special drugs: Phosphamide, Chlorophos.
3. Rust mite... This parasite infects the stems and leaves of plants, as well as fruits, making them inedible. Only timely processing with the help of Attelik or Vertimik will help from it.
4. Colorado beetle... This pest prefers potatoes, but does not mind eating tomatoes. It is especially dangerous in spring, when the potatoes have not yet been planted. Fortunately, there are many ways to destroy it.
5. Medvedka... This insect lives in the ground and breaks through numerous passages, thereby damaging the roots of plants. In order to avoid this, summer residents use various traps: they stick in aspen pegs, fill the minks with oil, bury the garlic, or use special poisons.
6. Wireworm... This pest eats up the roots of plants, because of which they die. You can get rid of it with onion peels, pine needles, mustard powder or special chemicals. They need to be placed in the soil, then they will slow down the spread of the wireworm.
7. Aphid... These small insects are capable of destroying a seedling in a few days. To combat them, ash and soap solution, tobacco, hot pepper and more are used.
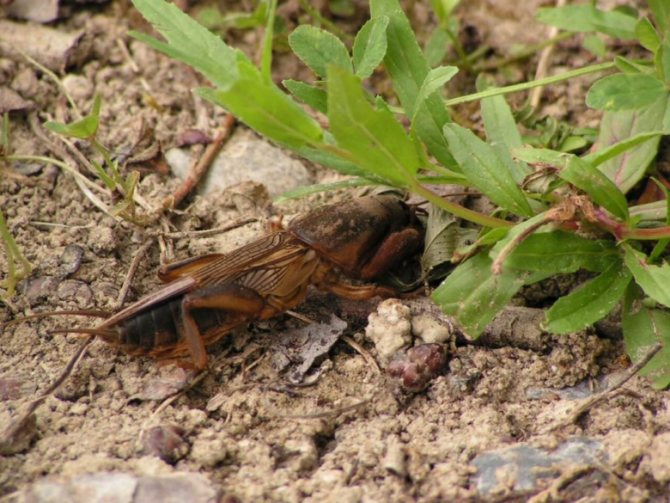
Tomato pests. Medvedka
Leaving in July and August
The main stages of caring for tomatoes occur in spring and June, but do not forget about leaving in July and August. It is during these months that unexpected pests may appear or weather conditions deteriorate. The main tomatoes are already beginning to ripen and it is unlikely that something will interfere with them, but at the same time new fruits begin to set. It is at this time that it is important to continue the process of feeding and pinching plants, as well as processing the stems from pests.
After mid-August, it is necessary to cut off all the tops and flowers so that the remaining fruits have time to ripen.
When the temperature at night starts to drop below 10 degrees Celsius, you need to collect all the fruits.
In this case, green tomatoes will ripen at home. To do this, they need to be put in boxes and sent to a dark place. To speed up this process, green tomatoes are mixed with red ones and put together.
Disease prevention
The main preventive measure against pests and diseases of tomatoes is compliance with crop rotation. But changing the places of the beds in a small area is problematic, so you should regularly improve the soil. To do this, after harvesting tomatoes, you can sow siderates. For example, if it's still warm - mustard, before winter - rye.
As a preventive measure, the colonization of tomato bushes with beneficial microorganisms - a hay stick (Fitosporin and other similar drugs), trichoderma - showed excellent results. By the same means, it is recommended to shed the garden before planting tomatoes.
From pests, the soil is treated with the biological product Metarizin. Tagetis effectively repel insects. You can scatter crushed flowers and leaves in the garden, spill the garden with infusion of the aboveground part of the marigolds, or, to facilitate care, plant their bushes between the tomatoes.
Many pests and diseases annoy the nightshade from year to year. Knowing exactly what problems may arise on tomatoes, preventive treatments are included in the care package.
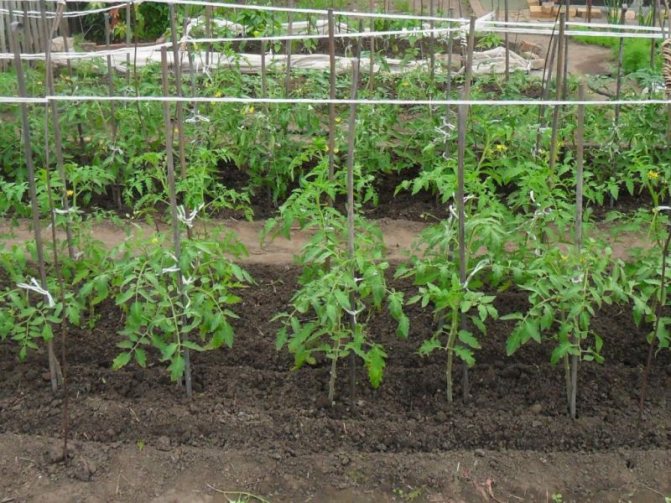
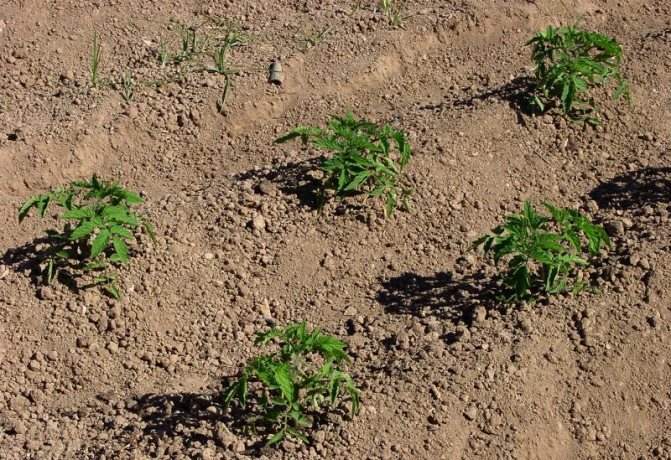
Schemes for planting tomatoes in open ground
Planting sprouts also has some nuances. Their fertility depends on the correct location of plants. It is important that they have enough space, warmth and moisture. For this, special schemes were developed for planting tomatoes in the ground.
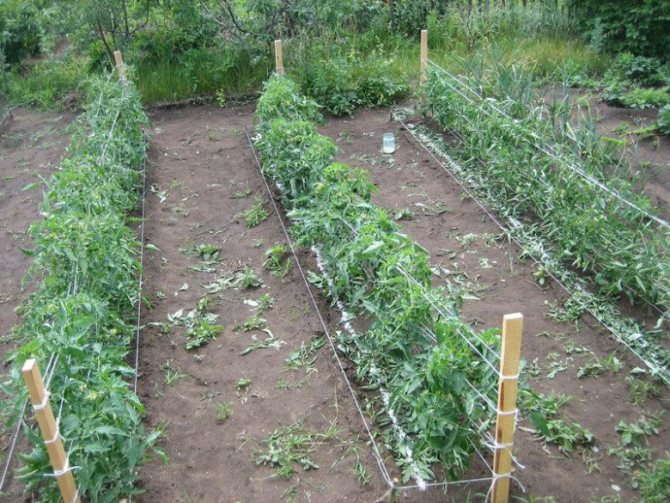
In rows
Such a scheme for planting tomatoes is simple and does not require special knowledge and skills. The main advantages of this tomato planting are: sufficient lighting and air circulation between the rows. The disadvantages include the fact that it will require a considerable area. Therefore, this method is not suitable for small areas.
Scheme of planting tomatoes in rows
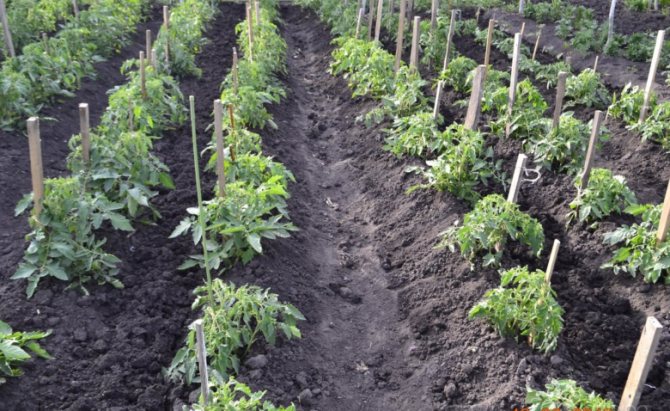
Tape-nesting method
Similar to the seating in rows. It consists in digging trench belts, on the sides of which tomatoes are planted. This will reduce the time spent on plant cultivation, weed control and soil loosening. The ribbon nesting method is usually suitable for tomatoes that need a garter.
Ribbon-nesting scheme for planting tomato seedlings
Square-nesting method
It is the most suitable choice for outdoor use.This is the most fertile and effective option for planting tomato seedlings. With the square-nesting method, an imaginary square is drawn, at the corners of which holes are formed. Several seedlings are placed in these holes. After a while, the strongest of them will remain, and the rest must be thrown away.
Square-nest method of planting tomatoes
Secrets of getting a rich harvest
How to achieve healthy tomatoes?
You can get a large harvest of healthy vegetables without resorting to regular feeding.
For this, growing tomatoes while planting seedlings, you can add a handful of ash to each hole, during the active growing season, once feed with urea, and during the period from July to August when growing, spray with Bordeaux liquid - this will increase the yield.
What does it take for a vegetable to be sweet?
- The first step to making sugar tomatoes is, of course, choosing the right variety. Hybrids are not suitable for these purposes; simple varieties of salad purposes are better suited. In order for the taste of tomatoes to become rich and sweet, you need to regularly apply mineral fertilizers. In particular, the sweetness of tomato depends on potassium, it also accelerates the ripening of fruits.
- It is also necessary to properly care for the future harvest: three times per season, every two weeks, add ash, diluting a kilogram in ten liters of water. fertilizer is applied during watering.
- Also, sunlight affects the sugar content of tomatoes, it must be supplied to the plant in sufficient quantities and watering, which should not be too frequent, otherwise the tomatoes become tasteless.
Achieving a good result in 30 days
Such efficiency in growing early tomatoes can be obtained at the seedling stage: from germination to the formation of a plant, time passes very quickly - only 30 days.
If you want to get a harvest early, then for this you need to use a certain cultivation technique: the hydroponic method of growing tomatoes.
Growing using this technique is also suitable for the lazy, because the harvest can be obtained as quickly as possible. Proper cultivation and care of tomatoes plays a huge role..
We use crackers
- When planting seedlings in the ground, you need to dig deeper holes.
- Pour a large handful of crushed crackers into each hole and spill well with water.
- After it is absorbed, plant the seedlings, sprinkle with earth, water and mulch again.
- In the future, do not fertilize with anything.
Plants grow vigorous, set many fruits and delight with a rich harvest.
We plant tomatoes according to the lunar calendar 2018
Before we start planting, let's decide on the best days to spend.
For a long time, ancient gardeners noticed that the harvest depends on the phases of the moon. Our companion affects the ebb and flow, and therefore the water. Well, without it, as you know, you can't grow a single seed.
And let all opponents of the sowing calendar argue with me, but our companion greatly affects the germination of plants. Therefore, it is better to focus on it if you want a rich harvest.

When the moon is rising, plants that bear fruit on the bushes should be planted. And root crops are planted in a waning night star.
Therefore, it is not difficult to calculate when to germinate tomato seeds in 2020. To do this, take a simple lunar calendar and look.
Important! It is forbidden to plant plants neither on the days of the new moon, nor on the days of the full moon!
Tomatoes begin to be planted for seedlings in February-April. In February, the plants are planted by farmers and gardeners in the northern regions of our country.
The most favorable days in this month are:
6, 7, 20, 21, 22, 25, 26
Unfavorable days:
15, 16, 17 are the days of the new moon
In March, vegetables are sown in the middle lane and the best days will be:
5, 6, 7, 15, 20, 21, 24, 25
Forbidden days:
2, 16, 17, 18, 31
In April, tomatoes are planted by gardeners and summer residents of the southern regions of our country. Good planting days are:
20, 21, 27, 28, 29
And unfavorable days:
15, 16, 17, 30
You can focus on the sowing calendar below.Here are indicated favorable days for planting, picking and harvesting plants.

We sorted out the good days, now we will choose good varieties of tomatoes that are best suited for growing in greenhouses and greenhouses. Such species are grown by summer residents of the Moscow region and the middle zone of our homeland.
What can be planted after tomatoes
After tomatoes, it is recommended to plant vegetables that enrich the soil with nitrogen:
- legumes (beans, peas, beans);
- pumpkin (pumpkin, zucchini, cucumbers);
- root vegetables (carrots, beets);
- cabbage (white cabbage, red Brussels sprouts, cauliflower, kohlrabi);
- onion garlic.
Plants of the nightshade family, such as potatoes, peppers, eggplant, are not advisable to plant due to similar diseases.
Planting tomato seeds for seedlings - step by step instructions
When the seeds, soil and containers are ready, proceed to the most important thing - planting tomatoes for seedlings. You will learn how to do this from the step-by-step instructions below.
Step 1. Remove and prepare containers, soil and seeds. Check if everything is missing.
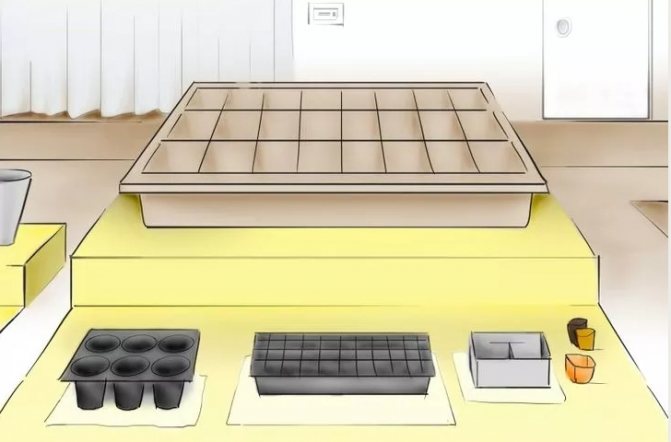
Preparing everything you need
Step 2. Pour commercial or your own soil into the container. From the edge of the pots or pallet to ground level, they should be about 2.5-3 cm.
Step 3. Water the soil covered in the container - the soil must be moistened before planting. Then cover the containers with cling film and leave for a day so that the moisture is evenly distributed in the ground.
Step 4. If you are using a common container, use a stick or other tool to make grooves 0.5-1 cm deep and at an interval of about 4 cm.In the case of individual pots or a tray divided into many cells, make a depression in the center of each container with your finger or spoon ... The depth should be the same as the grooves.
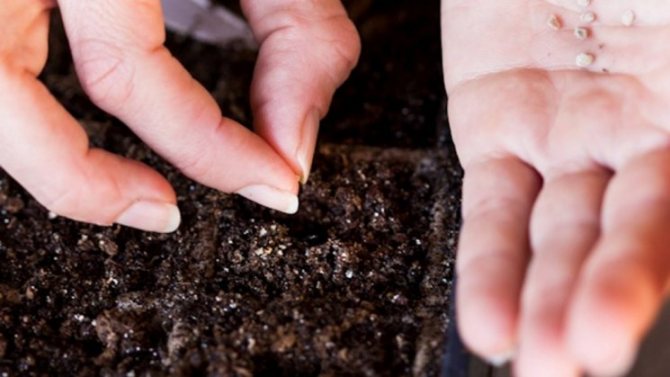
Step 5. Place the tomato seeds neatly on the ground in a depression or groove. In the latter case, the interval should be from 3 to 5 cm. If possible, use tweezers when planting tomatoes for seedlings - this is more convenient for you and safer for the seeds.
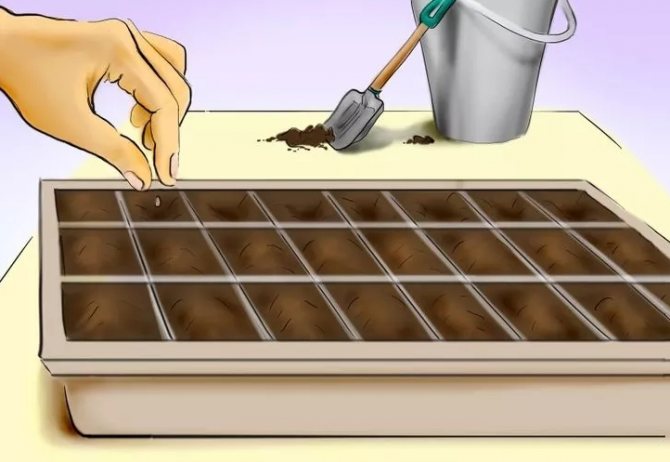
Sowing tomato seeds
Step 6. Sprinkle a little soil over the seeds.
Step 7. Cover the containers with cling film and place in a warm, dark place. Now you need to wait until the tomato seeds sprout. This usually takes about a week.
Step 8. After a week, remove the cling film and move the containers with tomato sprouts to the windowsill, in the sun. At the same time, watering should be done often, but little by little - tomatoes love water, but it is better not to overfill them.
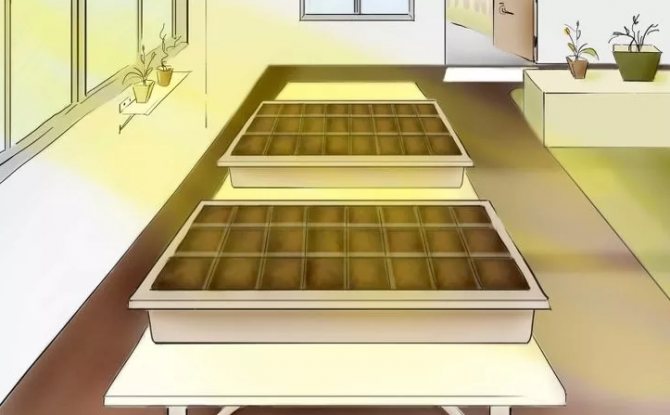
Containers with crops must be transferred to a warm and lighted place.
Tomato sprouts

Watering tomato sprouts
Interesting! Separately, it should be said that the temperature regime in which tomato seedlings are located is a subject of controversy. Some argue that at first the tomatoes should be kept cool - the first week after being exposed on the windowsill in the place where they are located should be no more than + 15 ° C. Then, when the seedlings develop and get stronger, they should be in conditions where the temperature is + 25 ° C during the day and the same + 15 ° C at night. Others believe that at all stages of seedling development, it should be warm, and the thermometer should not fall below + 20 ° C.
Step 9. After a while, when the leaves appear and begin to develop in the seedling, make a pick of the seedlings - truncation of the main root. If before that the tomatoes grew in a common container, then during this event, also transplant the sprouts into individual larger containers.
Seedlings of tomatoes in separate pots
Hardening seedlings in the fresh air
Step 10. Do not forget to apply top dressing, especially after picking seedlings.
What is seedling picking
In many respects, the yield or, if we are talking about flowers, the appearance of plants is determined by the conditions in which their seedlings were, whether they were properly looked after.One of the required activities is picking seedlings, and what it is and how justified it is, you can learn from this article.
Observing all the instructions and with due attention to the matter, you can easily plant tomatoes for seedlings and subsequently get healthy plants and a plentiful, high-quality harvest of tasty and healthy vegetables.
Landing technology
Depending on the variety of tomatoes, as well as the characteristics of the room, the cultivation space, there are several planting options common among professional farmers.
In spread
- A furrow is dug in the greenhouse, about 10 cm deep.
- Seedlings are not placed classically straight, but laid horizontally along the trench. Only the top with inflorescences remains above the ground.
- The apex should be facing either north or west.
- All the lower leaves are removed, and the stepsons also dive.
- The trench is covered with earth.
Thus, it turns out that tomatoes have a large underground part, which intensively nourishes the fruit-bearing ground part with useful substances. Find out about the beef heart tomato variety here.
Tall tomato varieties are ideal for spreading planting technology.
Serpentine way
- A hole is dug, about 25 cm deep.
- At the seedlings, all the leaves are cut off up to the fruiting branches.
- Then the plant is placed by the root system at the bottom of the hole, and the trunk begins to gently curl along the walls of the hole. The result is snake rings.
- The excavated earth is mixed with ash, humus, and, if necessary, with fertilizers.
- And the laid bush is covered with soil.
For the snake-like method of planting a tomato, the "Cosmonaut Volkov" variety is suitable
As a result, the topmost leaves with flowers remain above the ground. The underground part is covered with roots during the adaptation period. This method is good for intensively growing varieties, for example, Cosmonaut Volkov or Moscow giant.
Into a polyethylene sleeve
Quite an interesting way, invented for the early survival of seedlings. Seedlings are planted in a hole, then a plastic sleeve is put on it, the end of which is hidden in the ground of the root part of the tomato. It turns out something of a cocoon, in the middle of which there is a stem, water also through the holes in the bag. Experienced farmers claim that with this method, the yield increases significantly. Seedlings must first be planted in open ground, and then covered with a plastic sleeve, be sure to ventilate the plants
The above methods must be used with extreme caution on plants of short stature.