A novice poultry farmer always faces the question of whether to buy a new livestock every year or to incubate on his own. The first option is much simpler: I bought chickens, raised them, and began to receive products. The disadvantage of this method is the likelihood of introducing infection into the farm, after which expensive barn treatments will be needed and the inability to keep the bird for a long time. At a cost, buying chickens or ducklings will be more expensive than raising them yourself.
The purchase of a hatching egg is preferable, as it excludes the penetration of infection into the farm through the bird. Correct rearing begins from the first hours of life, so it is better to hatch chickens on your own.
To obtain healthy viable poultry, a lot of devices have been developed, one of them is the "Laying" incubator.
Incubator "Laying"
About 10 models of incubators are produced under the "Laying" brand. All of them can be used to hatch chicks from eggs:
- geese;
- chickens;
- ducks;
- turkeys;
- quail.
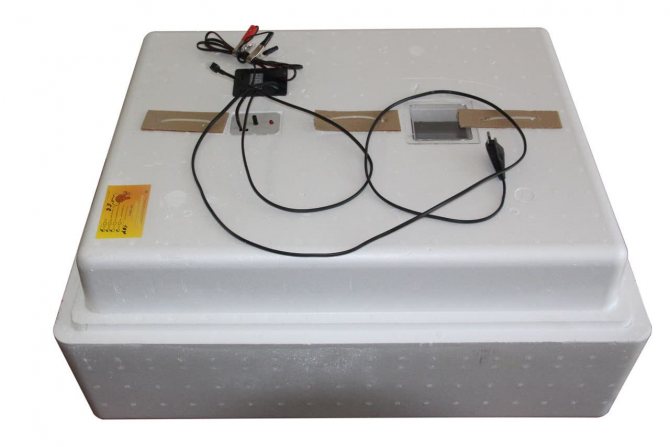
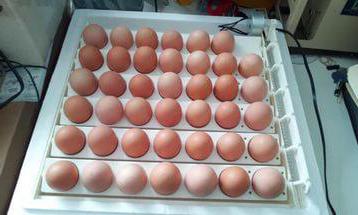
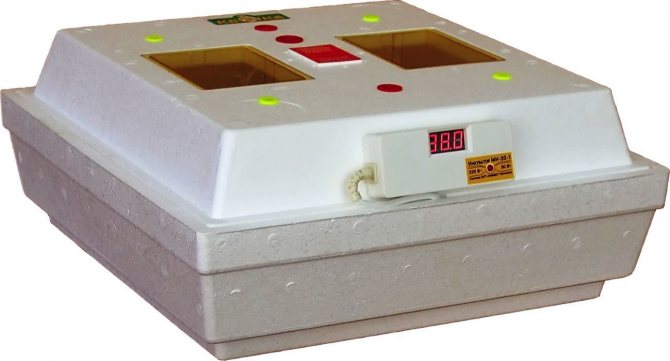
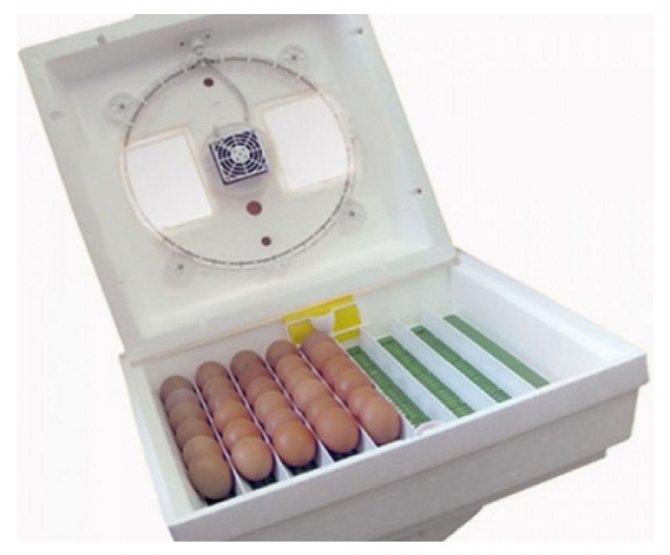
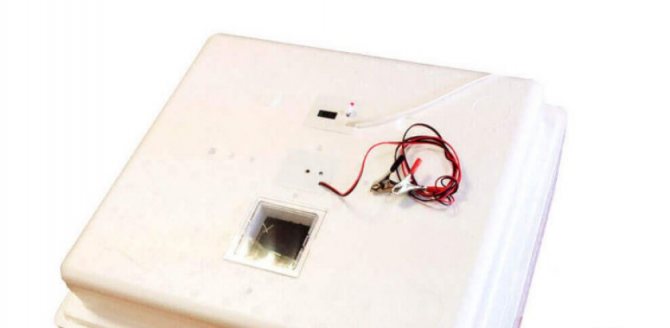
Any model incubator "Laying" is automatic, some of them have a digital thermostat. Both in terms of price and feature set, the device is well suited for home use. Its body is made of foam, it is lightweight and durable. If the incubator "Laying" is ordered by mail, then due to its low weight, the delivery will be much cheaper. There are models for 36, 63, 77 and 104 eggs. Household incubator "Laying", the instructions for which are included in each box, is quite easy to operate. Anyone can deal with his device: both a schoolboy and a pensioner.
conclusions
- The incubator "Laying" is assembled by a domestic manufacturer, due to which it has a low price, ease of use, good characteristics, is easy to use and does not weigh much.
- Depending on the model and configuration, the device is equipped with a place for laying (lay) for 63-104 eggs, an analog or digital temperature sensor and a backup battery.
- There is a manual or automatic (automatic) device for turning embryos, which simplifies the process of work and if repairs are required.
- The humidity in the incubator can be adjusted / adjusted (increased or decreased) by adding or decreasing the evaporation area of water in the lower pan.
- The device has a viewing window and ventilation grilles, thanks to which it is possible to monitor (show) the development of embryos without disturbing the internal microclimate of future chickens.
Also read about whether you need a rooster in a chicken coop.
"Bi-1"
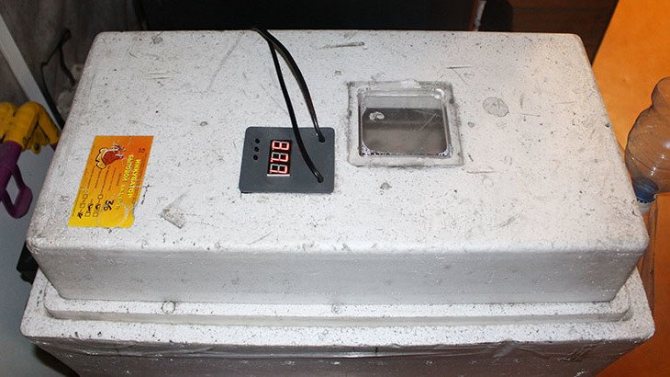
Let's consider the model of the incubator "Layer Bi-1". It is designed for household use. Incubator "Layer Bi-1" for 36 eggs is heated using incandescent lamps. The foam casing of the unit allows you to keep warm for a long time. The incubator itself maintains the temperature and turns the eggs. It can work both from the mains and from the battery. Human responsibilities include adding water to the baths and controlling humidity and temperature.
The incubator "Layer Bi-1" for 63 eggs has a foam body. The built-in digital thermostat enables automatic temperature control. If necessary, it is possible to power not only from the mains, but also from a car battery.The unit turns the eggs on its own, the person only has to fill the baths with water in time and air them.
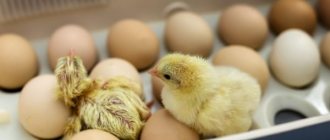
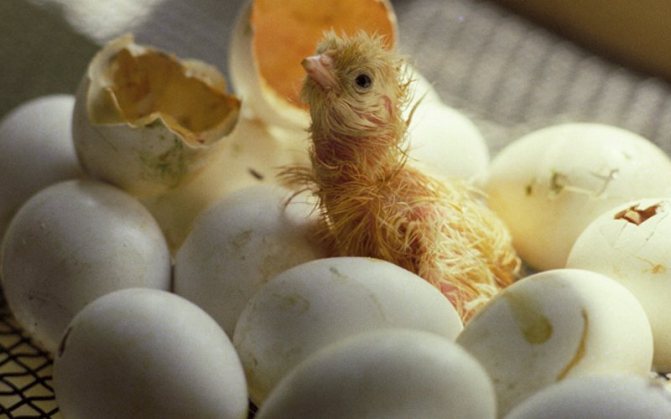
Rearing chickens
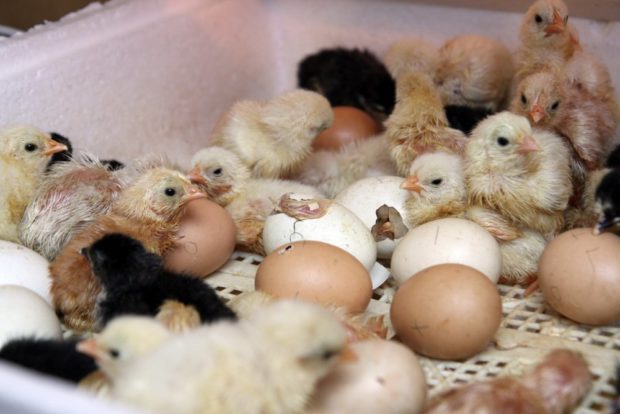
After hatching of the chicks, the apparatus is transferred to the rearing mode. They put a small box at the bottom, or cover it with newspapers, set bowls of water and food.
The incubator automatically maintains the temperature at 30-32 ° with the backlight always on.
Chicks and ducklings can stay in the incubation chamber for up to two weeks, larger chicks for a maximum of 10 days, and quail chicks for up to three weeks.
"Bi-1"
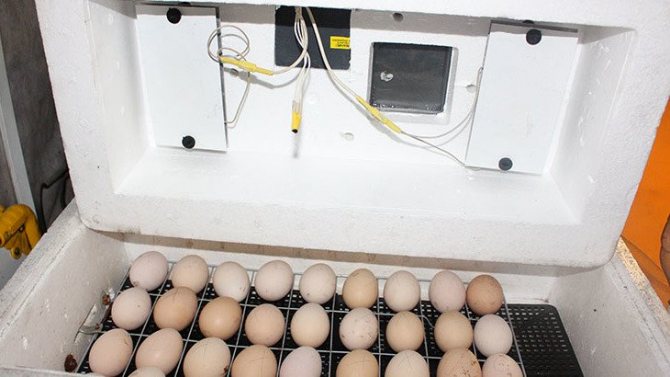
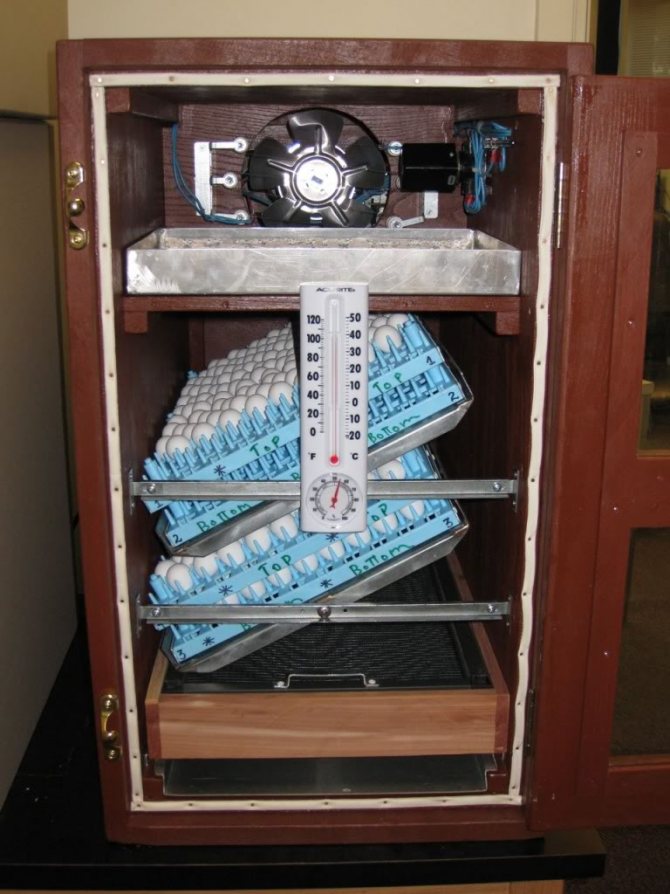
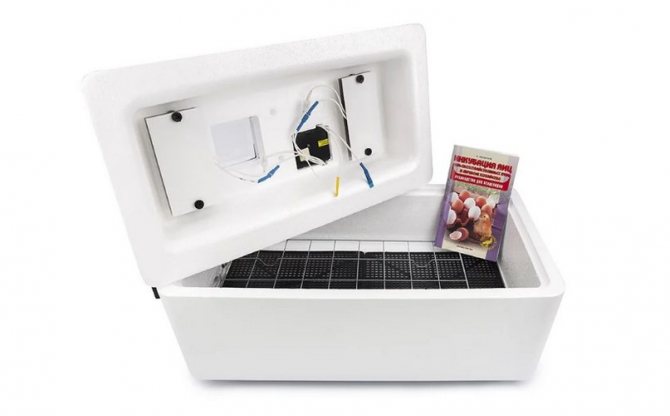
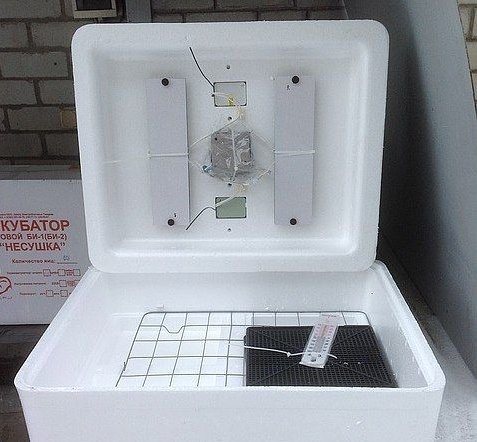
Consider the instructions of the incubator "Layer Bi-1". Before starting work, check the equipment of the device. Place the grate on the bottom of the foam casing and proceed with the installation of the automatic turning device. Connect the incubator to a power supply from the mains or from a car battery.
Before starting work, it is important to check if the flip is working. If so, turn on the heating of the unit. If not, then you will have to spend time fixing the malfunction, since without the coup, the embryos will dry on one side of the shell and die.
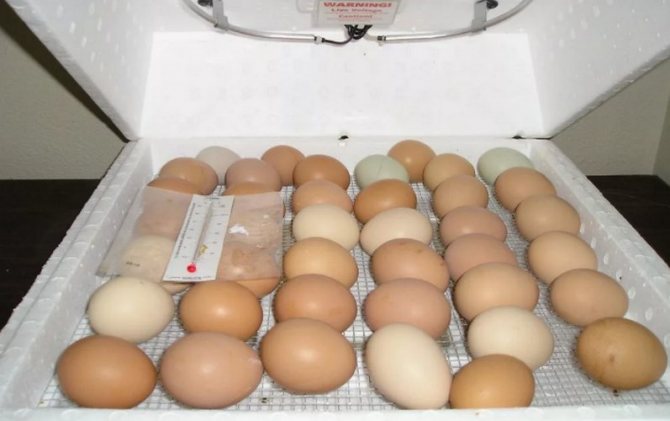
After heating, a temperature of 37.7 degrees Celsius is set on the thermostat. Fill the trays with water and start laying eggs in the incubator.
Recommendations to users
In order for the machine to work properly and serve as long as possible, it is recommended to follow some simple rules when operating the incubator:
- you can clean the Layer with products that do not contain abrasive substances;
- Before laying eggs for the first time, the incubator should be completely inspected and not forgotten to do a test run. Such foresight allows you to identify the shortcomings of the apparatus and check the performance;
- it is recommended to set automatic settings in a timely manner so as not to spoil the incubation material later.
Similar articles:
- The occurrence of limb problems in chickens
- Why do chickens stop laying in winter?
- What gives the chicken yolk color?
"Laying hen Bi-2"
The model for 77 eggs has an automatic flip, which allows you not to waste your personal time on controlling the position of the grill. The digital thermostat shows the current temperature and makes it possible to change it if necessary. The hygrometer allows you to control humidity, which is especially important when breeding waterfowl. The incubator operates both from the mains and from the car battery.
The incubator "Layer Bi-2" for 104 eggs is popular in private backyards and on small family-type farms. The model is equipped with a digital thermostat, which allows you to quickly change the temperature at the slightest deviation from the norm. Automatic flip will make life easier for the hatchery owner and make the process of hatching chicks easier and more enjoyable. The hygrometer will take control of the humidity; a person will only need to fill the baths with water in a timely manner. The incubator operates on both battery and mains power.
general characteristics
In the household, incubators are very valuable helpers when it comes to raising chicks. Many people underestimate these devices, relying on laying hens. But even a completely healthy bird cannot incubate more than 12–15 chicks, while the Ideal Brood incubators can successfully handle 35–104 eggs at the same time.
The task of such aggregates is to bring as close as possible the conditions in which the embryo will be until the time of hatching. The first model of this device was presented in Novosibirsk back in 1991, which testifies to the company's extensive experience in this area. The company specializes in the manufacture of infrared heaters and thermal stabilization systems.
Incubator "Layer Bi-2": instruction
Let's consider another model.It should be said that for the models of the incubator "Laying Bi-1", "Bi-2" instructions are the same, or rather, they are very similar. First you need to check the package contents of the product and assemble it. Then turn on, heat up and set the temperature to 37.7 degrees Celsius.
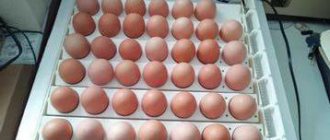
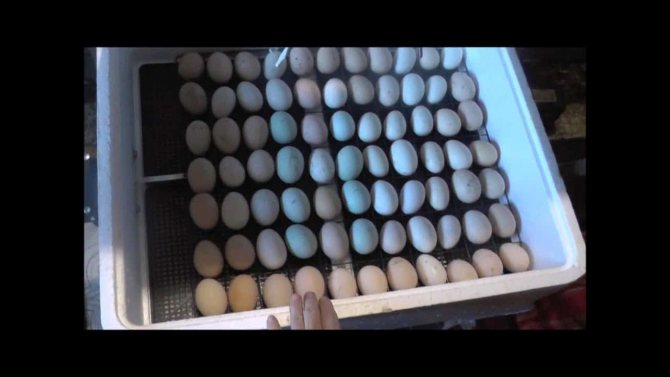
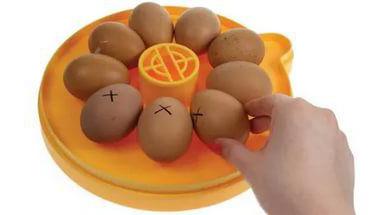
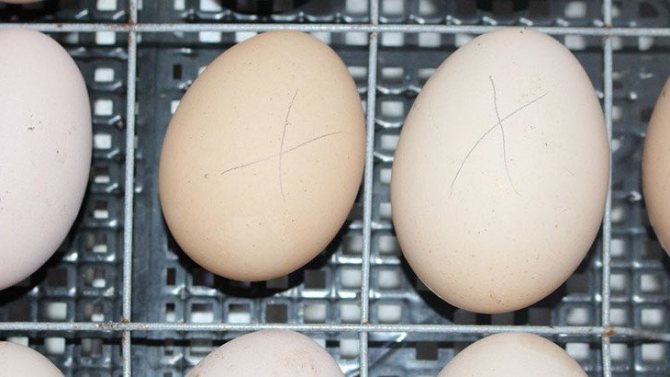
Pour water into the trays and start setting the hatching eggs. Check the operation of the automatic rollover device. If there are few eggs, then lay them sideways, if there are many, then with the blunt end up. The shell must be intact, without cracks and signs of "marbling". If the eggs are rolling in the wire rack or are loose, insert pieces of styrofoam or cardboard into the gaps. If this is not done, they may fall out of the tray and break or crack. When everything is ready, you can connect the incubator to the network.
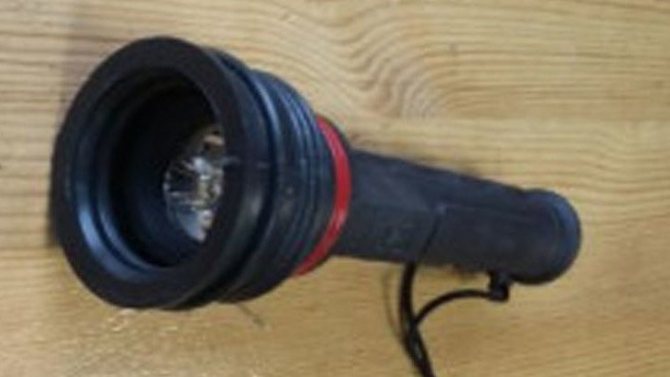
It is recommended to check the water in the trays once a day. From 6-7 days of incubation, eggs must be viewed on an ovoscope and unfertilized ones must be removed. From the 10th day, the procedure for short-term ventilation begins.
Preparation for work
Immediately after purchasing the device, it must be unpacked and checked for operability and compliance with the specified configuration. Then insert the grate divider on the bottom of the housing. Then, according to the instructions, install the AUP (automatic device for turning the incubation material) and the cover.
Now the device is ready for use, so the next step is to connect it to a 220 V network. After that, we set the temperature regime to average values (around + 36 ... + 38 ° C) and wait 20-30 minutes. When the autoincubator reaches the set temperature, the indicator will blink, which will mean that the device has entered the main operating mode. Now you need to connect the battery power, observing the polarity rules (do not forget to disconnect the device from the 220 V network before that).
Where can you buy a hatching egg
Eggs for incubation can be purchased:
- from the farmer;
- in the pedigree reproducer;
- at the poultry farm.
Buying at a poultry farm is most often the most favorable price. They also monitor the level of egg production, so hatchability will be good. Unfortunately, not all poultry farms are willing to contact a private trader if he does not need a wholesale batch.
Buying in a pedigree reproducer is optimal for those farmers who have the opportunity to come to it personally. When delivered by mail or by train, some of the eggs will inevitably be damaged. Also, long-term transportation without observing special storage conditions always negatively affects hatchability.
Purchasing from a farmer is preferred. The seller is interested in maintaining his reputation, so he tries to offer the highest quality product. The disadvantages of buying from a farmer are the higher price and limited selection of poultry breeds.
The most profitable option is to form your own pedigree parent herd. In this case, you can save money and get a hatching egg of excellent quality.
Comparison with other models
Before deciding which hatchery to choose, the farmer should read the comparative characteristics of Layers and other artificial hens in order to make the right choice. If we compare with "Kvochka", then in the last model the eggs must be turned over manually. In addition, in "Kvochka" the slope of the incubator's hull part changes, and not the grate, as in the "Laying". There is also no humidity indicator regulator. The price category of the two cars is approximately the same.
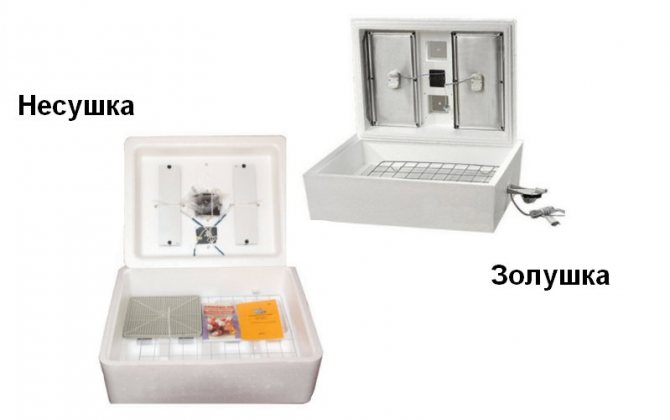
Compared to the Cinderella, the Layer is superior to the first model in terms of functionality. Cinderella has a lower price and simple design.
Blitz and Poseda have a significant advantage over Laying, but they will cost the farmer much more. Incubators have a more robust housing, a variety of functions, and are characterized by stability and reliability of systems.Mostly such incubators are purchased by the owners of large enterprises, and "Laying" is more suitable for a small farm.
How to choose the right hatching egg
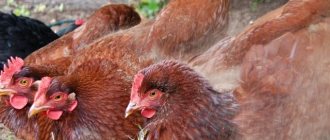
Getting enough chicks is directly related to the quality of the hatching egg. The breeder flock should be healthy with no signs of infection. Eggs from poultry that are less than 8 months old are not suitable for incubation. It is also undesirable to use old chickens for procreation.
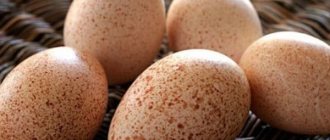
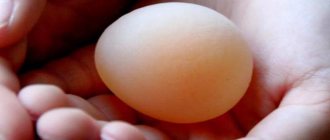
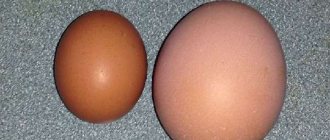
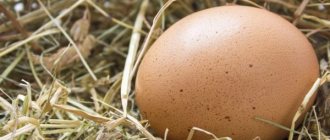
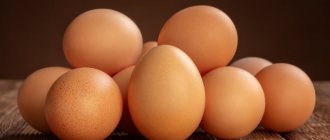
Eggs with 2 yolks are not suitable for incubation. Examine the shell: it must be clean, free from roughness and no signs of "marbling". The best hatchability is achieved with medium sized eggs.
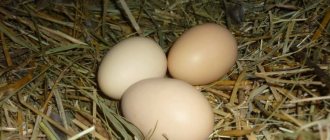
Improper storage reduces the number of viable chicks. Before incubation, eggs should be kept in a room with a temperature of 10 to 12 degrees Celsius for 3-5 days. They need to be turned over at least 2 times a day.
Chicken egg incubation technology
As the reviews say, it is very easy to hatch chickens in the "Laying" incubator. Chickens have good vitality and their eggs are ideal for a beginner farmer's first experience.
The incubation process lasts 21 days. If the mass hatching of chickens began earlier, then there was a violation of the temperature regime. The incubator may have been too hot. Set the temperature to 37.7-37.8, it is considered optimal. If the chickens began to hatch on days 19-20, then reduce it to 37. If on days 21-22 there are only a couple of chickens in the incubator, then the temperature, on the contrary, is raised to 38-38.5.
During all 3 weeks, it is necessary to control the level of humidity and the fullness of the baths. For 6-7 days, a viewing is carried out on an ovoscope, all unfertilized and suspicious eggs are removed from the incubator. From day 10, it is necessary to start airing, this is done to create conditions that will be as close to natural as possible. With natural rearing, the chicken does not sit in the nest all the time, it periodically leaves for eating or drinking. Airing is carried out 2 times a day.
On the 19th day of incubation, the automatic flip is disabled. The person also continues to pour water into the baths, but he no longer performs the ventilation procedure. At about 20-22 days, the chicks are hatched, which, after they have dried, are transferred to a brooder.
Pros and cons
When comparing incubators "Laying" with analog devices, the following advantages can be distinguished:
- acceptable price;
- design versatility;
- small size, minimum weight;
- high degree of thermal insulation.
The last positive effect takes place due to the fact that the structurally insulating layer of the egg incubator "Laying" consists of foam. But it is precisely because of this that this device has two negative components:
- absorption of unpleasant odors;
- fragility of the device.
Important! The temperature sensor must be positioned vertically in relation to the incubator lid!
To prevent the first of these points, the manufacturer encourages the use of abrasive cleaning agents after each use of the autoincubator.
Goose egg incubation technology
The incubation period of goose eggs is 28-29 days. Before laying, they need to be checked on an ovoscope for spots and cracks. The optimal egg weight for medium-sized geese breeds is 120-140 g, for large ones - 160-180 g.
The incubator is set at 37.8 degrees Celsius. From the 5th day, they begin to carry out the egg spraying procedure, which is brought up to 4 times by 24 days. Irrigation stops a couple of days before hatching.
From the 15th day of incubation, eggs begin to cool, like chicken eggs. The procedure is carried out twice a day and stops 2 days before the withdrawal. On the 26-27th day, the temperature is gradually reduced to 37.5-37.3.
Turkey egg incubation technology
Before laying turkey eggs, they are disinfected in a warm solution of potassium permanganate. The average incubation period is 26-28 days. The optimal egg weight is from 80 to 100 g.
In the incubator, the temperature is set to 37.8 degrees Celsius, on the 8th day it is reduced to 37.5. From the 10th day, the airing procedure begins. Automatic egg overturning should take place before 26 days, then it is turned off. From this moment, the temperature is raised to 37.8 degrees.
The hatching of turkey and chicken eggs is very similar, so they can be combined in the same incubator.
Thermoregulation methods
Regardless of whether the eggs are heated directly from the lamp or the water that circulates inside the incubator is first heated, the temperature must be monitored. One of two ways can be involved here: a thermostat with a relay or a PID controller. The first ones have a lower cost, but the second ones are more reliable, since when working with them, you have to change the heating element (light bulb) less often. In addition, when using them, you can be sure that the lamp will not accidentally fail by lowering the temperature in the incubator below a critical level. How do they work?

With a temperature switch, everything is simple. When the temperature rises to the upper limit of the comfort zone, it simply turns off the lamp. When the temperature drops, the lamp turns on again. Simple and convenient, however, experienced users know that lamps burn out exactly at the moment they are turned on.
The PID regulator solves this problem. It does not turn the lamp on and off, but simply increases or decreases its power. Applying less voltage, the regulator reduces the lamp power. For example, a 60-watt one will only operate at 10-15 watts. This not only increases its resource, but also reduces the number of sudden changes.
Quail egg incubation technology
For hatching, eggs weighing from 8 to 15 g are selected. The incubation period is 16-18 days. Before laying eggs, it is better to check with an ovoscope.
Until the 12th day of incubation, the temperature is set at 37.7 degrees Celsius, and later reduced to 37.3. The coup must take place at least 5 times per day. Humidity during incubation should be 55%, after 16 days - from 70%. On the 15-16th day, the automatic egg turning function is disabled. From 3 days of incubation to 16, the ventilation procedure is carried out.
After hatching, the quail is dried and transferred to a brooder. The first 1-2 weeks they are kept under an infrared lamp, which is subsequently replaced with a regular one.