»Poultry» Chickens »Self-incubation of chicken eggs
0
620
Article rating
Incubation of chicken eggs allows you to save money on the purchase of young animals, makes it possible to independently breed hen breeds that do not have a maternal instinct, and improves the productivity of hens. Breeding chickens will require an incubator, fertilized material and a little patience.
Incubation of chicken eggs
Selection of chicken eggs for incubation
The quality of the eggs that will be set in the incubator directly affects the hatch rate.
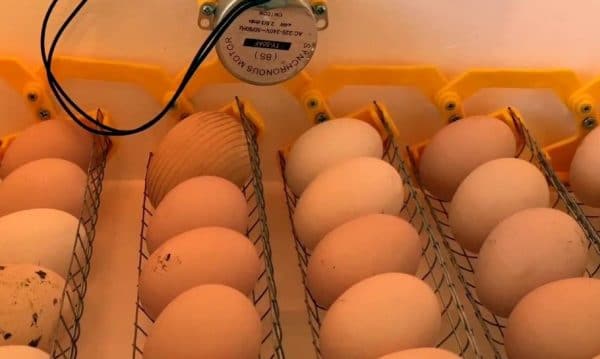
You cannot put an egg on an egg! Since the temperature will flow to them unevenly
The choice should be guided by the following principles:
- It is advisable to take eggs of exceptionally healthy young hens. Productivity is a genetically determined characteristic, so it is worth taking testicles from the most productive individuals.
- Eggs that are too light are not used as incubation material. The minimum weight indicator is 52 g. If it is lower, the eggs are discarded. The optimal weight is 57-63 g.
- It should be borne in mind that embryos must be placed in the incubator. approximately the same mass, otherwise they will hatch at different times.
- It is undesirable to take fertilized eggs from too old layers. The best age for laying in an incubator is one and a half to two years.
- It is not recommended to use additives before laying eggs.that increase the productivity of the bird. The best choice of food is natural food.
- Fertilized eggs must have the correct shape. Sharp and blunt edges are pronounced, with a smooth transition. It is undesirable that there are growths on the eggs.
It is undesirable to lay eggs weighing more than 66 g, because of the thin shell. Also, statistically, chick yield rates are much lower among large eggs. The occupied space does not leave room for air currents.
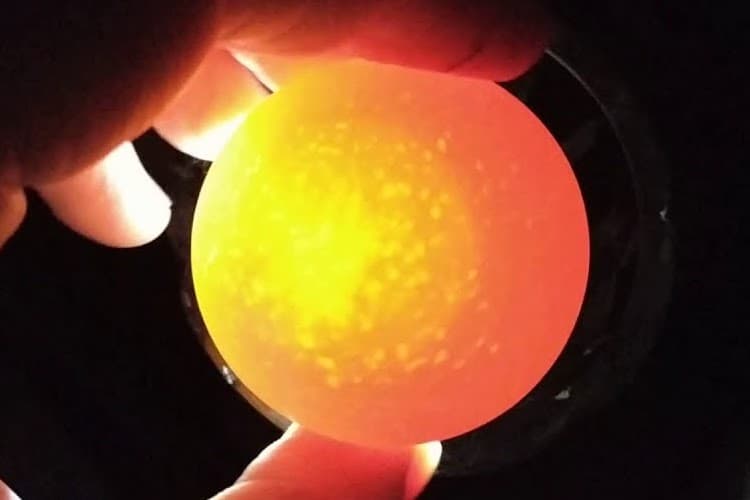
Viewing material on an ovoscope
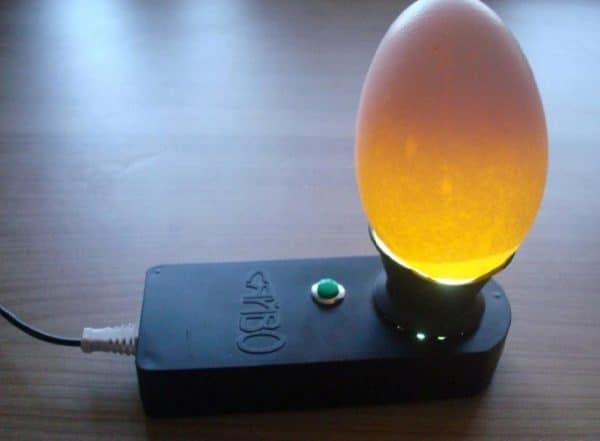

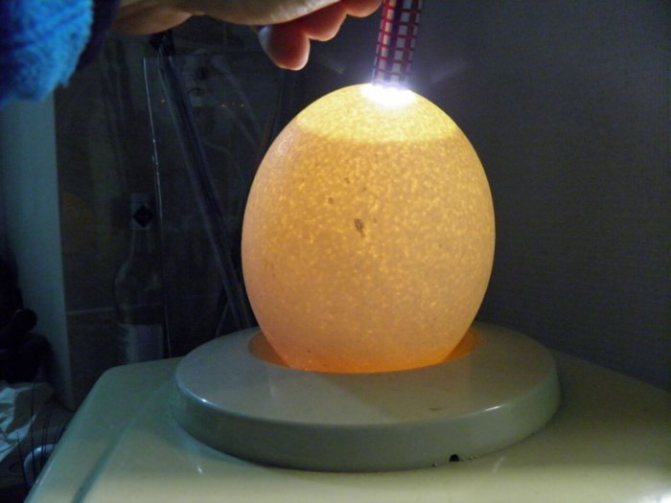
Viewing eggs on an ovoscope
Incubating chicken eggs at home will require an additional check on an ovoscope to reject low-quality embryos.
What is recommended to pay attention to:
- The presence of cracks, shell defects. Such eggs are not allowed for hatching.
- The size and position of the air chamber. Should be near the thick edge, at least 2 mm thick.
- The yolk is in the center of the egg. Slight misalignments are possible. Excessive mobility of the yolk leads to the refusal of laying in the incubator. It is checked by a sharp overturn of the egg.
- Darkened areas or blood spots. The presence of such areas leads to the rejection of eggs. The texture should be of the same type, there should be no inclusions.
Requirements for incubated eggs
Incubation of goose or chicken eggs should be done only from the best samples, which should be selected and stored according to special recommendations.
Shell mass and appearance
At home, you need to take a scale and find out the mass of each egg. When breeding broiler chickens, this indicator is not the most important, but if possible, these features should also be taken into account.
But you need to look very closely at the shell.It will not work to hatch healthy chicks in an incubator if the eggs are initially with a lot of light and dark streaks on the outer surface. As a rule, this happens if the laying hens are fed with a low-quality product.
Defects identified after ovoscopy
A universal way to test chicken eggs is to illuminate them with an ovoscope. If you do not want to spend money on purchasing a device, you can easily do it yourself from improvised means. There are many articles on the net, photos and videos showing the technology for creating an ovoscope.
With the help of a directional light beam, you can see where there is a growth, a cavity, a crack and unwanted inclusions in the egg. Even one detected defect indicates that the source material cannot be incubated:
- If you place a cracked egg in a container, you will not be able to grow a bird out of it, since the material will lose all moisture and the embryo will die very quickly.
- Specimens with a notch on the shell will lead to about the same, but there is no need to rush to discard them: you can try to get rid of the defect with the help of starch glue.
- The embryo develops inadequately and in an egg with a deformed shell.
The ovoscope can show the state of the air chamber, indicating the freshness of the original product. In the light, the camera looks like a dark spot not far from the blunt side of the egg, it stands out strongly against the background of the rest of the contents:
- if the chamber is small, the product is fresh,
- if the stain is large, the product is stale.
In the second case, the eggs are not suitable for incubation, as the embryos in them will develop very slowly.
During the transillumination, the eggs need to be twisted from all sides. If it became noticeable that the yolk is sharply shifted either to the blunt or to the sharp end, it means that the cord (chalaz) holding it is torn and this specimen is not suitable.
Egg storage and disinfection
There are several opinions on how long eggs can be stored before setting them in the incubator.
Eggs that have been stored for more than 3 weeks have a reduced hatchability rate. The optimal shelf life of eggs before incubation is no more than 6 days. Further, the embryo begins to die.
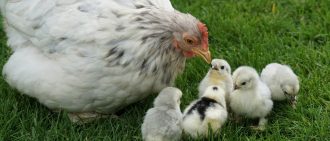

Be sure to read:
Caring for chickens with a hen from the first days of life, we create the necessary conditions
When stored for less than 72 hours, the best temperature will be about +18 degrees Celsius. Longer storage times will require lower temperatures.
It is desirable to provide a constant temperature of +10 degrees. The relative humidity in the storage should be constant and not more than 80%.
If there is a need for long-term storage of material - you will need to turn the testicles every day.
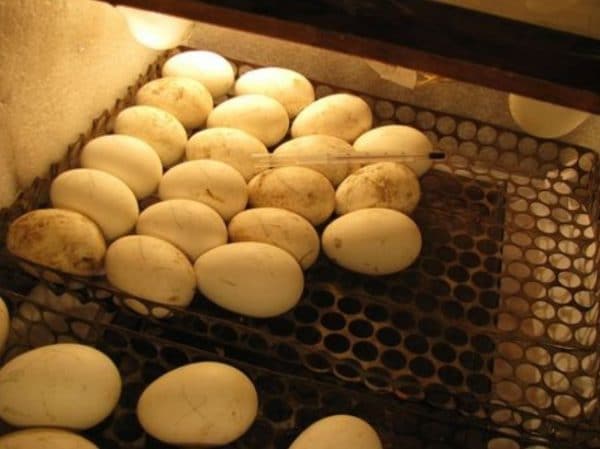

Before laying, be sure to carry out the disinfection procedure.
Relative humidity affects weight as follows:
- At a relative humidity of 80%, the material will decrease in mass by 0.7% within 10 days of storage.
- At 60% relative humidity, the weight loss is 2.5%.
It is necessary to provide oxygen access to the stored material. Do not keep fertilized eggs in a dusty environment. The ability to absorb trace elements from the environment will lead to developmental defects.
Statistical dependence of hatchability percentage on storage time:
| Storage duration (days) | Hatchability,% |
| 5 | 91 |
| 10 | 82 |
| 15 | 70 |
| 20 | 23 |
| 25 | 15 |
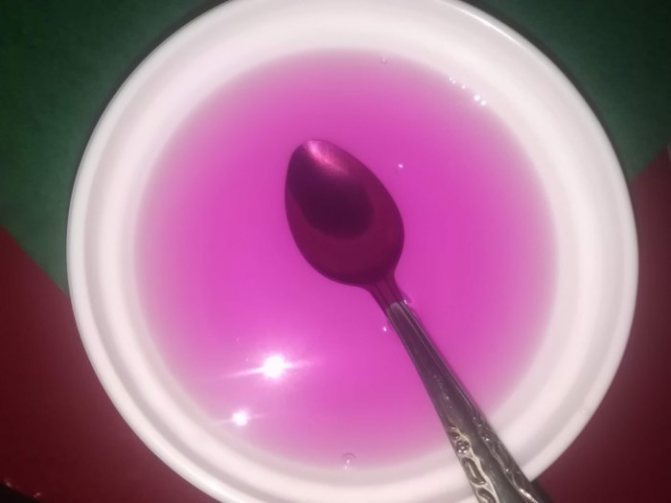
Before laying, be sure to carry out a disinfection procedure. The best option is to use potassium permanganate. An alternative would be a 1.5% hydrogen peroxide solution.
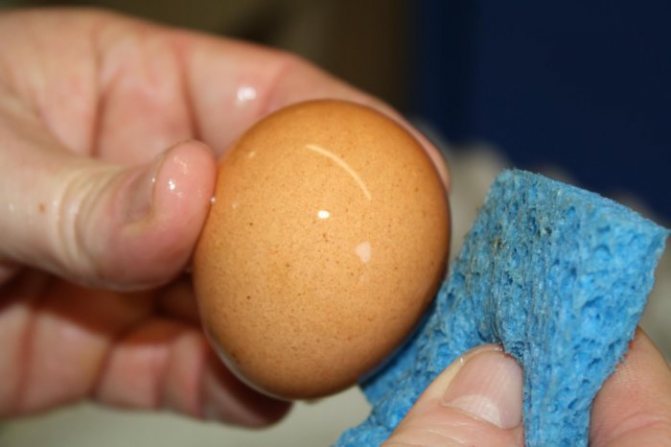
It is necessary to wipe the shell from dirt and feces with cotton wool soaked in a solution.
Another way is to soak the material in the solution. It is undesirable to immerse in liquid for more than 5 minutes. This will soften the dirt.
Next, you need to carefully wash off the dirt from the shell, put the material on the cloth until it dries. Too cold a solution will damage the embryos. The recommended temperature range is + 29 ... + 30 degrees.
Types of thermometers for measurement
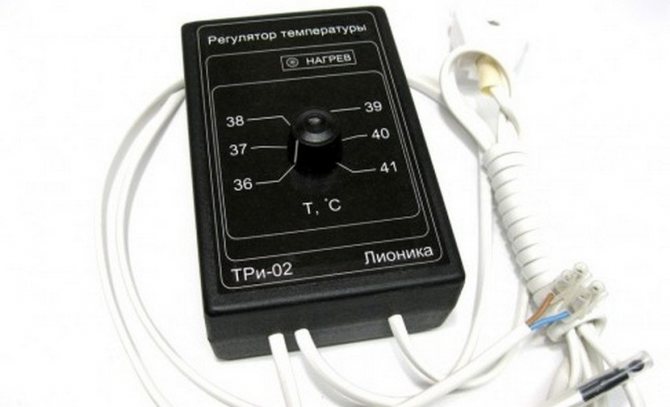
The temperature regime in an incubator for chickens differs from that for other poultry by a fraction of a degree, so it must be carefully controlled. Heat fluctuations throughout the entire incubation period are 1–1.5 ° С. To understand how to check the temperature and prevent drops, you need to choose the right thermometer.
At the present stage, 3 types of such devices are used:
- Electronic.
- Mercury.
- Alcoholic.
Electronic
An electronic thermometer is a progressive model that measures the exact ambient temperature in the device.
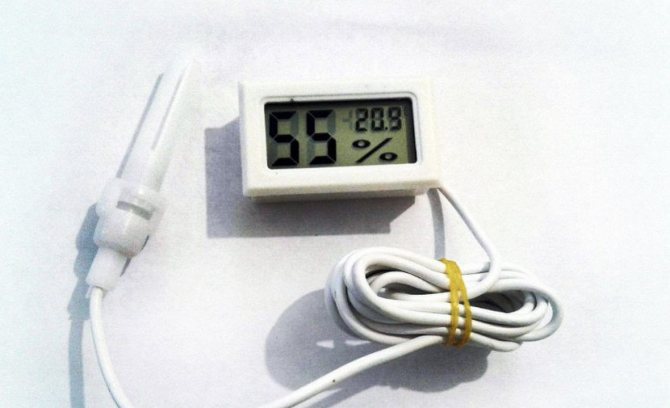

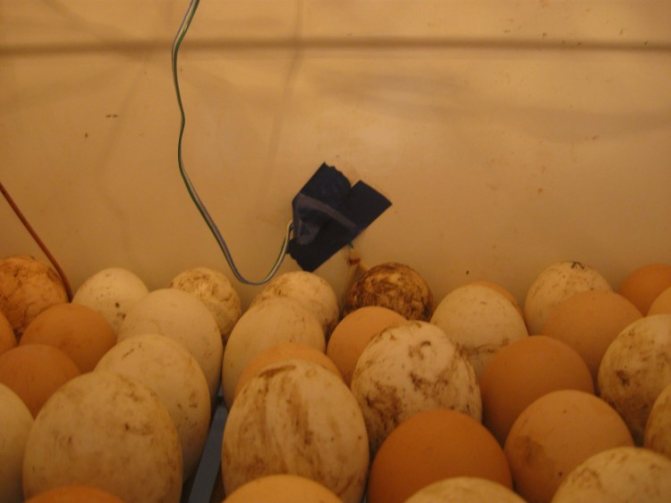
The device itself is located outside, and there is a probe inside the incubator. The readings on the display are displayed with an accuracy of tenths of a degree.
Mercury
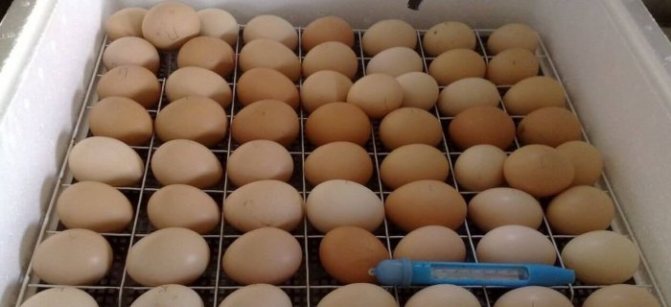
A good budget option with extreme precision. Located inside the incubator next to the viewing window.
Did you know? More recently, an infrared thermometer has been developed. It is equipped with a high sensitivity measuring element that scans the body and displays the temperature on a display. Temperature measurement takes 5 seconds.
Considered relatively safe for biological material. If the thermometer bursts, you will have to get rid of not only the eggs, but also the incubator itself, since mercury is a caustic compound, the vapors of which are quickly absorbed into the surrounding tissues.
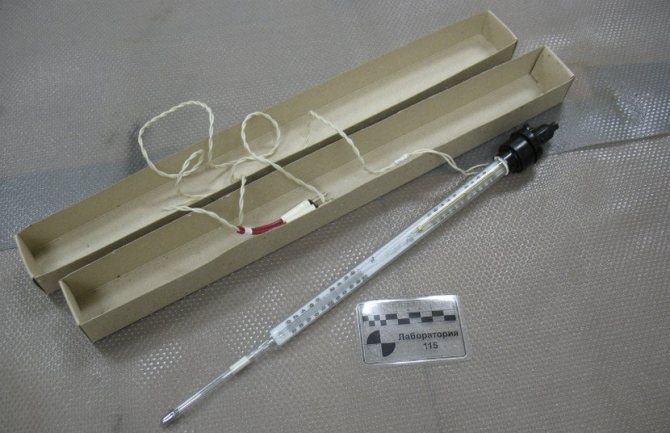

Alcoholic
Alcohol temperature meter is the simplest and most budgetary device. Despite the fact that it displays decimal gradations, errors in the reading can be significant. The thermometer is located inside the incubator, and the readings are monitored through a viewing window.
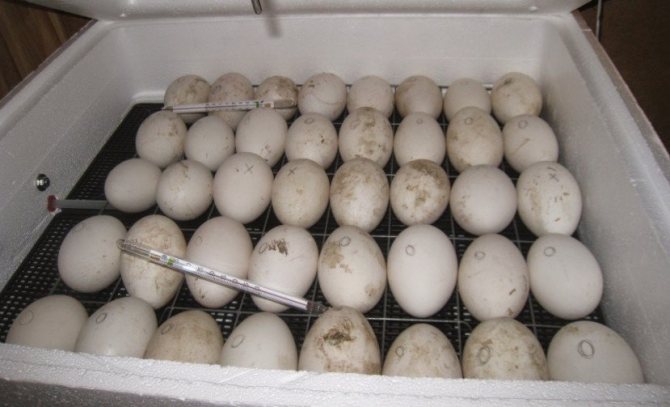
Having chosen the alcohol option, it is better to place 2-3 thermometers in the apparatus at different ends. Among the advantages of such a device, one can single out low cost and high safety.
Incubator selection
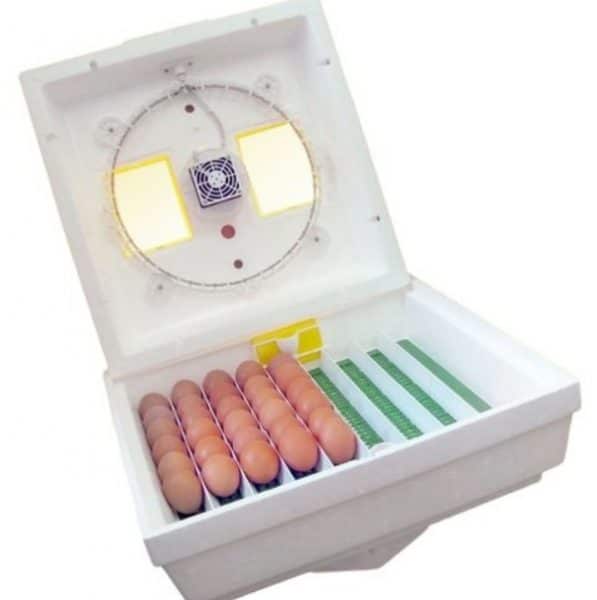

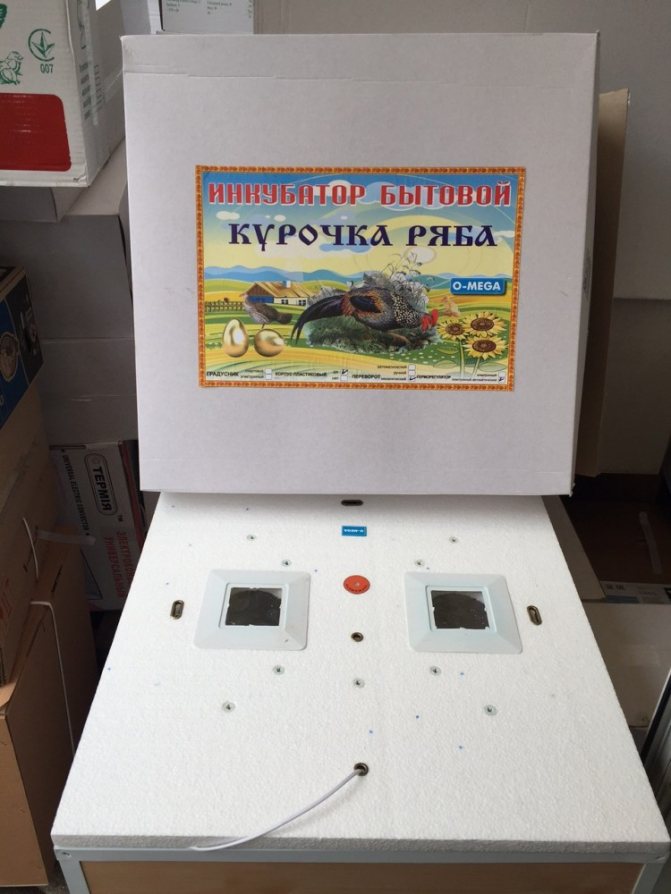
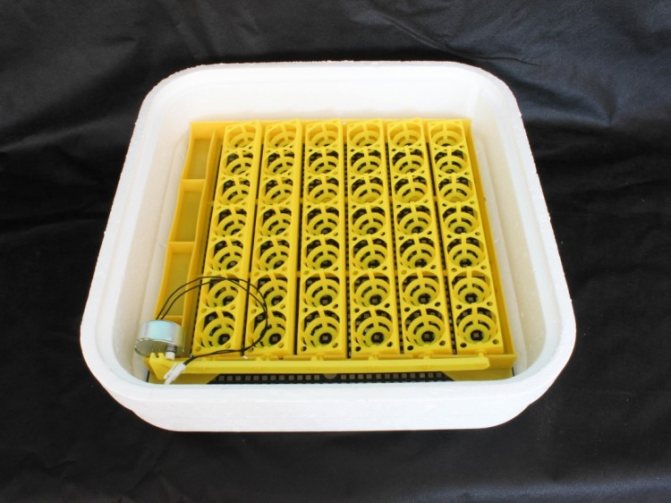
Manual incubator
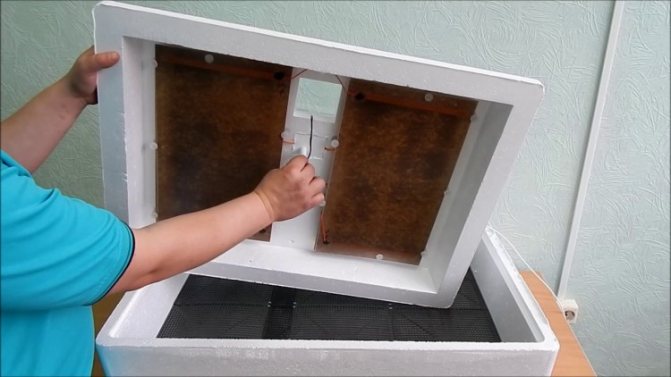
There are several options for performing incubators. In addition, it is possible to make them yourself.
The chick hatcher must have the following characteristics:
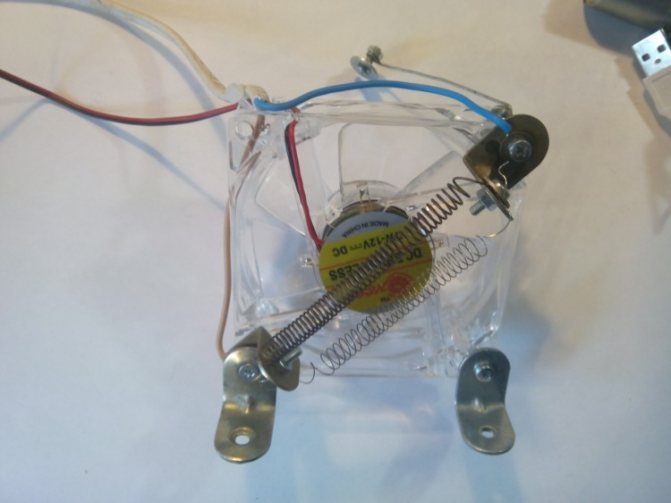
- The presence of slots for the passage of air flows, or a built-in system of fans operating for blowing and blowing, which ensure the constant movement of oxygen inside.
- The ability to maintain for a long time the temperature and humidity that are optimal for embryos in a specific incubation period.
- Automated work - that is, the implementation of the hatching of chickens should be carried out autonomously, according to a program set by the farmer without his direct participation.
- Protection from environmental conditions. Changes in temperature or humidity should not affect what is happening inside the compartment.
An important function is the ability to turn the material inside the incubator. Eggs in the process of hatching must turn over, otherwise the embryos will die.
A prerequisite is the presence of temperature and humidity sensors on the device case.
Manual incubators
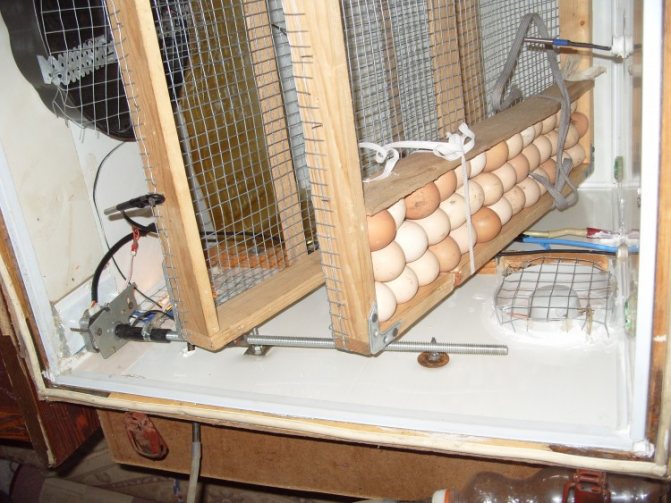
Handheld devices are the simplest and most affordable among incubators. Turning the eggs is done manually after opening the incubator. Self-made devices often have such a system.
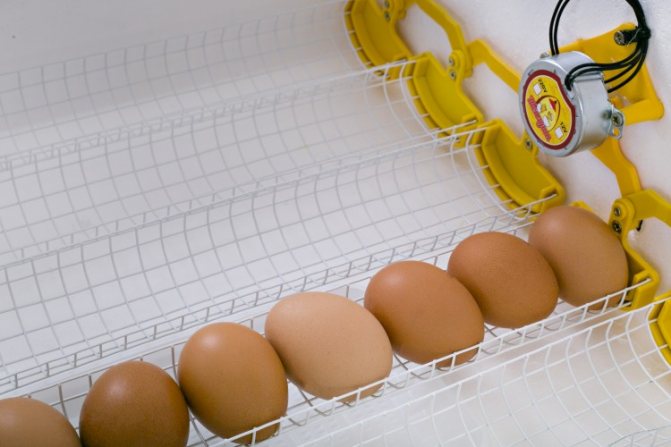
Mechanical incubators
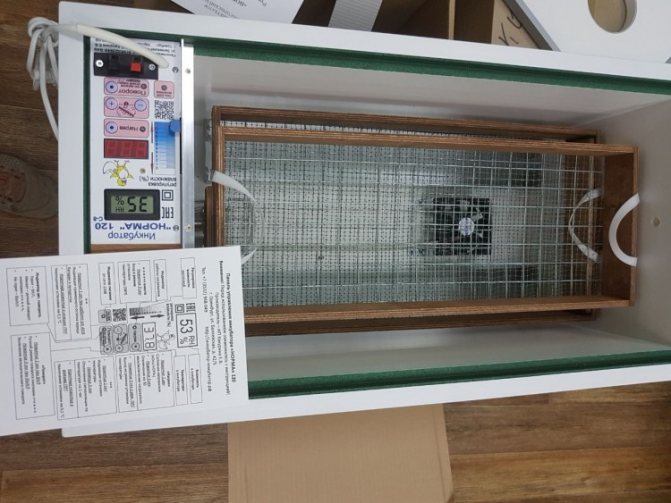
A mechanical or semi-automatic incubator is a more complex version of the unit.

Be sure to read:
How to quickly pluck a chicken: methods and step-by-step instructions on how to handle it correctly
The rotation is carried out by pulling the net by the handle on one side of the device. To turn over, you need to alternately pull on the net on each side.
Automatic incubators
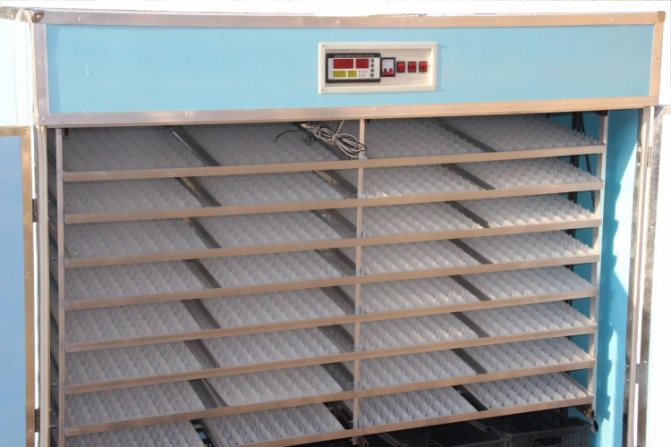
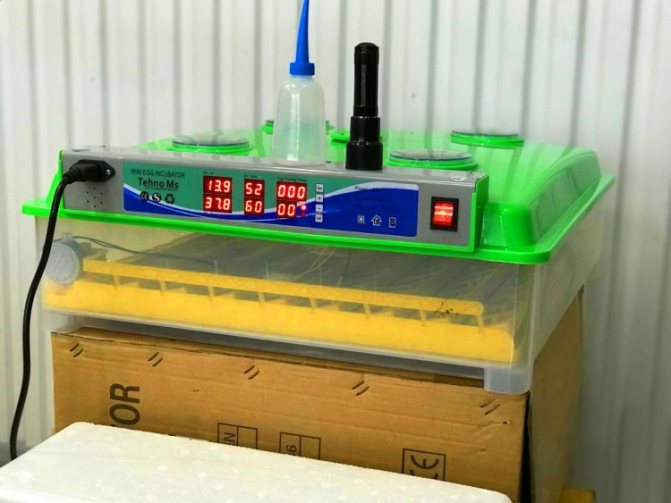
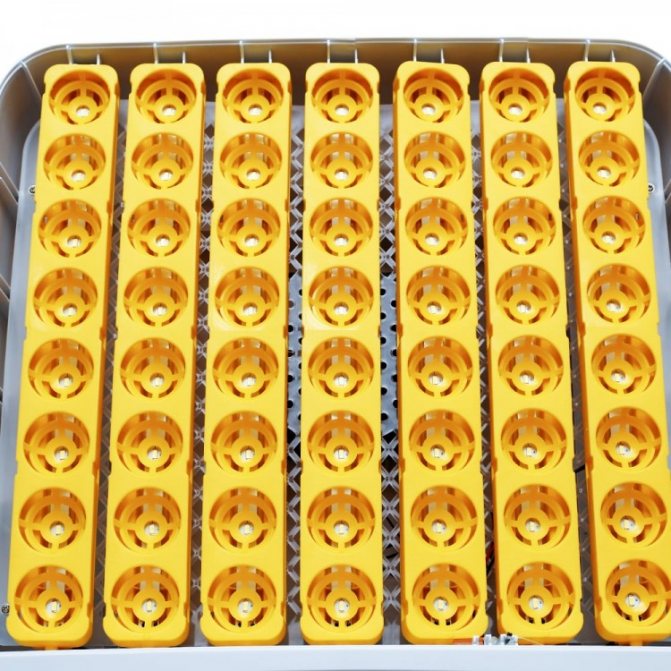
Automatic devices are the most complex and expensive on the market.The overturning procedure is carried out without the participation of the owner.
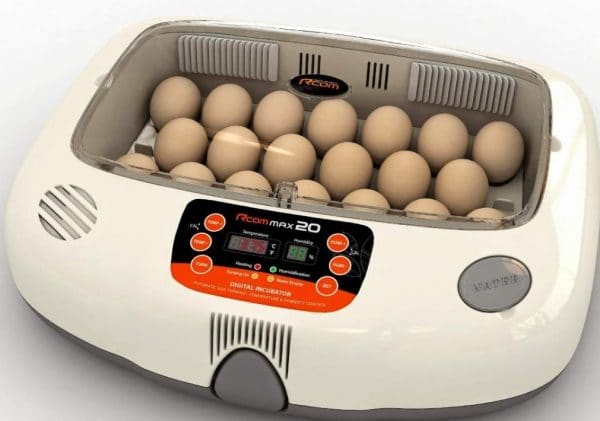

Automatic incubator
The default number of flips is 6. Some devices may have a configurable number of flips.
Preparing the device
Before starting the bookmark, be sure to read the instructions for the incubator. It is important to know how to adjust the temperature and humidity when incubating chicken eggs at home.
It is advisable to wash and disinfect all internal parts of the incubator.
We recommend that you familiarize yourself with the recommended temperature and humidity settings. The device should be installed in a room with a constant temperature, without drafts.
It is not recommended to install the device on an unstable or uneven surface.
You can then enable and configure the desired hatching program. After a day of work, the material is laid for hatching. A preliminary start is required to check the functionality of the incubator.
At the second start, a constant temperature and microclimate inside the compartment is established.
Laying eggs
Before laying, it is advisable to transfer the eggs to a room with a constant temperature of + 19 ... + 22 degrees. If you place the material in a compartment with a lower temperature, condensation may appear, which will lead to a change in humidity.
Bookmark rules
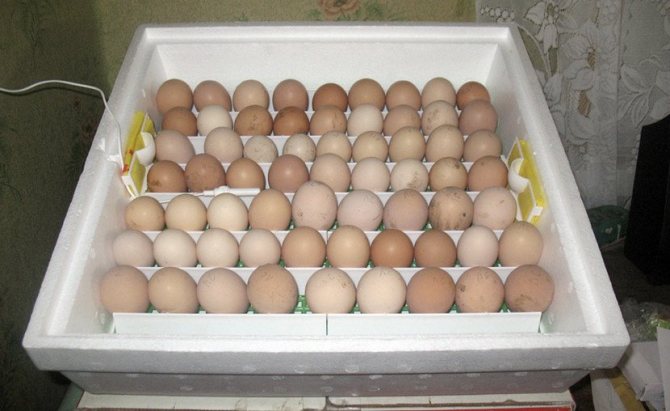
After the eggs are dry, you can proceed to the actual laying. The way to perform this procedure depends primarily on the features of the incubator model. Most often, household appliances are bookmarked horizontally.
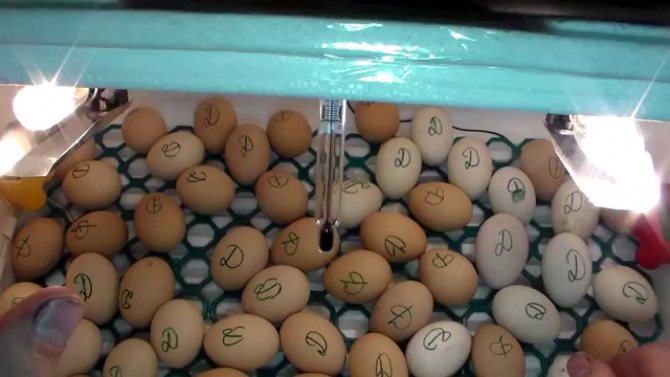
If the selected incubator model does not have an automatic rotation function, the eggs must first be marked on both sides, for example, with a cross and a circle. This in the future will prevent confusion with their coup.
Eggs are placed in the device as follows:
- large chicken eggs are first placed on incubation;
- after 4 hours, do the same with the averages;
- the last, after 8 hours, the smallest eggs are placed in the device.
Bookmarking is allowed at any time of the day. But it is best to perform this operation at about 8 pm. In this case, the chickens in the future, most likely, will begin to hatch in the morning and by the evening all will hatch. Before laying the incubator, it should be warmed up to 36 ° С.
Chick hatching periods
A prerequisite for incubation is the exact knowledge of the timing of the hatching of the chicks. It should be borne in mind - each gram in an egg mass of more than 56 g will increase the period by about 30 minutes.
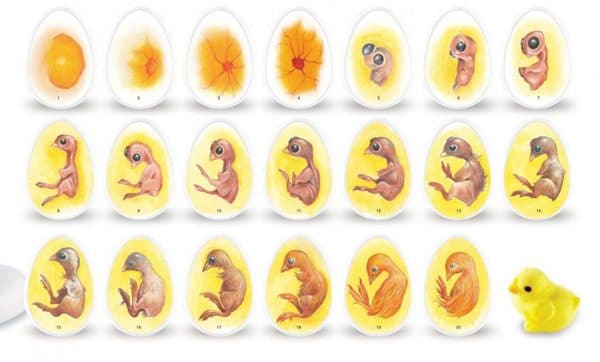

Chick development stages in the egg.
The incubation period is 20 days. Discrepancies up to 22-25 days are possible at a reduced temperature inside the compartment. However, if the chickens have not hatched after 25 days, it is useless to wait.
You can divide the incubation period at home into four sub-periods. Each of them will require separate modes of humidity and temperature.
In this case, you need to maintain a stable temperature until the end of the period.
- The first 5 days. Temperature - +38 degrees. Relative humidity 65%. It is necessary to turn the material 6-8 times a day. In the absence of an automatic coup system, you will need to do it manually. After 96 hours, you need to lower the temperature by 0.5 degrees, the humidity by 5%.
- From 5 to 11 days. The humidity drops to 35-45%, the temperature is +37.6 degrees. The formation of the chick's skeletal system takes place.
- 12 to 20 days. The required temperature is +37.4 degrees, the humidity reaches 80%. The final formation of the neural tube and brain takes place. During this period, it is advisable to examine the eggs on an ovoscope. You also need to increase ventilation after 18 days.
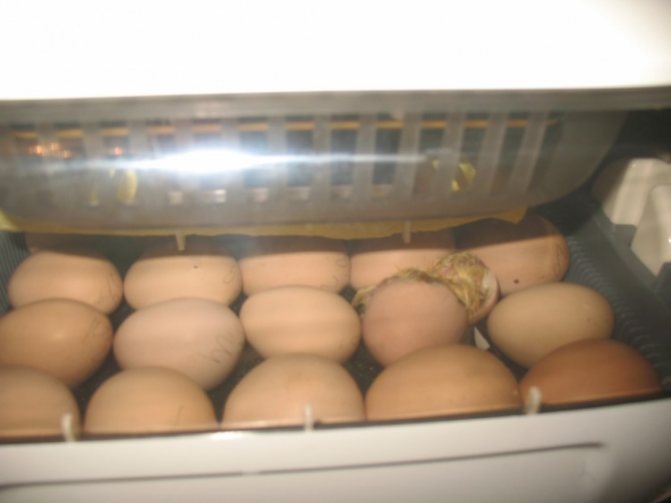
- The last period. It is marked by chicks pecking through the shell, hatching.Youngsters should be transplanted into a pre-prepared brooder after they have completely emerged from the casing and the chicks have dried.
Viewing on an ovoscope during incubation
During the incubation period, it is necessary to enlighten the embryos on an ovoscope at different periods. Changes will take place from the first day. The first examination is carried out after a week of incubation.

Be sure to read:
How to properly trim wings for chickens, roosters and other poultry?
A network of blood vessels forming can be seen. If it is evenly distributed throughout the embryo, you can put the egg back in place. With significant bruising, the egg is discarded.
It is advisable to re-examine at the final stages of development. At this point, the chick should not show through and be large enough in size.
Humidity and temperature during incubation
For an effective breeding process, it is imperative to know what temperature and humidity should be in the incubator during a particular growing period.
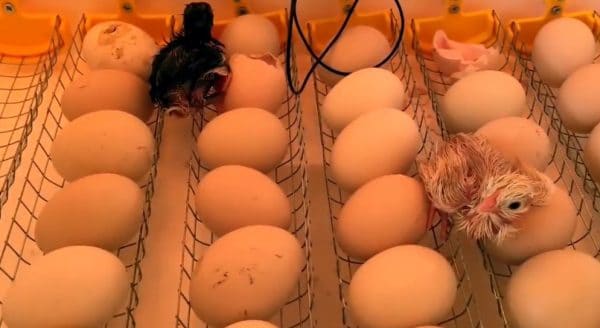

Chicks are not born all at once
The climate inside the compartment affects the hatchability rate and the health of the chicks.
The temperature limits are from +27 to +43 degrees. An excessively high or low temperature can pass without a trace only if it persists for several minutes.
With hypothermia, the development of chicks slows down. Optimum indicators are + 37 ... 40 degrees.
An important parameter is the placement of the heating element. At the top, the temperature limit is up to +40 degrees. At the bottom or side +38 degrees.
It is desirable to provide a stable reading on the thermometer during incubation. The same applies to humidity. The indicator should vary between 46-80%. However, the limit values should not be reached.
Temperature regime table
Incubation of chicken eggs incubation mode table:
| Day | Temperature, degrees Celsius | Humidity,% | Coups, number | Airing |
| 1-7 | 37,9 | 50 | 24 | – |
| 8-14 | 37,9 | 45 | 6 | – |
| 15-18 | 37,9 | 50 | 5 | Twice a day for 15 minutes |
| 19-21 | 37,4-37,5 | 70 | – | – |
Introduction
Topic of today's article: Incubation of chicken eggs: inside and out. The appearance of chickens is perhaps the most interesting and touching moment in chicken breeding. In modern farms, special units are responsible for raising chicks - incubators, in which incubation takes place.
Incubation is a series of artificial measures aimed at creating suitable conditions for raising chicks without the participation of the hen. In this article, I will talk in detail about how to carry out incubations and what difficulties may await during the process.
Frequent mistakes of novice poultry farmers
The most common output errors:
- Lack of experience with the device. You need to know exactly how the incubator works before laying the eggs, read the instructions.
- Too long or short storage.
- Laying eggs of different sizes in an incubator or eggs of different breeds.
- Improper handling of the incubator and preparation of the material: uncleaned apparatus or shells, laying of eggs with microcracks, growths. Eggs inside the tray may burst, covering everything else with liquid. If this is not followed in time, the chickens will suffocate inside the eggs.
- Problems maintaining constant temperature or humidity.
- No coups while inside the tray.

