All city dwellers love to spend the summer time in the country. Arriving in a country house, you can put your thoughts in order, recharge with positive energy and breathe fresh air. The dacha will hide from the bustle of the city, as well as from the unbearable heat.
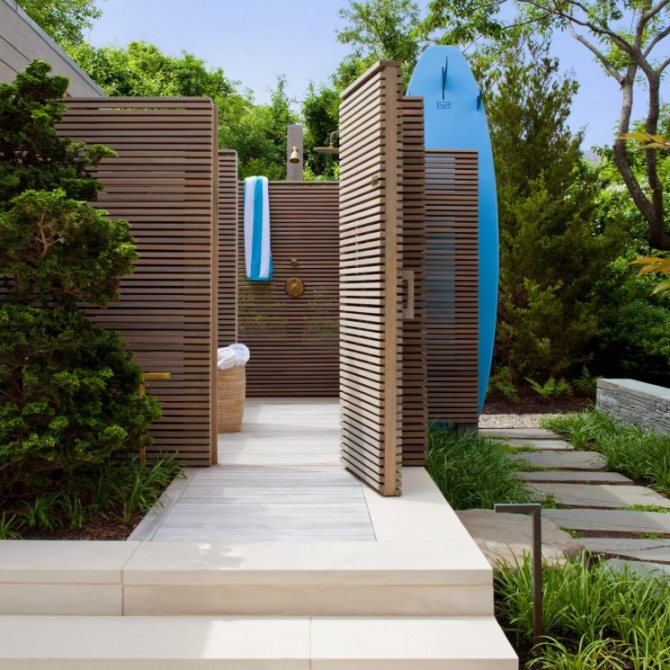
To make the rest comfortable, you need to take care of civilization, that is, of the essentials. If there is a do-it-yourself summer shower at the dacha, then it will be able to meet all the requirements.
In this case, you cannot do without imagination, because a shower in the summer must necessarily have practical properties, and an interesting design would not interfere.
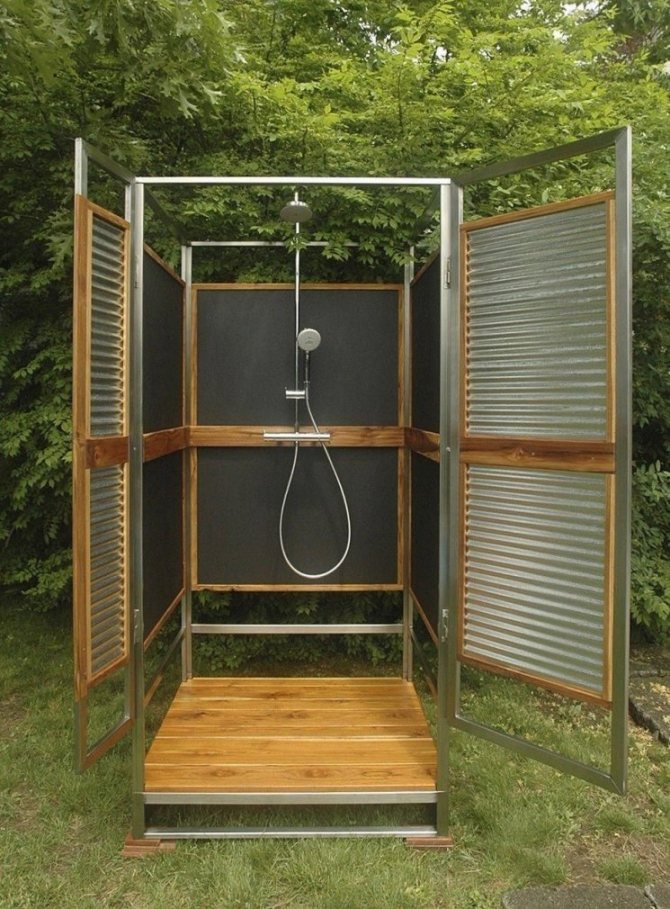

Before starting construction, you need to think over the project plan, all consumables. The decisive factor is the price, or rather the financial position of the summer resident.
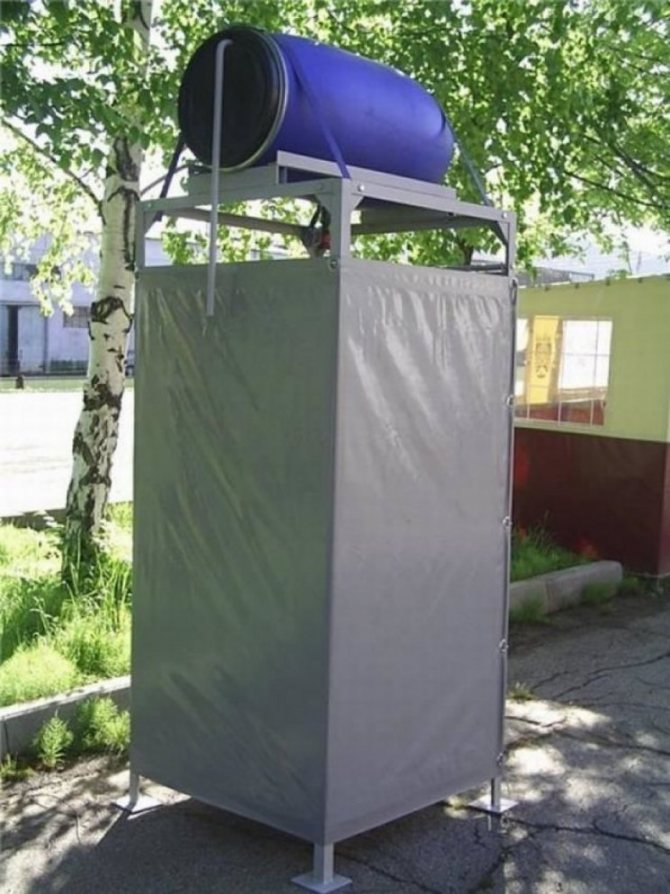

To save your money, it is worth considering building from scrap materials, because it is possible. If the "issue price" does not matter, then it is necessary to organize the purchase of building materials.
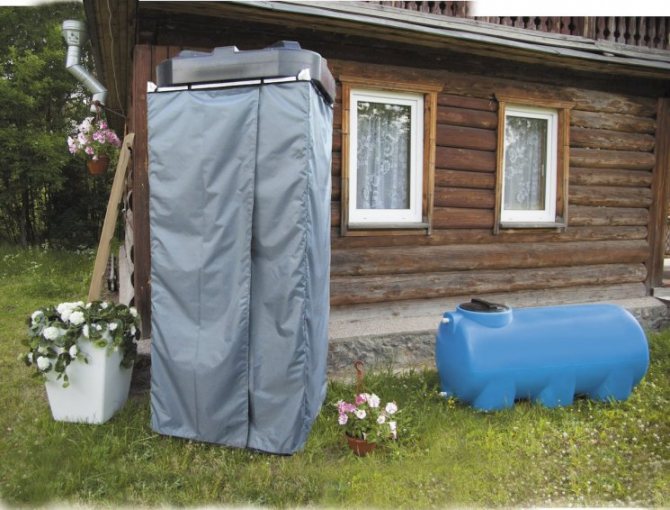

Features of the
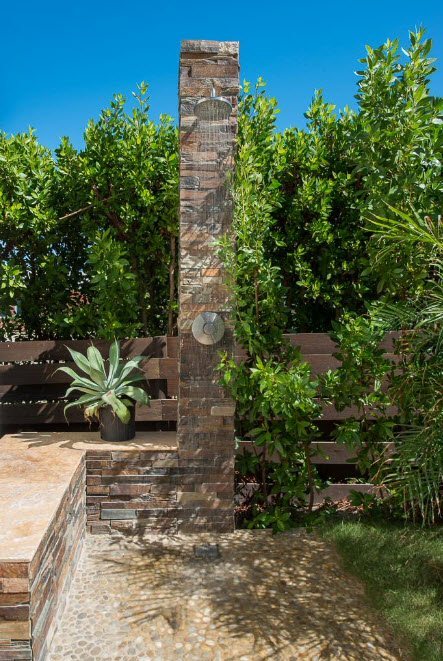
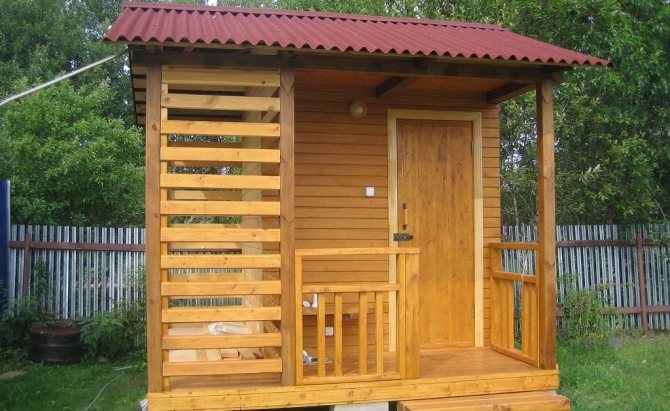
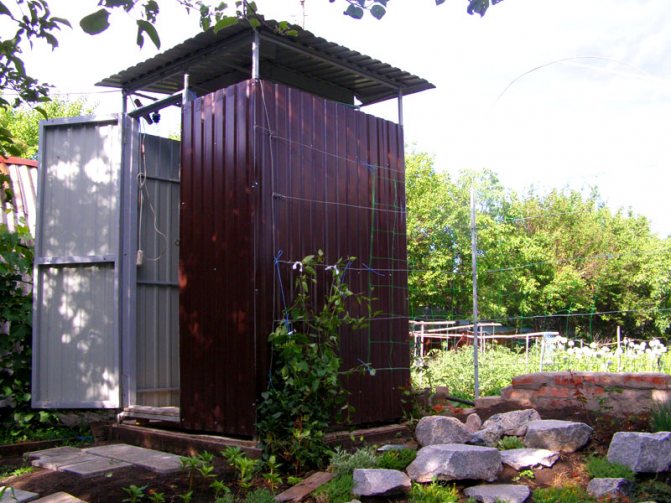
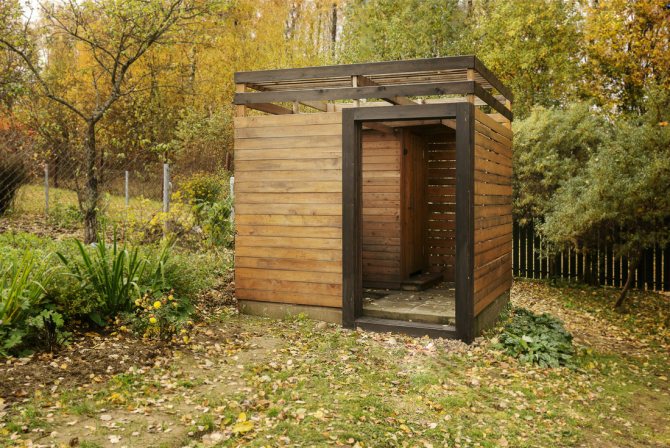
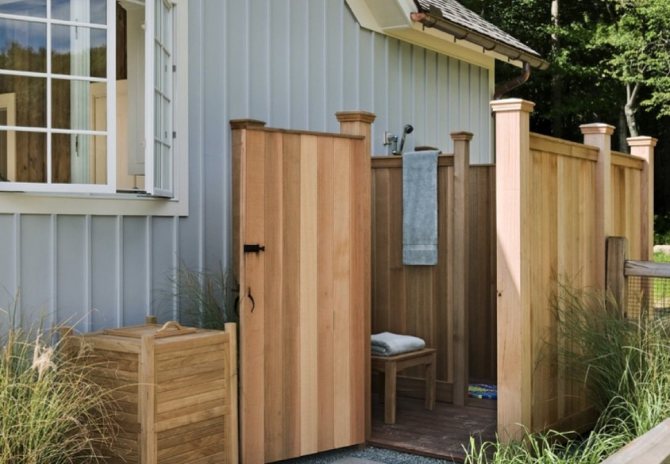
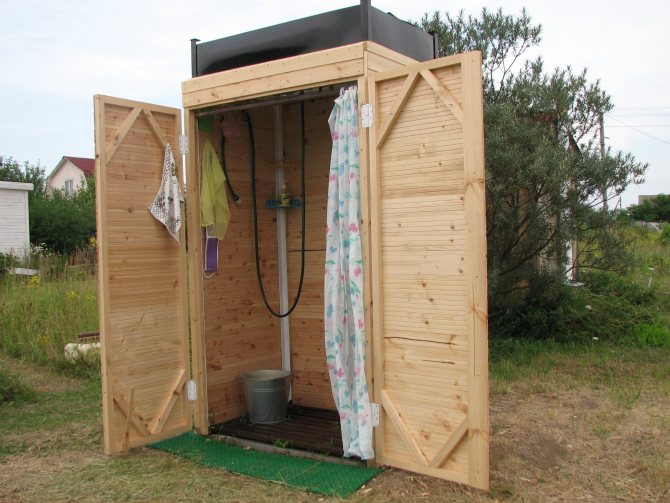
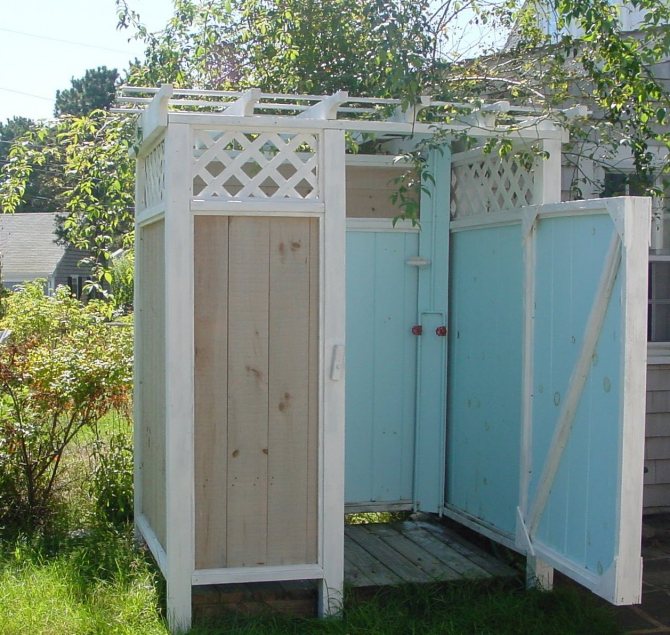
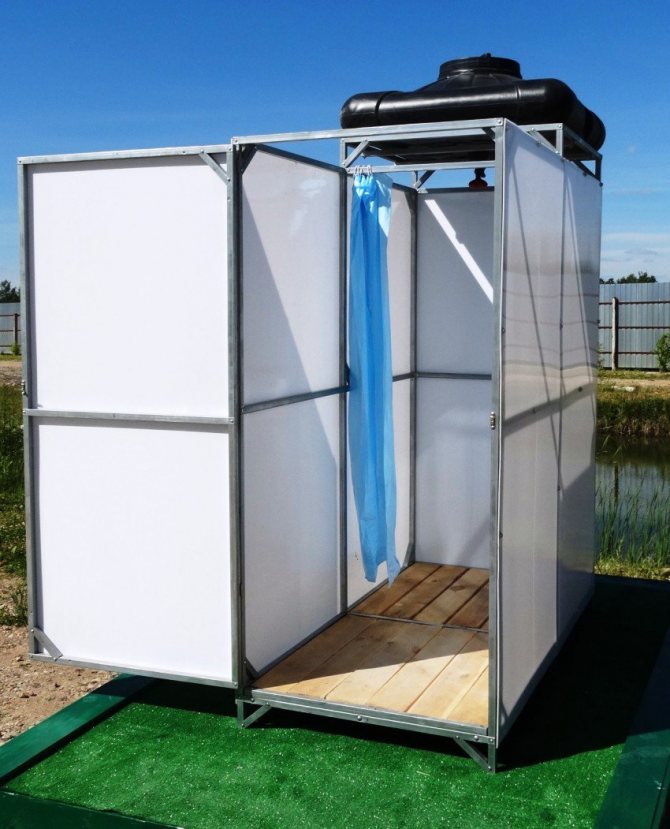
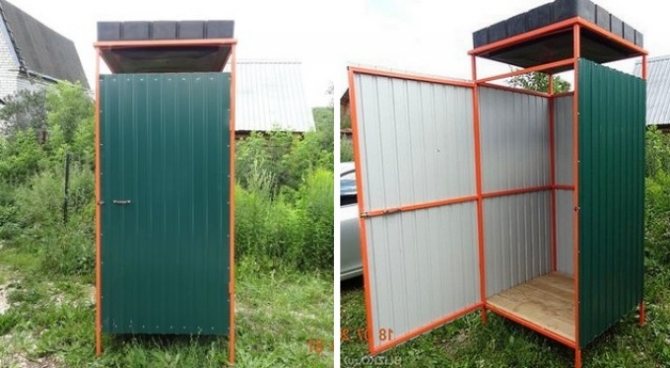
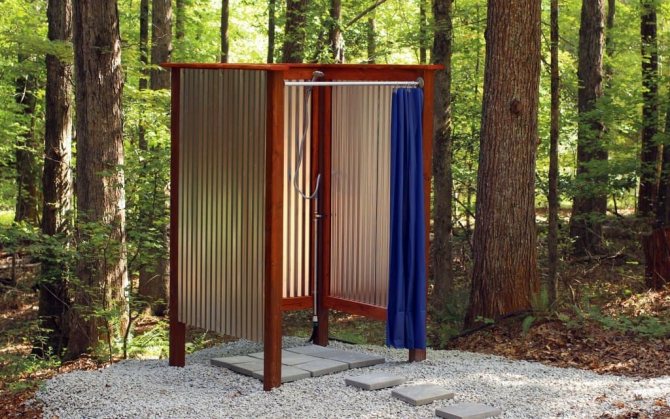
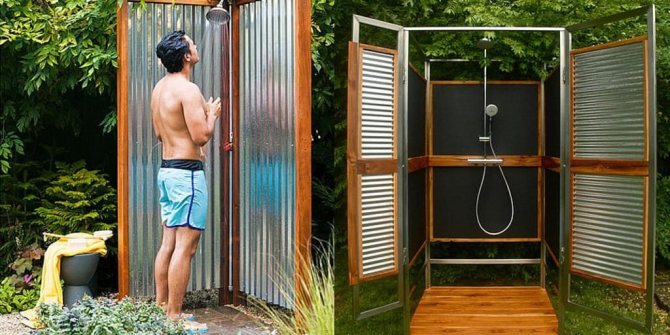
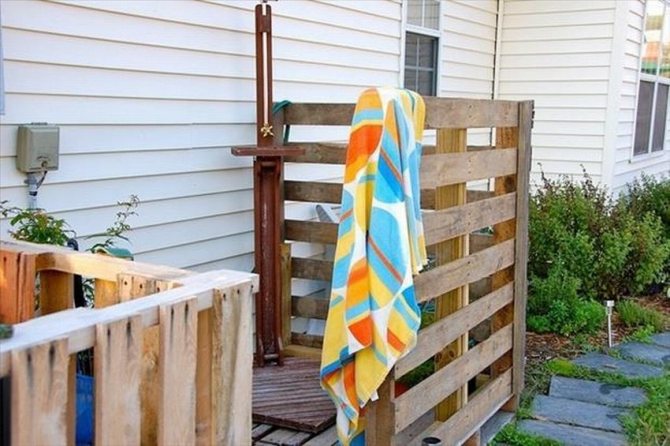
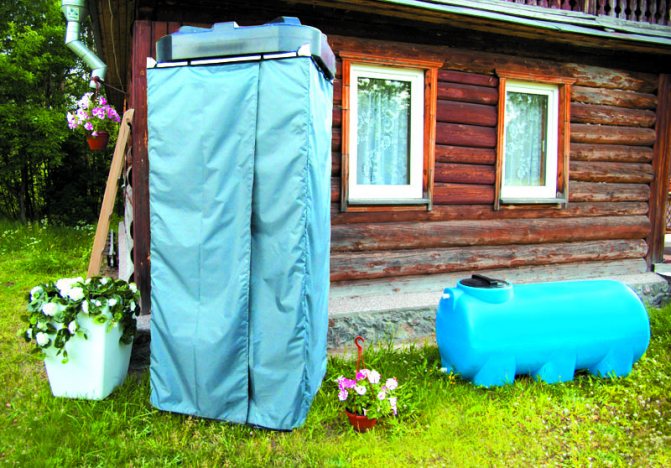
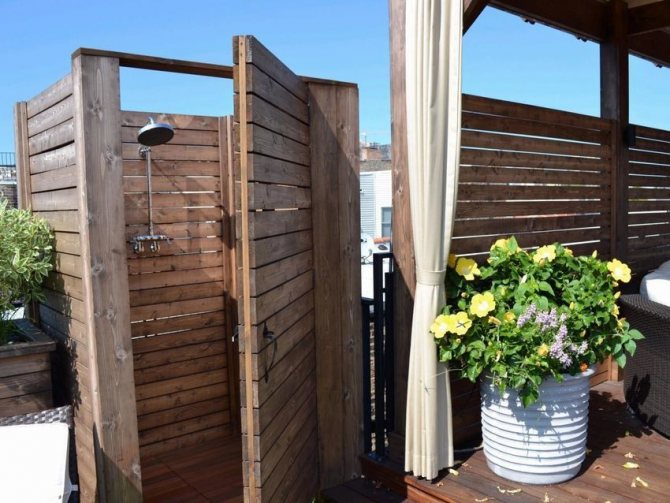
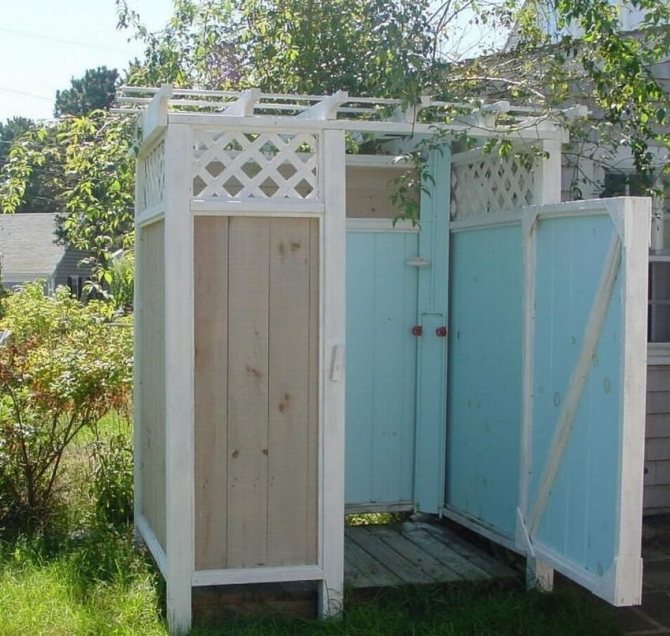
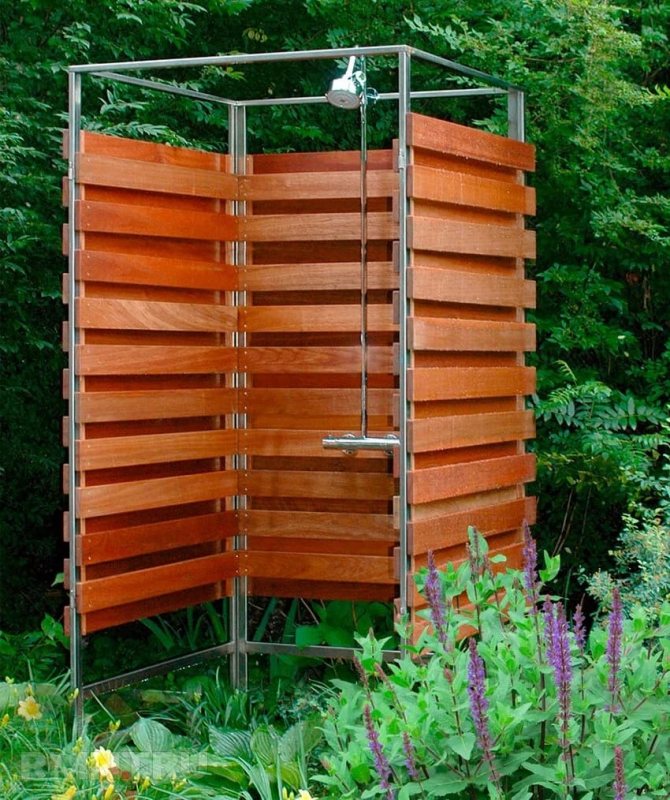
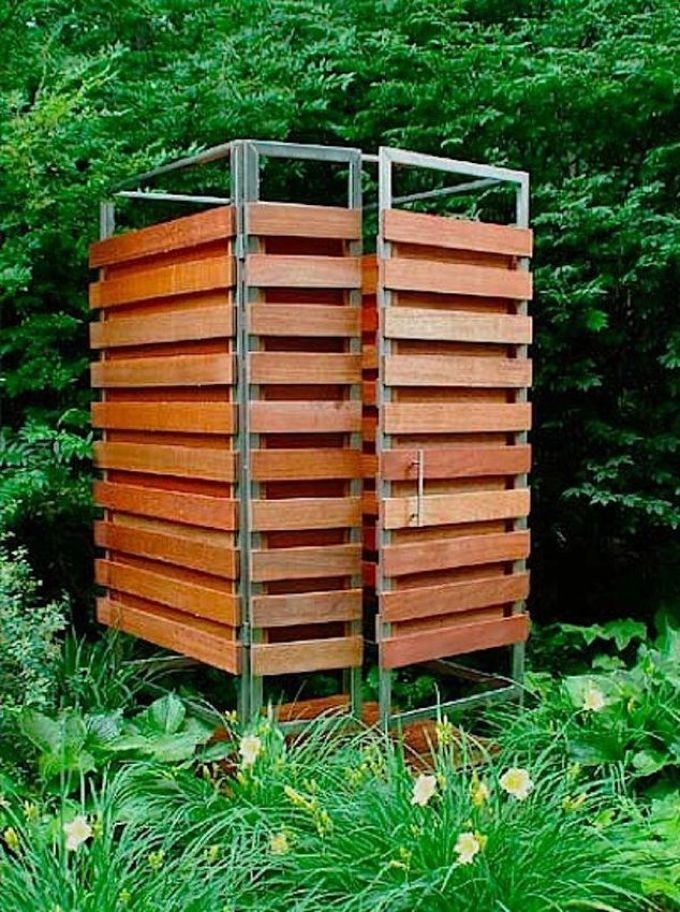
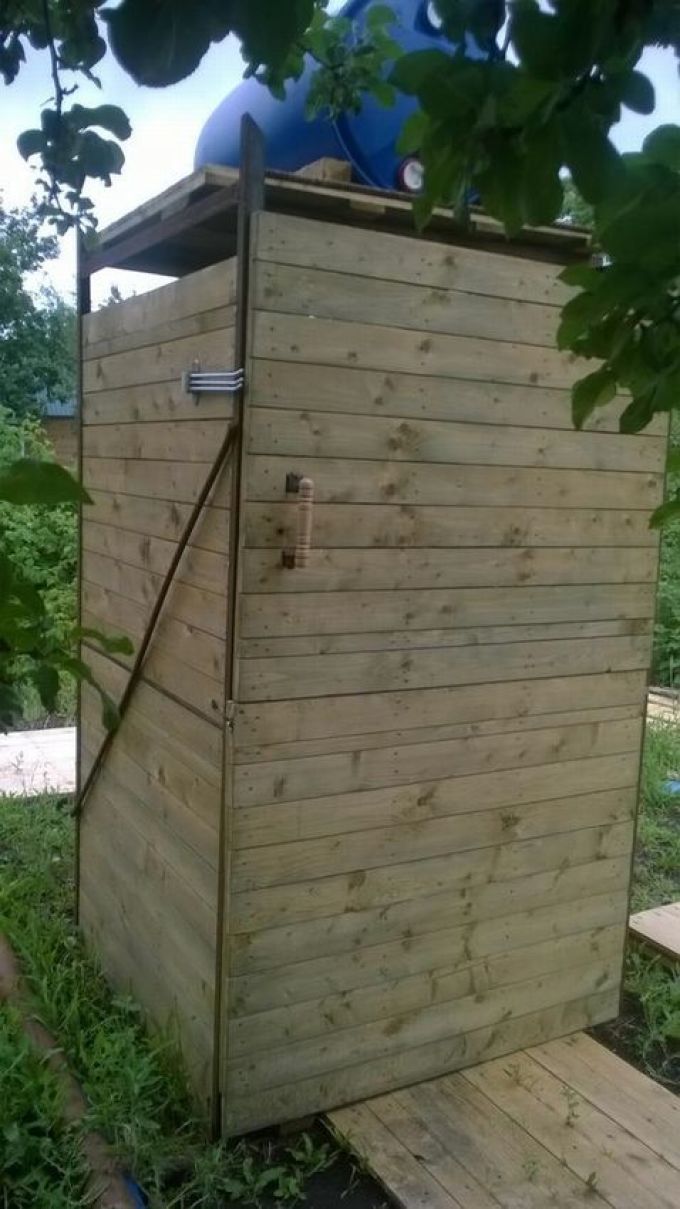
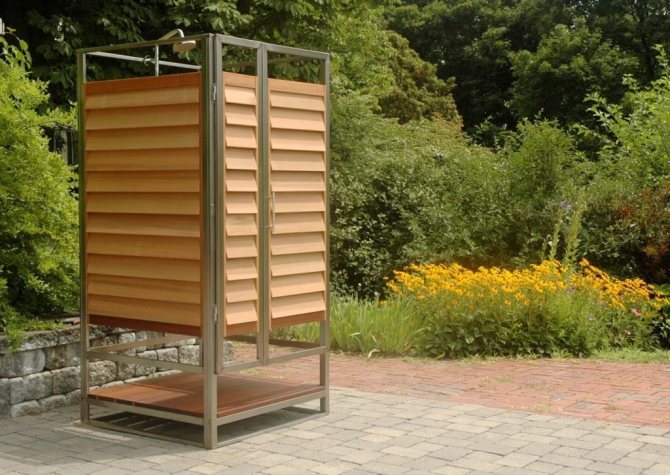
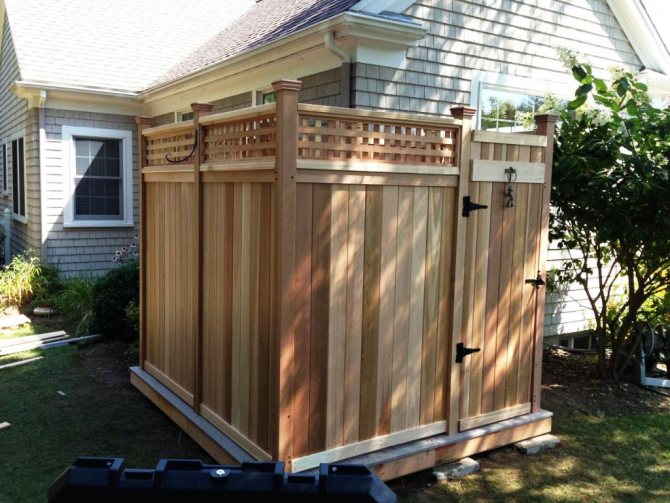
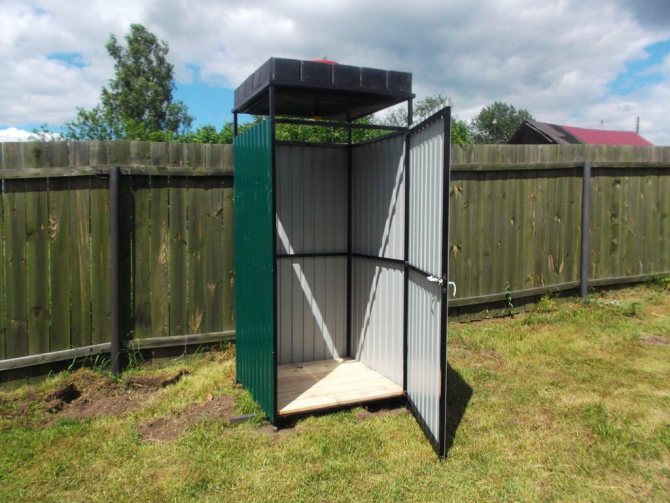
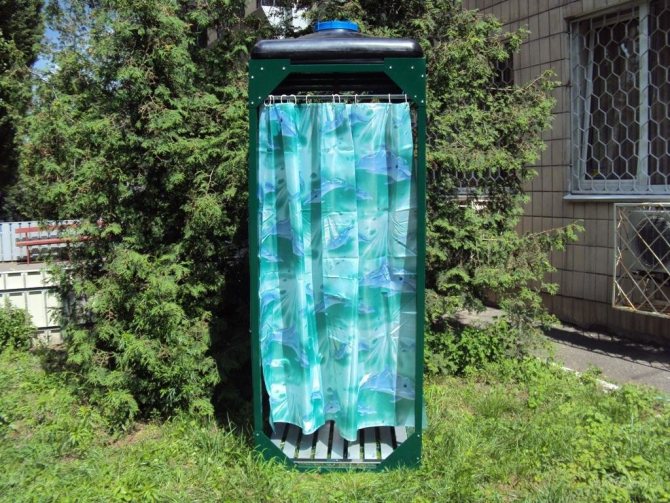
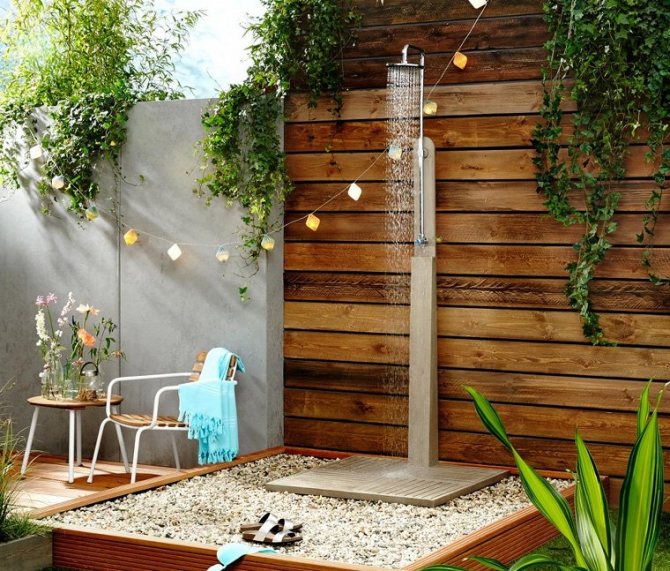
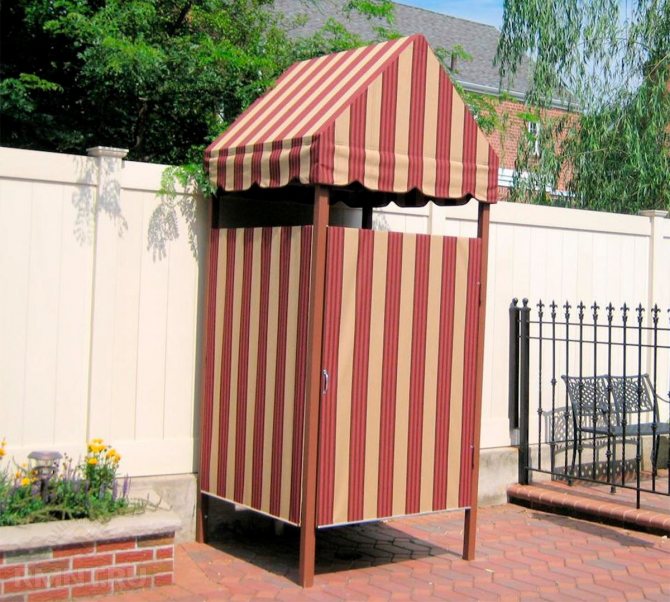
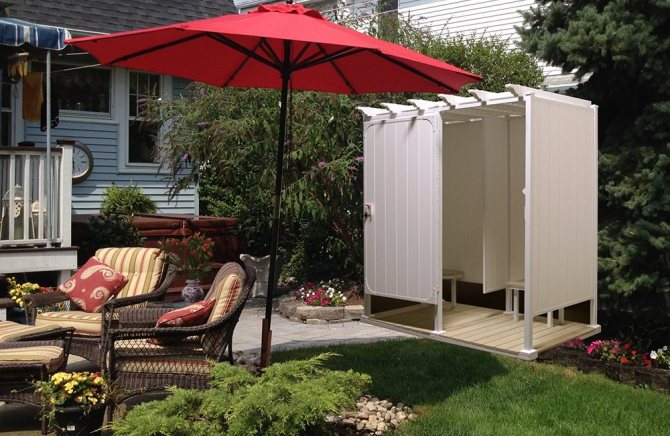
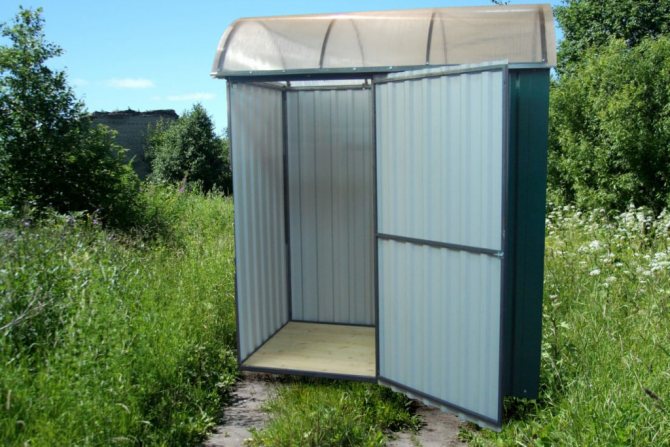
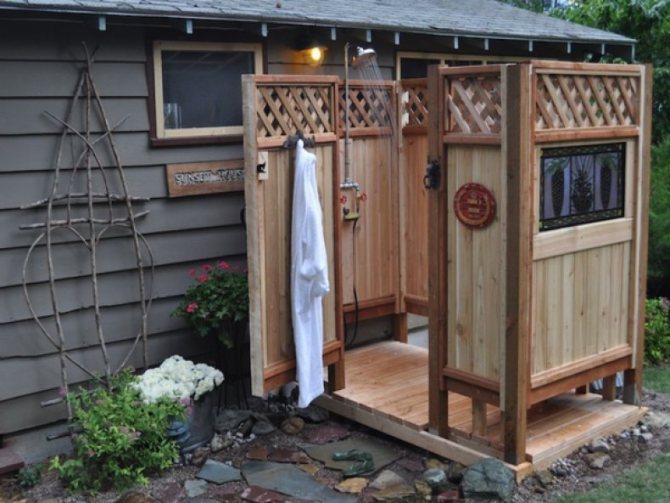
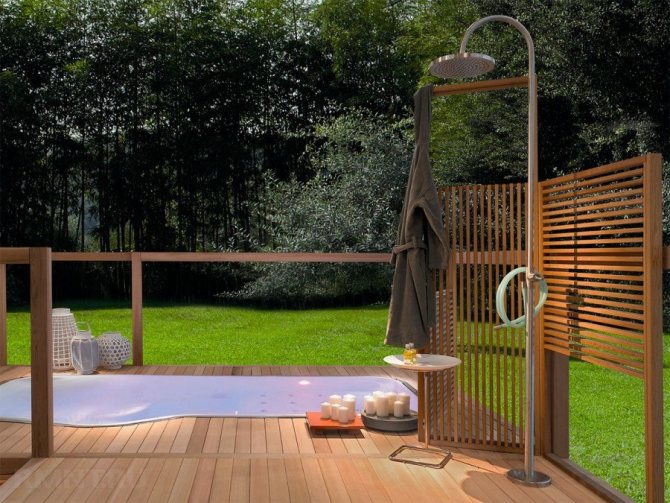
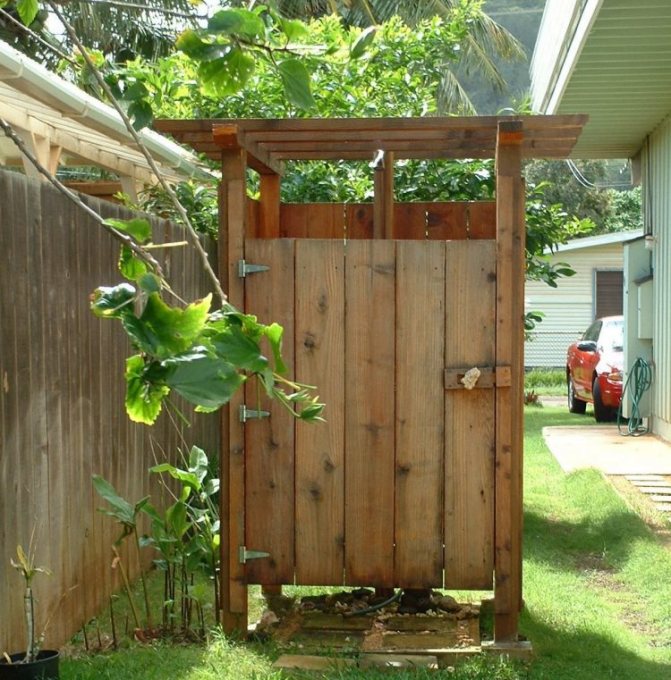
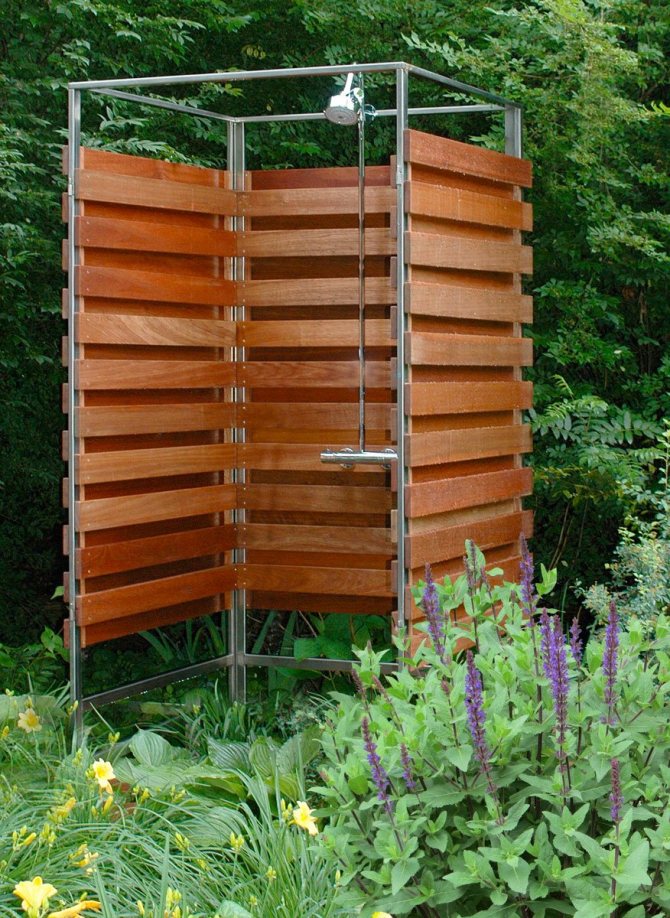
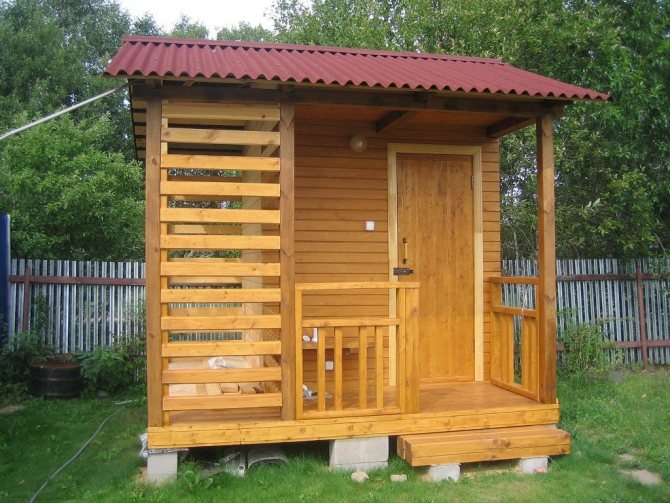
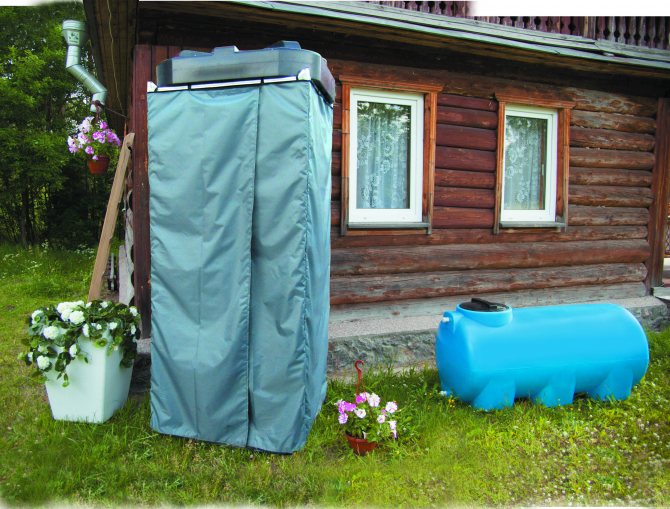
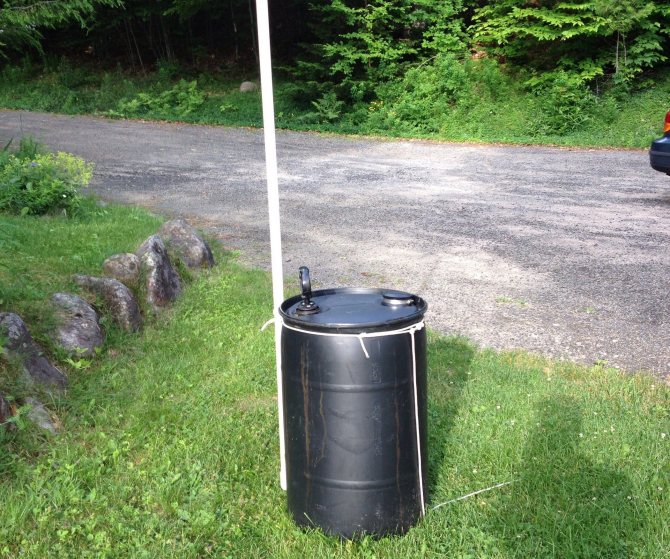
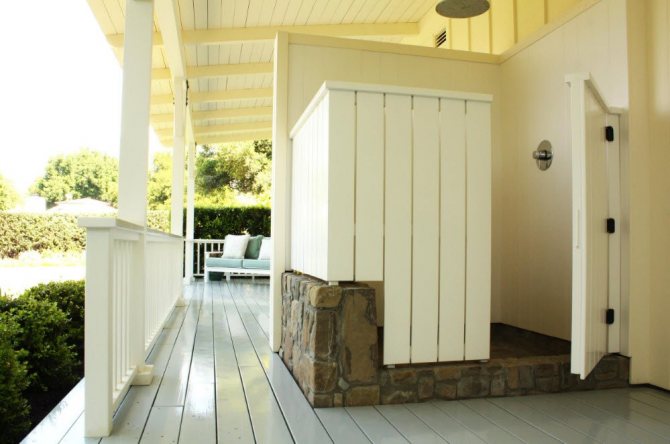
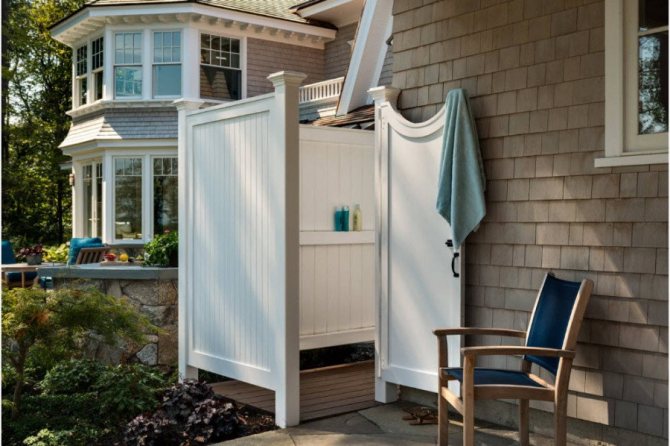
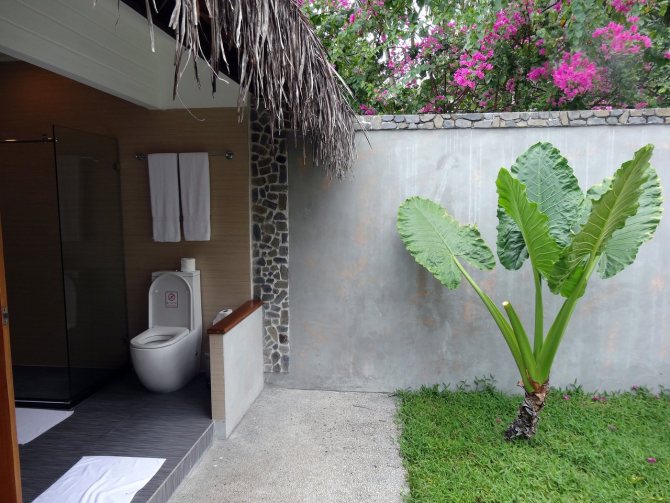
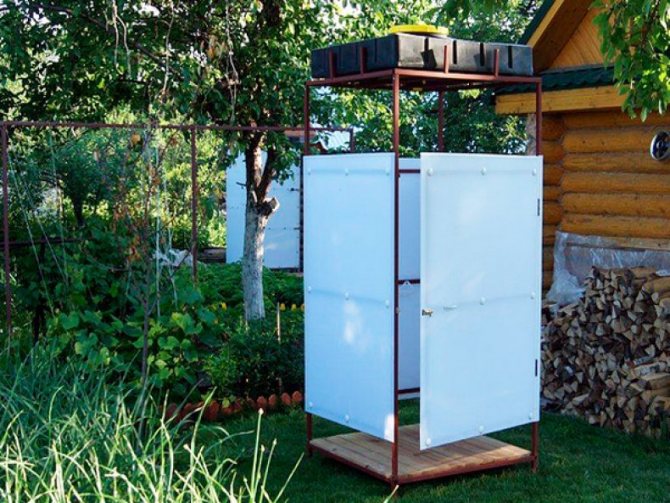
An outdoor shower in the country is a full-fledged building. Its design can be performed in several versions. The rack is one of the simplest, even a beginner can build such a shower. In stores, ready-made structures are sold at a low price, it remains only to assemble it in the country. Another option is a panel. It is placed along a horizontal surface. This could be a fence or a wall at home. The most common type is the booth. It consists of 3 or 4 walls and is sometimes complemented by a dressing room. You can install a shower stall almost anywhere on the site. According to the method of water supply, garden showers are of 2 types: with a barrel and tap. Conventionally, 4 types of showers can be distinguished: mobile, stationary, warm and universal. A warm shower means insulation for use in spring and autumn. Universal is a fairly large building, in addition to a dry closet.
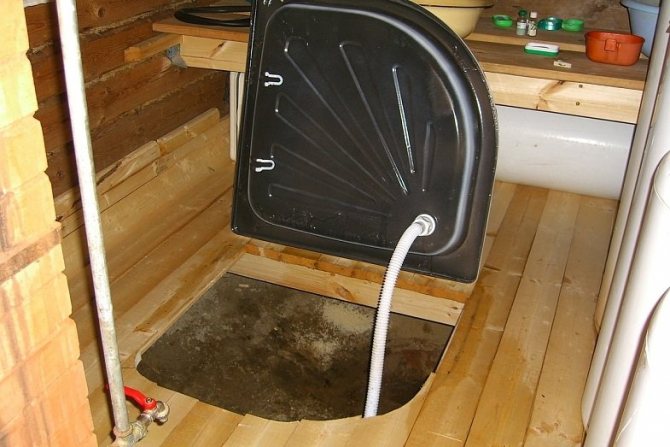
Drain pit equipment
The pit volume is usually more than 2 cubic meters. m, while its walls must be strengthened in order to avoid possible debris. The drain is located a few meters from the shower, but not under the building itself or near its walls - this will lead to the destruction of the foundation in the future, as well as to the appearance of unwanted odors.
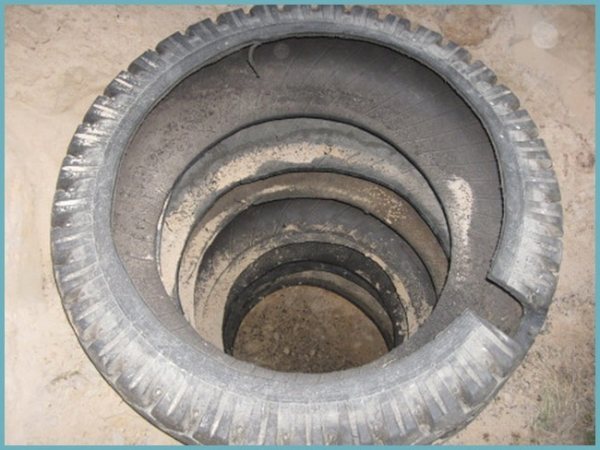

An example of the equipment of a drain pit for a summer shower
The drain should be laid with a waterproof layer - roofing material, hydroglass, PVC film or concrete screed (reinforced with a metal mesh) are used.
Attention! A common mistake is to use clay as an insulating material, which erodes and soon clogs the drainage ditch.
Advantages and disadvantages
A country shower has many advantages. An important advantage is the low price of the finished structure. The relatively simple installation is also worth noting. Installing a summer shower is a convenient and profitable option for those areas where there is no bathroom or running water in the house. The design does not take up much space and will perfectly fit into the environment in a small area. It is not difficult to clean the cab of dirt and deposits.Shower materials are able to withstand the effects of cleaning agents and high temperature fluctuations. The negative point is a large water consumption. In this regard, a bath would be a better option than a shower. A significant amount of water will have to be regularly poured into the tank. Nevertheless, in summer conditions it is much easier to make one shower, rather than install an entire plumbing system. There is one more disadvantage - discomfort. Not everyone will be comfortable with taking a shower outside the designated area.
Finishing tips
Interior shower finishing should be made of moisture-resistant materials: plastic panels, pieces of linoleum, oilcloth, etc. If wood is used, then each separate board is covered with hot drying oil.
The concrete floor is usually covered with plastic or wood gratings, and rubber rugs are laid on top. It is quite convenient to equip a small dressing room directly in the shower room. In order to prevent water from getting into it, the floors in it rise slightly by a couple of centimeters - this is easy to achieve by additionally placing a pallet.
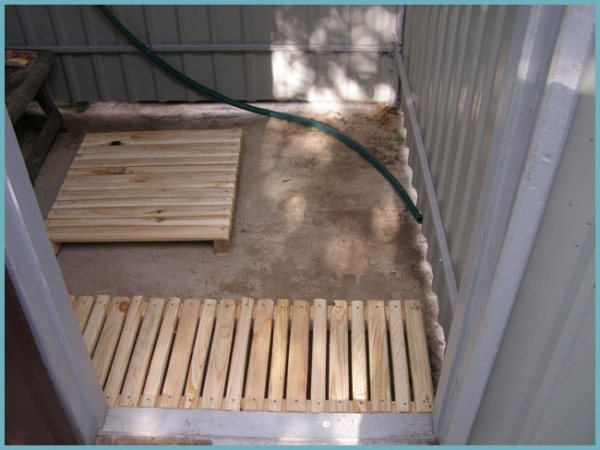

The interior of the summer shower
As for the exterior decoration, similar materials that have already been used to decorate the country house and other buildings on the site will look harmonious.
To use the shower not only in the summer, but also in the colder season, it is recommended to insulate it with expanded polystyrene, which fits into the inner space and is upholstered with PVC film on top. Walls are usually painted or plastered, sheathed with clapboard or siding.
Seat selection
The location for the shower should be chosen carefully. It is selected taking into account the location of the sunny side: it is preferable that the shower is well illuminated by the sun, because this way the water in the tank will heat up faster. Shaded areas under buildings and trees should also be avoided. They are also guided by their own preferences: for installation, you can choose the garden part of the allotment or the area around the pool or at home. The area under and around the cab must be perfectly level. There must be a place near it for water discharge. Otherwise, complex wiring will be required. The shower cubicle is ideally located near the main building. To choose the right place, you will need to inspect the entire territory. It is necessary to take into account all the features of the construction and decide what kind of base will be needed for the cabin.
Shower cabin installation
A shower cabin in the country can be made locally or purchased in a store. There is a wide range of ready-made structures on the market today. When choosing them, it is worth considering the following factors:
- The size.
The shower cubicle should be easy to use for all family members. Therefore, it is worth relying on the largest user. - Material.
The booth should fit optimally into the landscape design. Also, the material must be highly resistant to negative environmental influences. - Storage tank size.
On average, one person consumes 35 liters of water while showering. Therefore, when choosing a tank, you should rely on the number of family members. The container should have a small safety margin. - Cost.
Structures in a wide price range are presented on the market. So, you can buy a product for 5 thousand rubles or for 15 thousand rubles.
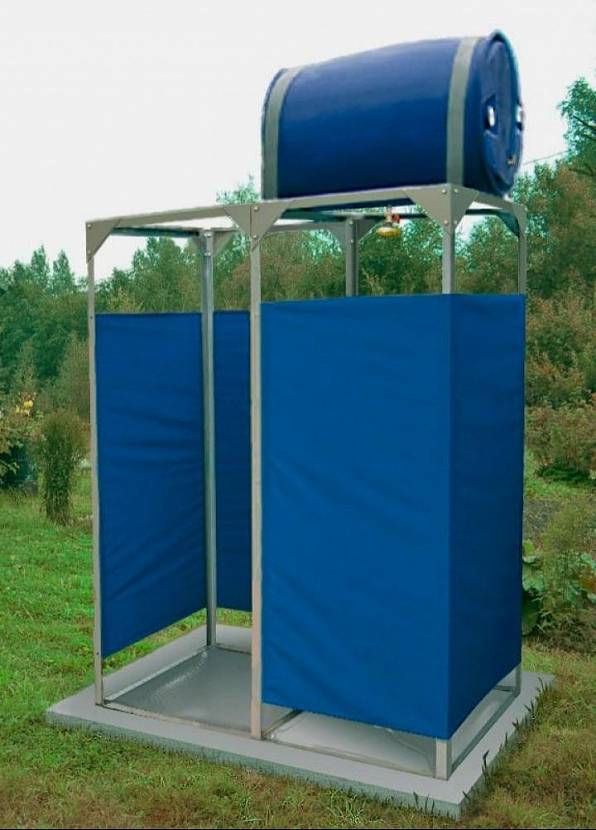

Even the most economical option will be fully functional Source seattlehelpers.org
This might be interesting!
In the article at the following link, read about the construction of a utility block with a shower and toilet.
The structure is installed on a flat prepared place.It is best to make a monolithic concrete platform, which will give stability to the cab during operation. During the construction of a cabin, a number of specific processes are carried out:
- arrangement of drain;
- foundation construction, if necessary;
- the frame is being erected, and its finishing is performed;
- the tank is installed and connected to water.
The features of the construction directly depend on the material used in the construction, as well as the preferences of the owner of the country house.
Size and design
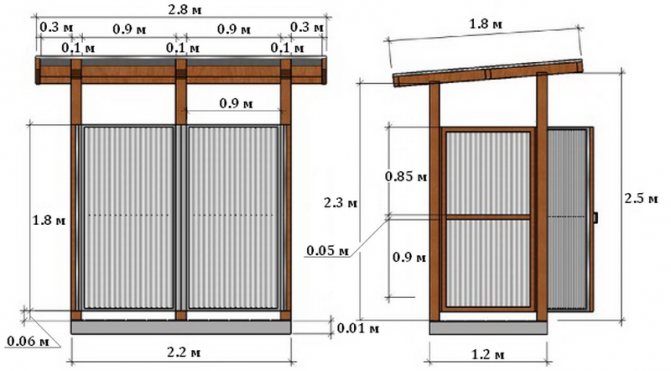
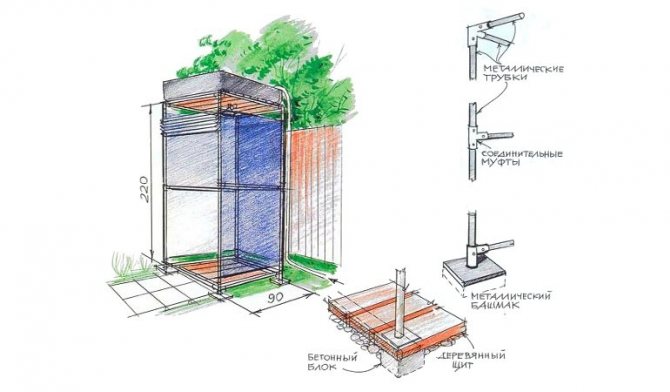
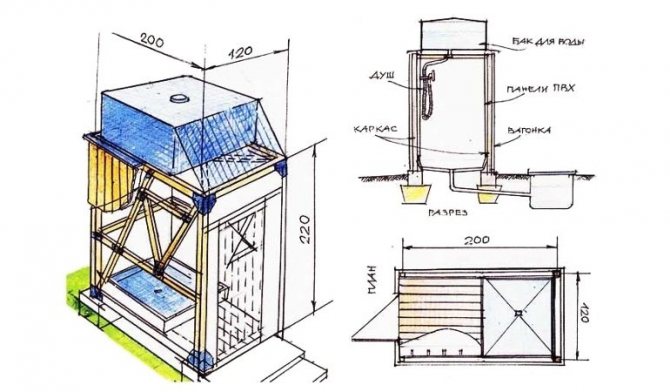
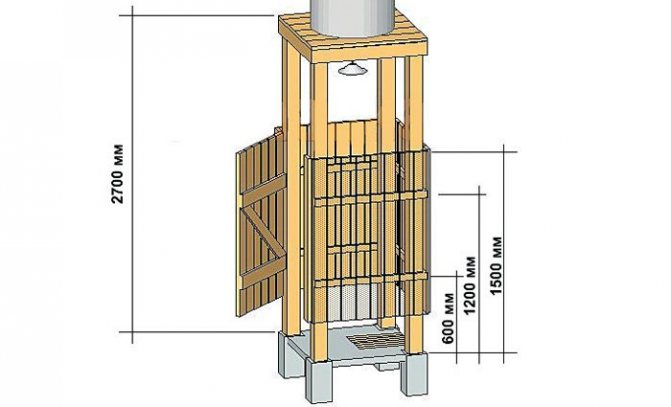
Before starting the construction of the object, you will need to draw a drawing. It is better to make the cabin roomy, at least 1.5 × 1.5 m.Its minimum allowable size is 1 × 1 m.It is necessary to provide a dressing room, 1.5 × 0.6 m is enough for this. structures, including the width of the timber and boards. Pipes are installed in the corners. The upper part of the structure is easier to assemble on the ground and then fasten to the side grates. All axes must match. For the final design, strength and reliable fastening are important, it is necessary to take into account the load from a 150-200 liter container. Bevels are made between the posts. They should be placed in the thickness of the wall. It is preferable to install a pallet for the floor, a large selection of which is available in household goods stores. It is placed on a raised sand and crushed stone area. The floor needs drain slots. Given these nuances, the foundation should have a height of 20-30 cm. If there is no such foundation, the water will make a deepening over time.
It must be borne in mind that too small an area for a building can provoke its destruction.
Material for construction
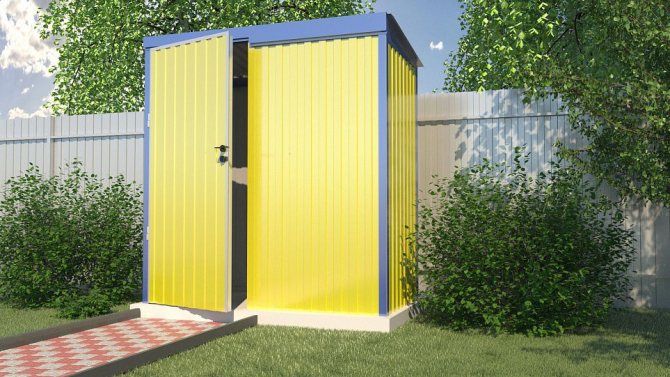
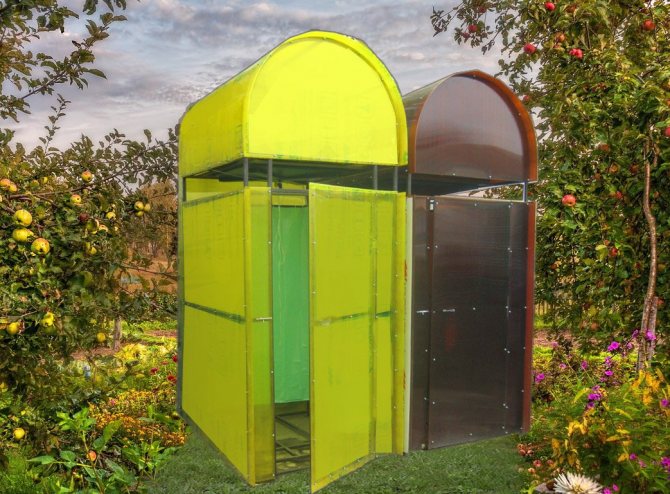
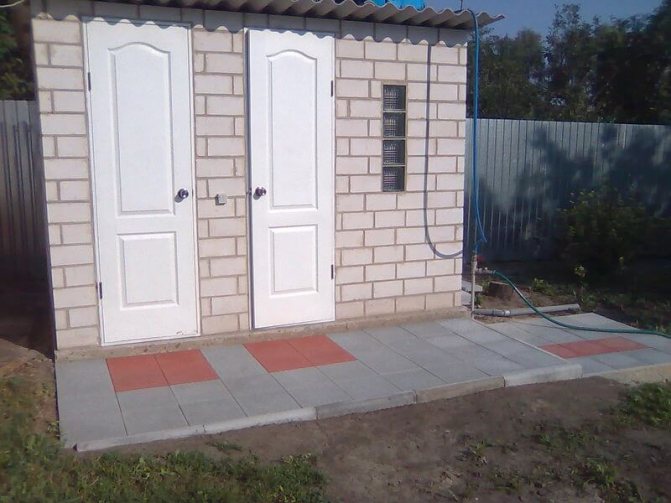
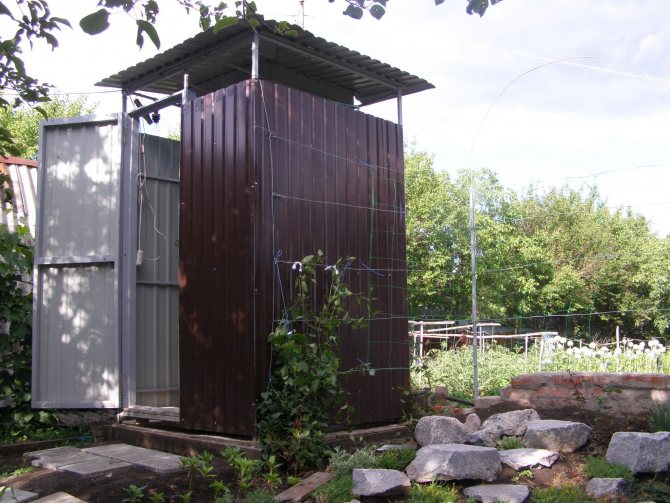
If you use polycarbonate, the shower will turn out to be practical and compact. This material is flexible and can take any shape. The polycarbonate booth is easy to mount and installs almost anywhere. Thanks to this material, you can use any type of water supply, make a shower of any type. No special care is needed for polycarbonate; it does not rot, does not corrode and is "not afraid" of moisture. Material such as brick is represented by a wide range. For laying the foundation and erecting walls, it is better to use a corpulent one. In general, the material is characterized by resistance to external influences, durability and high strength. Brick can also be used for the construction of only one element - the shower tray. Another important material in construction, corrugated board, is used for laying roofs and walls. Its advantages are hardness, strength and attractive appearance.
How to equip a shower with water supply
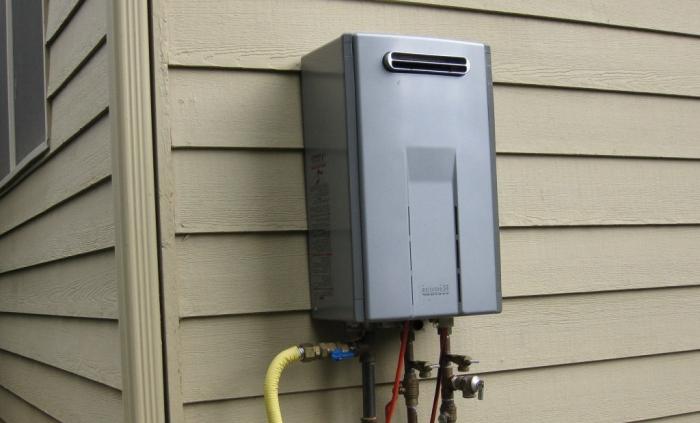
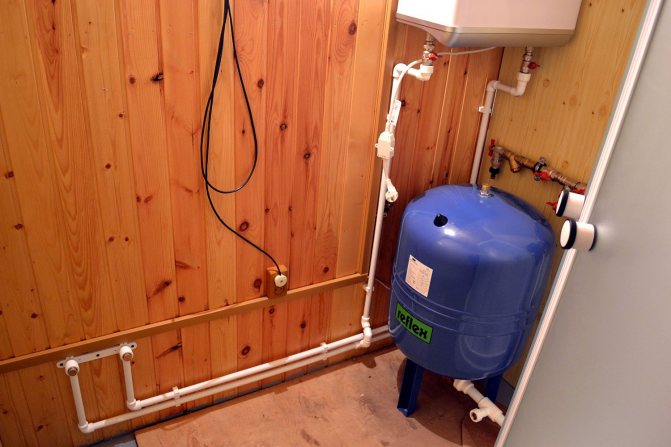
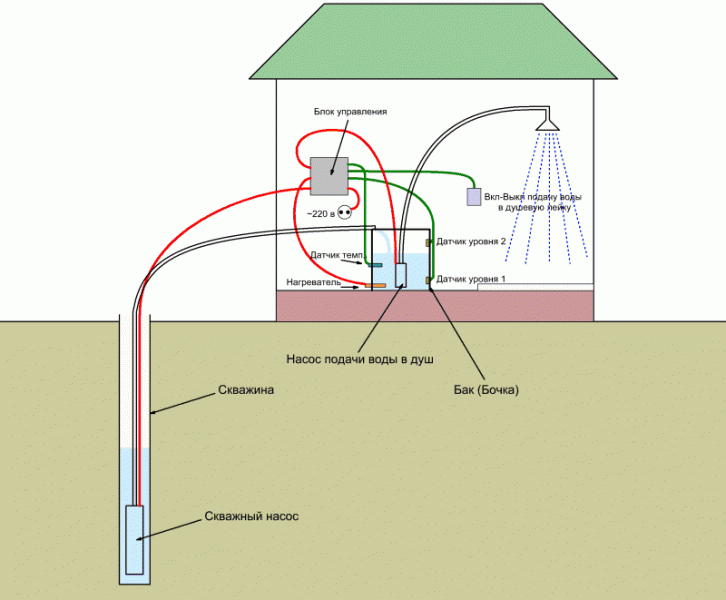
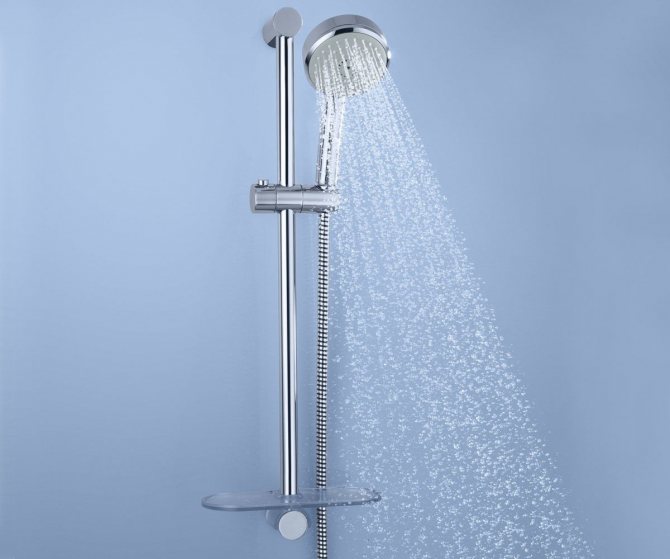
A heating system must be installed. This does not guarantee the flow of water of the required temperature, therefore, an option is possible in which another one will be connected to the channel for mixing cold and hot water and obtaining such a temperature at which it is convenient to wash. If electric heating is used, then grounding is made on both sides or near all corners. It is worth keeping a shower adapter inside the cabin to make it easier for short people to wash. You will also need a removable shower head. Not far from the shower cabin, but separately from it, a starter is placed, which starts a tubular electric heater (TEN). The power supply requires a light to indicate the on state. There should also be a residual current device nearby in case of a malfunction in the heating element. The electrical heater terminals must be securely covered to prevent water or rain from entering them.
We build an outdoor shower with our own hands
This process includes the following stages:
- Pouring the foundation.
- Assembling the frame.
- Tank installation.
- Arrangement of a place for water drainage.
- Building improvement (ventilation, lighting, decoration, decor).
In order to build a shower stall yourself, you need to find or buy tools and materials. You must be able to use them and know the appropriate rules for handling tools. For each stage of work, a certain period of time is allotted, it is not recommended to go beyond which. It all starts with preparing the foundation. You will need to dig a hole, assemble the load-bearing elements in the correct configuration and prepare a concrete solution. Then a frame box is made. At this stage, the structure will be outlined. The weight of a standard water tank must provide an adequate load for it - this must be taken into account in advance. The choice of a tank is also an important point, since the ease of use and what temperature the water will be depends on it. The next step is to create a drain pit, a septic tank and drainage. In some cases, the cab needs to be equipped with artificial lighting and ventilation.
Required materials and tools
You will need to acquire a large number of devices. You will need tools such as a trowel, drill, hacksaw, cord to fix the level of the base. To take into account the geometric parameters, it is necessary to have a hydraulic level. A small concrete mixer is needed to prepare the concrete solution. However, instead of it, you can use other containers specially provided for this purpose. To dig a pit, you need a shovel. Drills are needed to create narrow holes in the ground. The works involve the use of a large number of tools. These are fasteners (including self-tapping screws), boards for placing formwork, metal pipes and poles, crushed stone for use in concrete mix, sand, cement, wooden beams. Insulating materials will also be required. In some cases, reinforcement rods are required.


Preparing the shower base
There will be no heavy loads on the foundation of the shower stall, so maximum accuracy is not required. It will take only 1 day to build the base. Its shape will be a reduced copy of the standard foundation, but without large elements. Depending on the properties of the soil on the land plot, the type of base is selected: columnar, slab, tape, pile. Columnar and pile options are the most commonly used.
Most of the stages in the construction of such bases are exactly the same. The depth of pits for immersion of elements is usually 60 cm and may deviate from this indicator due to groundwater and soil strength index. Formwork is made in all wells. 3-4 narrow reinforcing rods are placed in the pits. The bases of the pillars are equipped with waterproofing, for example, using roofing material. Next, a concrete mixture is prepared. Crushed stone is added to it. After reaching a certain strength, the formwork is removed, but in some situations it can be left.
If you do everything geometrically correctly, you will get a stable and durable structure.
Drain pit / septic tank equipment
A pit under the shower stall is an effective and simple option. However, the arrangement of recesses with inclined pipes through which water will flow into the drain pit is a more practical solution. The location of the pit is selected taking into account such nuances as the optimal size of the pipes used (should not be too long), the ideal distance between the pit and the shower (5-8 meters). Another important point is the volume of the pit, 0.5 cubic meters per person is enough. Additionally, you need to take into account the frequency of using the shower, bath.
There are several options for what a septic tank can be, but in any case it will be necessary to carry out earthworks. This is a simple but time consuming process. First, the pit is being prepared; the services of an excavator will be relevant, so the speed of execution will increase significantly. In a pre-prepared pit, the bottom is leveled and compacted. Next, a sand cushion layer is created. The rest of the work depends on the construction method.The septic tank is able to prevent the spread of the smell of stagnant water. The septic tank and drainage should be located near the drain pit, because if water gets on these elements, such unpleasant consequences are possible:
- destruction of the foundation;
- deterioration of soil conditions;
- unpleasant smell.
Installation of the frame and its sheathing
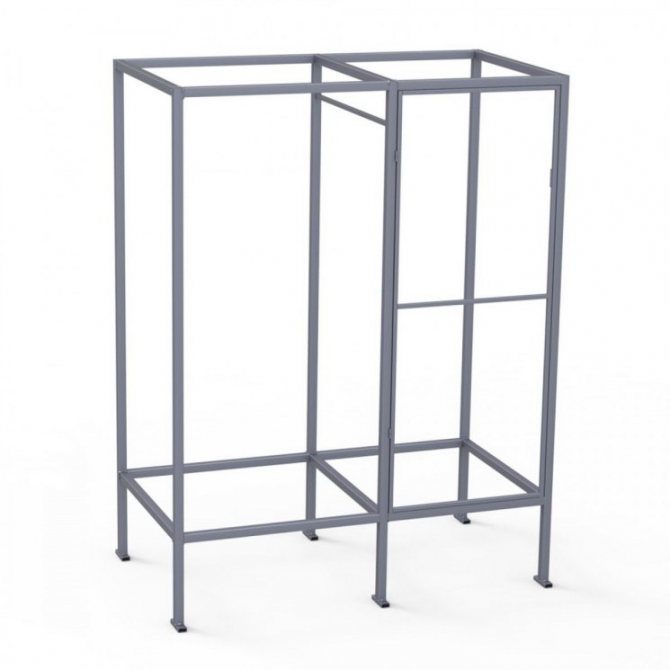
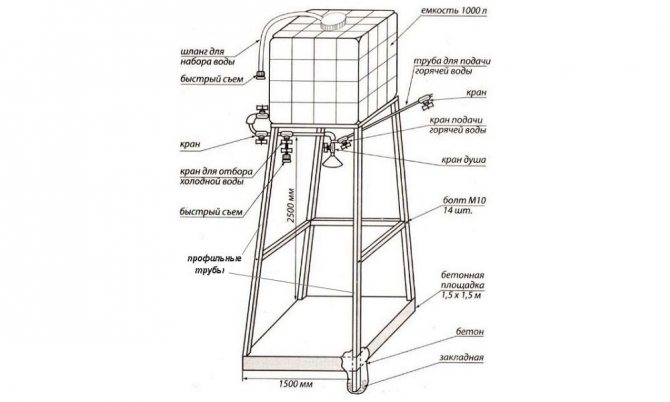
Usually it is a convenient, easy-to-assemble structure that can be installed anywhere. The welding of the frame is started after the foundation is concreted. For the frame box, you will need a profile pipe with parameters 30 × 30 mm. A height of about 200-210 cm is quite acceptable for this design. The width and length can be made, for example, within 120-140 cm. After welding the frame, its elements are sanded and painted. Almost any material is useful for construction work: film, slate, wood. It is better to concrete the holes. The frame must be strong enough to support the water tank. To create cladding, you can use, in particular, an inch board. It needs to be planed, impregnated with stain, antiseptic and decorative impregnation. Then it is attached to the metal frame with the help of self-tapping screws.
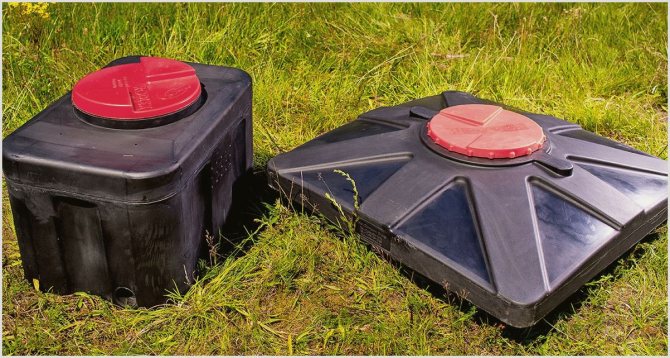
Tank selection and installation
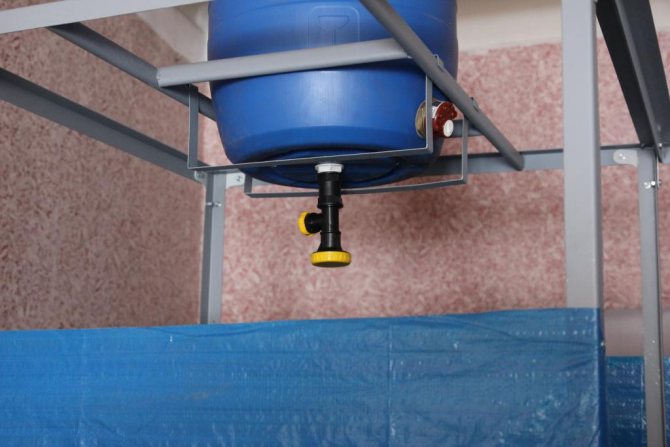
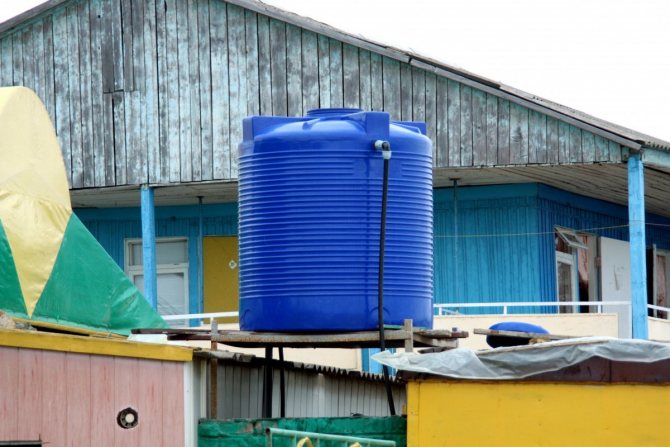
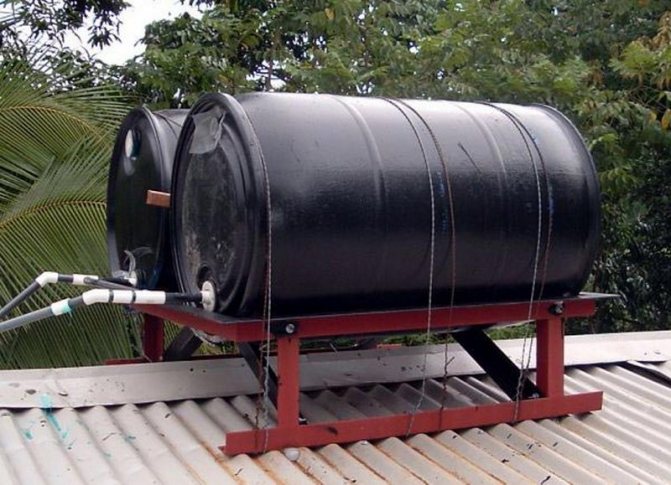
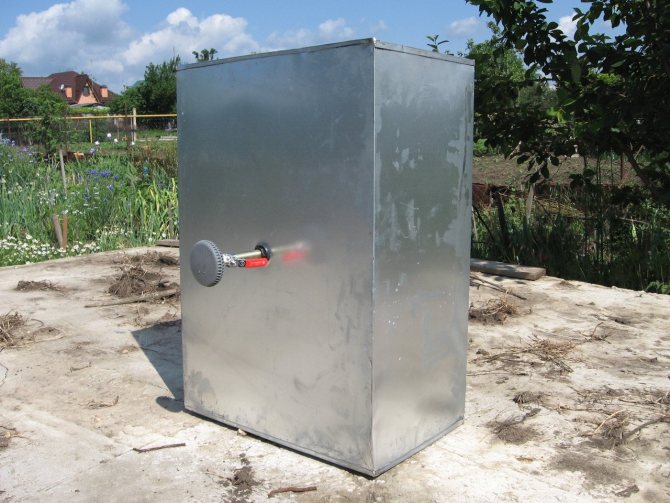
This element is made of plastic, steel (including stainless, galvanized, carbon steel). The water temperature in plastic products changes more slowly - an important argument for choosing the first option. However, on sunny days, which are the majority in summer, the use of ironwork has more positive aspects. The design itself may also have a water heating system. The main principle of action for a heated shower is access to electricity and automatic heating. With a slight cooling of the water, a special mechanism is triggered, and the water gains the required temperature, that is, it is possible to maintain a given indicator. When choosing a tank, you should pay attention to the weight of the product. When installing and moving the container, there should be no difficulties. At the same time, the ability to withstand a large amount of water and strength are important. A few more criteria:
- The form. There are many round and square containers on sale, but flat tanks may be the best solution. They are more stable and fit even on a pitched roof.
- Color. The darker the tank, the better. This will allow the water to warm up faster and to higher temperatures.
Lighting and ventilation
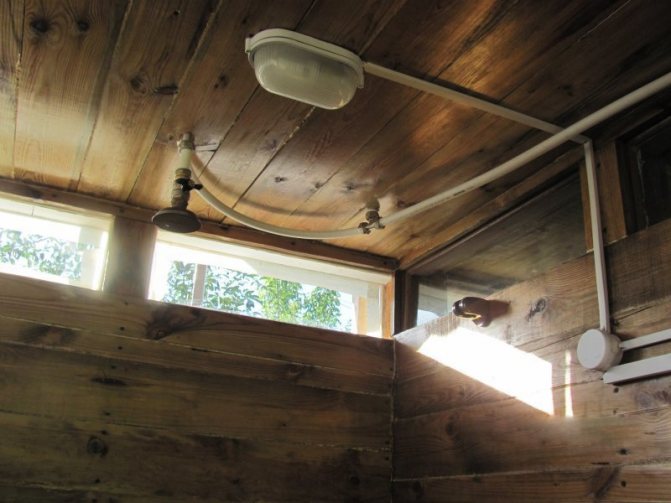
One of the easiest ways to provide both is a small window at the top of the wall. However, in the dark, this option is useless. Lighting can be done with your own hands. You will need a diode, a radiator for its placement, a toggle switch, a glass container in the form of an empty hemisphere with a hole for a switch. You will also need a battery and power supply. If electricity is carried out inside, then you will need to be guided by the rules for laying electrical wires in rooms with high humidity. Ventilation of the room will be primarily performed by the natural exhaust system. A regular fan can be operated on the wall. If the shower room has free space at the bottom, for example, between the legs, then this is enough to keep the shower fresh. You can also cut a small fragment in the wall to use it for temporary forced ventilation.

Finishing and decor
In addition to oilcloth, other facing materials can be used as cladding. A building made of plexiglass and slate will look good. These are durable and waterproof materials, but they do not retain heat well - they are not suitable for spring and autumn. Galvanized steel is durable, but appropriate for the warmest days of the summer season or for subtropical regions.
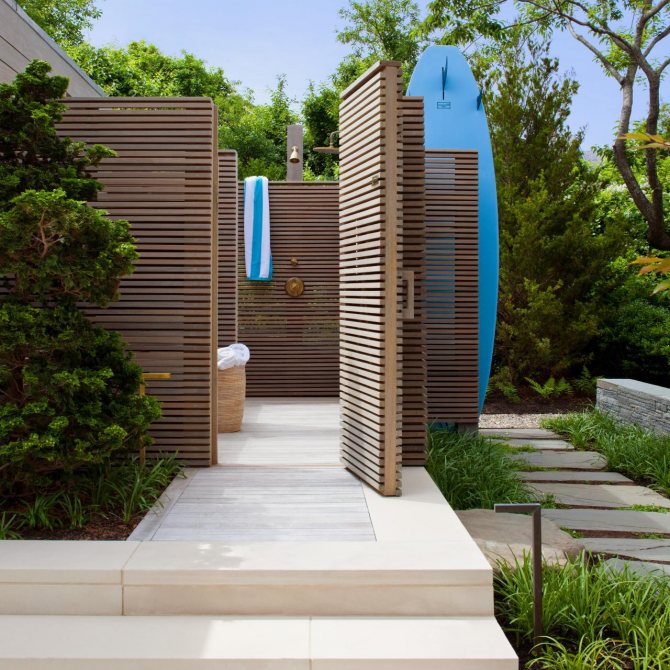

Plastic is a good material for shower finishing, with resistance to water. But after low temperatures in winter and spring warming, it loses its shape, becomes brittle.When decorating a country shower, you can implement almost any idea. These are climbing plants on the walls, and ensembles of several hanging pots. Showers look more presentable with wicker shapes. The role of a water tank can be played by an old wine barrel.
Some more interesting decor options:
- natural or artificial flowers;
- multi-colored tiles;
- colored glass.
Shower panel on site
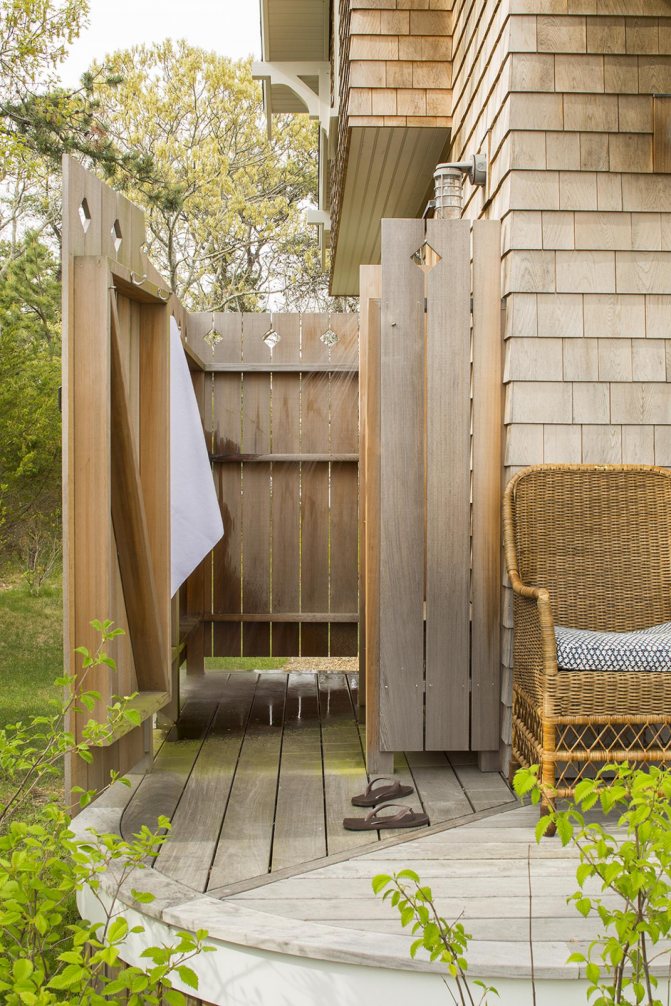
Any partition - made of stone, wood or other materials - can act as a panel for placing a shower. The advantage of such structures is that they require less materials and efforts to erect them. At the same time, you get an area for taking water procedures, which, with an abundance of moisture, does not harm the main structure. But such a summer shower also has its drawbacks. A shower area not protected from the wind can cause colds in households who do not know anything about hardening the body.
Using a beach style for your shower panel can be the highlight of your landscaping. It is not necessary to live by the ocean to be able to use a surfboard-style panel when setting up a water treatment area.
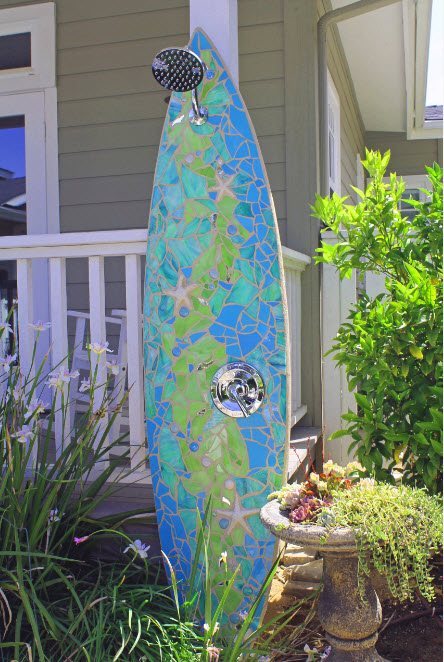

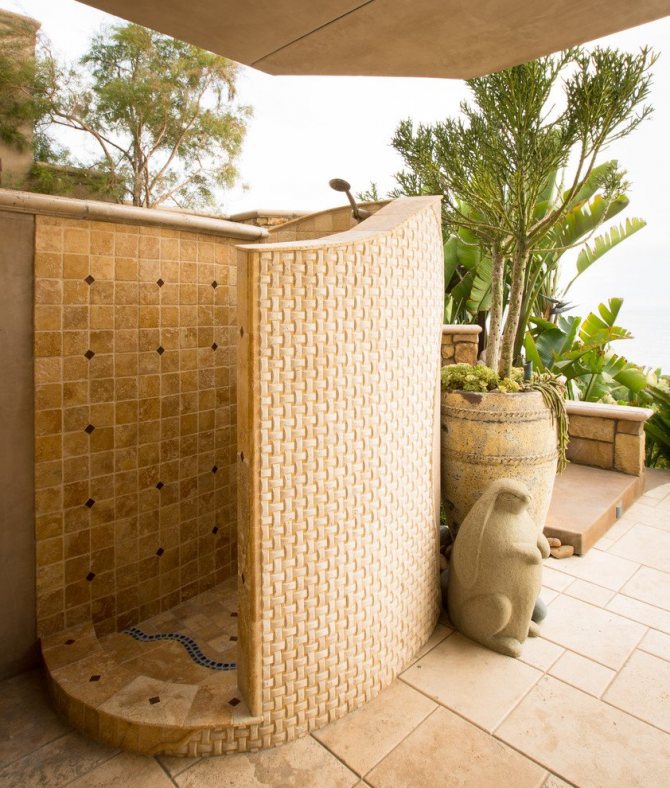
For finishing the panel to which the plumbing accessories will be attached, ceramic tiles or mosaics are perfect, which reliably protect the surface from moisture. But even more affordable options can be an effective solution - plastic and polyurethane panels will serve as a reliable finish.
The use of non-standard, original models of plumbing accessories can increase the degree of uniqueness not only of the shower sector, but also of the entire landscape design of a summer cottage or personal plot. Large watering cans to simulate tropical rain, a small waterfall, or vice versa, miniature mixers, original shapes and unusual coatings - your fantasies are stopped only by the budget for building a summer shower.
The panel for placing the shower sector can be a sector of the fence that encloses the site. It all depends on the location of buildings on your site, the passage of communication systems and the type of fence design. For example, stone concrete, wooden structures (with impregnation and protective coating) can be an excellent base for placing plumbing accessories.
