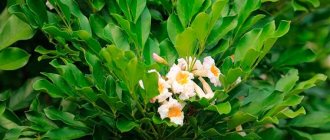
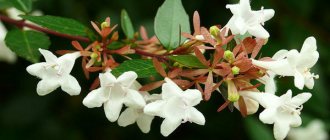
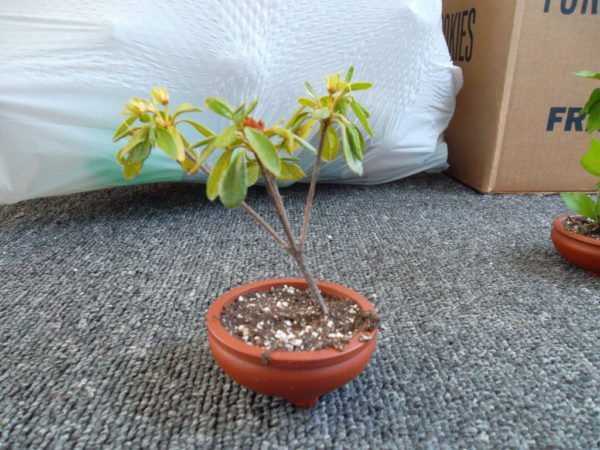
Azalea (Azalea) is a flowering shrub plant up to 1.5 m in height. This is a spectacular representative of the rhododendron genus from the Heather family. Its leaves are shiny, small, lanceolate. The flowers are bright, collected in bunches of several pieces, growing from the axils of the leaves. Azalea prefers to live in cool conditions of mountain forest belts, therefore, it is rarely found in a temperate continental climate. Novice growers are interested in how to propagate an azalea at home, since this process is accompanied by many difficulties.
How to propagate an azalea at home
You can propagate and grow a flower in different ways, which one to choose depends on the time of year and how much it is planned to reproduce the plant. Breeding options:
- Seeds. This method is the most difficult and is often used to breed new varieties of plants. Also, azalea seeds are used for reproduction, when it is necessary to grow many plants in a short period of time.
- Cuttings. It is carried out in the spring during the growing season, the material is taken from an adult plant. This is a difficult, but quite effective way of reproduction.
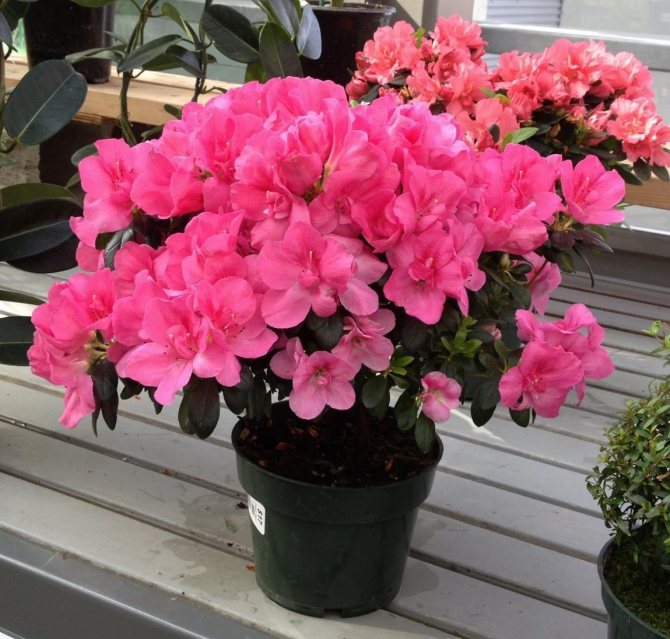
Azalea
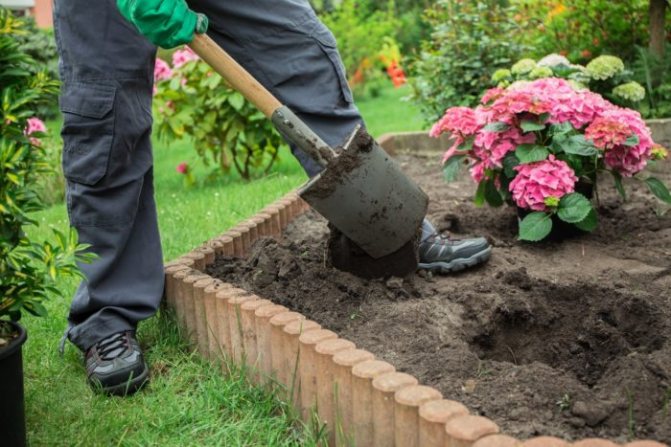
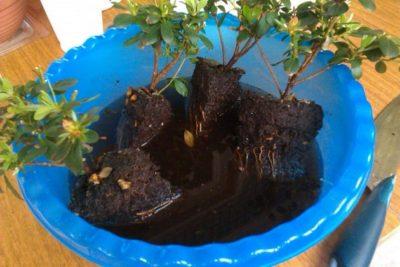
- By dividing the bush. Plants, whose age reaches 3 years, are divided into 2-3 parts. Each section has full-fledged healthy roots, which guarantees a high degree of survival. Therefore, novice growers prefer to use this particular breeding method. A properly selected soil mixture will help the plant adapt faster.
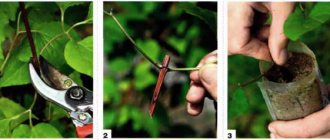
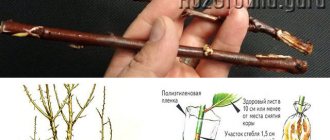
- Vaccination. When azalea cuttings are unsuccessful, use this propagation method. Of all the options, it is the least demanded. Choose a healthy shrub and a high-quality stem with an eye. A small incision is made on each of them. Then a cutting is applied to the cut on the bush. To fix them, they are wrapped with plastic wrap.
- Layers. Reproduction by layering is often used for garden varieties. The bush shoot is tilted down and buried in soil. After a while, roots begin to grow on it.
Note! Newbies who have recently started to study flowers should remember that the work of propagating an azalea is difficult and painstaking, regardless of the method chosen.
Azalea grafting


Propagation by cuttings - advantages and disadvantages
Azalea - home care after purchase
It should be borne in mind that when growing a plant such as an azalea, propagation by cuttings at home is fraught with poor survival rate, since the plant is quite whimsical. The main advantage of cuttings is that the species characteristics of the plant are fully preserved. To activate the growth of azaleas, the soil must always be moistened. Heating and lighting play an important role in the development of culture, therefore they are created artificially. In the first year of life, the azalea should begin to develop actively. If this does not happen, she will most likely die.
How to root cuttings
Since it is difficult to root an azalea, healthy shrubs with a good root system are used for cuttings. Plants 3 years old are best suited for this procedure. More mature specimens may not take root as they lack nutrients.And cuttings from a too young azalea can quickly dry out without rooting.
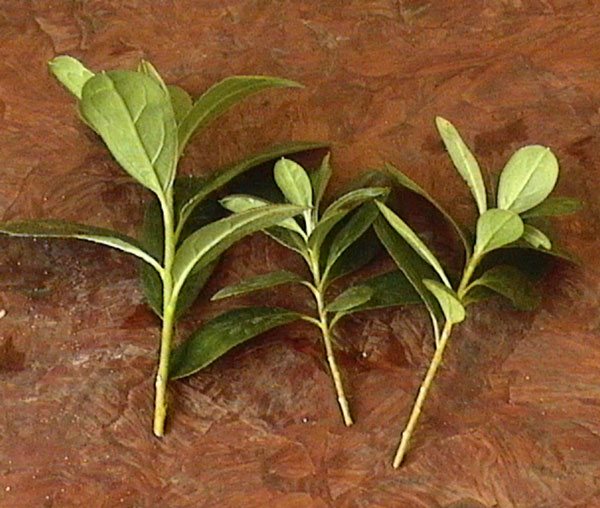
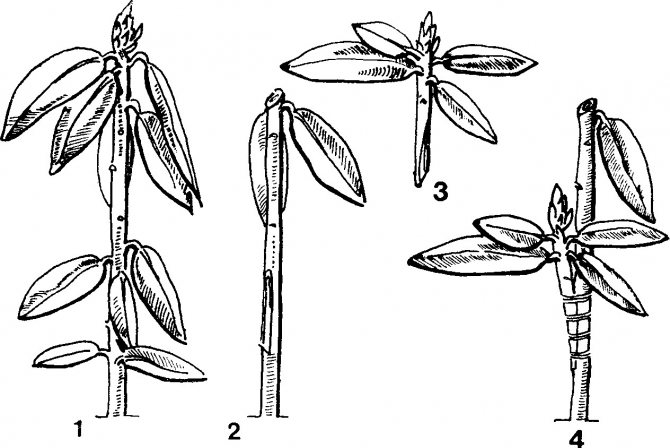
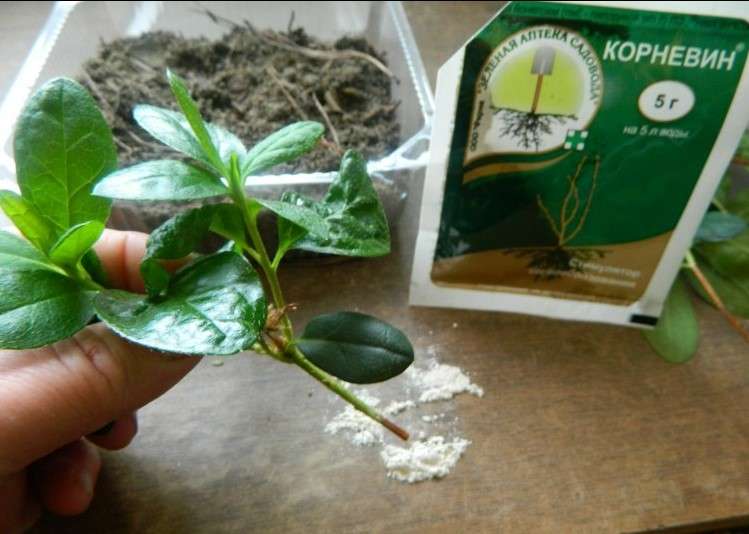
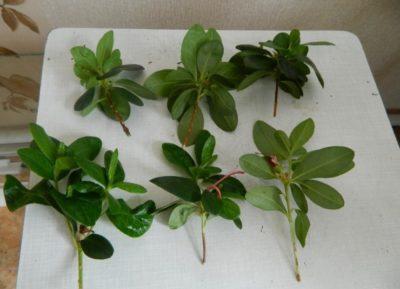
The appearance of the cutting
It is allowed to make cuttings from last year's azalea shoots. Their length should be at least 8 cm and contain 2-3 leaves. If this year's stems are used, they should be alive and not lignified. Cutting preparation:
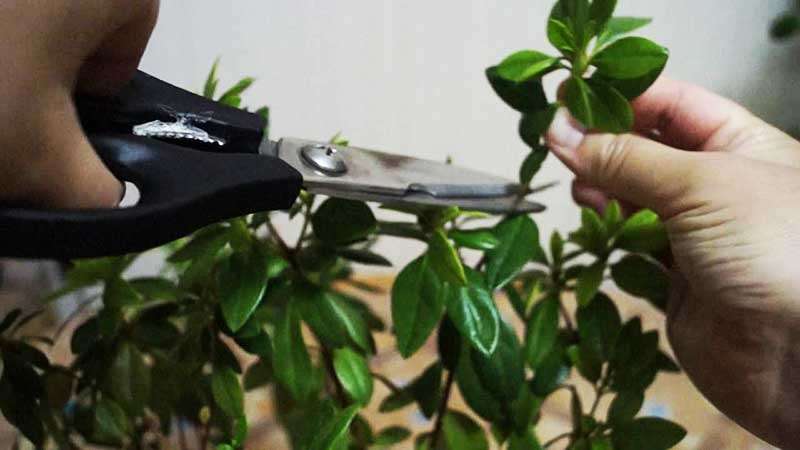
- With a pruner or a sharp knife, make an oblique cut at an angle of 45 degrees. Scissors are not suitable for this job. In order not to infect, the instrument is sterilized before use.
- In order for nutrients to be directed to the formation of roots, half of the leaves located on top of the cutting are cut off, the lower ones are completely removed.
- The lower cut is made under the kidney, stepping back 1 cm.
- In the area where the roots are to be formed, the bark is removed.
Note! Stale material is also suitable for breeding. For example, if a stalk that has lain for 2-3 days without soil and water has dried up, so that it comes to life, it is placed in water.
Before propagating the azalea, you need to choose the right material. For this, the process is broken in half. If you hear the crackling of a tree, then the quality of the cuttings is excellent and can be used for the propagation procedure.
When is it allowed and when it is not allowed?
Reproduction for azaleas, when it comes to the vegetative method, as well as for other flowers, is stressful, so you need to take this issue as seriously as possible and carefully study the features so as not only to grow a new one, but also not to ruin the old plant.
The beginning of flowering of azaleas occurs in late autumn and continues throughout the winter. Any manipulation of the plant during this period can lead to the fall of the buds. Be sure to wait until the end of flowering, after which you can already start dividing the bushes and cutting off the cuttings.
The optimal breeding time for azaleas is from April to August.
If you decide to propagate the azalea by cuttings, remember that shoots can be cut only once a year, in the spring.
What soil is suitable for rooting
Azalea: home care, transplant after purchase
Indoor rhododendron requires soil with a special composition. The plant loves loose acidic soil, universal is not suitable for it:
- before cutting the azalea, it is kept for 5 hours in a root growth stimulator. For 1 liter of water, 2 tablets of heteroauxin are needed. You can also use zircon, but soak the material for 24 hours;
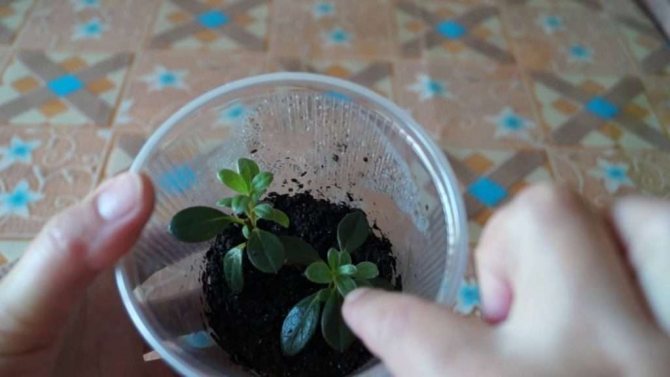
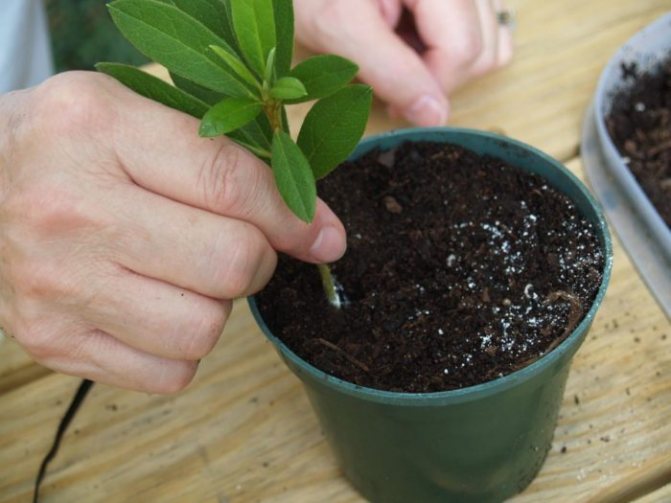
- finished cuttings are planted in the ground to a depth of 2 cm;
- the distance between the processes must be at least 3 cm.
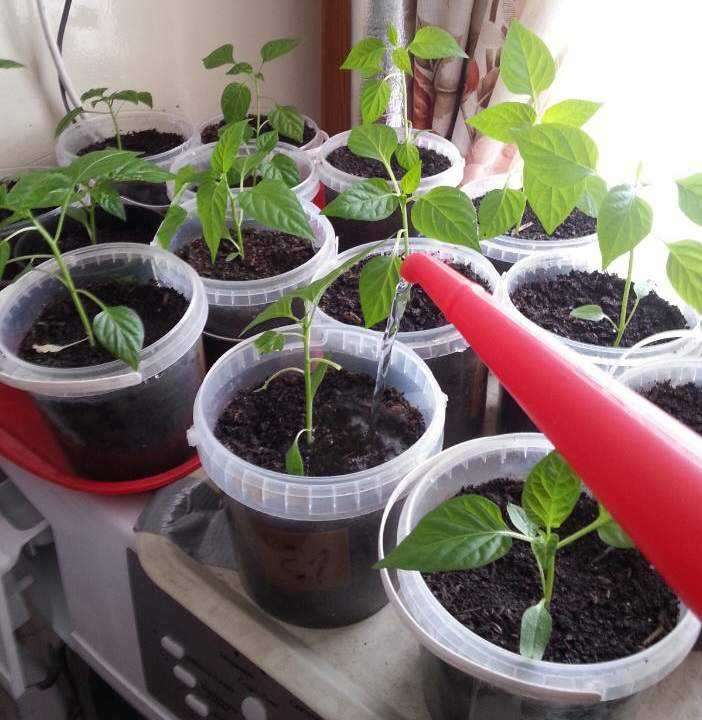
Moisture during rooting
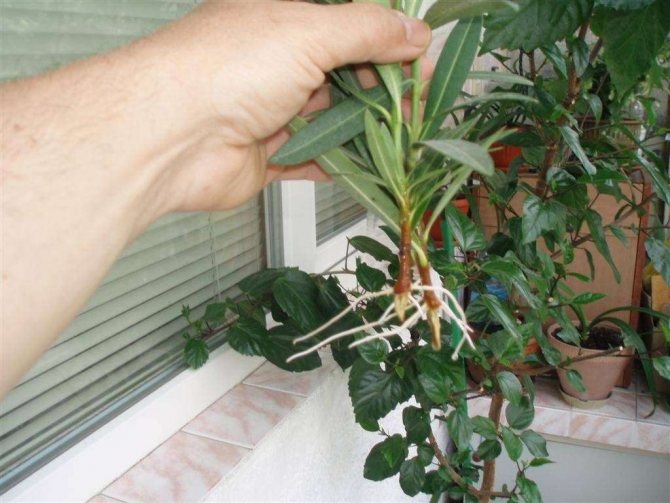
Azalea belongs to moisture-loving plants, therefore, the soil in the pot should not be allowed to dry out. If you feel dryness by touching the ground with your finger, then the plant needs to be watered. With proper care, the first roots will appear in 30 days. The formation of their own shoots indicates a good survival rate of seedlings. Weak, dying specimens do not release shoots.
Beginners should know how azalea reproduces and the basic rules of this procedure:
- at home, the flower is propagated from March to October;
- until the plant has faded, no manipulations with it can be carried out;
- so that the seedlings grow better, they are sprayed with water and covered with foil;
- unlike adult specimens, cuttings do not tolerate sudden temperature changes that occur during watering with cold water, so the temperature of the water used must be room temperature;
- the seedlings are aired once every 7 days by removing the film;
- it is necessary to root as many cuttings as possible at the same time, since no more than 4 out of 20 will take root.
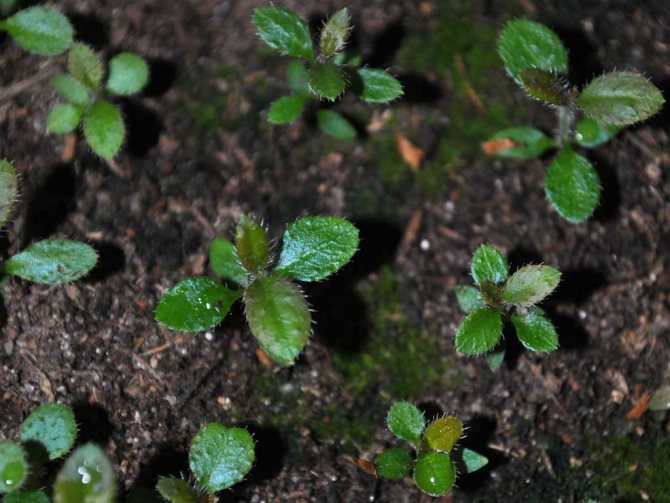
Azalea sprouts
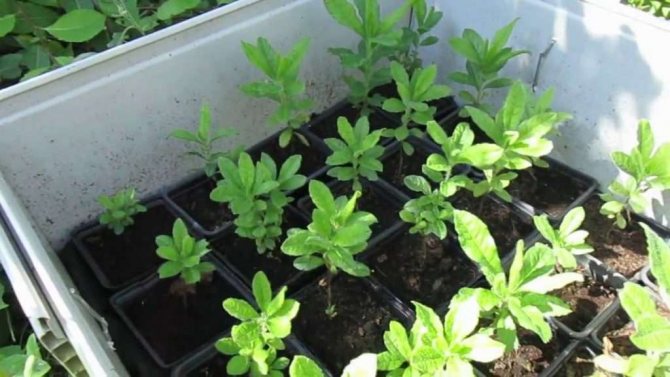
The air in the room is drier than under the film. In order for the sprouts to adapt to new conditions, after rooting, the film is removed for 3 hours a day. After a few days, the time is increased by 5, then 7 hours.A week later, the seedlings are transplanted into separate pots. In order for them to take root faster, they are kept in greenhouse conditions for 14 days (covered with foil).
Important! If the soil for planting the azalea stalk has not yet been prepared, you can put it in a glass of water for a short time. To prevent the plant from dying, a growth stimulator is added to the water. You cannot root a flower in this way.
Temperature and lighting
If the temperature standards are observed and the lighting is maintained at the required level, the rooting of the cuttings will be successful. The material used is placed in the brightest and warmest room with an air temperature of +25 ° C. There should be no drafts in this room. To prevent the air from stagnating, do regular ventilation. Sometimes cuttings do not germinate due to the cool temperature. Then the bottom of the container with seedlings is heated with an incandescent lamp to +27 ° C. In addition, the container can be installed close to the battery.
Pinching a young plant
The grown cuttings (more than three centimeters) must be dived into separate containers. A coniferous substrate is ideal for planting. Transferring to another container takes place at the beginning of December. The apical part of the young culture must be pinched to produce new shoots. Pinching can also create a branching bush shape.
The first formed buds must be removed. The plant will spend all its energy to grow the green aboveground part of the azalea.
The subsequent pinching should be done in March. You will need to cut about six branches.
In the spring, you can move the azalea to a larger container (about ten centimeters in diameter). A drainage layer should be laid out at the bottom of the container. The container should be filled with a mixture of coniferous soil and peat.
To create a compact shape, the small azalea must be pinched.
After transplanting, the azalea must be regularly watered with settled warm water. Indoor azalea can be grown by cuttings in three years.
Reproduction will not only help you breed the flower yourself. The grown azalea is more adaptable to the surrounding conditions of the home environment.
Growing from seeds: what is good about this method
How to propagate geraniums at home
The experience of those gardeners who know how to grow an azalea from seeds shows that this is a rather complicated process that requires a lot of effort and time. A germinated seed sprouts in 14 days, provided that the material was of high quality and the growing conditions were followed by all the rules. It is possible to plant a young azalea in open ground only after 9 months, which is a disadvantage.
How to choose the best seeds
Seed material can be purchased at the store or harvested by yourself when the plant has faded. Collection process:
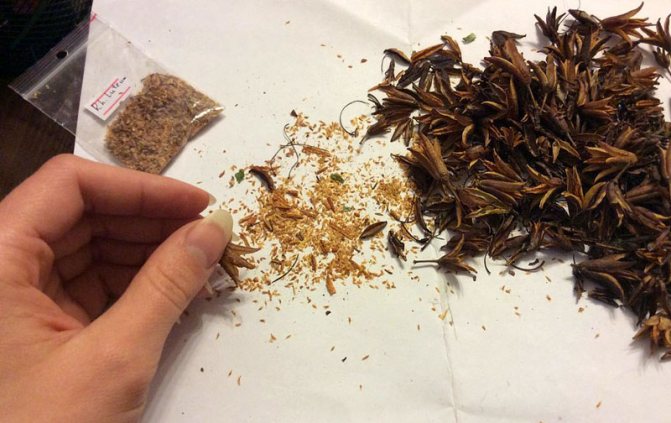
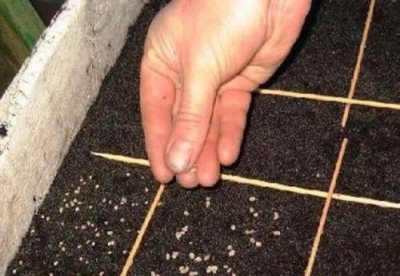
Azalea seeds
- The seeds are arranged in a five-leaf box. Their size is small, no more than 2 mm in length, their shape is elongated.
- The dark brown color of the seeds indicates that they are well ripe and ready to reproduce. In this case, the box remains green.
- The collected material must be dried before planting. To do this, it is wrapped in paper for 2-3 days.
It is easier to propagate an azalea from fresh seeds, the shelf life of which does not exceed 3 months. The use of 3-year-old seed is allowed if it has been stored in a cool dry place.
Note! When buying seeds in a store, you need to pay attention to the expiration date indicated on the manufacturer's packaging. In this case, the packaging must be intact, airtight, without deformation.
What should be the soil for planting seeds
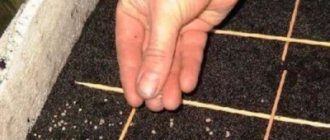
Sowing seeds is carried out from March to April. They are laid out on peat tablets or sown in the top layer of the soil. If the propagation of azaleas is carried out in February, then additional lighting should be installed in order to increase the length of daylight hours to 12 hours.Sun and humidity are the main parameters affecting seed germination. Sowing is carried out in the following sequence:
- Any sowing container is suitable. Drainage holes are made on the lower part.
- The soil mixture is purchased in a store or made independently from peat, sand, sod and deciduous soil, humus, which are taken in equal proportions. All components are disinfected in a solution of potassium permanganate before mixing. If necessary, a baking powder, vermiculite, is added to the mixture. The seeds are sown in warm soil.
- The pot with the plant is covered with foil or glass, this will create a greenhouse effect. To prevent the appearance of mold, the container with seeds is periodically ventilated by lifting the film.
- Waterlogging of seeds should not be allowed, therefore, the soil is not watered, but irrigated from a spray bottle. Irrigation is carried out with a special solution prepared on the basis of oxalic acid. In 10 liters of settled water, you need to dilute 4 g of acid.
Note! The soil for azalea seeds should be light, water and breathable, and rich in minerals.
Temperature
To grow seed, bright light and a standard air temperature of +20 C ° are required. A month after planting, the first shoots will begin to appear. Spraying with a solution of "Zircon" and "Epin" will help stimulate their growth and development.
Humidity
The sprouts are kept in humid conditions. They are covered with foil, forming a small greenhouse. Before planting plants in a permanent place, they must be adapted to cool conditions. Vases with seedlings are taken out into a room with a temperature lowered to +10 ° C. Thanks to this hardening, the flower's immunity will increase, which will allow it to tolerate various diseases more resistant. You can stimulate the root system using the bottom irrigation method. At the same time, the seeds will not become waterlogged from water, and the sprouts will receive enough nutrition.
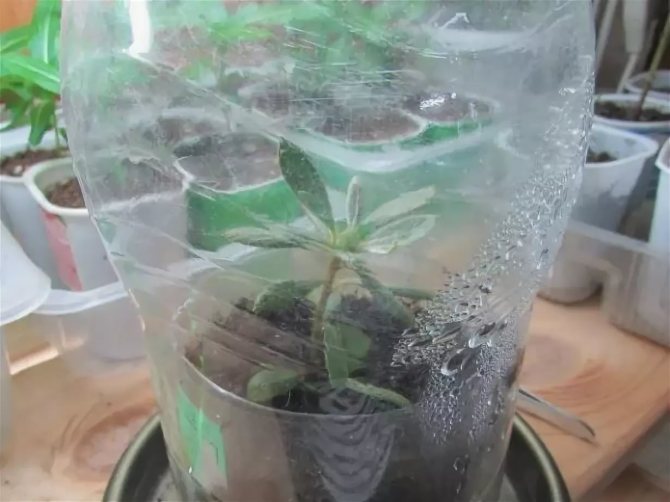
Greenhouse for azalea
Features of different types
Deciduous
For rooting deciduous varieties, green cuttings are used. They are characterized by:
- The presence of an immature bud at the apex.
- Young developing leaves are light green.
- Active continuation of growth.
If the shoot is quite adult, it is characterized by lignification, it has formed leaves of a dark green color. This suggests that the cutting is overripe and not suitable for reproduction.
Evergreen
For propagation of an evergreen variety, lignified cuttings are used. Moreover, they must be well ripened. A shoot that bends but does not break is not suitable for rooting. A suitable cutting should be:
- Healthy.
- Have a well-formed, healthy kidney.
- Have several mature leaves (at least 5).
- Be at least 10-15 cm long.
The selection of cuttings for different species of azalea will be different. How to determine if the cutting is ready to cut:
- It should be ripe, but not lignified.
- It should have a mature vegetative bud.
- Leaves should also be ripe, healthy (no signs of disease or pest infestation), and normal size.
- The stalk may have a flower bud.
- The size of the shoot should be at least 10-15 cm or slightly larger.
- The stalk should break with a characteristic woody sound.
The soil
You can buy breeding soil for rhododendron at the store. And this is the simplest option. Or you can cook it yourself. This will require:
- 2 coniferous lands;
- 1 part of high-moor peat;
- 1 part sand.
It is advisable to add vermiculite to the soil for loosening. It should be light and loose. It is highly desirable to disinfect this mixture. This can be done over steam in a colander or in an oven at 100 degrees. Before planting, the soil must be irrigated with water. It should be damp, but not wet.
In no case should you use the soil from under the oak.Azalea does not tolerate this soil due to the large amount of tannins and low acidity.
Pot
You can use a glass jar or a cut-off plastic bottle as a container. You can use an ordinary flower pot with a diameter of no more than 5 cm. Around the container you need to build a wire frame, on which a plastic bag will then be put on. The frame is made in such a way that the bag does not touch the leaves. This is how a mini-greenhouse is built. Also, a mini greenhouse can be purchased at the store.
After planting the cutting, it should be covered with a plastic bag so that the bag does not touch the plant. From above, this whole structure is covered with a dark cloth, since the azalea takes root in absolute darkness.