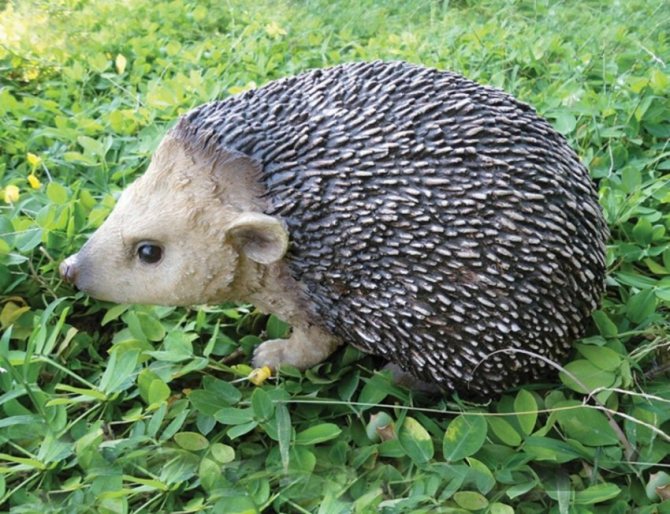
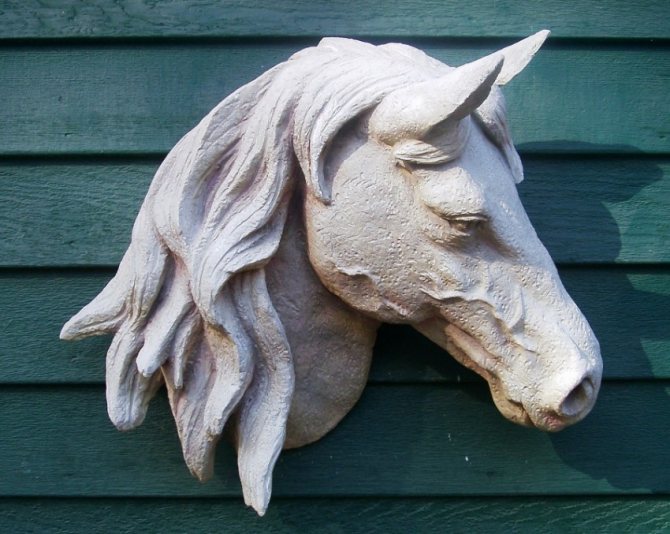
Plaster crafts are popular decorations for the interior and landscape of the suburban area. Original figurines for summer cottages create a unique design and turn an ordinary backyard territory into a fabulous corner.
You can buy plaster decor items in the store, but the price for such decorations is quite high. Therefore, an excellent alternative option is to make plaster crafts with your own hands, because it is affordable and not difficult at all. You just need to follow the simple rules for working with plaster and show a little imagination.
How to breed plaster correctly
Of course, no one will sculpt anything from dry mix. Therefore, you need to know exactly how to make the plaster mix correctly before you start making your first masterpieces.
In order to breed gypsum, you need to purchase it. In this regard, the question arises, where to buy gypsum for crafts?
Everything is extremely easy, in pharmacies our mixture is available for sale at a low price. You can purchase special plaster of paris, which will be slightly better and in larger quantities.
And, as the name implies, you can buy such gypsum at any hardware store and in some household stores.
In order to surely make the desired craft one time and efficiently, you need to think about the amount of solution.
Find a container with a large volume that you will not mind and dilute directly in it. If a certain amount of gypsum turns out to be excessive, then something else can be additionally made from it. Therefore, cook a little more substance than necessary with chalk.
Let's figure out how to dilute gypsum for crafts.
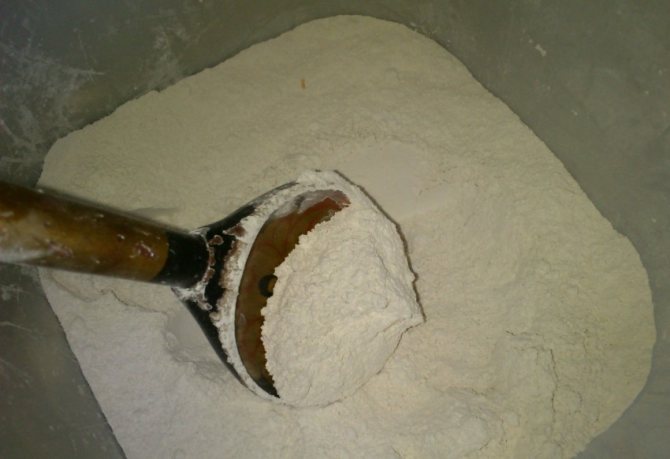
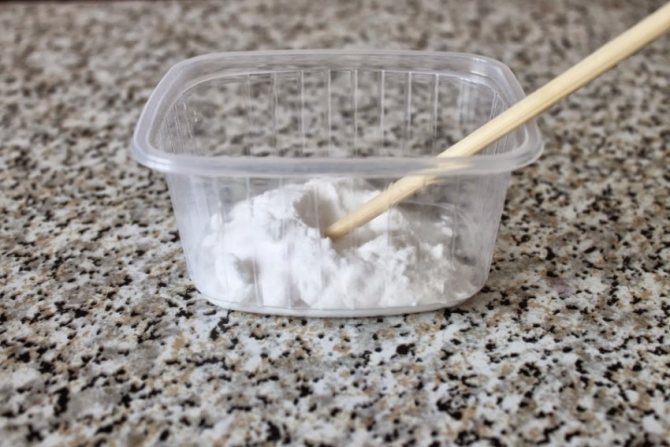
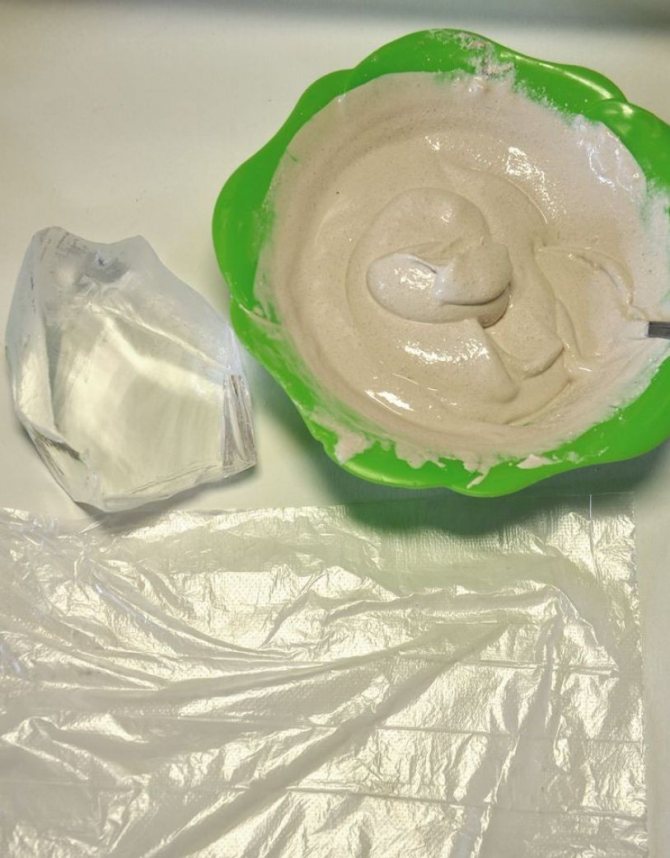
The correct solution is easy enough to make. First of all, the right amount of gypsum is poured into the bowl. Then a small depression is made in it, where water is gradually poured.
We begin to slowly knead with a stick. If the solution turns out to be very thick, then add water in the process. The mortar should be of the same consistency as concrete for pouring a foundation or masonry.
It should be remembered during cooking and safety precautions. Wear a respirator or medical mask.
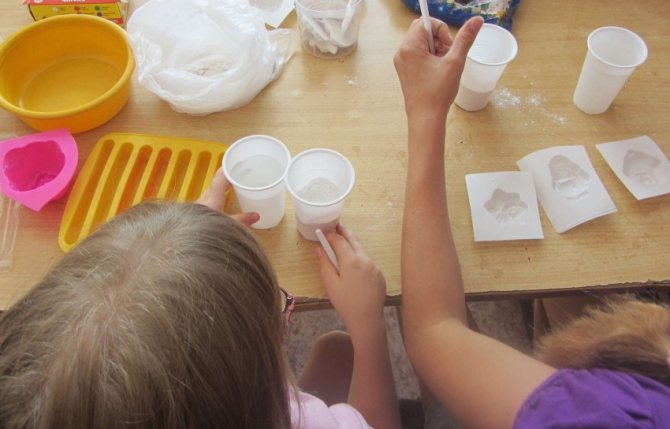
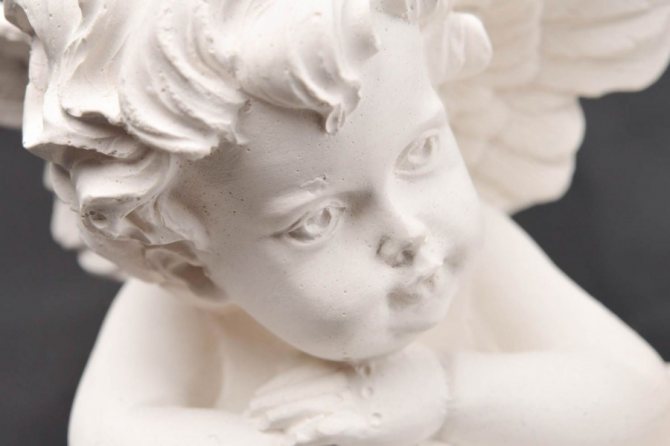
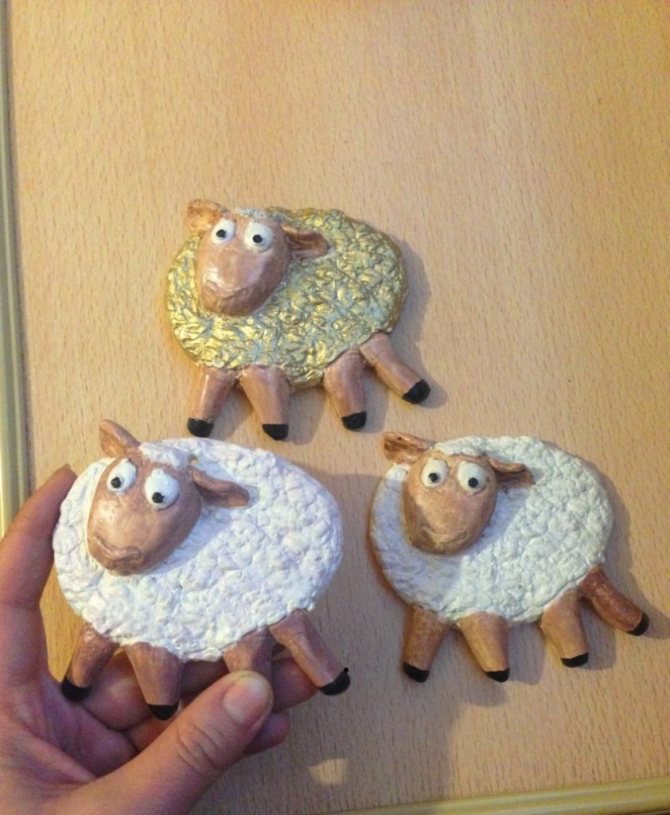
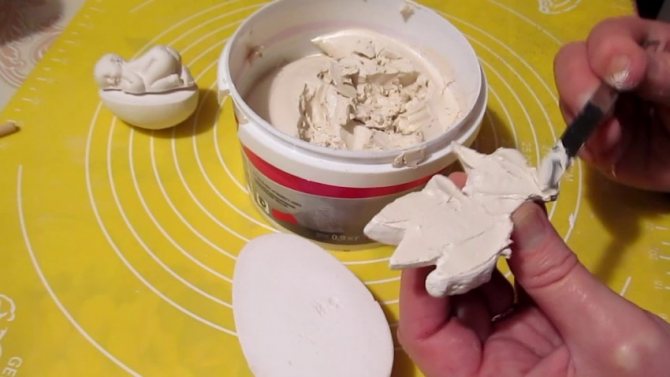
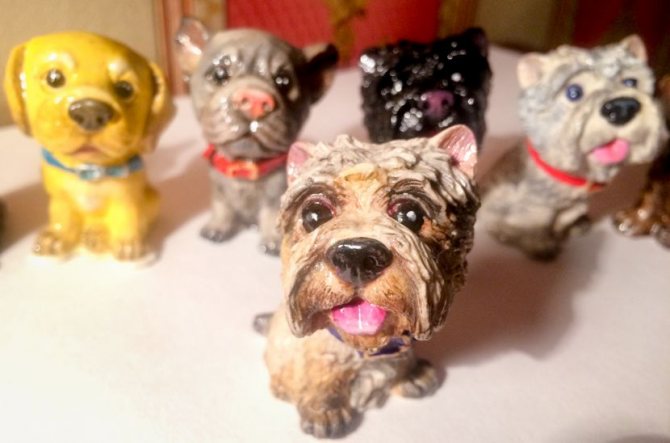
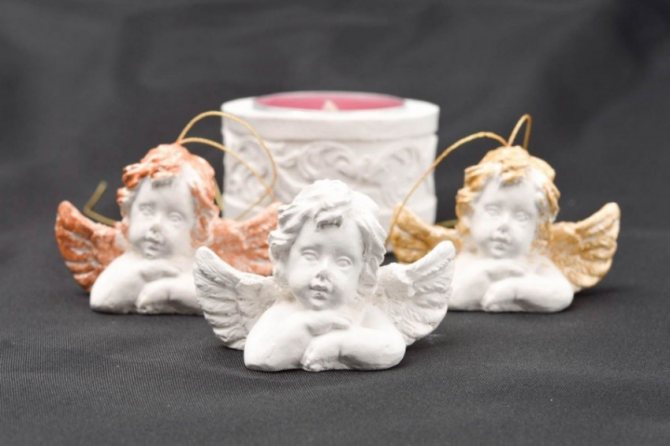
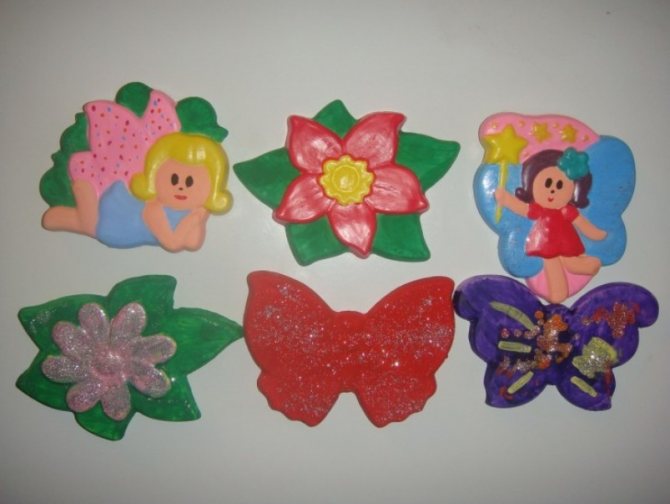
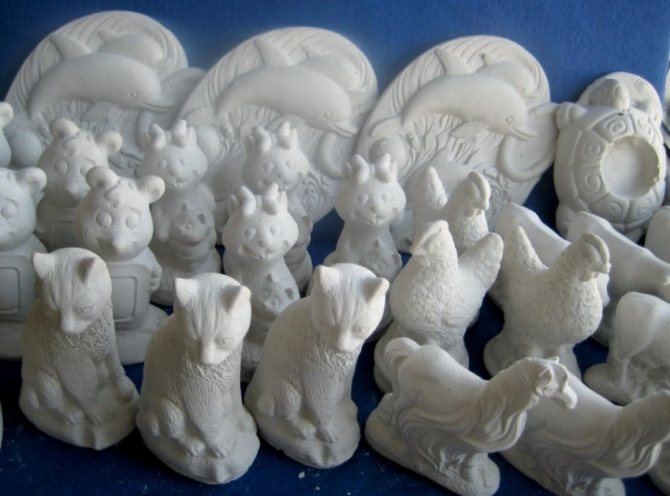
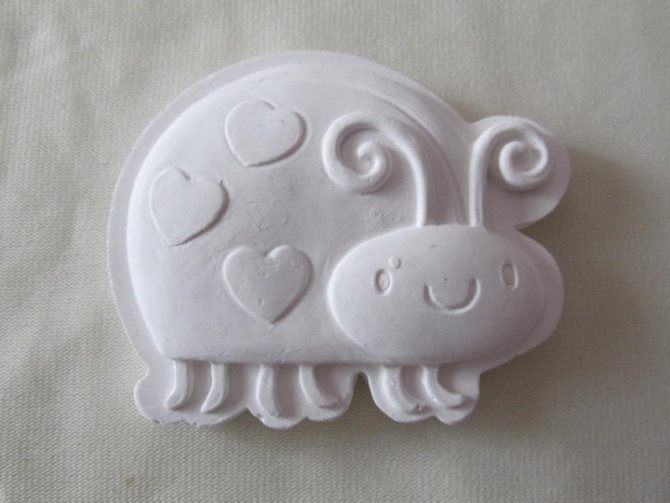
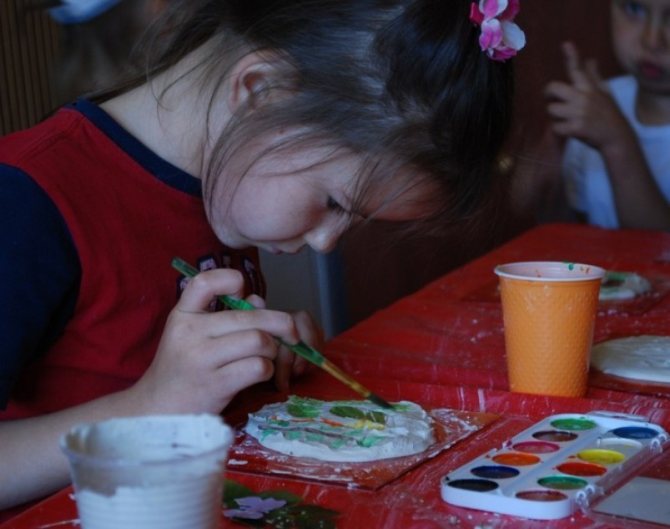
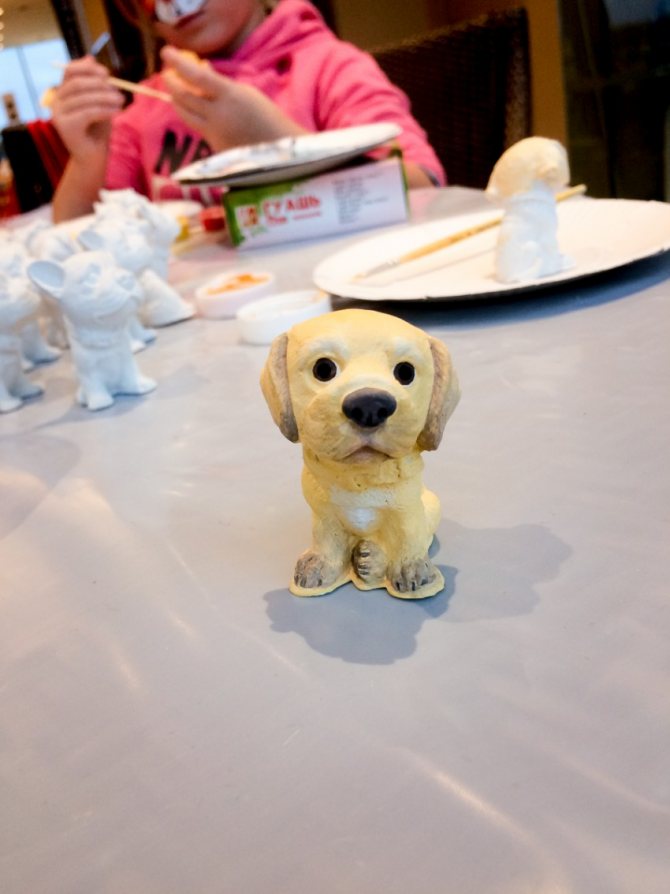
It is easy to make decorative figurines from ready-made plaster, not only for decorating the home and garden, but also as crafts for kindergarten.
Mixing solution rules
First, let's figure out how to make a solution. You can buy the main component (gypsum) at any pharmacy at a very reasonable price.

It is important to correctly calculate the amount of diluted powder, since the material hardens very quickly. If you prepare too little plaster, it will harden and the quality of the final sculpture will not be as high.
Pour gypsum into a basin and stir it with water. Try not to breathe the powder while pouring, as a large amount of gypsum negatively affects human health. Quickly fill the molds with the solution until the material is frozen.
What crafts are suitable for giving
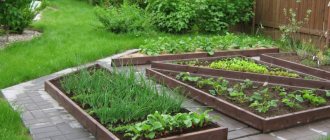
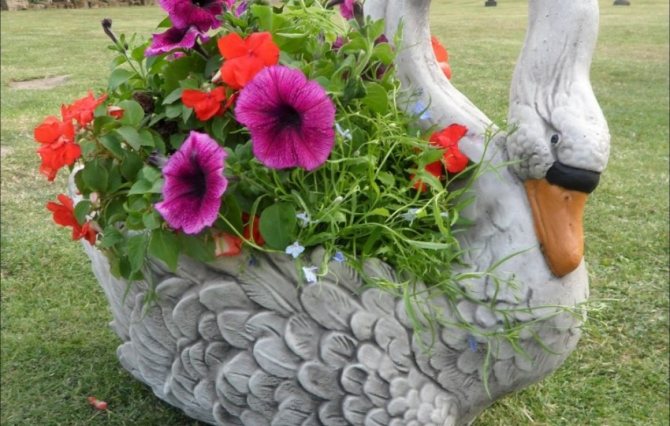
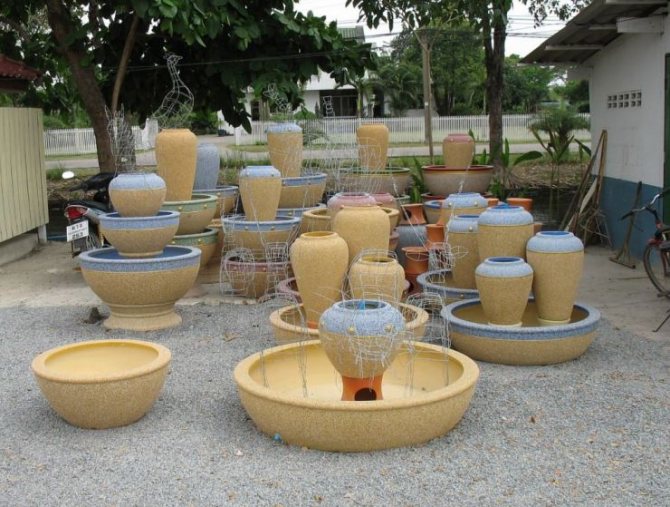
A dacha or a garden on a personal plot is a place where not only work, but also rest in body and soul. For this reason, it is necessary to equip the site in such a way that it looks dignified.
A successful landscape design can be complemented by a variety of plaster figures that you can make with your own hands.
In order to create any craft with high quality, it is best to watch a video master class on crafts from plaster.
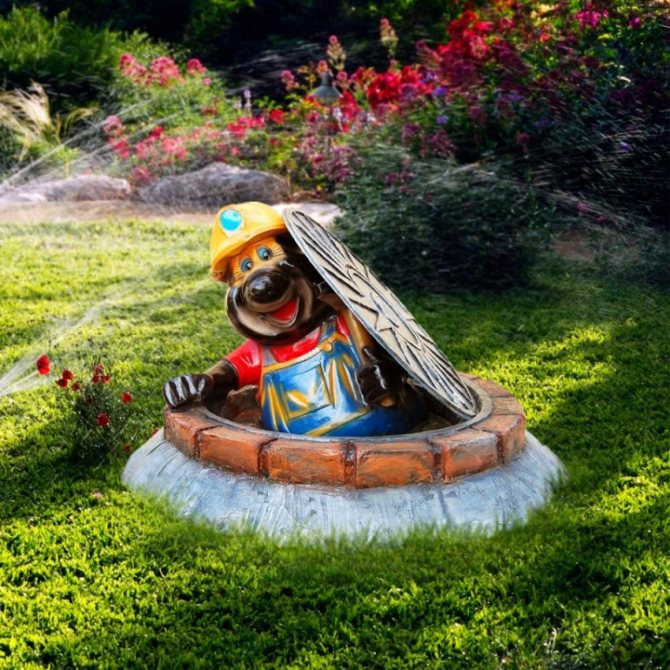
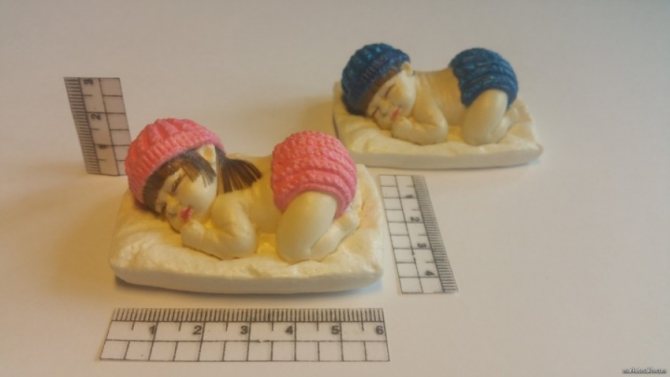
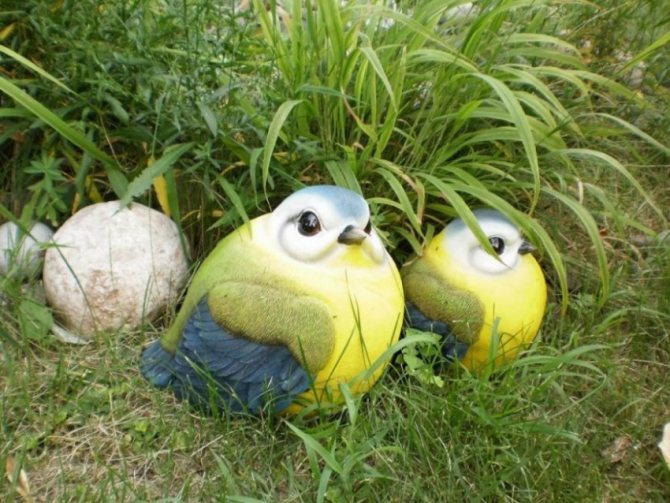
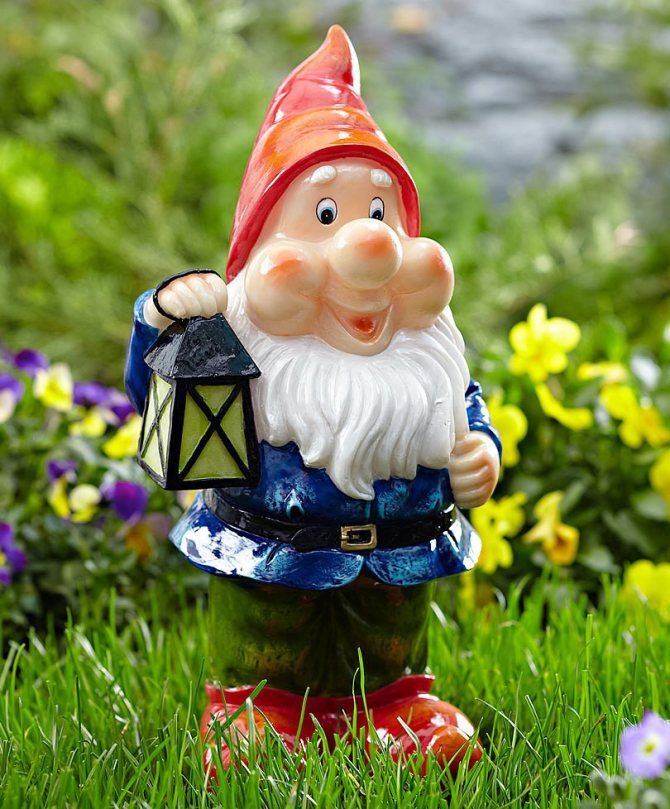
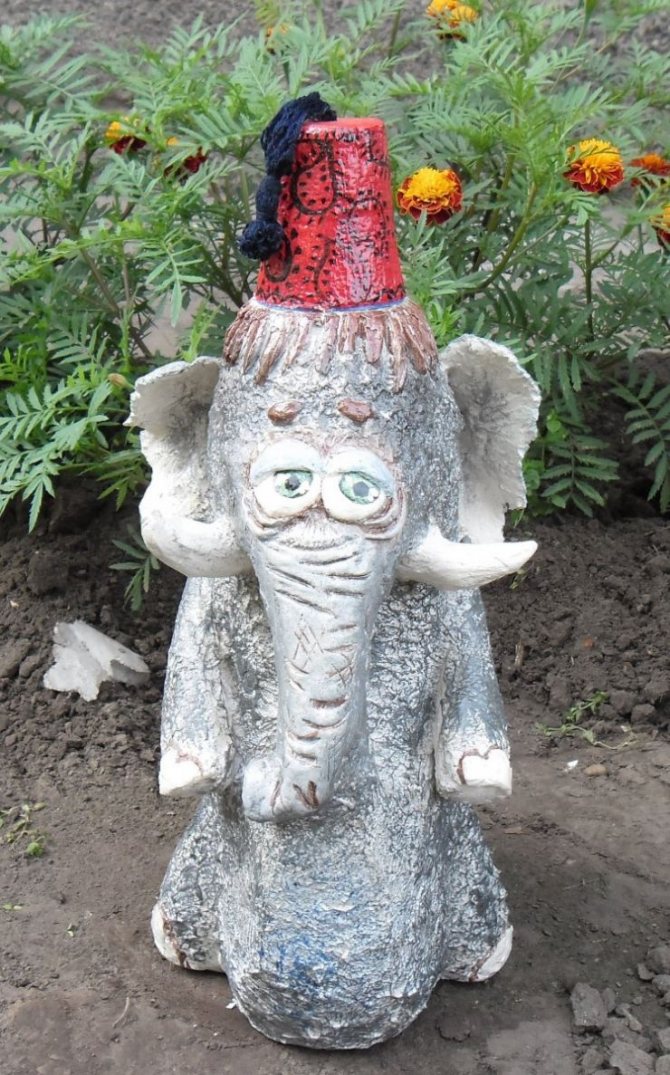
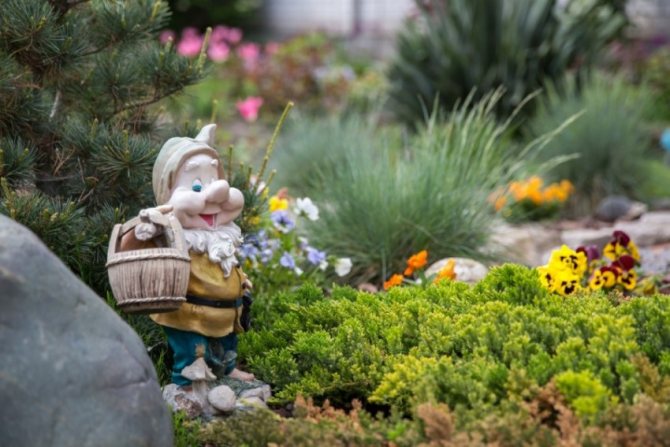
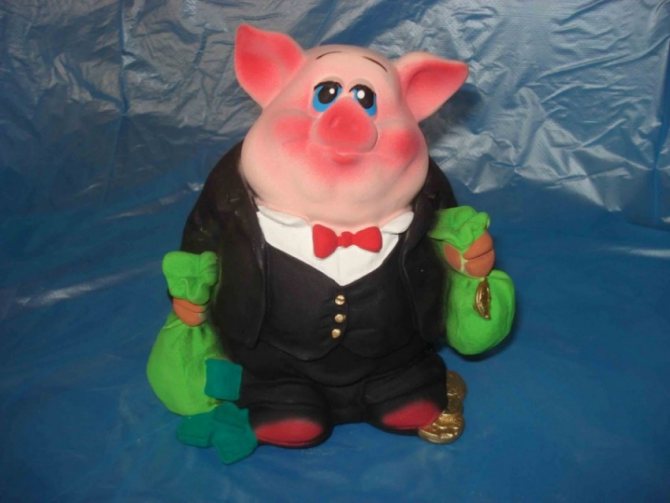
For example, gnomes will look good in the garden or on the lawn. Little funny fat girls in caps will certainly decorate your garden.
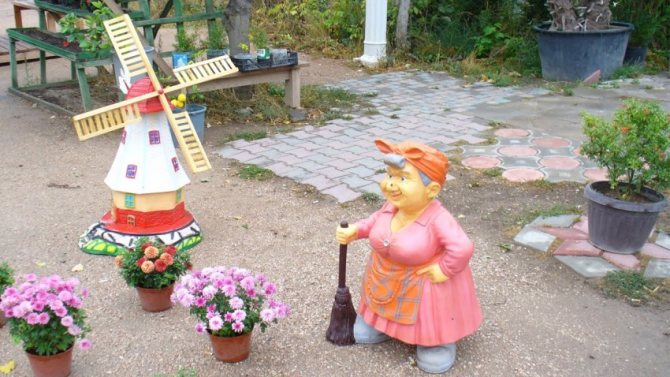
Alternatively, you can add a well or mill made from scrap materials.
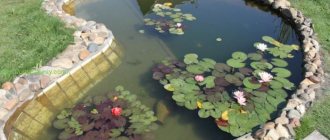
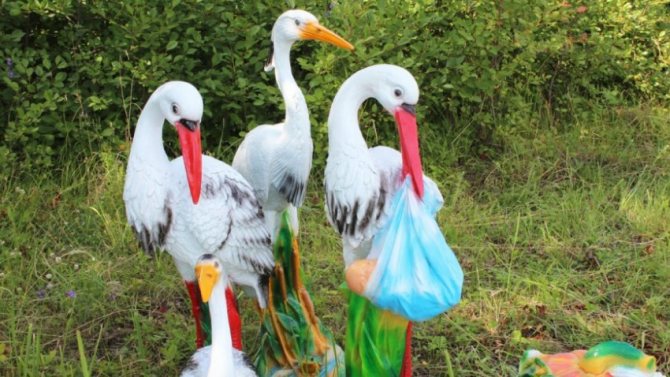
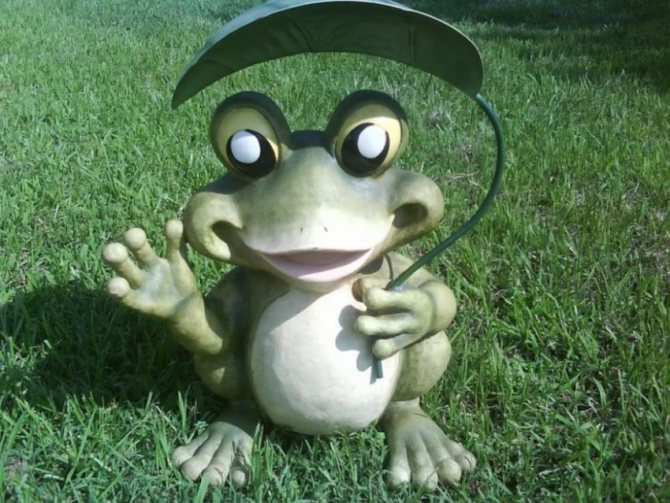
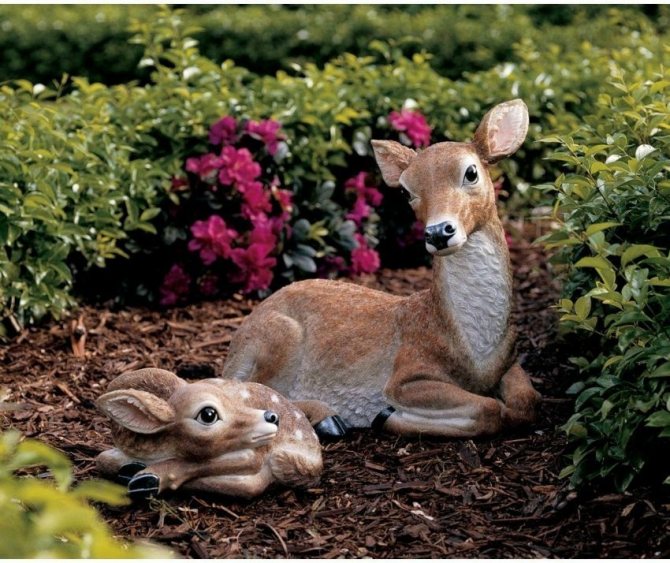
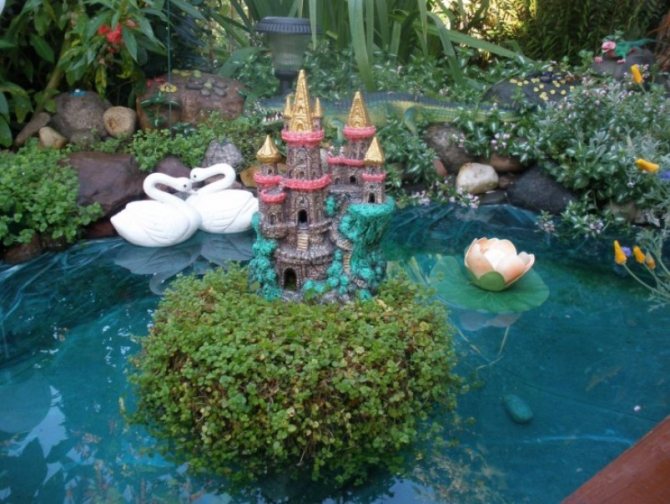
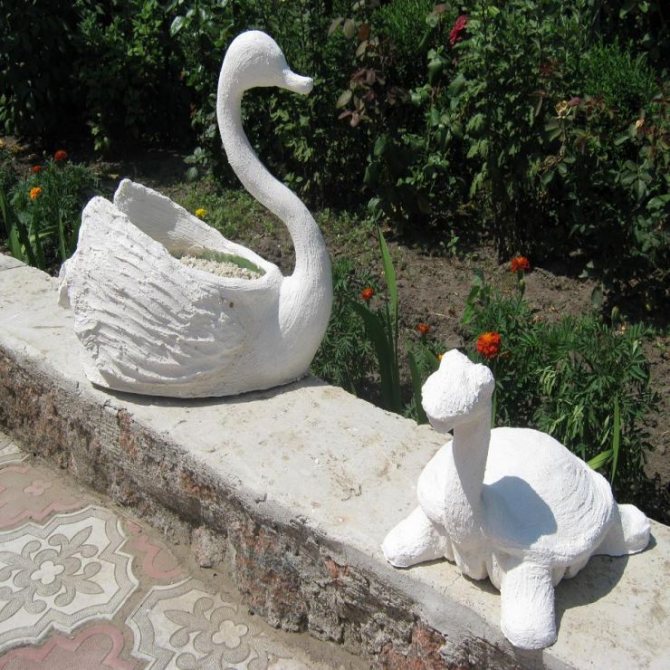
If there is a fountain or a pond on the site, then plaster frogs will look quite beautiful. Also, with enough experience, you can make storks or water lilies.
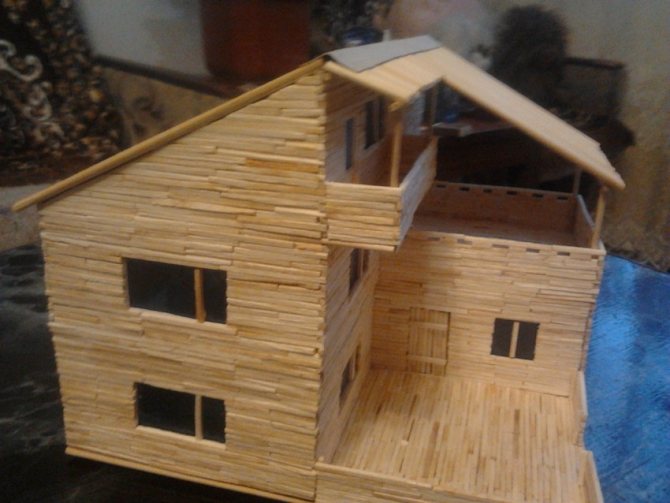
Crafts from matches - 125 photos of original ideas for professionals and simple crafts for beginners
Crafts with children: an overview of interesting and exciting ideas for creating toys and decorations (115 photos)
- Crafts from pantyhose: 60 photos of basic ideas and do-it-yourself sewing of original crafts
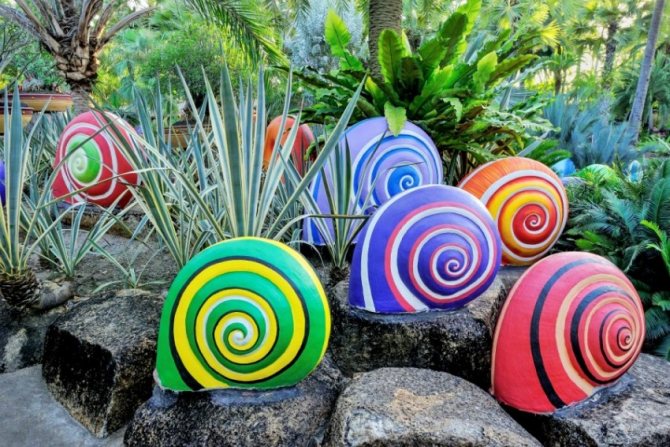
Shell-shaped pebbles can be placed along the edges of the pond. Another successful craft in this case is a plaster turtle. You can even lay out a pretty path from the unusual shape of plaster tiles.

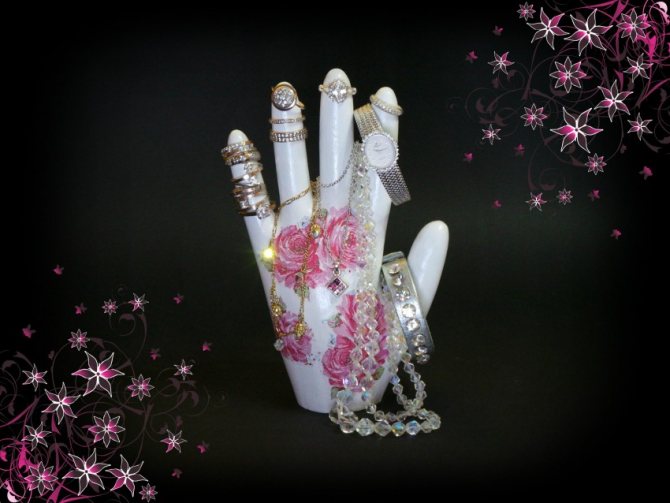
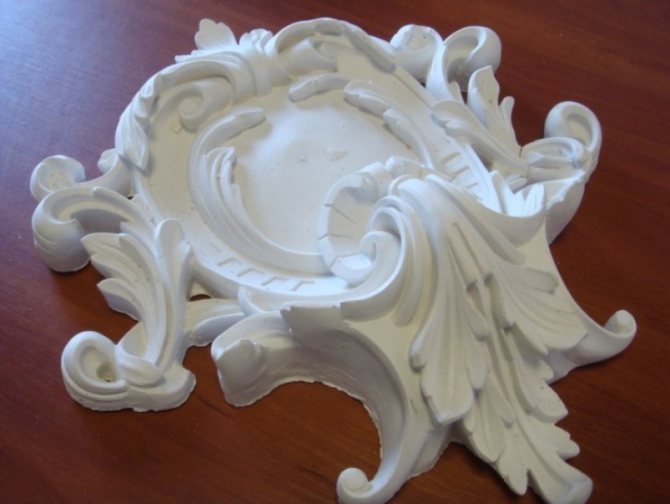
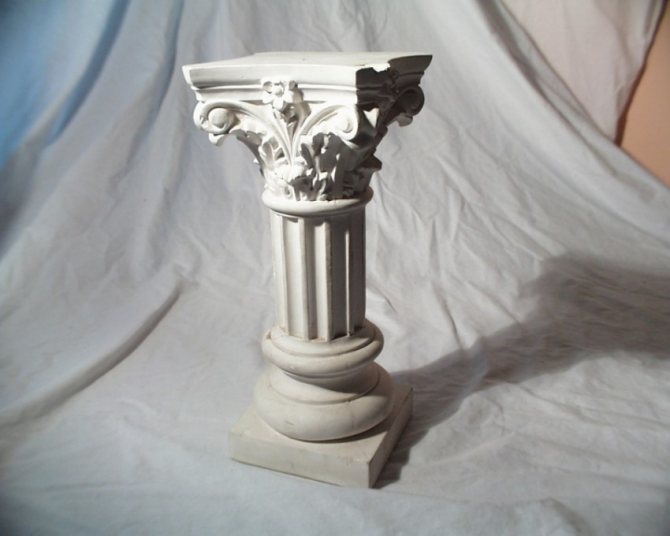
Plaster crafts for the home are, basically, also various figures.
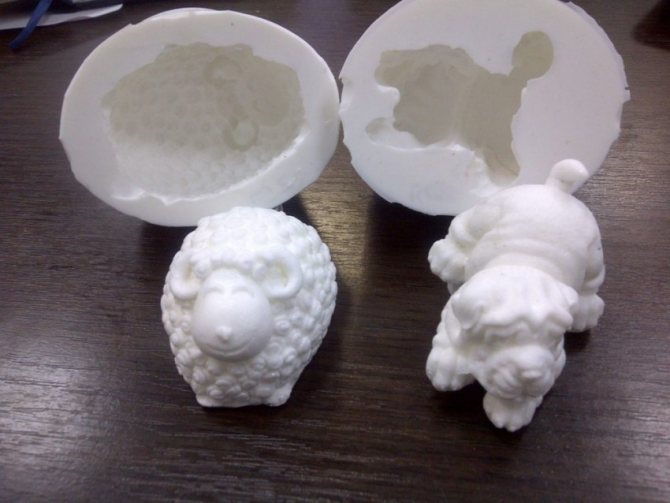
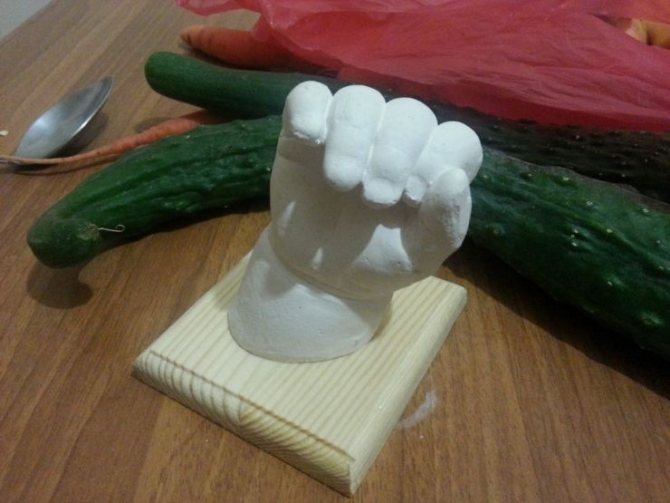
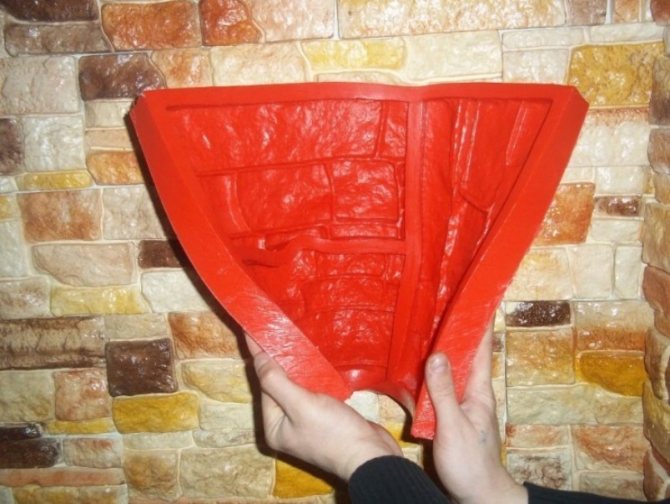
Using forms
Let's try to make a figurine for the garden using a mold. Remember, the mineral hardens quickly. Therefore, first you need to prepare the model by lubricating the inner surface with the prepared mixture.
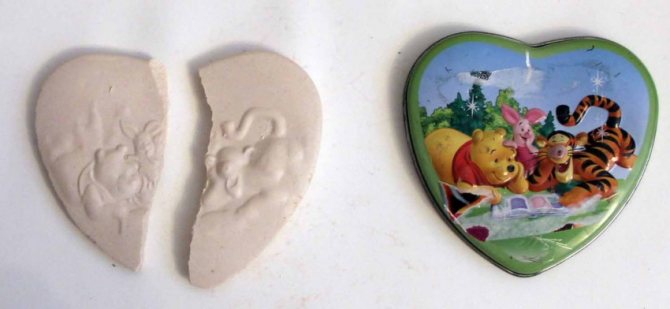
Now carefully fill in the mold. Be careful not to create air pockets. Put balls in the middle, pour everything. We repeat the same with the second half.
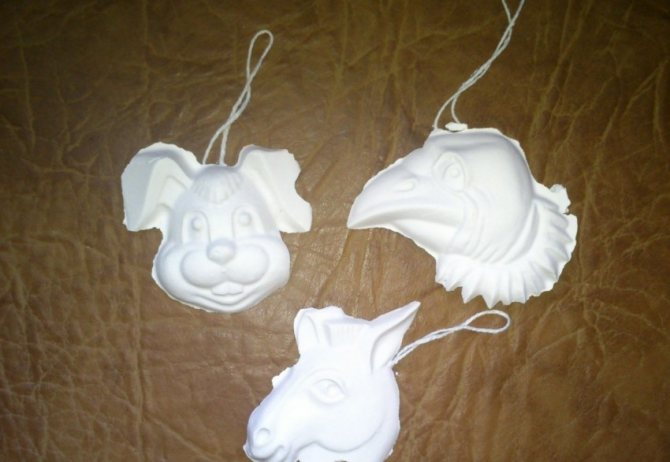
Now you need to let the blanks dry for 24 hours. But first, if there is excess at the edges, remove them with a spatula. Once drying is over, take out the semi-finished products.


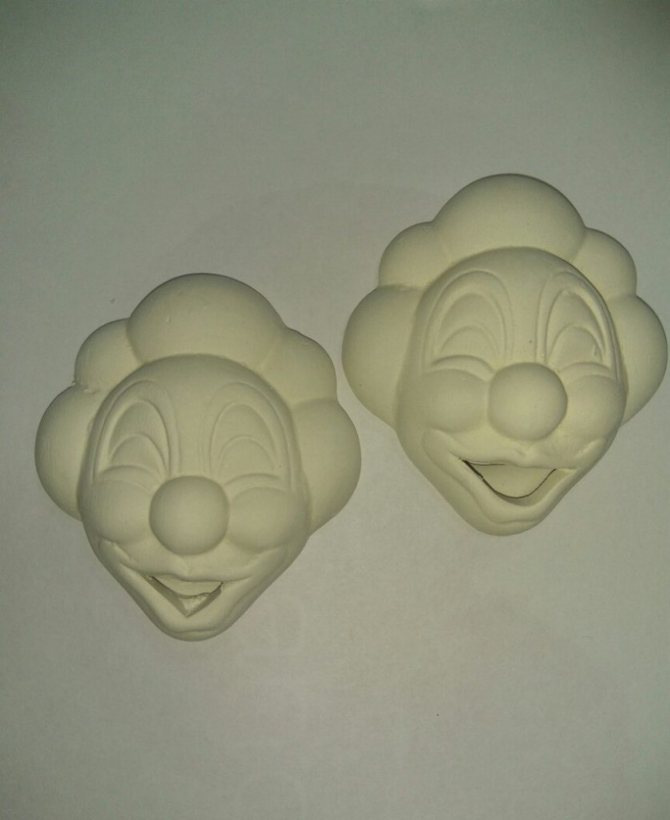
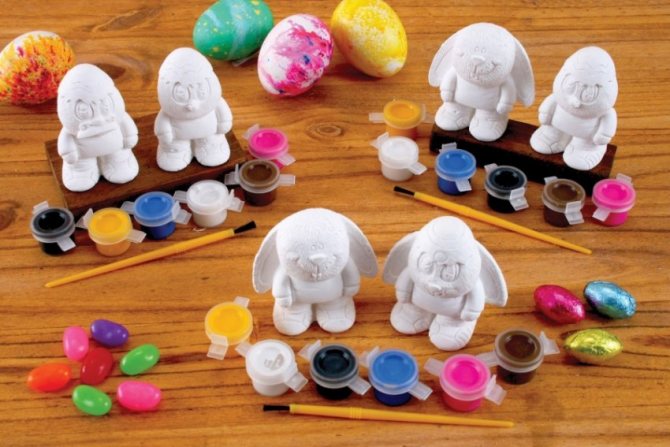
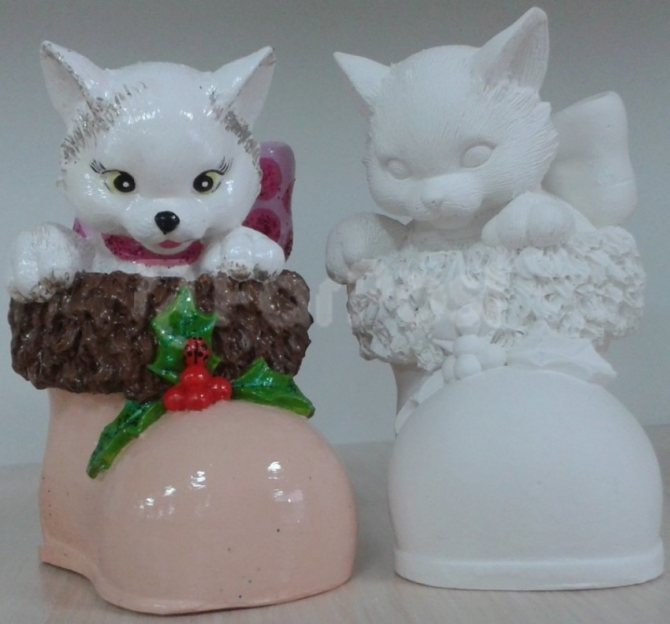
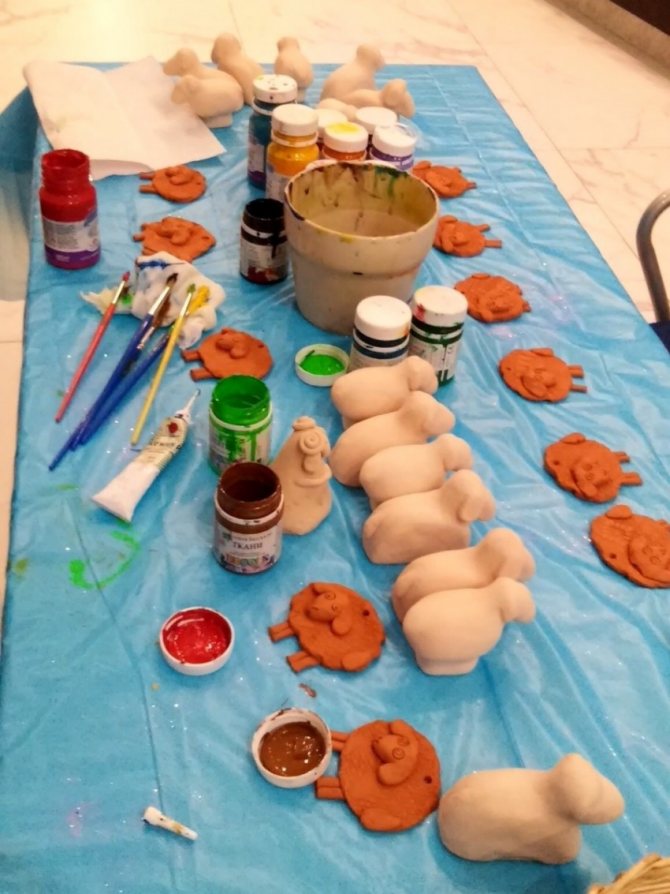
Painting plaster figures
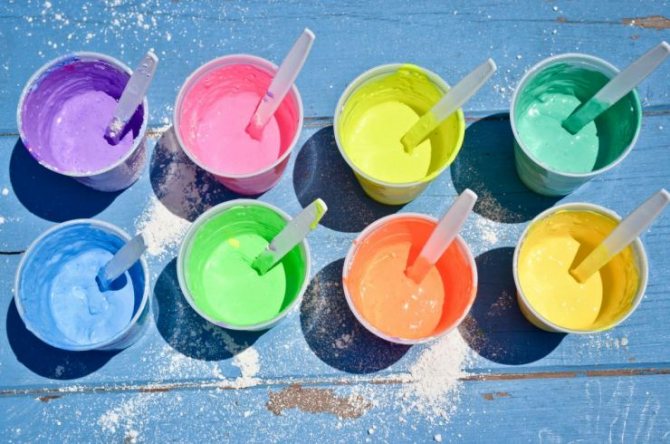
As soon as it is decided to start making crafts from plaster, the question of their painting arises. What and how exactly to paint future jewelry?
Let's figure this out. Painting not only makes crafts more lively, beautiful and vibrant, but also protects them from dirt and water.
Many novice craftswomen add paint when preparing a solution. This is not correct, because in this case, you cannot make a craft of several colors.
In addition, this color is not a protection against negative external influences. It is necessary to paint the figure after it has completely solidified.
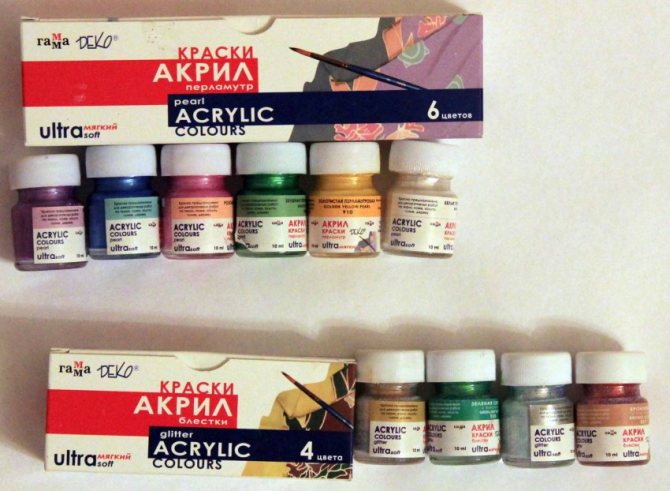
As for the type of paint for such a case, almost any composition with water-repellent properties is suitable. Most popular in this role are acrylic paint or ocher.
But remember that painting is not a complete protective layer yet. From above, an already dried product in several layers is opened with varnish, here you can also use acrylic varnish.
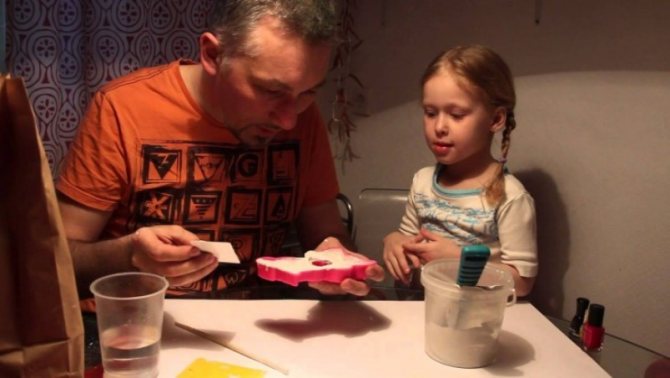
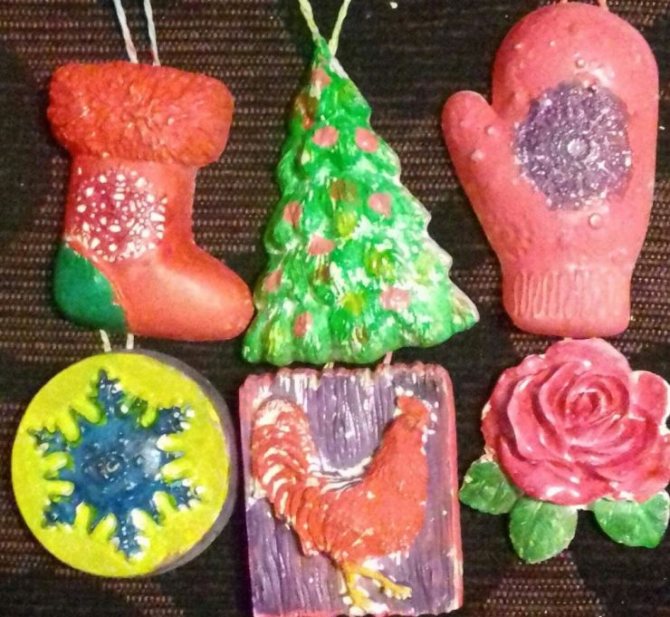
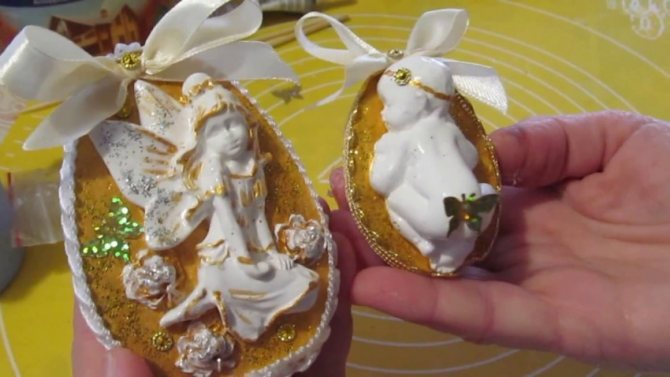
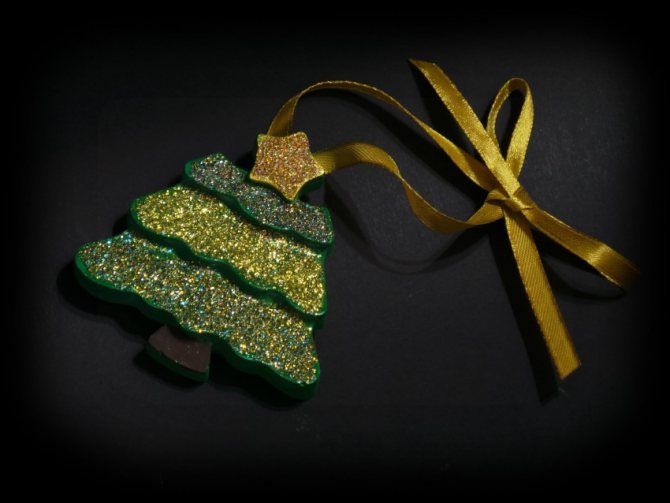
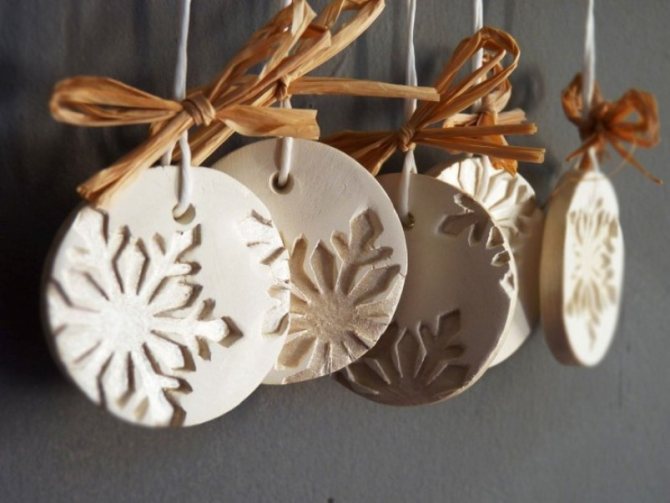
Show your imagination and make New Year's crafts from plaster with children, this lesson will be pleasant and useful.
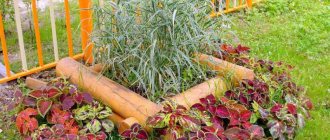
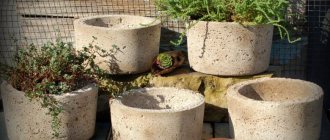
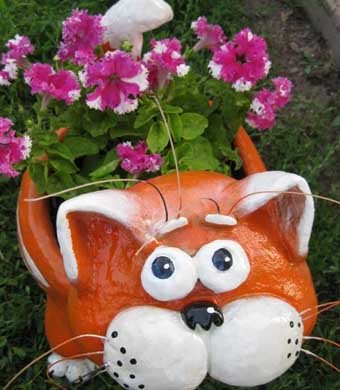
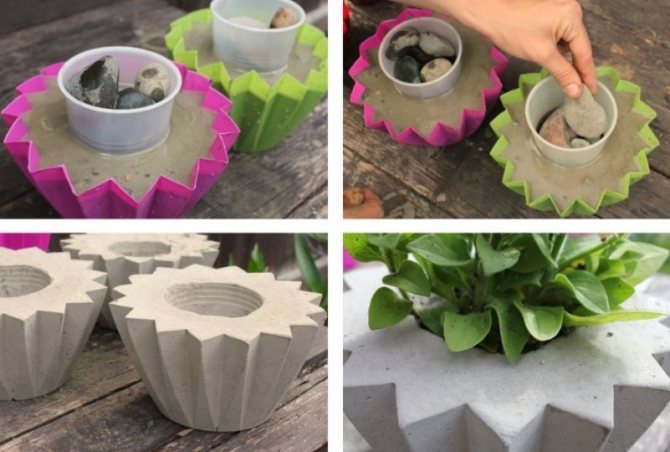
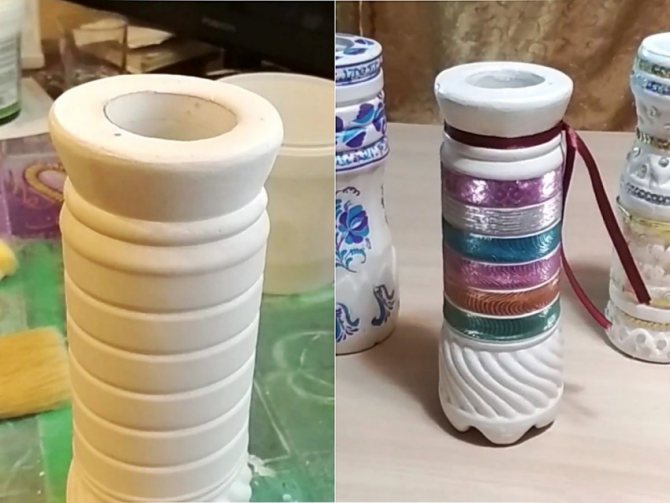
Flower bed
To create such a figurine, we need the following materials:
- Plastic canister;
- Cement;
- Sand;
- Gypsum;
- Several wooden planks;
- Wire;
- Water-based paint or auto paint;
- Varnish;
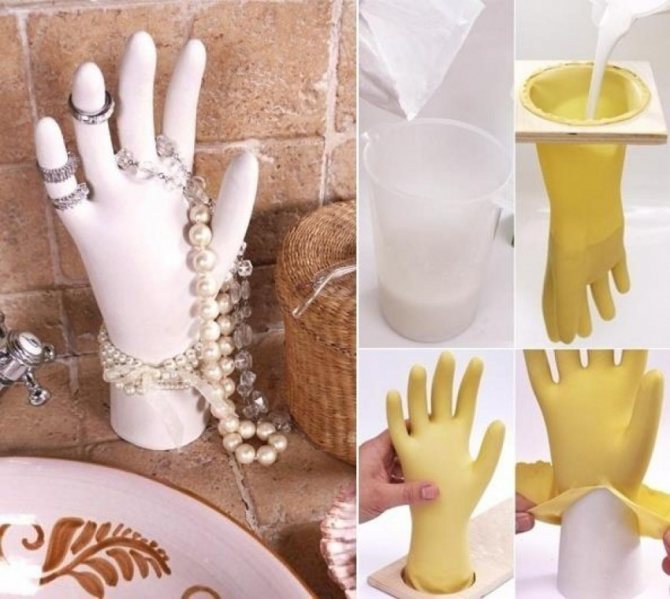
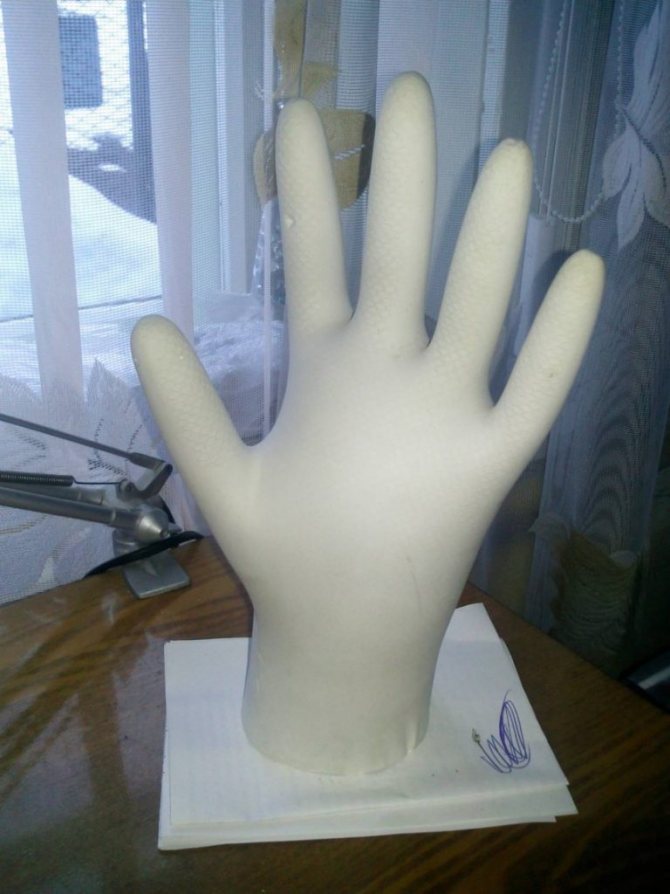
- Latex gloves;
- Sandpaper;
- Water.
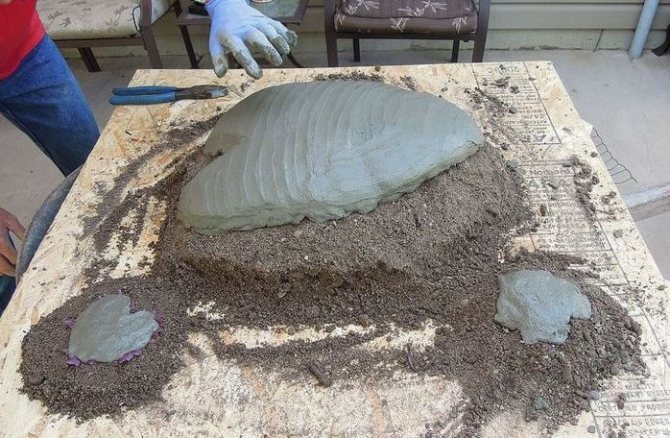
Step 1
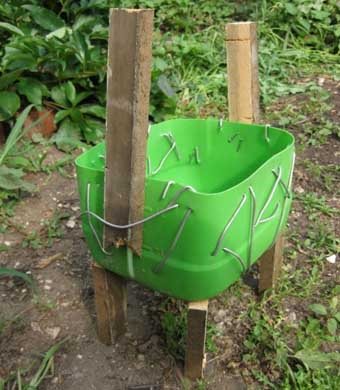
First you need to cut the plastic canister as shown in the photo. From wooden planks we wish the frame of the figurine. We wrap the canister with wire for the strength of our craft.
Step 2
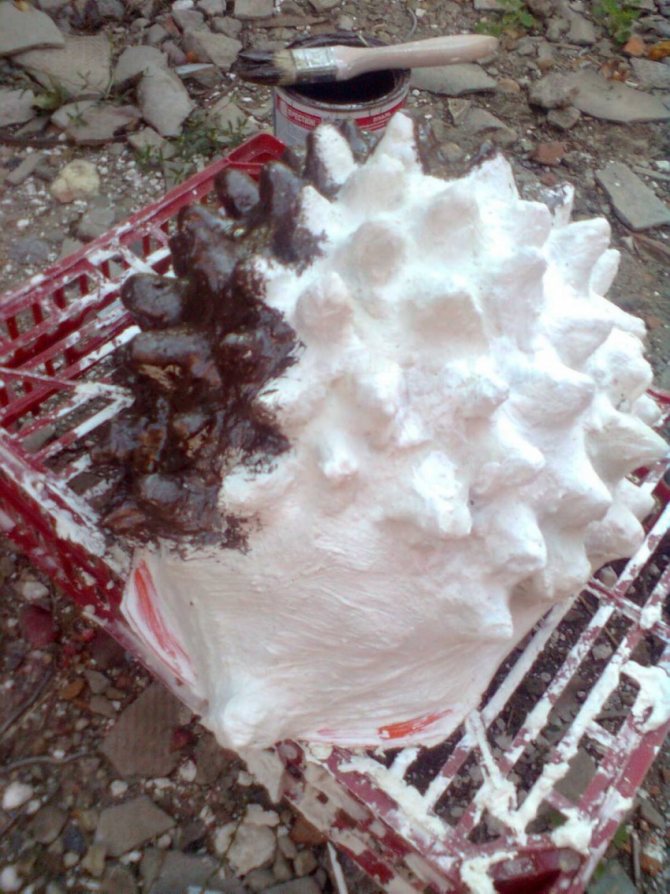
Now the next step is how to dilute plaster. Wear rubber gloves. We will mix cement slurry in a proportion of 1 part sand and 1 part cement, and we will add gypsum only in the portion that we have in our hand.
We take a handful of the solution in our hand and add a spoonful of gypsum to it, remember a little in our hands, roll it up with a sausage and attach it to the frame. We apply portion by portion, making the necessary bulges, smooth the surface.
Step 3
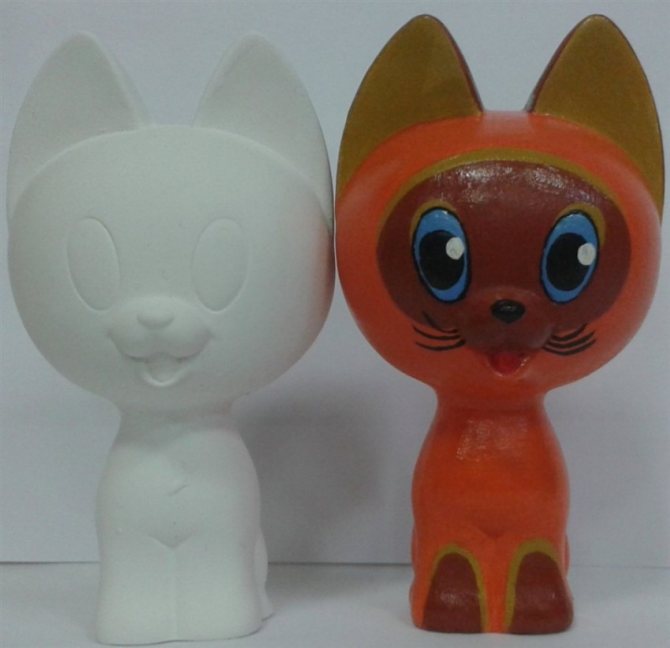
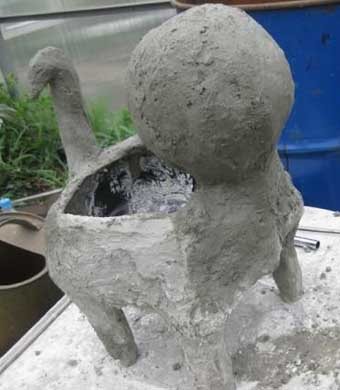
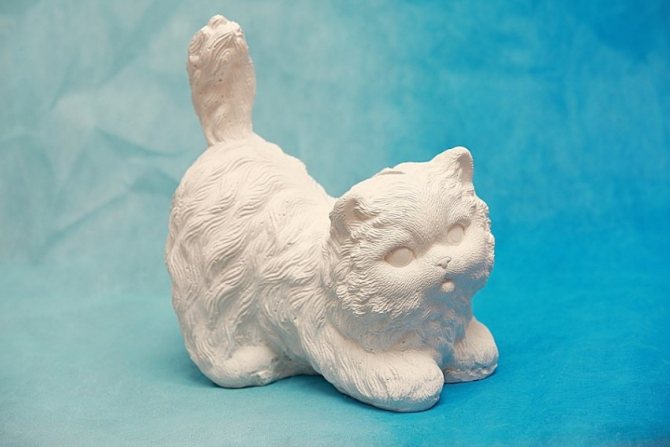
We sculpt the cat's face. This is where your imagination comes in. We sculpt small parts separately.
Before gluing them to the main frame, you need to lubricate the surface with water for better adhesion of the solution.
Step 4
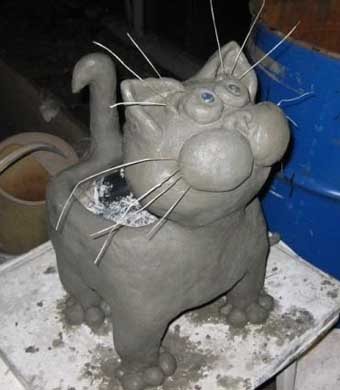
We lower our hand into the water and polish our cat, smoothing out irregularities. Next, cover with cellophane for 4 days so that the figurine dries out. The first day we moisten the surface of the craft with water. After drying, sand the surface with sandpaper.
Step 5
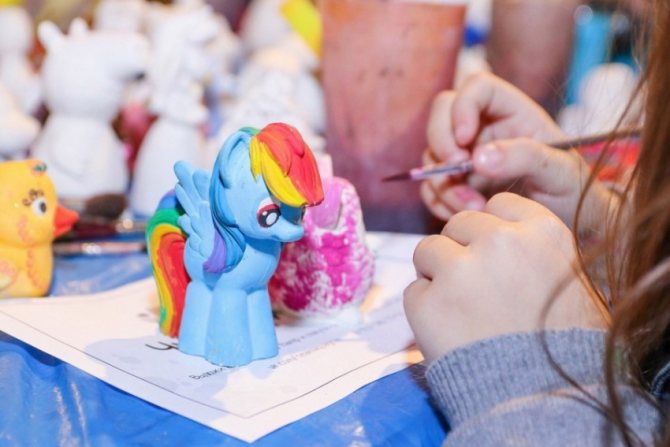
There is very little left. We paint the figurine with prepared materials, and then we cover it with varnish. You can leave the coloring process for children, let them show their imagination, and thereby you will spend time together.
Here we have such a wonderful figurine for giving. Remove the cat from the street every winter, or the cement may crack.
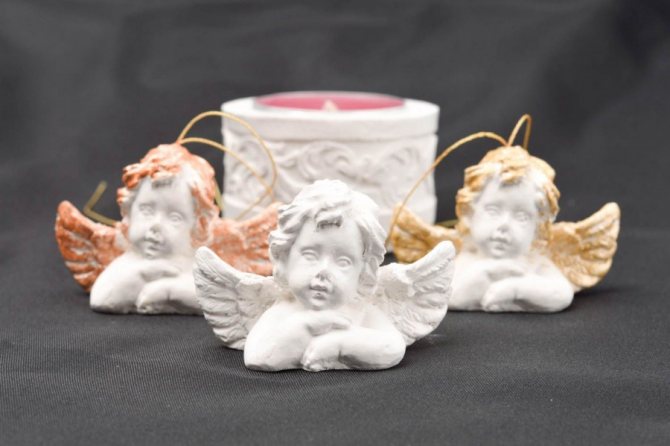
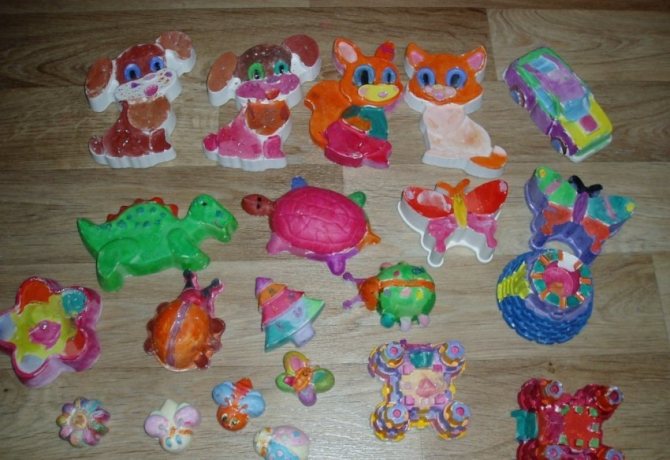
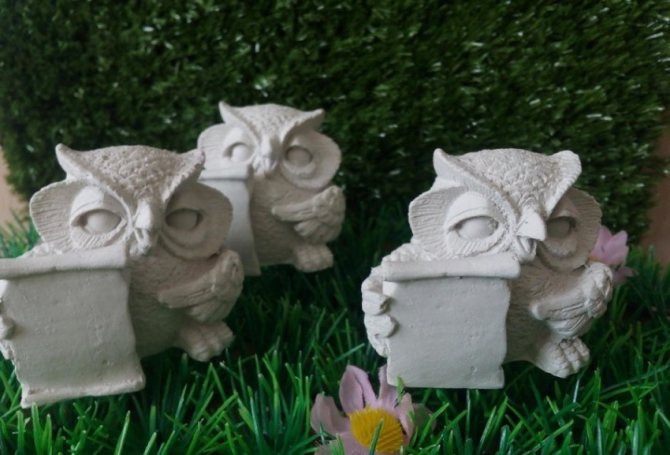
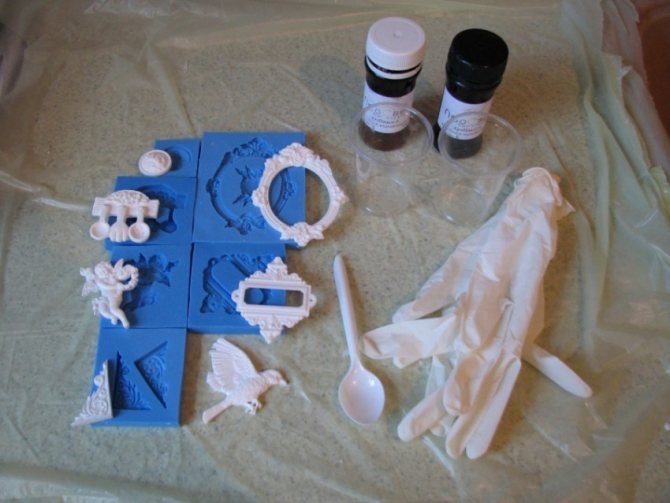
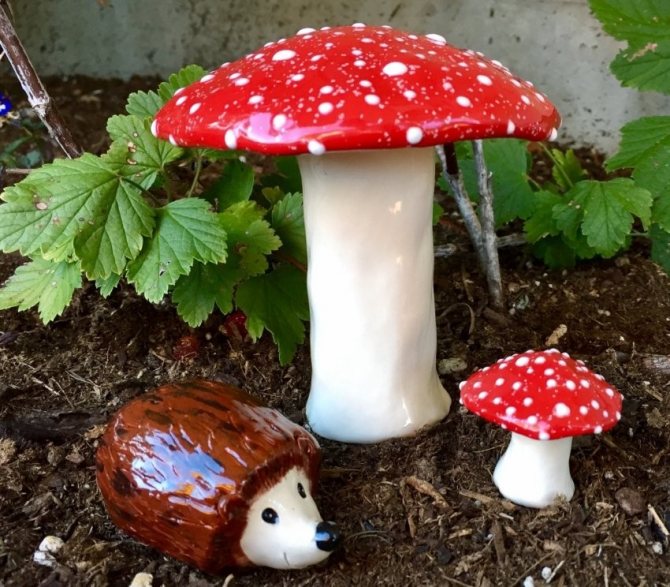
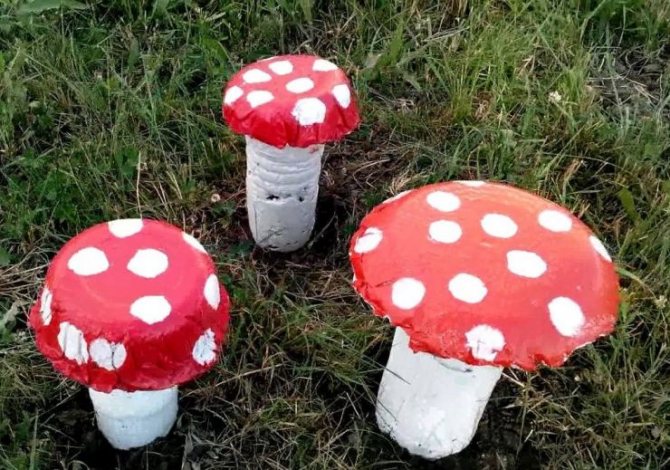
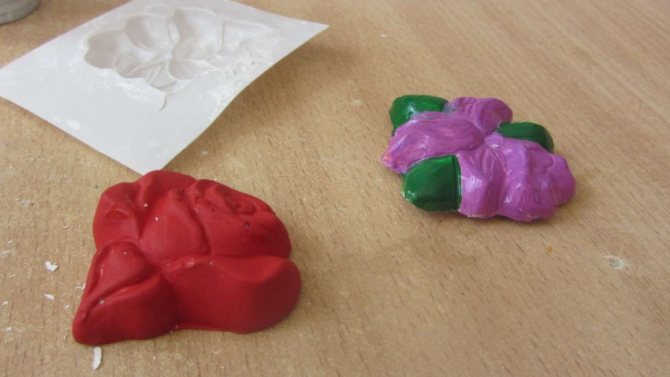
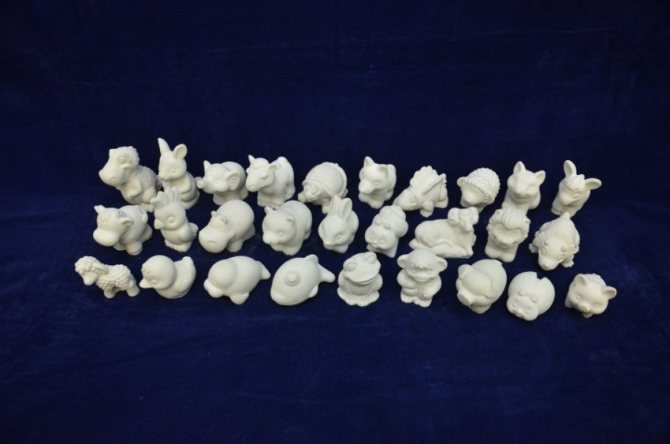
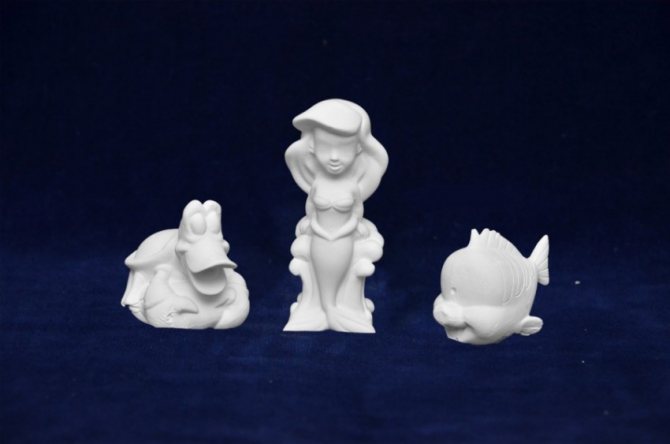
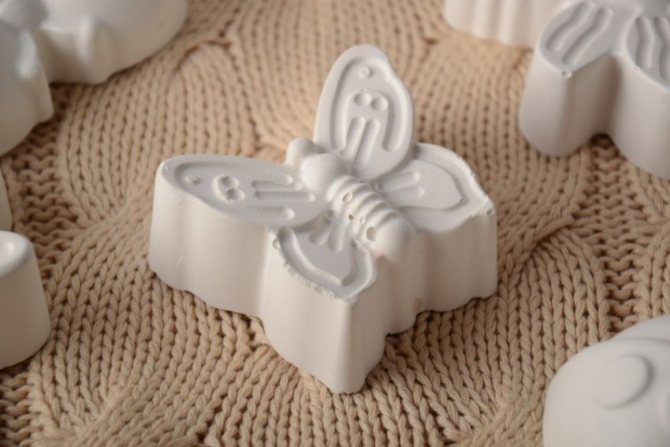
Mushrooms, gnomes, various insects, butterflies and others are also very popular. If the figures are small in size, then you can use silicone molds to make them. Before pouring the solution into the mold, it must be lubricated with silicone so that the finished product can be easily removed from the mold.
Photos of plaster crafts

Read here - Crafts cars - a detailed master class for making various models of cars with your own hands
Did you like the article?
1+
Plasticine: a combination of simplicity and originality
Such a fungus is easy to make. It is enough to roll out a sausage cylinder for the leg from light plasticine and roll a ball of brown or red plasticine under the future hat.
The leg should not be too long - a thickening is needed at the bottom for a stronger attachment. Below you can make grass. To do this, take a green mass, roll it into a sausage, and then flatten it. Using a knife, a fringe is cut out, which is then wrapped around the leg at its base.
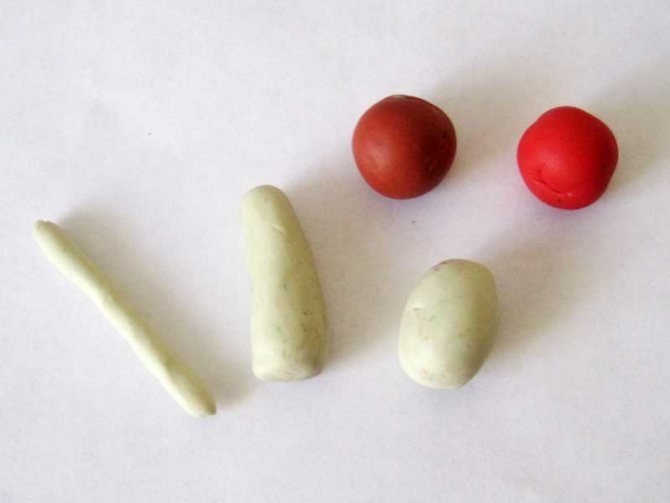
Closer to the hat, you can make a skirt. To do this, a white plasticine sausage is wrapped around the leg, fixed and slightly flattened, as can be seen in the photo of the mushroom.
Applications
Integrated activities in kindergarten. Breaking technique and finger technique in applique.
Educators often offer children integrated crafts. What does integrated mean? Integrated combines the two activities drawing and applique.
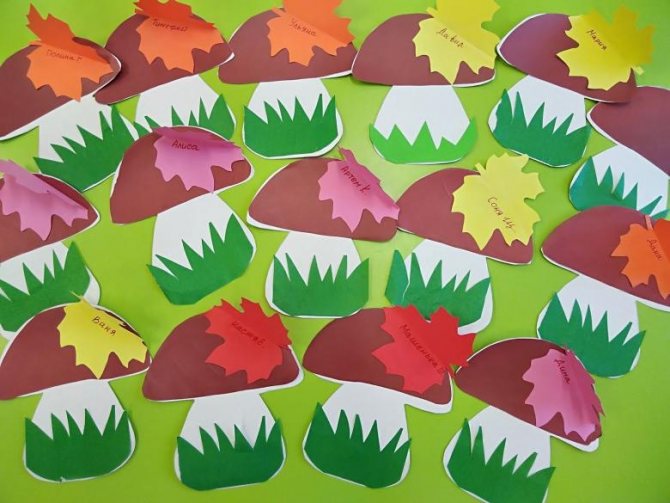
Option 1
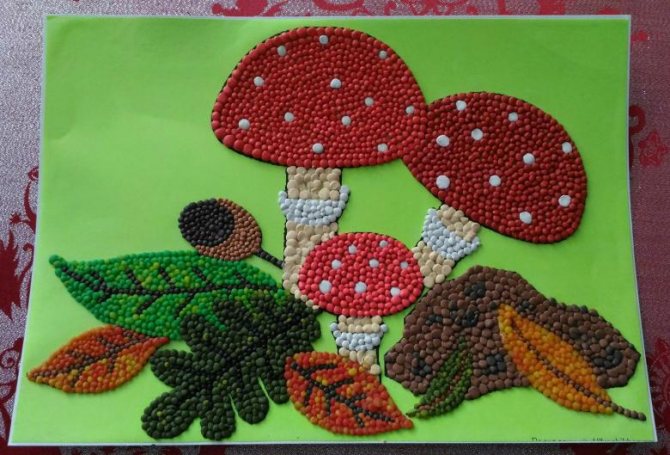
Let's consider in more detail on the next craft a mushroom
We need:
- mushroom preparation from cardboard;
- glue;
- paints.
Glue the prepared mushroom blank on cardboard and paint it with paints.
Option 2
The next type of integrated craft combines the technique of finger painting and the technique of breaking applique.
We need:
- mushroom preparation;
- glue;
- strips of colored paper;
- paints.
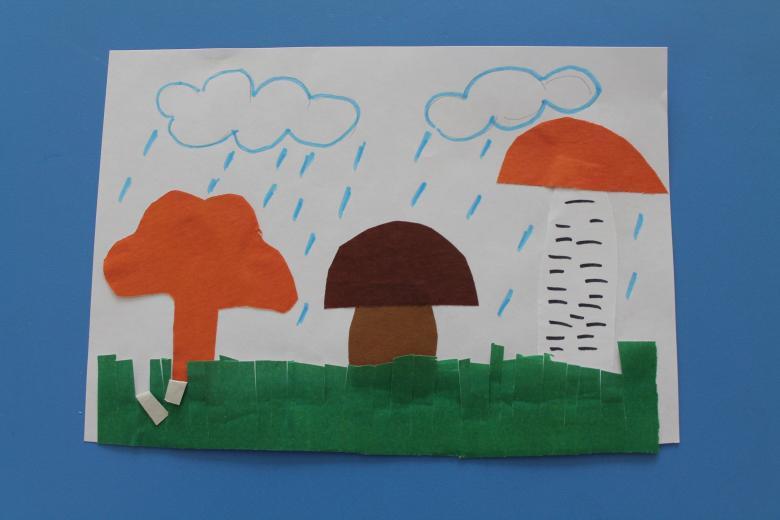
The mushroom blank in this craft will be drawn on cardboard. The tasks for children are as follows: draw a hat with fingerprints, and do the rest using the cut-off applique technique. For this technique, cut the colored paper in advance and put it on the blank smeared with glue.
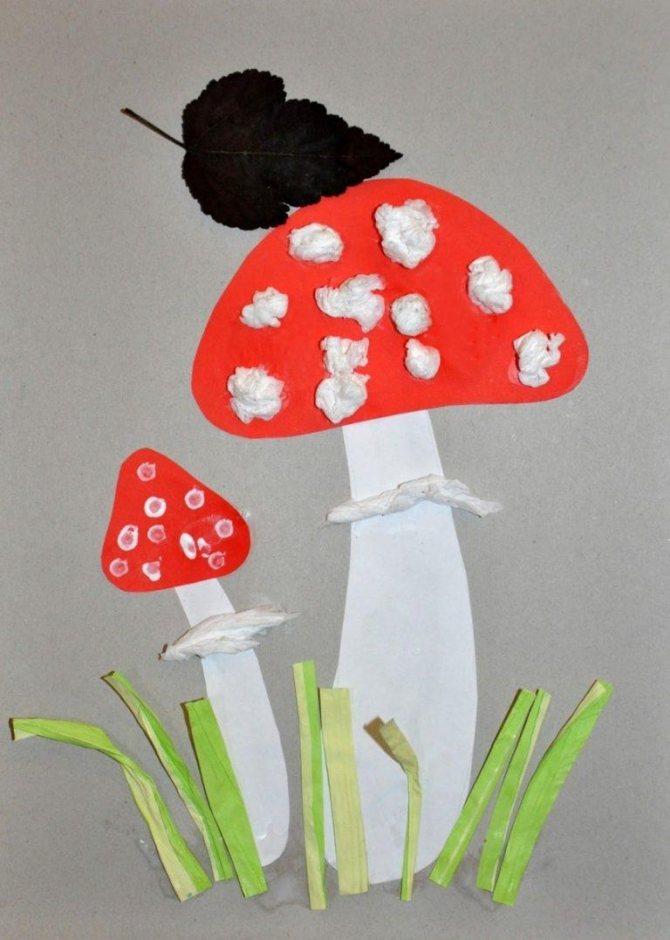
The parts that are done in the break-off technique can vary with the paints. You can use different materials, for example, napkins with pictures or junk material, cupcake shapes, which will add originality.
You can prepare the background for the mushroom yourself. For example: dip a sponge in paint and apply it to a white sheet of paper.
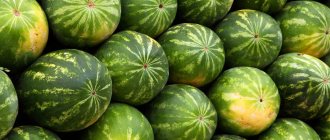
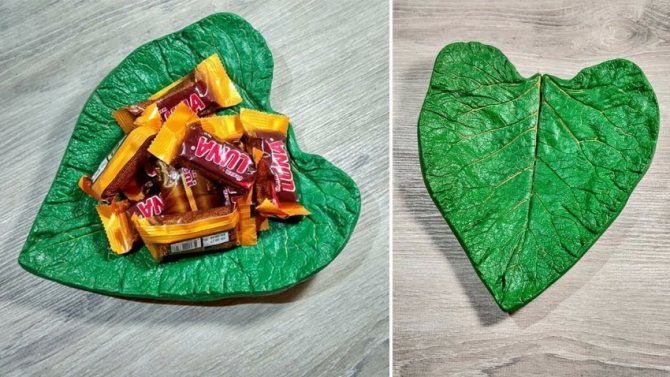
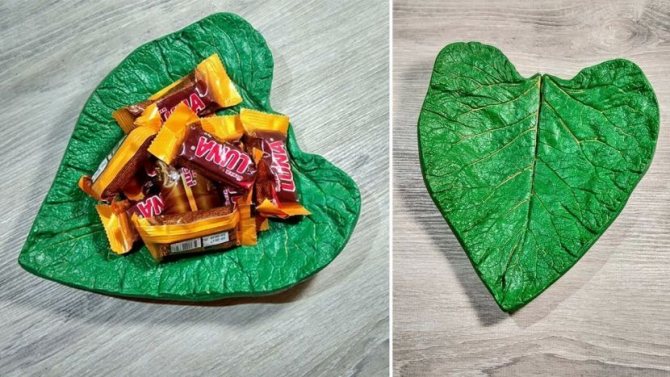
Interesting plate
Want to surprise your guests? Serve fruit on a leaf-shaped plate.
To make such a craft you will need:
- a large leaf of any plant;
- gypsum mixture;
- acrylic paint;
- sand;
- substrate.
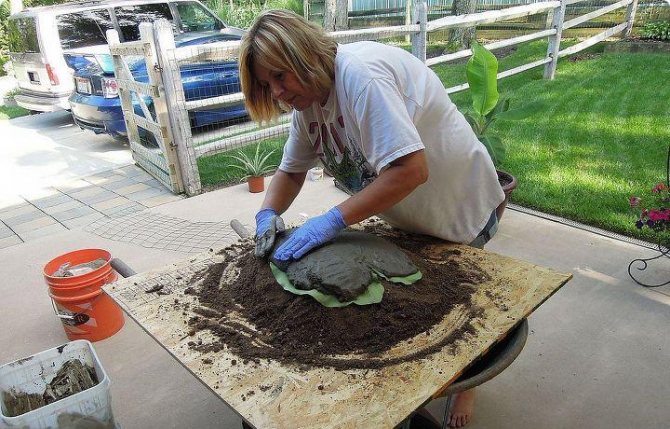
Instructions:
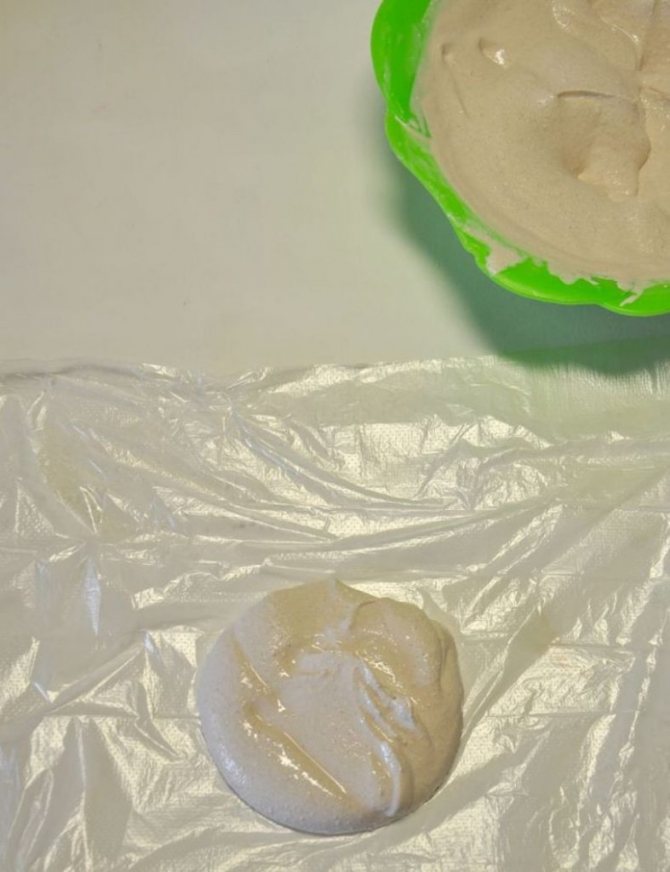
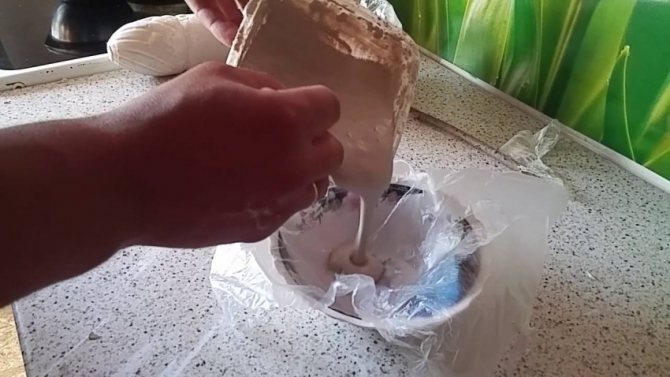
- The work surface is covered with oilcloth or polyethylene. This is done in order not to waste time on cleaning in the future.
- A pile of sand is poured, the depth of the future plate depends on how high it is.
- A substrate is laid on top of the slide, and a sheet is placed on it with the top side down.
- Gypsum solution is mixed with paint of the desired color and covered with a sheet. The upper part will be the bottom of the plate, so it must be leveled as much as possible for the stability of the product.
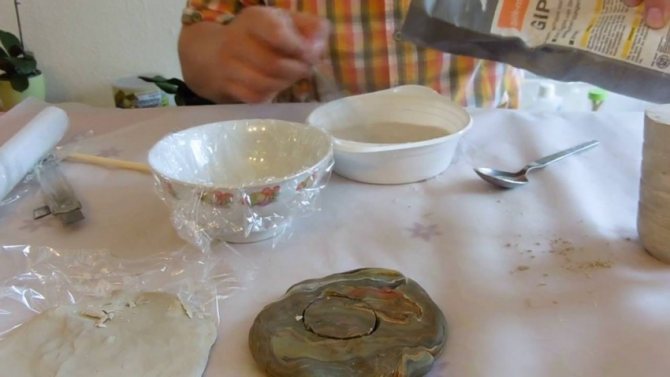
- To print a leaf pattern on the dishes, the gypsum is pressed tightly against the plant.
- Cover the plate with gauze and leave to dry overnight.
- The finished form is turned over and the leaf of the plant is removed with a soft brush. If desired, the product can be coated with several layers of varnish.