Category: Garden plants
Any plant develops and bears fruit better in fertilized soil. Compost is one of the most affordable and widespread fertilizers for the vegetable garden and garden. In our article, we will tell you about what ingredients can be used to compost compost, how to prepare compost at home or in the garden, what crops this fertilizer is used for, whether it is worth buying ready-made compost and which of the proposed compositions to prefer.
What is compost
Compost (Latin Compositus - compound) Is a fertilizer that is formed during the decomposition of organic substances under the influence of microorganisms. Composting is a natural method for the disposal and recycling of organic waste, which improves the structure of the soil and saturates poor or depleted soil with nutrients necessary for plants. But you should not confuse garden compost with those potting mixes that are sold under this name in garden centers and pavilions. If you compost yourself, this best of all organic fertilizers will cost you free. There are many composting recipes, and we will introduce you to some of them.
What can and cannot be put in compost?
Can:
- raw cereals, fruits, vegetables and their peels and trimmings;
- sunflower stalks, corn stalks, vegetable and melon tops, dry leaves, hay cut;
- sleeping tea and coffee grounds;
- leftover food;
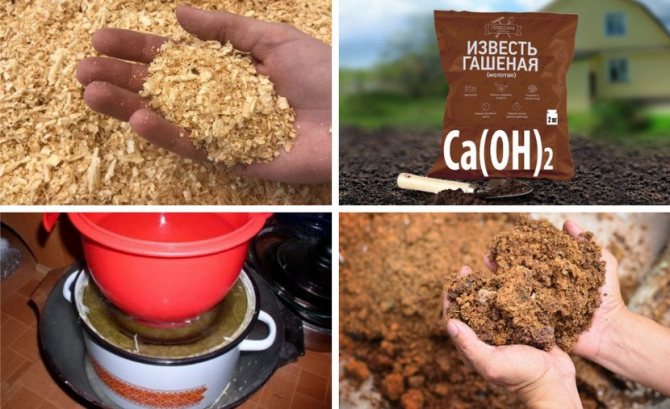
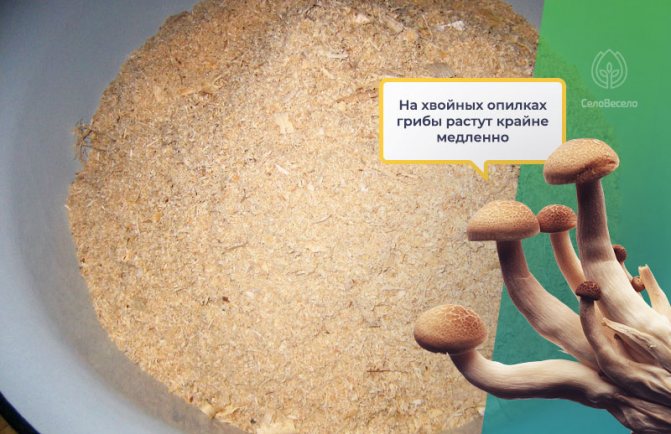
- thin branches and shoots, untreated and unpainted wood, including sawdust and chips;
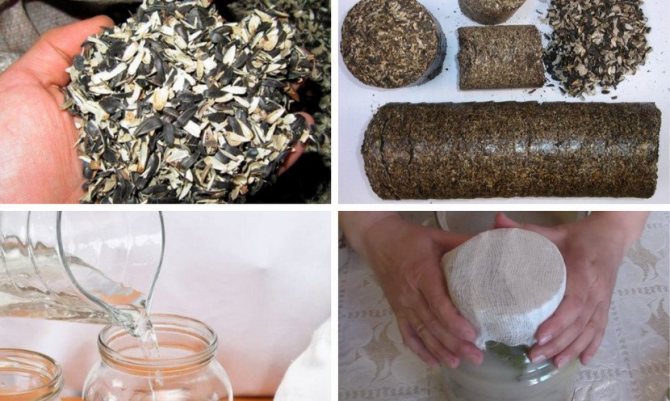
- straw, hulls from seeds, nutshells;
- bird droppings and fresh herbivore manure;
- paper - napkins, packing cardboard, xerox paper and shredded newspapers;
- peat;
- shredded natural fabrics - flax, cotton, wool, silk, hemp and linen bonfire;
- down and feathers of birds, animal hair.
You can't:
- Phosphate fertilizers
- large and hard meat bones;
- ash from a stove or fireplace;
- synthetic materials and fabrics;
- peel from citrus plants;
- perennial rhizome weeds, especially in flowering or seeded form;
- plant residues affected by diseases or treated with herbicides;
- insect pests and their larvae.
Experts still have no consensus about whether it is possible to add human and carnivorous faeces to compost, as well as whether it is possible to add milk, fat, meat and fish residues to the compost.
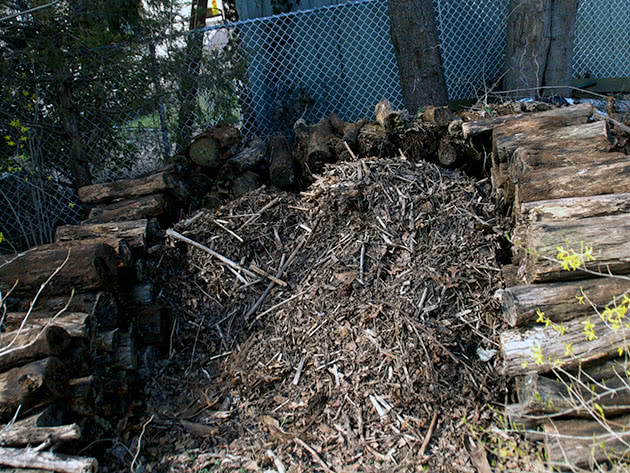
The process of converting grass, food and household waste into organic fertilizer is conventionally divided into three parts:
- decomposition: at this stage, the waste heats up inside the heap, changes its structure and is enriched with useful substances. As a result of the transformation, beneficial microorganisms, fungi, and earthworms appear in the compost, which accelerate the processing of the mass into fertilizer.
- humus formation: at this stage, it is important to ensure aeration of the pile, since without oxygen, microorganisms that organize and carry out the process of compost maturation can die. To provide air access, the mass is mixed with a pitchfork or a shovel;
- mineralization: at the stage of mineralization, decomposition of nitrogenous compounds occurs, and humus passes into mineral forms.The process reaches its maximum value after a year of compost aging.
Why is compost good for you?
Firstly, it is one of the best mineral fertilizers, filling the soil with a huge amount of important microelements.
Secondly, it is the cheapest means for structuring the soil, which is carried out by increasing moisture conservation.
Thirdly, compost is convenient to use as a mulch that slows down the evaporation of moisture from the soil and suppresses the growth of weeds.
Fourth, you no longer have to remove from the site or burn organic waste, since it can be laid in a compost pit and turned into an excellent fertilizer.
The correct composition of the substrate for growing mushrooms
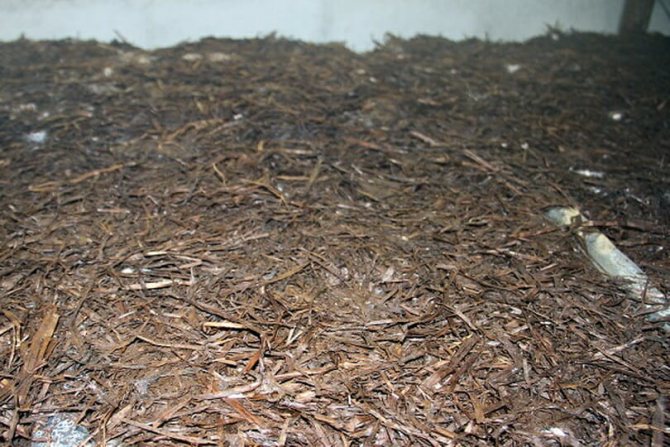
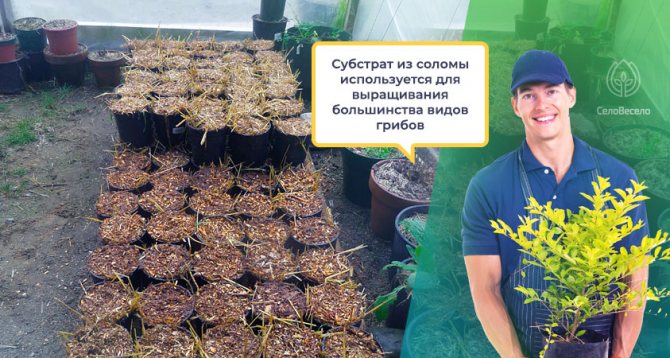
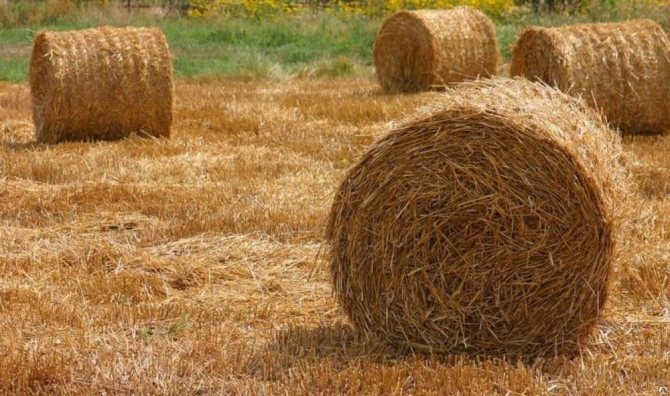
The compost for mushrooms is made on the basis of mown hay (straw). Some gardeners prepare it from fallen leaves, vegetable waste from the garden. The main thing is that the raw materials are not rotten and infected with infections. Later, the used substrate becomes an excellent fertilizer for vegetable beds. The composition must include:
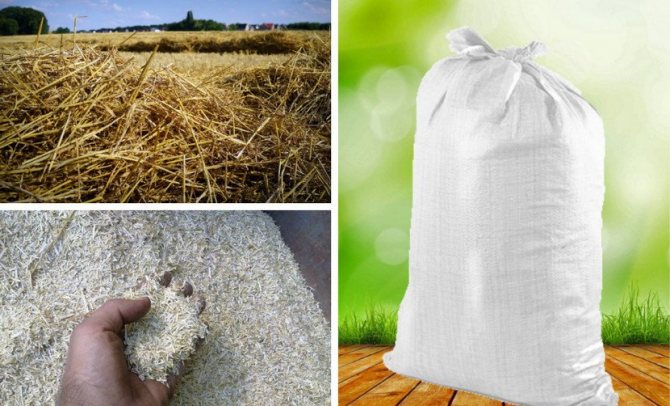
- straw, dry foliage or grass (these will provide carbon nourishment);
- sources of organic nitrogen (fresh unstable manure or chicken droppings);
- mineral supplements (urea, chalk, bone meal, gypsum);
- bio-activators that promote the fastest preparation of the substrate.
In addition to the composition, experienced gardeners pay special attention to composting. At its core, it is a complex fermentation process for microorganisms. The substrate needs a certain time to be ready for planting the mycelium, so this issue needs to be addressed in advance.
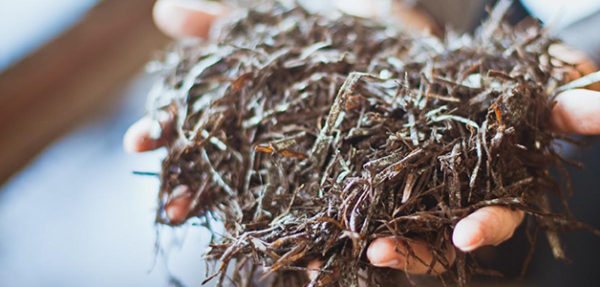

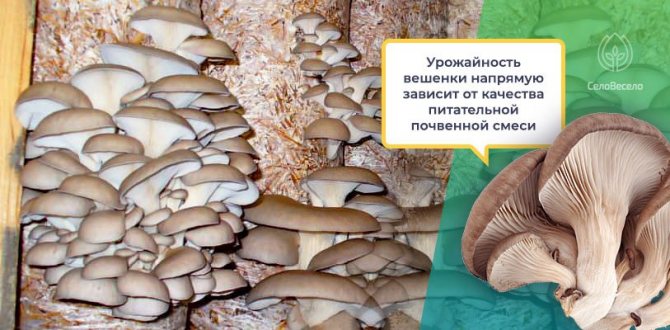
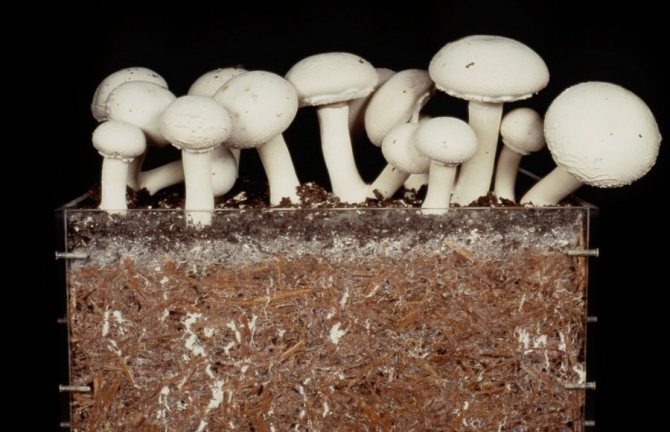
The correct substrate for mushrooms must have all the essential vitamins and minerals
How to make DIY compost
How to make compost in the country
There are two ways to prepare compost - fast and slow, otherwise known as cold and hot. But first, let's decide on the compost container and the location of this container in the garden. It is best to build a box from wooden planks or any boards that have not come into contact with toxic materials - stain, varnish, paint and the like. If you want the box to serve you for years, make it out of pine planks - it won't cost you much. Knock off the four walls, respecting the gaps between the collecting strips - these slots will serve to aerate the compost.
It is better to place the box (pile) on an elevation so that it does not wash away with water, and away from the garden, otherwise the roots of all plants will change direction and stretch towards the pile with compost. Choose a location, level the surface, dig in four supports and nail three walls to them. It is better to make the fourth wall removable or opening, so that it is convenient for you to stir up the compost or take it out for mulching the beds. It is better to concrete the bottom of the box, or you can cover it with thick plastic wrap or old linoleum.
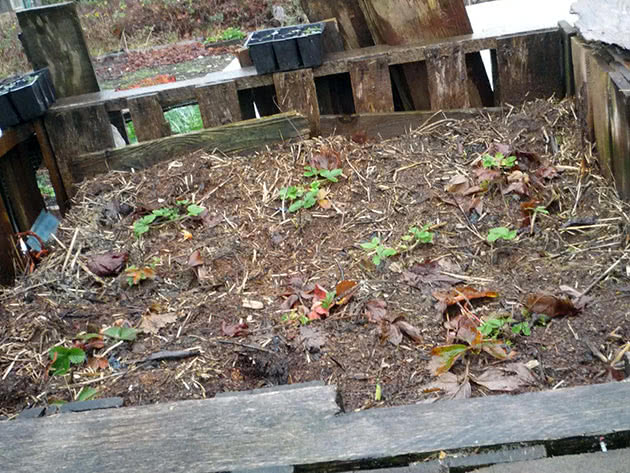

If you don't feel like bothering about hammering boards together, you can purchase a ready-made plastic or metal composter from the store - a compost container with a lid, the main purpose of which is to prevent the compost from crumbling. The advantage of such containers is that it is possible to add protein waste to them - meat, fish, milk, since they are tightly closed with a lid, and rodents do not penetrate into them. In addition, they retain heat well and can be moved around. And the disadvantage of industrial composters is that they do not receive air. If you are not constrained in funds, buy a local station for the processing of organic matter, which independently maintains the process temperature and is equipped with a control system. In the end, you can make a cylinder of the required height and width from a chain-link mesh and put waste for composting into it, but it will be inconvenient to get the compost out of such a container and dig up the mass in it.
When can you compost? There is no strict framework in this matter: you can start laying layers in the spring, after pruning trees and shrubs, and replenish the layers as organic material arrives. In autumn, fallen leaves, tops of vegetables and melons can be laid in the compost heap. Advances in modern science even make it possible to produce compost in winter. But first things first.
How to compost? At the bottom of the composter or pile, place chips or branches that will serve as drainage material, and then start filling the composter layer by layer, and the more types of organic matter you put in the compost, the higher its quality will be. Composting involves alternating dry waste with wet and green with brown (nitrogenous with carbonaceous). In the so-called green layer, waste is laid, which is a source of nitrogen - trimming and cleaning of vegetables, small twigs, green tops, and in the brown layer - torn newspapers and other paper containing carbon, fallen leaves and dry twigs. You can enrich the composition of the compost with plants that contribute to the rapid formation of humus - yarrow, dandelion, chamomile, valerian. To accelerate fermentation, the compost heap is watered with a solution of mullein or bird droppings. The consistency of the mass should resemble a damp sponge, but moderation should be observed in moistening the compost, since the "flooded" microorganisms will not be able to generate heat that promotes decay.
To maintain the temperature and environment necessary for the process, a homemade composter should be covered with an oilcloth, an old carpet, linoleum, or a lid knocked together from tightly-fitting boards. Once or twice a month, the layers of compost should be turned over with a pitchfork to loosen the mass, achieve uniform moisture and stimulate processes that die out due to lack of ventilation. In hot weather, the compost is poured with water from time to time to maintain the necessary moisture.
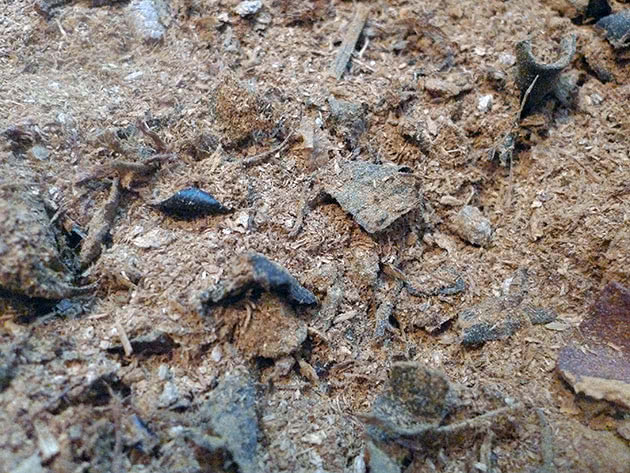

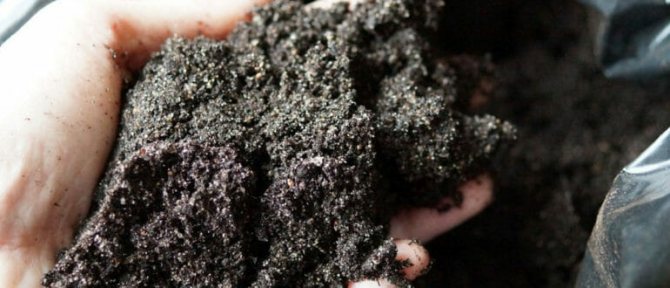
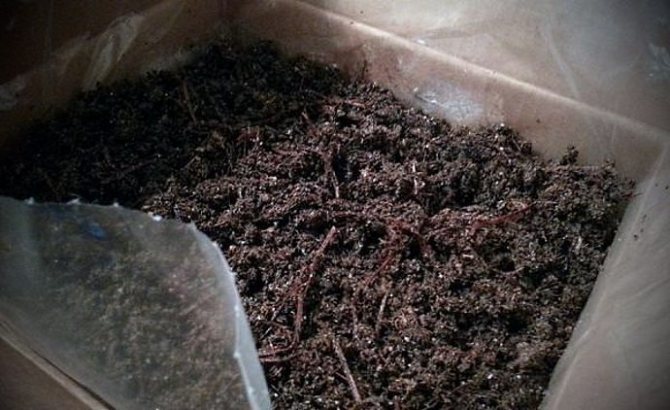
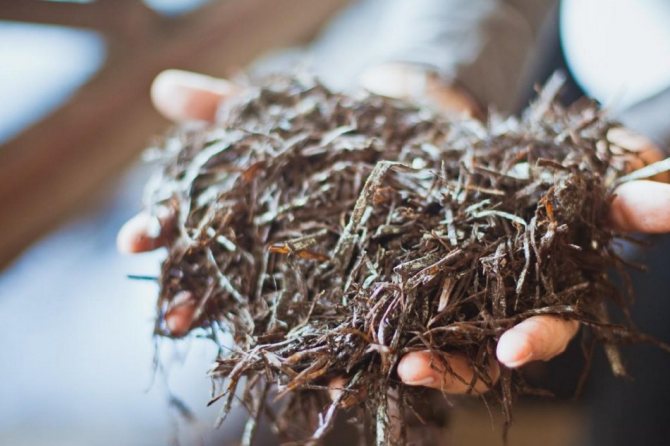
Well, you put compost in the box, now you need to wait for it to rot. The finished compost looks like a dark, moist, crumbly mass that smells like forest soil.
- Phosphate fertilizers
Compost production requires compliance with some rules:
- compost shouldn't smell bad. If the smell of ammonia appears, it means that the processes are proceeding incorrectly, and the mass can turn into poison. In this case, add torn paper to the compost to neutralize the predominance of nitrogen components in it. So that the ammonia formed during fermentation does not leave the pile in the form of a fetid gas, but is processed into nitrogen, the following procedure for filling the container should be observed: each layer of waste should be no more than 50 cm thick, and layers of organic matter are interspersed with layers of soil or manure 5-10 cm thick;
- everything that you put in the compost heap should be pre-crushed, and the greens should be slightly dried so that they are not sour in the compost, but melt;
- before the onset of winter, you need to shovel the entire pile so that the lower layer is at the top, and the upper one is at the bottom;
- the height of the heap should not be more than 1.5 m, and the width should not be less than 1 m, otherwise it will be difficult for you to shovel the mass. The height of the heap is measured a couple of months after the compost is set, as it settles considerably during this time.
Fast compost
Many gardeners prefer to make quick compost: on an elevated site, they dig a shallow (no more than 40 cm), but wide hole, which is filled with broken branches and chopped wood, and thrown with earth on top. In a year or two, you will have an excellent fertilizer for the garden and vegetable garden.
The fastest compost is obtained from leaves: in the fall, fallen leaves are laid in a shallow hole, layered with garden soil, watered with biostimulants (EM preparations - Baikal-M1, Humisol, Tamir, Urgasa or the like) and covered with a black film, and in mid-May this the compost can already be partially used for its intended purpose. To speed up the process, you can put "leaven" from the already rotted compost into the young compost.You can speed up the composting process by such means as a solution of sugar and yeast, which should be abundantly watered with plant residues placed in the composter, or nettle infusion: ¾ poured nettle buckets with warm water, add a bag of dry yeast and put in a warm place for 5 days the infusion is filtered and poured over the compost.
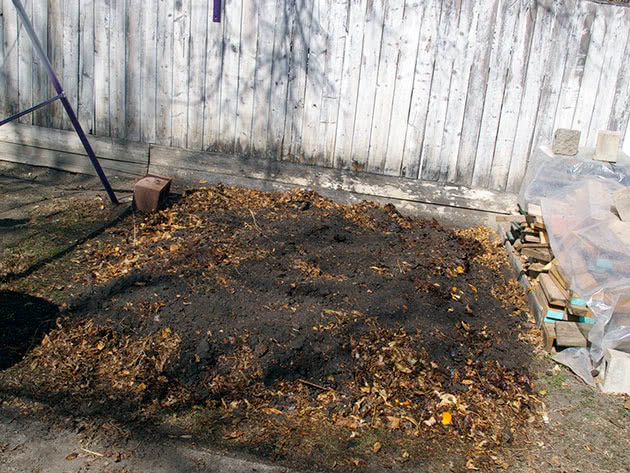

Compost at home
You can make compost at home in the winter.
Do-it-yourself compost at home is easy to make. To do this, you will need:
- plastic bucket;
- garbage bag;
- several plastic half-liter bottles;
- a bottle of EM liquid that speeds up the composting process;
- spray;
- a plastic sugar bag;
- a package of garden soil or purchased soil.
Make cylinders of the same height out of plastic bottles, cutting off the bottom and neck, and place them on the bottom of the bucket. Place a garbage bag with a few small holes in the bottom of the bin to drain excess liquid and start filling it with chopped plant residues, spraying each 3 cm layer from a spray bottle with an accelerator solution prepared according to the instructions. After moistening the residues, squeeze air out of the bag, tie it tightly and press down with a weight - for example, a five-liter plastic bottle with water. Drain the compost water from the bucket about once every three days - this liquid can be poured down the drain overnight to unclog sewers and sinks. And if you dilute this liquid with water in a ratio of 1:10, you can water indoor plants with it.
As the bag is filled with organic residues, spray each layer with a fermentation stimulator, release air from the bag and set pressure on it - do this until the bag is placed in the bucket. Once the bucket is full, place it along with the compost in the heat for fermentation for a week, then mix the compost with a little garden or garden soil, transfer it to a sugar bag and take it out to the balcony or loggia, where it will now be stored.
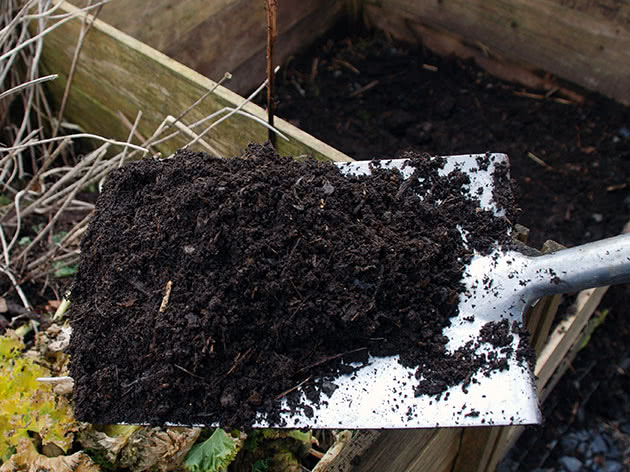

Place a new waste bag with water drain holes in the empty bucket and start the process of collecting and composting all over again. If you do everything correctly, you will not hear an unpleasant smell. A sour odor can occur simultaneously with the appearance of white mold on the surface of the compost - this is a sign that the process is not proceeding correctly. To fix the situation, add finely chopped newspapers or other paper to the bucket. Place the second portion of the matured compost in the bag containing the first batch of fertilizer. Ready-made homemade compost can be poured into pots of indoor plants, added to the seedling substrate or taken to the country and used as fertilizer or mulch.
Cooking time
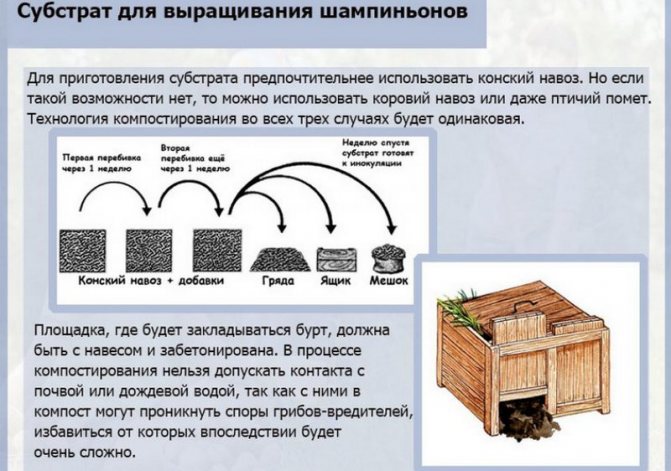
The compost mixing technology is distributed at intervals:
- on the 1st day, the raw materials are put on the site,
- on the 7th day, the compost heap is interrupted and a plaster mixture is added,
- on the 14th and 20th days, the substrate is interrupted, watering abundantly,
- on the 25th day, the ready-made compost mixture is again interrupted, preparing for use.
For high-quality rotting of straw, foliage and grass, the ingredients are pre-crushed in a feed grinder.
On hot days, the fermentation process takes place at an accelerated pace. Such biological products as "Baikal", "Shining" and "Vozrozhdenie" can reduce the decay time of unmilled raw materials. Among the folk remedies that accelerate fermentation processes, yeast and whey are noted.
Compost for mushrooms
Compost in bags
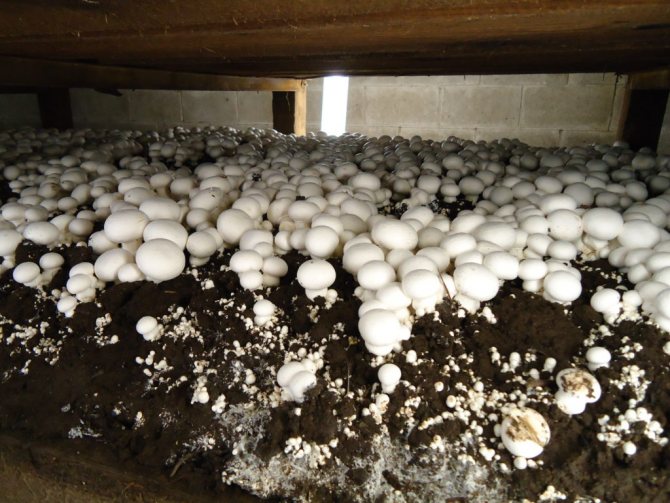
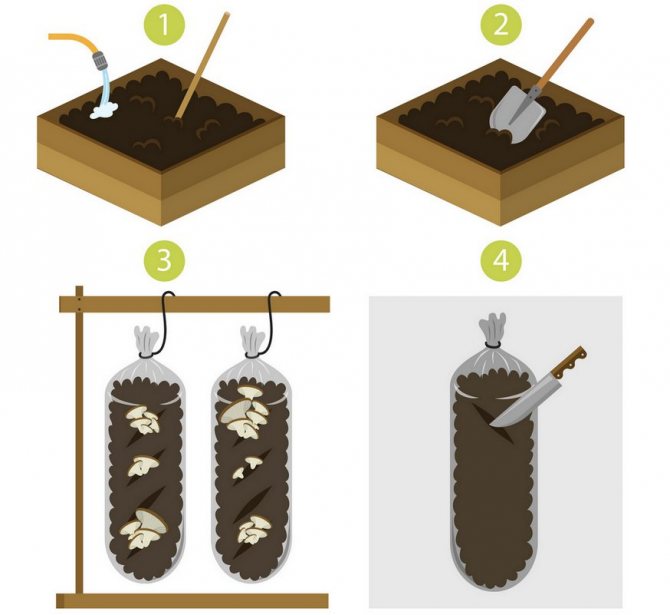
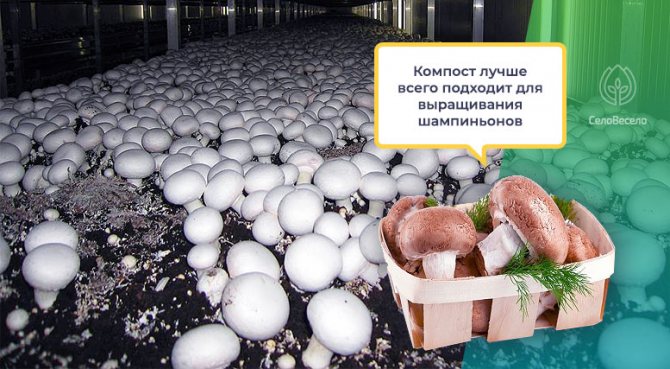
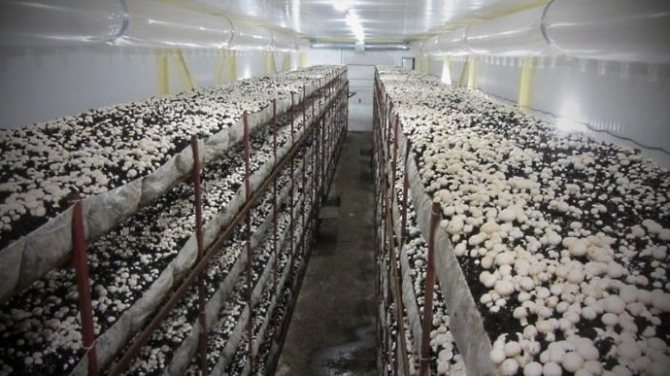
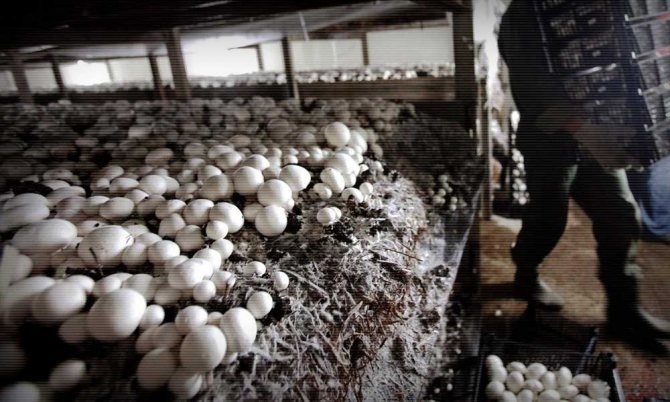
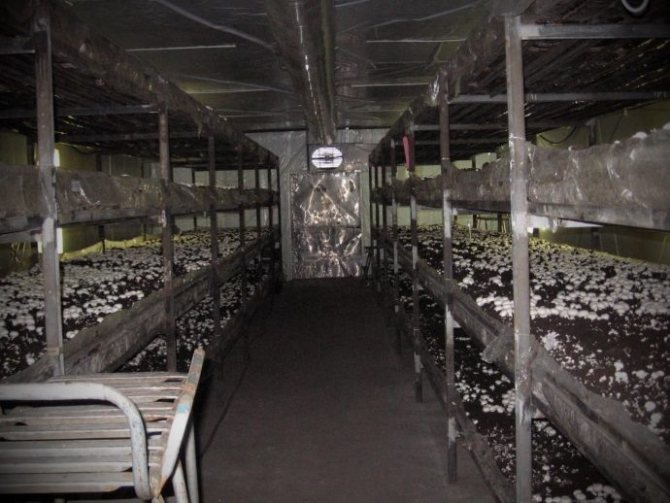
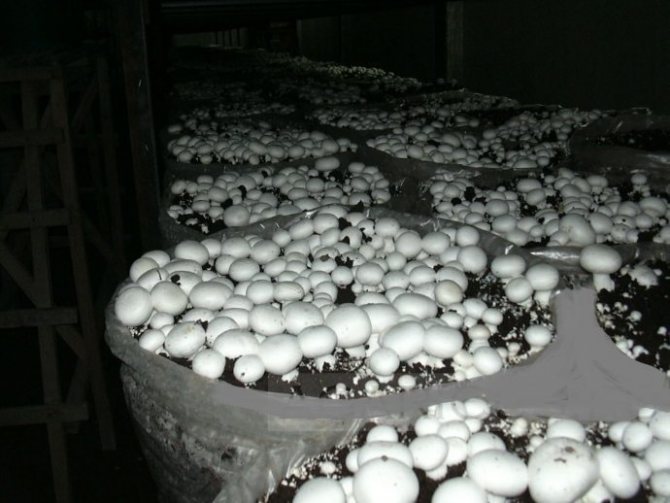
Growing champignons is now a very profitable business, and many are adapting to growing these mushrooms in their basements - this method is called intensive, as opposed to extensive, when mushrooms are cultivated in natural conditions. Mushrooms are grown in different ways, but the most effective is the method of growing in bags: it does not require high financial costs, and mushrooms diseased in one bag do not infect mushrooms in neighboring bags. The only drawback of this method can be considered only that the filling of the substrate in the bags requires significant physical effort. The compost in bags is placed on the floor in parallel or staggered, and the staggered arrangement saves production space.
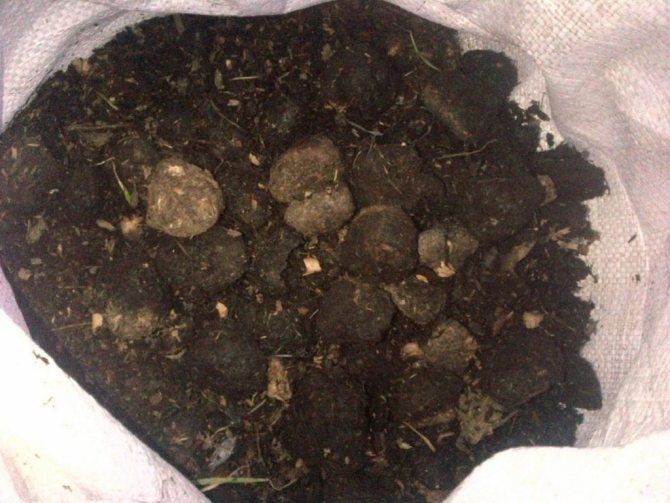
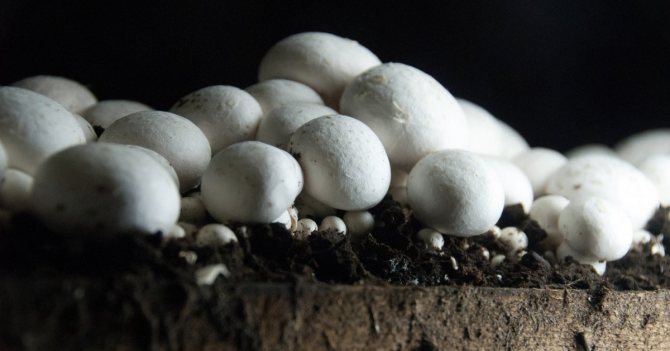
A high yield of mushrooms can be obtained only on a nutrient medium, and this requires a compost-based substrate. Compost for growing mushrooms, like garden fertilizer, can be prepared by yourself. For 100 kg of wheat or rye straw, you will need 100 kg of horse manure, 8 kg of gypsum, 5 kg of chalk, 2 kg of superphosphate and urea. The straw is cut to a length of 15-20 cm, poured with water for 2-3 days so that it does not get wet, but moistens, then they put three or four layers of straw in a pile or box in a queue with layers of manure, adding compost fertilizer - all the urea and part of the superphosphate (500 g). Then the mass is thoroughly mixed, gypsum is added, then the remainder of superphosphate, then chalk, and after adding each ingredient, the compost is thoroughly mixed each time - only 4 times. The output is 300 kg of substrate - this amount should be enough for laying 3 m² of mycelium.
If you use not horse, but bird droppings, then the proportions will be different: for 100 kg of droppings and 100 kg of straw, 300 liters of water, 8 kg of gypsum are required, and instead of superphosphate and chalk, alabaster is used.
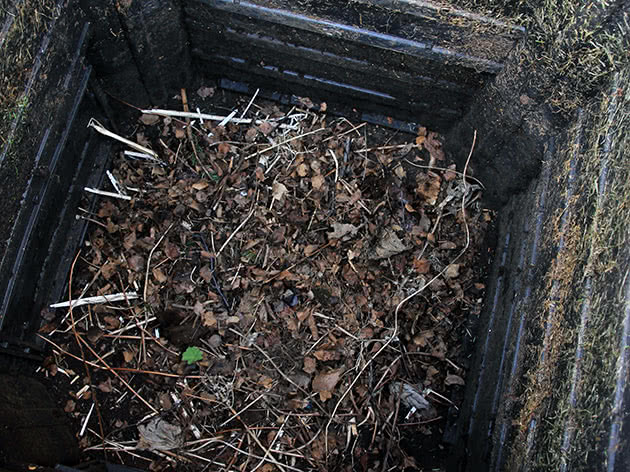

The compost for mushrooms should mature in the open air in a place protected from the sun and rain for three weeks - during this time the components "burn out", the ammonia completely evaporates, and the compost can be used: about 15 kg of compost mass are placed in special perforated bags and mycelium is planted in it.
Compost in boxes
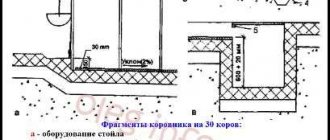
The box mushroom growing system was developed in the United States in 1934 and is still popular today in the United States, Canada and Australia. Growing mushrooms in boxes, as well as in bags, allows you to localize the defeat of fungi by diseases and pests and provides an opportunity to keep mushrooms at different stages of development in different rooms.
The boxes are made from spruce, birch or alder boards. The volume of the boxes can be from 0.4 to 2 m², and the optimal depth of the containers is 12-15 cm. Before use, they are disinfected with a 4% formalin solution or a 2% lysol solution. As for the substrate, the method of its preparation is the same as for growing mushrooms in bags.
- Phosphate fertilizers

