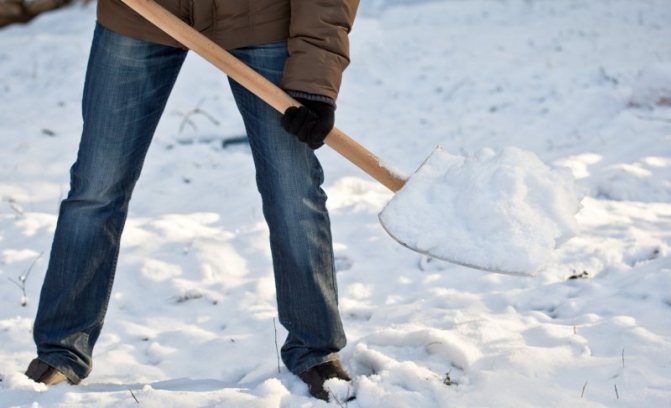
Snow in our country is not uncommon, especially somewhere in the Siberian outback, where there are often snowdrifts higher than cars. Naturally, the question becomes how to remove this snow, provided for this by the state. services do not work as always (but this is not certain).
Many people have a question to remove the snow themselves, with the help of a shovel, some want to get down to business more creatively, wondering how to make a shovel for snow removal with their own hands? Strong, massive, under your own hands.
Necessary requirements for the manufacture of tools
Such tools require special attention during the manufacture. Typically, shovels are made from durable wood, metal, and plastic.
The size of the planned shovel is not at all important, it is important that all the nuances in its manufacture are taken into account, namely:
- The bucket plays the most important role, so it must be made from high quality and durable material.
- The size and length of the handle should depend directly on the depth of the bucket and its features.
- Pay attention to the rubber handle, because when performing field or construction work, you will be extremely uncomfortable without it.
Read here - How to make skis: detailed instructions on how and from what to build high-quality homemade skis (90 photos)
Original models for snow removal
The simplest snow plow design is a stick with a grabber. But progress has gone far ahead. Today you can make something more interesting. For example:
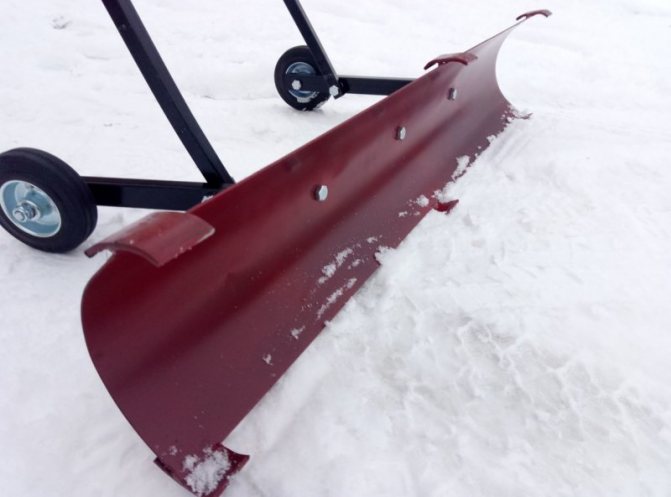
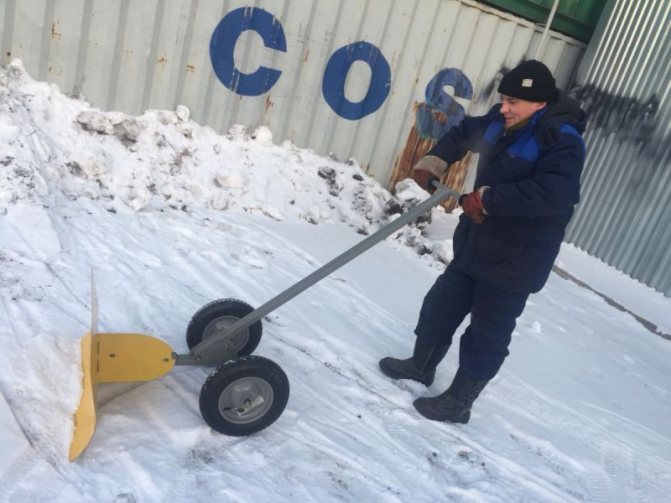
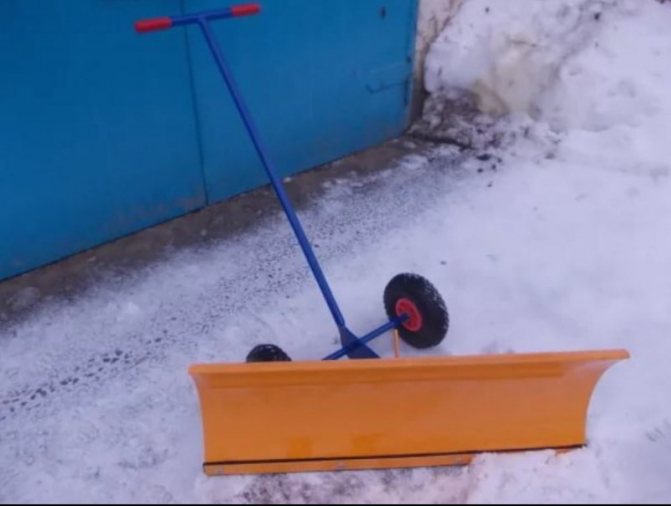
- dump or rollback. This is a paddle on wheels. Two or four wheels are attached to any shovel (wooden, metal or plastic) from below. The number depends on the size of the bucket: the larger it is, the more wheels are needed. The owner of such a tool will not need to lift the snow masses above or in front of him. The snow can be rolled to the disposal site, which requires much less effort than when carrying it. This model is ideal for the elderly and those with back problems;
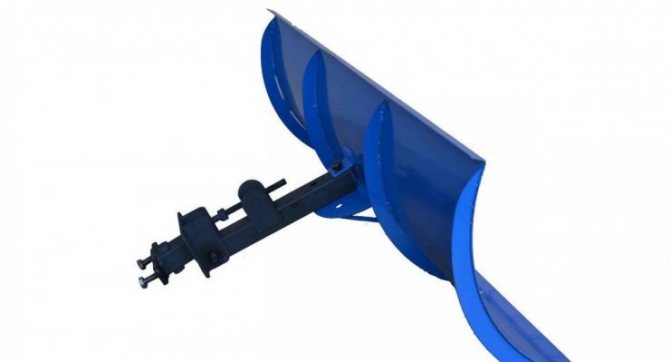
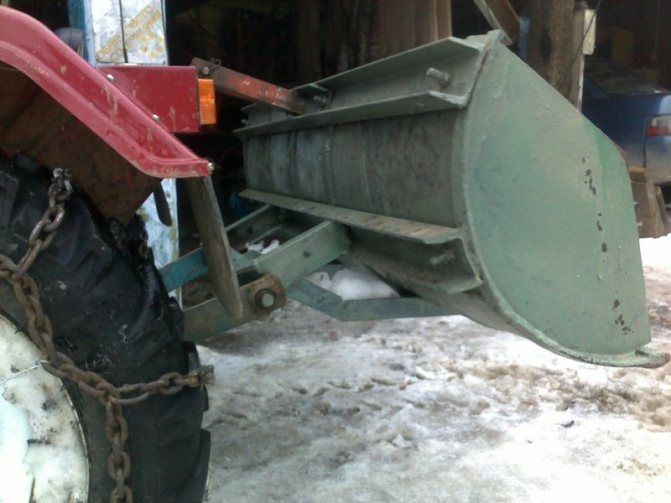
- model with auger. An auger is a screw-like device. It is attached to the front of the bucket. Helps to shovel snow if the mass is too dense or there are admixtures of sand, mud. This system is very practical to use. It can be used in summer (for raking up sand) and in winter without changing the construction details. The auger is sold in every hardware store. It costs from 200 to 400 rubles (depending on the length and width). The wider the model, the more snow it will collect;
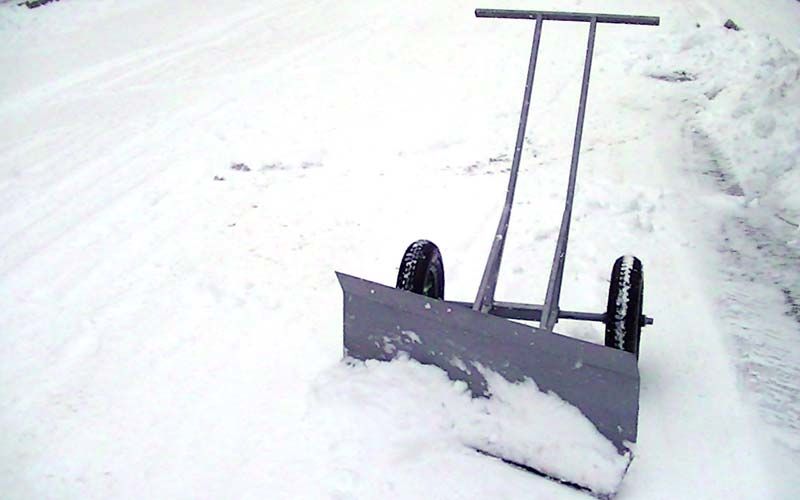
Rollback is a snow shovel with wheels. With its help, it is easy to divert the snow masses to the side.
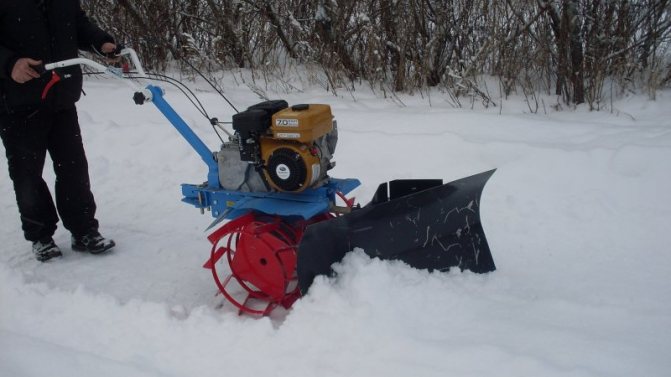
- blade with motor. Of course, it won't work on its own. An auger is attached to a bucket, and a small engine with a capacity of up to 6 horsepower is attached to a stick (this one costs about 2 thousand rubles in a store). Some DIYers remove a part from an old washing machine or vacuum cleaner. The motor and the auger are connected to each other, supply the system with a start button. When the engine is running, the auger will rotate, raking the snow masses into the bucket, making it easier to work.But such a structure needs special care. It is advisable to store it in a dry, warm place, away from dirt, moisture and dust, otherwise the engine will quickly fail;
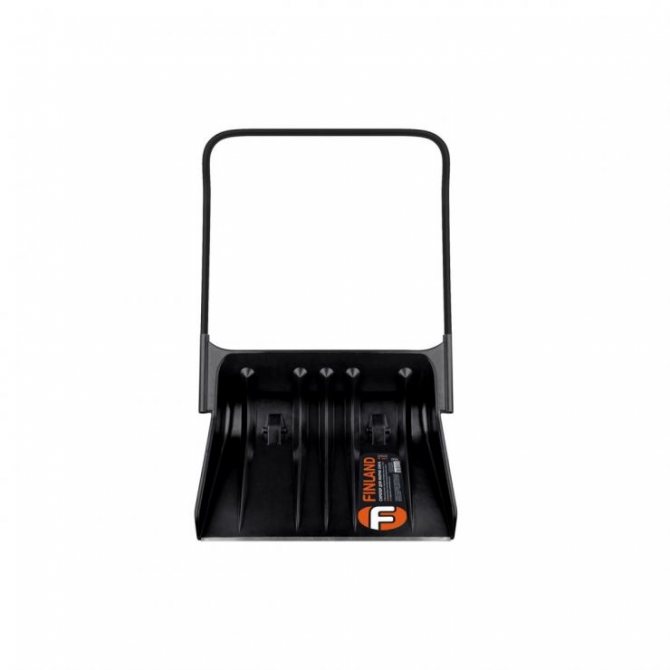
- shovel scraper. This is no longer a snow shovel in our usual sense. The bucket looks like the letter P, to the head of which a handle is attached. The system has a plastic tongue with which it collects snow and pulls it down. It is convenient to clean the roof with such a unit, if it is not a gable, of course.
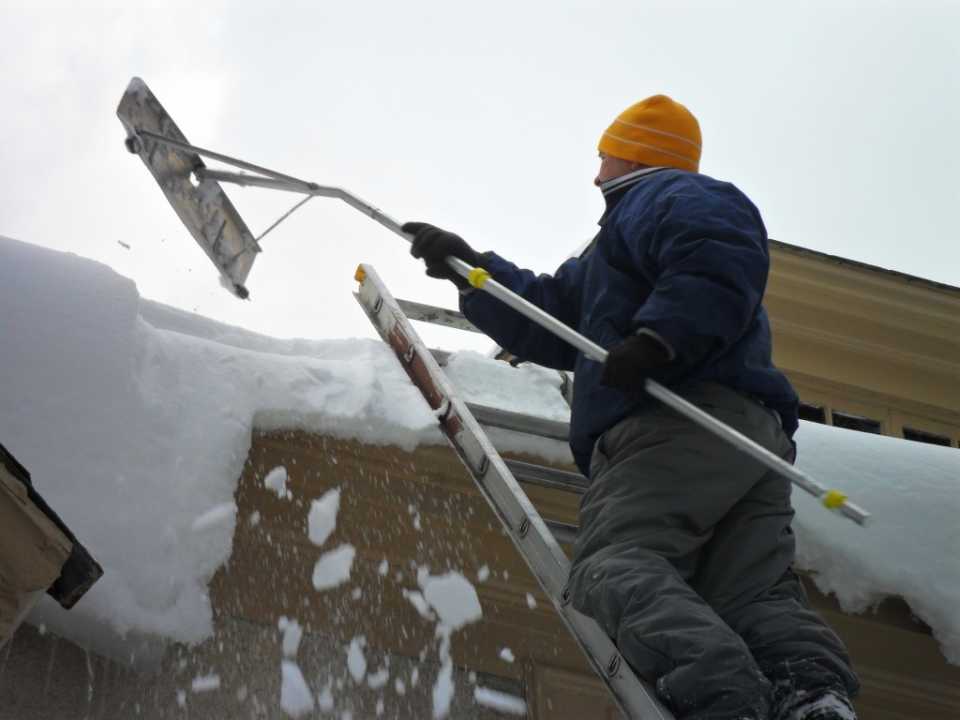
The scraper is also a kind of snow shovel. With its help, it is easy to clean snow masses from the roof
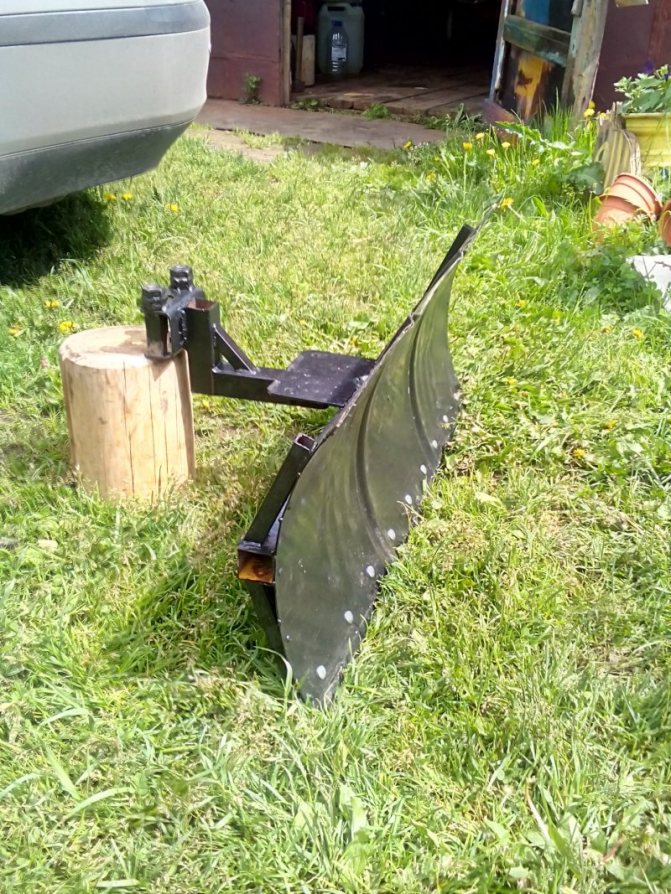
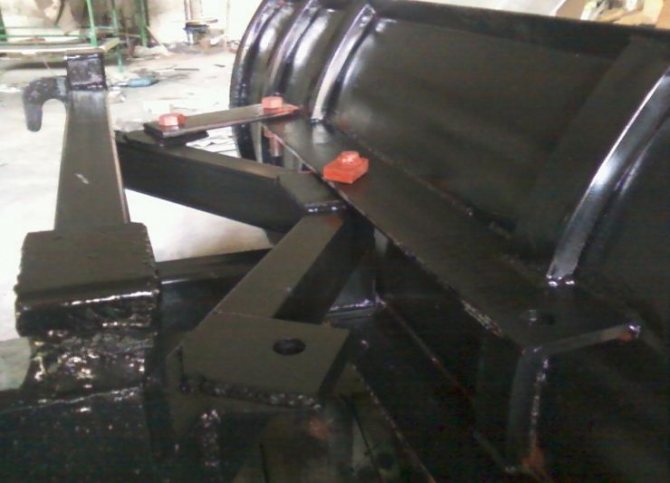
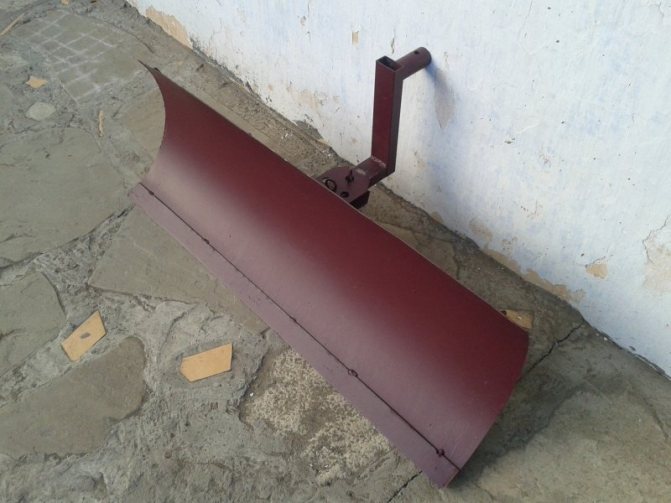
Shovel for walk-behind tractor
The presence of a walk-behind tractor makes household work much easier. With its help, you can quickly and efficiently remove mountains of snow, clear the area from ice, and also use it for agricultural and construction purposes.
If you are the happy owners of it, then it will not be superfluous to know how to make a shovel for a walk-behind tractor.
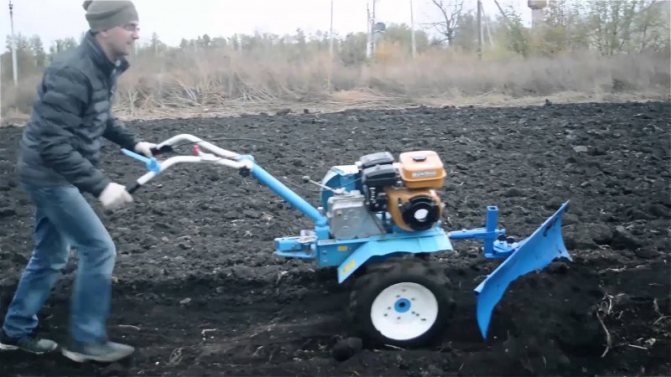
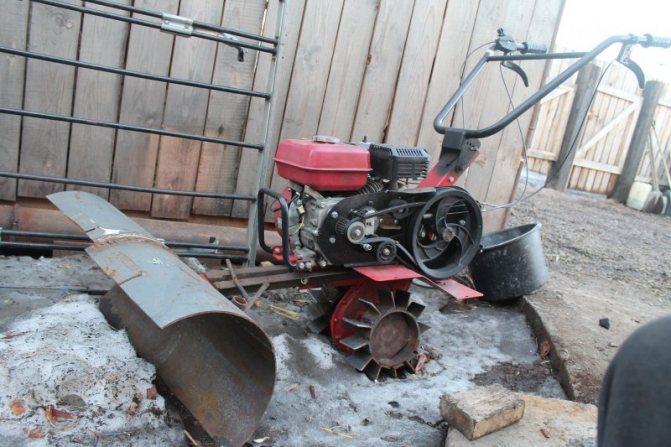
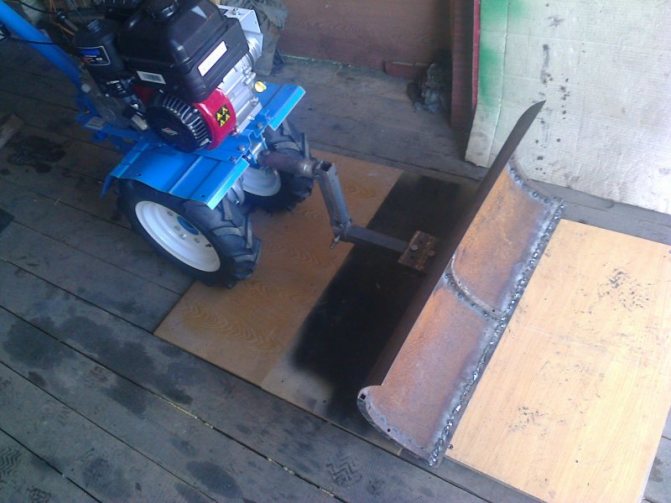
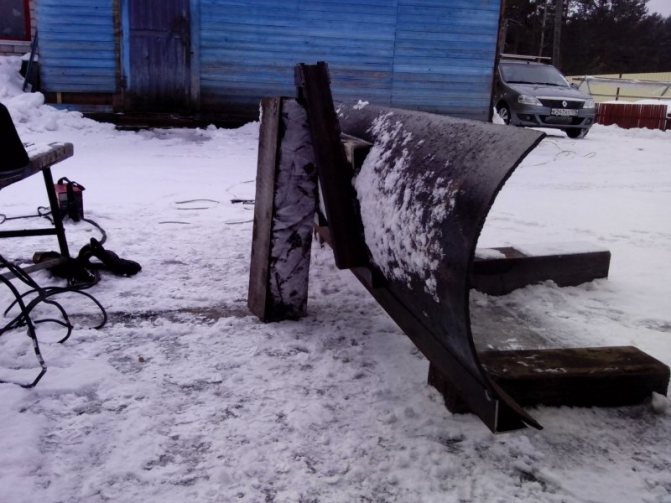

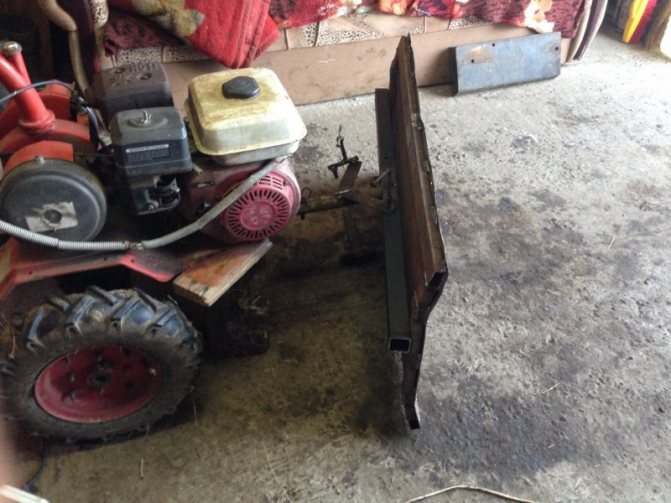
Take a sheet of metal and fold the edges so that they point up. Then, using a screwdriver, fix it securely to the walk-behind tractor.
We recommend to see more here

How to make powder - a step-by-step description of self-preparation of powder from scrap materials (115 photos)

How to make a shampoo for daily use? Ingredients for organic shampoo recipes. Recommendations before use
How to make PVA glue - tips for choosing ingredients and cooking technology at home (80 photos)
That's all, the sequence of all actions is very simple and understandable. This work will take about 20-25 minutes of your time, and you will end up with a wonderful shovel for a walk-behind tractor.


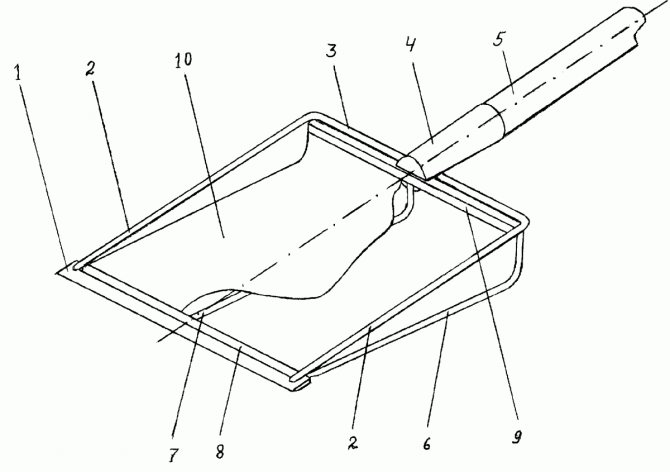
We make a snow shovel with our own hands: from product selection to the manufacturing process
You can purchase the tool at the store.
It costs from 1 to 5 thousand rubles. Making your own snow shovel is 2-3 times cheaper. Therefore, the zealous owner chooses the second option. The homemade device raker must be durable; the handle is reliable and not too long so that the structure does not break.
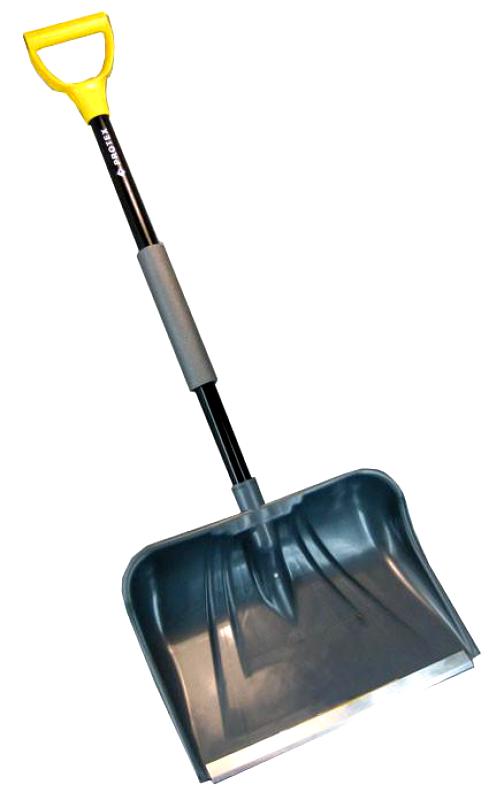
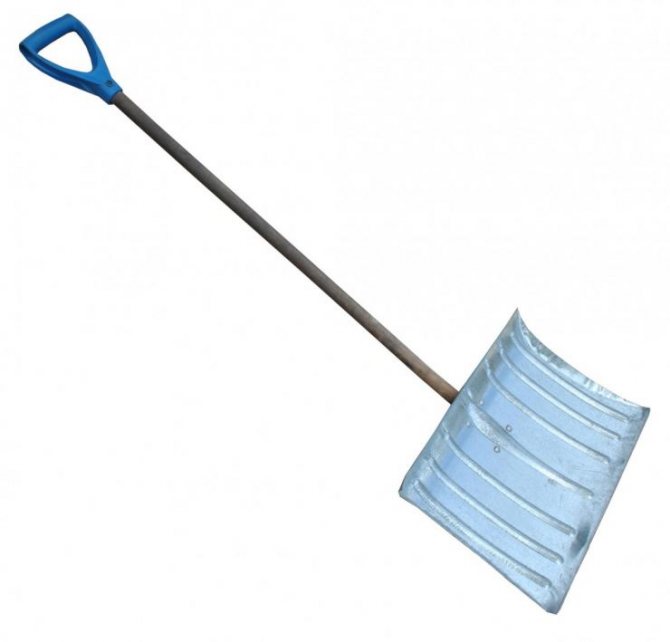
Making a shovel with your own hands is not difficult. Equip the structure with a rubber or plastic handle to make it easier for you to work
When starting to manufacture, consider the following points:
- a folding handle for a snow shovel is a huge disadvantage. Strength suffers;
- the wider the bucket, the more snow will fit into it. But there is no practical sense in this if you cannot lift the product off the ground as a result. Focus on your physical capabilities.
The snow shovel should be comfortable. This is the main criterion for assessing the quality of a product.
Tools are divided into the following types:
- plywood;
- metal;
- plastic.
Plywood products
Most often, a snow shovel is made from OSB-plate or plywood with a wooden handle. For manufacturing, purchase:
- OSB sheet or plywood (they are chosen by their appearance. The sheet or plate must be flat, without cracks, chips. Thickness 10-13 millimeters, sides - 60 centimeters each).
The price for a "square" with meter sides is approximately 500-600 rubles - any wooden board 50 centimeters long and 8 cm wide;
- aluminum strips;
- ready-made stalk (costs about 100 rubles);
- sandpaper;
- jigsaw;
- self-tapping screws;
- carnations;
- screwdriver;
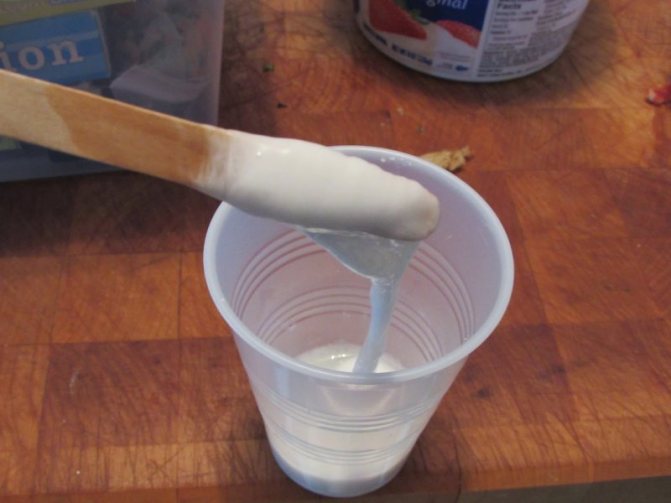
- solution for wood processing (choose the products of the companies: Milkill, OLYMPIC, Dufa).
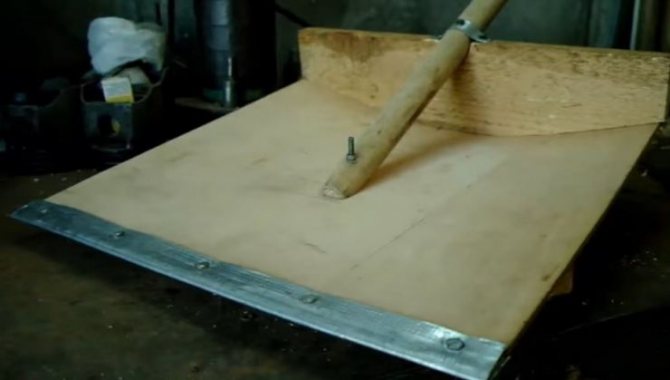
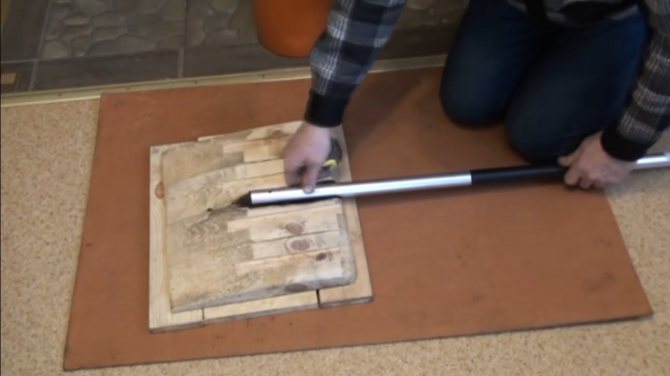
To begin with, cut or saw out a square with sides of 50 centimeters each from OSB or plywood (these are average values.You can make the square a little larger or smaller as you wish). Cut a crescent shape from the board. The length is equal to the side of your plywood or OSB square. The wide part of the crescent is 8-10 cm, the narrow part is 5-6 cm. In the center of the resulting crescent, make a hole for the cutting. It is necessary to cut under the bevel so that the stick “sits” securely in its place. Now attach the crescent moon to the plywood with nails, and the handle with self-tapping screws. To give the unit reinforcement, attach a sheet of aluminum with nails at the bottom. Next, the snow shovel is lubricated with an anti-fungal or anti-mold solution and left for a day. You can make a structure from scrap materials: take a handle from an old spatula, ask your neighbors or acquaintances for plywood or OSB, aluminum from cans for canned food, instead of impregnation, simply paint it with any paint.
The video instruction is presented below:
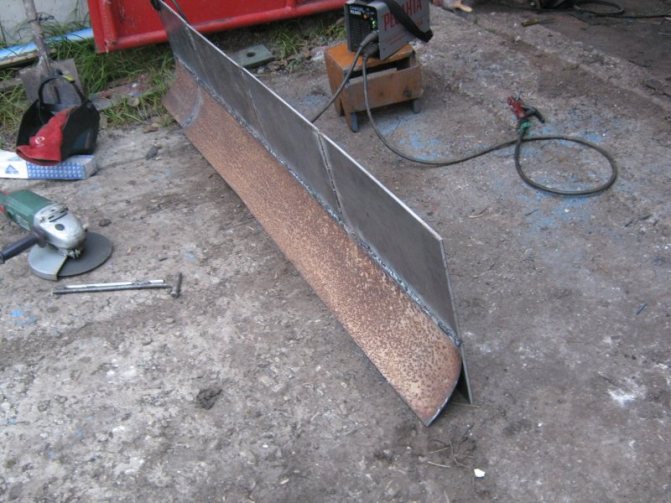
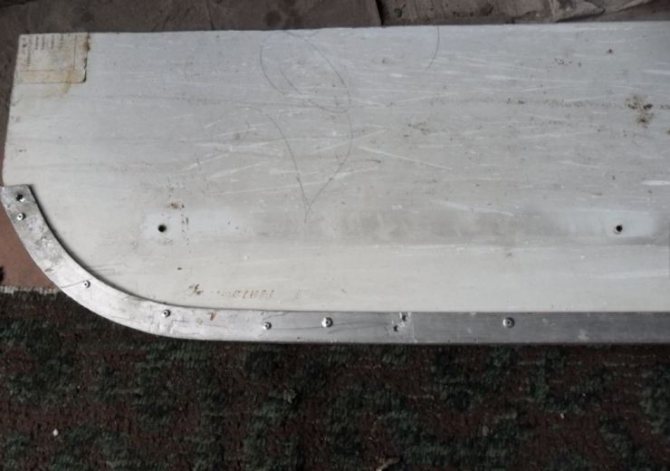
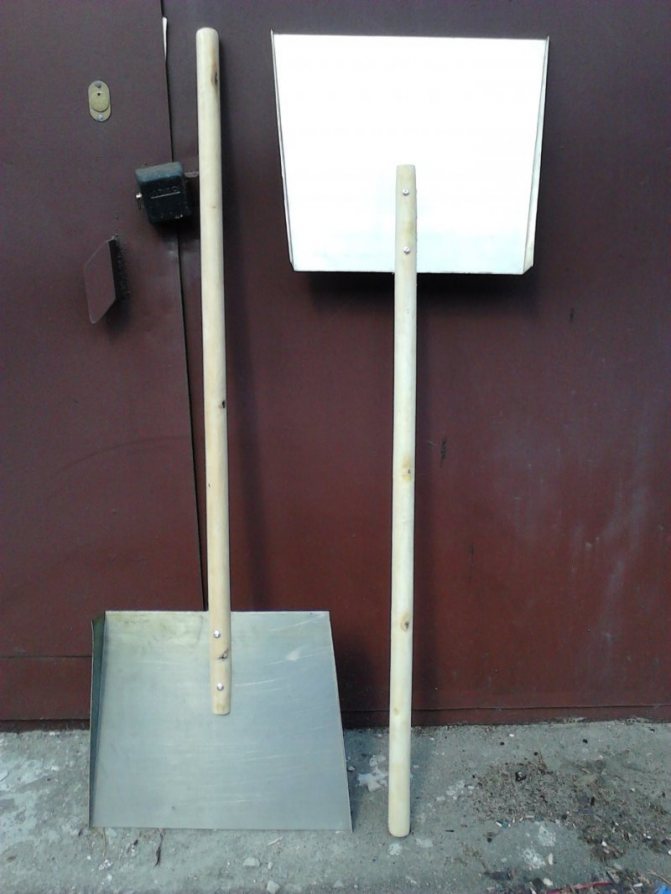
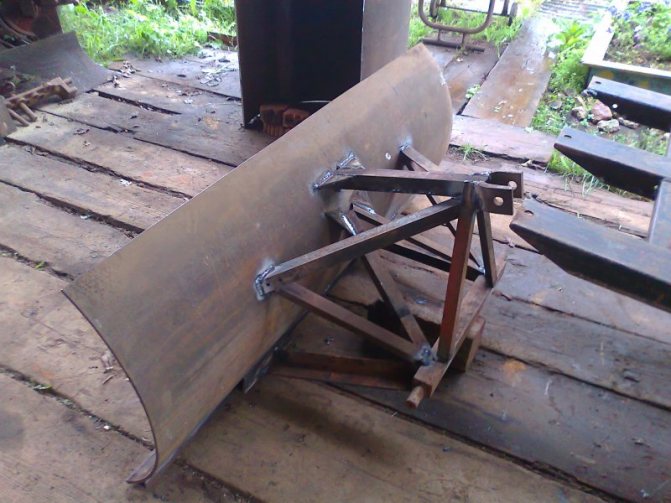
Metal snow blowers
We will quickly and cheaply make a snow shovel from metal. This is much stronger than plywood. But it also weighs 2-3 times more - and this is without taking into account the snow.
For crafting, prepare the following tools and materials:
- aluminum lid or a regular baking sheet from the stove;
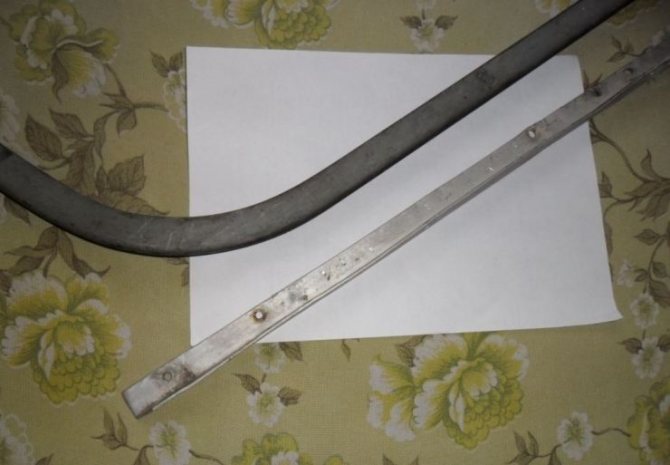
- metal tape (thickness from 3 to 5 millimeters. Price - 200-300 rubles per meter coil);
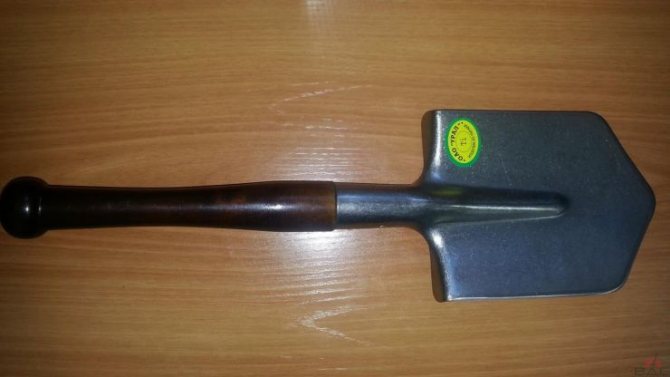
- stick made of wood;
- jigsaw or grinder for metal;
- drill;
- a gun for rivets (it costs about 10 thousand rubles, but a necessary and useful thing - it will come in handy on the farm. The best products are considered to be the products of manufacturers: RODCRAFT, Ingersoll, "Enkor").
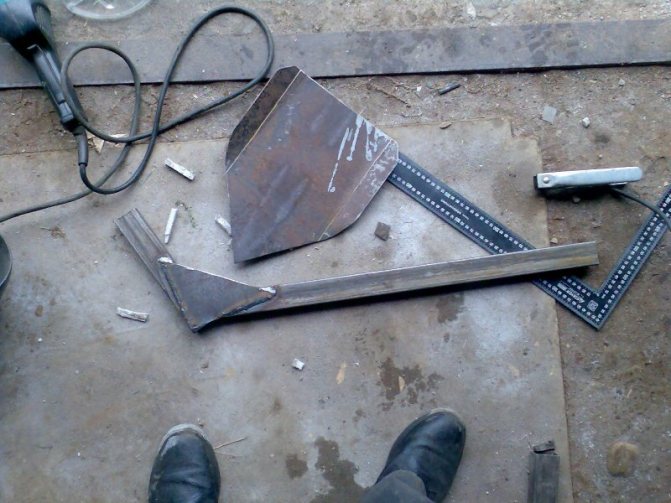
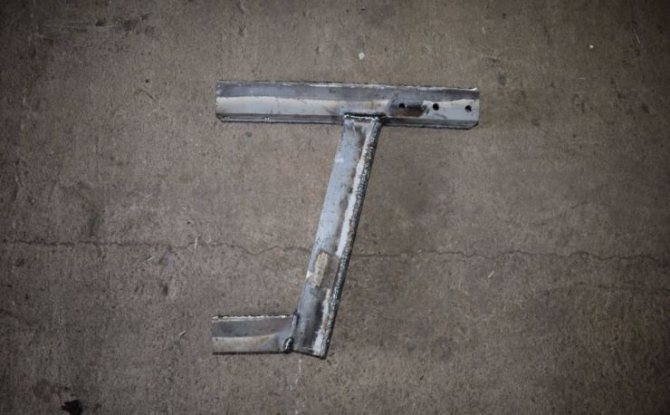
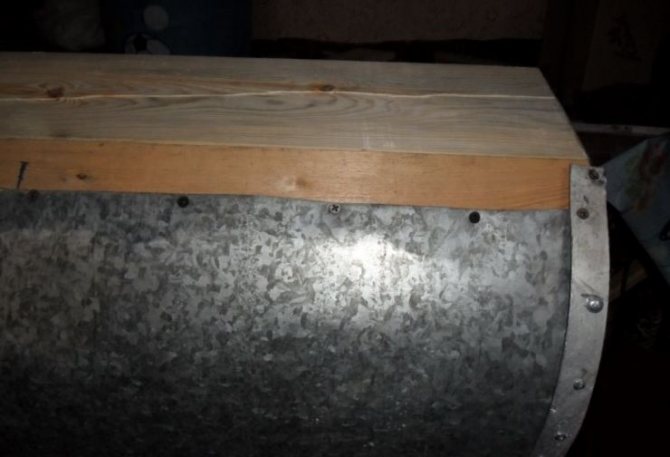
First, we make a ladle. Using a grinder, cut a square out of an aluminum lid or baking sheet. Each side is equal to 50 centimeters (plus or minus - depending on the wishes of the owner). Cut 5 strips from the tape, they are equal in length to the sides of the rake, in width - 3 cm. Fasten in the form of a lattice at the base of the bucket to strengthen. This can be done with a rivet gun. A metal tape is also needed to attach the handle to the structure. We make two stripes from the ribbon. Length 8 cm, width 3 cm. Now attach the stick to the ladle with rivets. Treat the wooden part of the snow shovel with an anti-fungal mixture. If it is too expensive for you, at least paint it with paint to avoid premature destruction due to high humidity in the winter.
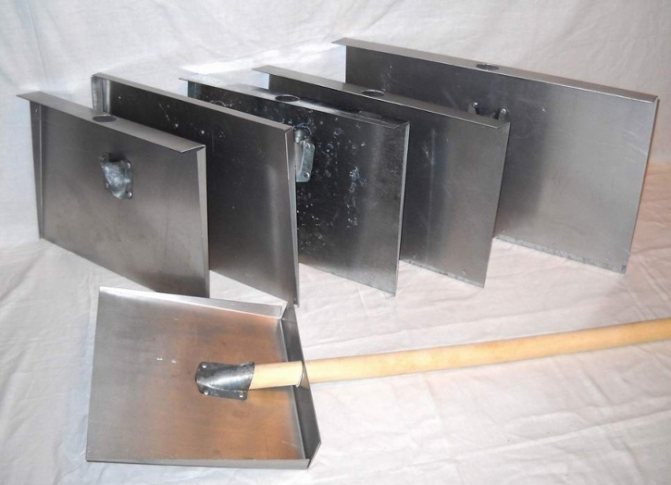
The metal snow shovel is highly durable. It can last more than 10 years, if all the requirements for its manufacture are taken into account.
More on how to make a metal fixture - below:
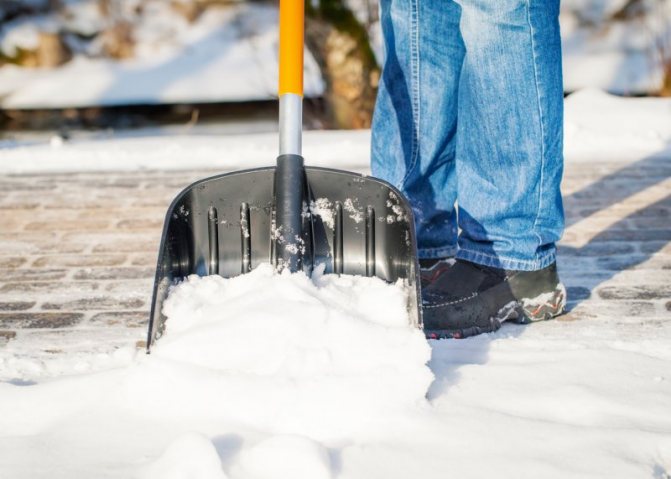
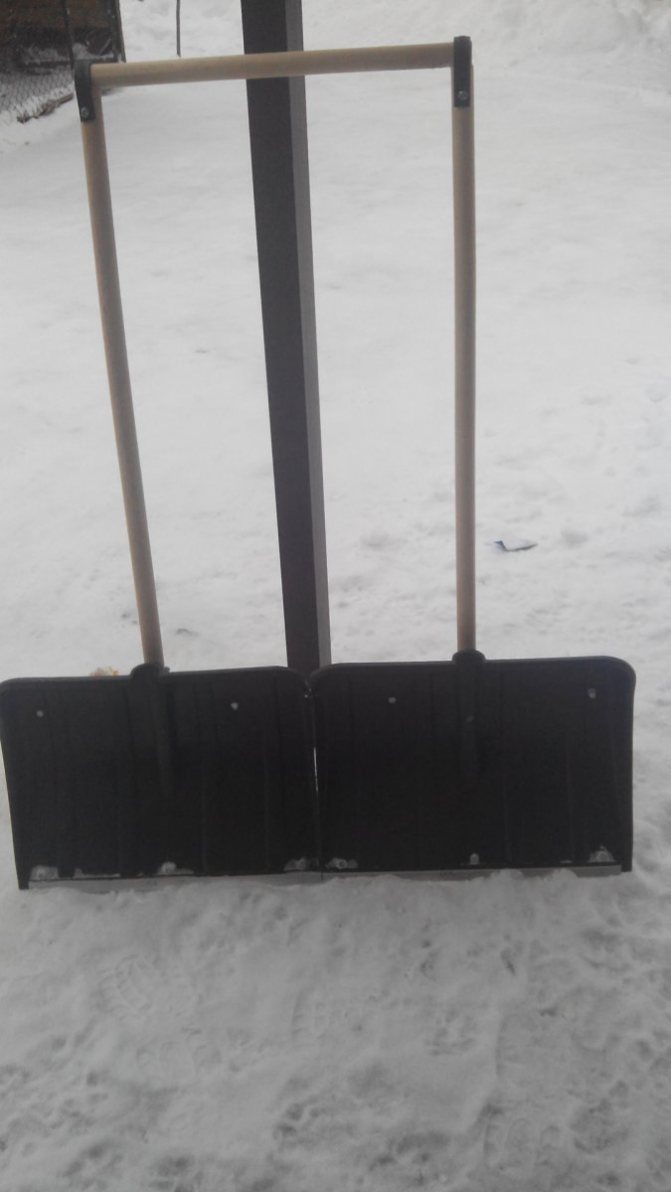
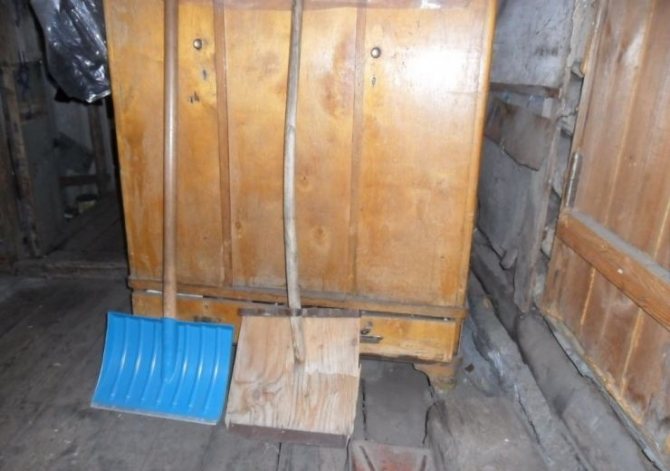
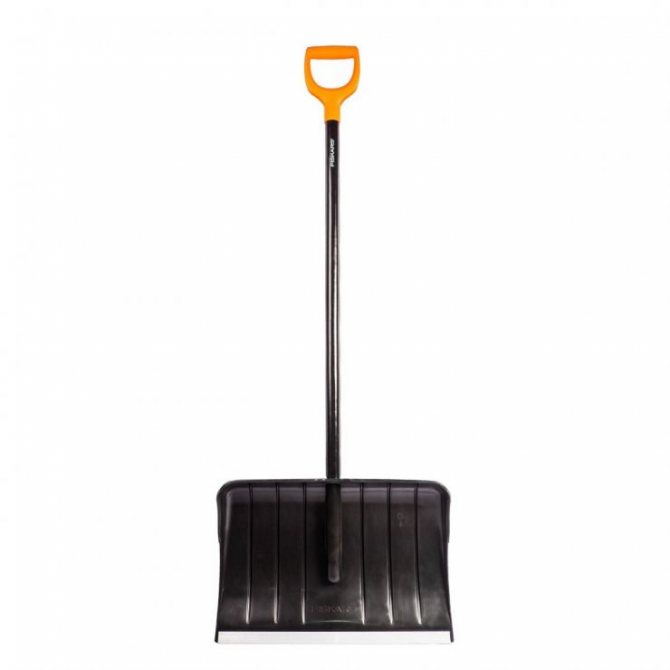
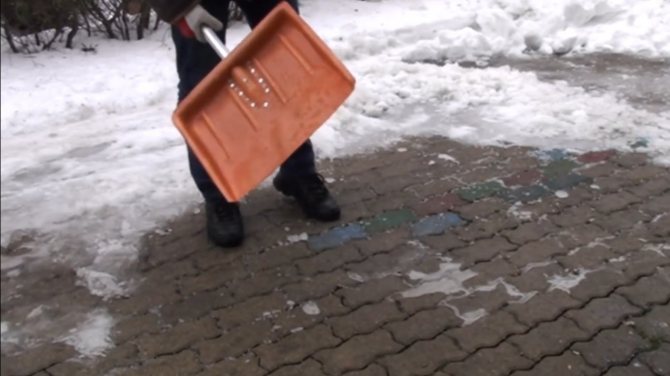
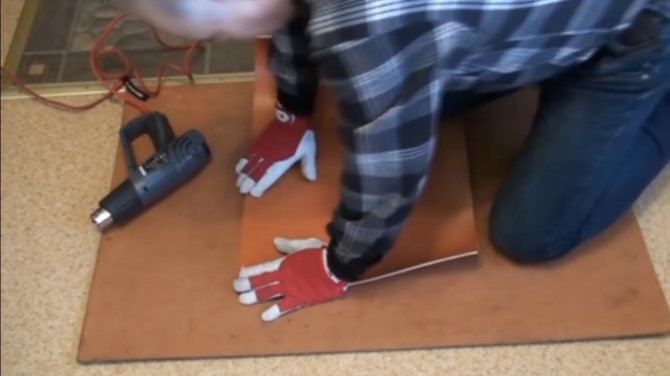
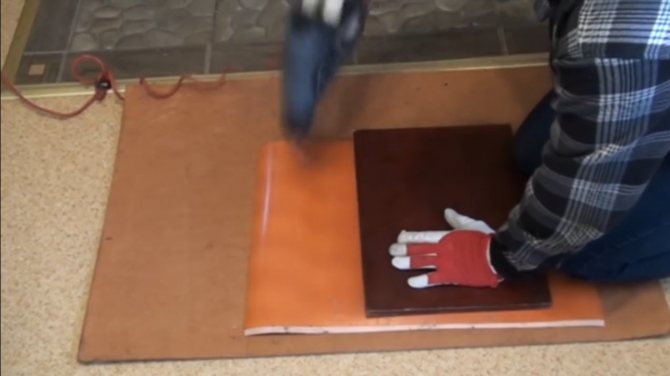
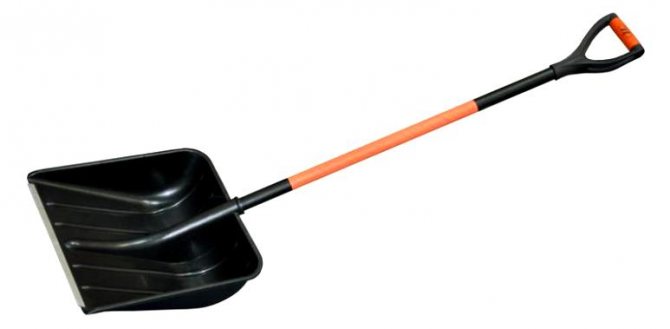
Plastic aggregates
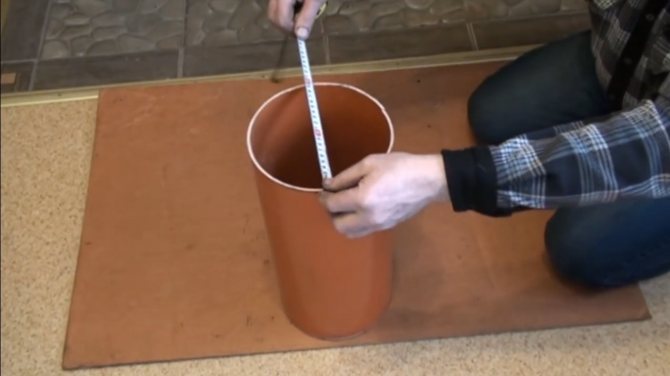
The plastic snow shovel is lightweight but highly efficient. The product does not rust, it is not eaten by fungus. In general, solid pluses. The easiest way to make a tool is to purchase a ready-made rake in a specialized store (it costs about 500 rubles) and stick a wooden handle prepared in advance into it. If this option does not suit you, we will go the other way and make a homemade snow removal unit from what is at hand. To do this, prepare:
- an old or new plastic canister (the brand does not matter, the wall thickness should not be less than 6 mm);
- stalk;
- jigsaw;
- self-tapping screws;
- carnations;
- rivet gun;
- metal tape.
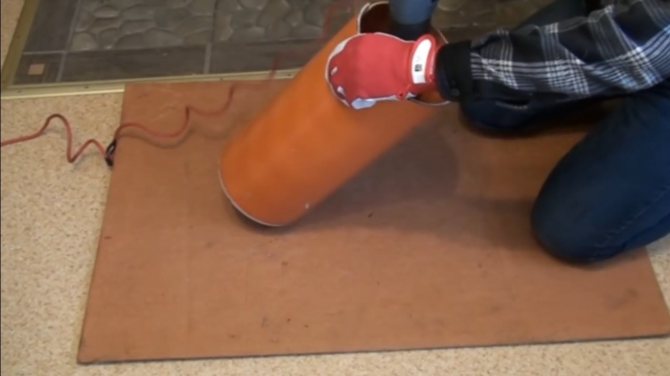
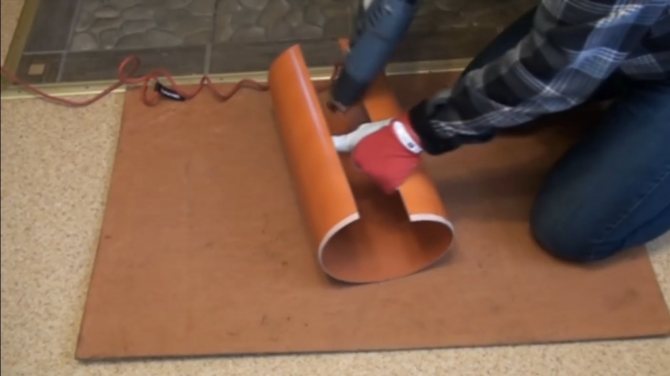
Cut a square out of the canister. Make the sides the same size as for plywood and metal models. Secure the stick to the plastic with self-tapping screws. Now from the tape make 3 strips 10 cm long and 3 cm wide. Use them to secure the holder to the bucket. Rivets will help. Treat the wooden handle with an antifungal solution (choose firms: Milkill, OLYMPIC, Dufa) or any paint.
A plastic snow shovel is considered the lightest. If you strengthen it with metal strips, then the product will turn out to be more durable.
Important: in all cases, it is the wooden holder that is taken. It is considered the most durable and stable.It is able to withstand heavy loads, does not break. With proper processing, it is not susceptible to fungus and mold, which destroy wood.
Tip: Place a rubber pad on the wooden holder, about the width of your palm. This prevents the snow shovel from slipping out of your hands, even if you wear gloves.
If the plastic shovel suddenly breaks, it can be easily repaired. How to do this, see below: