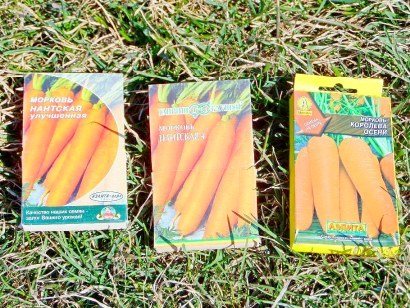
Many fans of growing these vegetables in their summer cottage garden are attracted by planting carrots with a ribbon in open ground. Such an agrotechnical technique - planting with a special tape - frees you from tedious and time-consuming procedures for pulling carrots. When planting with a ribbon, carrots grow quite large, even. True, certain difficulties are caused by two factors: the high cost of such purchased seeds and often poor germination.
Advantages and disadvantages
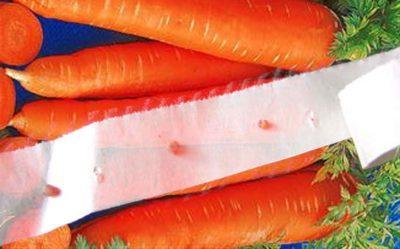

Planting carrots on a tape helps to get rid of the tedious procedure of thinning (read about different ways of planting carrots in which you do not need to thin them out here).- Root crops grow large and even.
This method of planting is not suitable for large-scale sowing of carrots, since if you use purchased tapes, it is very costly, and making them yourself in large quantities is laborious.
Carrot seeds on tape are not the best option for those who like to buy for future use. For treated seeds, germination is directly related to freshness..
Choosing carrot seeds
You should not buy carrots on the tape ahead of time, in autumn and winter - at this time, old stocks are most often sold. It is better to leave the event for the spring, choosing the expiration date with the maximum possible margin.
We choose only the most reliable companies and shops !!!
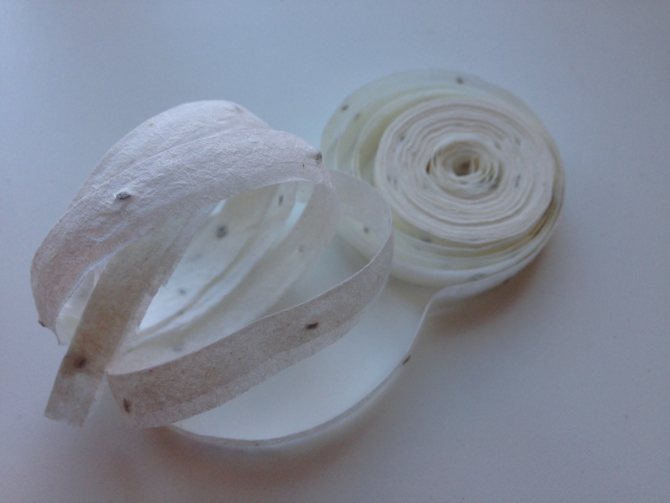
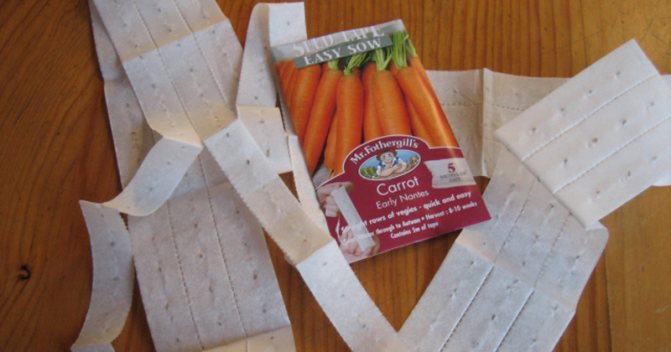
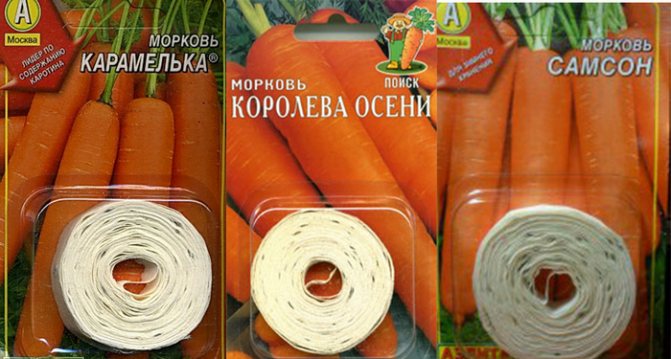
On packs with glued vegetable seeds, manufacturers always indicate the length of the packed tape. Knowing the size of your beds, it is easy to calculate the required number of packages. For the width of the aisle for carrots, they usually take 20 - 25 cm. For example, for one running meter of a bed (with its meter width and transverse arrangement of rows), about 4 - 5 meters of paper strip will be needed.
The quality of store seeds decreases from year to year. In order not to be left completely without carrots, it is recommended to follow the principle that "do not put eggs in one basket." Applied to this situation, this means that it is safer to buy several different varieties and from different manufacturers.
As a safety net, guided by the same principle of "different baskets", it is better to allocate part of the territory for ordinary sowing.
When to land?
Considering that the faster the tape and glue dissolve in the soil, the better the germination of seeds, it is not worth delaying the planting. It is in the spring that the soil contains enough moisture to dissolve the adhesive and paper. If you plant carrots in early April, you can harvest in July.
Also the advantage of early planting is the possibility of re-seeding in case of poor germination.
Also the tape method has proven itself well when planting before winter, if cold-resistant varieties are selected for planting.
Advantages of the method
Growing carrots by gluing seeds to paper has many advantages:
- convenience of work;
- uniformity of seed placement;
- the ability to test seeds for germination in almost real conditions;
- saving seeds;
- uniformity of depth during subsequent landing;
- ease and speed of spring planting;
- no need for seedling thinning.
Of the minuses, we can name the fact that the preparation process itself takes a lot of time, as well as the fact that the seeds from the glue droplets sprout a little longer than those sown directly into the ground.
Which varieties to choose?
Any type of carrot that can grow in the local climate and soil is suitable for tape planting. The only difference is in the ripening time of a particular variety.
- Early varieties: Tushon, Children's sweetness, Alyonka, Nandrin, Abaco.
- Mid-season varieties: Vitamin 6, Children's, Karotel, Nantes 4, Samson, Red cor, Losinoostrovskaya 13, Shantane Royal.
- Late varieties: Red Giant, Autumn Queen, Emperor, Incomparable.
What and what to glue on


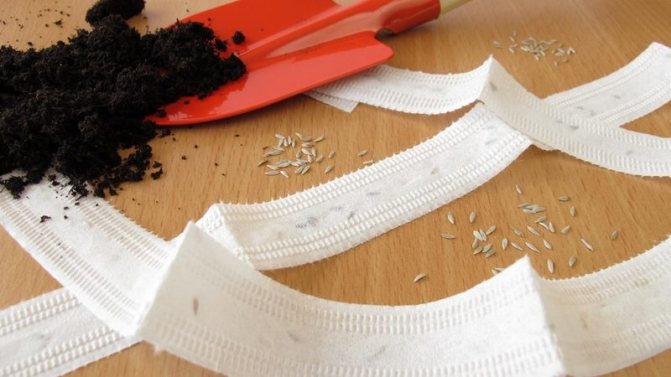
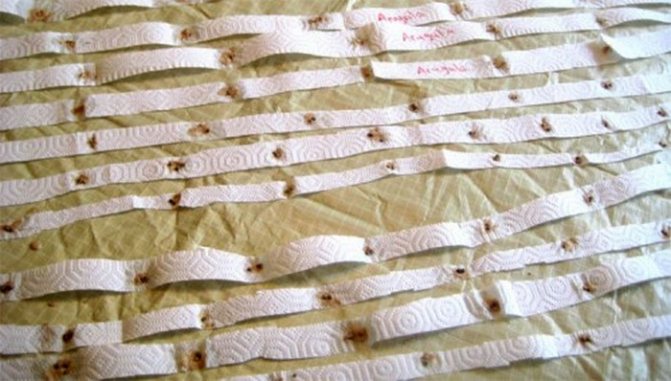
I use soft toilet paper as a basis for making tapes, since it dissolves well and does not place seeds in the soil to germinate. I cut the paper into ribbons 2 cm wide.
Seed paste can be made from flour or starch using the following recipes:
- 2 tbsp starch is diluted in 100 ml. warm water. 400 ml. water is brought to a boil and in a thin stream. A starch solution is constantly poured in a trickle.
- 4 tablespoons flour is diluted in a glass of warm water until the lumps dissolve. 400 ml. the water is brought to a boil and the flour solution is poured in, stirring constantly. The mixture is kept over low heat until thickened.
Be sure to cool the paste before using, otherwise the seeds will be spoiled!
Step-by-step instructions: how to properly plant in open ground?
Preparation

Inventory... In order to make planting seeds on the belt as easy as possible, you should stock up on the following inventory:- With cotton swabs or toothpicks.
- Landing tapes.
- Pre-prepared glue.
- A glass of water.
- You will also need a little salt.
- Seed... In order for the seeds to sprout guaranteed, it is important to select viable specimens. For this:
- In a glass of water, you need to dilute a little salt and dip the seeds in the resulting solution.
- Those of them that remained on the surface of the water are not suitable for planting. Seeds that have sunk to the bottom are suitable for planting, they must be removed from the saline solution and dried at room temperature.
How to paste the seeds?
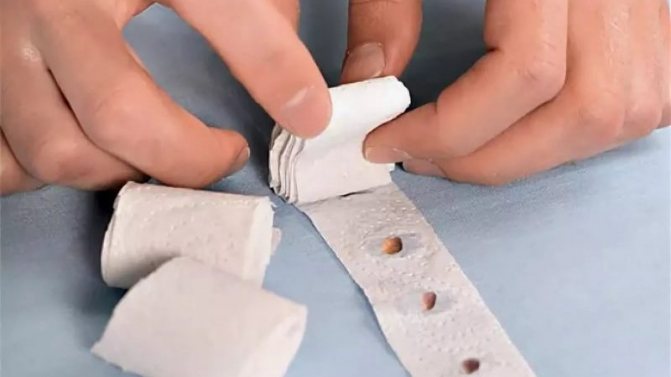
- Dip the end of the stick into the glue.
- Pick up the seed.
- Stick to tape.
You can also first apply drops of glue to the tape, and then put the seeds on it.
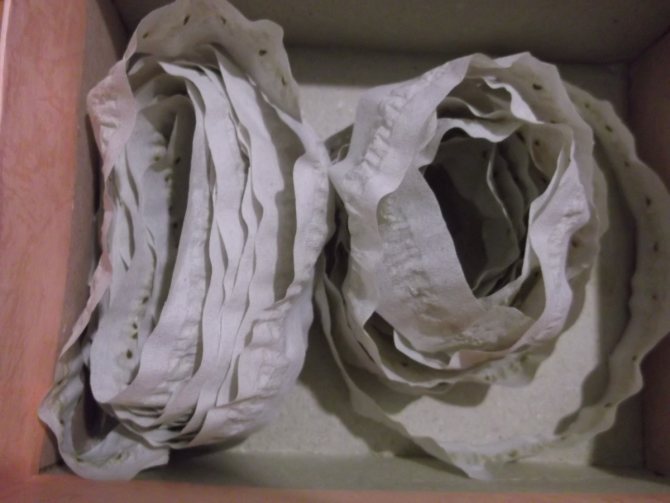
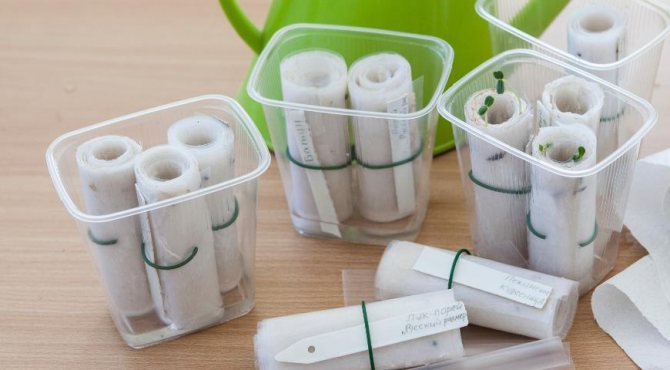
The prepared tapes must be left to dry for a day, and then rolled into a roll.
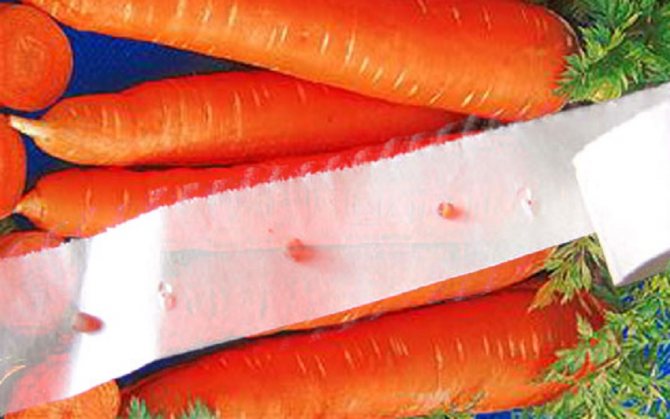
When gluing the seeds, it is recommended to observe an interval of 4 cm, as the carrots will sprout at the same distance as they were planted on the tape.
Sowing process
How to plant carrots?
- Choose a sunny place on the site.
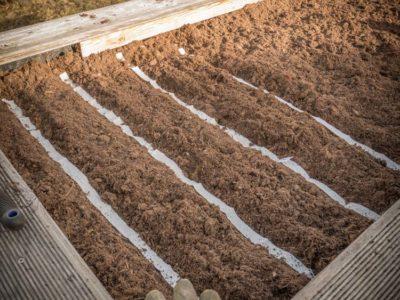
- Align the surface of the beds and make grooves at a distance of 20-25 cm from each other and about 3 cm deep.
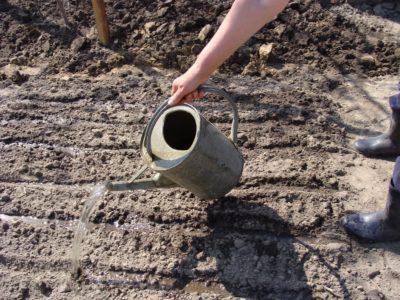

If the soil is not sufficiently moistened, spill the furrows with water- If the ribbons were purchased in a store, then they need to be laid in grooves on the edge, if the planting material is prepared on your own, you can arrange it horizontally.
- Fill the grooves with a damp substrate and tamp lightly.
- Lay a small layer of fine mulch on top.
All the benefits of this planting method can come to naught if the soil is not properly prepared. The soil should be loose and nutritious..
Preparing the soil for planting carrots on toilet paper
The garden bed is prepared in the same way as in a normal situation, but this must be done in the fall: you will have to plant the rolls about a week earlier than sowing carrots with dry seeds. Preparation consists in deep digging with careful removal of weed rhizomes. Never use unripe manure before planting carrots. If the soil is acidic, liming is imperative, if clayey, it is corrected by adding sand. The structure of the soil is important: it must be loose.Of the fertilizers, it is better to use complex mineral fertilizers (for example, azofos), doses - according to the instructions on the package.
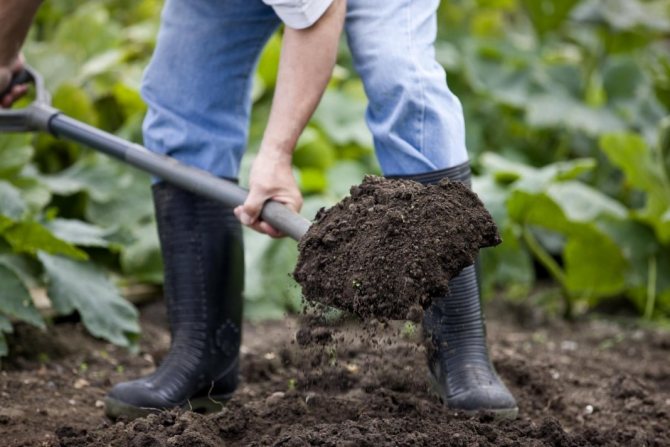

When digging, it is important to remove all weed residues
In the spring, as soon as it is possible to work with the land, the bed is sprinkled with wood ash (a half-liter jar per 1 m2 is enough) and pass through it with a cultivator. Immediately before planting, the soil is leveled with a heavy rake.
Errors with tape method
- Purchase of low-quality planting material.
- Too deep penetration of the planting material.
- The seeds were selected without taking into account the climatic conditions in which they were planned to be grown.
- If, immediately after planting, the seeds are not in close contact with the soil, the seedlings may either be very delayed or not emerge at all.
- Insufficient watering and allowing the formation of a crust through which moisture cannot break through to the seeds.
For a convenient method of planting carrots, check out our articles on planting in egg trays, planting seedlings or in pellets.
Seed glue and its application
You can make a paste for carrot seeds yourself. But we are not talking about the usual sticky mass like PVA, since the chemical components will destroy the nutrients in the grains. To prepare the glue, you need to prepare the ingredients:
- 200 ml of water;
- flour or starch - 1 tsp;
- mineral fertilizer.
Pre-boil the water and gradually add the dry mixture, remembering to stir. Add mineral fertilizer and mix into a homogeneous mass. After cooking, be sure to cool it to room temperature, but do not thicken it too much.
Apply the resulting paste evenly to the paper on the tape and place the seeds at equal intervals. Many people ask how to glue the seeds so that they do not stick to their hands. It's very simple - take tweezers or a slightly moistened cotton swab.
Recently, seeds already in a nutritious shell have been on sale. Outwardly, they resemble dragees and are larger than ordinary ones. It is more convenient and easier to glue them onto the prepared tape.
Typical mistakes:
- Seeds. They must be varietal and fresh - no older than 3 years.
- Sowing. Make sure that the bottom of the groove is leveled, otherwise some of the seeds may remain without contact with the ground and die.
- When planting seeds on the belt, it is imperative to compact the soil so that in windy weather the seed belt does not appear on the surface.
Attention! Take your time to buy ready-made seeds on belts in the fall or winter, stores often get rid of old stocks during this period. And such seeds lose their germination faster.
Prepare the seed material for planting, taking into account the recommendations and grow an excellent harvest of wholesome root crop!
Where to buy and how much does it cost?
Planting belts can be purchased from all kinds of online retailers that deliver orders by mail. And also in agronomist markets:
In Moscow: Seeds, Euro-seeds, Professional Seeds of Vegetable and Flower Crops, First seeds, Seeds Tut, Poisk-Profi, Aelita Agrofirma LLC, Prestige LLC, Seeds Shop, Sedek crop garden, Gavrish, Sedek-seeds, SACATA SID CORPORATION, SEMENA - SEMKO brand store, Yasenevo Garden Center - at prices of 25-28 rubles. per package, depending on the variety and quantity of seeds, the availability must be checked on the websites of stores or from sellers.
In St. Petersburg: Seeds of vegetables and flowers, Sadovy Mir, Rassada.ru, IP Kochegarov A.V., Seeds, Russian vegetable garden - from 22.90 rubles. per package, depending on the variety and quantity of seeds, the availability must be checked on the websites of stores or from sellers.
Assorted ribbons
Assorted ribbons are also interesting - where seeds of different crops are on one ribbon. You can make a mixed bed in one row. For example, onion + carrot, or radish + sorrel ...
But such a tape will cost you much more than loose seeds. So this "saving" of seeds is beneficial only to the manufacturer. Of course, the work is easier: you can sow quickly enough, which is very important. Especially in early spring, when the weather is far from May. Here, as they say, you can't stand the price.
But such seeds should only be bought fresh. Why? I explain.
If the seeds are stuck, they lose the percentage of germination, and they need to be sown thicker. And how to sow them thicker if the interval is already clogged on the tape. It turns out bald patches, which then need to be added to, and it turns out not a bed of a lazy person, but a bed of a workaholic. Therefore, having really weighed all the pros and cons, it is more profitable and more reliable to make the tapes ourselves.
Landing ribbons
How to plant carrots with seeds
Before sowing the prepared material into the garden soil, it is imperative to fulfill the following requirements:
- It is recommended to dig up the land on the site planned for planting in late autumn to give it a little rest. And with the arrival of spring, about a month before planting carrots, you should thoroughly rake over the previously dug soil;
- Immediately before planting, the land for carrots must be thoroughly furrowed;
- A day before starting the direct sowing of seeds into the soil, you should again take up the rake in order to loosen the soil a little;
- After that, in the area where it is planned to plant carrots, it will be necessary to make deep grooves about 4 cm wide, which are then necessarily spilled with warm water;
Note! The distance between adjacent rows of tape landings must remain at least 10 cm.
Next, you will need to carefully spread the pre-unfolded paper strips along the grooves, placing them at approximately the same depth.
- Before sowing carrots by placing the tape in the ground, it is important to ensure that the seed plane is facing the ground.
Compliance with these, in general, simple rules allows you to get a good harvest of your favorite crop at the end of the season. Also, do not forget about the need to provide appropriate care for the planted seeds. Usually it manifests itself in the fact that after the seedlings are lightly sprinkled with earth, they must be covered with opaque polyethylene, which retains heat well.
Its edges must be pressed as tightly as possible to the ground using bricks or heavy stones, which eliminates the likelihood of a strong wind breaking off the coating. After a couple of weeks, the film can be removed completely, thereby providing full access to sunlight. If the seed planting zone is located on the northern side of the site, the film may be removed no earlier than 18 days after sowing.
In conclusion, we note that planting carrot seeds with a ribbon in open ground is a rather laborious and responsible business. That is why the preparatory stage described in the first half of the review is of particular importance.
Testimonials
Here are a few reviews of experienced gardeners about planting carrot seeds using a tape method.
Lidia Valerievna, Novosibirsk: “I am very happy with this method, I have been using it for 5 or 6 years. I cut the toilet paper in half along its length and apply drops of paste in a checkerboard pattern closer to the edge of the strip. There is no need to thin out! "
Tatiana Petrova, p. Shkolny: “I also make such a tape. A sticker on toilet paper is short-lived, children are happy to help. I immediately mix all the seeds with paste and distribute a match on the tape. Then I hang it to dry and roll it into rolls until spring. Planting is a pleasure. "
Nina Nikolaevna, Osinniki: “I make it even easier - I moisten a toothpick in jelly, take one carrot seed and put it on the tape. Little kissel remains on the tape, shoots appear quickly. Drying the stripes on the back of the chair.Before landing, I spill the grooves with water with "Epin", lay out the ribbons, cover them with earth and cover them with foil. "

