Home »Building a house
Building a house
Annie Cooper
1 comment
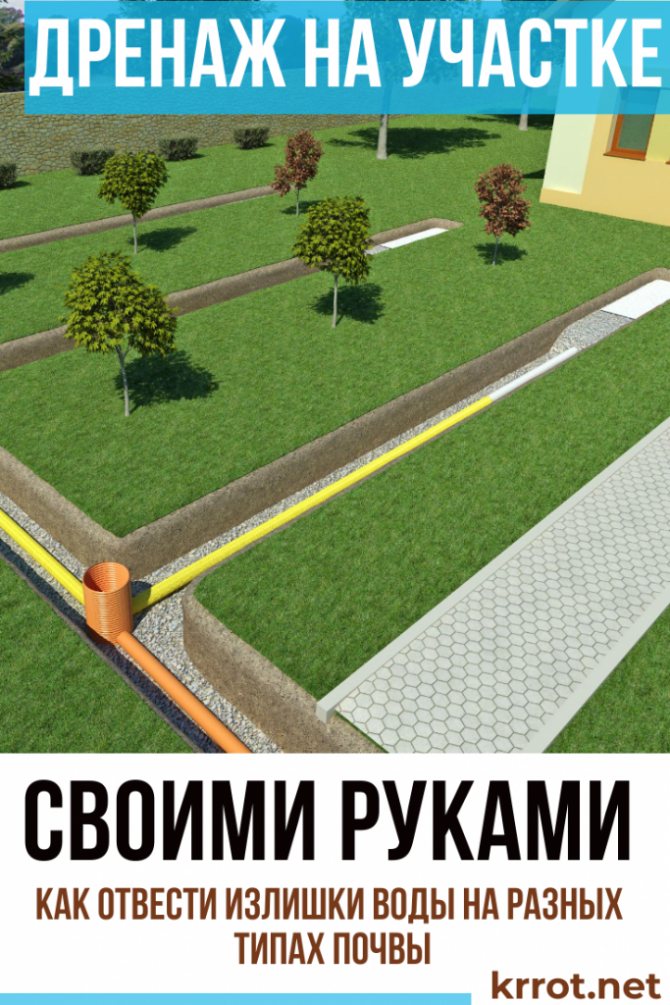
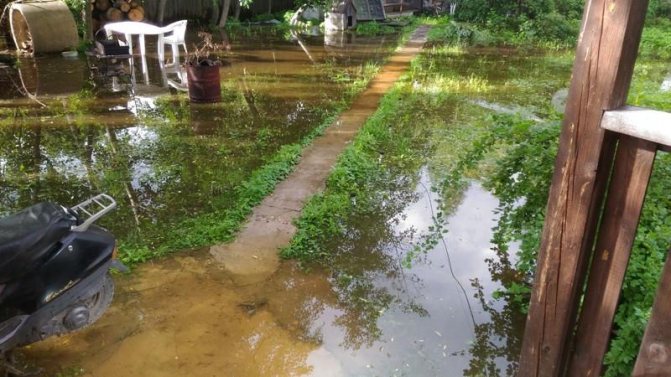
Before buying a land plot or building a residential building on it, each owner checks the quality of the soil. The ideal soil falls out to a rare owner, most often the land has features of the relief, and underground waters run close to the surface.
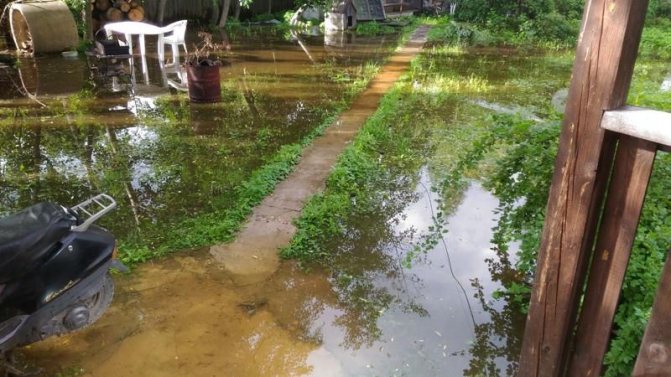
Water disposal can prevent excessive flooding of the site and the emergence of threats to buildings and horticultural crops. About what drainage is needed for, and how to make it on the site with our own hands, we will tell in the material.
- What are drains and what are they for?
- Where is drainage required
- How to determine the level of occurrence of groundwater
- How to determine the water level yourself
- Types of soil drainage systems
- Surface drainage
- Deep drainage
- Backfill drainage
- Step-by-step instructions for arranging drainage
- Selection of component materials
- Installation and installation specifications
- Open drainage
- Closed drainage system
- How to extend the life of drainage systems
- How to drain an area without drains
- Disputes with neighbors
See also: Blind area around the house: views, device, schematic drawings, instructions on how to do it yourself (30 Photos & Videos) + Reviews
Disputes with neighbors

Neighborhood drainage system drains water to your site
Sometimes unpleasant situations arise when neighbors, when arranging drainage, mount structures so that all the water flows into the site.
If it is not possible to agree peacefully, you can answer the offender in this way:
- fill the border of your site with clay
- raise the ground level with additional soil
- make an earthen embankment around the perimeter
Also, the issue with a neighbor falls under Article 304 of the Civil Code of the Russian Federation "Protection of owner's rights from violations not related to deprivation of possession" or article 391 of the same name of the Civil Code of Ukraine. Thus, the owner of the property has the right to demand the elimination of violations of the rights to use his land plot due to flooding with water.
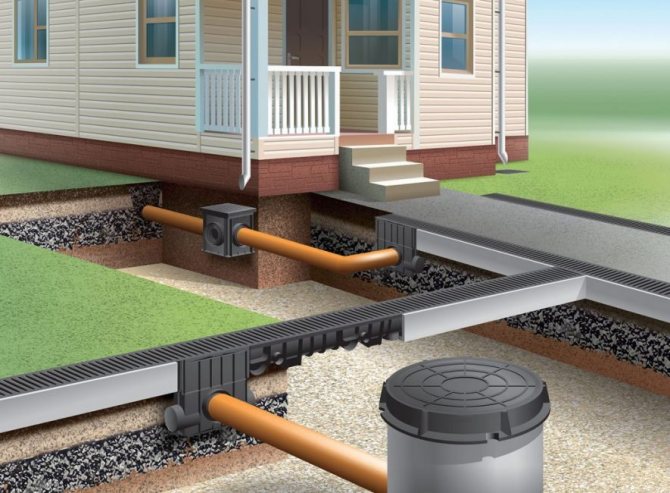

Drainage system
Drainage, properly done in the garden or summer cottage, helps to solve existing problems and prevent the emergence of new troubles. Despite the fact that the installation of a drainage system seems to be a difficult and time-consuming process, it is possible to do it yourself. Do-it-yourself drainage is just as effective, but much more affordable financially.
Tips from an experienced landscape designer on how to make do-it-yourself drainage on a site are presented in a short training video:
See also: Building a garage with your own hands: in detail about each of the stages. Description, step-by-step instructions, drawings of the roof, inspection pit, interior arrangement (75 Photos & Video) + Reviews
VIDEO: Drainage of the site. Tips & Tricks
How to do drainage on a site with your own hands: we remove excess water on different types of soil, correctly and inexpensively (20 Photos & Video) + Reviews
How to equip a closed drainage system in the country is described in the video:
See also: Wisteria: description, cultivation in the open field and features of caring for a whimsical beauty in different climatic zones (65+ Photos & Videos) + Reviews
Simple drainage of the suburban area
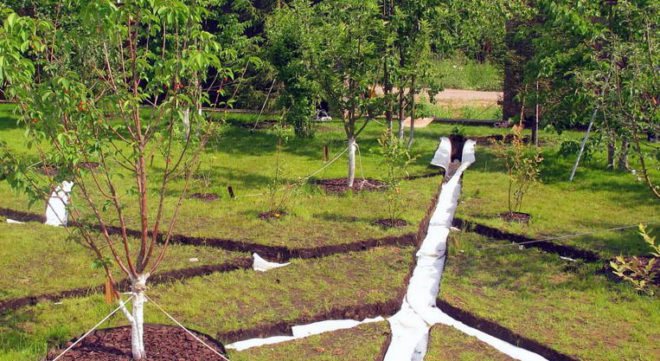

You can drain the area yourself. You will need to follow the technology of work, calculate and purchase the necessary materials.
Surface drainage
The simplest and most versatile solution would be open surface drainage. This method is great for draining small areas.
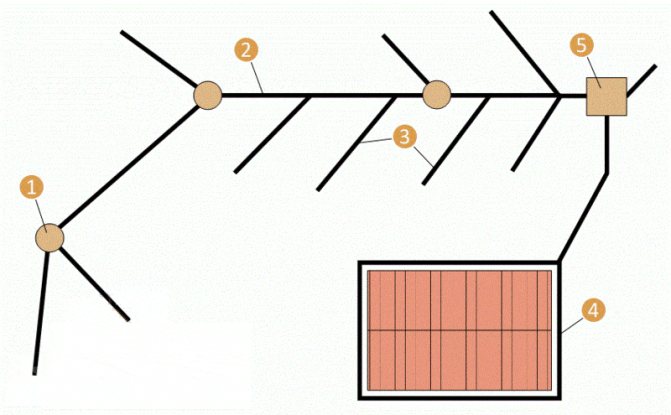
As a basis, you can take the herringbone drainage scheme. Above, we considered the question of the step between the drainage ditches.
Of the tools you will need:
- Shovels (shovel and bayonet);
- Roulette (be critical about the choice of a roulette, and if there should be 10 m between drains, then a tape measure with a smaller tape is not suitable);
- Bubble level;
- A hammer;
- Construction knife.
Materials required:
- Gravel;
- Geotextile;
- A bar or board 2-3 m.
Sequencing:
- If there is a visible slope on the site, then start from the highest place on the site plan to place drainage ditches. If the slope of the site cannot be determined by eye, apply the ditches on the plan, observing the scheme, in the most convenient position. Select the step of the ditches according to the type of soil.
- By measuring the length of the ditches on the plan and recalculating the scale, you can calculate the necessary materials. Usually, the width of the ditch is taken equal to the width of the shovel available.
Let's say that a total length of 100 m came out (for round counting, just as an illustration).
The height of the crushed stone channel is 30 cm.
Geotextile acts as a sludge filter and should cover the crushed stone with a stocking. This means that with a 30 cm channel width, the width of the geotextile should be 30 + 2 * 30 + 2 * 30 = 1.5 m. This means that 165 m2 of geotextile will be required with a 10% margin.
Rubble will be required 0.3 * 0.3 * 100 * 1.1 = 10 m3.
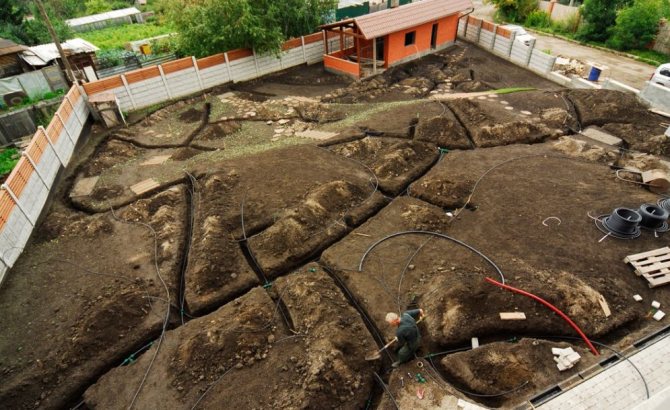
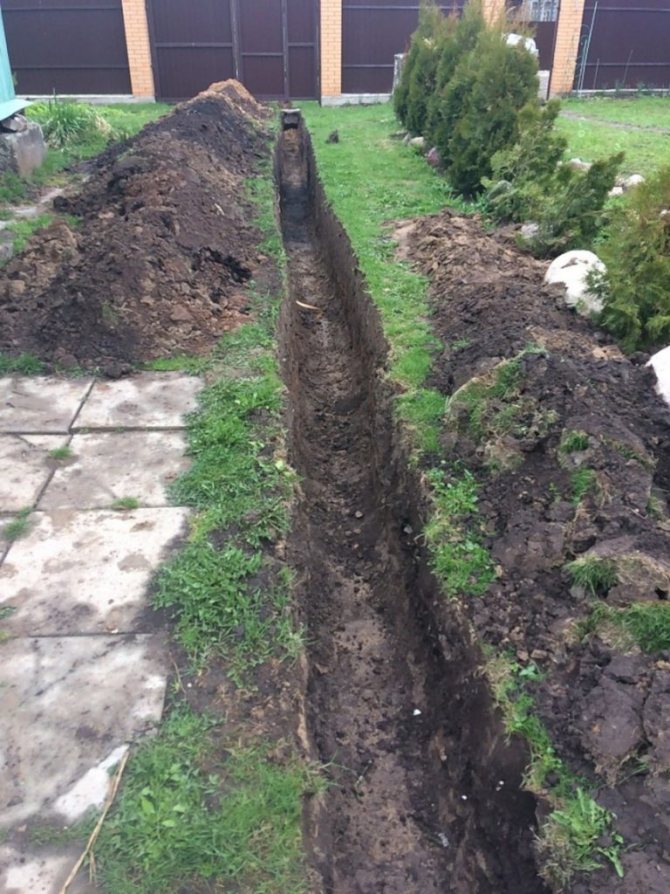
- Trenches are being dug on the site according to the plan. The minimum depth is 30-40 cm. Note that towards the end of the drainage the trench will be deeper due to the slope. The minimum slope of the trench is 2 cm by 1 m for normal soils and 3 cm by 1 m for sandy soils.
- The easiest way to drain water into a drainage well. For a plot of 6 acres, a well with a volume of 700 liters is sufficient. If the conditions allow for the drainage to be led into the gutter, this will be the best solution.
- After excavation, the slope of the bottom of the trenches is checked again. You can supply water to the trenches and see if it stagnates somewhere.
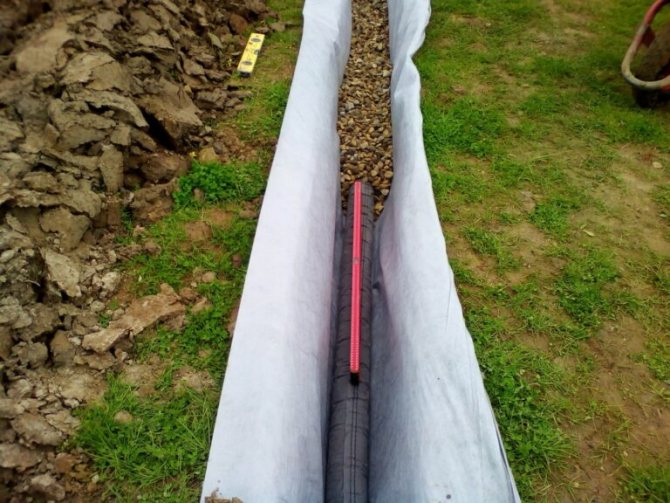
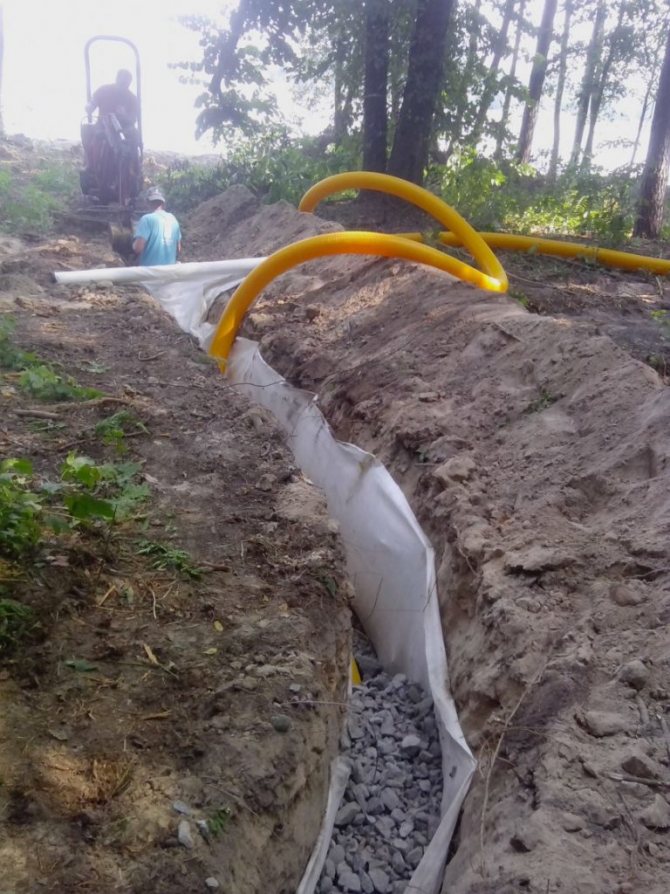
- Geotextiles are laid at the bottom of the trench. It is laid symmetrically, the edges of the panels will then be wrapped over the rubble.
- A layer of crushed stone of 30 cm is laid and closed with the edges of the geotextile.
- On top of the drainage channel, it is covered with sand to ground level.
So that the drainage ditches do not occupy a useful area, you can deepen them by 30-40 cm and fill the last 30-40 cm with fertile soil.
How to drain a summer cottage using deep drainage
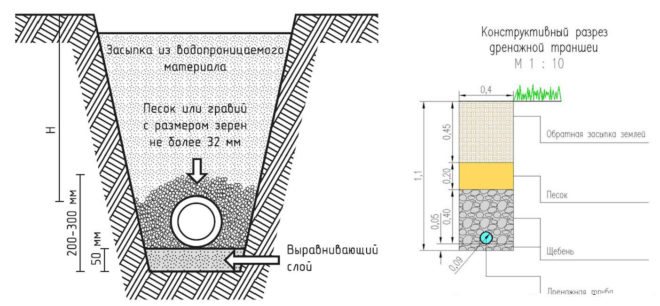

Deep drainage is the standard solution for draining sites.
The depth of the drainage placement depends on the conditions:
- To protect the foundation and basements - 0.5 m below the plane of the foundation support;
- For stony soils - 1.5 m;
- For peaty soils - 1-1.6 m;
- Under flower beds - 0.5-0.8 m;
- Under fruit trees - 1.5 m;
- For bushes - 0.9 m.
The order of work on the device of deep drainage:
- Determine on the site plan the layout of the drainage pipes and the point of water discharge into the drainage well or sewer.
- Excavation works according to the trench layout plan. The width of the trench is at least 30 cm. Observe a slope towards the drainage well of 2-4 cm by 1 m.
- At the lowest point of the drainage system, equip a drainage well or drain into the sewer. For a plot of 6 acres, a reservoir of 1000 liters will be enough.
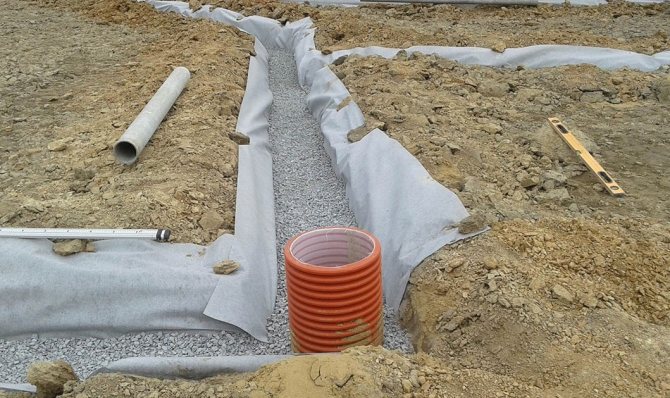
- At the bottom of the trench, a layer of sand or dropout of 10 cm is laid, then geotextile (geotextile is taken taking into account that it will close the drainage pipe like a stocking), then 10 cm of crushed stone, and on top of a drainage pipe with a diameter of 110 mm.
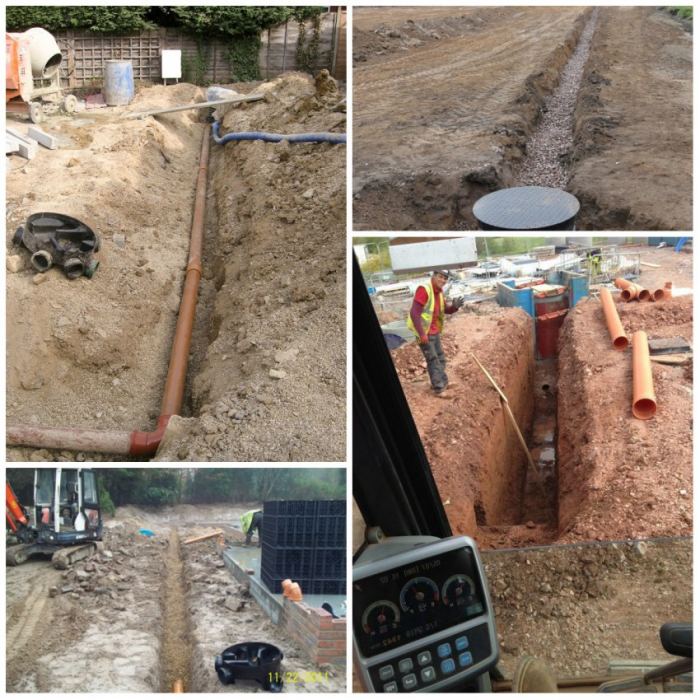
- Inspection wells are installed at the intersection of drainage pipes.
- It is necessary to check the operation of the drainage system by filling it with a significant amount of water.If the water quickly drains into the well, then you can proceed to the next stage.
- The pipes are backfilled with gravel so that there is 10-15 cm of gravel on top of the pipe. The geotextile is wrapped over the gravel with an overlap. The trench is filled with sand. The last 30-40 cm can be filled with fertile soil.
Water drainage device methods
Open way
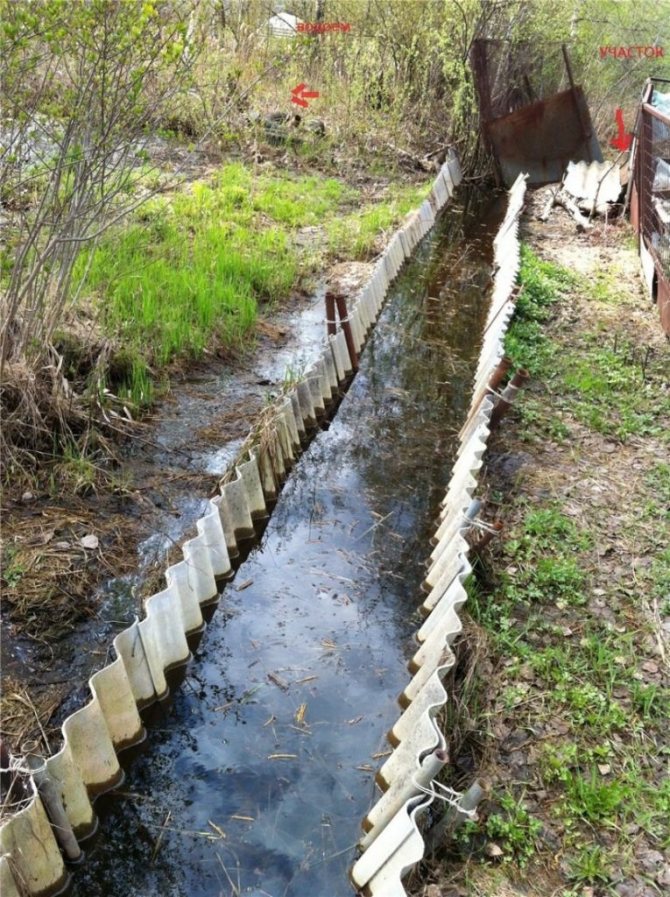
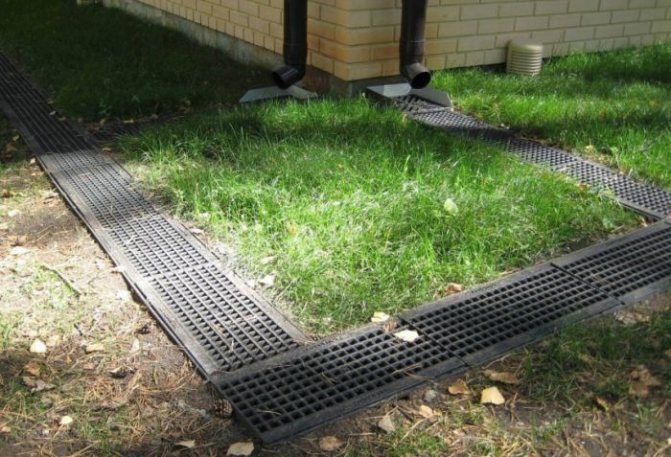
It implies the device of trays made of concrete or stone. Ditches are dug at the marked points of the site. They have an open appearance, but for safety and mainly to protect against the ingress of third-party debris of various sizes, they can be covered with decorative-type grilles.
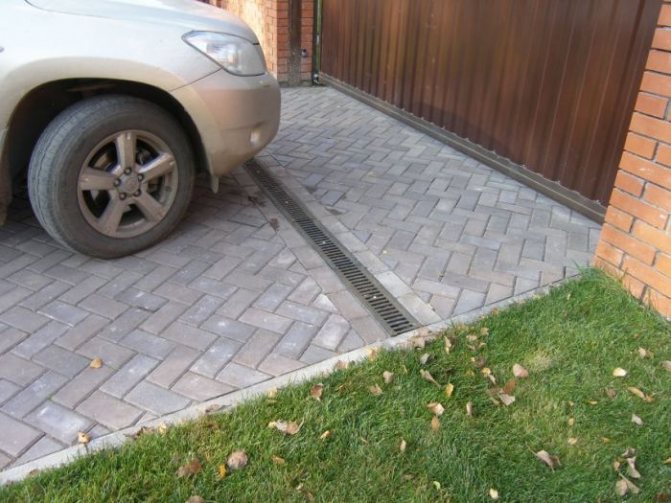

When someone needs an economical option to drain water from an area, to remove water flows from the area, exposed ditches that cover the perimeter of the area or are located at the lowest elevation of the earth's surface are the best choice.
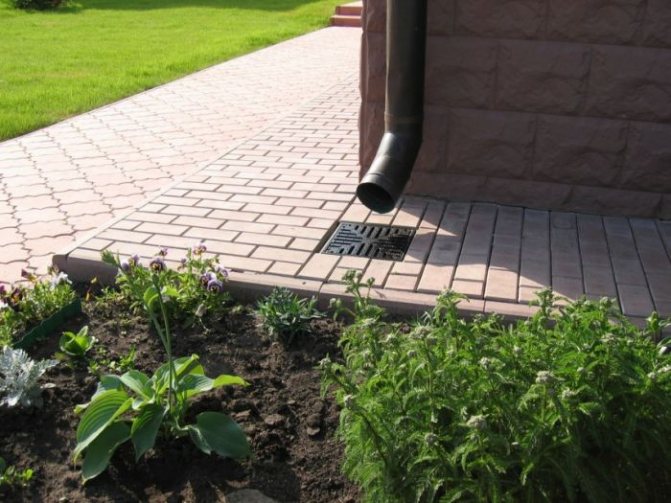

The depth of the grooves is set at a level at which significant water flows do not rise above the closing grates. The device of the walls of the grooves is carried out at an angle of 30 to avoid collapses.
Closed way
Water streams enter special permeable drainage pipes laid in the ground. Pipe wiring is led out through a hole in the interior of the storage well, or a drainage ditch, a ravine becomes the outlet area. If there is a nearby reservoir, the water flow can be withdrawn into the reservoir.
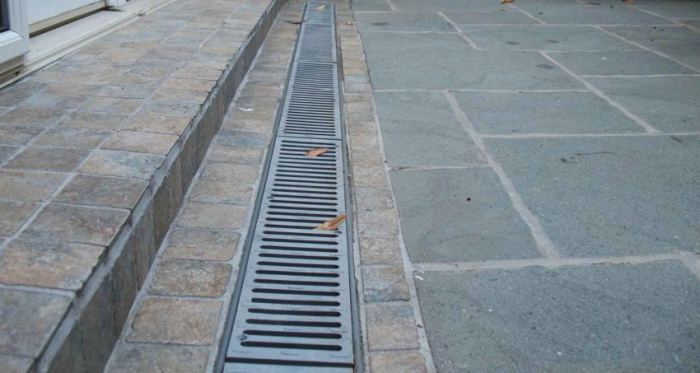

The closed type of water removal from the site is more optimal for sandy soils.
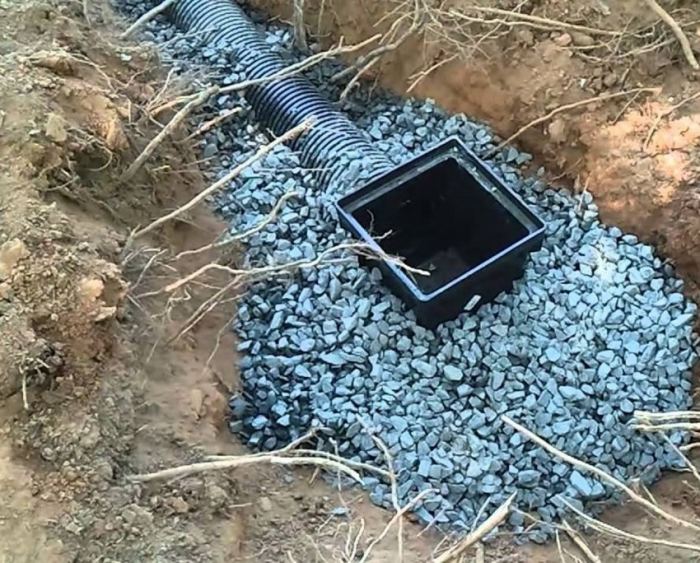

Method characterized as filling type
Drainage is arranged on a site that is located on the ground, where loam predominates or clay soils predominate. Piping is also laid in ditches, but at the same time, the underlying layers of the sand and gravel base (cushion) are preliminarily carried out. This allows water to be retained from nearby soils.
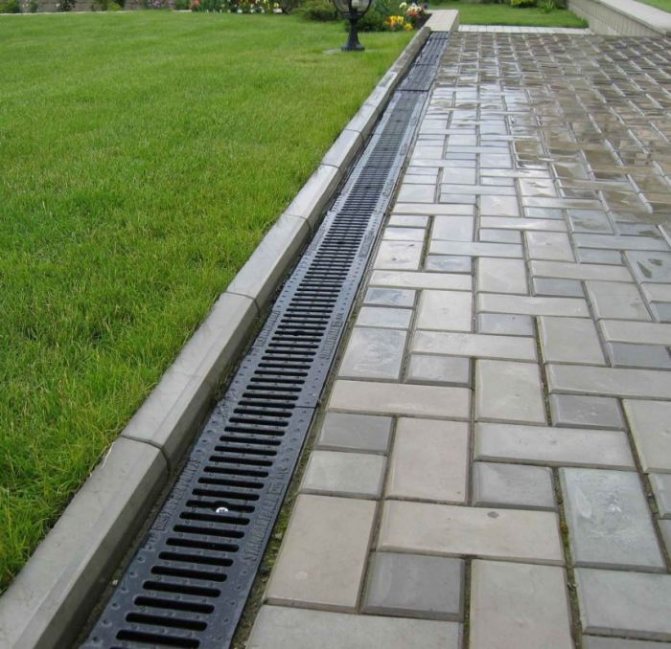

To make good drainage at the summer cottage, this issue is being thoroughly worked out. The thickness of the backfill layer is determined by the ability of the earth to hold moisture. The worse this process goes, the more powerful the underlying pillow.

Types of drainage systems
Drainage systems are divided into two types: open and closed. Where and what kind of system to use depends on the terrain and the purpose of the drainage.
Open drainage
For drainage on a land plot, the easiest way is to make an open system. To do this, along the perimeter, you need to dig open ditches 50–70 cm deep and 50 cm wide, bring them to an artificial drainage basin located at the lowest point of the site, or drain water into roadside ditches or a natural reservoir. When breaking ditches, make sure that the slope is observed, which will ensure the flow of water.
The number of ditches should correspond to the volume of melt and rainwater removed. Open ditches are not aesthetically pleasing and make it difficult to walk freely around the estate. Cover them with decorative trellises for a decent look.
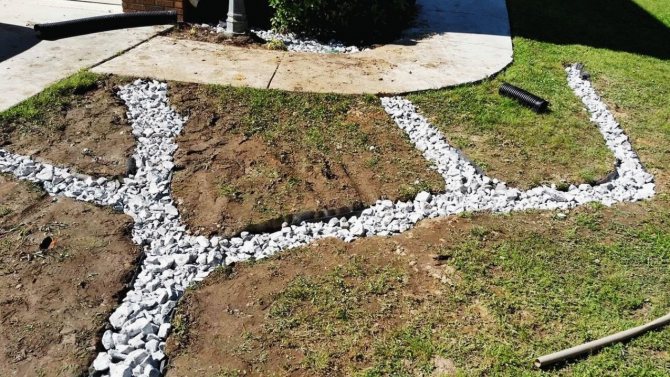
In the absence of grates, backfill drainage can be performed.
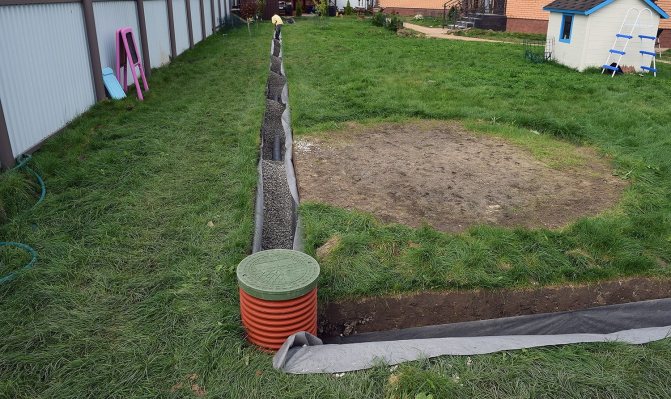
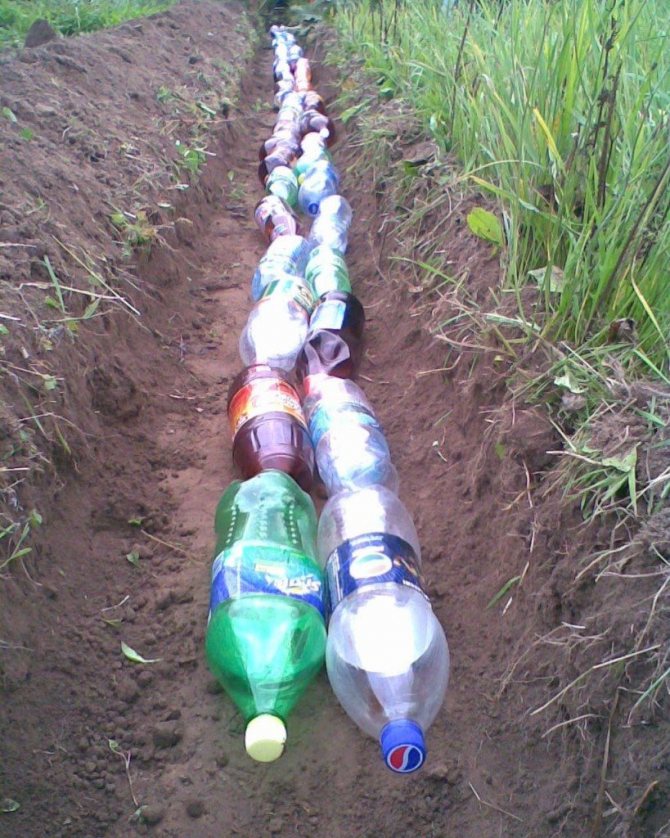
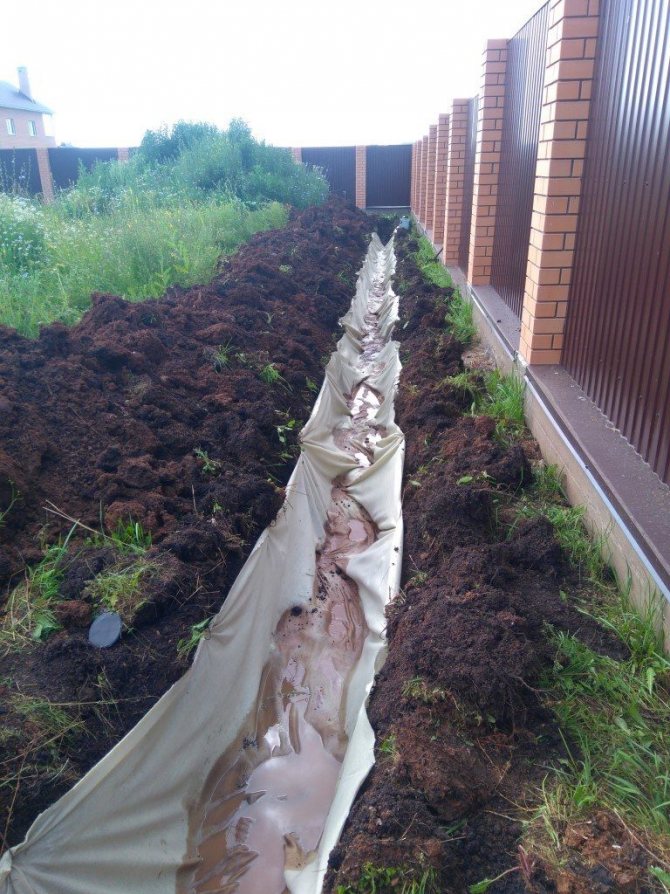
In the place of future ditches, carefully remove the sod, set it aside. Dig ditches. Fill the bottom with sand and lay geotextiles, and on top fill the ditch with large stones, rubble or (at worst) broken brick. Lay the sod on top. Such a system will last for several years.

Closed drain
Recall that a project is required for the proper execution of closed drainage. All elements of the system will be in the ground, and there should be no errors in execution, otherwise the functionality of the system will suffer.
Closed or deep drainage can be local (local) or general.
To protect the foundation of the house, basements and basements from flooding and groundwater penetration, local drainage is used, which can be wall, stratal or annular.
For drainage from the entire site, a common drainage system is used.

Linear drainage


As for linear drainage, depending on the location, it differs into wall drainage and remote from the structure. Such drainage is closed with lattice pads and collects that part of the precipitation that did not get into the point storm water inlets. Linear drainage is used in the following cases: 1. Prevention of washout of the upper fertile soil layer, which is important for areas with landscape differences. If the horizon tilts more than 3 degrees, then this is the most likely outcome. 2. If the landscape on the site is quite flat, but the site itself is located in a lowland, then during precipitation, streams of water flowing down from the height also threaten the fertile layer, as well as plants and houses. 3. Drainage of sidewalks and paths - the pedestrian zone is located on a small elevation, while moisture enters the drainage channels along a small slope. 4. Road drainage - is an ordinary ditch along the roadway.
The main types of groundwater drainage devices
At the initial stage, the most suitable type of drainage is determined. For a specific site, the systems are offered:
In the form of a local (local) construction. To a greater extent, this is the drainage of underground structures (foundations), the removal of groundwater from basements and floors located below zero. This means that the relevance of the work is very high, since the drainage of the site with a high level of groundwater is being carried out.
In the form of a general system, draining either the entire site as a whole, or a vast area of the territory.
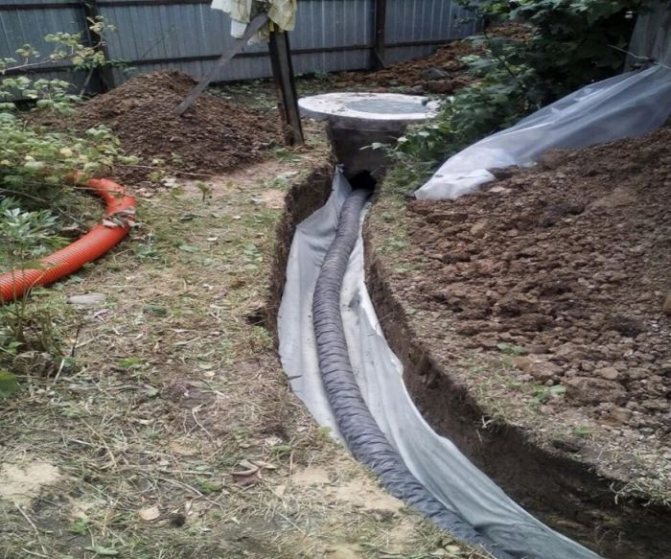

By the type, nicknamed soft due to the exclusion of the use of pipes. This type is arranged when removing water in small volumes.
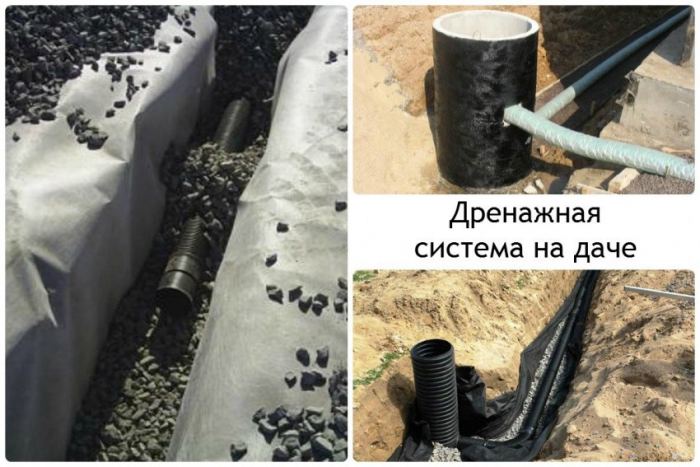

Drainage device around the house
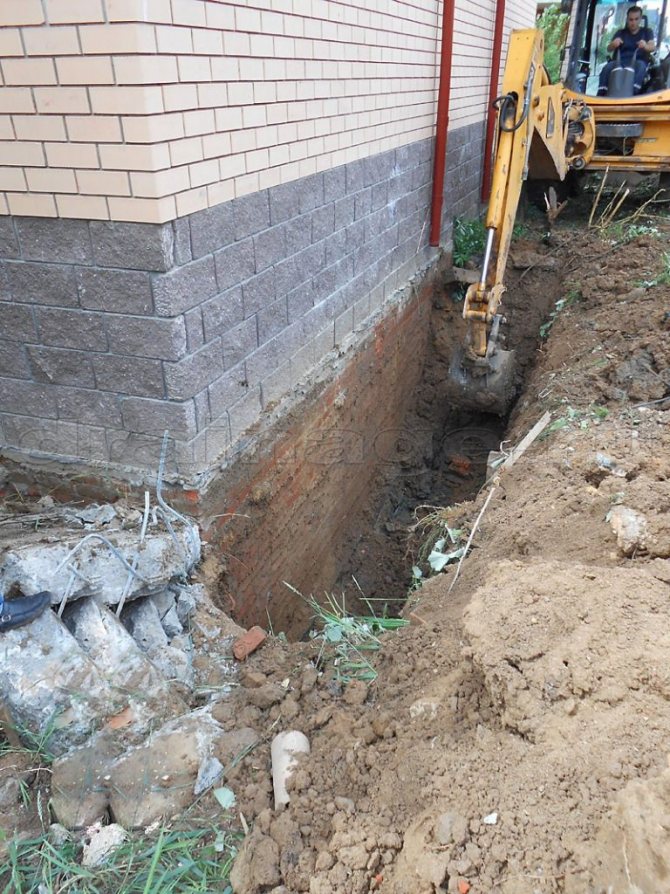
Drainage can be done during foundation construction, when a trench is being dug, or at any time if water appears under the house or in the basement. In order not to break the blind area, you can retreat 1 meter from the walls of the house, dig a trench below the base of the foundation.
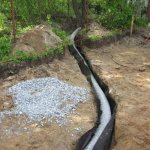
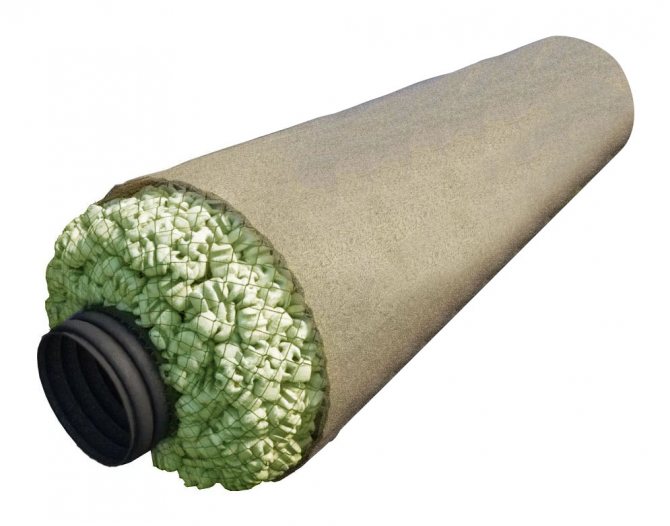
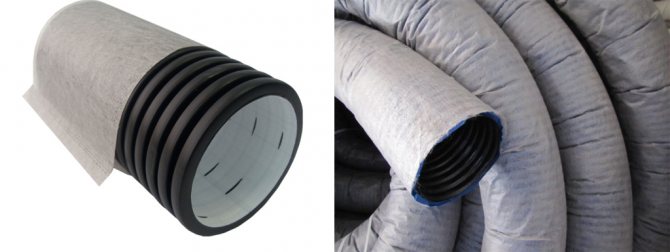
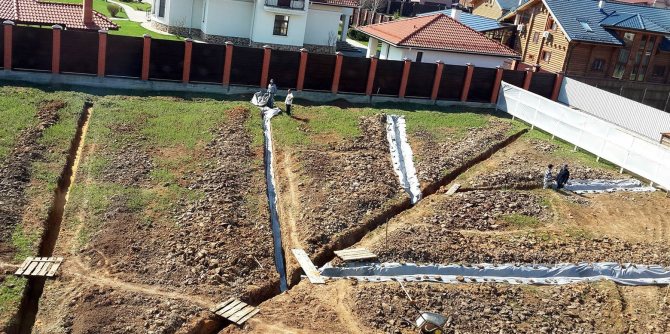
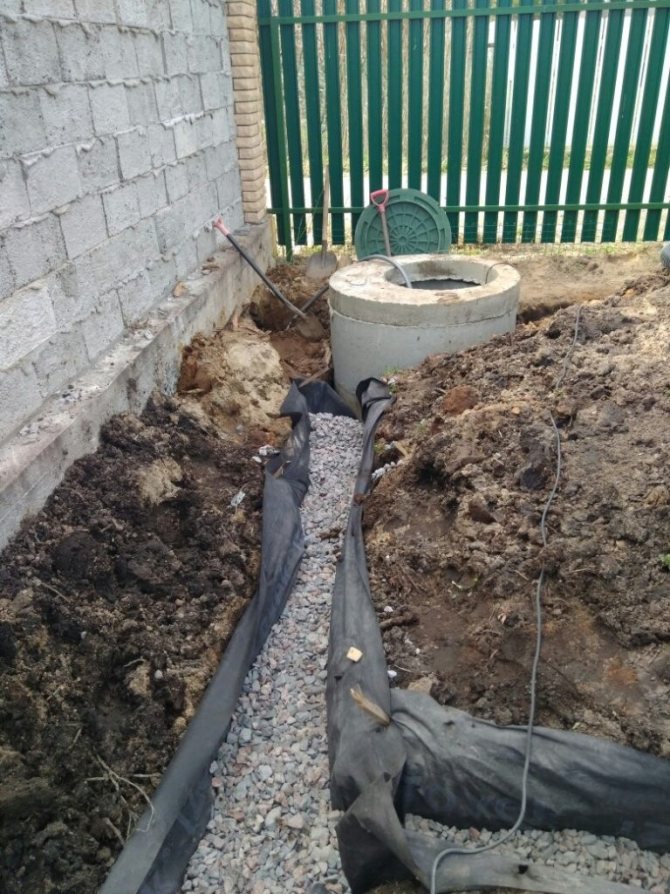
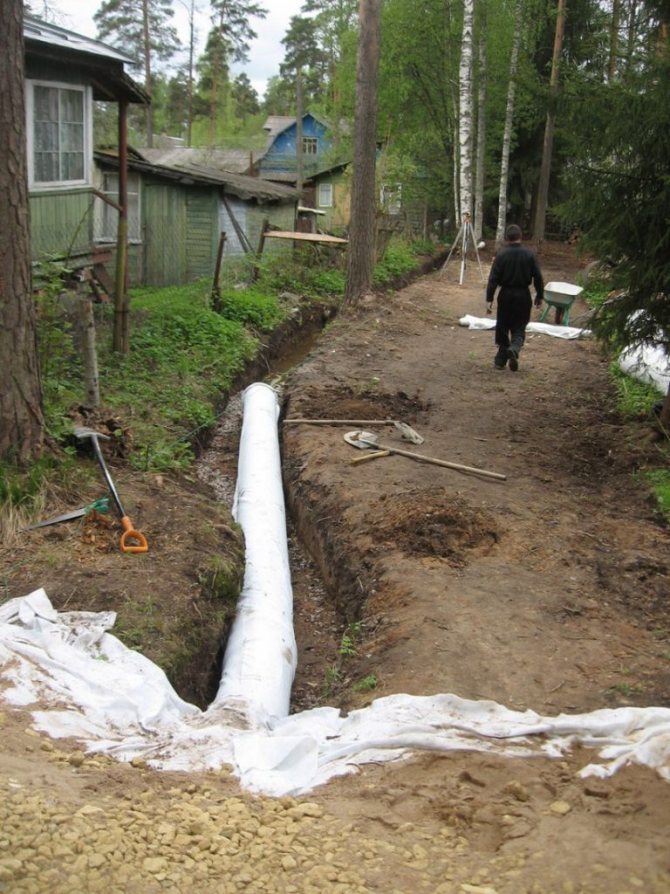
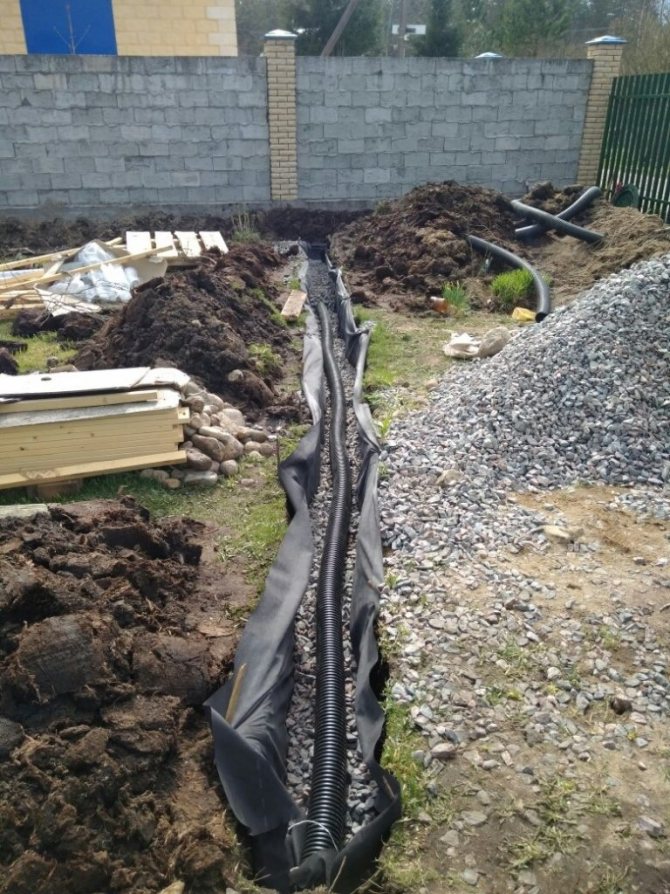
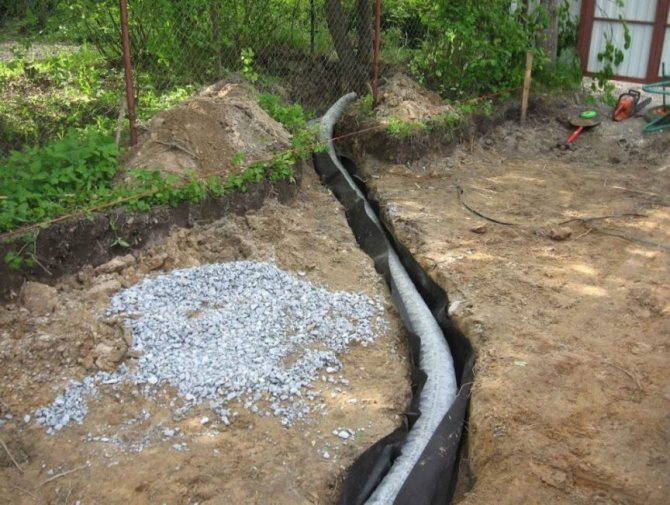
Trench bottom cover with geotextiles, pour a layer of coarse gravel 20 cm with a slope towards the water drain so that the water can drain off by gravity. Lay a corrugated drainage pipe in a nonwoven sheath on the bottom, so that the holes in the pipe face to the sides. Fill the pipe with large rubble on top, wrap it in a cloth so that the rubble is closed on all sides. From above, the drainage is covered with excavated soil or sand.
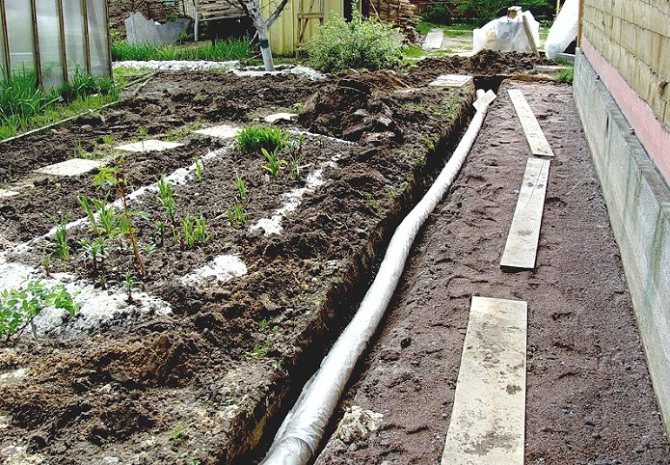

In the photo: laying drainage around the house
Storm sewer
To quickly divert storm drains from the roof from the house, in those places where roof drains are installed, you need install receiving tanksinto which rainwater will fall. These can be concrete rings, large-diameter plastic pipes, plastic barrels to which drainage pipes are connected.
In addition to receiving rainwater, groundwater will accumulate in the wells, which will be discharged from the house by drainage pipes. Wells can be used to clean pipes and to monitor the correct operation of the entire system. If everything is calculated and built correctly, then the wells will almost always be dry.
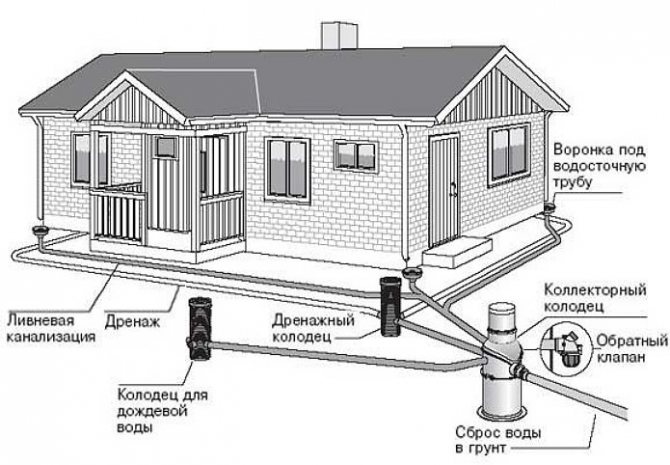

The figure shows the drainage device around the house in the country

