
Construction planning highlights
The degree of deepening directly depends on the location of the groundwater. If only part of the room is buried in the ground, then you can get up to 10 degrees of difference from the average annual air temperature. With a high groundwater level, it is advisable to build a ground storage facility.
The storage can only be accessed through the vestibule in which the stairs are located. In the northern regions with severe frosts, the vestibule is separated from the main room by an additional door to prevent heat from blowing out.
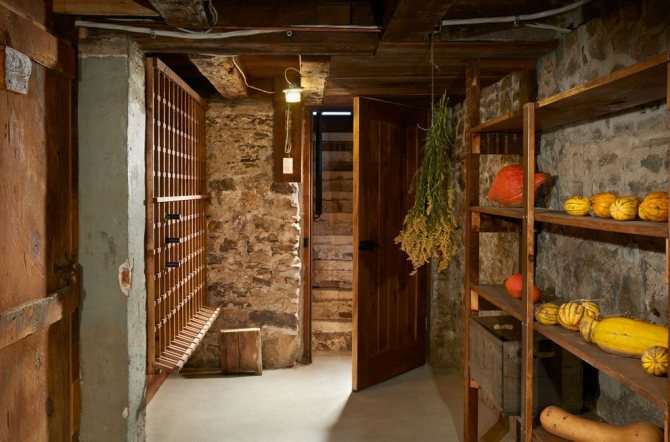
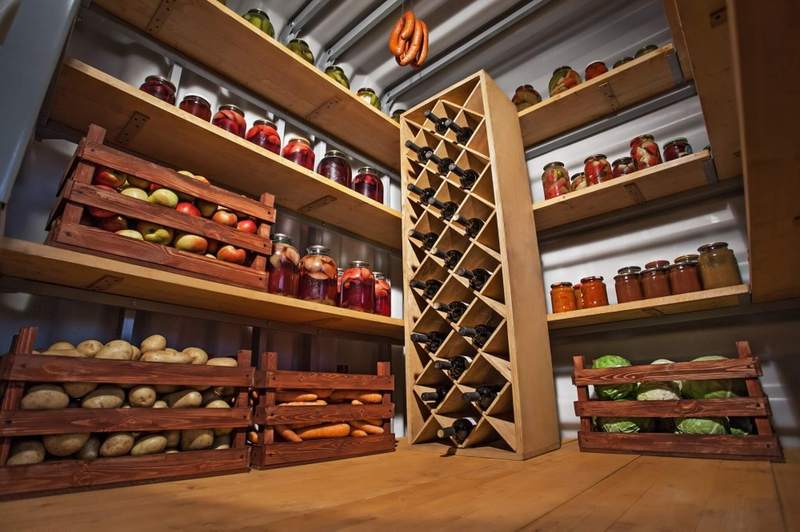
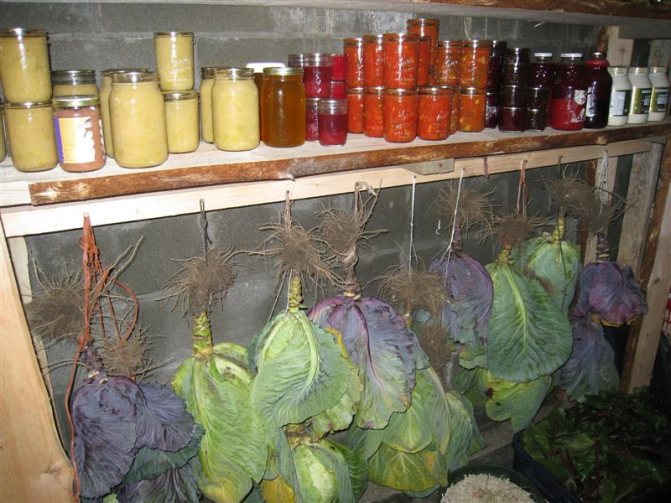
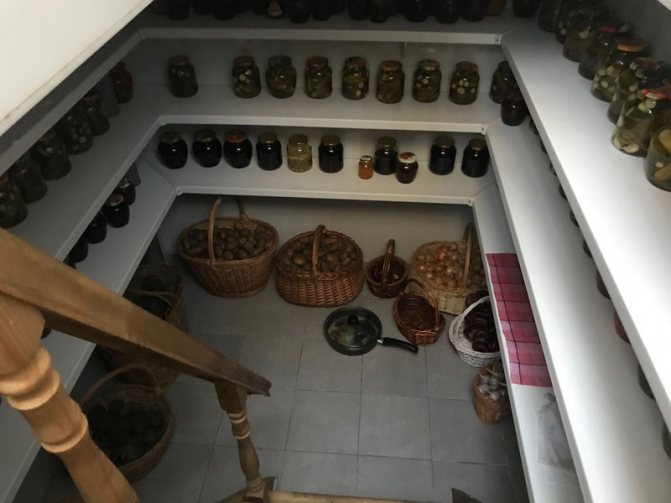
The vegetable cellar can be divided into several isolated compartments, in each of which certain conditions are created for storing various products. If the volume is not sufficient for division, then they are guided by the height above the floor level: the higher, the warmer.
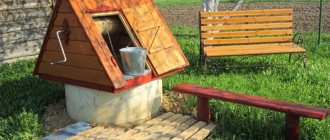
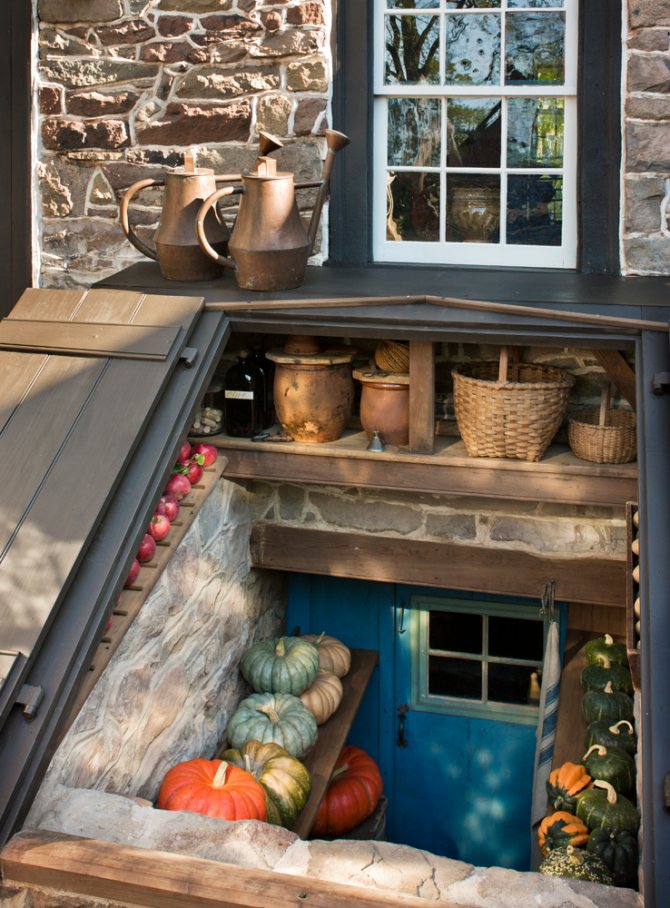
Vegetable storage (cellar) should be protected as much as possible from the scorching sun by the shade of trees or other buildings. This rule especially applies to open areas devoid of embankments. The entrance is made from the north or north-east side. This arrangement will keep the storage cool even during extreme heat.
It is enough for one family to have a vegetable cellar with an area of 6-7 square meters. An increase in these dimensions will also require additional funds for the construction and maintenance of the cellar.
Instead, it would be more rational to invest money in providing reliable waterproofing and ventilation. They will allow you to better preserve vegetables and products, protecting them from premature spoilage.
Choosing a place
Living quarters are not suitable for this purpose for several reasons:
Insufficient volume of premises.- A separate room will be required.
- The need to comply with temperature and humidity conditions, the norms of which are different for housing and food storage.
- Excessive illumination of residential premises.
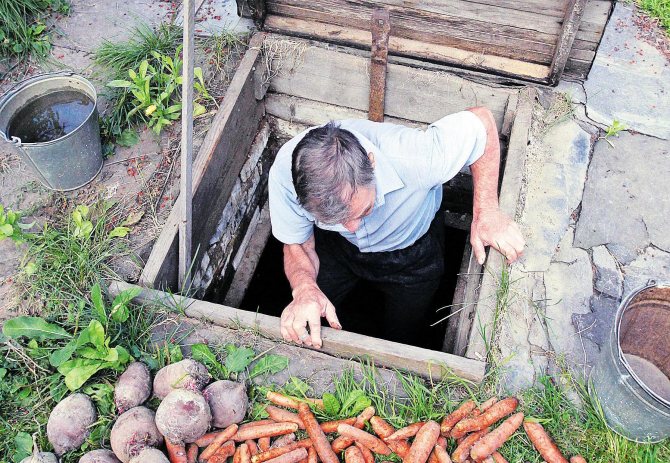
If you knew about this in advance and took care of the basement device, which performs the functions vegetable store or wine warehouse, it's good. But situations often arise when there is no basement (or it is not suitable for these purposes), but there is a storage problem. And here we will be helped by such a solution as the device of a separate cellar on the site.
The place for the cellar must have the following characteristics:
- as little illumination as possible, so a place on the shady side of the house is suitable;
- the lowest possible groundwater level.
And if we solve the first question in inexpensive ways, then it depends on the second which design of the cellar we will choose.
Today we will consider the most difficult case - the construction of a cellar on heaving soils with high GWL, since it is precisely such soils that are common in the European part of our country, especially in the northwest. There are two difficulties that await you in the construction of an underground structure with such soils: the threat of flooding and destruction under the influence of the forces of frost heaving. Therefore, we will tell you how to build a cellar in the country with your own hands step by step.
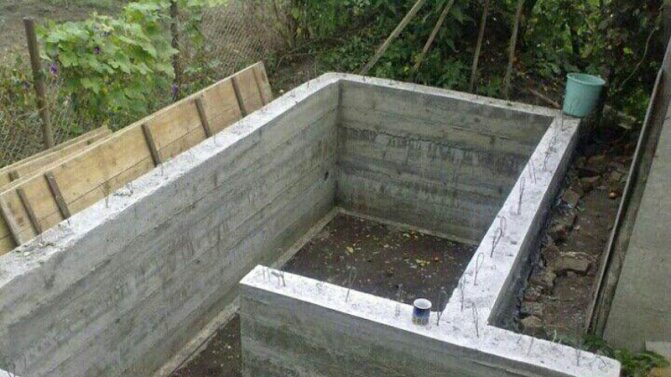
Foundation
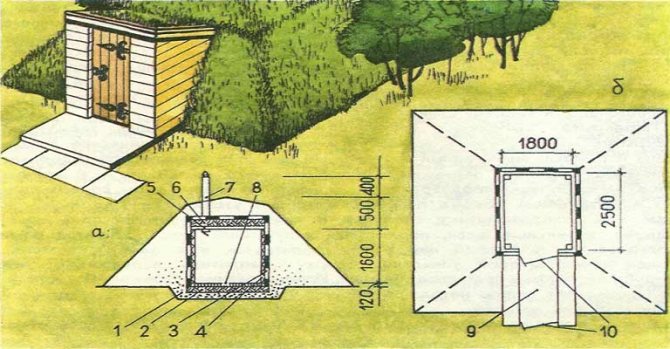
The place for building a vegetable cellar should be located away from trees and water. Highlights of foundation construction:
- When making a pit, be sure to take into account the thickness of the walls of the storage facility.In this case, the base of the pit will increase on each side by 20-30 centimeters.
- The foundation must be at least 30 centimeters deep. Groundwater should not reach the floor at least 0.5 meters.
- The dug hole is fenced with external formwork. She will protect the earth from shedding.
- Foundation pillars should be installed in the corners. They are placed on a concrete base 0.1 meters thick and concreted.
Options for creating a waterproofing floor:
1. Pour a layer of sand mixed with rubble or fragments of bricks on the bottom of the pit. With a close location of groundwater or a large deepening of the vegetable cellar, sometimes a layer of crushed stone is watered with hot bitumen.
2. If the site is damp, then a layer of sand is placed on the bottom of the pit. Roofing material or other waterproofing is laid on it. The pieces should be laid with overlap, and the joints should be glued with bitumen. River sand is again poured on top to the level of the storage floor.


Active drying of the cellar
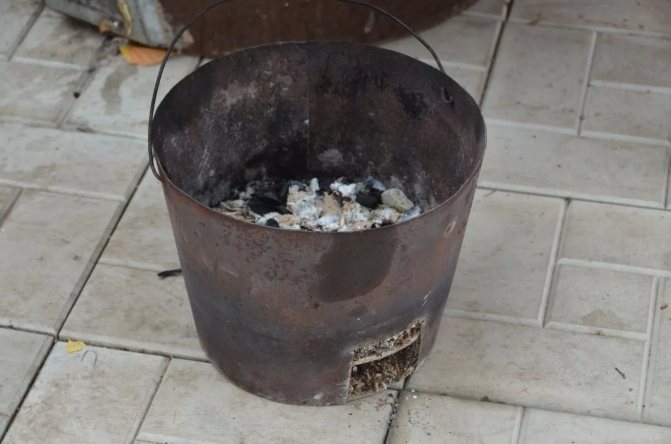
When using the ventilation system described above, the cellar is dried naturally. But sometimes - especially in spring - problems with excessive humidity in this room still appear. The easiest way to dry is to use regular candles. Technologically, this operation will look like this:
- Extend the inlet almost to the floor. In this case, it is worth using an extension from a piece of metal pipe.
- Place a lighted candle under it.
- Change it as you burn out.
The candle should be installed in a metal container. A fire can even break out in a damp basement. Of course, the candle should be installed in such a way that it does not heat the edge of the pipe. In this way, you can dry the basement in a couple of days.
Walls
If the soils at the construction site are wet, or have a tendency to heave, then the walls of the cellar should be made of concrete (M350) with mandatory reinforcement. If the soils are dry, then brick or stone can be used as a material.
Walling:
- It is necessary to prepare the formwork and lay the reinforcement in the form of a grid of 0.4x0.4 meters.
- Concreting is carried out in layers with compulsory tamping.
- The vertical row of fittings protruding from above is connected to the fittings in the ceiling of the room.
- After the completion of the concrete work, the formwork of the walls of the cellar is left for at least another month. This time is enough for the concrete to harden well.
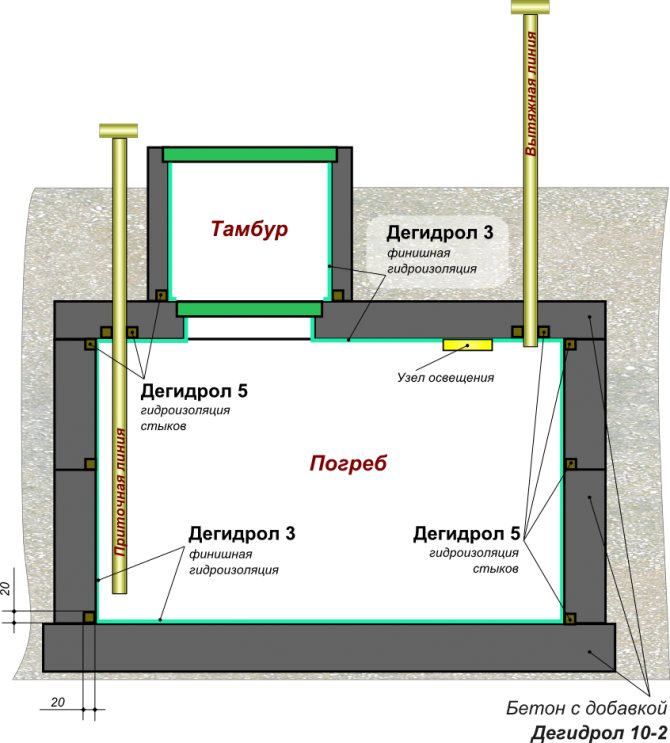
Tambour and steps
Storage types with a deep foundation include a compact vestibule and a cellar for storing vegetables. The room with shelves can be accessed by a staircase separated from the cellar by another door.
The air in this intermediate room acts as a heat insulator and helps maintain normal storage conditions.
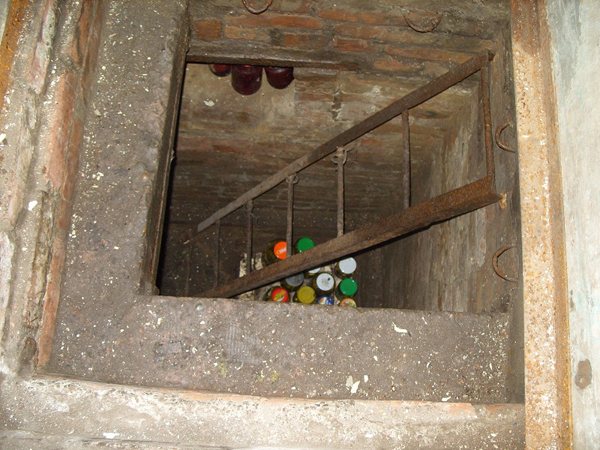
When planning a storage for vegetables and products, do not forget to decide on the number of steps and the size of the concrete base of the stairs. The ladder is mounted on a ten centimeter thick layer of lean concrete. The width of the steps is more than 20 centimeters.
Making stairs:
- It is necessary to connect the roofing material on the floor with the waterproofing of the walls of the cellar.
- Installation of timber formwork.
- The base of the stairs is made of M250 concrete.
- On the platform at the bottom of the stairs, a recess with a grate for collecting precipitation should be provided.
- Steps and walls can be finished with ceramic tiles.
- You can drill the holes you need to attach the racks.


Overlapping
In the process of manufacturing the ceiling of the vegetable storehouse, permanent formwork is used. Concrete grade is selected not lower than M250.
Stages of work on the installation of the floor:
- The pit is covered with a deck made of logs or beams.
- On the installed horizontal base, a mesh of reinforcement is laid with a step of 20 centimeters. The reinforcement of the ceiling and walls of the vegetable store is connected with a wire.
- The concrete is poured in stages.Each layer is carefully tamped to avoid voids.
- During drying, the concrete is sheltered from rain and sun.
- The uniformity of solidification can be achieved by wetting with water.
- The solidified cellar floor slab should be left for at least 3 weeks. Only then can the construction work be continued.
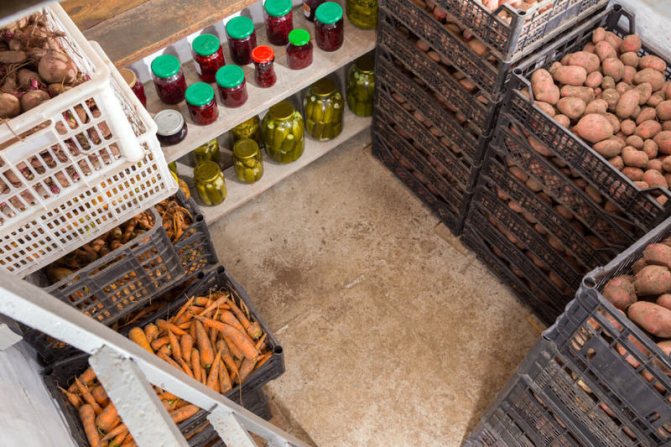
How to deal with dampness in a cellar
Inspection of the cellar will reveal areas of high humidity. How to define them? Musty air, drops on the wall are signs of high humidity. The main stages of work:
- ventilation of the cellar;
- racks, shelves are taken out to a lighted place so that sunlight destroys germs;
- all boxes and containers should be treated with a solution of formalin or copper sulfate;
- boards damaged by rot or mold can be burned with a soldering iron or replaced with new ones;
- placing boxes of coal, salt will help to naturally absorb excess moisture;
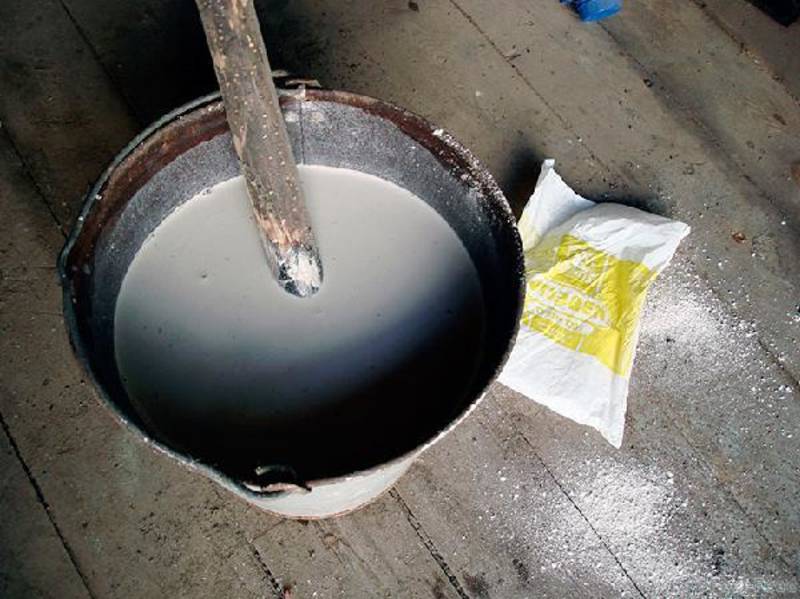
- Whitewashing the walls with quicklime will help reduce air humidity and disinfect surfaces.
Waterproofing
To protect the vegetable store from external moisture, the following measures are taken:
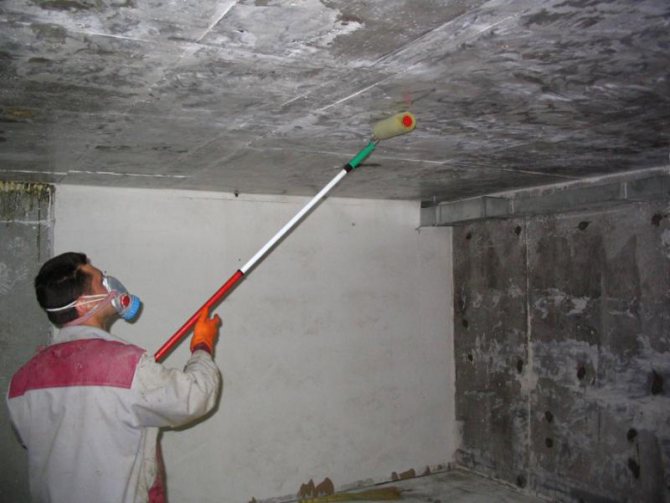
- The walls of the cellar are protected with a primer and liquid mastic.
- On top of them, sheets of roofing material are fused. Subsequently, it must be connected to the waterproofing of the base.
- The outer surface of the walls of the vegetable cellar should be insulated with expanded polystyrene.
- The slab is insulated from above with roofing material in two layers.
- Crushed stone and sand are poured on it. The latter can be replaced with expanded clay.
- All this is covered with geotextiles and soil.
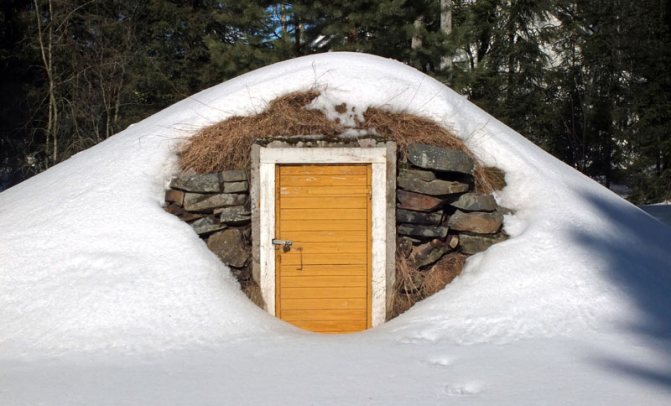
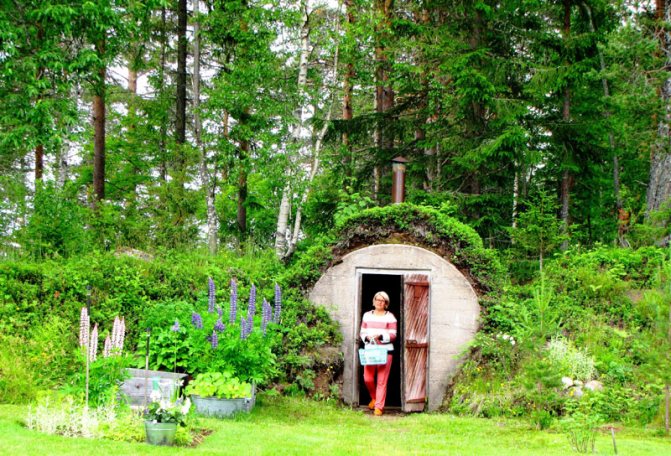
An earthen mound will serve as good thermal insulation for the cellar.
To prevent soil leaching, it should be planted with vegetation that forms a solid sod layer.
The resulting earthen rampart can serve as a springboard for the embodiment of many of the author's ideas in the field of landscape design.
Before the hill is covered with a layer of soil, the ventilation system of the cellar is installed.

Ventilation
High-quality storage of vegetables will be difficult or impossible without an effective ventilation system.
- During air exchange, temperature and humidity are regulated.
- The circulating air helps prevent condensation and rot on vegetables and fruits.
- The location of the ventilation system pipes has some variations depending on the depth and area of the storage facility.
- Usually the air is discharged through the roof. In some cases, holes are arranged in the wall.
- Supply and exhaust ducts are made of large diameter plastic pipes (about 100 mm).
- The air flow in the cellar is regulated with dampers.
When designing ventilation, the following principles should be followed:
- The air exhaust pipe should be located close to the ceiling.
- The air intake pipe is just above the cellar floor.
- The pipes must have an exit to the outside.
- The space between the concrete and the pipe is filled with polyurethane foam
- Street openings of pipes are closed from precipitation with "umbrellas".
Functioning principle
The principle of operation of such a ventilation system is as follows:
- Cold air is heavier than warm air and is concentrated at the bottom of the room. When the outside air temperature drops below the cellar temperature, warm currents rush through the chimney to the street.
- At this time, cold street air enters through the supply pipe. Constant air exchange is possible, as a rule, at night when the outside temperature is at its lowest.
- It is recommended to close the dampers during frost.
The ventilation ducts can be made of concrete. For this purpose, a hole is made in the ceiling of the vegetable cellar, formwork, fittings are placed and poured with concrete. For waterproofing, roofing material is used, which is sprinkled with fine expanded clay.

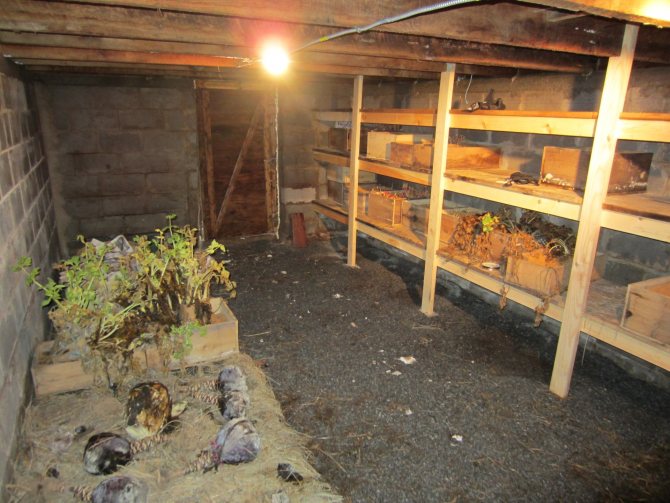


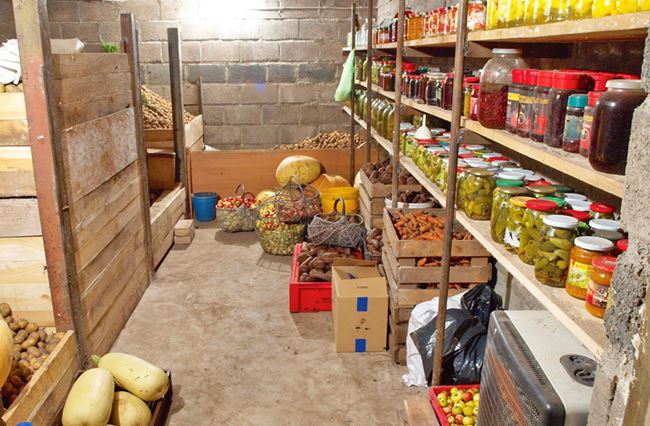
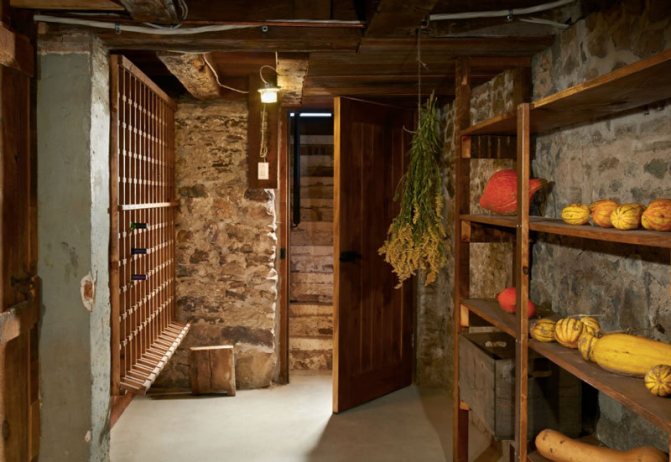
What happens in the cellar
Often housewives complain that preserves are not preserved even before the beginning of winter (tears off the lids), in winter cans burst from frost, and vegetables rot. This is because the cellar is not properly equipped. It's too hot in summer and cold in winter. In addition, the cellar may not be equipped with a ventilation system.
Fresh articles about garden and vegetable garden
Salting cabbage in February 2020 according to the lunar calendar
How to treat pepper seeds with hydrogen peroxide before planting seedlings?
Processing pepper seeds before planting seedlings with potassium permanganate
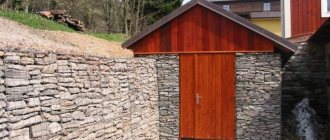
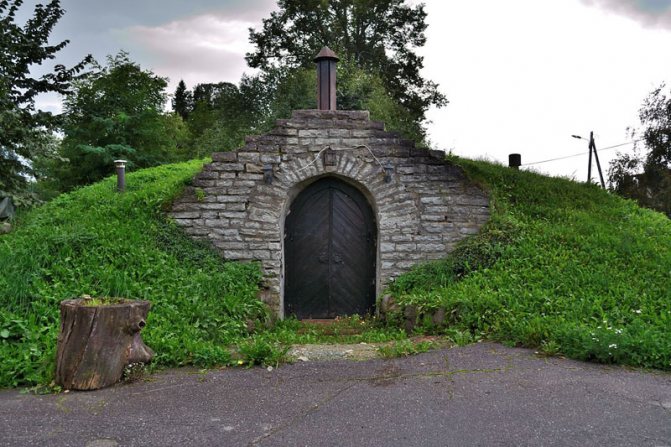
Facade decoration
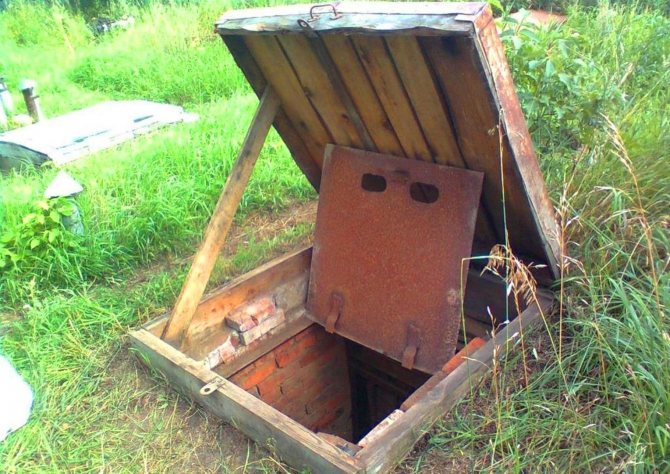
The front door should fit well to the frame in order to exclude the possibility of drafts and cold getting into the room.
- In small vegetable cellars, in the absence of a vestibule and the location of shelves at the entrance, the use of a door consisting of two parts is justified. It will provide the ability to get food through the upper part of the door, will not allow cold air to go outside, since it is located in the lower part of the room.
- The facade can be decorated with ceramic tiles or stone.
- Before entering, it is advisable to lay out a platform of paving stones.
If you make a vegetable cellar for storing food according to all the rules, then it will serve you for many years. With the help of landscape design techniques, you can make this object not only functional, but also beautiful.
Holzer pipe. Permaculture. Holzer's Monk
"Monk" is a device for draining water, consisting of a square or round shaft, in the grooves of which retaining flaps are inserted to maintain the desired water level. This device is absolutely essential for the professional fish farmer to drain the water from the pond.
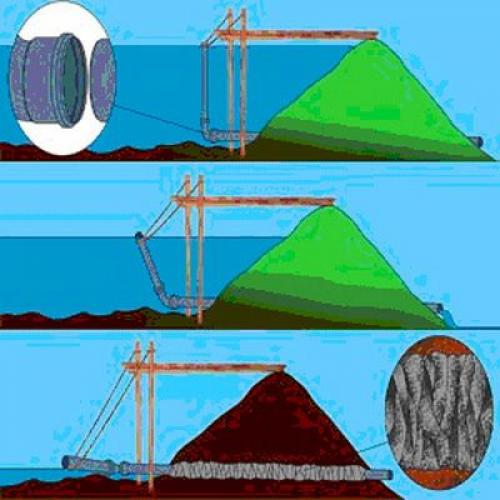
However, there are many problems with the monk, for example, freezing or jamming of the retaining plates. Therefore, after many experiments, I invented the so-called bowing monk. With the help of a vertical freely tilting pipe - a riser connected to a horizontal drain pipe - a sunbed, the water horizon can be adjusted smoothly, easily and with high precision.
Since this is my personal invention, he is called "Holzer's monk." The drain is easy to build on your own. Since the system must be frost-resistant, I decided to use plastic pipes. My method is as follows: at the deepest point across the dam, almost horizontally - with a minimum outward slope - a drainpipe is laid. This horizontal pipe opens into the pond approximately 2–3 meters from the base of the dam. An elbow with a right angle of bend is attached to the end of the pipe, into which a vertical pipe is inserted from the other side. To regulate the water level in the reservoir, this vertical pipe must necessarily remain mobile and retain the ability to tilt from side to side.
The most difficult technical challenge is a hermetically sealed and at the same time movable pipe joint. To connect the pipes to each other with sealing rings, liquid soap is usually used. However, after a while, it is washed out, and the fastening of the pipes at the docking points again becomes motionless. If you remove the gasket, the pipe connection will become mobile, but not tight, and water will constantly flow out of the reservoir.
The solution to this problem was the use of large-sized drinking water pressure pipes with a diameter of 15-20 cm. I use expensive (blue or gray) pressure pipes, not cheap (orange) sewer pipes, because they have a long connecting pipe (pipe coupling) and these pipes are much more stable than sewer pipes. A long sleeve is needed to seal the butt joint. If I remove the double or triple o-ring from the horizontal pipe coupling and on the pipe elbow and simply insert the pipes into one another, the pipe elbow will remain movable, allowing the vertical pipe to tilt from side to side.
Sealing of joints on pipes is achieved using a mixture of coarse-fiber peat soil, sawdust and horse manure. I scatter several pitchforks of this mixture around the outer circle and wait for it to settle in the water around the pipe.The smallest fibrous particles from this mixture are sucked together with water into the gaps of the pipe coupling created after the removal of the O-rings and completely seal them. Now the water does not flow out, and the pipe remains mobile. This system has proven itself in the best possible way at typical pond pressures of no more than 1 bar. In a pressurized water supply system, this method would not be possible.
For extreme cases associated with high water pressure, for example, when a pond is located high in the mountains or is created in a complex geological environment, additional measures will be required, the description of which is beyond the scope of this book. In such situations, in no case should amateurs work, it is imperative to consult a specialist.