For the manufacture of greenhouses on their own site with their own hands, various materials are used, ranging from wood to metal. Craftsmen did not ignore such material as PVC.
Do-it-yourself greenhouses made of PVC pipes with your own hands can be found quite often. This is due primarily to the relative cheapness of the material, good workability, lightness and sufficient elasticity.
Preparatory work
We need the following materials:
- Slats 1 cm thick for fastening the film.
- Edged board 150 mm by 40.
- Steel wire.
- Polyethylene film or polycarbonate sheet (required for outer cover).
- Beam 50 mm by 50 mm.
- The armature is 80 cm long and 1 cm in diameter.
- Self-tapping screws.
- Polypropylene fittings (tees, etc.).
- Nails.
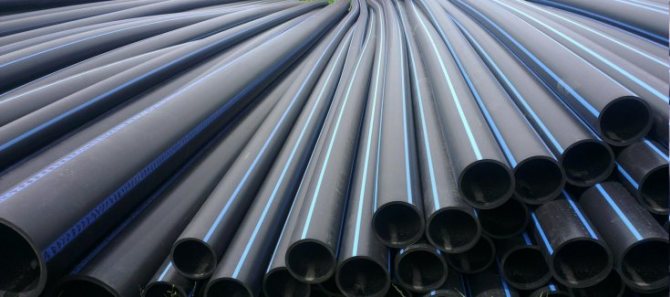
- Polypropylene pipes or PVC pipes.
We also need the following tools:
- Drill.
- A hammer.
- Sledgehammer.
- Gas-burner.
- Knife.
- Hand saw.

Option for the lazy and impatient
Materials (edit)
Let's take the bull by the collar right away, and determine the required amount and name of building materials and consumables that we (you) need. It:
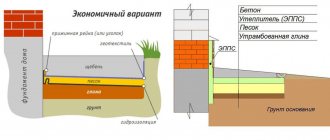
- Planks and wooden blocks on the base device. Because no foundation is required for such a lightweight structure. The thickness of the boards is maneuverable, from 20 to 40 mm, but this is for a large scale. Bars - from 25x25 mm.
- The pipe is plastic, PVC, white or any other. Initially, let's focus on the specific dimensions of the future greenhouse, and we will prepare a 13 mm pipe 6 meters long in quantity 19 pieces.
- Steel fittings or steel rods with a diameter - so that they fit tightly inside the pipes. Enough 10 pieces length 80-100 cm.
- Greenhouse film, dense, choose any on the market or in a store, preferably - stronger (see Reinforced film for greenhouses - how to choose). Standard width, 24 linear meters.
- Consumables: plastic or aluminum clamps, small wooden boards (50 pieces), door hinges and handles, wood screws, any small nails.
Important! The wood must be good, all elements are treated with an antiseptic or impregnated with at least linseed oil. You can do both, and even paint.
For those who love harder ...
Addition: a greenhouse can be built from metal-plastic pipes, the device process is similar, choose the material yourself. Unless it costs more. It will definitely not be stronger.
Site selection
You need to carefully select a site and take into account many factors, here are the most basic ones:
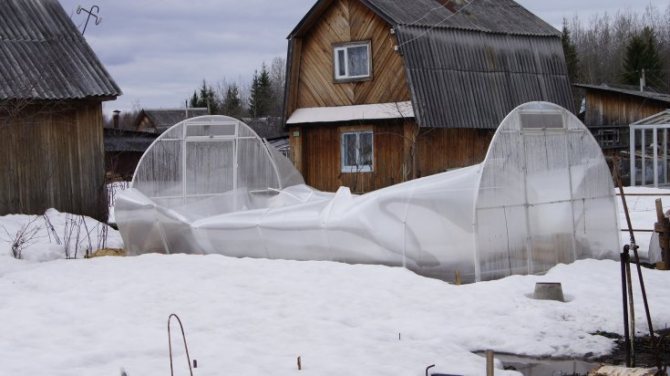
The area must be well lit by the sun and well ventilated.
Avoid areas where a lot of snow accumulates in winter. Firstly, when it accumulates, this snow will most likely crush the walls, and secondly, when the snow begins to melt, then most likely the ice will destroy the base.
The surface must be flat, otherwise moisture will evaporate and condensation will drain to one side.
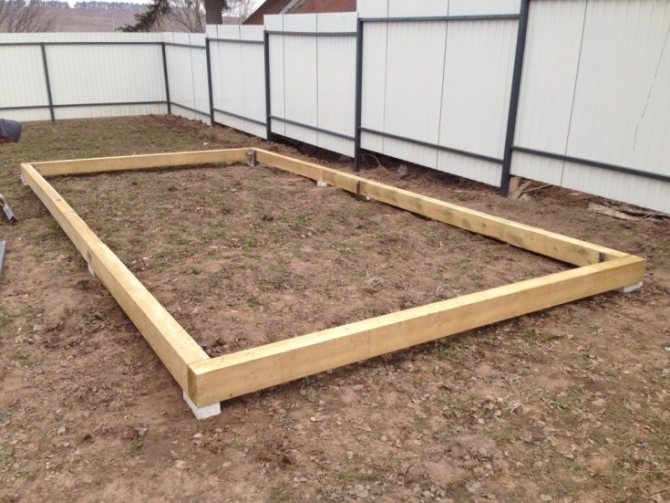
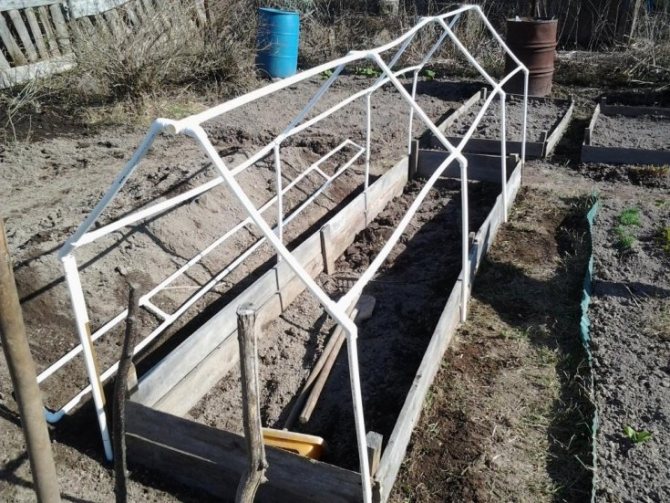
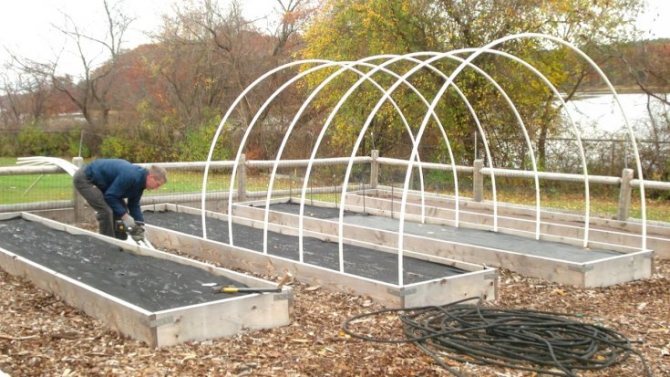
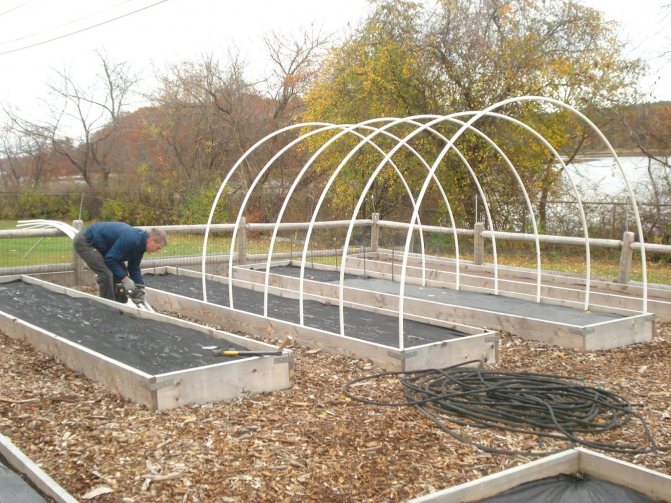
Assembling the base
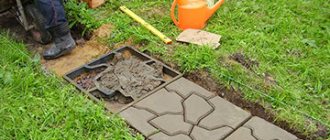
It is not necessary to make complex drawings for greenhouses from pipes, it is quite possible to do without them. First of all, we take a bar and assemble a reliable base, you need to make a marking at the ends of the bar at an angle of 45 degrees.
Then you need to screw the timber to each other using self-tapping screws, as a result we get a rectangular base.
After that, you need to measure the angles, check that they are 90 degrees. Install a timber structure in the area where the greenhouse will be located in the future.
Check it out here!
Do-it-yourself grill from a gas cylinder: step-by-step instructions, choosing the optimal size and tips for choosing projects (110 photos)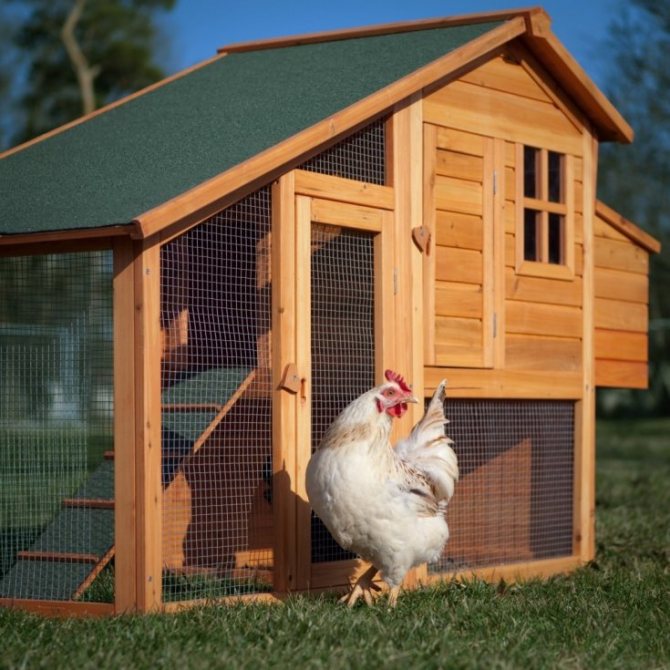
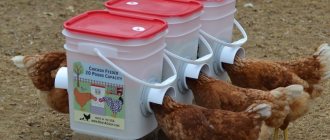
Do-it-yourself winter chicken coop: device, layout, insulation, heating. 80 photos of warm chicken coops

How to make a snow blower with your own hands: manufacturing methods, diagrams, drawings, construction options and application nuances (100 photos + video)
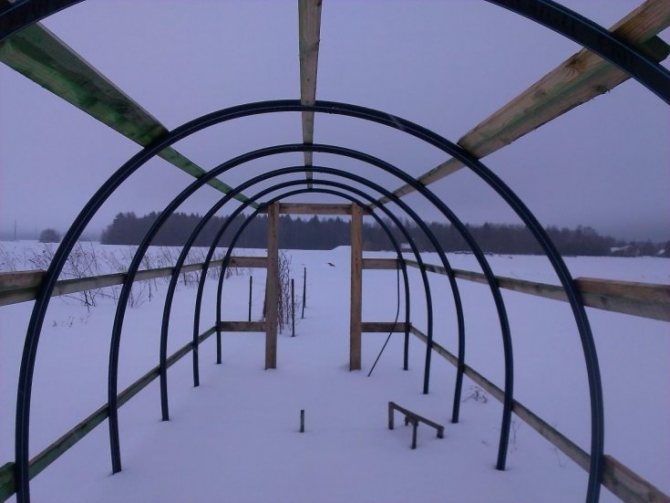
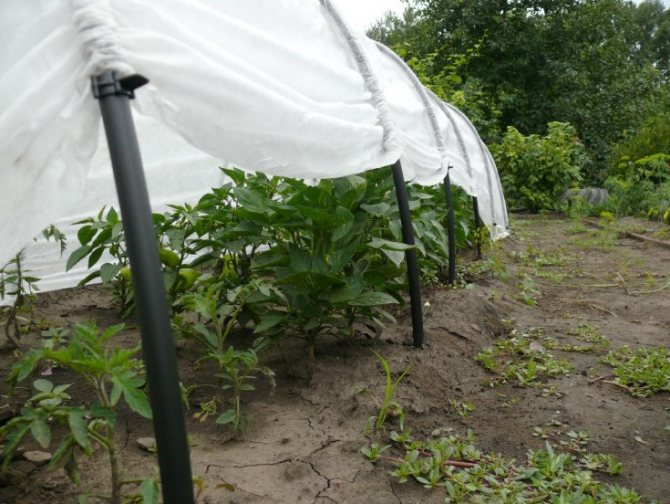
Now take the reinforcement and hammer in the timber from both sides, you need to hammer with a sledgehammer, since you will be doing this with a hammer for 10 years.
It is necessary to hammer until the fittings will not stick out by 30 centimeters. Just do not overdo it, because with a sledgehammer you can also break our base from a bar.

Operating tips
In order for a large greenhouse made of polypropylene pipes to serve for a long time, it is advisable to follow the following tips:
- it is necessary to regularly wash the polycarbonate greenhouse with water and non-aggressive detergents;
- polycarbonate is "afraid" of high temperatures and open fire, from which you need to protect the greenhouse;
- the place for the greenhouse should be sunny and with good circulation of fresh air.
The greenhouse should be protected in every possible way from the influence of high and low temperatures, as well as from mechanical damage that can break it.
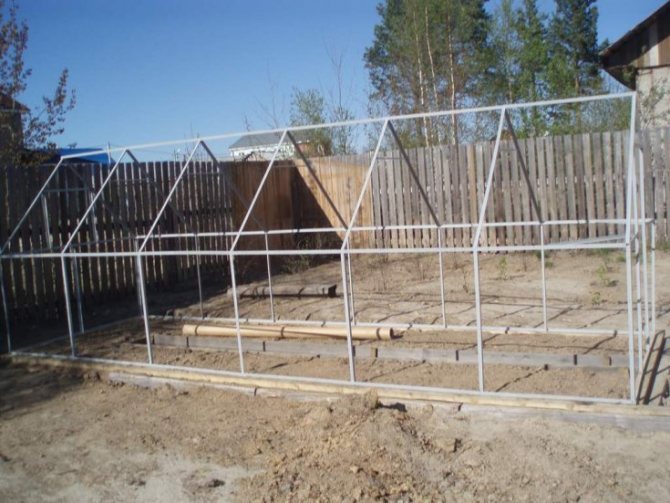
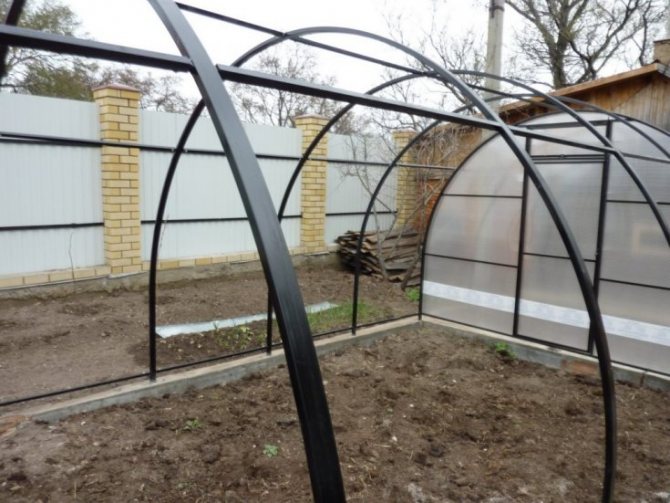
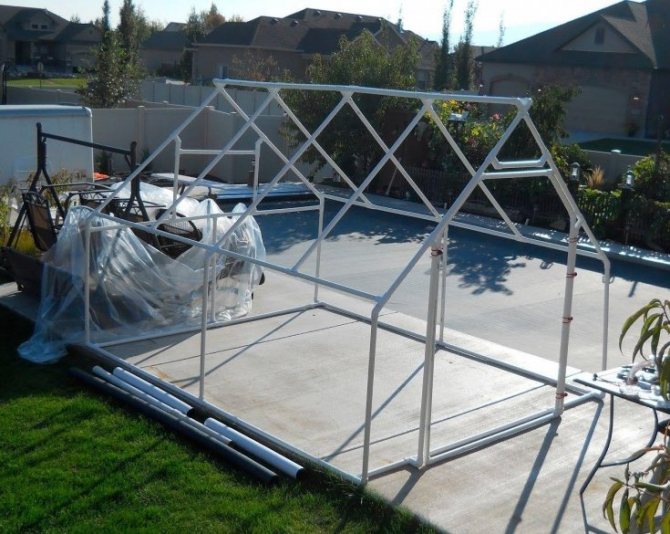
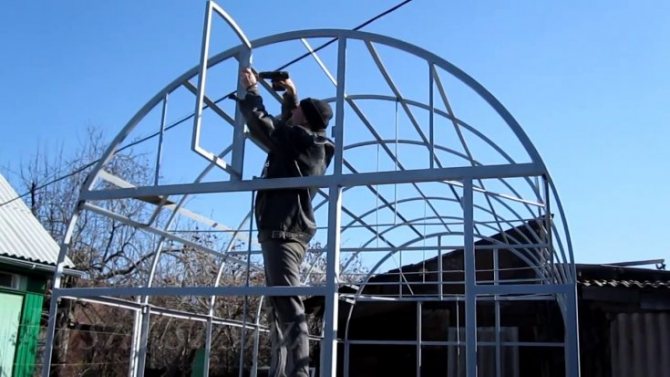
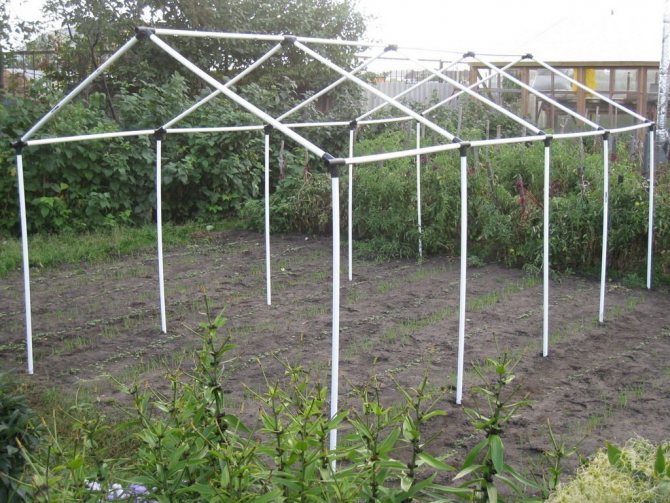
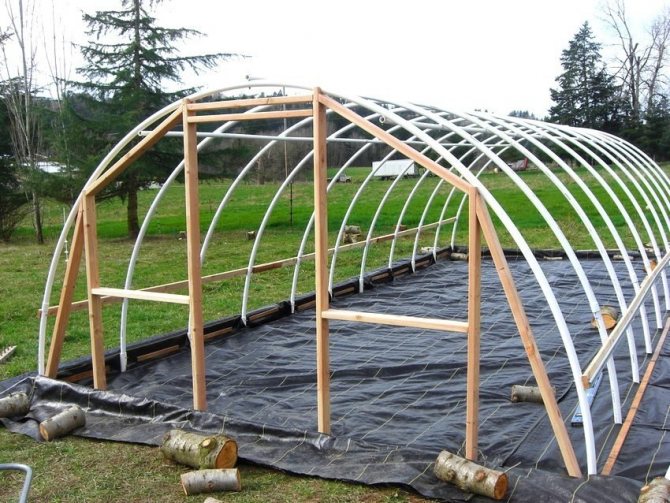
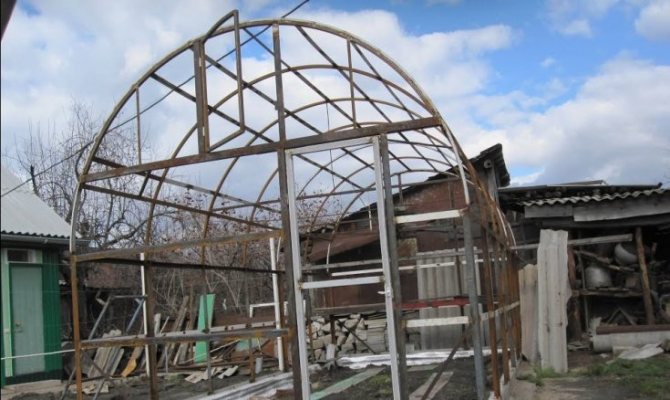
Assembling the frame
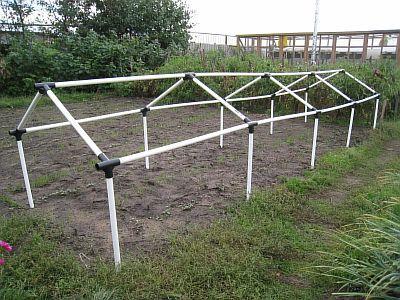
If you do not know how to make a greenhouse from a profile pipe with your own hands, then you should know that it is not so difficult. You can first order a ready-made set of shaped pipes, then they are easily joined to each other and screwed with self-tapping screws.
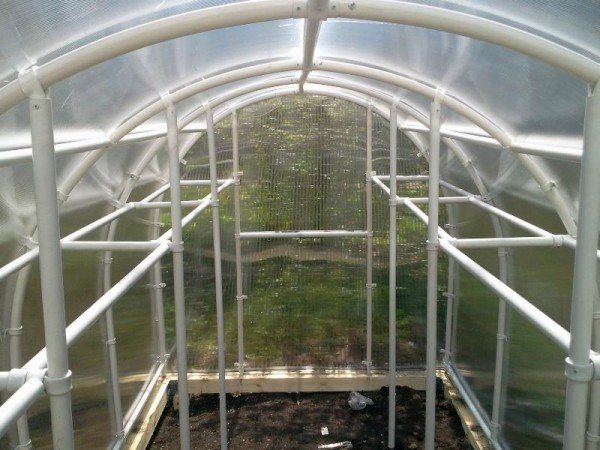
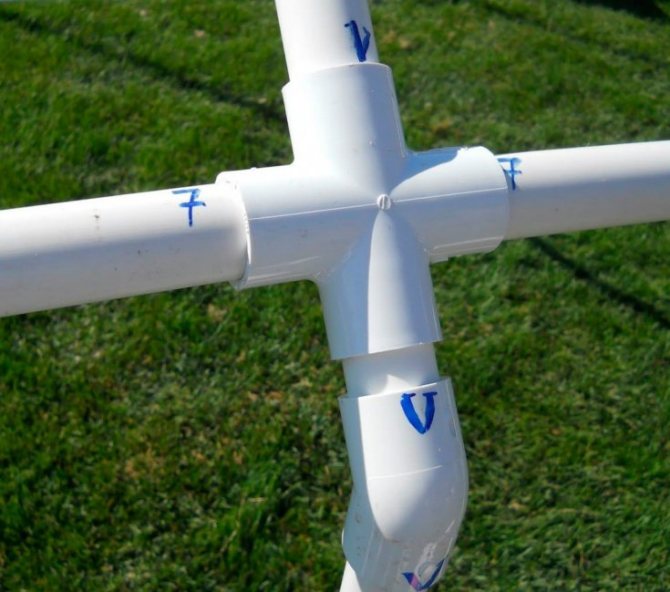
In creating a greenhouse from pipes, you can show your creativity and embody some of your ideas. Now we will tell you how the frame of greenhouses is assembled from pipes:
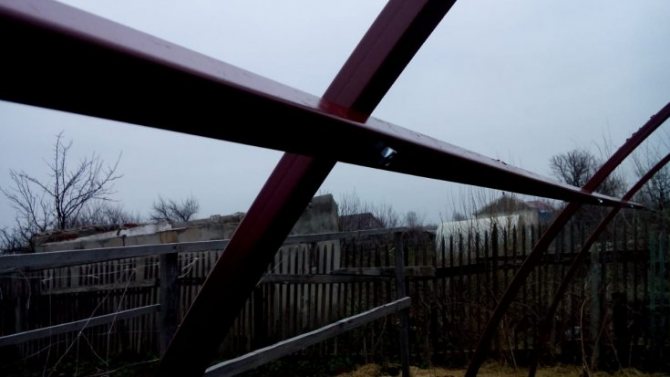
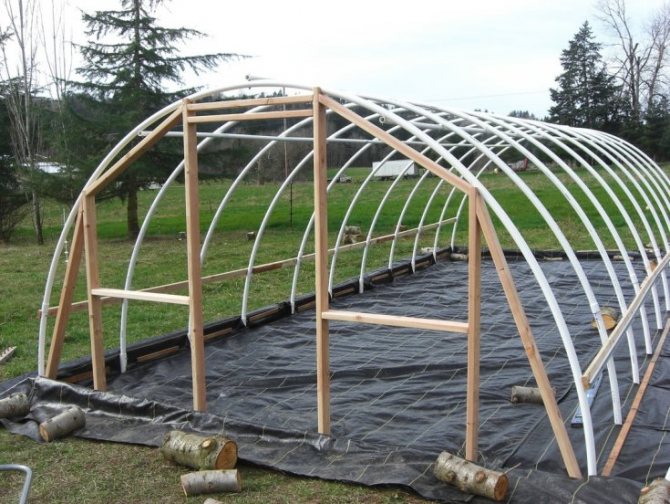
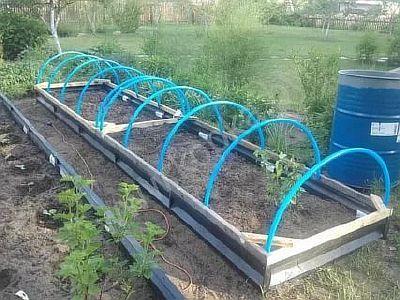
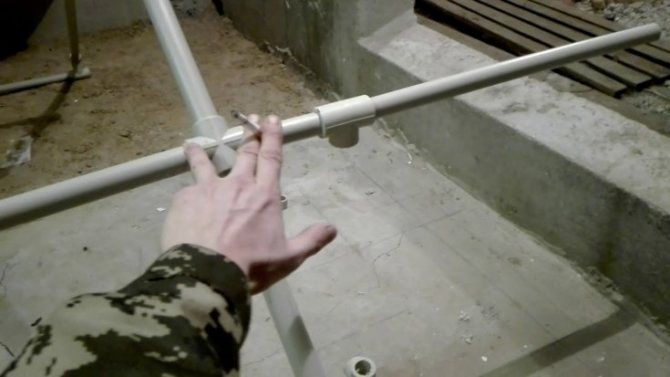
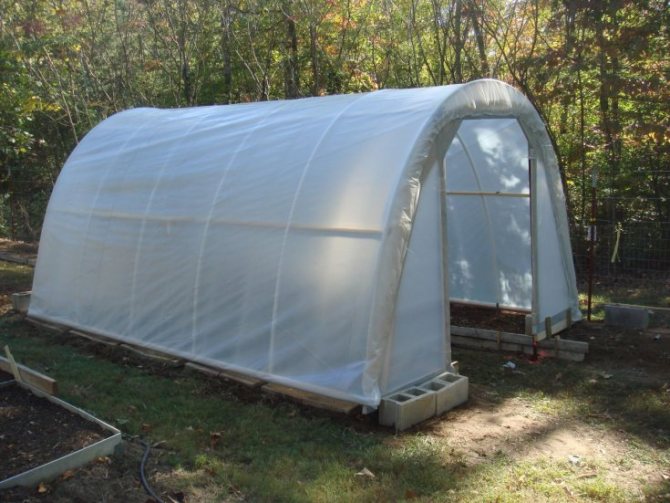
Bend and put the pipes on the protruding fittings, this must be done from each edge, in which case we will get an arch. Then do this with all the pipes.
Check it out here!
How to make a pump with your own hands - step-by-step manufacturing of a pump and options for making simple and effective pumps (95 photos + video)
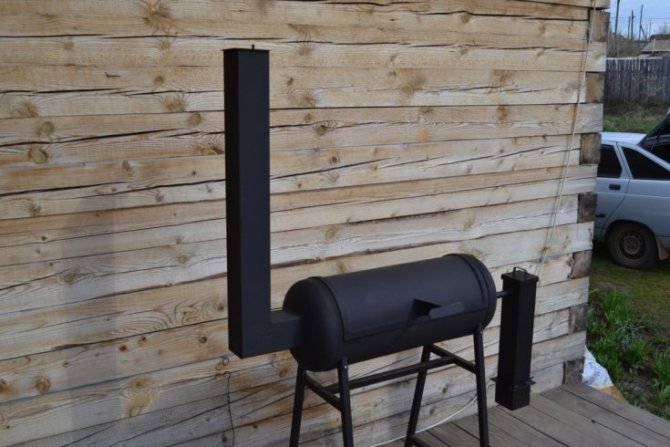
Do-it-yourself hot smoked smokehouse: 100 photos, a review of the best drawings, project selection and construction options
- How to make a cage for a parrot: basic requirements, tools and materials, step-by-step photo instructions. Tips from the craftsmen for arranging the cage
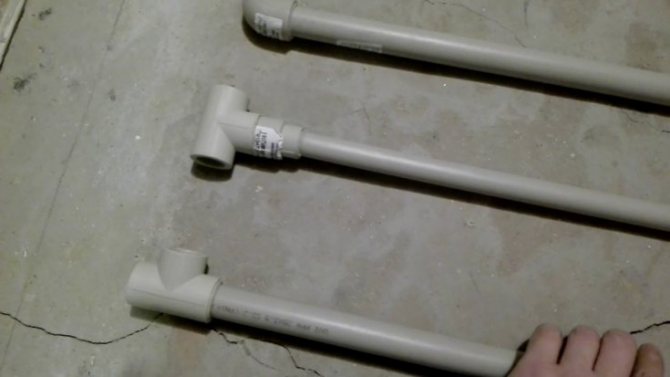
Now take the tees and cut off the large back wall from them, the best way to do this is to heat the knife with a gas burner.
Then you need to attach tees to the arches to strengthen the structure. You can, of course, use a soldering iron and solder the tees, but we would advise you to screw them onto self-tapping screws. Then we will have a collapsible greenhouse that can be disassembled if necessary to move to another location.
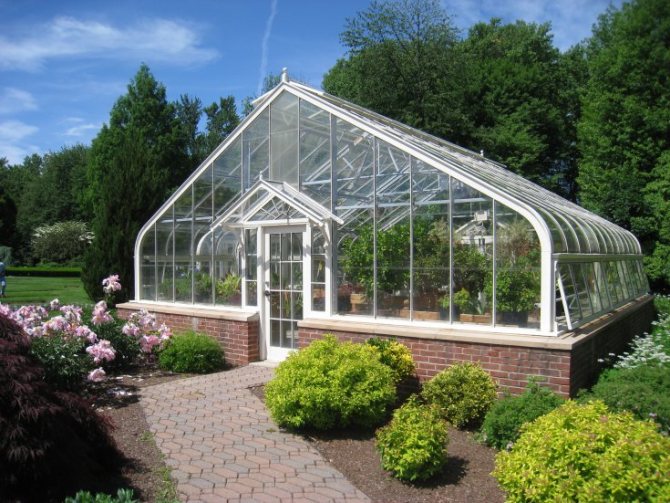
Types of structures
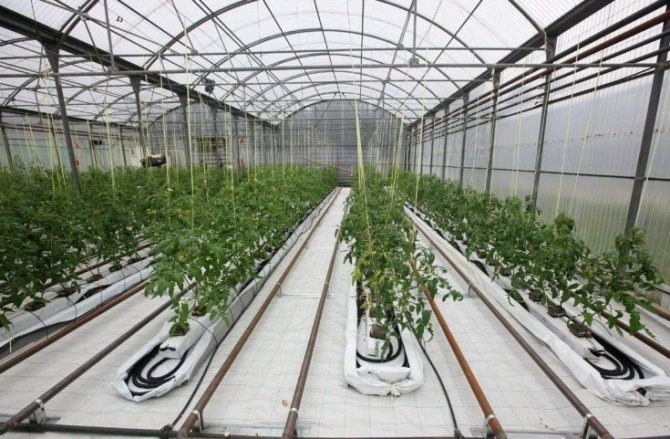
When choosing a model and size, you need to know exactly its purpose. If you plan to grow vegetables only for yourself, then a size of 0.5 meters wide, 1.5 meters long and 1.3 meters high is sufficient (this is the standard height of greenhouses).
By type, greenhouses are divided into:
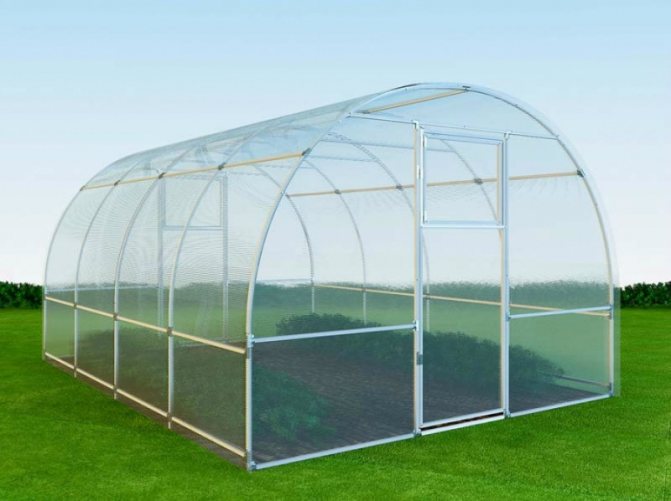
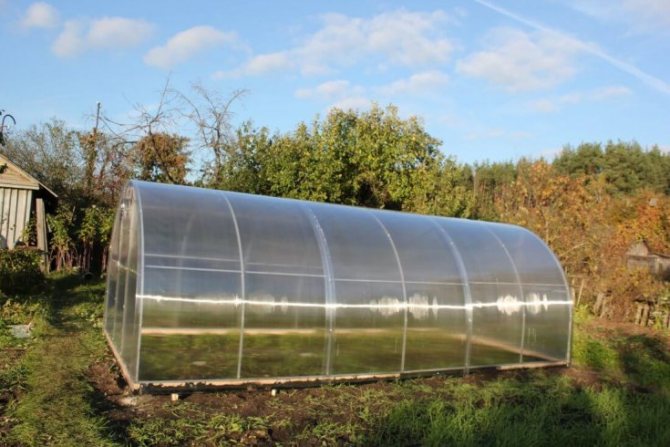
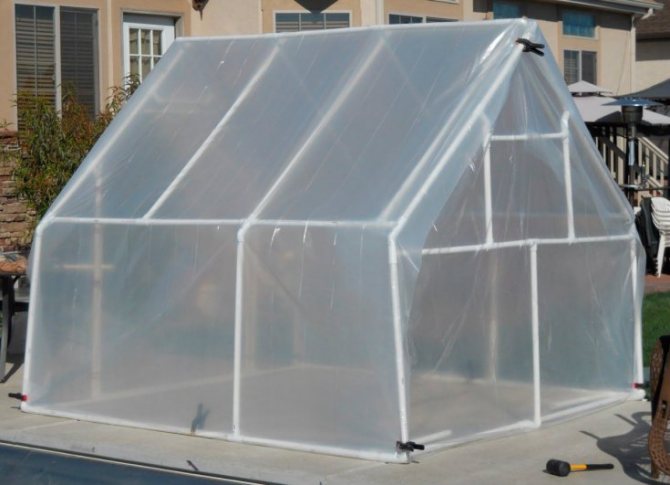
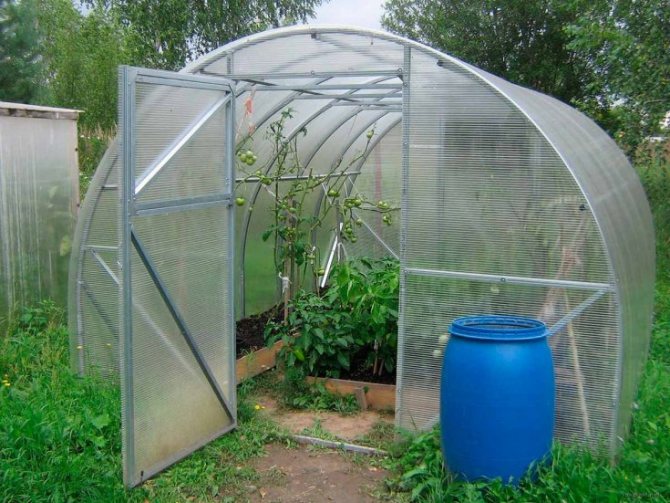
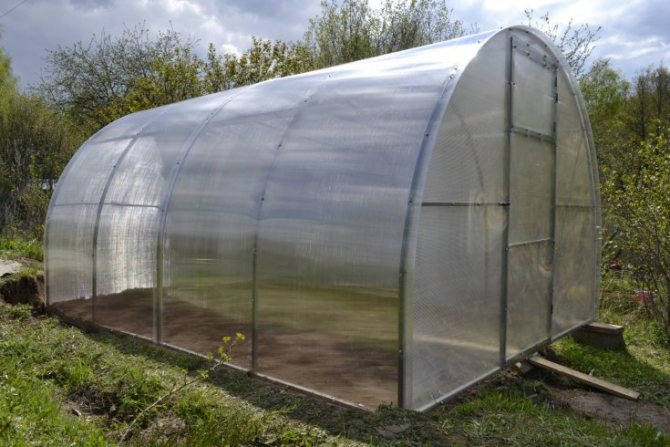
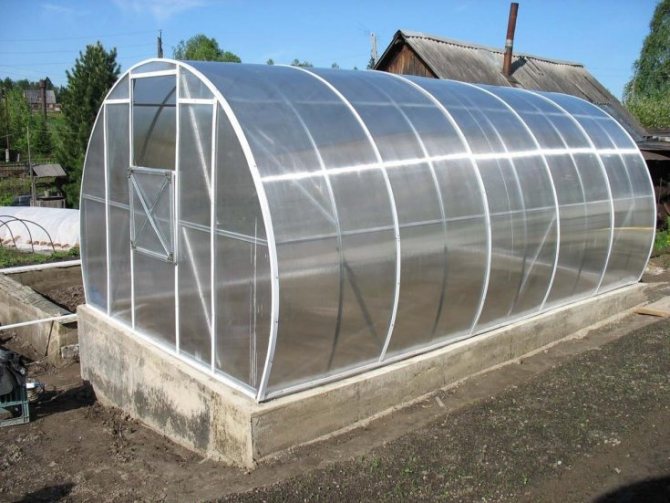
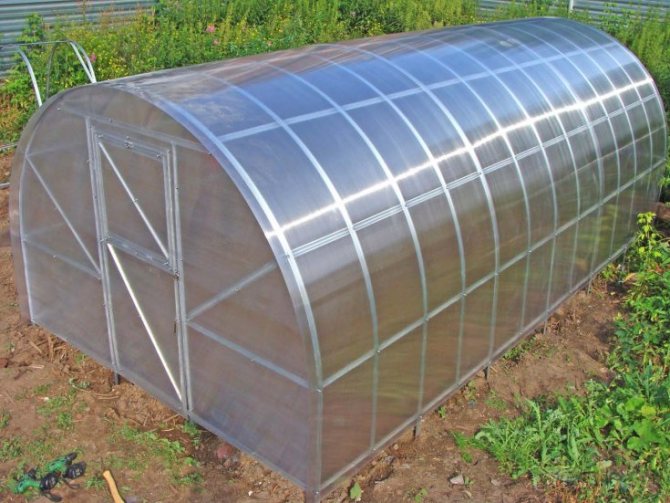
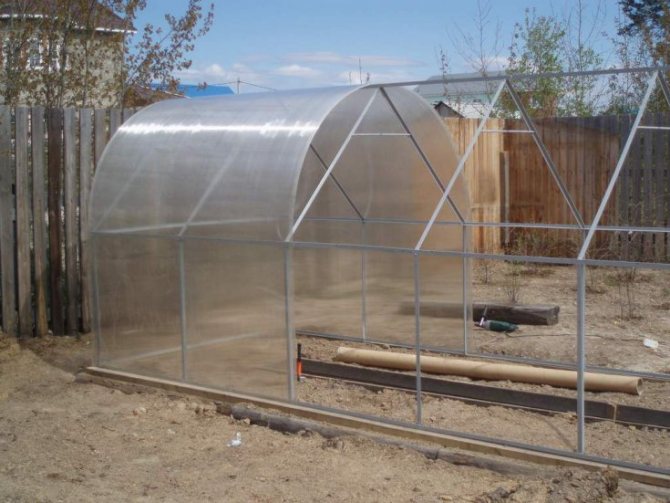
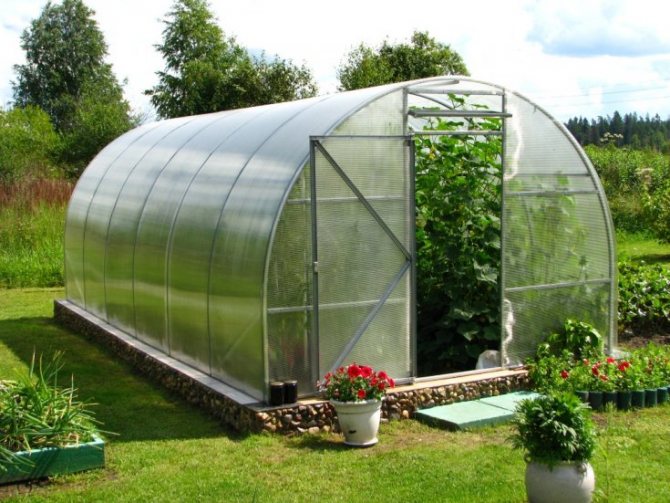
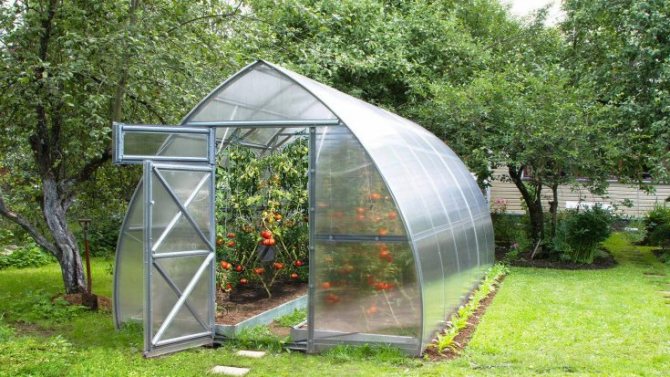
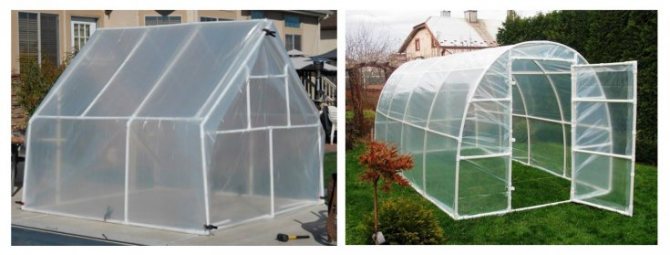
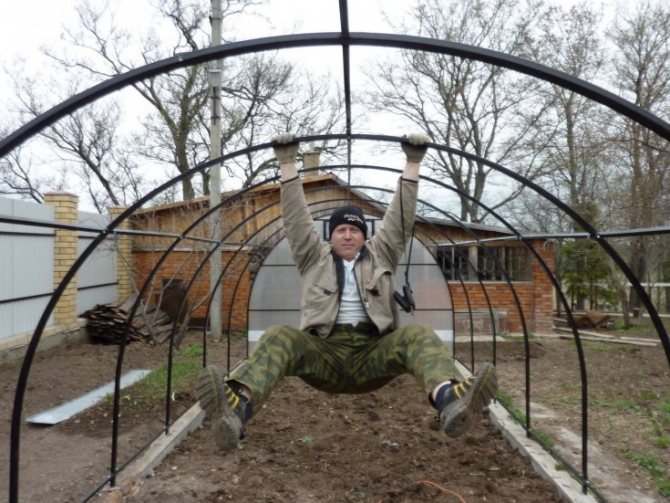
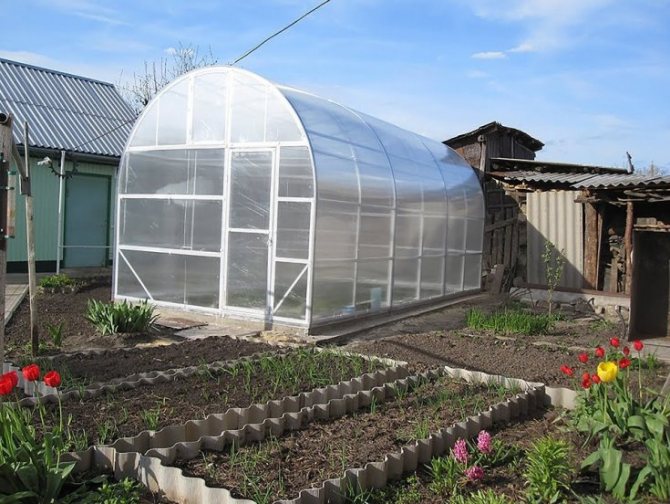
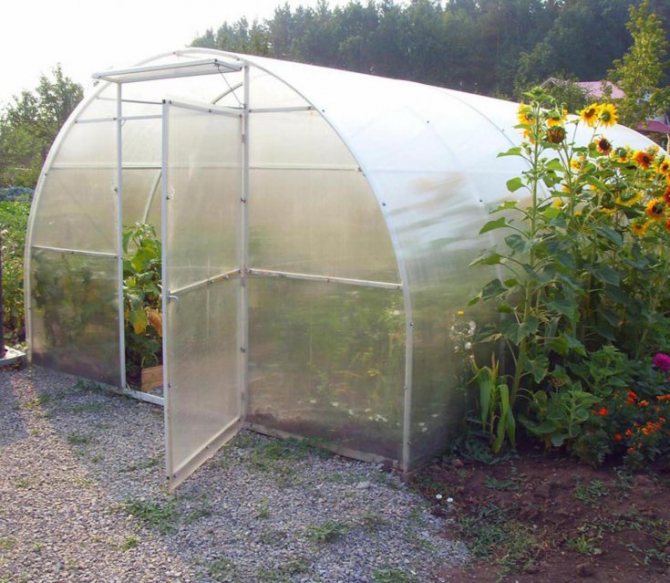
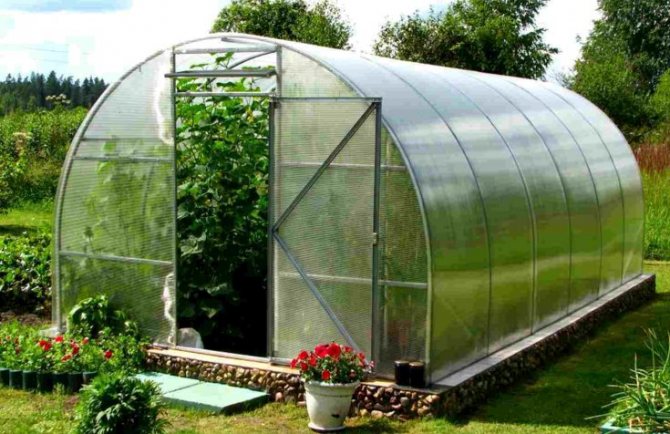
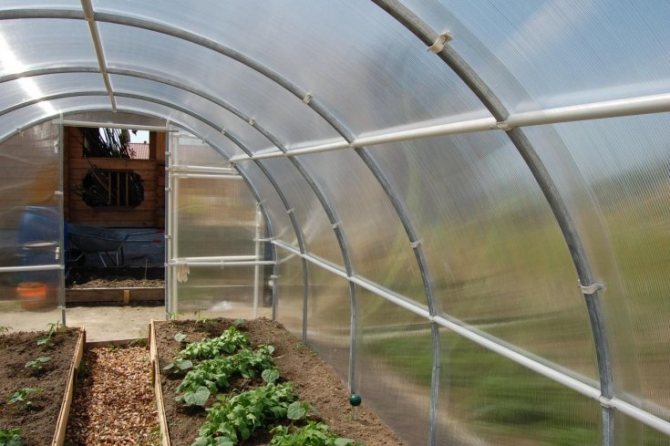
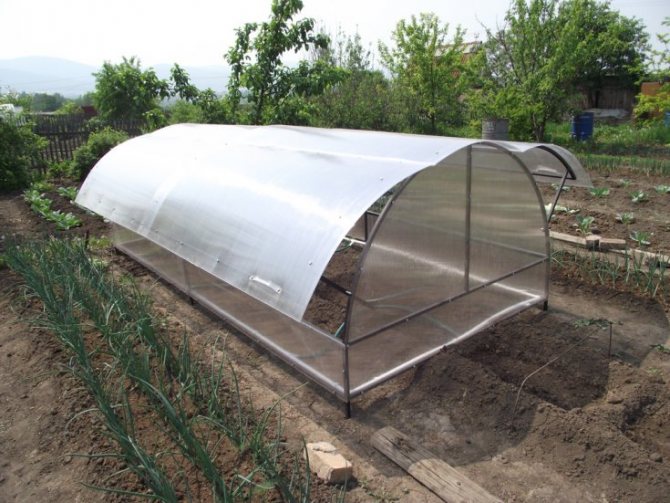
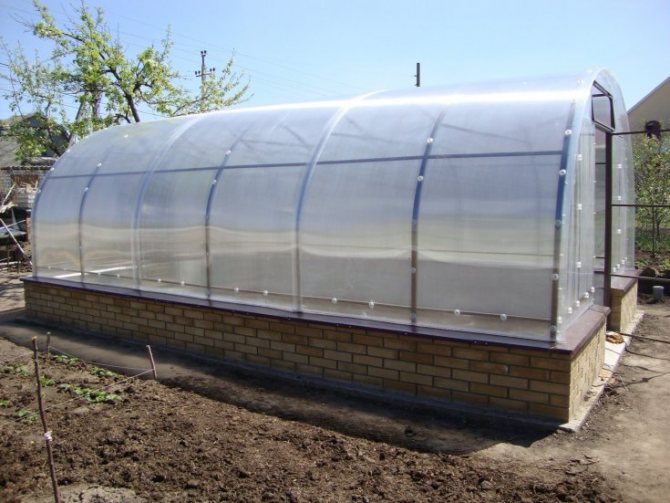
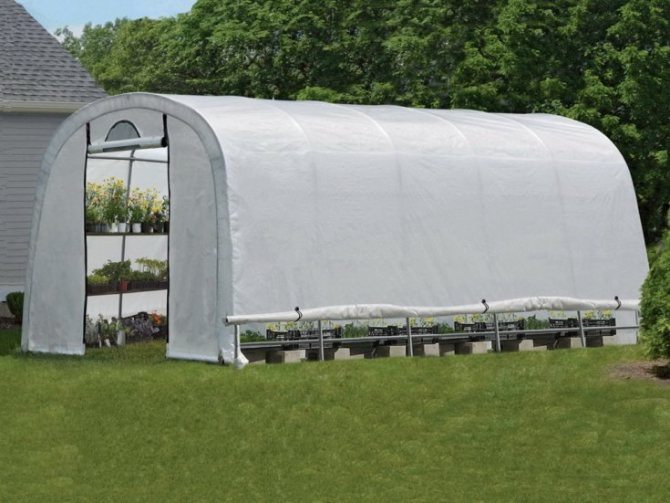
- Arched - the simplest and most inexpensive option for assembly. Its streamlined shape resists wind and rain well. This model of a greenhouse is often made by gardeners from polypropylene pipes, the sizes can be different. Usually covered with foil.
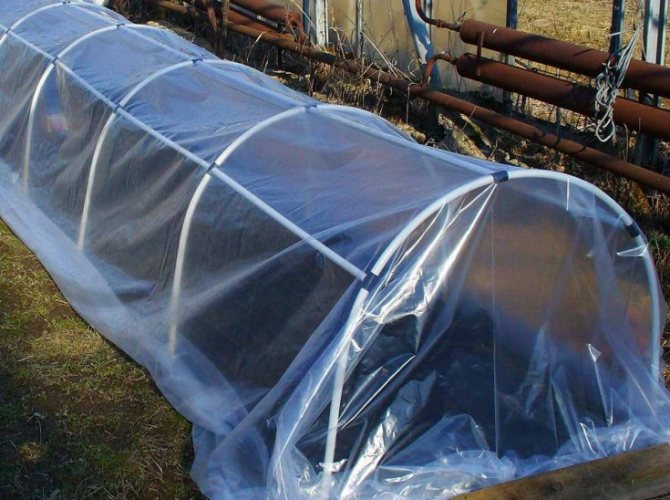
- A mini-greenhouse made of polypropylene pipes is a common home-made option among summer residents, it can be of different shapes:
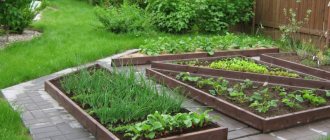
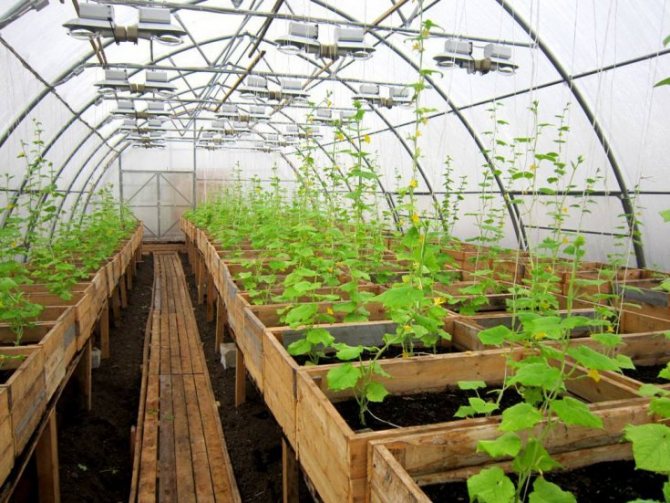
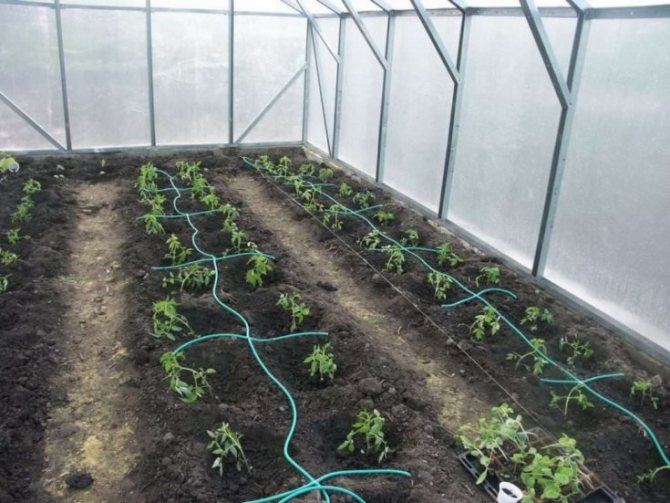
- In the form of a simple square frame covered with foil. It is used more often for germinating seedlings. This model can be filled or unpaved, since after 3 months the land is depleted. Another disadvantage is little light. But on 1 m2 you can grow seedlings for 20 acres of land.
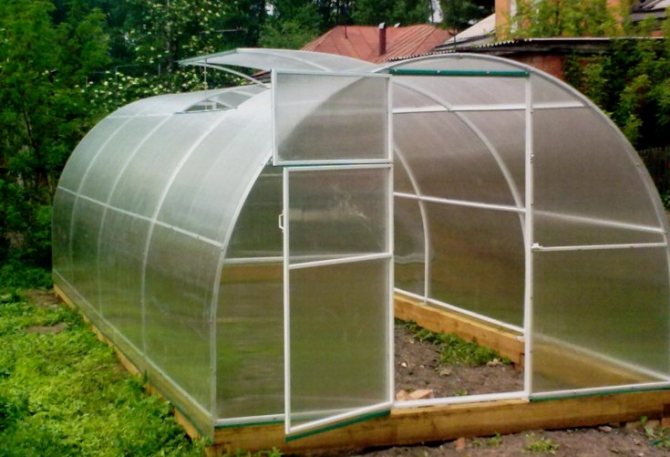
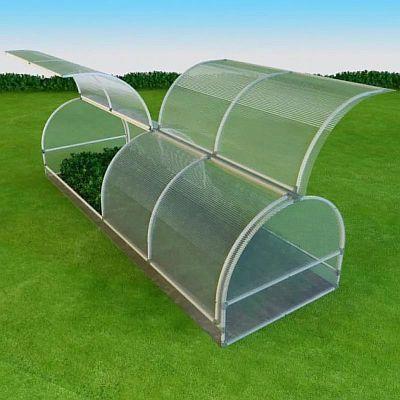
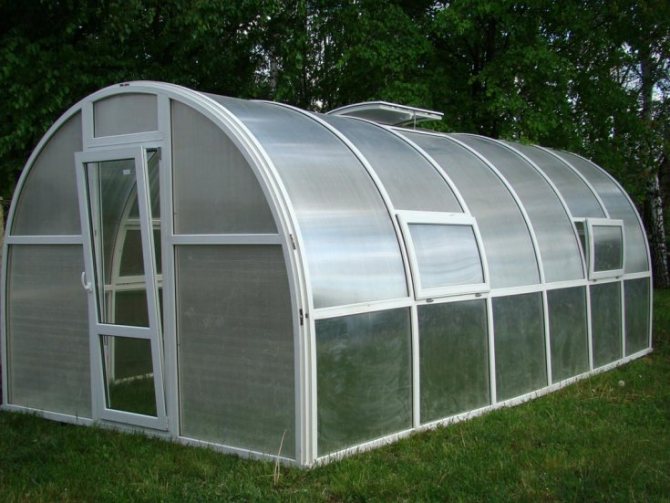
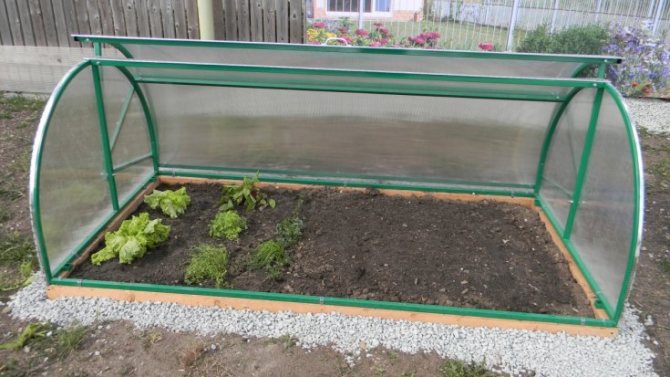
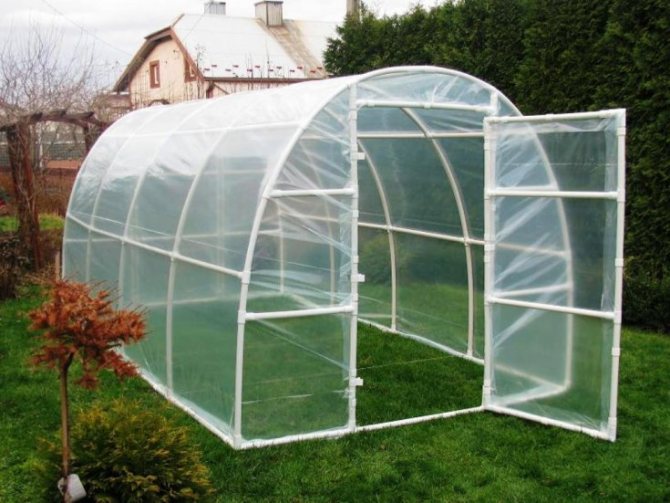
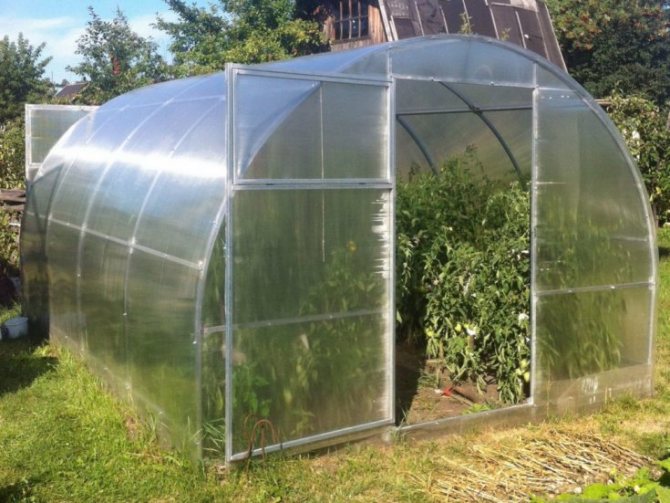
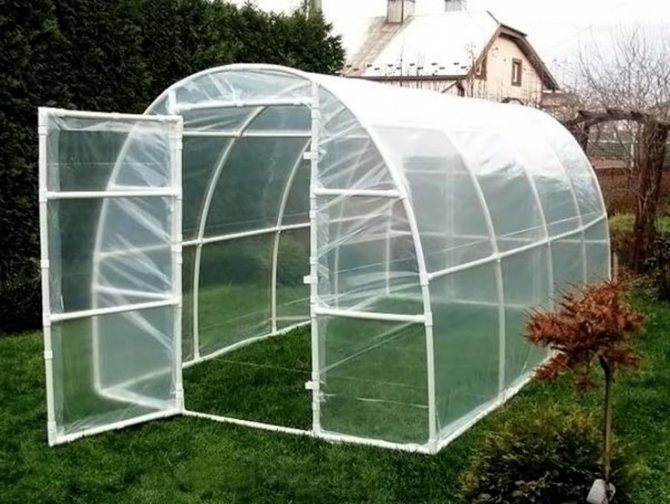
- Butterfly is a model for crops that need constant air. It is built according to the arched type, and has opening doors on the sides, which is very convenient. Great for peppers, tomatoes, and cucumbers.
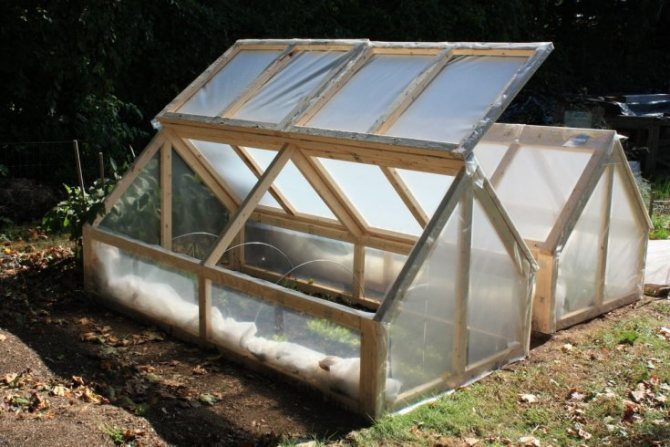
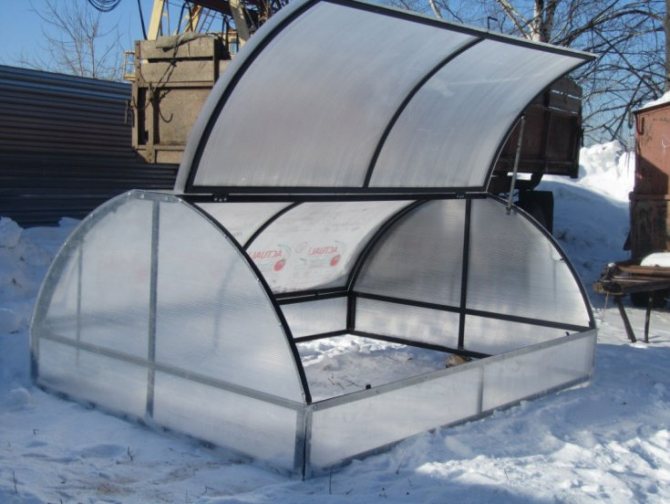
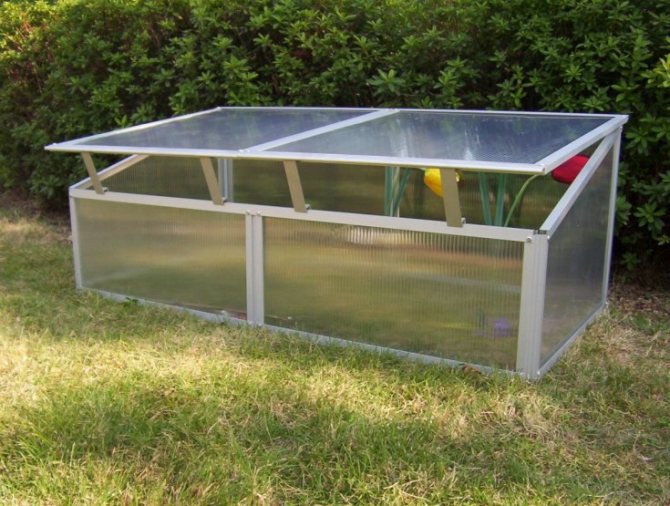
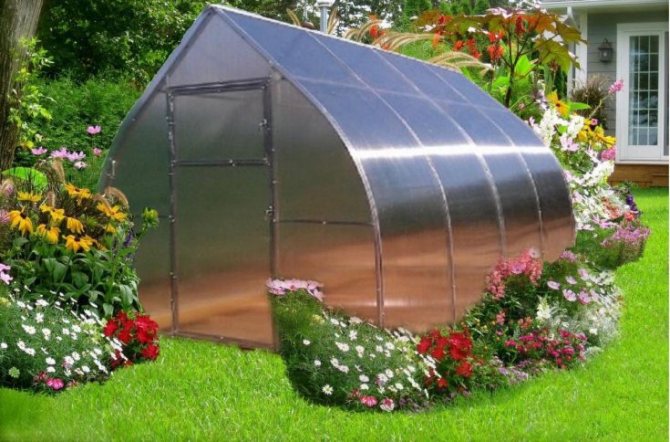
- "Khlebnitsa" - suitable for gardeners with little experience. It is cheap and the installation process is straightforward. "Bread box" made of polypropylene pipes is intended for low-growing crops, it is a box with an opening lid.

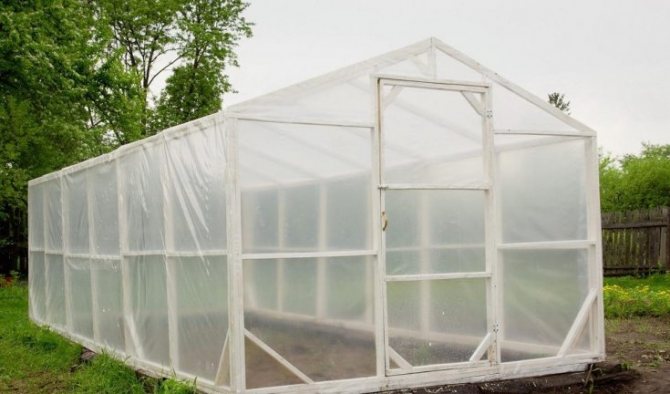
- Rectangular - consists of walls and a roof, which can be shed, gable. It is also common in areas.
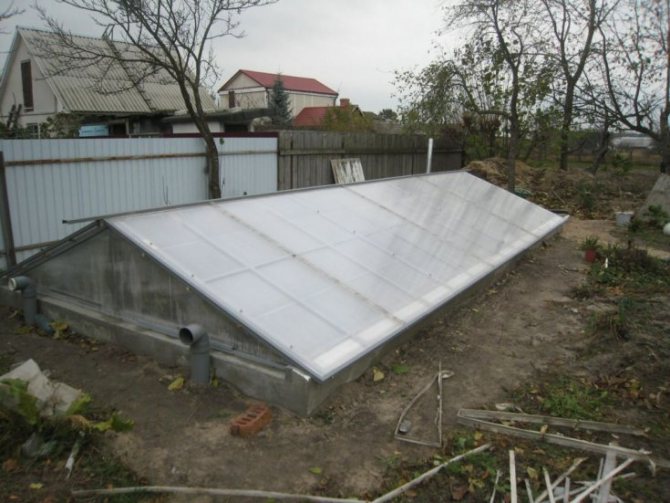
- Single-slope - a structure of three walls with a coating on top. The roof is steeply sloping. Usually used for growing radishes, carrots.
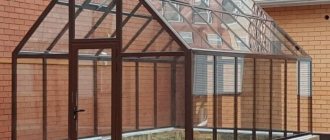
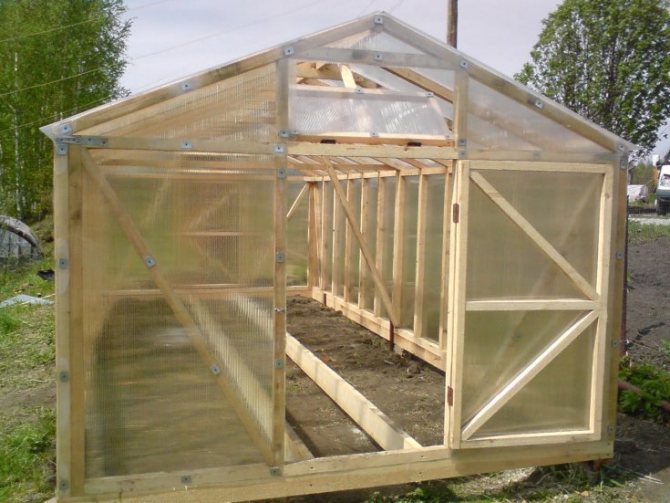
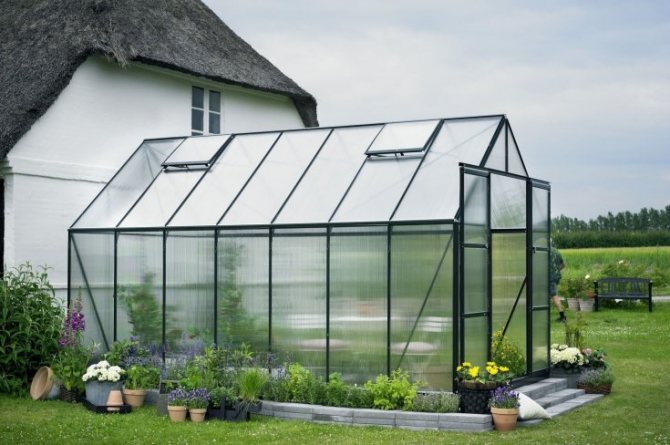
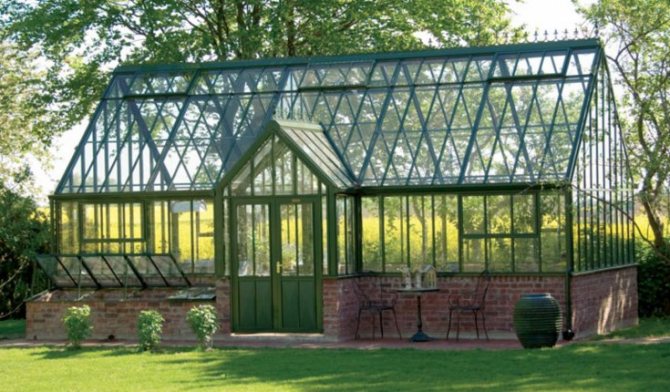
- Gable - the classic version, from the middle of the roof, the slopes diverge in both directions.
- Combined - with several sections, is not very popular for building on a small area with your own hands.
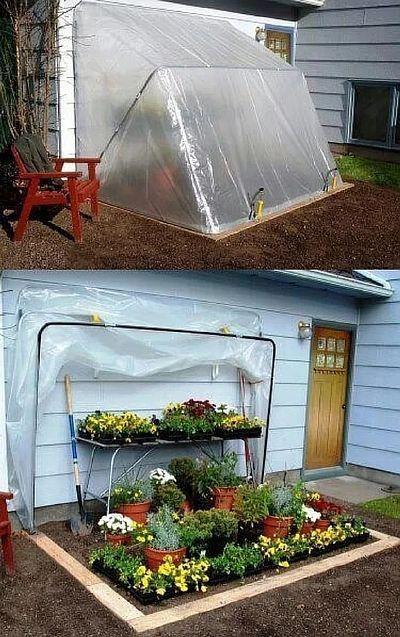
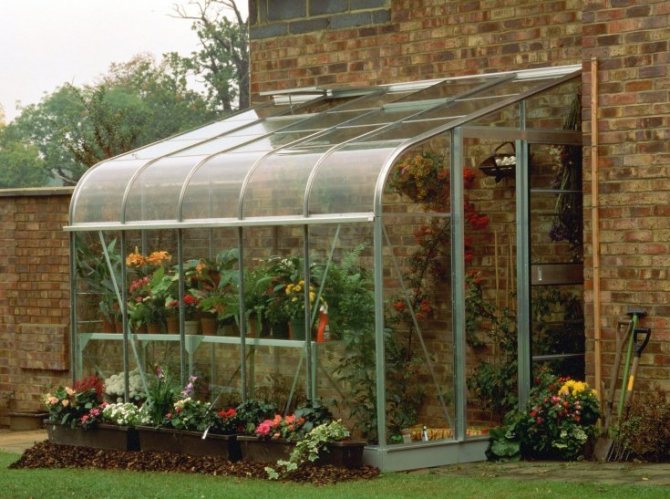
- Wall-mounted - an excellent solution, with a small area of the site. Both space and material are saved. In addition, this structure is stable and solid, as it rests on the wall of the house. But it is suitable only when the house does not create shading on the greenhouse.
Almost all types of greenhouses made of polypropylene pipes can be made both permanent and collapsible.
However, the collapsible design is more convenient and mobile, it can be removed for the winter, or, if necessary, transferred to another site. In general, polypropylene pipes, in addition to plumbing purposes, can also be used for the construction of greenhouses and greenhouses.
End part
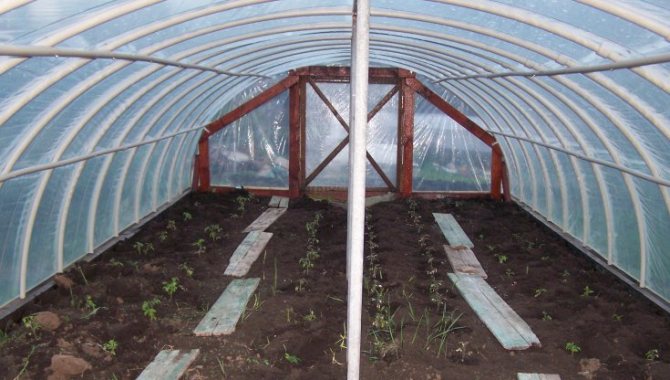
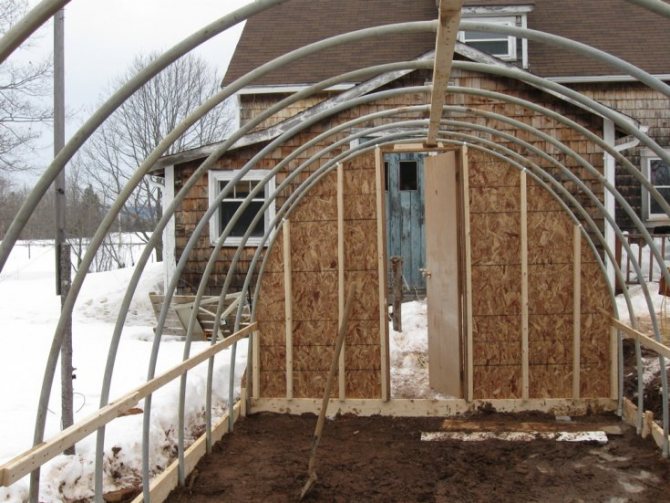
In the same way as when creating transverse pipes, 3-4 longitudinal and transverse pipes should be installed on the sides. Then prepare a polycarbonate sheet to fit the sidewall. Then screw the polycarbonate onto the self-tapping screws to the pipes.
We decided to use this material as it transmits the sun's rays very well. You can also make the ends of timber and boards, but then the sun's rays will not pass inside our greenhouse.
Next, you can see a photo of a greenhouse made of pipes with your own hands and from which you can make the side part.
Check it out here!
- Do-it-yourself trolley - how and from what to build a decorative and tool trolley (135 photos and videos)
DIY nests for laying hens: drawings, tricks, best solutions and tips on how to make nests correctly (115 photos and videos)
How to hem boots with your own hands: materials, tools, useful tips for hemming. Step-by-step instructions with photos + master class with video!
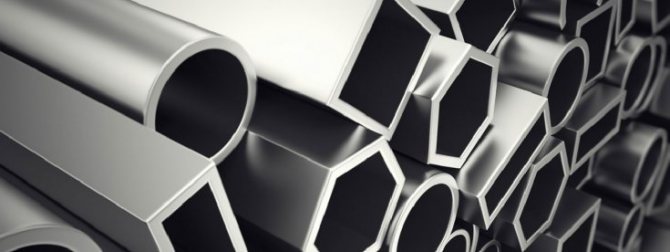
Features of the material for manufacturing
Reinforced plastic pipes are gaining more and more popularity among users who are looking for inexpensive quality materials for the manufacture of greenhouses. Like any other material, pipes have pros and cons that need to be adequately assessed in order to optimize site performance.
Advantages and disadvantages
- The main advantages of plastic pipes:
- resistance to corrosion processes - unlike metal, plastic does not rust under the influence of moisture, retaining its original appearance;
- small mass - the pipes are lightweight and durable, which is convenient for design and increases the mobility of the greenhouse, if it needs to be moved from one part of the site;
- flexibility - the material has sufficient flexibility and is easy to cut, allowing you to create simple and complex connections, giving the frame any shape without the use of special equipment;
- refractoriness - the material ignites after a rather long time after direct contact with an open source of fire and immediately stops burning after its elimination;
- long service life - the service life of such a structure can be 50 years;
- ease of use - to create a structure, you do not need special tools and additional processing of the material itself in the form of staining or impregnation with an antiseptic.
Did you know? The first creator of a real winter garden, built in the 13th century, Albert Mangus, was accused of black magic and burned at the stake, because people simply did not believe that it was possible to grow plants in winter without using witchcraft.
- Cons of materials:
- reduced ductility at low temperatures;
- the release of chlorine compounds during combustion;
- lightness of the structure - you need to take care of securing the building so that it does not turn over from a gust of wind.
Varieties of greenhouses made of plastic pipes
Depending on the shape, dimensions and purpose of the greenhouse made of plastic pipes, it can be made in several versions:
- shed - structures with a blank northern wall, usually erected as extensions to residential or outbuildings, designed for a small number of plants;
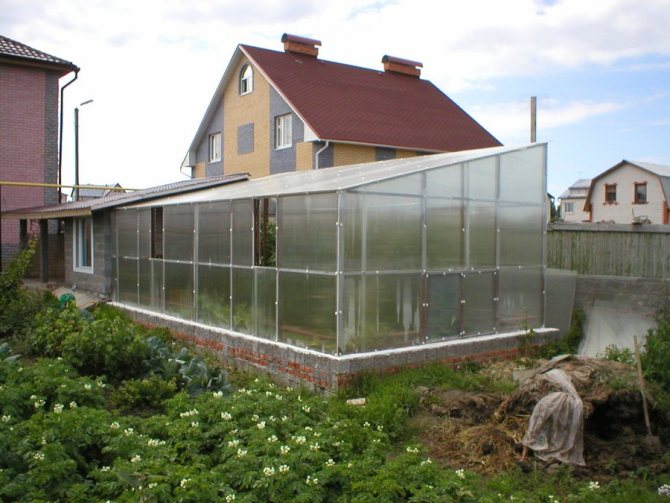
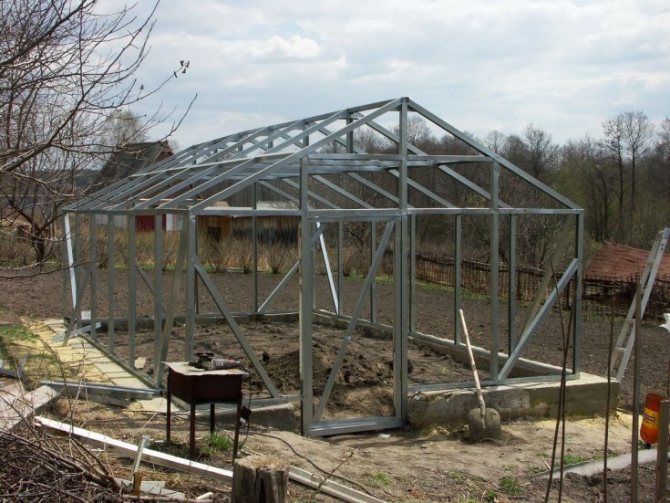
- gable - an autonomous transparent greenhouse with an insulated northern vestibule, the dimensions are selected by the user depending on his capabilities, can be used for his own needs or in commercial activities;
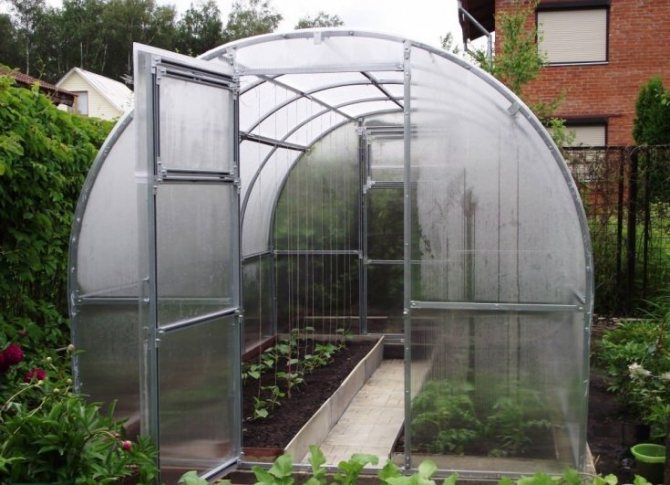
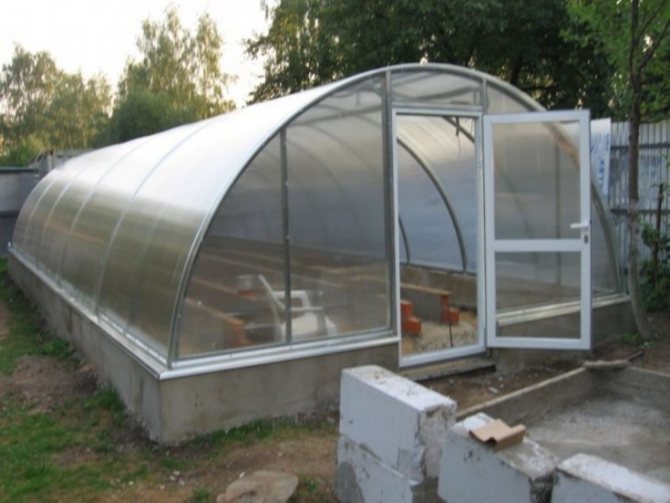
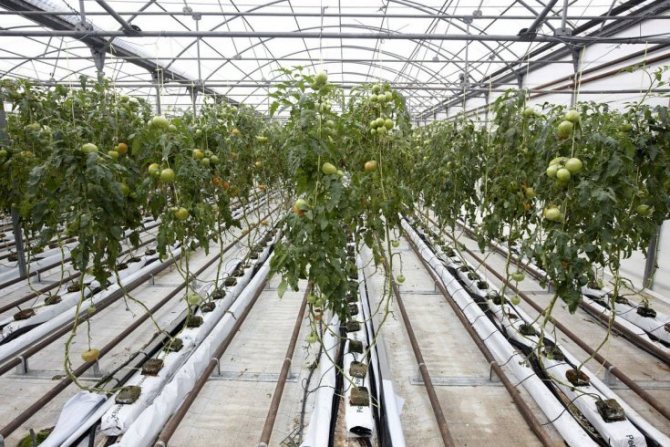
- hangar - an arched structure without racks inside, due to which the usable area is preserved, it can be used on an industrial scale;
- blocky - the structure consists of several blocks connected by walls with arched or gable roofs, used for the production of a large number of products.
Also, designs are distinguished by seasons:
- summer;
- year-round.
The first ones are simpler and do not provide for the installation of heating equipment. The latter are more difficult to implement, imply the possibility of climate control, but provide more benefits to users.
Sheathing
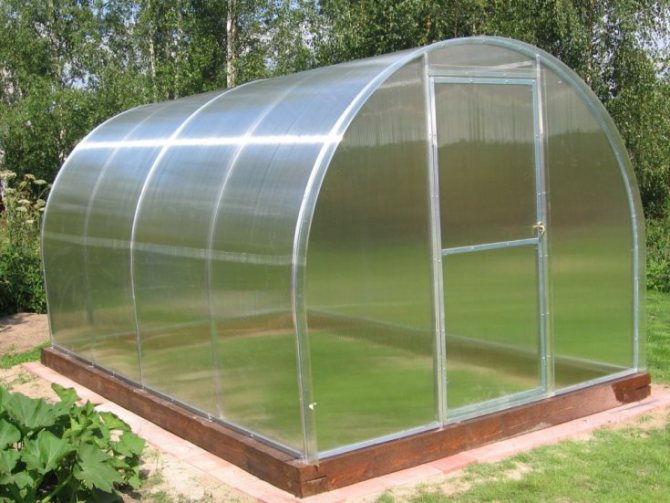
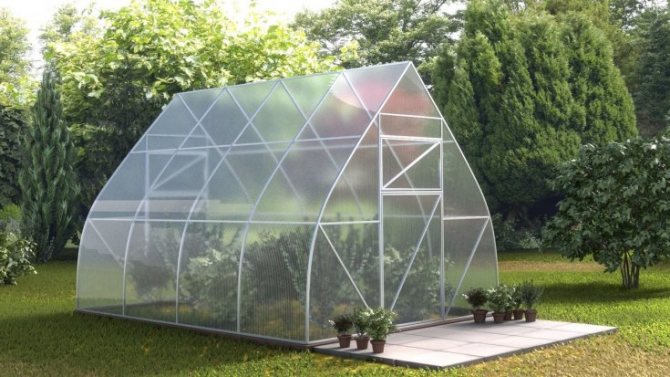
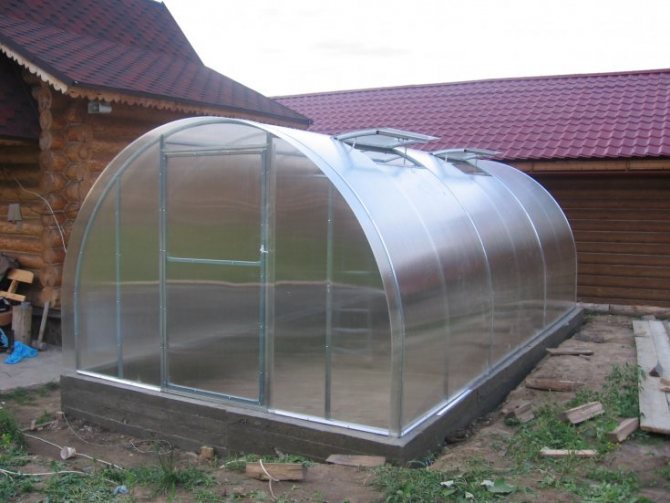
To retain heat and moisture inside the greenhouse, you need to use a good sheathing for the frame. The most popular are plastic wrap and polycarbonate sheets.
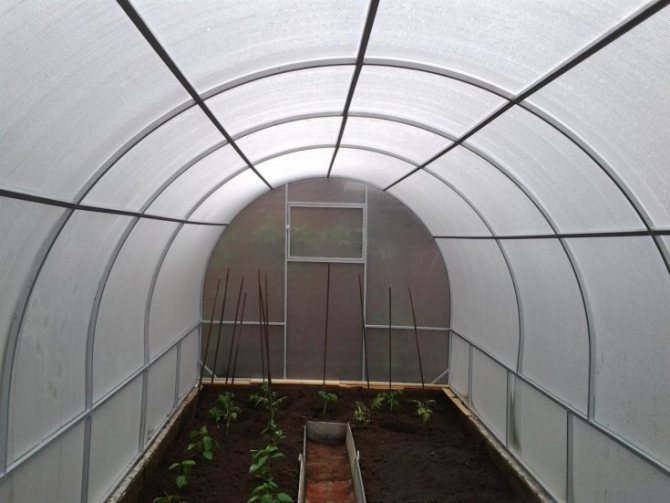
If you use polycarbonate, then it can be fixed with simple self-tapping screws with rubber seals.


Polycarbonate is more expensive, but its service life is about 5 years, plastic film costs much less, but it will only last you for a year. Therefore, which material to give preference to is up to you.
We are sure that this knowledge will be useful to you and you will make a greenhouse from PVC pipes with your own hands. We wish you every success!
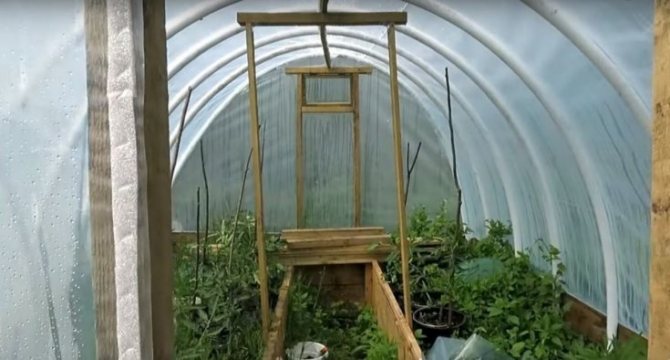
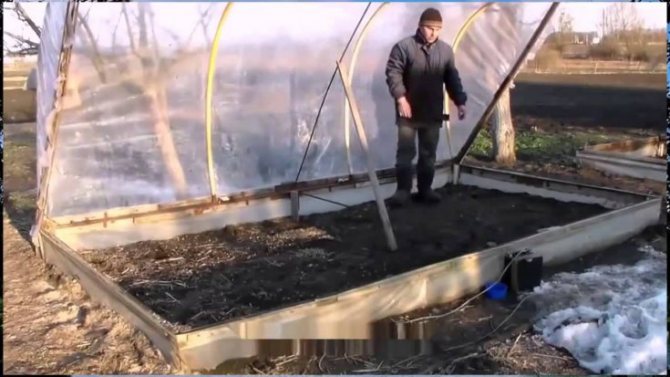
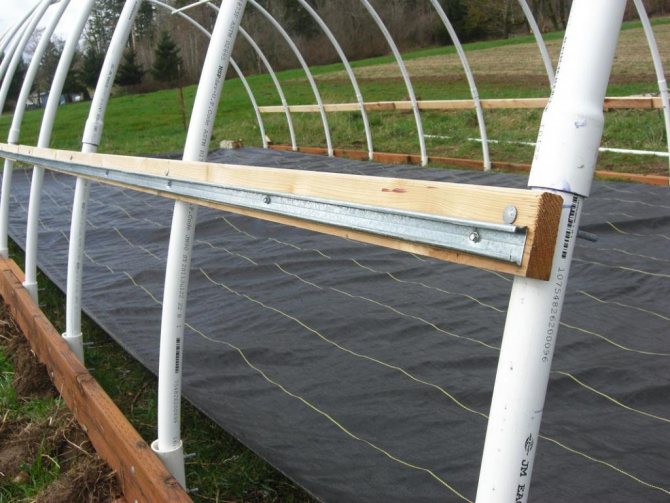
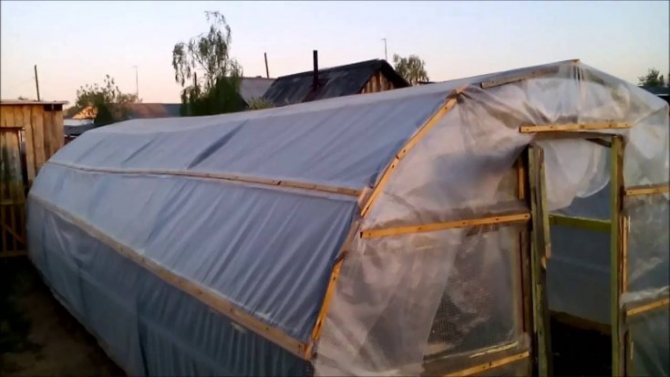
Fastening PVC foil
Installation of a greenhouse with a film is suitable for those who do not want to spend a lot and use the greenhouse for their own household needs. You can fix the film on the greenhouse in a simple way: press it with special clamps without using self-tapping screws. To do this, use:
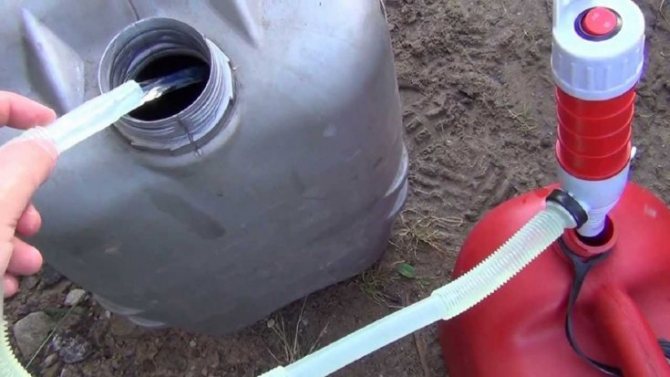
- An old garden watering hose, which is cut lengthwise and pushed onto the pipe, thus pressing the film;
- Special mount for PVC (it is cheap, you can buy it in the store);
- Clip for paper and folders (it is better to use any of the above options, since the clip does not grip the film tightly enough and can slip off).
It is not recommended to fasten the film with self-tapping screws, as holes are formed, which will only increase in strong winds. If the coating sags, it must be glued with tape, otherwise the film will simply tear from the same wind.
Do-it-yourself photo of greenhouses from pipes


Read here - Do-it-yourself cold-smoked smokehouse: projects, drawings, instructions and features for building a high-quality smokehouse (105 photos + video)