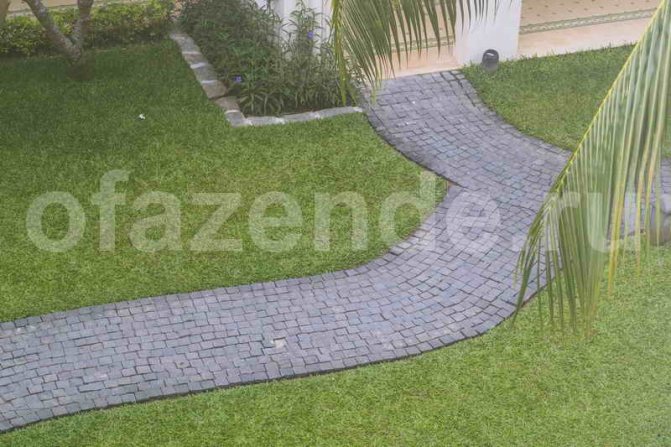
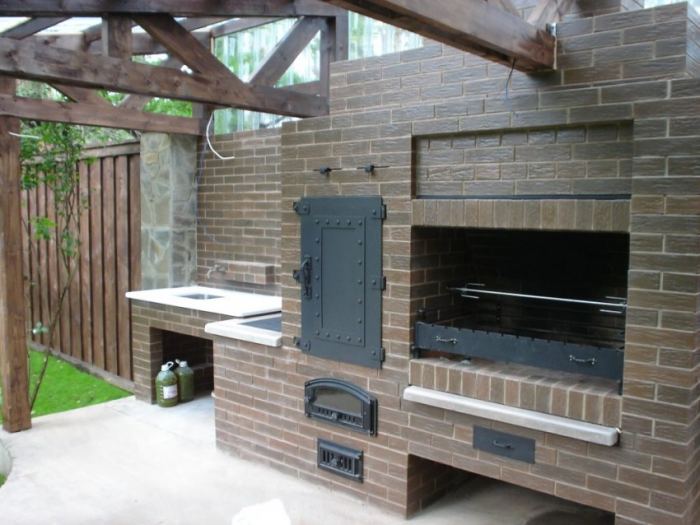
The improvement of the backyard territory is a responsible and very important event.
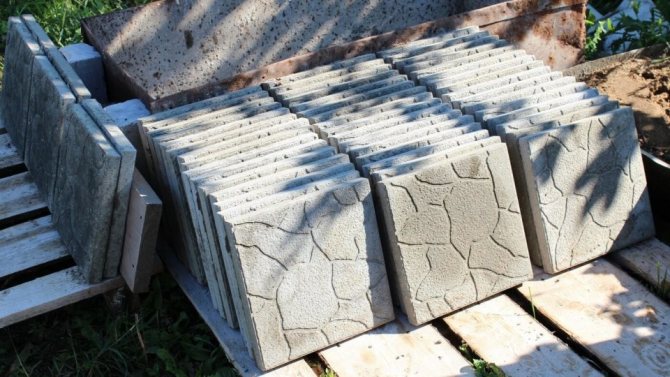
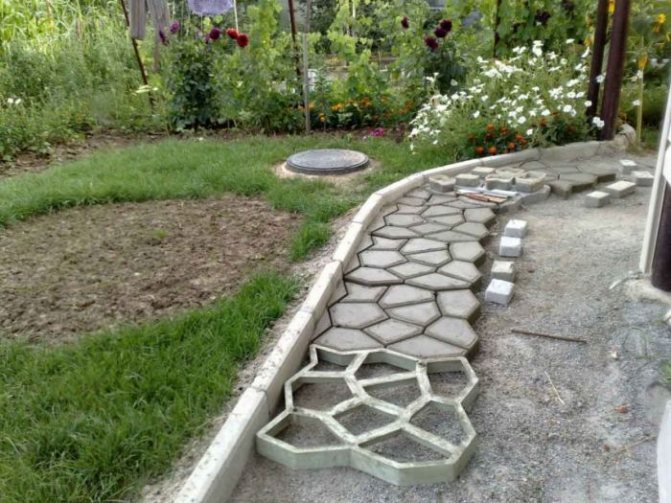
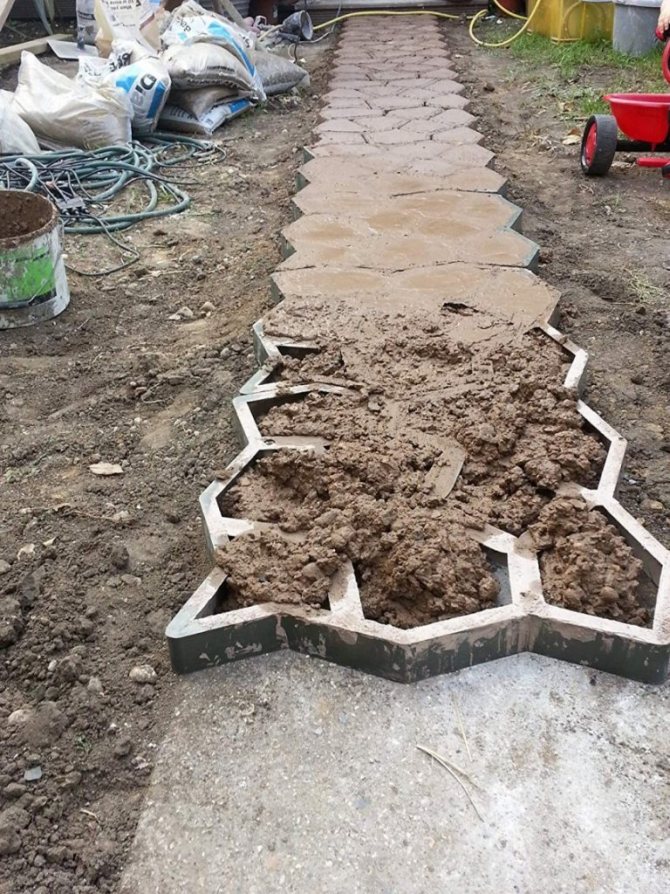
In recent years, modern types of paving slabs have been especially popular with owners of suburban real estate when decorating recreation areas, paths and parking lots, and if you have some skills, it will not be difficult to create forms for paving slabs with your own hands.

What do you need?
There are two ways to make such modules:
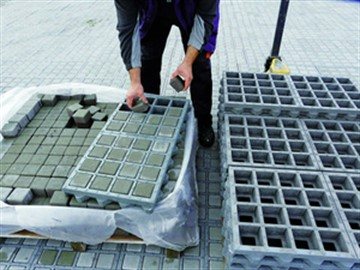

- vibrocompression;
- vibration casting.
At home, paving stones can only be reproduced by vibration casting.
Here's what you need to do this:
- cement or concrete mortar;
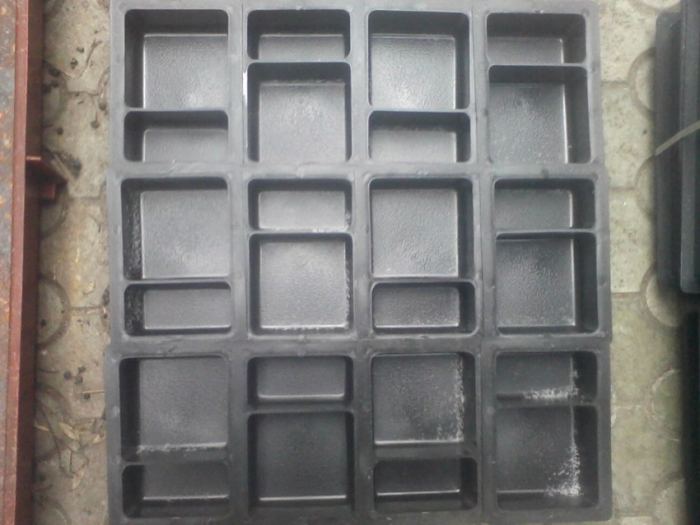
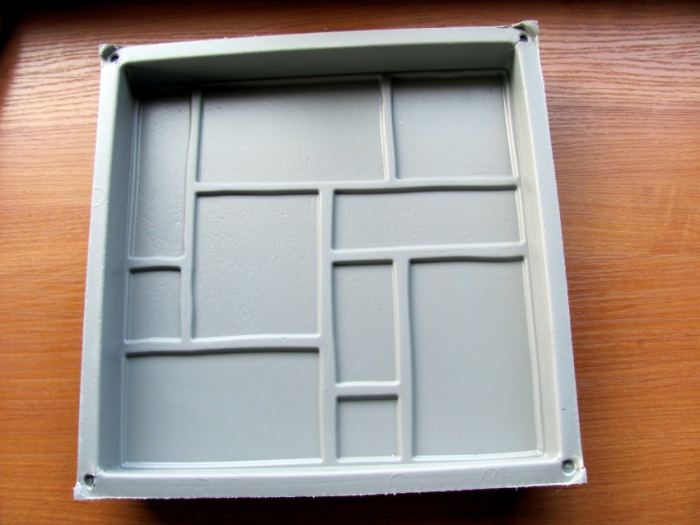
- forms;
- vibrating table. Provides dense packing of the solution into the mold, that is, without voids;
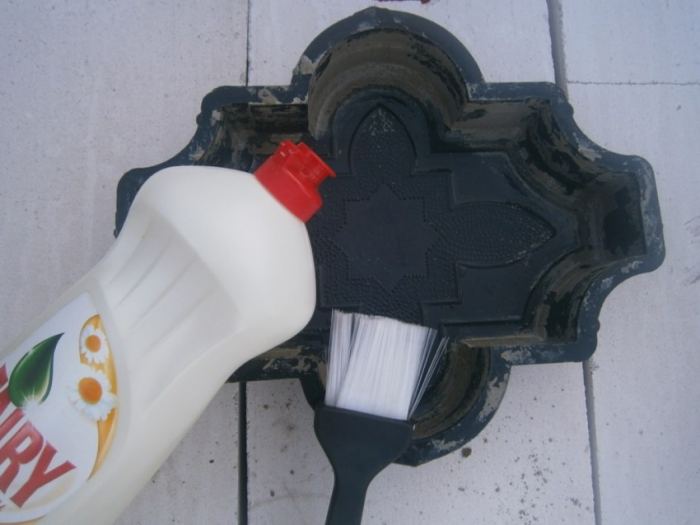
- lubrication: eliminates adhesion of the solution to the mold.
A lubricant is prepared from the following components:
- water: 1.5 l;
- liquid soap: 2 tablespoons;
- machine oil: 100 g.
Linseed oil and vegetable oil are used as alternatives.
Tools and equipment:
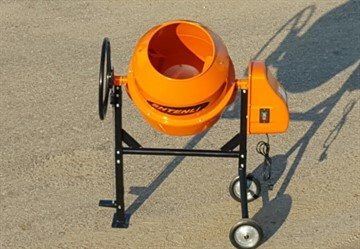

- concrete mixer or drill with mixer attachment;
- vibrating table: it can be replaced with an old washing machine running in spin mode. A "quivering" structure can be constructed from a 10 mm steel plate placed on a car tire. To make the tabletop vibrate, a jigsaw is fixed on it and turned on if necessary;
- Master OK;
- building level.
You will also need a piece of plastic wrap.
Possible errors, tips
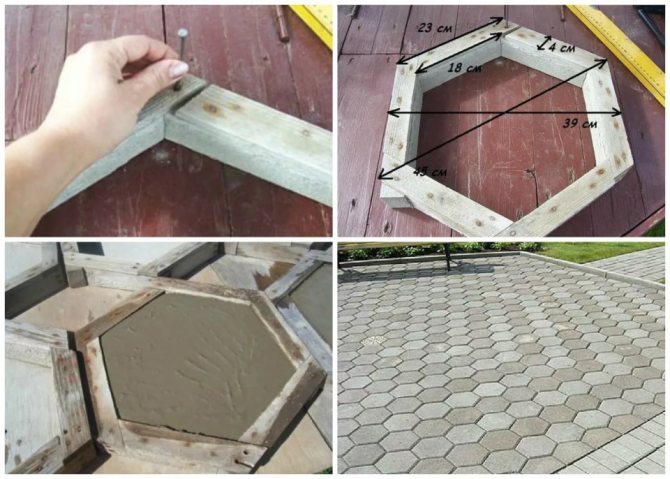
When manufacturing the matrix, a slight outward tilt of the walls should be maintained, if possible.
Important! The inclination of the walls inward, wedging the casting, is unacceptable!
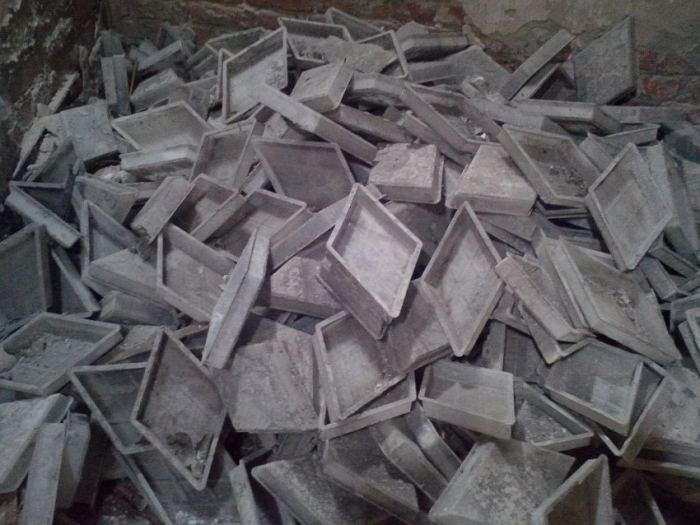
Too thin walls, especially when working with plastic, will lead to rapid mold failure. The thickness should be such as to allow the container with the poured concrete to be lifted and transported without destruction.
Wooden and gypsum should be periodically coated with varnish, renewing the existing layer. Thus, the surface will be protected from moisture and warpage.
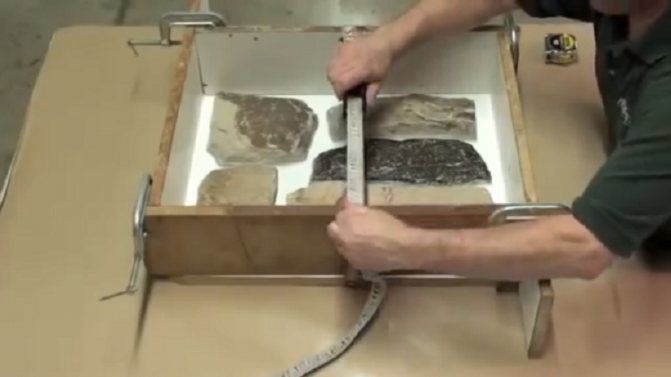

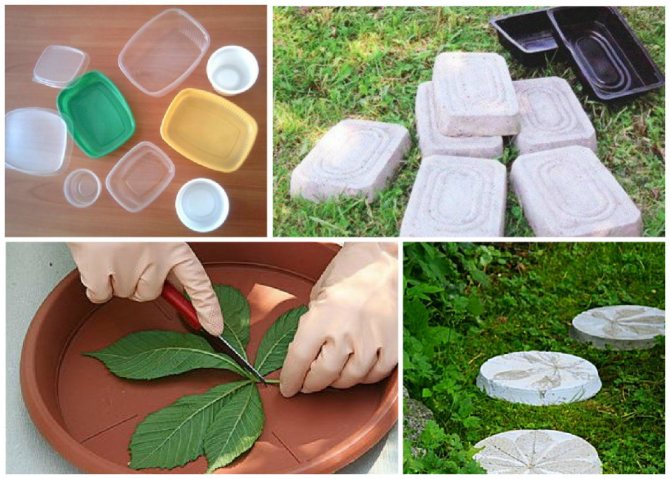
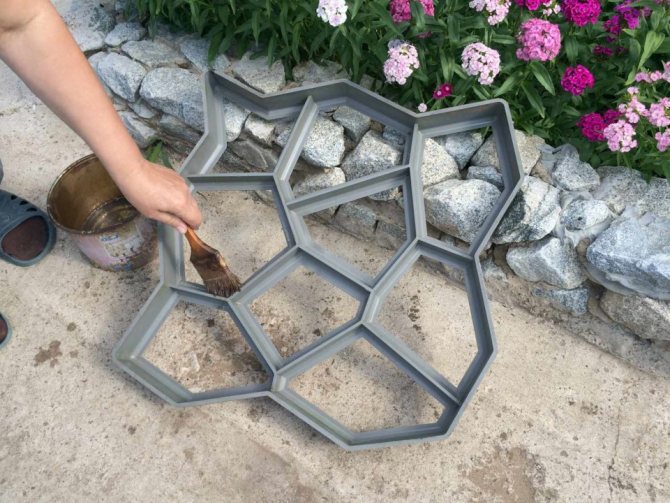
Ready-made plastic containers, cuttings of plastic pipes or other shaped parts can be used as forms for tiles.
Manufacturing technology
The procedure for home production of paving stones looks like this:
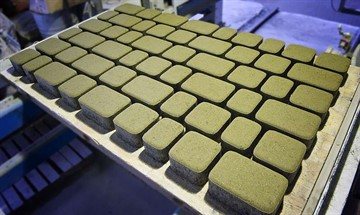

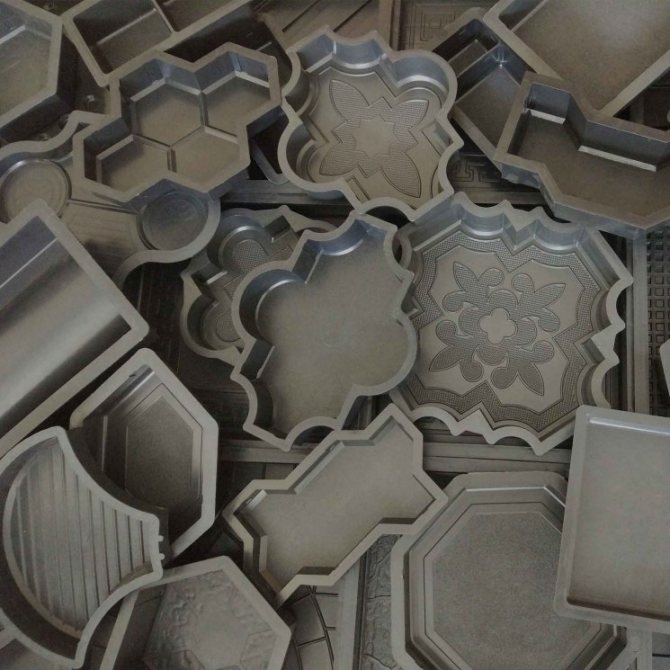
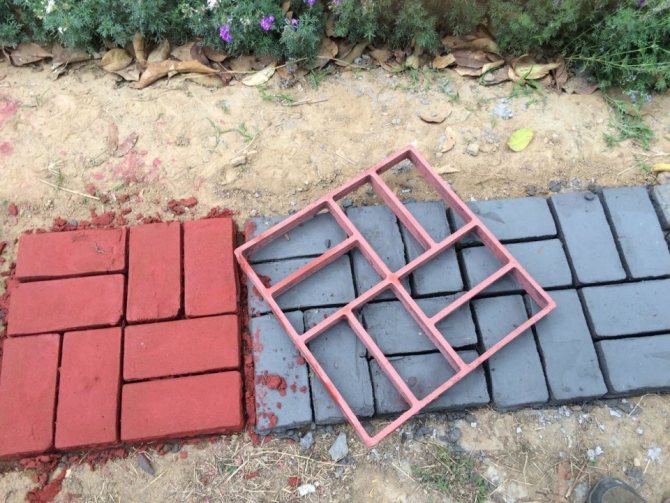
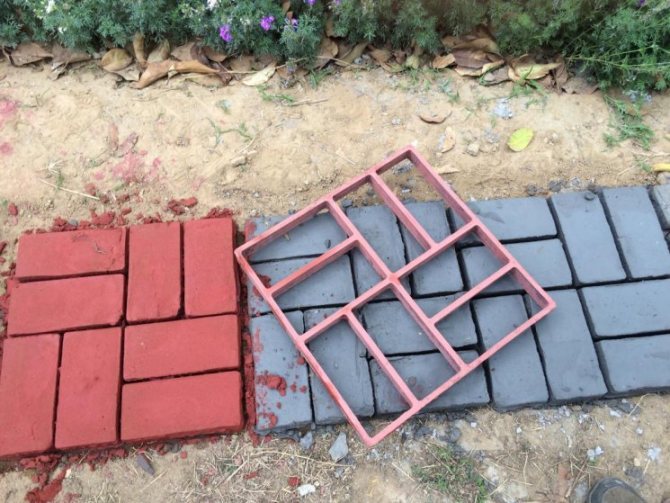
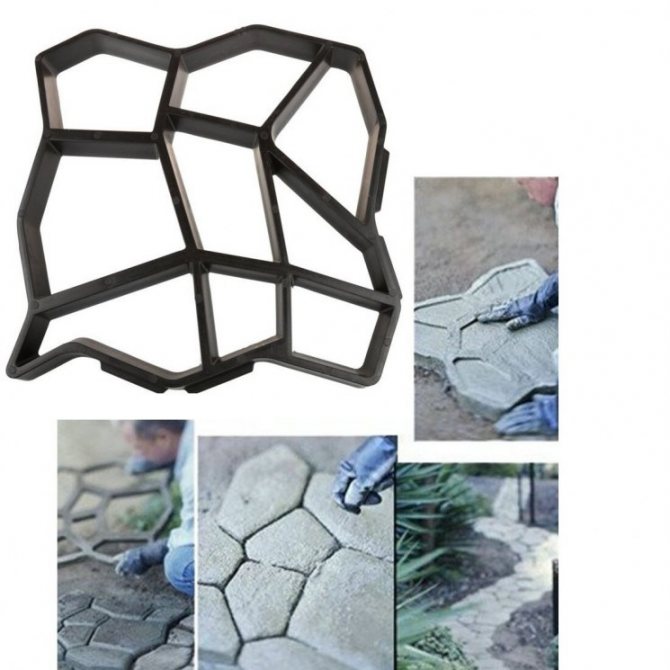
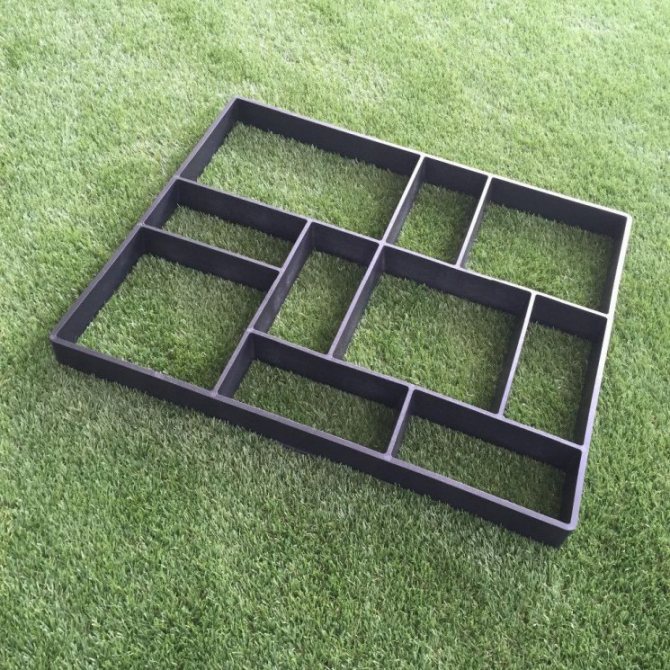
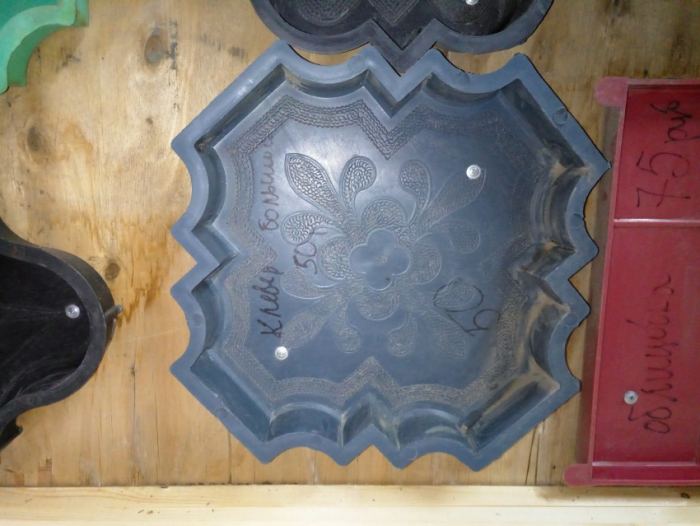
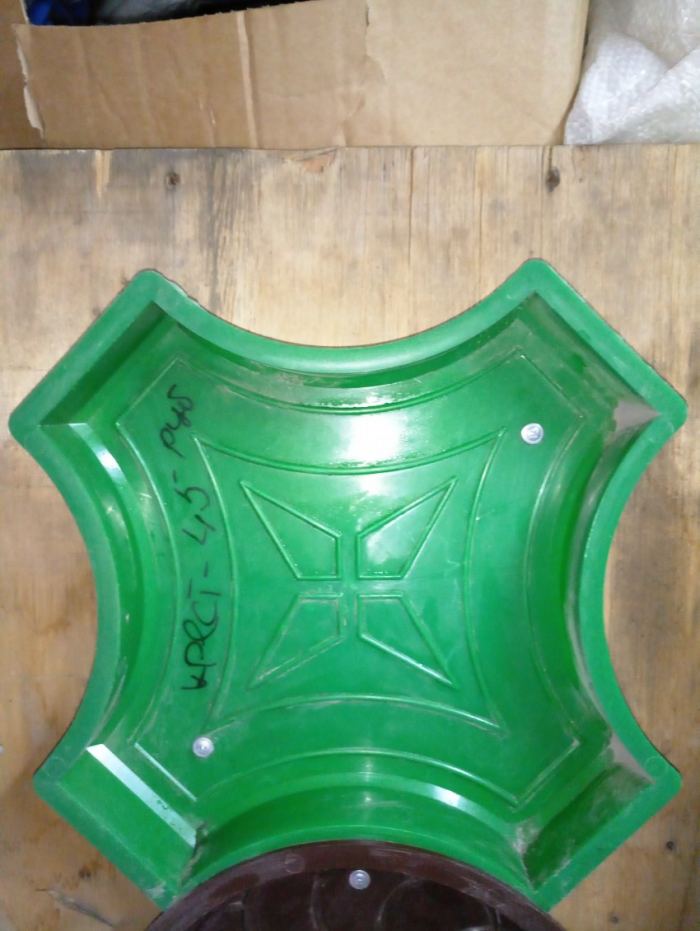
- several forms are made. It is also possible to purchase in a store - today they are sold in a wide variety;
- prepare a solution;
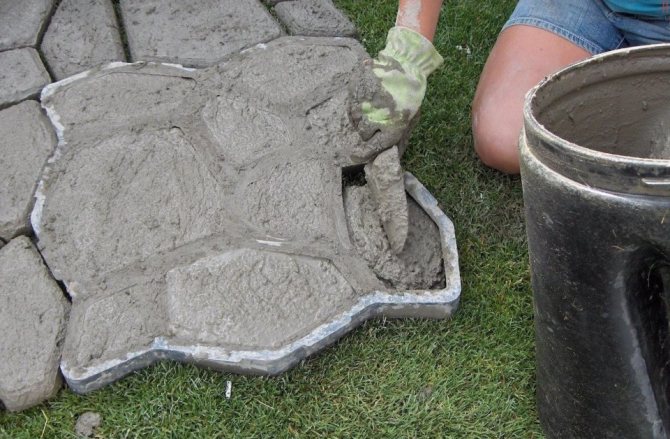
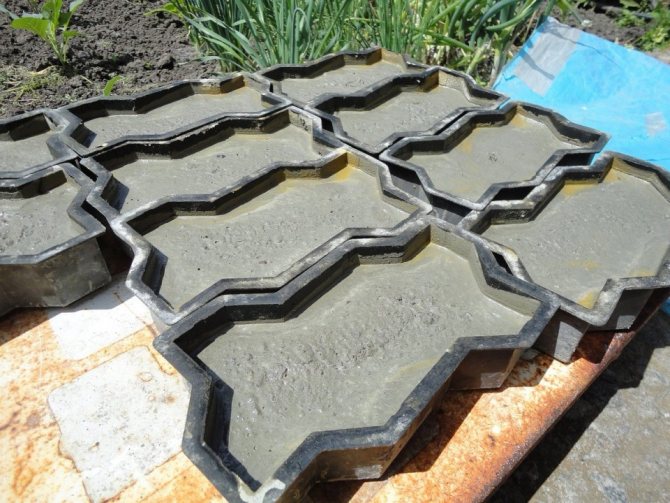
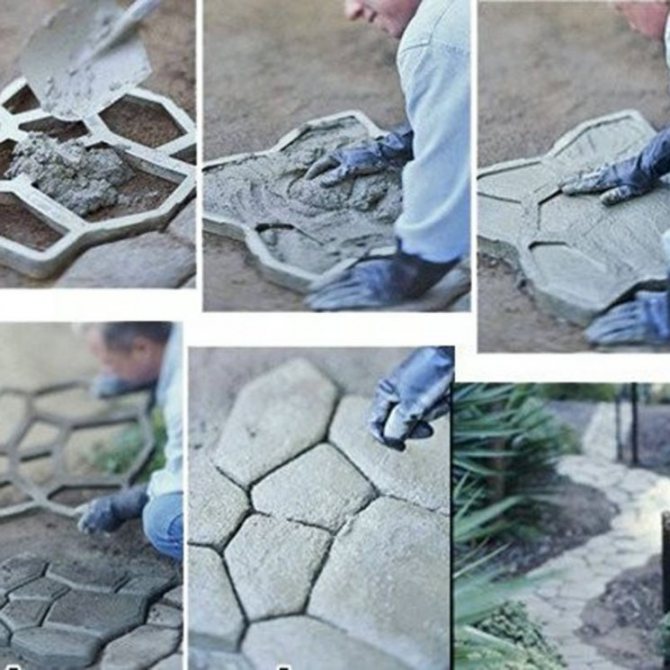
- placing the forms on a vibrating table, lubricate them and pour in the solution. Reinforcement is performed if necessary;
- leave the castings in the molds for 48 hours;
- the modules are removed from the molds and kept for some time until complete hardening;
- carry out finishing: staining or ironing.
Further, all stages are considered in detail.
Small-scale production of paving stones
In most cases, paving slabs are required by the site owner for a one-time production of a site or walkway. In this case, he needs a small number of molds (from 7 to 12) with a very limited resource, for example, from polyurethane or silicone. They can be easily made on their own, which will reduce the cost of making the coating even more.
It is not necessary to purchase a concrete mixer for a small batch: the solution can be prepared in a bucket, mixing it with a drill with a mixer attachment.
Safety measures at work
As in any production, in order to make a form for paving slabs, you should follow safety precautions:
- Before working with special equipment, you must read the instructions for its use.
- When working with welding equipment, you must follow the rules of fire and electrical safety. At the place of work, it is necessary to have means for extinguishing the fire. It is necessary to work with welding in overalls, using a protective mask.
- Work with chemically aggressive substances should be carried out outdoors or in a ventilated area. When diluting chemical solutions, it is necessary to protect the respiratory organs with a respirator, work in special glasses.
Form making
There are two types of molds for the production of paving stones:
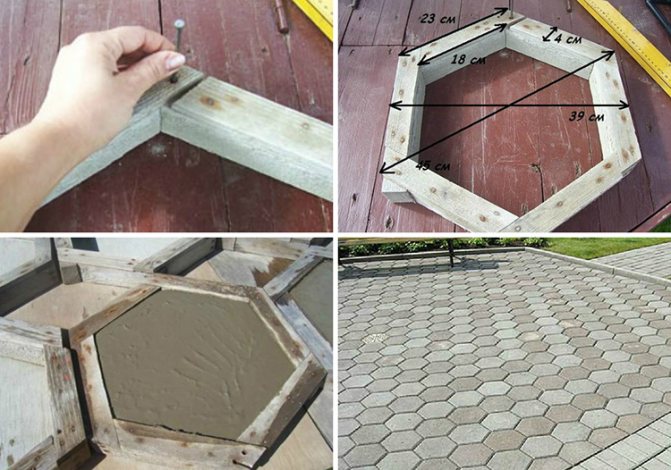
... This is a rectangular frame made of rounded bars or metal profiles. It is desirable to make it detachable - then the risk of damaging the casting during removal will be less. The bottom does not need to be done: the form is placed on a rubber mat covered with polyethylene. If you cut a pattern in the backing, it will transfer to the surface of the tile. It is easier to make a wooden form, and it will cost less than a metal one, but its resource is much less. In order to extend it, the wood is wrapped in polyethylene;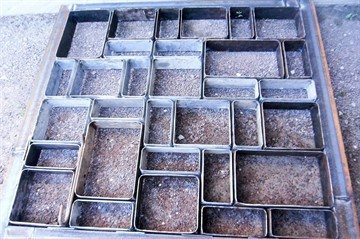

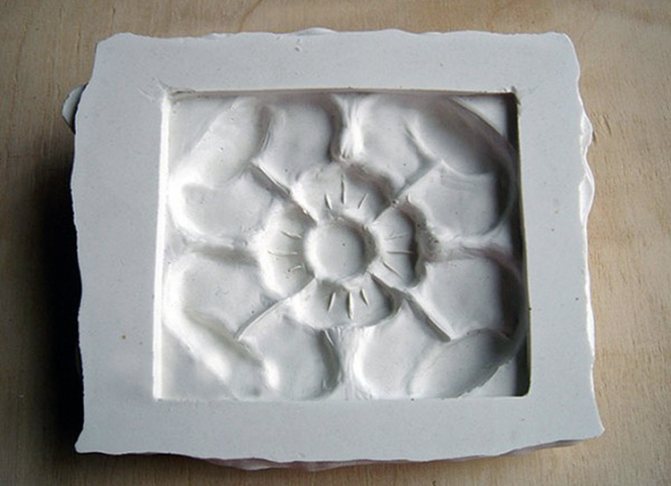
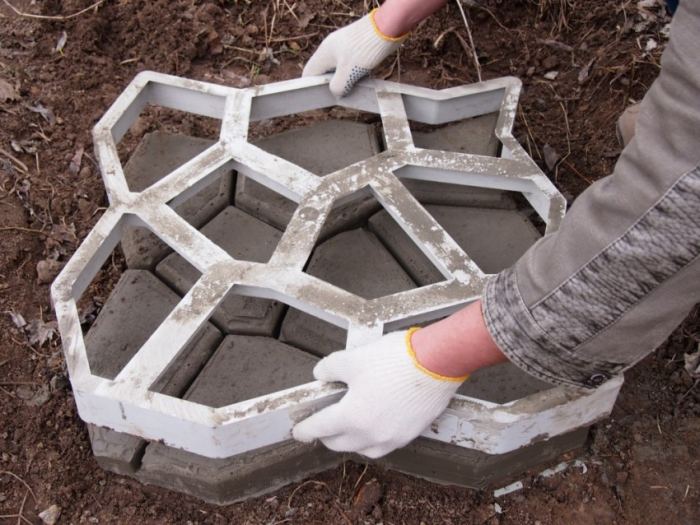
simple- curly... In such forms, paving stones are cast with curved outlines and patterns or relief of any complexity. A sample is needed: a finished tile of the desired shape or a template carved from wood or sculpted from plaster.
The procedure for making a form:
- a rectangular frame with internal dimensions 2 cm larger than the dimensions of the sample tile is hammered from the bars. This is the formwork. In depth, it also exceeds the thickness of the tile by 1 - 2 cm;
- the frame is laid on a rubber mat covered with polyethylene and a template tile is placed inside it in the center;
- cover the sample with grease;
- the free space of the frame is filled with the material from which the matrix is planned to be made.
How beneficial is it
If you decide to make paving slabs yourself, then you must take into account: the mold for its ebb is the main tool. It is in it that you will pour the filler, and you can do this right in your own yard.
Of course, you can buy the molds from the store. This is the simplest solution that will take you the least amount of time. But this solution is not without its drawbacks. The first drawback of purchased forms is in monotonous patterns and standard configuration. The second is that the tiles made in them often have to be cut to fit the track in the right way, or to change the location of the track itself... And if you decide to make the forms for the tiles yourself, then you will probably take into account all the features of the landscape in advance.
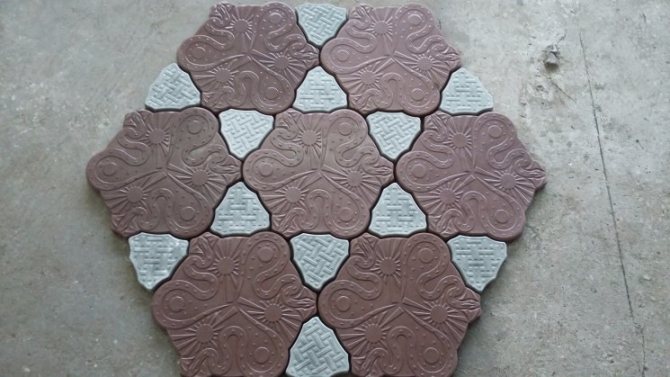
In addition, while creating the shape, you can choose the pattern for the future tile yourself. This is where the flight of fantasy is! As a result, you will get a real exclusive: no neighbor can boast of such a garden path as yours!
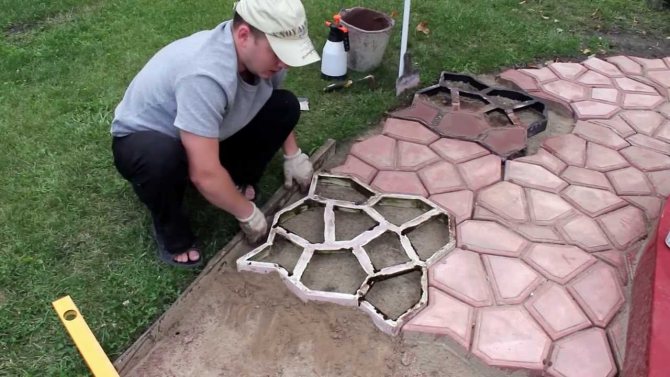

DIY paving slab mold can save you money
If you are not planning too much work, then, of course, it is much easier to buy a form in a store. But if you have to pave a large area with tiles, then self-production will justify itself.
In fact, a self-made form is perhaps the most costly measure in the production of paving slabs. Perhaps this is the only drawback of self-production (besides the fact that it takes time to produce the form). But everything pays off by the volume of production of the paving slabs themselves.
In addition, you can easily start a small business after you pave your garden area. By producing tiles for sale in your own original forms, you will not only "recover" the costs as quickly as possible, but also make a profit.
Formulations suitable for making molds
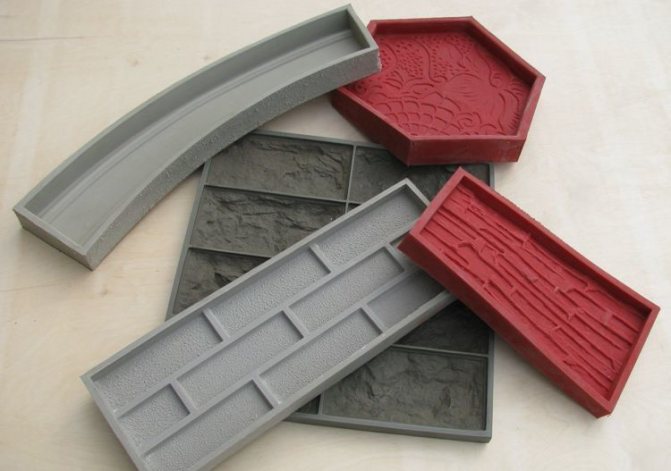
The matrix for casting tiles can be made from polymers or plaster.
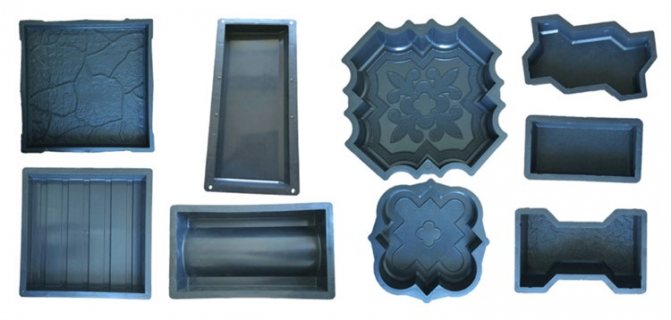

Varieties of forms for paving stones
Polyethylene
Secondary raw materials for subsequent melting are found at every step. These are plastic bottles, lighter bodies, old cans, etc. The plastic hardens in about an hour. Sometimes sanding is required. Molds made of this material are relatively durable: each one is enough for 250 castings.
Gypsum
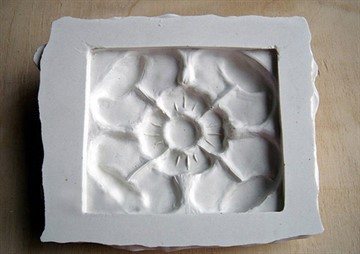

This material hardens quickly, therefore it is prepared immediately before pouring. In order to extend the resource, a plasticizer and cement are added.
Gypsum repeats all the details, even the smallest, therefore this form reproduces patterns of any complexity available on the sample. The disadvantage is fragility: the mold can be easily damaged when the module is removed.
But it is not critical because gypsum is cheap. Instead of wooden blocks, a plastic food container can be used as a formwork.
Silicone
Forms made from this material are quite popular because they have a number of advantages:
- most accurately repeat the small details of the relief, therefore, they allow reproducing the tiles of the most complex configuration, practically one to one;
- due to their flexibility, they facilitate extraction;
- do not crack upon impact;
- during the preparation process, silicone does not emit harmful substances.
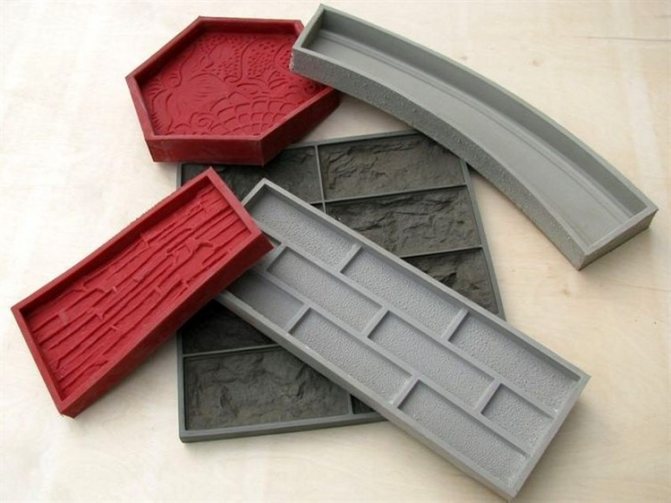

Silicone forms
The lack of silicone molds is a limited resource: no more than 100 modules can be cast into them with high quality. Silicone is prepared from 3 components: base, hardener and catalyst. It is important to adhere to the recipe (indicated on the package) and cook at the correct temperature - not lower than + 200C.
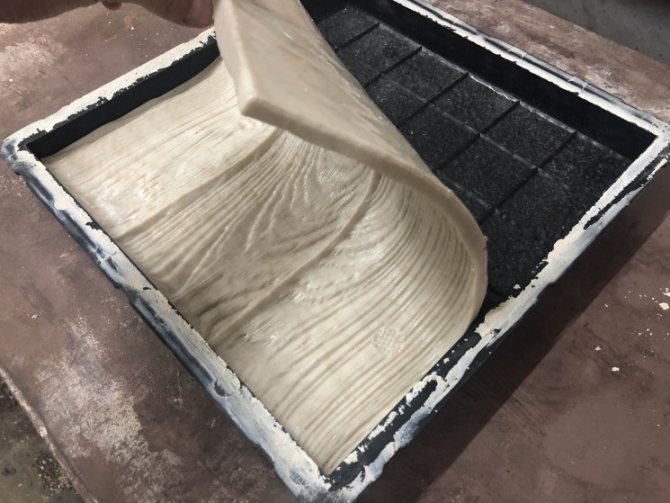
The ingredients are mixed until smooth. It is important to ensure that there are no air bubbles in the mixture. In the manufacture of a silicone mold, sculptural plasticine is laid on the bottom of the wooden formwork with a thick, even layer and only then the template is placed.
The thickness of the plasticine must be taken into account when choosing the depth of the formwork. The form is taken out of the formwork in a day. Excess silicone is cut off with scissors.
Polyurethane
It is also a very fluid substance, repeating the smallest details of the relief, but much stronger than silicone. Polyurethane emits toxic fumes and is irritating if it comes into contact with the skin.
Working conditions:
- the room is well ventilated;
- gloves, goggles and a respirator are used for personal protection.
Polyurethane is prepared from two components - a base and a hardener. It is important to avoid contact with damp surfaces: the substance reacts with water. The form is taken out of the formwork after 24 hours, but it gains full hardness only after another two days.
It is recommended to make separate shapes for corner tiles. Otherwise, you will have to cut ordinary ordinary modules, and this will take much more time.
Which material is better
When creating a home template, it is very important to choose the right material. The requirements for it are determined by the specifics of tile production. So, the mold is used for pouring inside the liquid cement mixture, which then compresses and hardens. Then the product is taken out and for the removal to take place easily, without damage, the material must be either very smooth or smeared with something.
Basic requirements for the material for the form:
- Minimal water absorption, sufficient resistance to moisture.
- High rigidity and sufficient wear resistance are desirable.
- Resistant to abrasives.
- No thermal expansion when the ambient temperature changes.
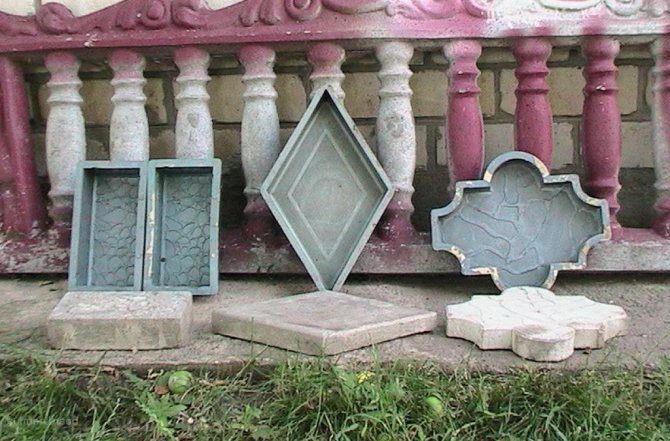
The most durable are plastic, silicone, polyurethane: they are not afraid of moisture, they are well cleaned, and can be used repeatedly. The easiest way is to make a homemade template from wood or weld from metal. The most durable and stiff are metal, the cheapest are gypsum matrices.Much also depends on the training of the master - skills and experience in working with this or that material will greatly facilitate the whole process.

Preparation of the solution
The ingredients used are as follows:
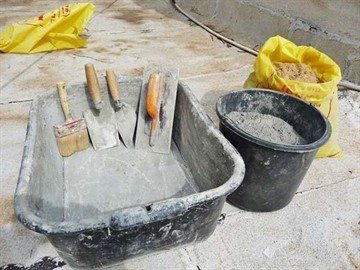

- cement grade M500 or higher, preferably white - 1 part. It is desirable that the content of 3-calcium aluminate does not exceed 8% (preferably up to 5%);
- river sand, sifted, with a fineness module of 2-3 parts;
- drinking water - 0.5 mass fraction. Additional cleaning of the liquid is not required;
- plasticizer - at the rate of 10 ml per 1 kg of cement. If necessary, the dose can be increased, up to 1% of the total mass of the solution is allowed. Along with purchased plasticizers, they use "folk" ones - chicken egg protein, PVA glue, detergent, washing powder and slaked lime;
- dispersant: a component that makes tiles frost-resistant. It is applied in the amount of 90 g per 1 m2 of coverage. This is an important component, since paving stones, unlike wall cladding or foundations, cannot be protected with a water repellent - it will quickly wear off. The use of a dispersant makes it possible to raise the frost resistance of the tile to F300 (it can withstand 300 freeze-thaw cycles without destruction);
- coloring matter (pigment). Depending on the desired color, it is added in an amount from 0.5% to 10% by weight of the solution. The dye is dissolved in water in a separate container, and a dispersant is added there.
Bulk staining is resorted to only when using white cement. In other cases, it is painted superficially: rub the dye with a trowel into a not yet dried solution.
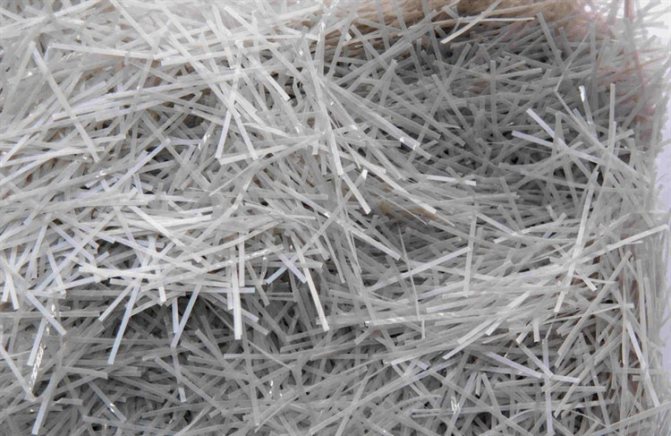

It is recommended to add glass fibers to the solution
Cement with sand and plasticizer are combined until homogeneous in a concrete mixer or bucket, then water is added little by little. Consistency is considered normal if the mortar is sufficiently fluid and does not crack, but does not slip off the trowel. Next, a dye with a dispersant is added.
In addition to sand, crushed stone with a fraction of 3-5 mm can be added to the paving stones. In this case, cement, sand and crushed stone are taken in two parts. To strengthen the final product, it is useful to add glass or polyamide fibers to the solution.
Form filling
The form is filled in as follows:
- install the product on a vibrating table aligned to the construction level - factory or homemade;
- with a brush, cover the form from the inside with grease;
- fill the solution halfway and turn on the vibrating table. The total duration of vibro-laying is 5-10 minutes:
- after half of the vibration laying cycle, place a steel or polymer mesh (reinforcement) on the mortar and add the mortar to the top.
After that, the forms are removed from the vibrating table to the rack.
It is not necessary to paint the tiles throughout. You can prepare two servings of the solution: tinted and regular gray. First, the form is filled by a third with a colored solution, then with an ordinary one. By pouring two layers of different colors, you can simulate marble.
Freezing
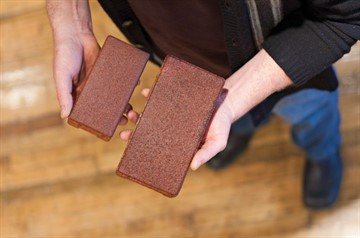

The water in the slurry reacts with the cement, so it is important to minimize its evaporation. For this purpose, the filled forms are placed under polyethylene, and in the heat they are also periodically watered with water.
After two days, the castings are taken out of the molds, but they continue to be kept under polyethylene and moistened, if necessary, for another 10 days.
Full maturation occurs in 28 days... When the solution hardens slightly, you can squeeze a pattern into the tile with a stigma made from stiff wire.

