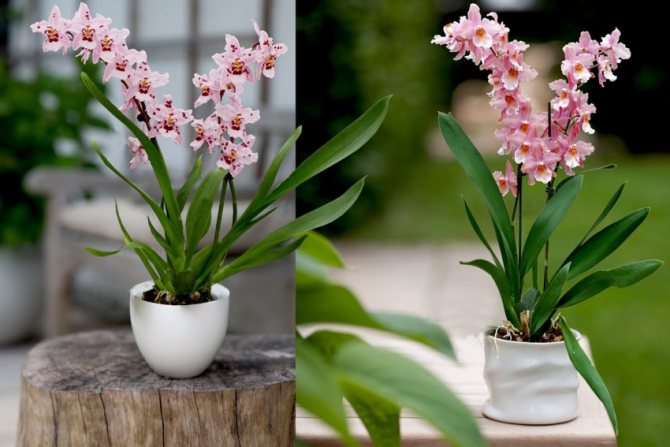
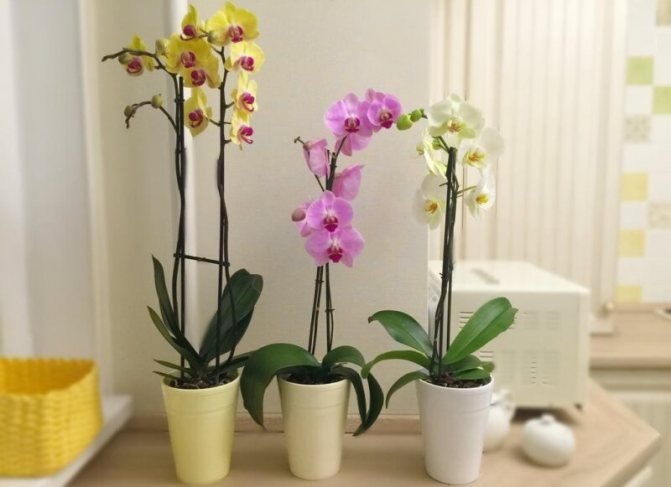
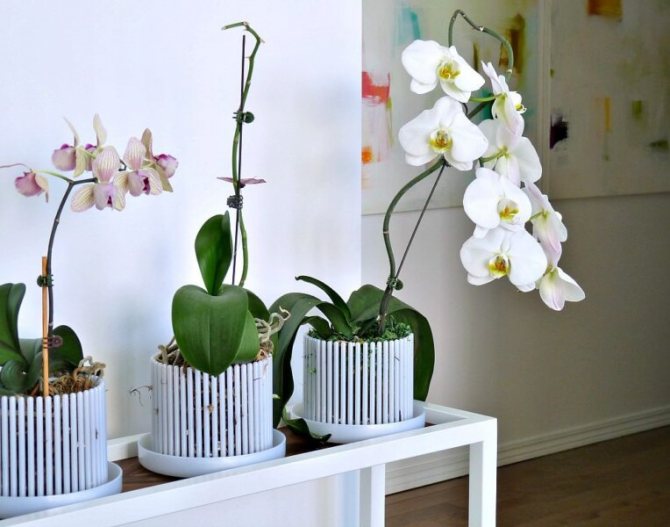
Transplantation of phalaenopsis, an epiphytic tropical culture that does not have the usual root system that draws moisture and the required nutrients from the ground, is one of the most important procedures for its apartment and home maintenance. This orchid in the wild in the tropics does not grow in the ground at all, but on trees and rocks. For which it clings to thick, whitish, octopus-like tentacle roots. In culture, phalaenopsis is grown in a special loose and free-flowing substrate, which periodically requires replacement, and, accordingly, transplantation.
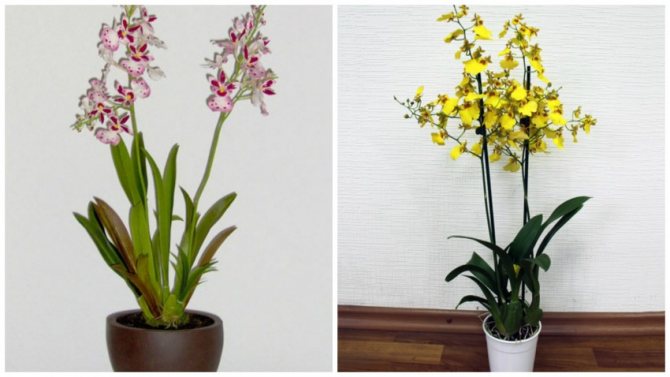
Types of orchids and how to plant them
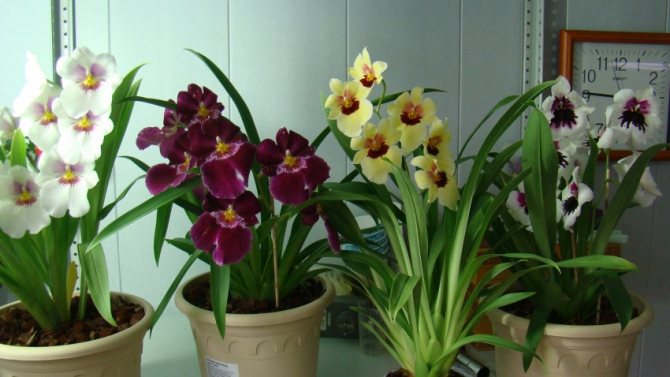
Transplanting an orchid at home into a new pot and further care is an important part of the life of exotic plants. It must be carried out, already having some knowledge of the cultivation of these plants. For example, all orchids can be divided into three types according to the way of growth:
- Epiphytes. This group is the most numerous, they live in trees and take moisture from it. They have air layers that do not need soil. These include phalaenopsis, orchids that are sold in stores.
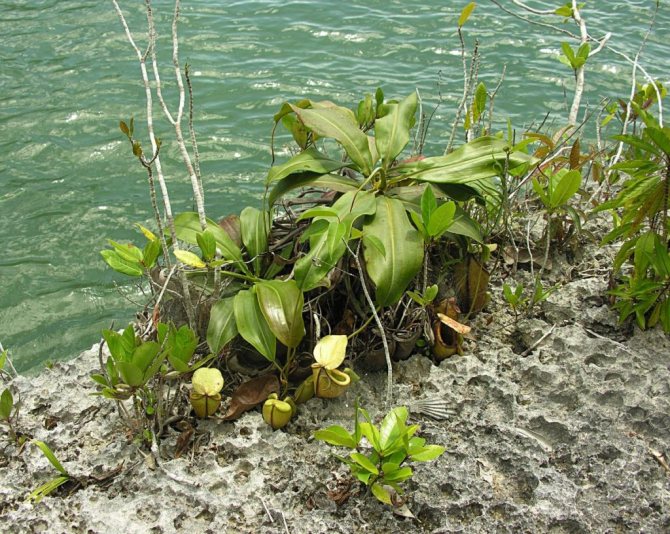
- Lithophytes living on rocks with a small amount of moss, bacteria and fungi. This species is not numerous.
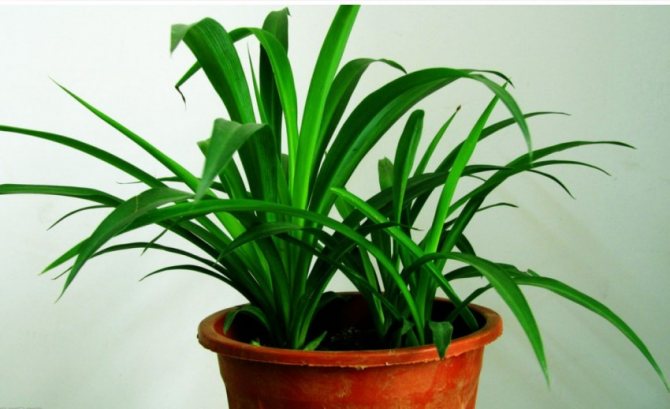
- Terrestrial orchids. They have underground organs - tubers, so the species takes root in the soil without suffering from this.
When buying a flower or accepting it as a gift, you need to clarify which species the orchid belongs to, in order to then properly care for it.


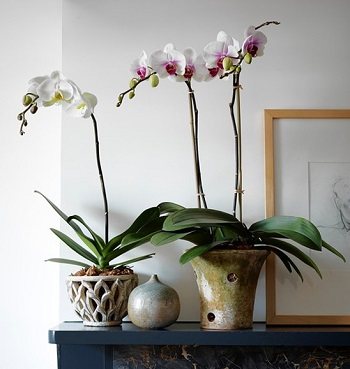
Which orchid pot is better to choose
A wide variety of dishes are used to plant a flower. For example, plastic and ceramic pots, baskets and even nets.

We are now interested in planting in pots, because this is the most common dish.
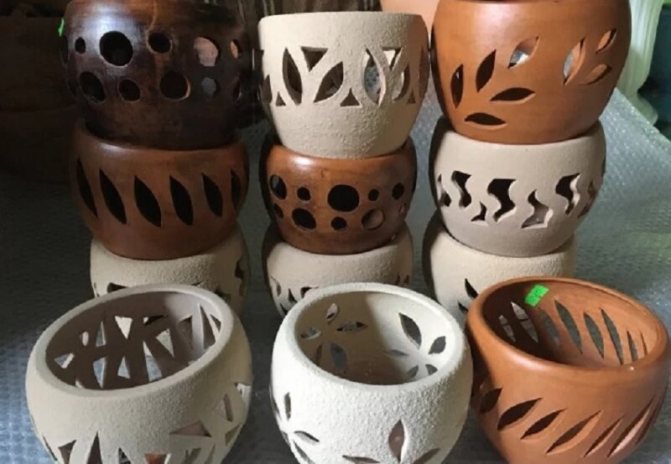
Ceramic pots for orchids
Everyone knows the advantages of clay (ceramic) pots - they are cheap and affordable. They don't overheat in the sun and hold water well. However, when standing on a windowsill, they evaporate moisture through the walls. Therefore, in winter on the windowsill, the temperature of the substrate is greatly reduced, which leads to hypothermia of the roots.
They are grown in ceramic pots when an orchid transplant involves the development of a peduncle directly from a flower. And, when the peduncles pass through the substrate (stangopea), then they do not plant in such pots.
Most often, such utensils are used for plants that need uniform substrate moisture throughout the year. For example, for shoes.
Ceramic pots work well for large, fast-growing cymbidium-like orchids. They require nutrient substrates and constant, abundant moisture during the growth period.
If the ceramic pots are small, then delenki and young plants are grown in them.

The disadvantage is that the roots stick to the walls of the pottery. To avoid this, a plastic wrap is placed on the inner surface of the pot. Just be careful, because then it is very easy to flood the plant.
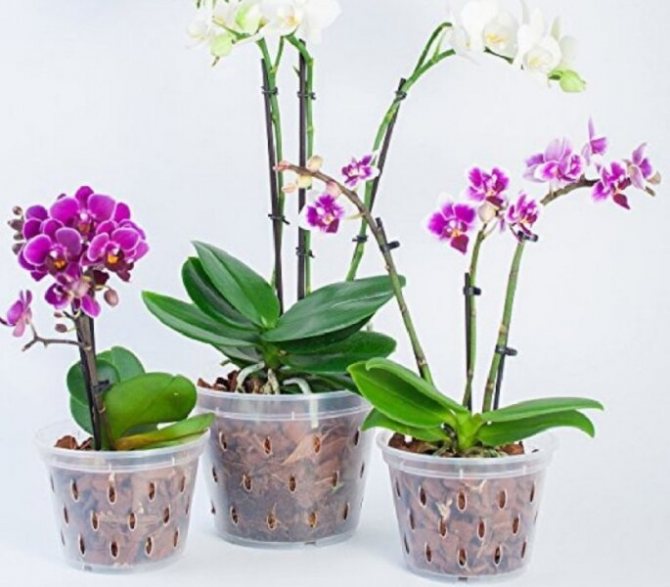
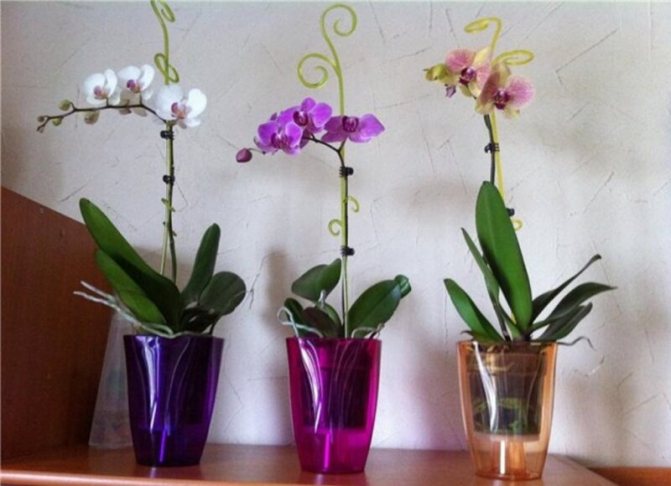
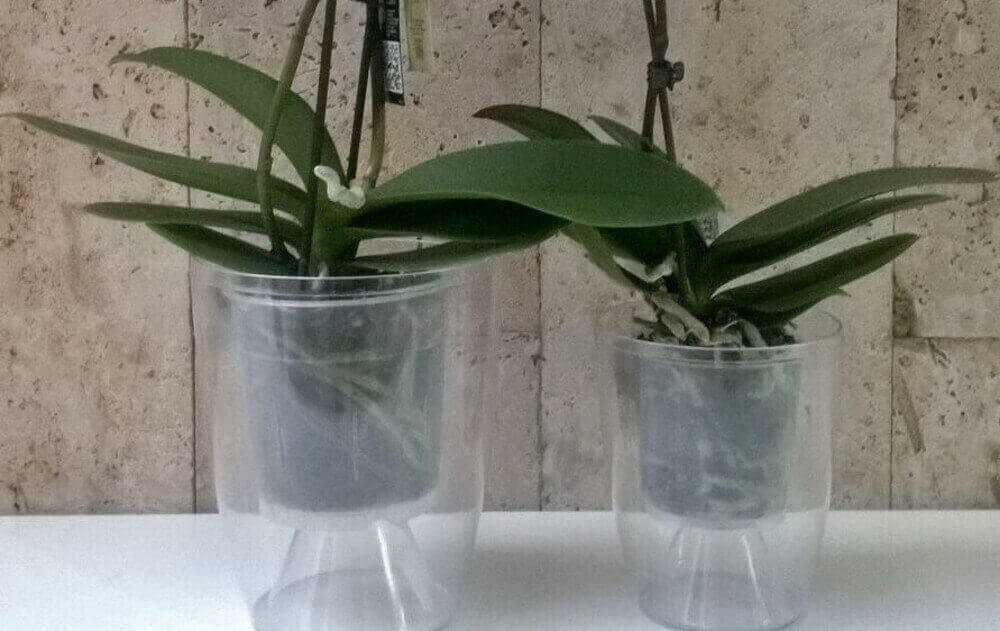
Plastic Orchid Pots
Recently, plastic pots have increasingly appeared in plant cultivation. They are available with holes in the walls and without holes.
The appearance of the pots is more attractive.And on the walls they do not form drips of salts, which are deposited as a result of the evaporation of water from the walls of the ceramic pot.
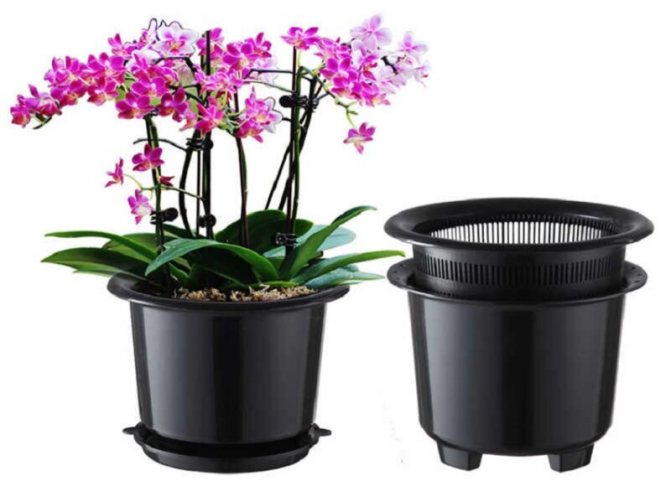
And what is most important is that plant roots practically do not stick to plastic.
And the very waterlogging of the substrate in plastic dishes can be prevented by pre-drilling several holes with a diameter of 5-8 mm in the bottom and on the walls.
Now plastic pots with holes in the bottom and walls can be bought ready-made.
There are a lot of types of plastic pots. Only the most common are shown here.
How to determine if a plant needs a transplant
It is recommended to carry out orchid transplants at home, as well as their reproduction once every 2 years. This creates good conditions for feeding and growing cuttings. It happens that a plant develops quickly, and it needs transshipment earlier. In extreme conditions, when an orchid needs to be transplanted urgently, they act immediately so that the plant does not die.
Immediately after purchase
The transport soil does not always meet the requirements. Its task is to preserve the plant during transportation to customers. Next, you need to think about how to transplant a home orchid into another pot with a suitable substrate at home, so as not to disrupt its life cycle, not to cause a disease.
Immediately after purchase, they are transplanted if such materials as foam rubber, coconut fibers are visible in the plastic container. They retain moisture, so the roots can start to rot at home.
Lack of colors
The plant does not bloom for a long time, which means that the substrate does not suit it, all forces are aimed at survival. It happens that novice growers do not know the growing conditions for epiphytes and plant them in the soil. If after that buds appeared and the plant bloomed, most likely the orchid is trying to form seeds, since it will soon die in such conditions.
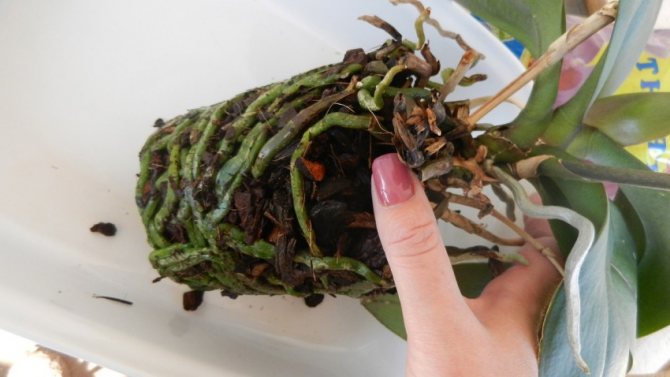
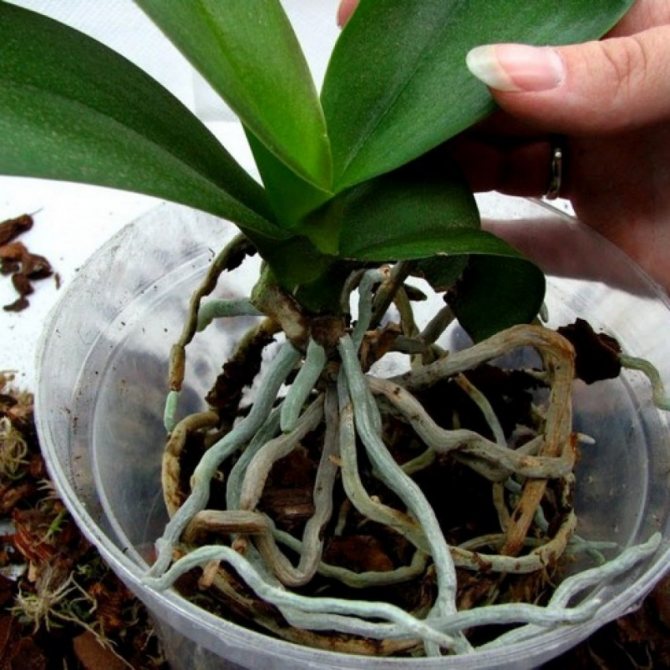
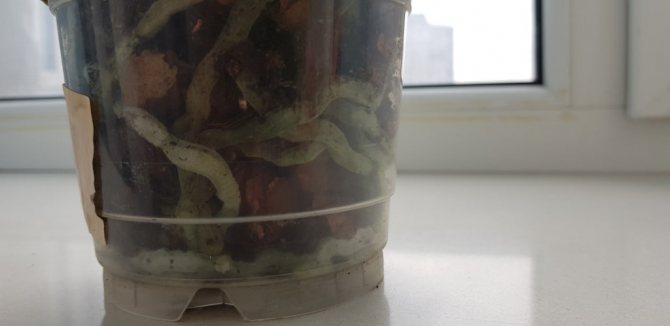
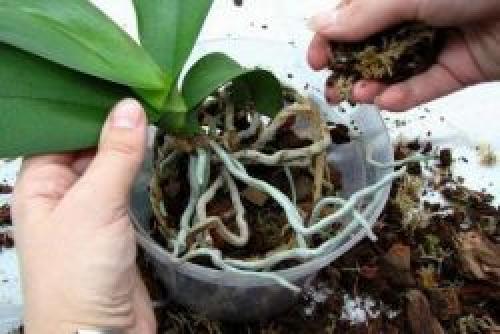
Braided roots
Root interlacing is a way to find free air space. If you delay with the transplant, fragile layers will begin to break. A weakened plant will surely get sick with a fungus that gets into damaged tissues. It will be difficult to transfer it into a new pot - for this you will have to untangle the roots, which may crack during the procedure.
The plant is unstable
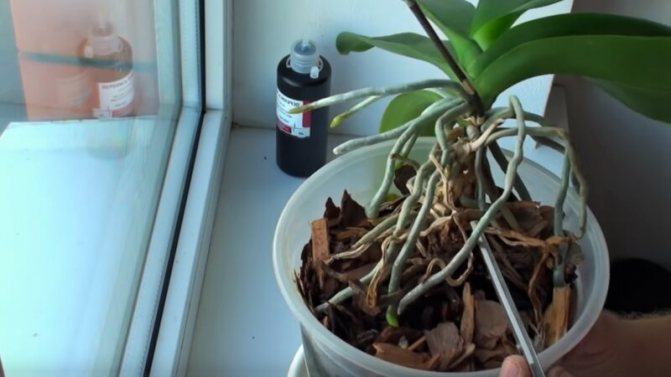
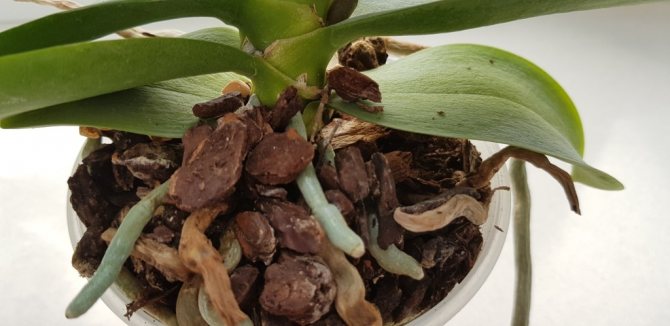
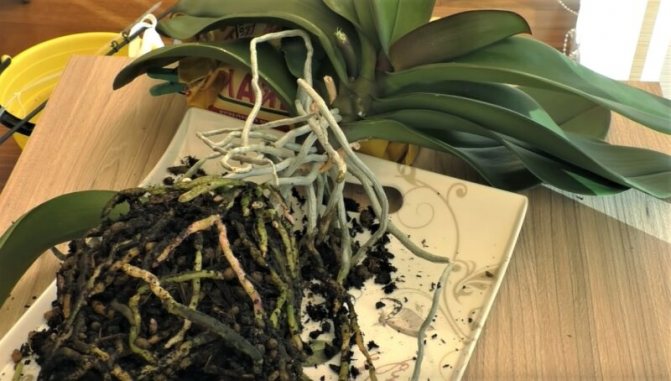
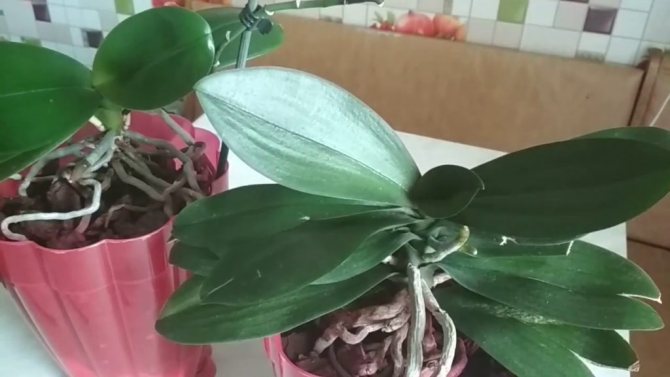
Orchid transplants are carried out if an unstable position of a flower in a pot is found - it moves freely inside. This means that the root system is partially dead. If the glass is plastic, the areas damaged by rot will be visible - they are brown or dry. Normally, the layers are silver or green when the water is drunk.
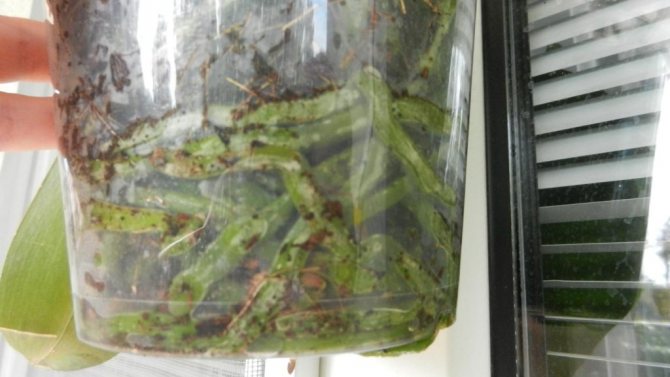
Using the greenhouse method, if the roots have collapsed, will save the plant. It is previously placed under a plastic bottle, where high humidity is maintained. This technique can provoke the growth of new layers. Before transplanting an orchid, it will be correct to rinse the root growth site and treat it with a fungicide at home.
Poor appearance of the orchid
Phalaenopsis loses its decorative properties when it lacks food, moisture and free space. On examination, no parasites were detected, which means that the reason is that the substrate has exhausted its properties. The leaves begin to turn yellow and wither - it's time to replant.
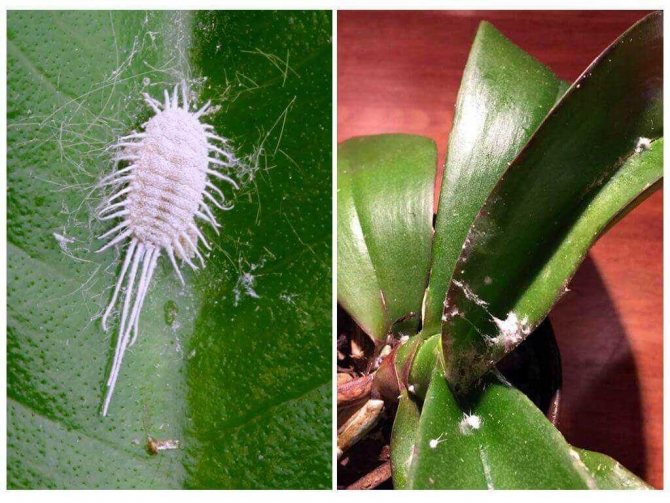
Insect pests
Pests attacking domestic plants often settle in the soil, and the living parts of the plant are used to feed their larvae, which they lay right in the thickness of the leaf. On examination, you can find microscopic damage to the soft tissues of the leaf plate, air layering, peduncles.
The florist's task:
- notice parasites in time;
- prepare a new substrate;
- treat the orchid against pests;
- transplant it to a new location.
The pot also needs to be disinfected to prevent insect eggs from entering the new container. That's right, after buying a new plant, before transplanting the orchid into a new pot, quarantine it so that the parasites manifest themselves.
Orchid diseases
If the growing conditions are violated, all plants get sick. Orchids are no exception. Due to the high moisture content of the soil, their root system begins to rot, leaving the aboveground part without nutrition. The main problem is fungal spores that develop under favorable conditions. Signs of the disease are:
- yellowing of the leaves;
- the plant sheds buds;
- brown bloom on air layers;
- soft spots;
- mucus due to bacterial activity;
- the turgor of the leaves is lost, they soften and wither.
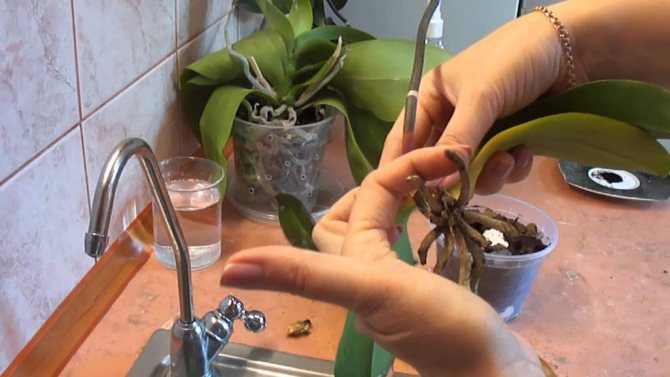
The first thing to do is to get the plant out of the pot, examine the roots and decide on an urgent transfer to a new place. Before that, thoroughly clean all parts of the root system, and remove and dispose of dead parts.
Damage to the processes
A plant growing in a cramped pot will sooner or later get damaged roots. Such areas serve as a breeding ground for bacteria and fungi. If it is noticeable through a transparent glass that some of the layers have broken, it's time to start transplanting an orchid.
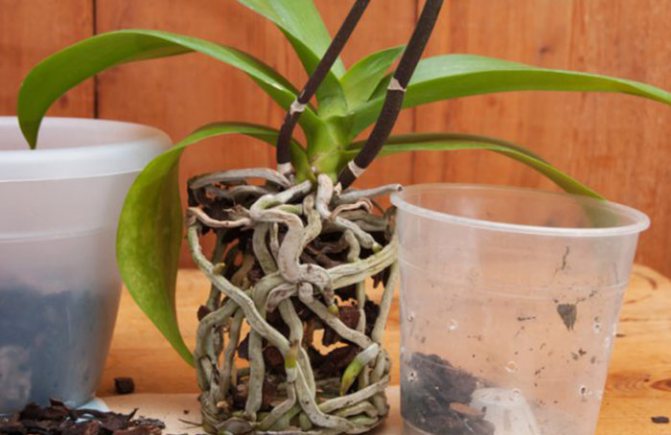
The roots have outgrown the pot
When inspecting the plant, it is revealed that some layers have penetrated into the drainage holes, others have hung over the edge of the pot from above, the rest are tangled inside. This is a signal for transplanting - pests or diseases may appear on the orchid due to disturbed growth conditions.
Video: Transplanting Orchids - It's Easy!
Further care of the flower
No special care is required after the transplant. The only thing is to shade the upper part of the flower from the sunny color within a week.
Watering is done immediately. You need boiled water with the addition of calcium and magnesium. The whole pot is immersed in it for 40 minutes. Thus, the soil is saturated with nutrients. The next moisturizing procedure should be carried out no earlier than 2 weeks later. Top dressing is applied after 3 weeks.
In any house or apartment there is a place for an orchid. It will delight not only the owners, but also the guests with its beauty and amazing aroma. With proper care, it blooms for a long time and beautifully. In the direction of feng shui, the orchid is also used. Not cut, but a room representative is perfect. Belonging it to noble plants has a beneficial effect on the atmosphere in the house. Able to activate zones in a positive direction. In an ancient Japanese legend, there is a belief that the orchid, having the name of the feminine gender, is considered a masculine flower. Combining 2 elements, it is suitable for balance in the family.
Observing the general rules for caring for a flowering orchid during transplantation, you can protect it from diseases and pests. The main thing is to monitor the state of the root system. A timely moistened substrate is a guideline for subsequent actions. Most store-bought orchid varieties are hybrid. They are adapted to the environment, weather and pests. Therefore, there should be no problems in transplanting or growing.
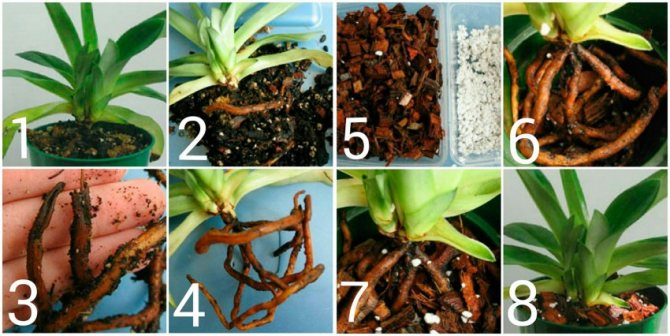
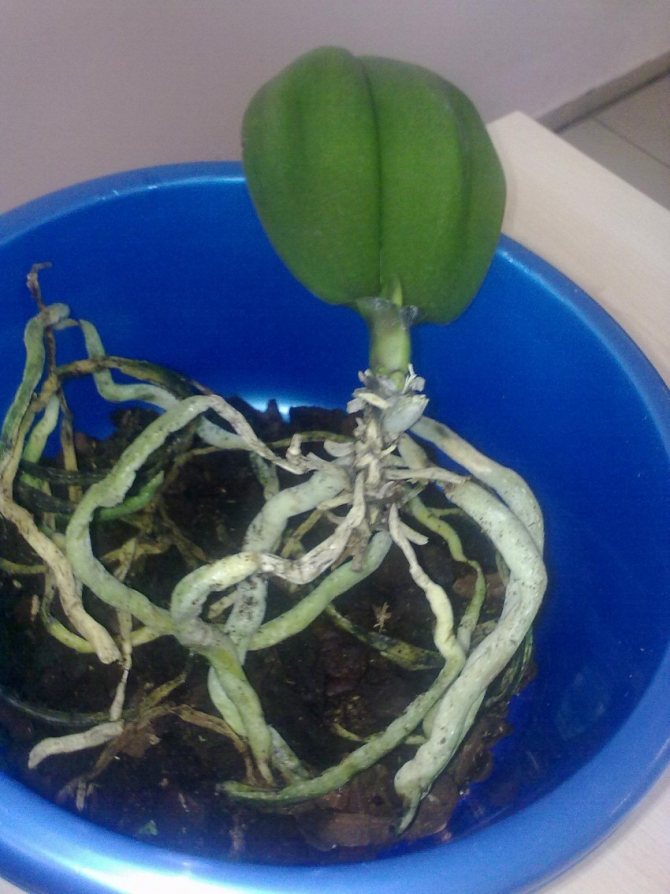
Flower rejuvenation
Older plants can be successfully rejuvenated. If the trunk is elongated, since the leaves naturally die off from below for a long time, Phalaenopsis rejuvenation procedure can be performed:
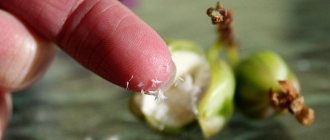
- Cut off the top so that under it there are air layers and the beginnings of new roots. Treat the area with activated carbon.
- Prepare the substrate or bark.
- Place large pieces of bark on the bottom of the pot.
- Put a piece of polystyrene under the cut site - this technique prevents moisture from entering the cut area and rotting.
- Place the orchid and sprinkle with fine bark on the sides for stability. The bark should cover the area where the root buds are located so that they begin to grow faster.
The rest of the plant with roots can also be cleaned and left in the substrate.Soon a new rosette of leaves will grow out of it.
What problems can arise after a transplant
Let's consider the possible problems that may appear after transplantation.
- If the leaves look lethargic, then you are greedy with watering: the substrate should not completely dry out. Another reason may be direct sunlight. Try shading the plant for a week.
- The plant does not bloom for a long time: if the survival process is delayed, start feeding earlier.
The more attentively and accurately the transplant process goes, the less chances of problems after it.
Transplant "children"
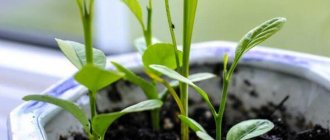
If babies with air layers have formed on the shoot, they need to be transplanted to a new place. If there is at least 2 roots, such specimens can be deposited.
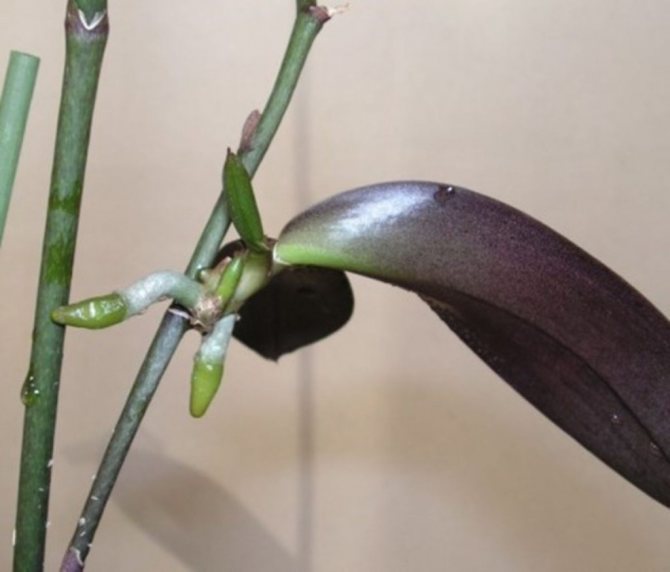
It happens that children start up a peduncle arrow. Is it possible to transplant a blooming orchid: at home this does not harm, since it is possible to organize thorough care and the plant will quickly recover.
Transplanting an orchid baby at home step by step:
- Cut off the peduncle on which the baby is attached.
- Cut off the arrow if the plant is going to bloom. Before rooting, flowering is not stimulated, as it takes up a lot of energy.
- Disinfect the sections with charcoal.
- Pour wet bark into the pot, place the foam under the cut and add the substrate to the sides.
The roots are laid so as not to damage them. It is not scary if the layers stick up and look out of the substrate.
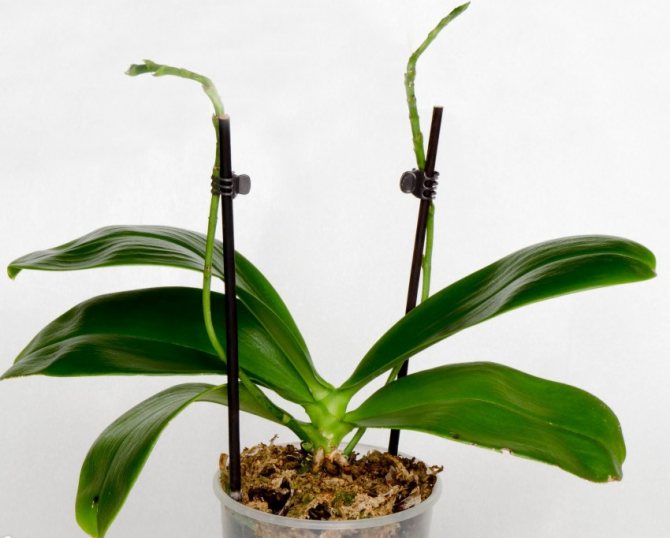
What to do with an orchid flower stalk. Pruning
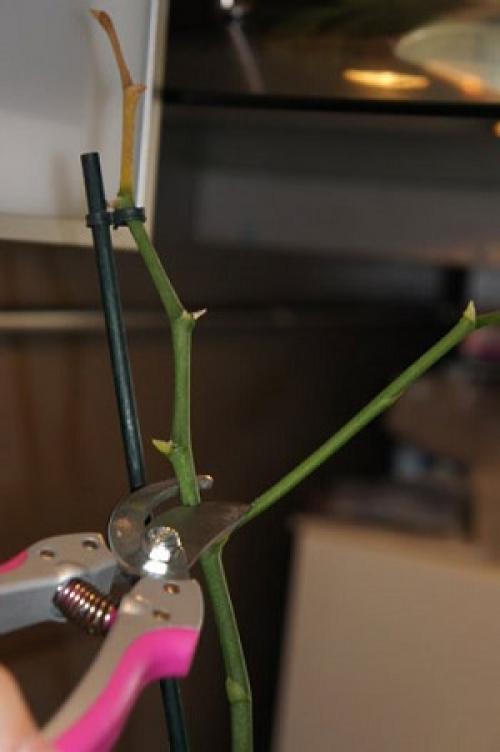
One of the main questions is "What to do with the arrow when the orchid has faded?"
Some beginner growers cut the peduncle immediately after flowering. So they try to stimulate faster growth of new leaves and arrows. I would like to immediately notice that this is wrong.
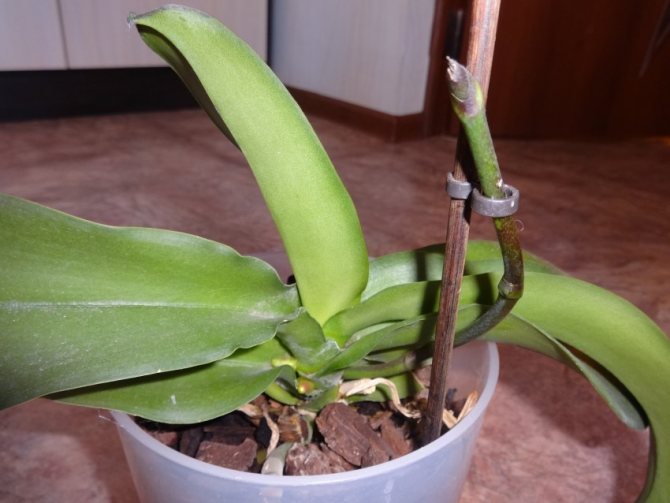
After flowering, it is more correct to leave a shoot, they do it for the following reasons:
- if the peduncle dries, do not rush to cut it, throughout the entire time the flower will additionally receive from it the nutrients that it has accumulated;
- if for six months the arrow remains alive and green, then from its dormant buds, by stimulation, you can get either flowers or a baby for reproduction.
But the peduncle still has to be shortened a little, after 1-2 weeks it is worth cutting off its upper part above the third sleeping point. The cut is immediately processed and allowed to dry.
Important! During this period, you should refrain from spraying the plant.
Full pruning is carried out when the shoot is completely dry and yellow-brown in color. At the same time, 2-3 cm recede from the trunk of the plant, so as not to accidentally damage it.
To stimulate the orchid to reproduce, pruning the peduncle is best done in the summer. It is during the warm season with the proper level of humidity that orchids most willingly release babies.
Transplant during flowering
It is not recommended for beginners to carry out this procedure, but there are situations when it is necessary to urgently save the plant - it fell during flowering, the roots began to rot or parasites started. Then you can take a chance, but do it carefully.
How to transplant correctly blooming orchid at home step by step:
- Remove the roots from the pot.
- Inspect for rot or damage. Clean the damaged areas with a cotton swab.
- Treat with fungicide or sprinkle live wounds with crushed coal.
- Prepare the container. If necessary, the pot is also washed and treated with antiseptics.
- The roots are immersed in a pot and sprinkled with a substrate. If there was a fungus infection, it is changed to a new one.
If the reason for transplanting during flowering is not a disease, then the orchid will not lose flowers, it will continue to grow. In case of diseases, the flowering process will depend on the degree of damage to the root system.
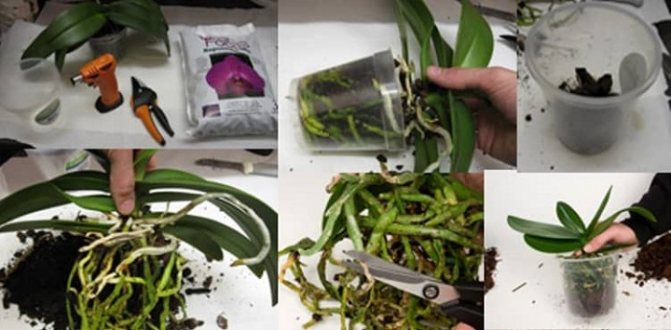
Planting instructions
All tools are disinfected with an alcohol solution before work to exclude infection of the orchid with a virus or infection. The procedure is carried out after each transplant.
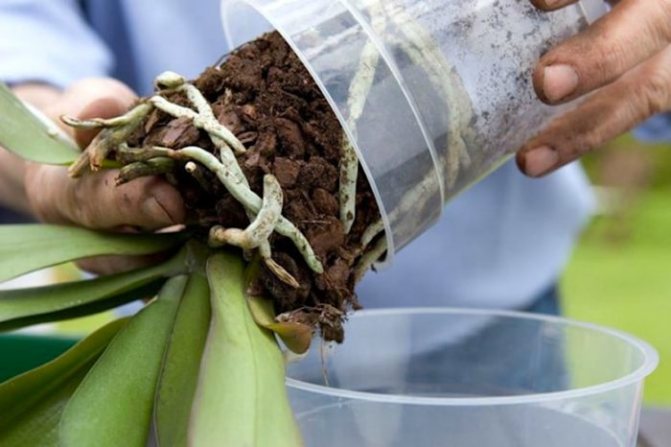
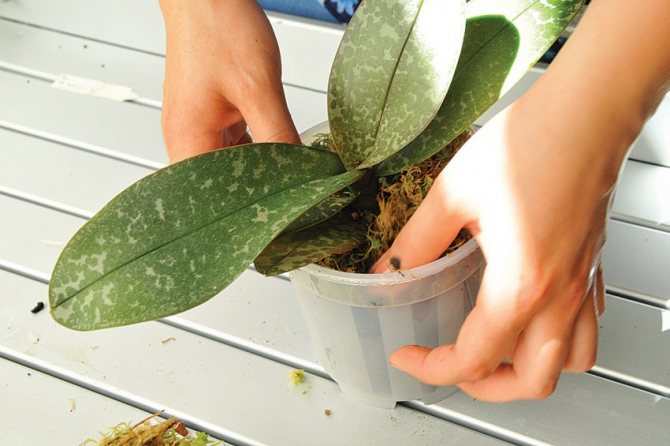
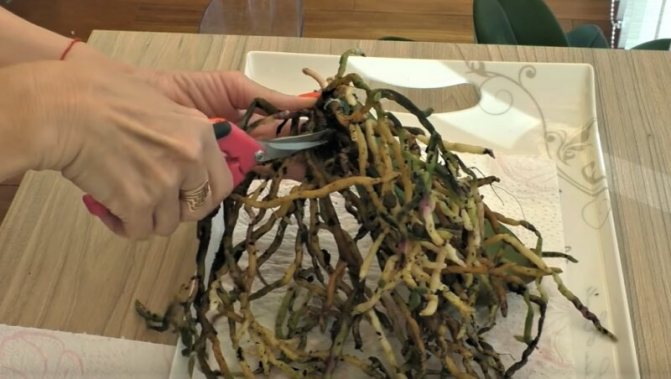
Procedure:
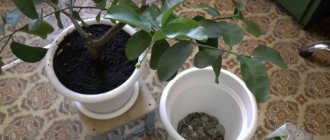
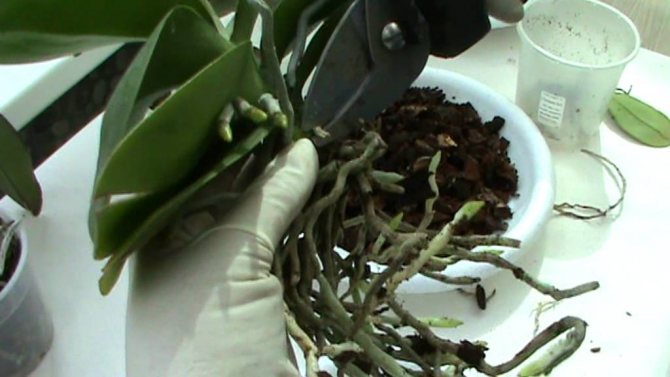
The flower is removed from the pot. If the fragile roots have grown too much, then the pot is cut in half. It is much easier to take out earthen food with roots if you first hold the pot in water.- The root system is cleaned of bark residues and washed. Healthy roots are white, yellow, and green, while dry brown ones must be removed.
- The yellowed leaves are torn lengthwise and cut off at the base, and the dried stalks are removed with scissors. The sections are treated with a fungicide solution or crushed charcoal, and Fundazol powder is also used, which is sprinkled on sore areas.
- It is likely that after pruning, the orchid will fit into the old pot. You need to pay attention to the fact that 2 cm should remain from the roots to its walls.
- The pot is washed and the bottom is sprinkled with a layer of drainage. As it can be used large pieces of bark or charcoal.
- The roots of the orchid are arranged in several tiers, new growth is formed under the leaves, therefore, when transplanting, the plant deepens to the level of the lower leaves. In this case, the growth point should be in the center of the pot.
- The flower is covered with a substrate. The edges of the container are tapped to force the earth to fill the voids between the pieces of bark.
How to shelter grapes for the winter in Siberia
Preparing for the procedure
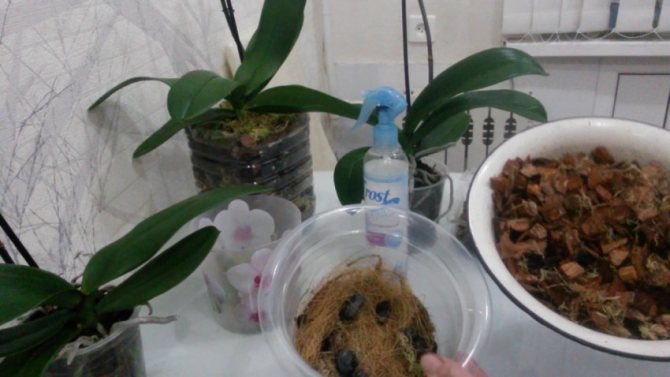
Before transplanting, pay attention to the selection of the pot - it should be more spacious than the previous one 3 - 4 cm. Particular attention is paid to the substrate in which the plant will take root. For young children, a small bark is suitable, for adult orchids they buy a large fraction. Also, the soil can be made from a mixture of moss, fern roots and tree bark, having previously calcined the components in the oven.
Before transplanting, the bark is soaked for 10 minutes, then the process of transshipment of phalaenopsis into a new container begins.
Important! If the bark was collected in the forest, it is pre-boiled in boiling water to destroy pests and fungi, then dried
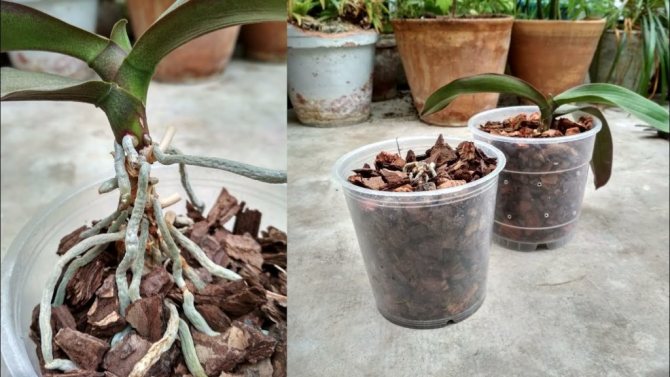
Choosing a soil for Phalaenopsis Orchids
Soil for orchids
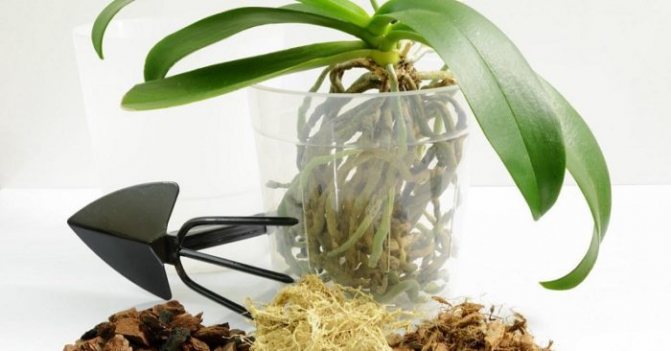
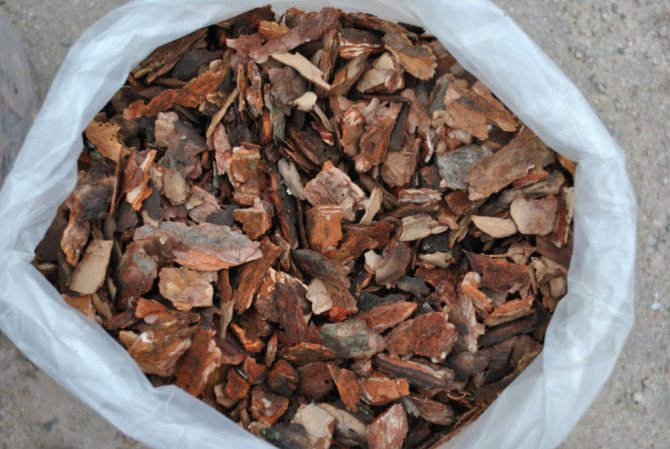
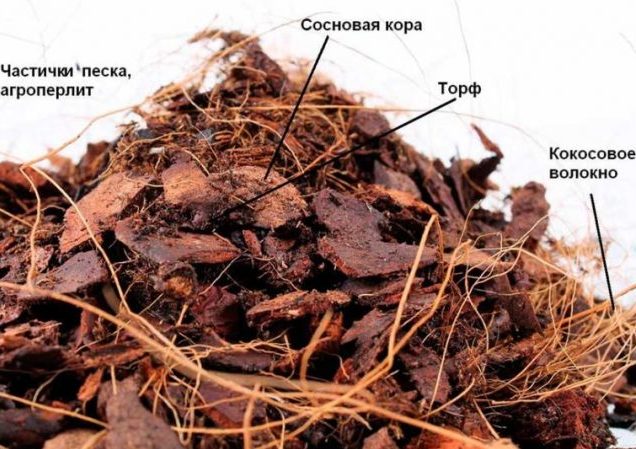
Earthen soil mixture for transplanting phalaenopsis is not required. Epiphytes are planted not in the ground, but in a special substrate coarse-fractional mixture, the lion's share of which is dried pine bark. It is easier and more logical to buy a ready-made composition for epiphytes in any flower and gardening store or large floristic shopping center. But it is not forbidden to cook it yourself, although it is quite troublesome.
You need to act like this:
- Collect bark from fallen and dead coniferous trees.
- Rinse thoroughly collected in running water, rinsing off dirt, dust and resin residues.
- Cut with a knife or pruning shears into slices about 1.5-3 cm in size.
- Boil for 4-5 minutes, then drain the water. Repeat one more time.
- Dry by laying a thin layer on a flat and flat surface, or in an oven at a low temperature.
In addition to the bark, the orchid substrate for transplantation includes (up to 30% of the total):
- sphagnum moss, laying it with an upper insulating layer (it is changed every 3-4 months) - 10%;
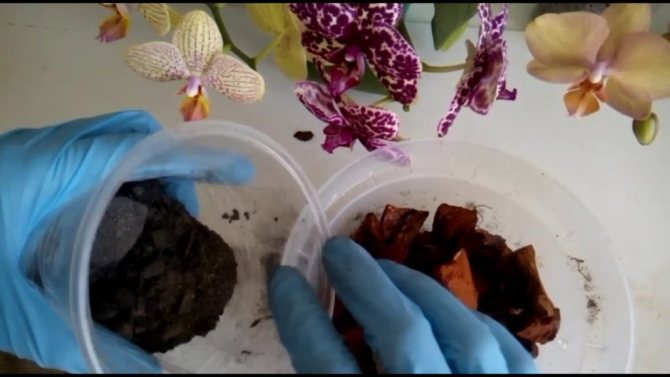
- small pieces (5-7 mm) of charcoal (birch) coal as a disinfectant against fungus - 10%;
- peat - 10%.
Some professional growers add other components to the phalaenopsis soil:
- coconut (fiber or chips);
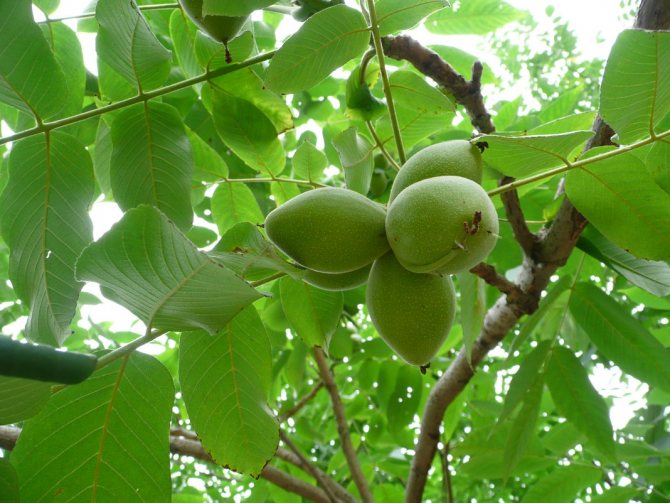
- shells from nuts;
- cork;
- dolomite;
- vermiculite, perlite;
- Styrofoam;
- river pebbles, coarse sand;
- fern (roots);
- seramis, expanded clay.
When transplanting, it is not necessary to completely change the entire soil mixture at once. With an excessively sharp change in the chemical and biological soil composition that is familiar to the roots of phalaenopsis, a capricious and whimsical orchid can get sick.It is better to leave some of the old, used substrate, mixing it with fresh.

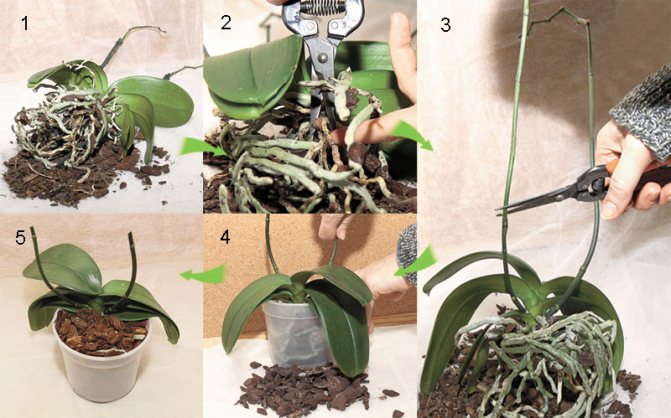
Transplant step by step
How to transplant correctly an adult orchid in a new pot:
- Examine the plant for thickened roots inside. Air vents can enter the drain holes and get stuck there.
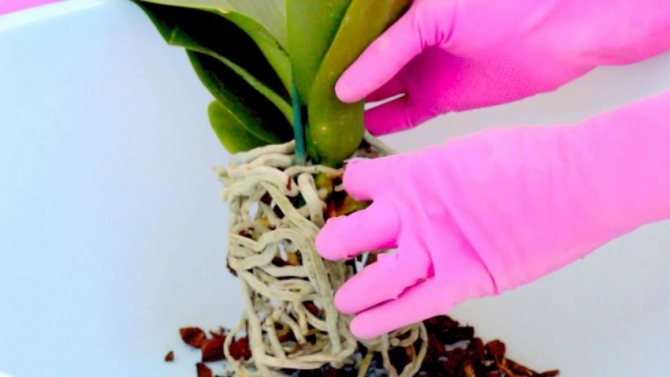
- Press down the pot from the sides so that the roots become mobile and can be reached. Stuck roots are cut with pruning shears and disinfected.
- If there are no rotten, dry roots, you can not touch the earthy ball, but carry out the transshipment. In case of decay, the root system is carefully disassembled with a pencil or stick to remove damage, rinse and disinfect.
- Pour on the bottom of a large bark, set the orchid symmetrically, gently sprinkle the substrate on the sides without breaking the layers.
The first time after transplanting, the plant is not disturbed by watering and feeding, since there is enough moisture and nutrition in the bark.
The orchid has faded, how to transplant. When should you replant your orchid?
Orchids continue their life after they have faded. With proper care, and after flowering, the orchid requires special care, it will bloom again, after about 5-6 months. How to care for a faded orchid so that it will please us with charming flowers again?
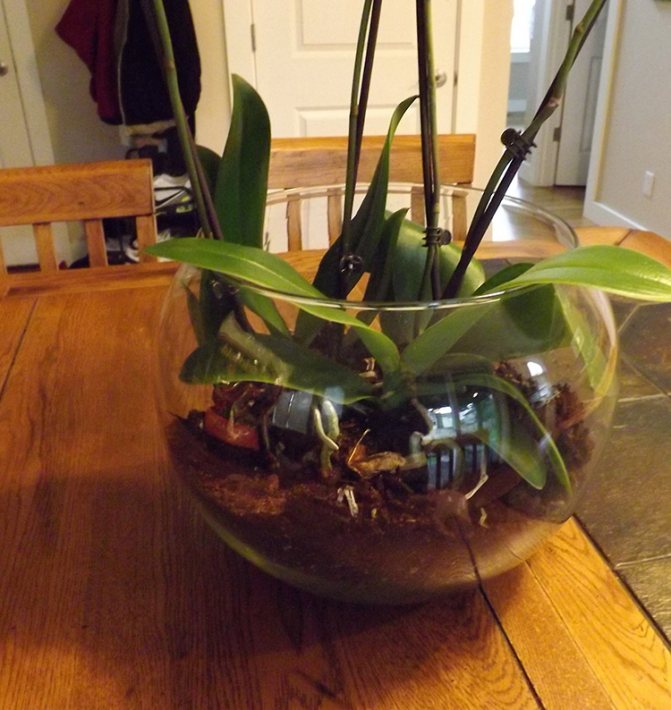
First, after the orchid has faded, it should receive enough sun, fertilizer and, of course, water. It is also recommended to transplant the plant into another pot and renew its soil.
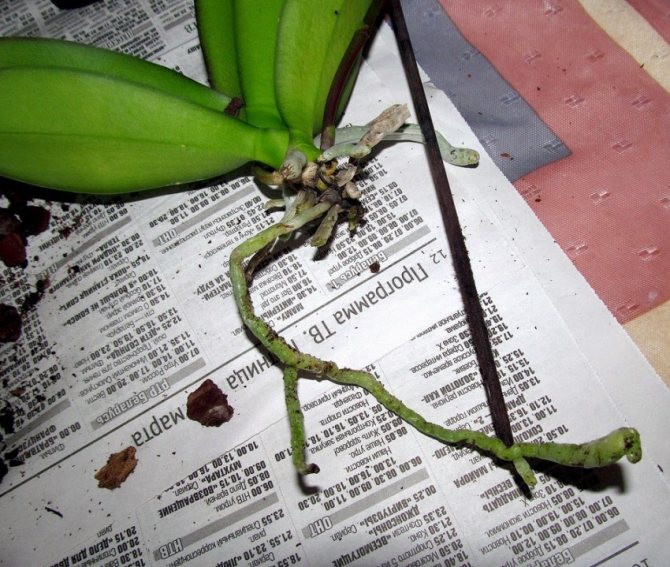
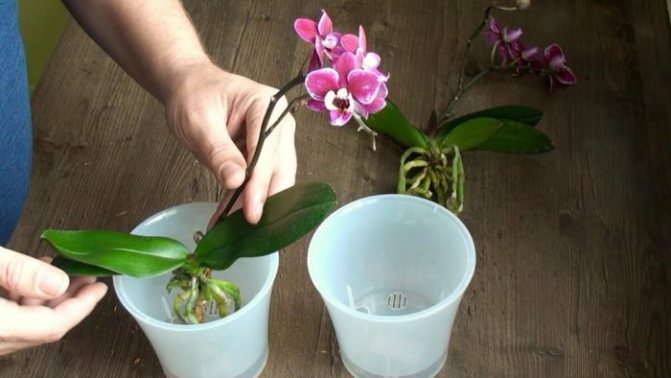
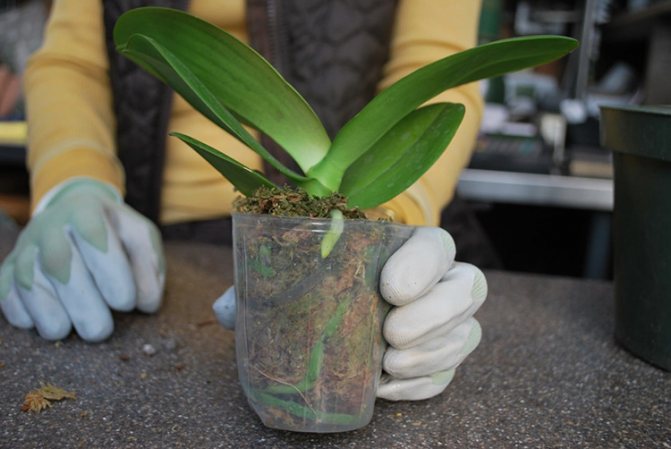
Take a pot, preferably transparent, with a capacity slightly larger than the previous one. Remove the flower very carefully without damaging the roots. To do this, you need to separate the earthen lump from the walls of the vessel in which your orchid is. If the roots are very tight, it is best to prune the pot. Gently straighten all the roots and remove the earth.
If during this procedure you suddenly find pests, the roots of the plant should be placed in warm water, then dried on a newspaper. If you find accrete roots, you should not injure them. After you dry the roots, examine them carefully. All the roots that are rotten must be cut off with a sharp knife, previously disinfected, and then burned with brilliant green or potassium permanganate. Dry roots cannot be cut off, the exception will be those that already look like parchment.
In your new pot, you need to make a hole for good ventilation and drainage of water. Fill the container 1/4 full with styrofoam balls, expanded clay or pebbles. Use a stick to fill in any voids between the roots. After planting, the orchid cannot be watered, watering must be done after five days.
How to prune a faded orchid?
When the orchid has already faded, nothing will bloom on the peduncle, which has already dried, so take scissors and cut right at the base.
If there are swollen buds on the peduncle (they can be located not only at the tip, but also near the faded buds, and they are green), they should not be cut off - wait for the next flowering.
After flowering, when the children leave and take root, they need to be cut and planted again. Just make sure the roots are at least 5 cm.
Fundamental rules
To speed up adaptation to new conditions and development continued, it is necessary to adhere to the tips and recommendations of experienced florists:
- Roots. The root system should dry thoroughly after removing old soil, rinsing and processing. This will take about 7 hours. This is enough time to process the pot and prepare a new substrate.
- Drainage. Before placing the drainage in the pot, it must be boiled and treated with fungicides. This will protect the plant from disease. Broken brick can be used as drainage.
- Dividing the plant. If the orchid is mature or overgrown, it must be divided into bushes. Each bush should have 1 young and 3 adult bulbs, as well as a peduncle.The bulba is removed if it is soft, and when pressed, emptiness is felt, since there will be no benefit from it.

Transplanted plants will need careful maintenance. In new conditions, they should receive enough light, water and fertilizer. The first peduncle will appear 2 to 3 months after the transplant.