Winter is a difficult time of the year not only for people, but to a greater extent for animals, especially birds. It becomes very difficult to find food, which is why many of them die. It is necessary to take care of the birds and hang feeders for them.
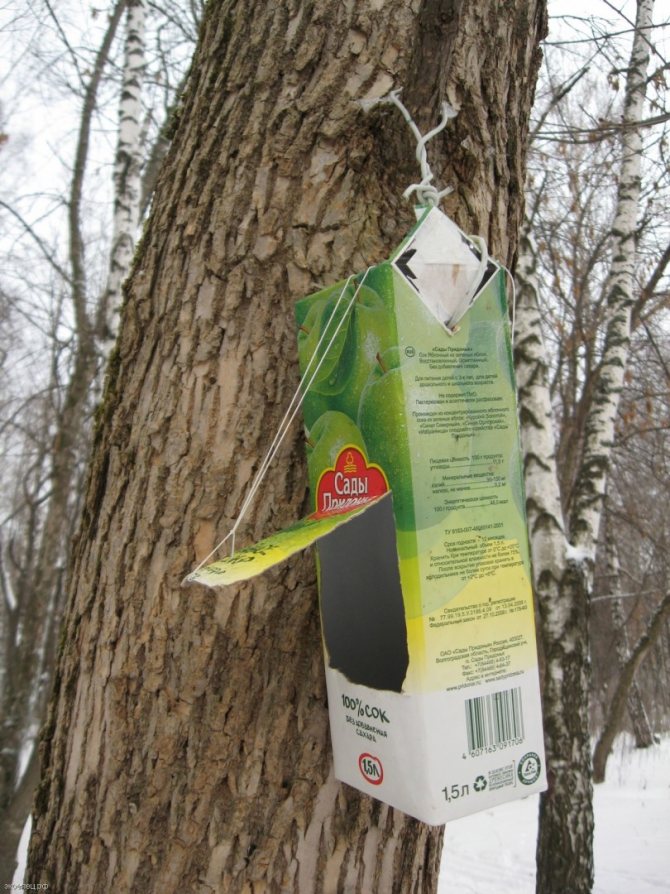
After all, it is not at all necessary to spend some big money on this. It is enough to make a feeder out of scrap materials, which we very often just throw away.
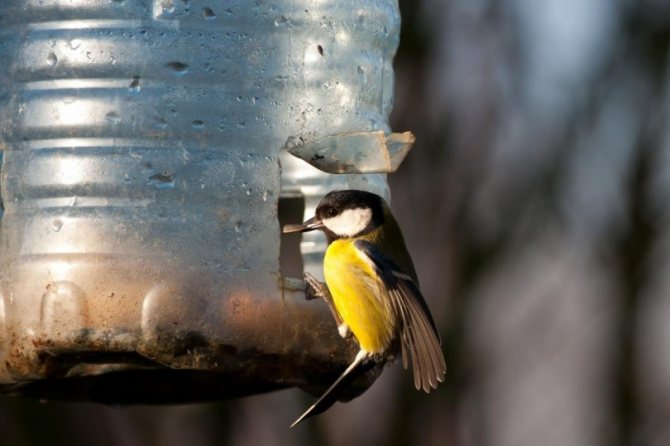
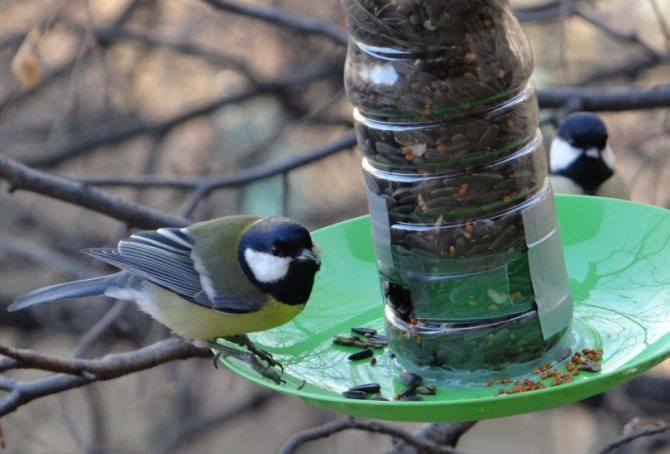
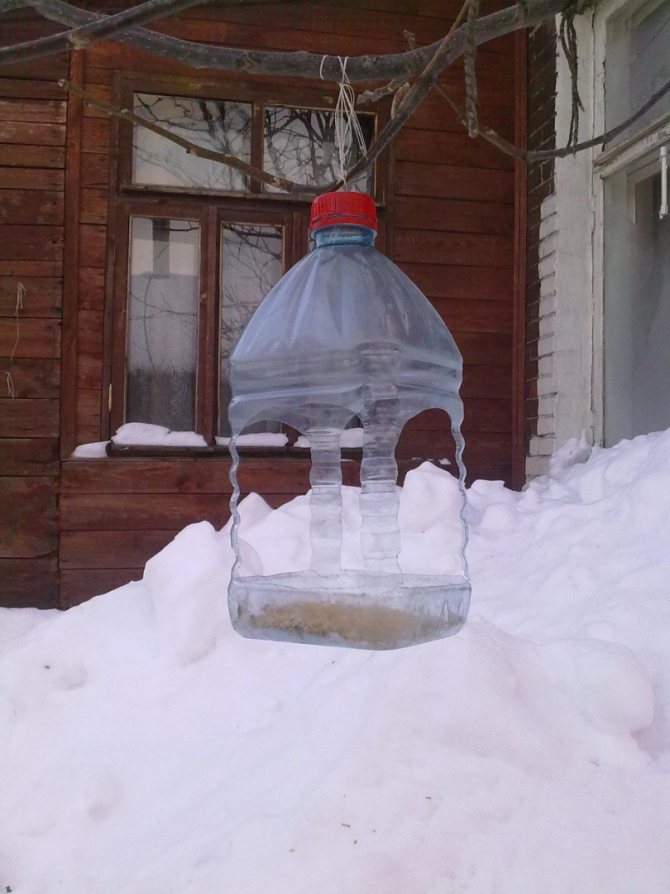
A bird feeder, for example, from a plastic bottle with your own hands, will not take much time, but it will bring a lot of benefits to birds.
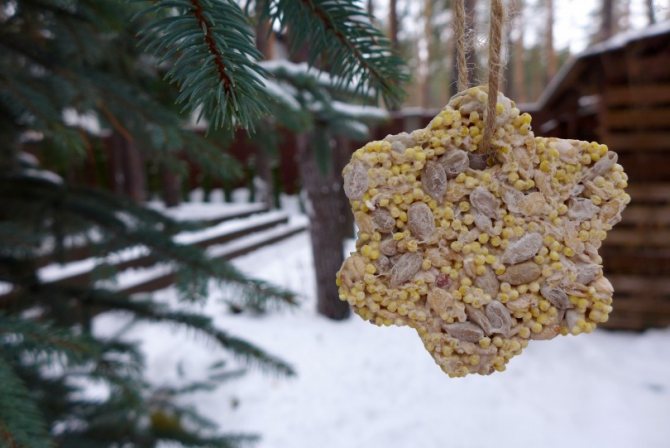
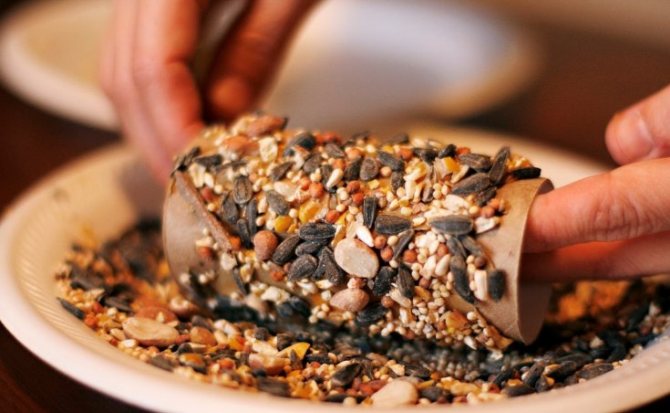
And there are even do-it-yourself edible bird feeders.
How to make a feeder?
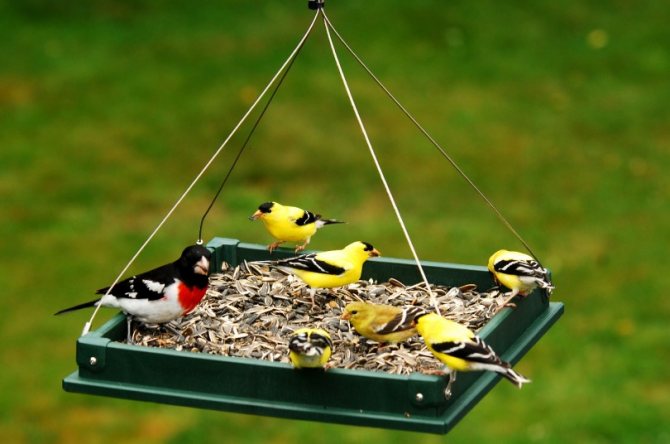
When you hang up the feeder, you can easily observe the interesting bird life. Notice how they fight for a place in the sun, for food, come into battle with other species, and also look around so as not to fall into the clutches of a predator.
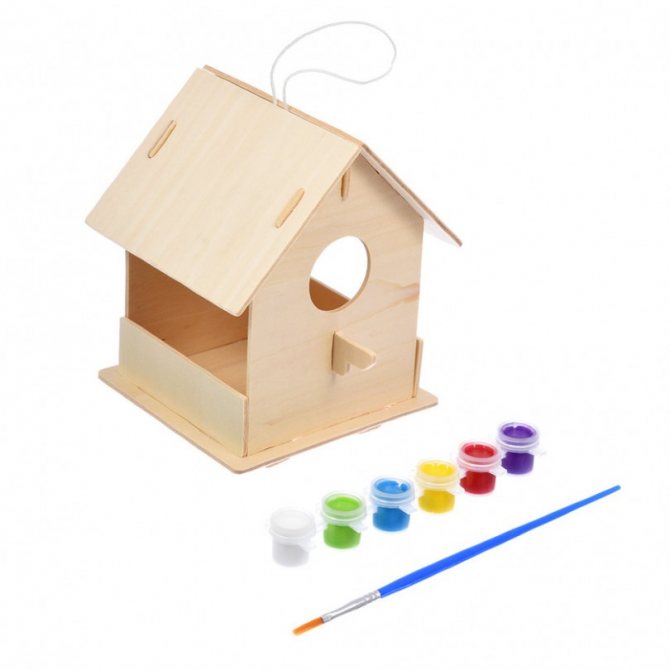
By the way! If you have small children, then this can be the first steps for them to get to know nature! And to make it even more interesting for them, make original bird feeders with your own hands.
Building materials and techniques can be very diverse, but there are some rules that must be followed.
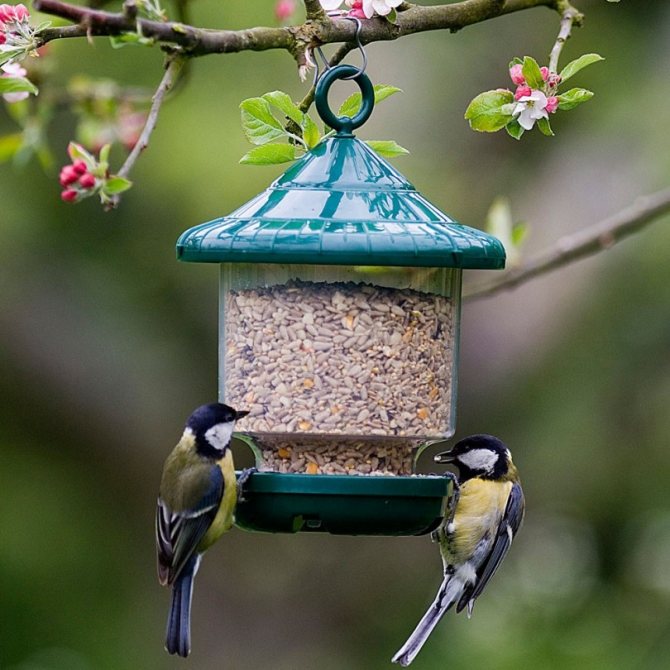
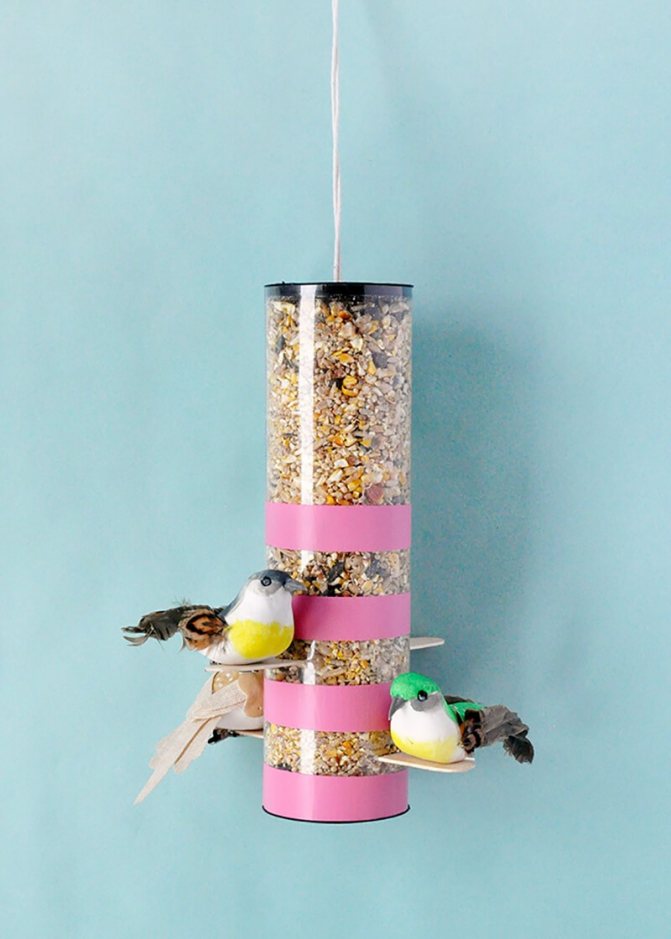
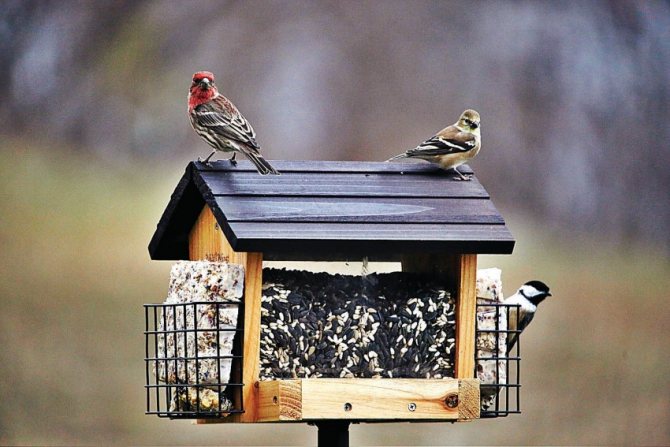
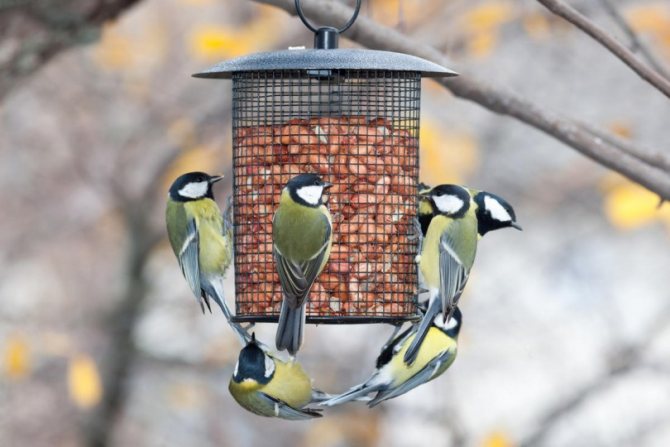
Bunker type
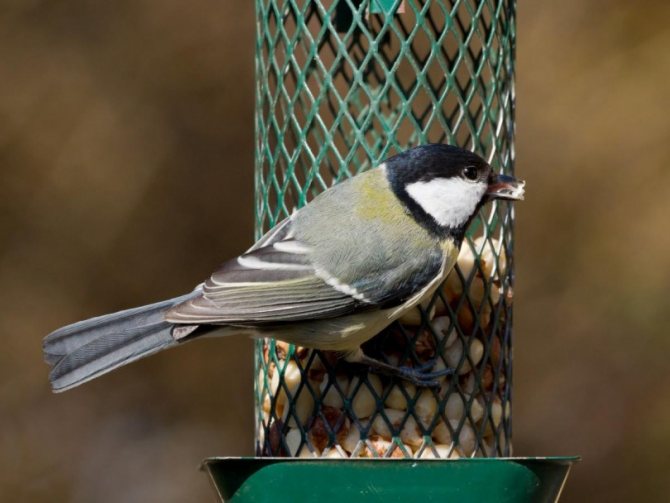
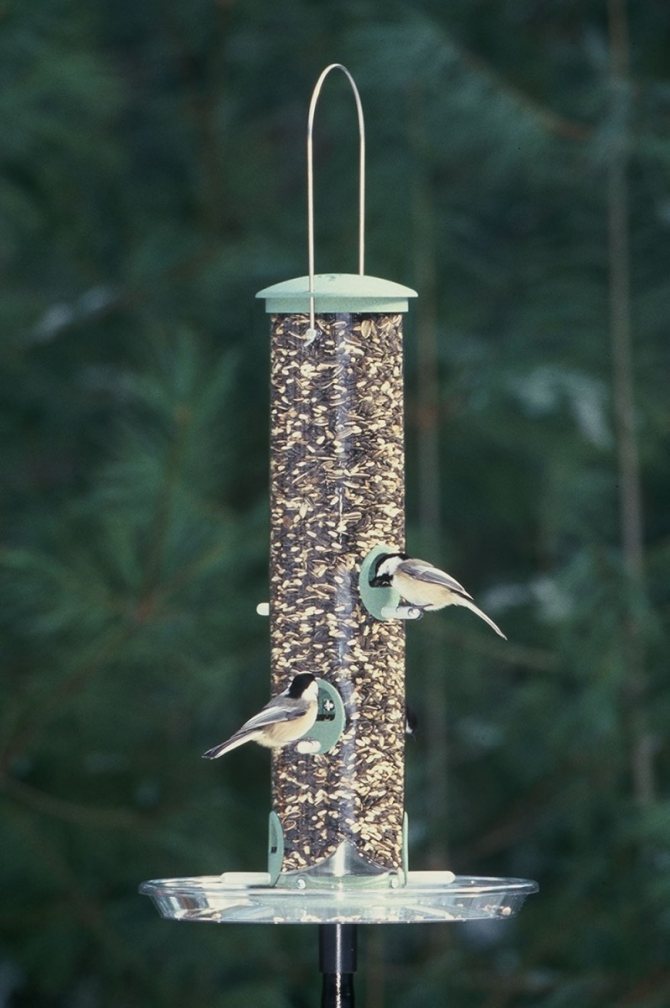
This type of feeder comes from agriculture, where it is used for feeding poultry and rabbits.
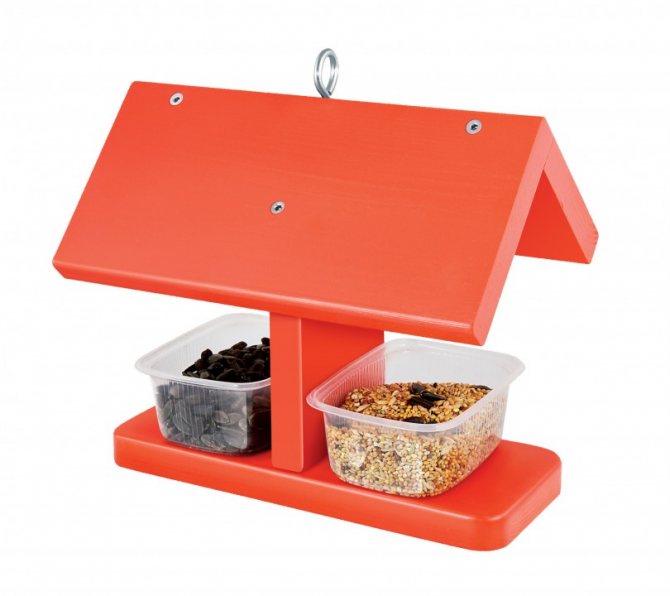
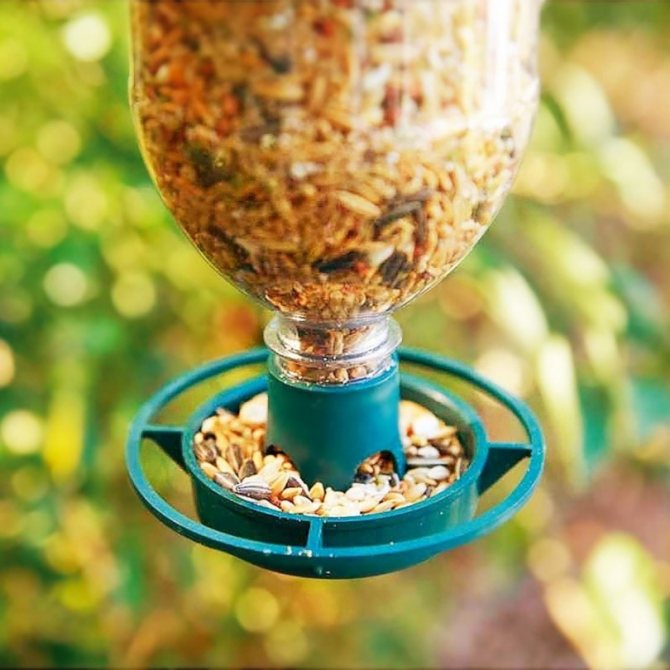
Hopper - any container for bulk feed, installed above the tray. It has many advantages: the feed is not trampled, is not blown away by the wind, is consumed economically and, depending on the volume of the hopper, one filling is enough for several days.
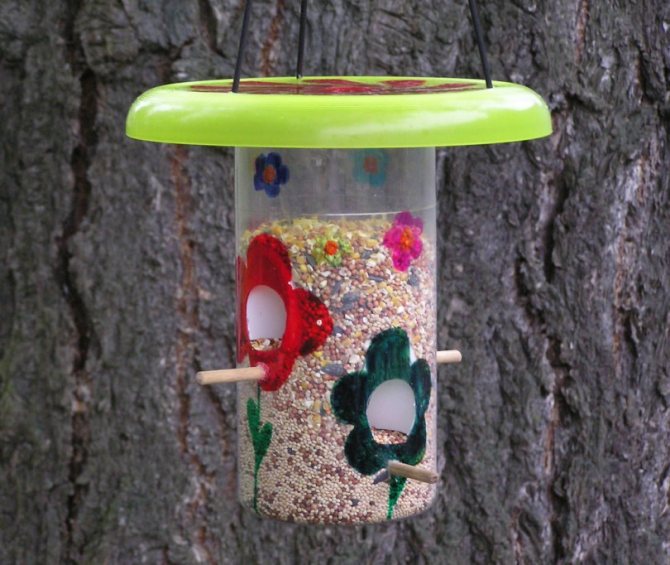
Any container can serve as a hopper: from a small bottle to a wooden, plywood or plastic box. If a bottle is used as a hopper, then it is more practical to have not one, but several bottles.
Food is poured into a removable bottle in advance at home, and on the street they only replace an empty one with a full one - and the feeder is again in working order for several days.
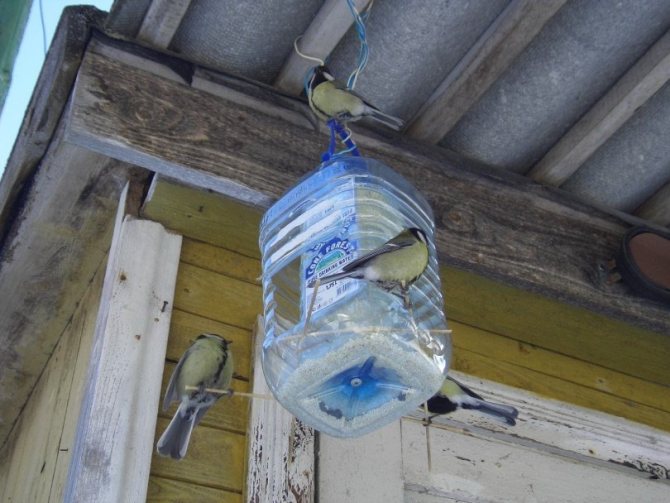
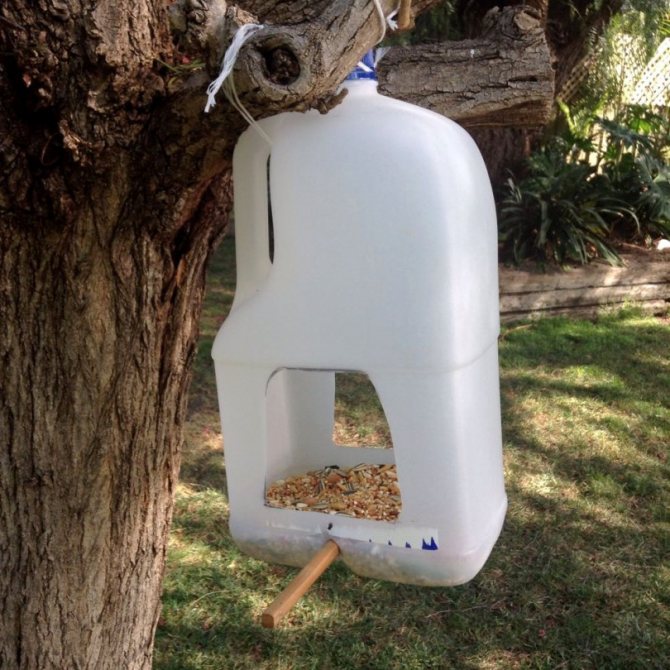
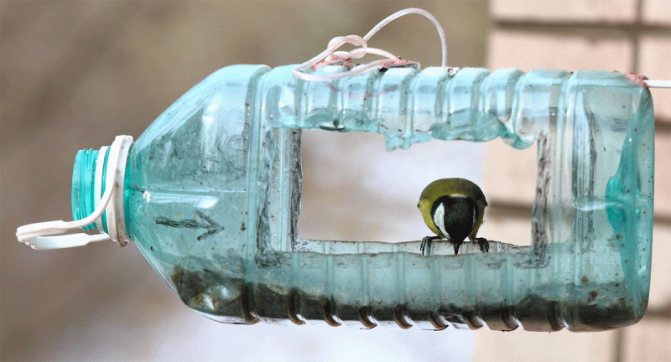
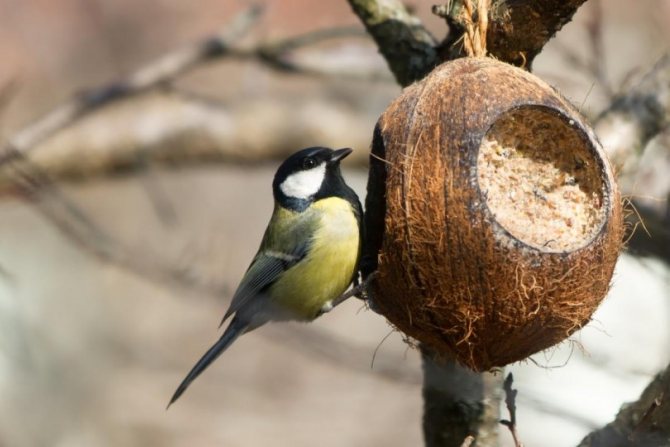
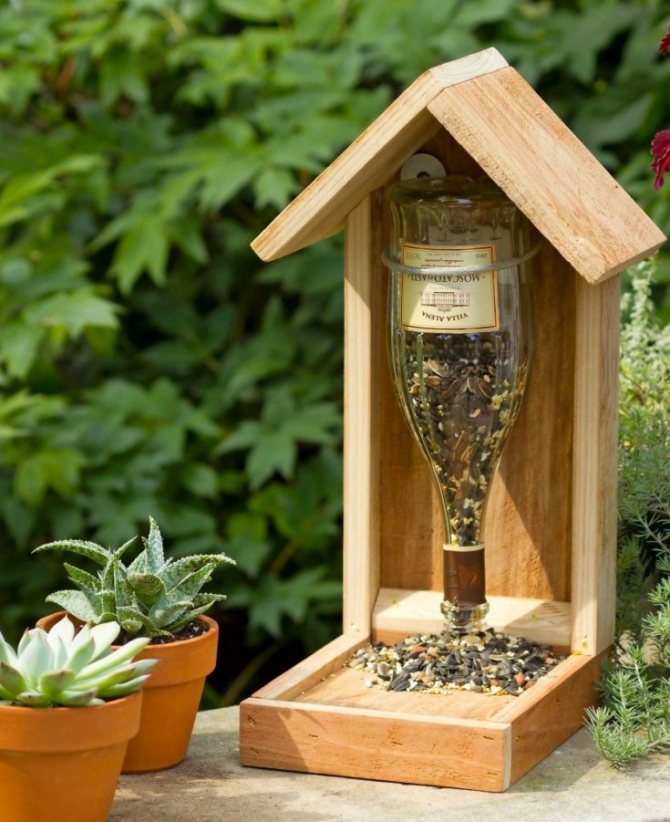
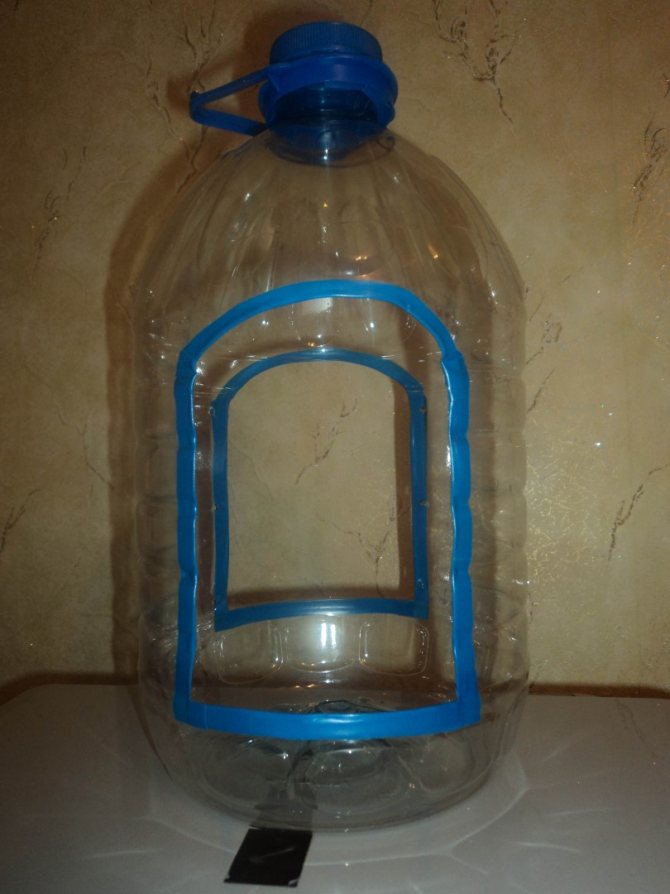
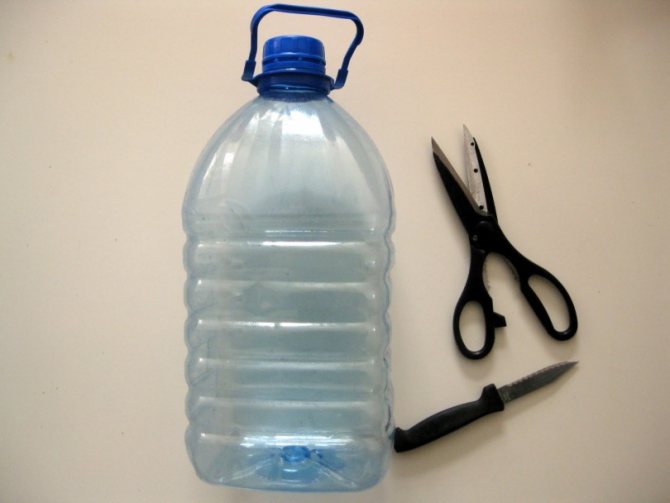
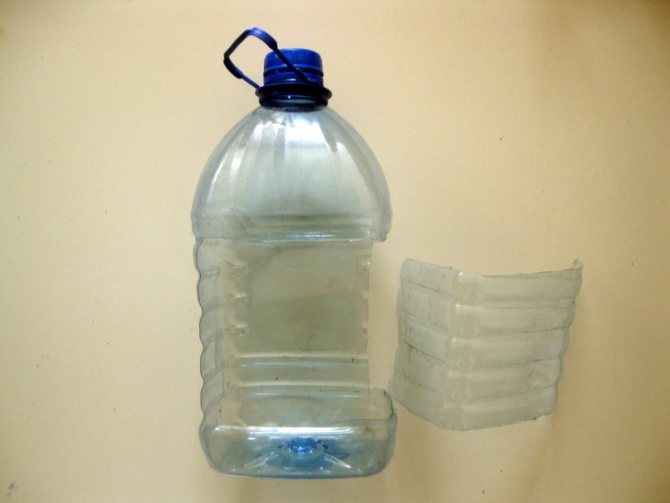
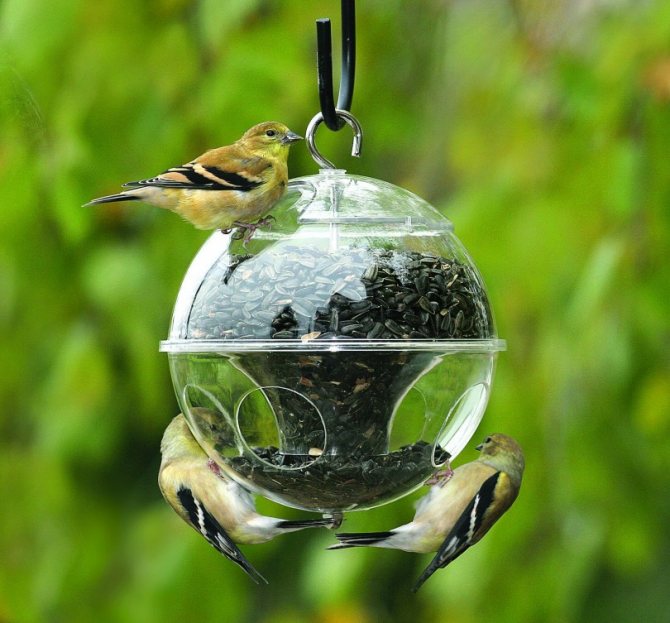
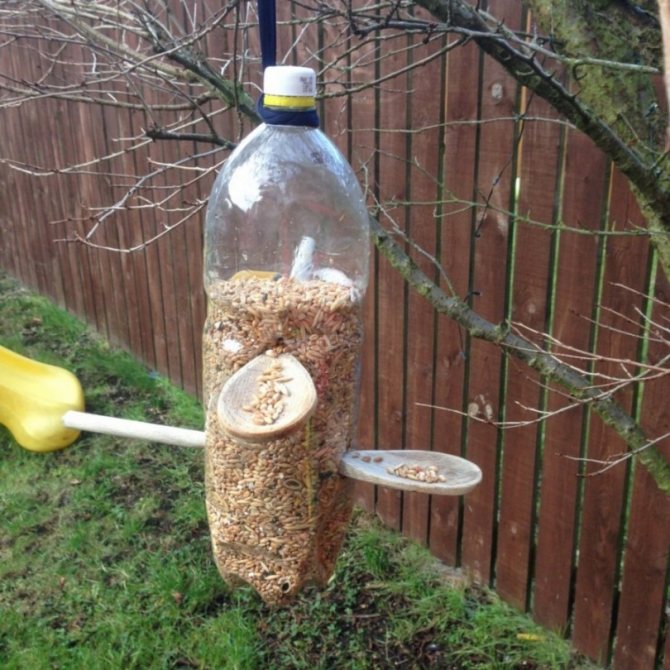
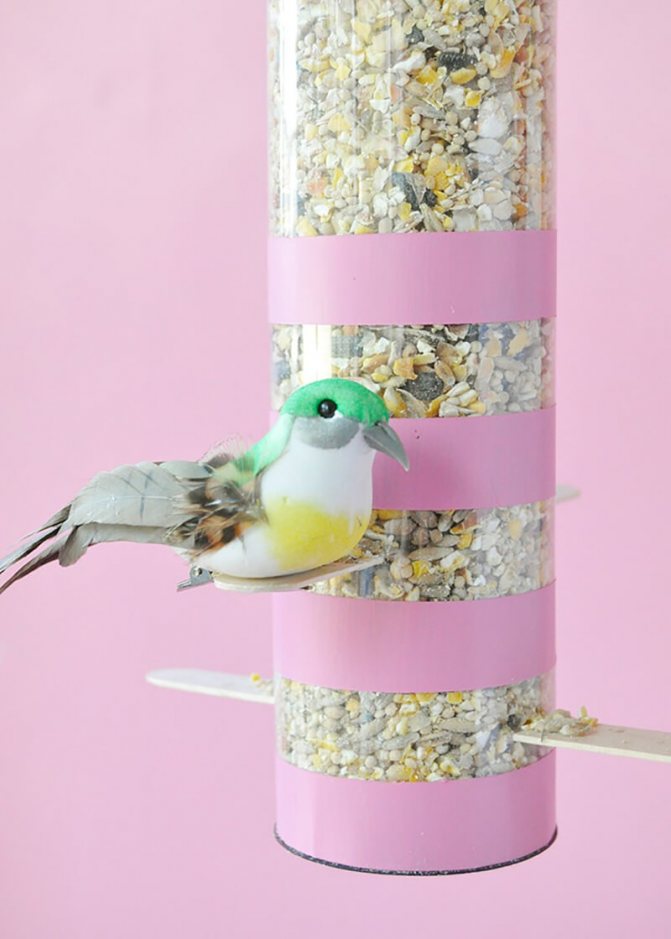
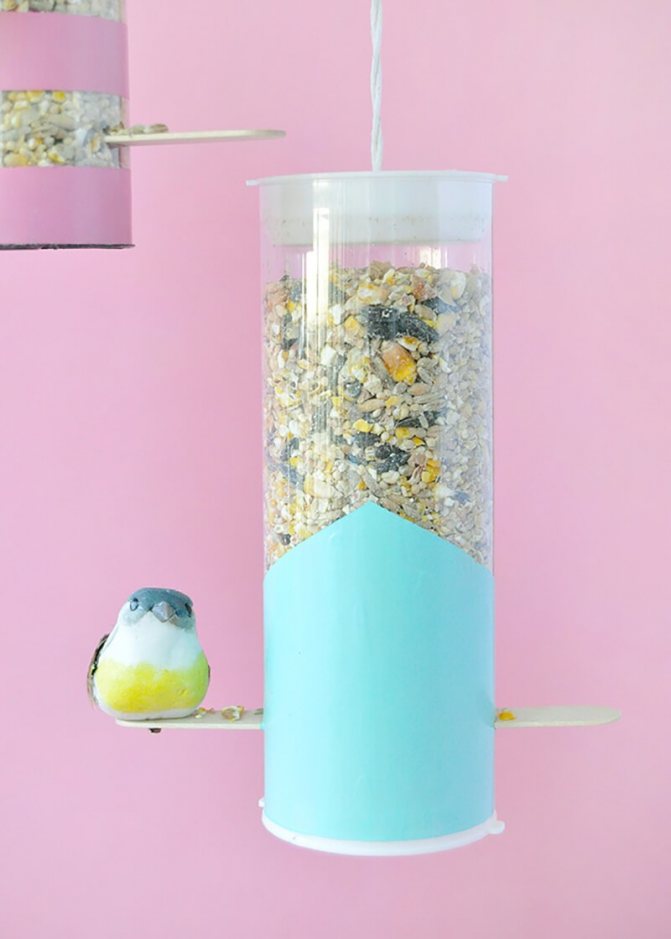
From a plastic bottle, you can make both a bunker and make a completely feeder. This is completely free material, very easy to use.

It will take no more than a few minutes to make a feeder from a 5 liter bottle: just cut a couple of holes in the right places. It looks, however, such a feeder is not very aesthetically pleasing, but this is not the main thing.

Rules for creating feeders
The feeder must be made very convenient for the bird; birds should have no difficulty in getting food.
In order for the structure to serve as long as possible, it is necessary to make it from a material that is resistant to moisture.
It is imperative to avoid sharp objects, corners that can injure the birds.
Note!

A DIY gift for dad - choosing an idea, material and a step-by-step description of making crafts with your own hands (110 photos and videos)

Sew toys with your own hands: 95 photos of beautiful toys for children of all ages + video master class on their creation
How to do scrapbooking with your own hands - a step-by-step description for beginners and the secrets of decorating an album (115 photos)
As a rule, feeders are made for small birds, so their size should not be large so that larger birds do not eat all the food.
Important! Birds become accustomed to one feeding area, so it is necessary to regularly add food so that they do not starve to death.
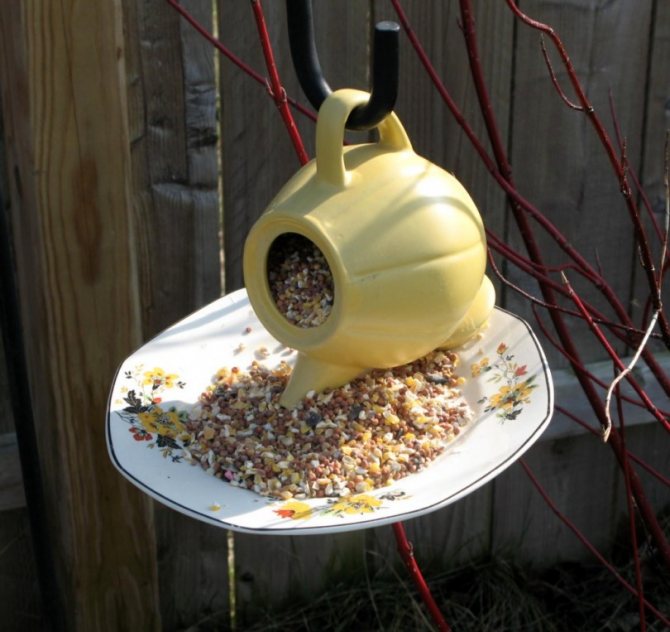
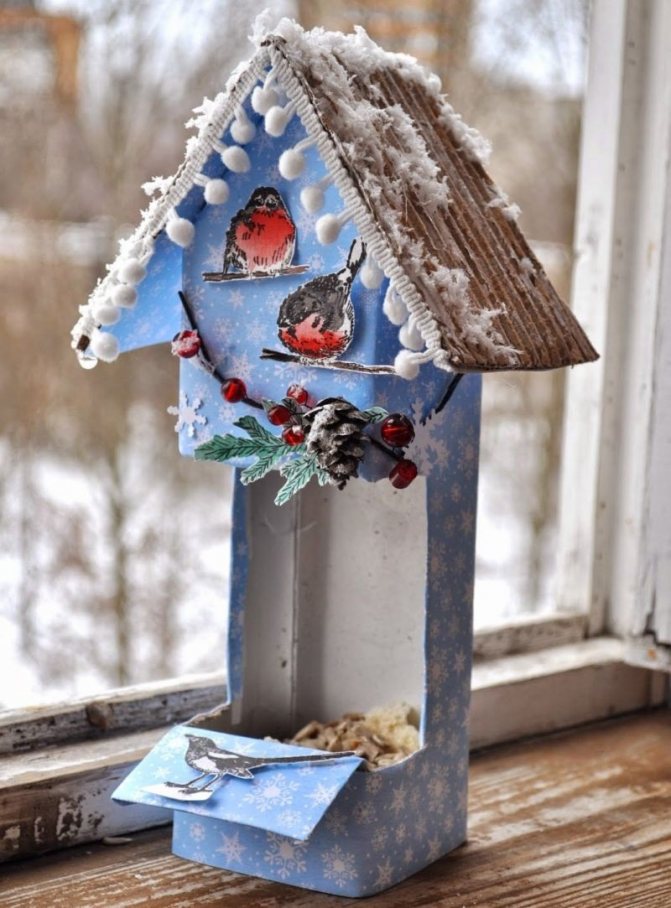
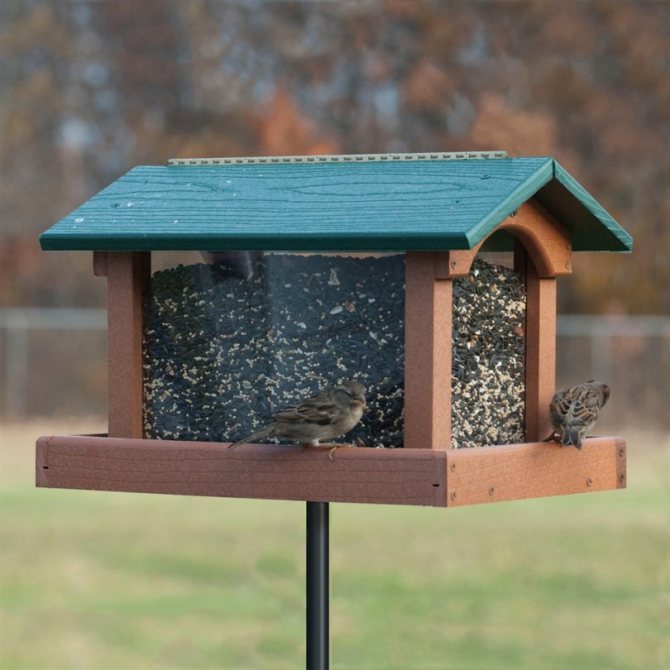
What other options are there?
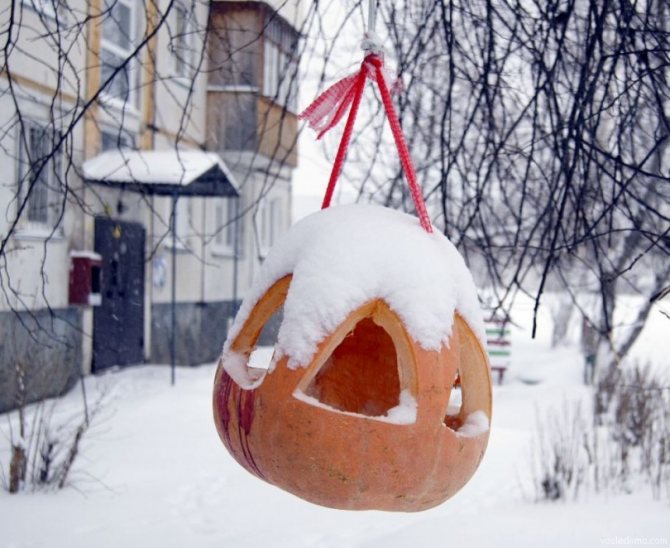
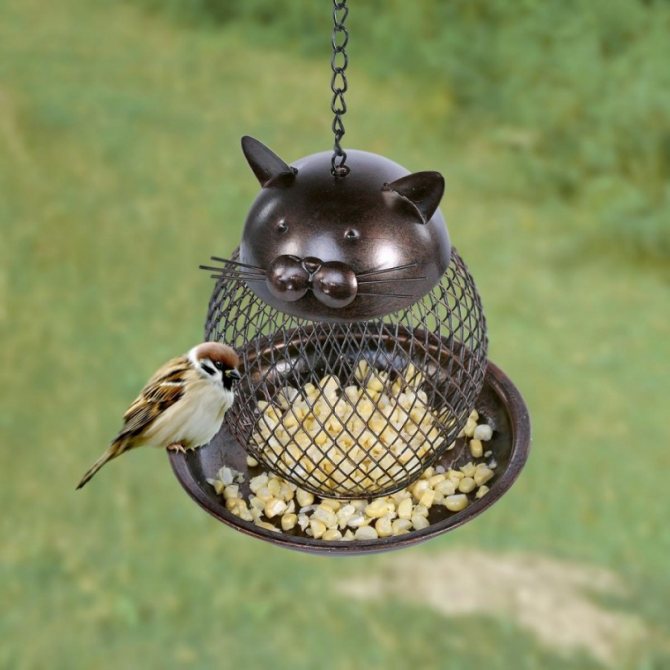
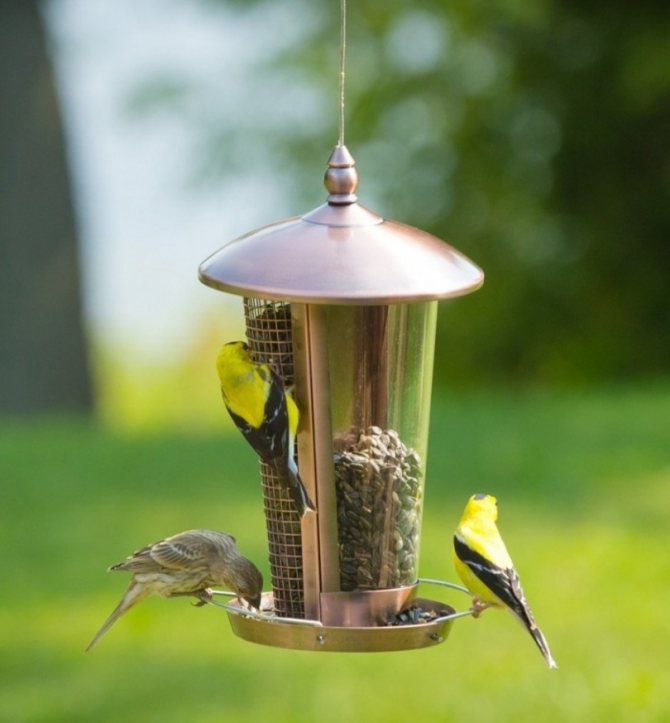
As already mentioned, there are a huge variety of options.
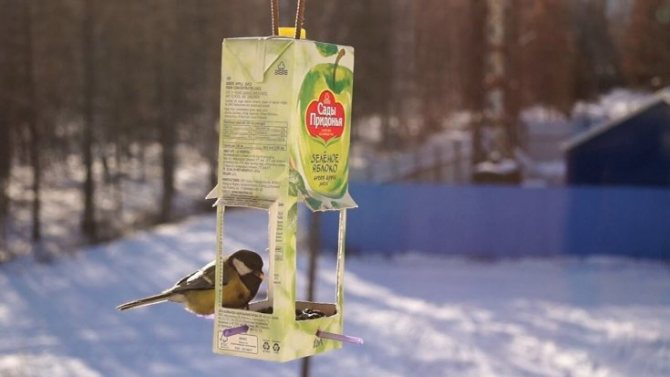


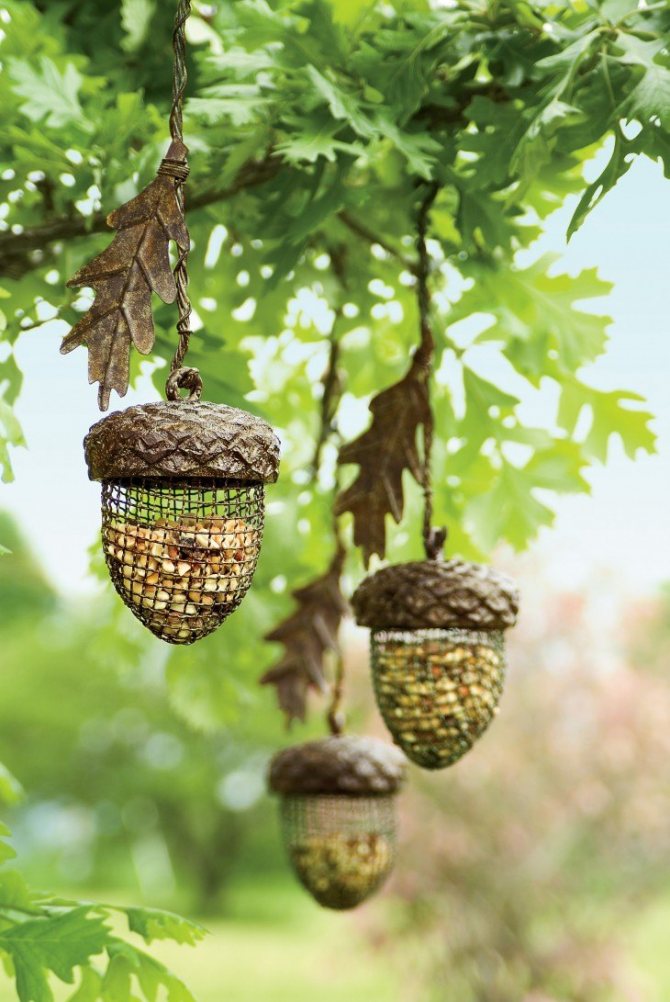
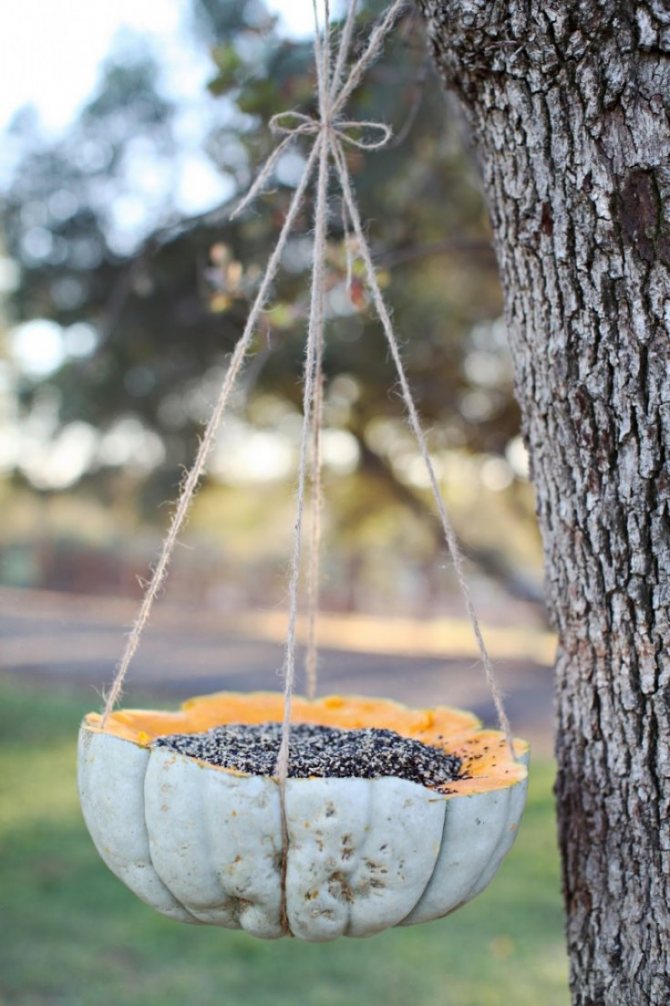

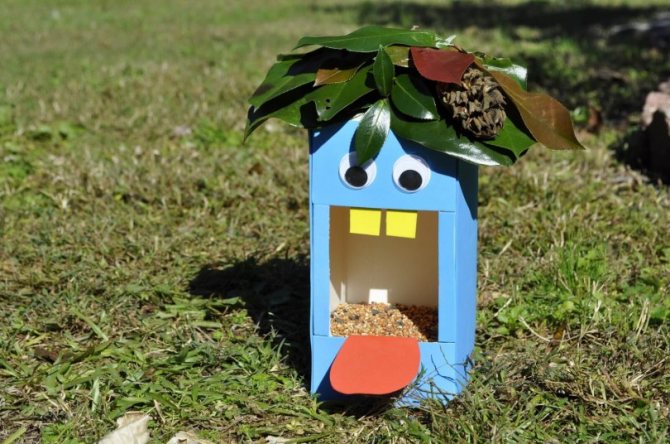
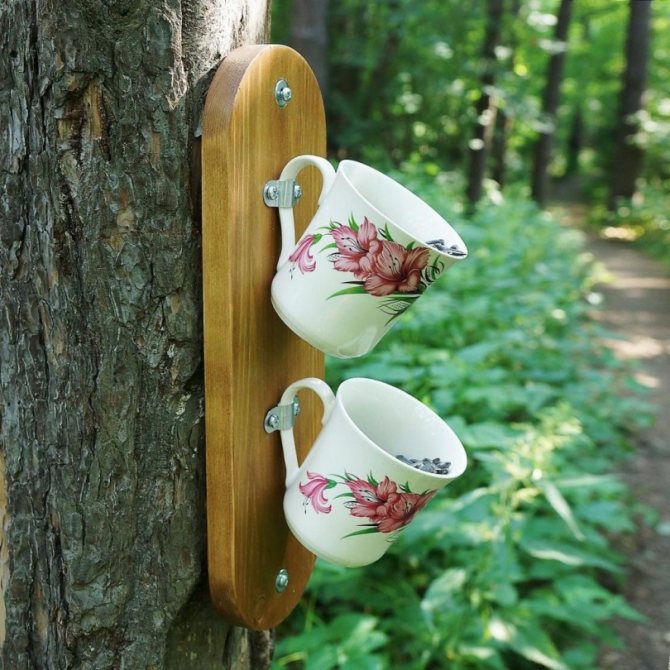
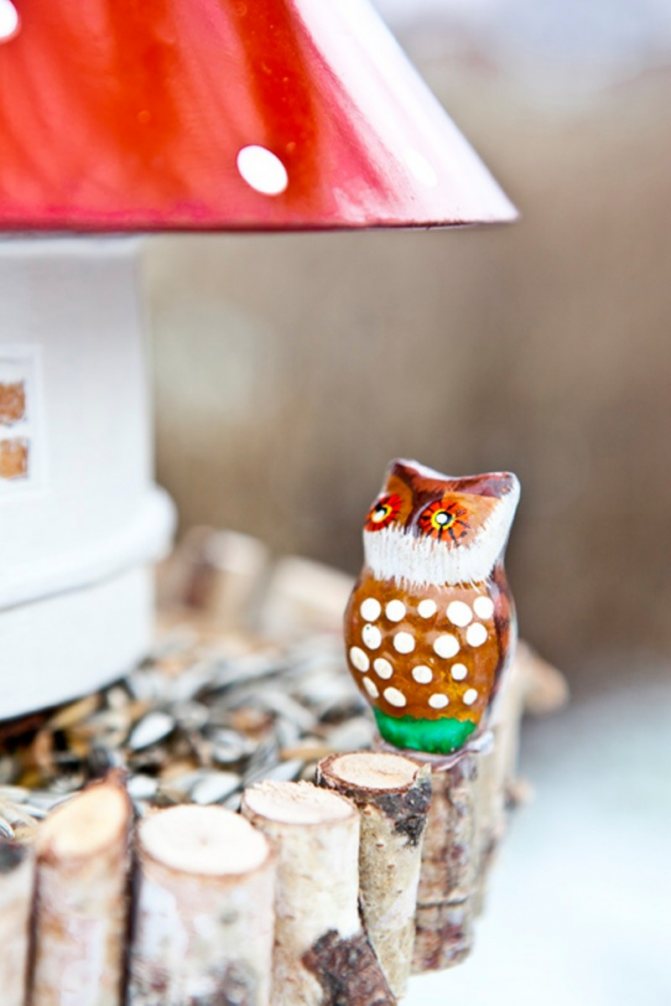
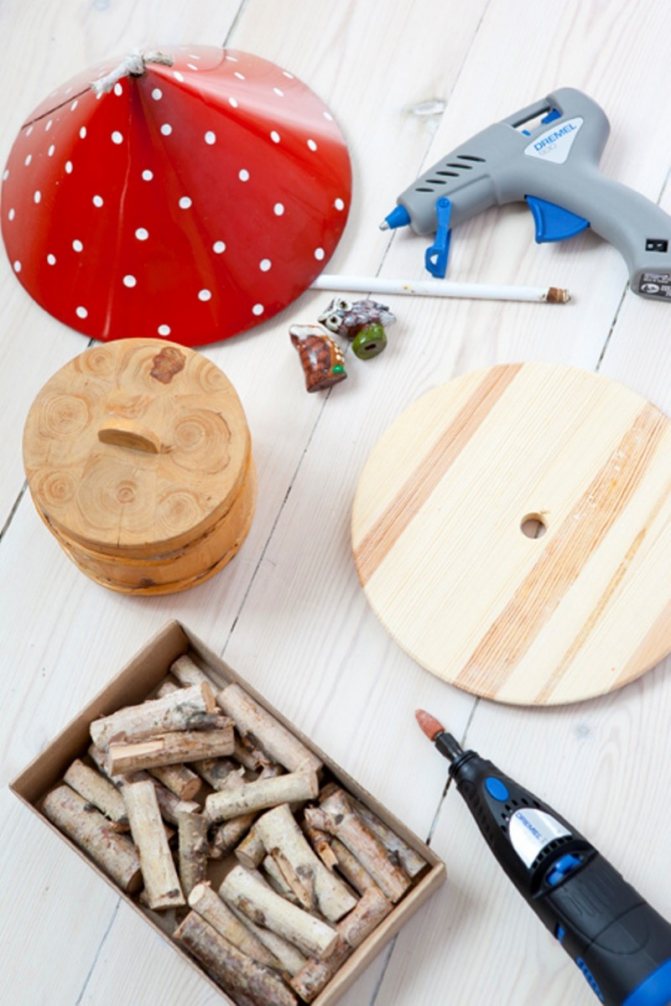
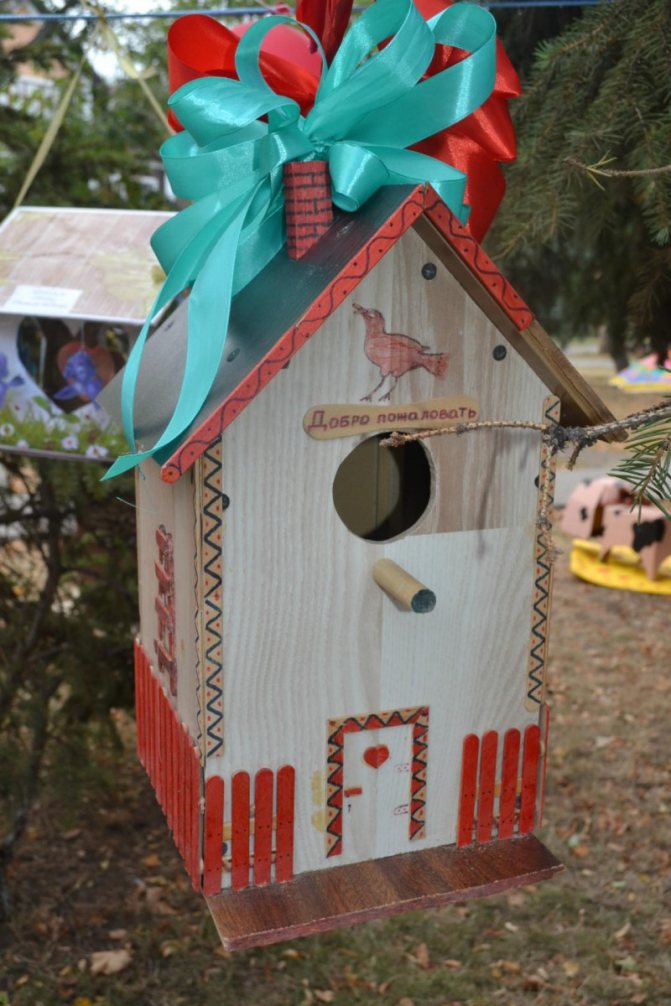
Most of these options are suitable for creating a children's craft feeder - a child can make a feeder on their own or with their parents.

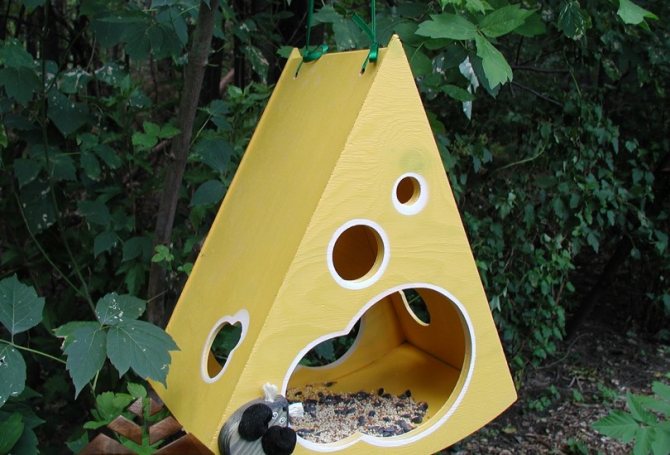
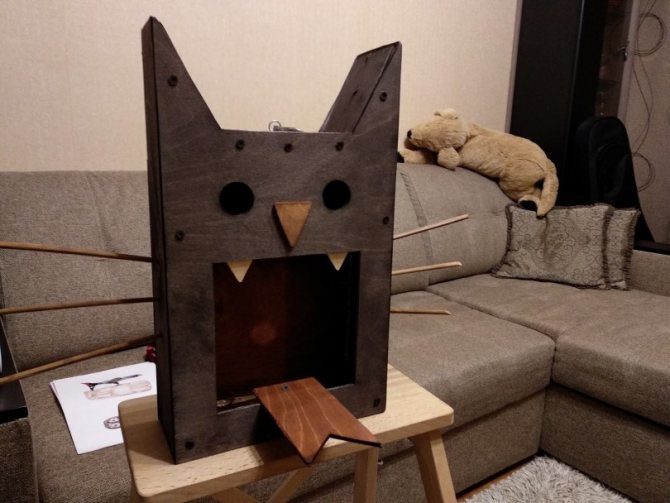
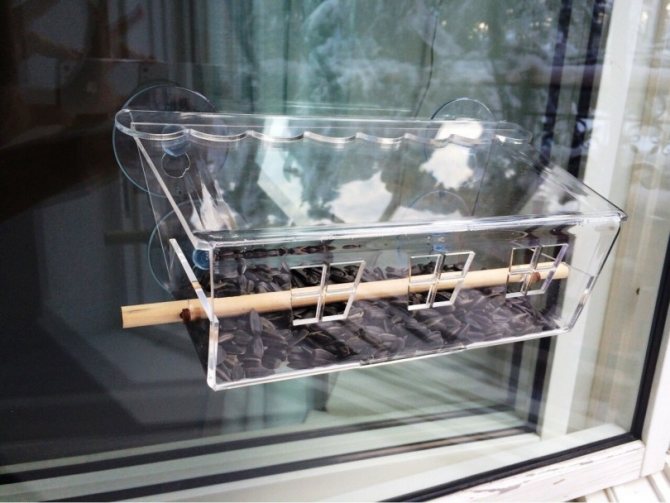
Attached to the article are photos of unusual handicrafts, feeders, which you can try to make yourself.
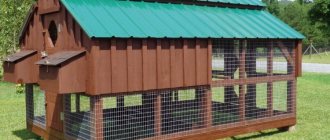
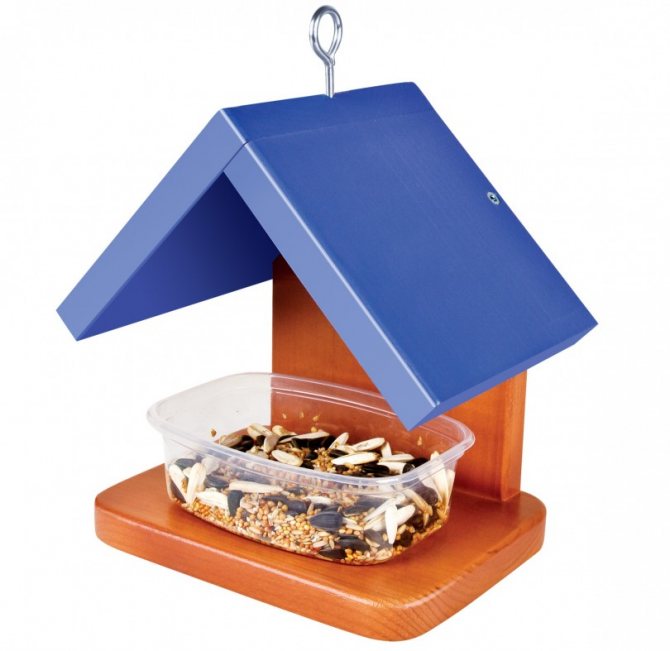
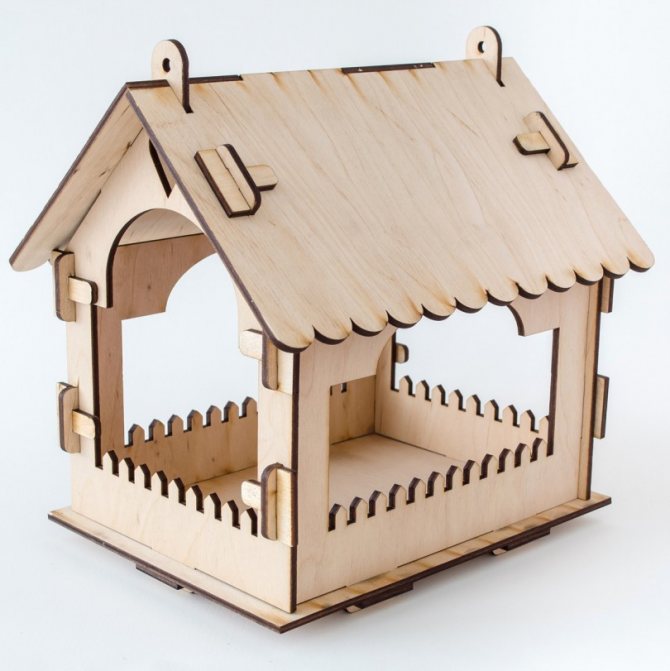
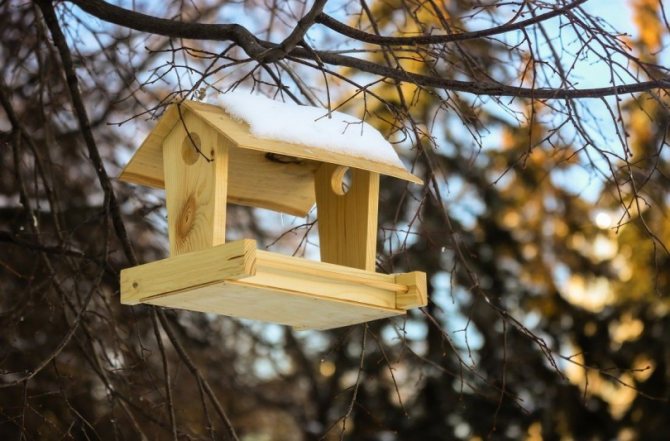
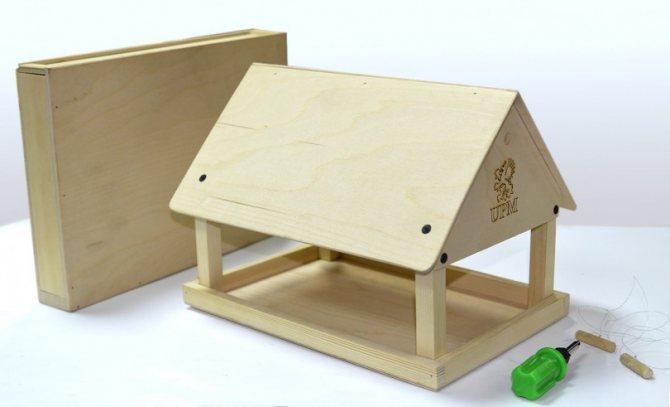
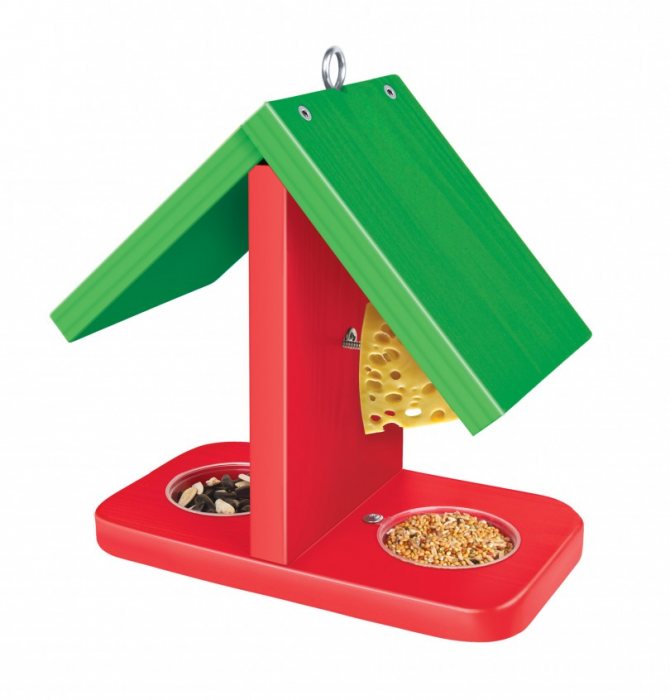
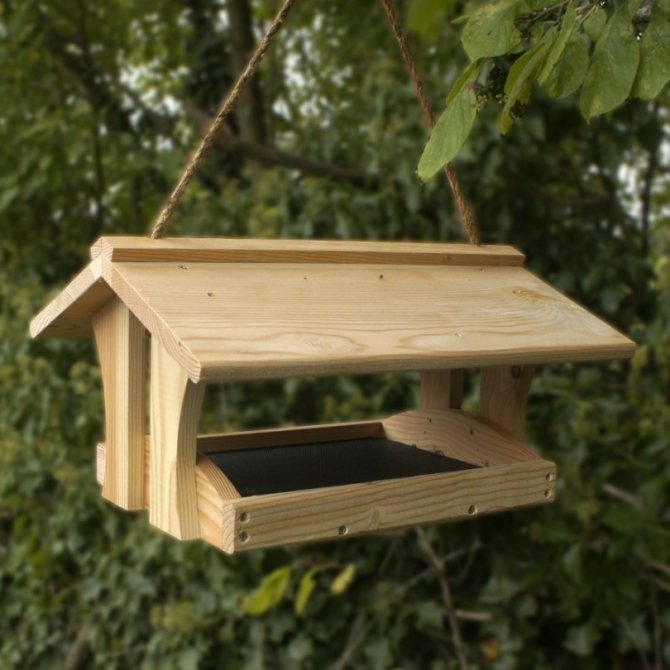
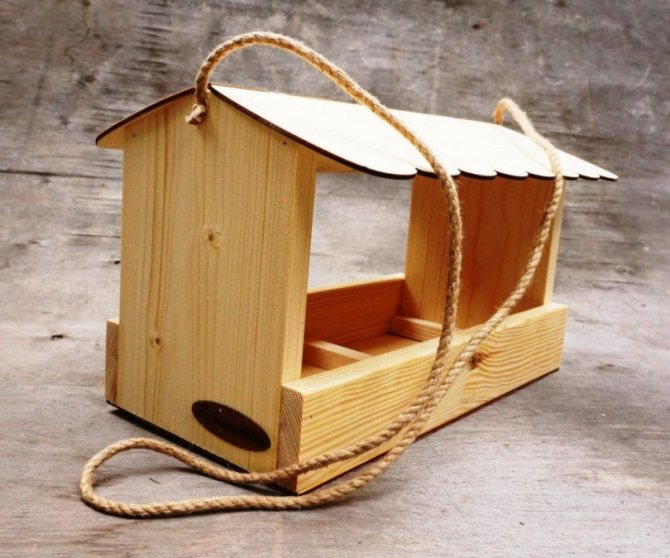
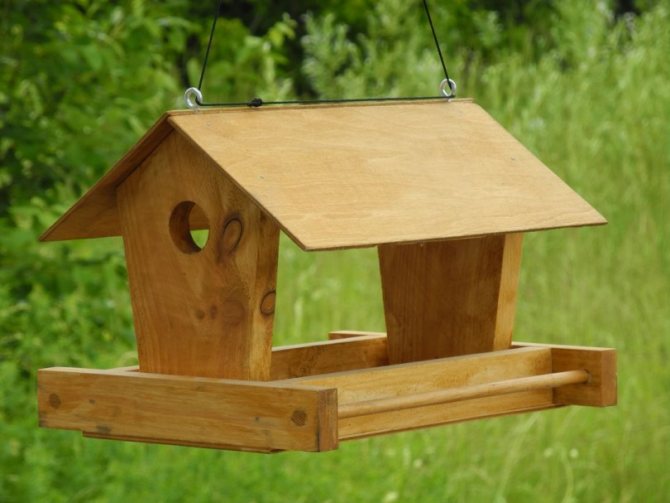
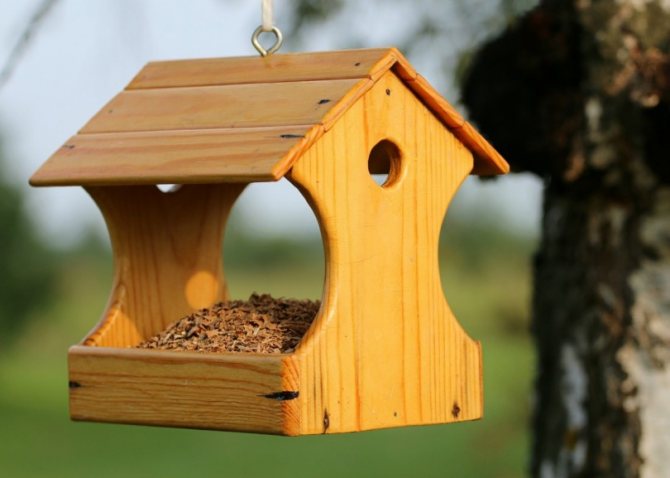
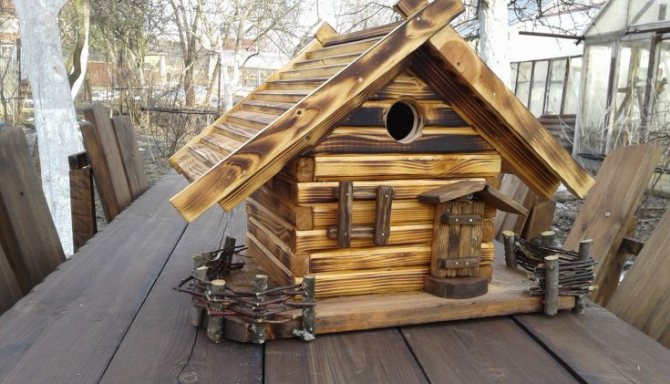
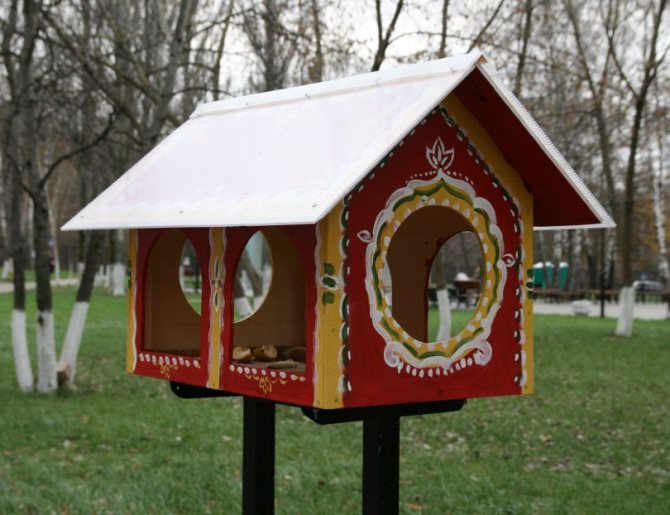
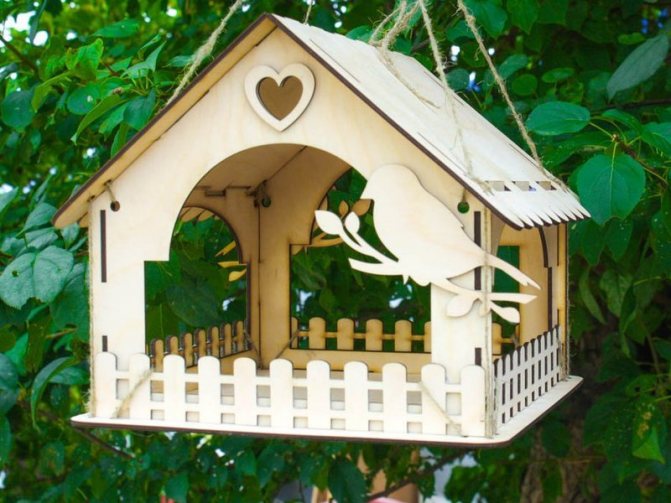
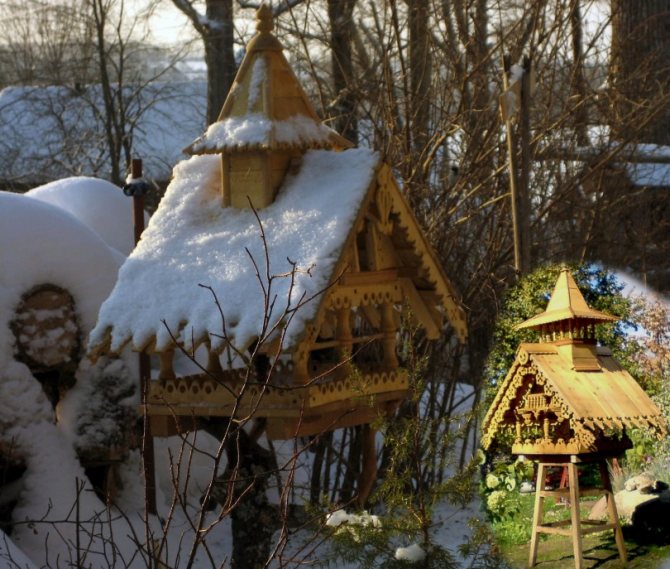
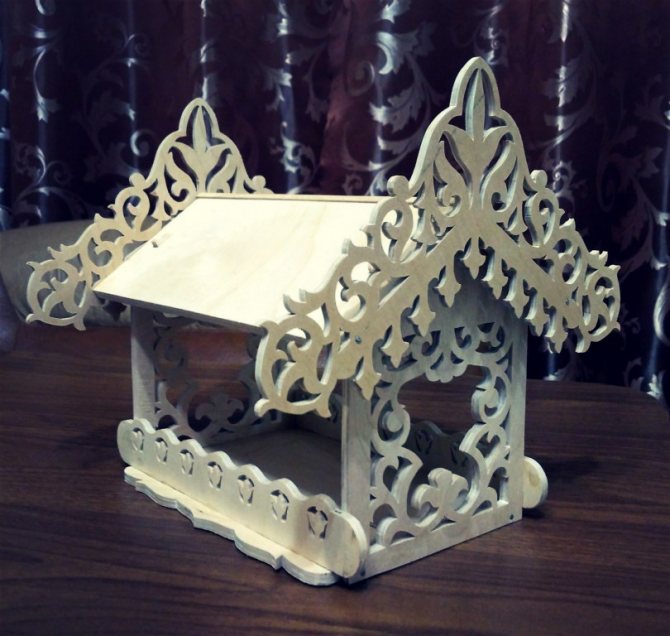
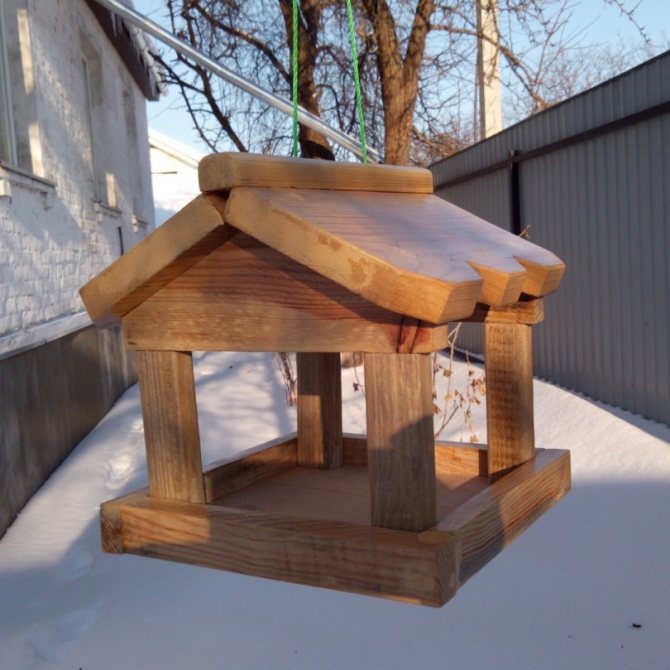
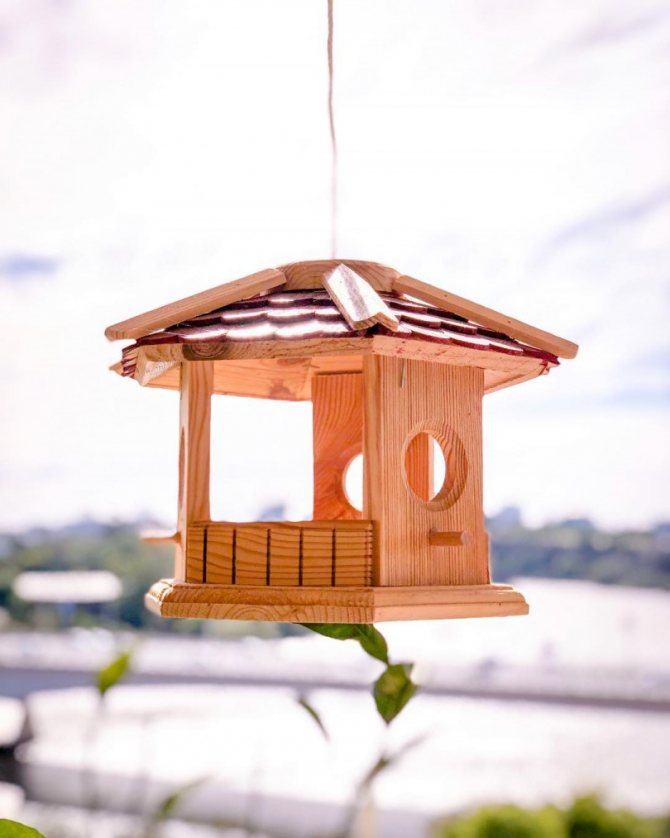
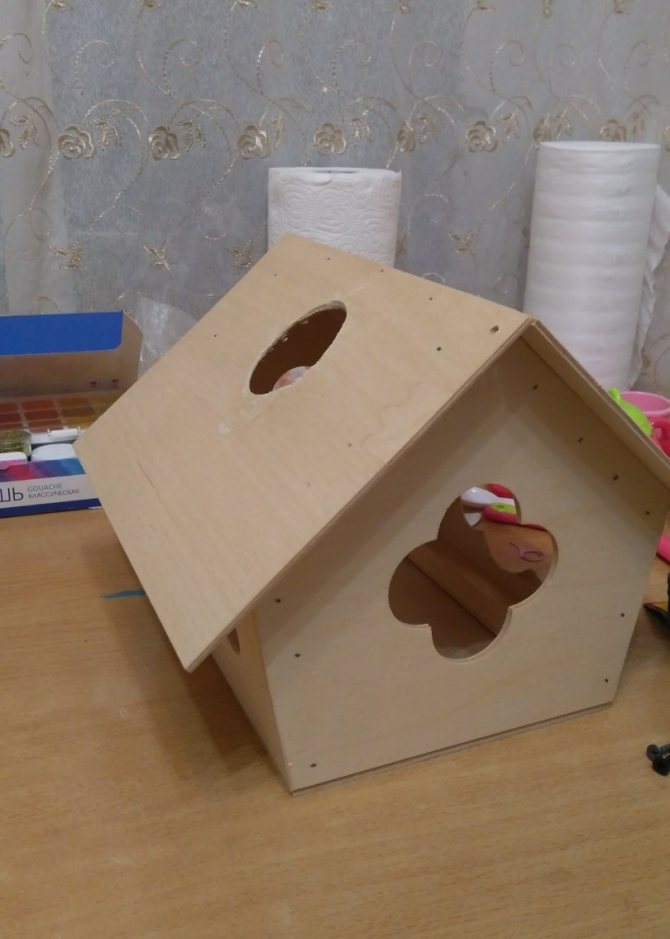
Bird feeder made of wood
The best option is a do-it-yourself bird feeder made of wood. Perhaps the most common type of feeder, as it is distinguished by its strength, quality and durability.
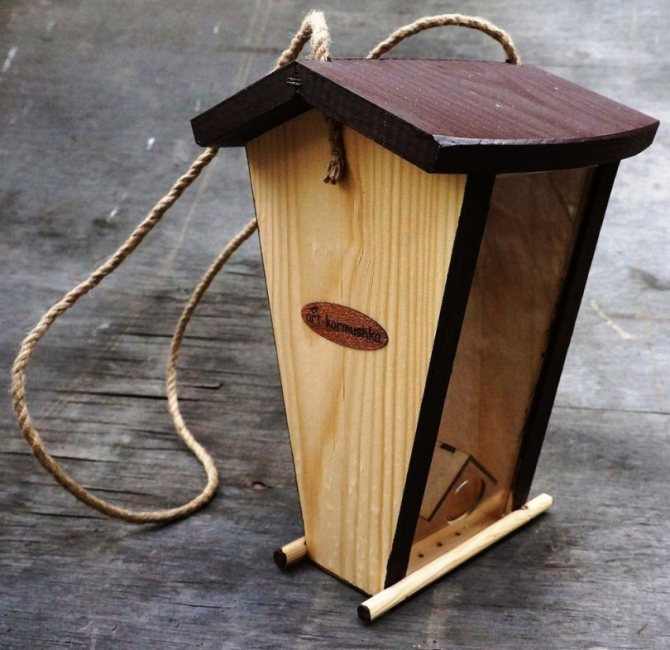
This will require some skill in the use of tools, but almost everyone can easily cope with it.
We need a 2 cm thick plank. For the base, you can take a photo of a DIY bird feeder.
Note!
How to make a rug with your own hands: detailed instructions on how and from what to make a floor rug (95 photos + video)
- DIY tree from branches - 110 photos of crafts and ideas for home decor using branches
- How to sew a bedspread with your own hands: the choice of model, fabric, style, color. Calculation of fabric consumption, construction of a pattern. 70 photos of unusual ideas of bedspreads
What else do we need? A beam of sizes 4.5 by 2 for walls, plywood of a square shape with a side of 25 centimeters, for a roof we take a size of 35 by 22 centimeters, as well as nails, glue and other handy tools.
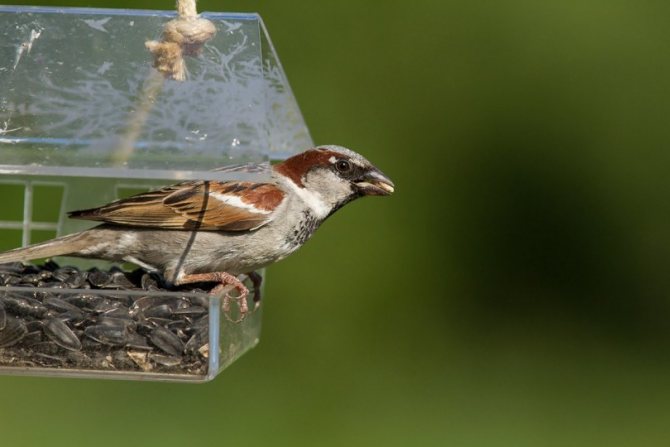
Tray
The easiest feeder to make: a rectangular board with sides. The minimum dimensions are 20x30 cm, the maximum 40x60 cm.The slats are now sold ready-made: the section for the sides is 2x2 or 2x3 cm.
This structure is attached to the branches with wire or twine. The disadvantages are that such a feeder is swayed by the wind, and the food in it can be blown away or covered with snow.
We recommend to see more here
- How to make a ship - how to easily and easily make a boat with your own hands (105 photos and videos)
How to make a pen at home - a step-by-step master class for making ballpoint, gel and fountain pens (video and 100 photos)
How to make headphones: tips on how to make and repair headphones with your own hands (video + 125 photos)
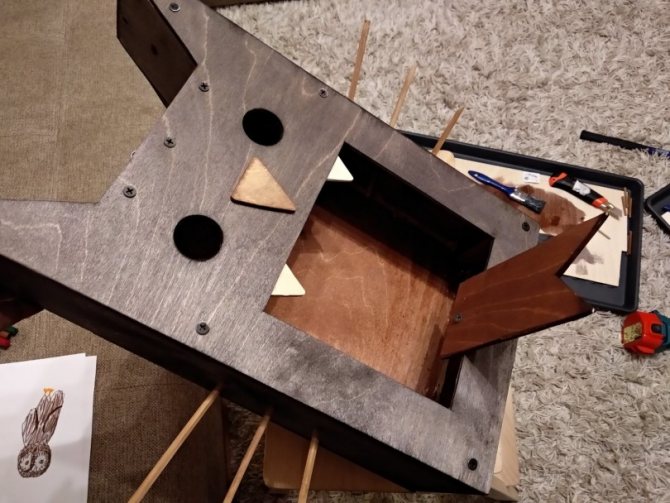
Assembly instructions
- The first thing to do is to assemble the bottom and sides. You should get a frame. Two sides that are parallel to each other must be made a little longer, so that they can then be attached to the bottom of the perches.
- Next, we nail the resulting frame to the bottom.
- We attach racks to the inside (the length of which is 18 centimeters).
- We attach the rafters to the racks. We connect two bars at an angle of 90 degrees. We make two identical parts.
- We attach the rafters to the racks with self-tapping screws.
- Next, two pieces of wood must be attached to the rafters, which form the roof slope.
- After that, it remains to glue only the perches for the birds.
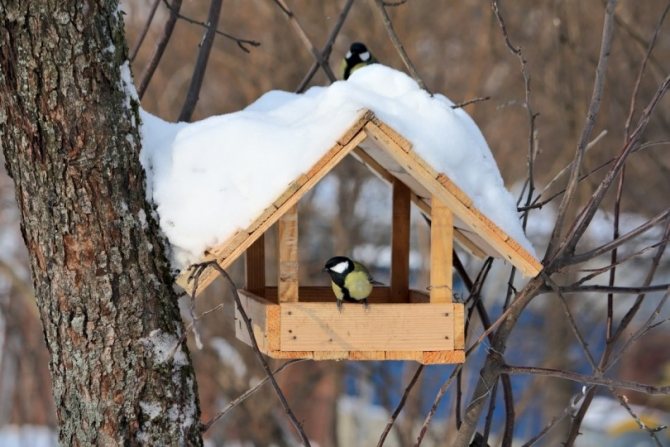
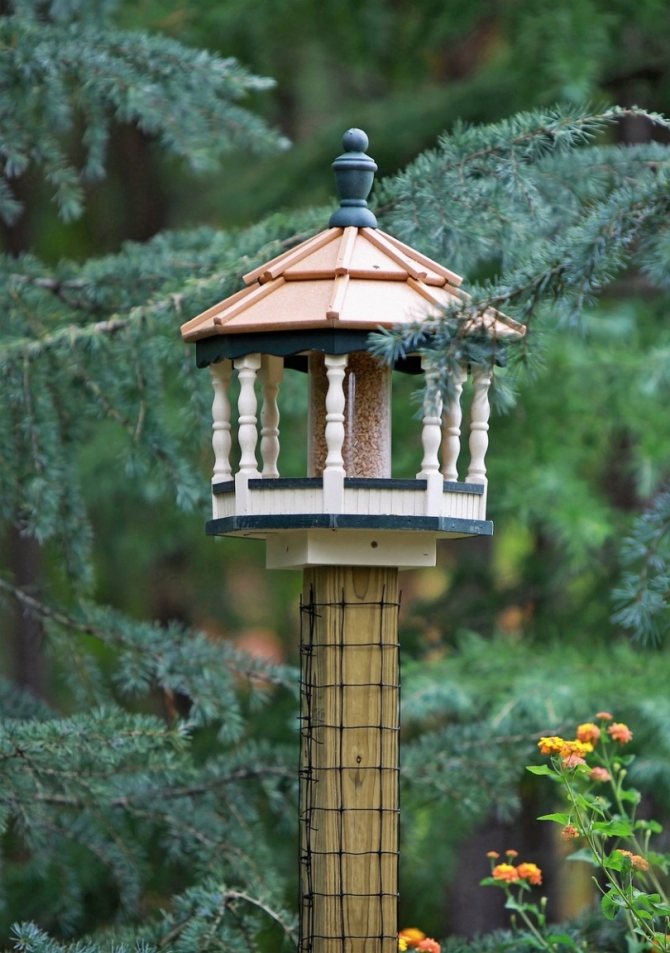
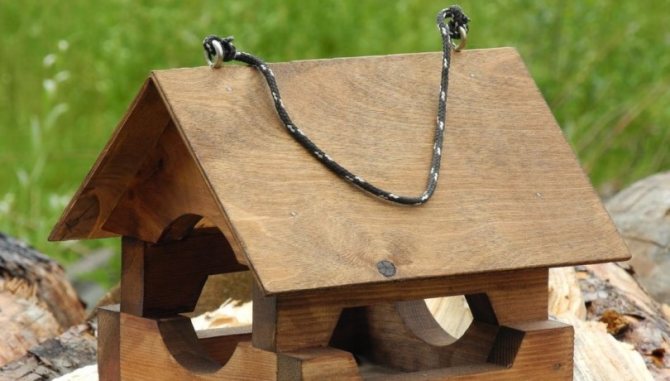
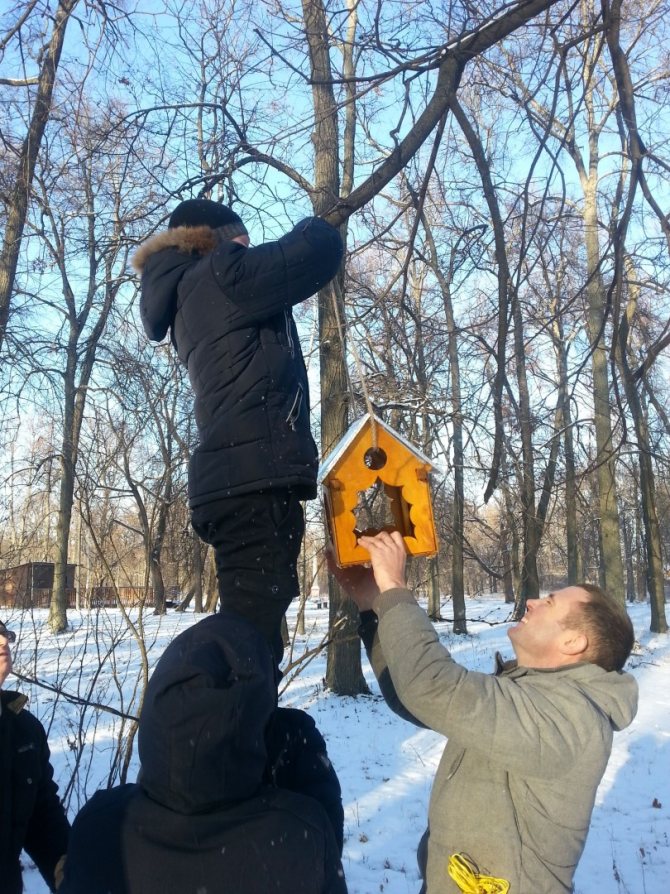
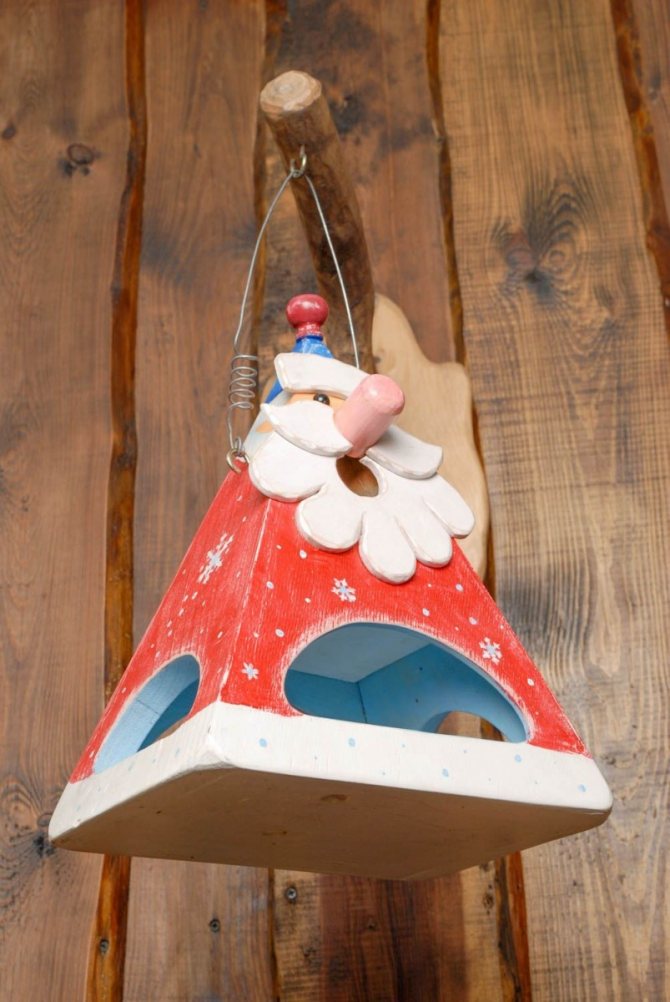
This type of feeder can be attached to a specially made pole for this purpose, or it can be hung on a wire using residential buildings or trees as a support.
The more stable the structure is, the more convenient it will be for the birds to feast on. Therefore, it is worth taking care of this as well. And the sides and the roof will protect them from wind and rain.
If you decide to hang the feeder in the gazebo, then you will need it in the roof, since the gazebo itself will protect the food. The feeder can be varnished to extend its service life.
Note!
How to make a painting with your own hands: amazing painting ideas for the interior. Paintings made of wood, abstraction, string art, paintings from wallpaper, buttons, textiles. Step-by-step description of creating paintings
- Decorating glasses with your own hands: design rules. Great ideas for decorating with rhinestones, ribbons, lace, modeling, feathers. 95 photos of beautifully decorated glasses
DIY bath bombs: detailed instructions on how and from what you can make a bath bomb (85 photos)
Attention! Use only water-based coatings, as some can harm birds due to their chemical composition.
Thanks to the article, you learned how to make a bird feeder with your own hands. We hope it was useful to you!
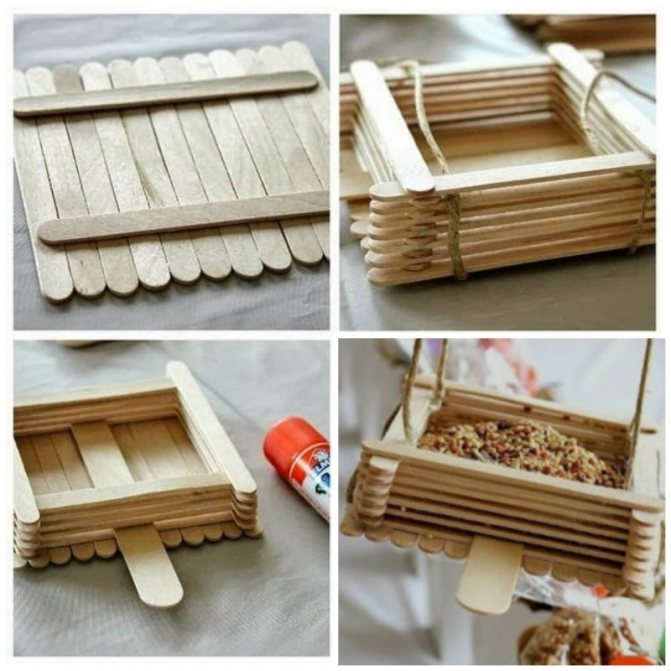
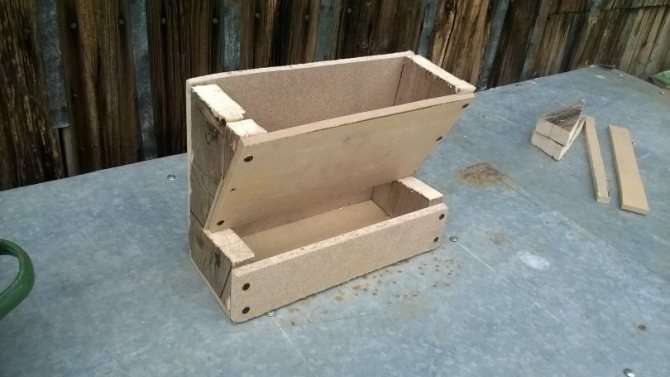
Wood product
Small wooden sticks and boards are glued together with waterproof glue. The structure should have a bottom, sides along the edges, a roof and 4 vertical sticks that hold the top and bottom together.
The vertical bindings can be replaced with sturdy ropes. If you can't glue it with glue, small screws or nails will do.
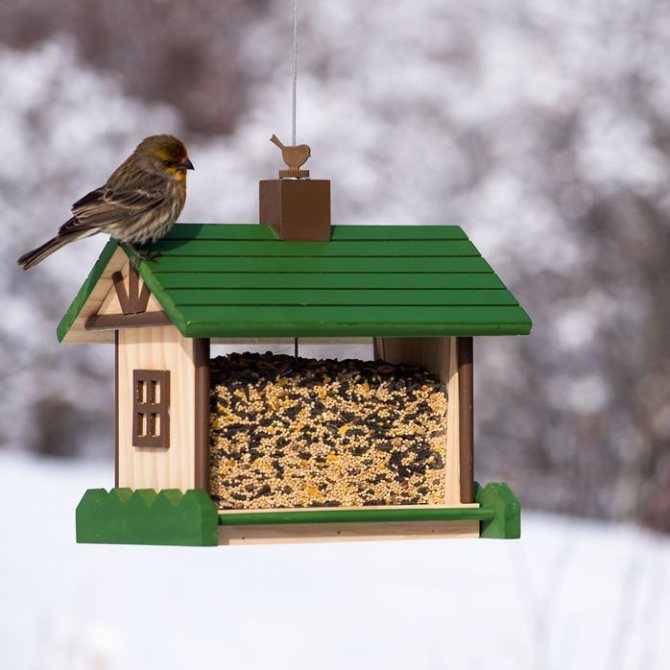
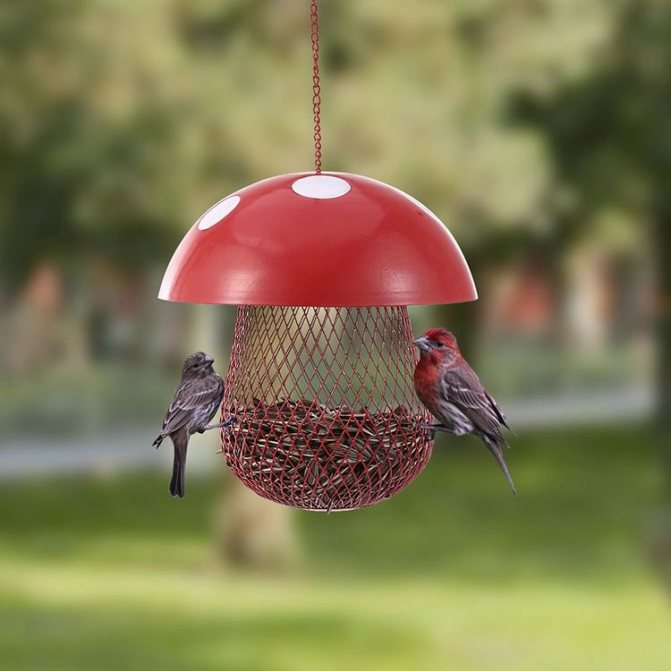
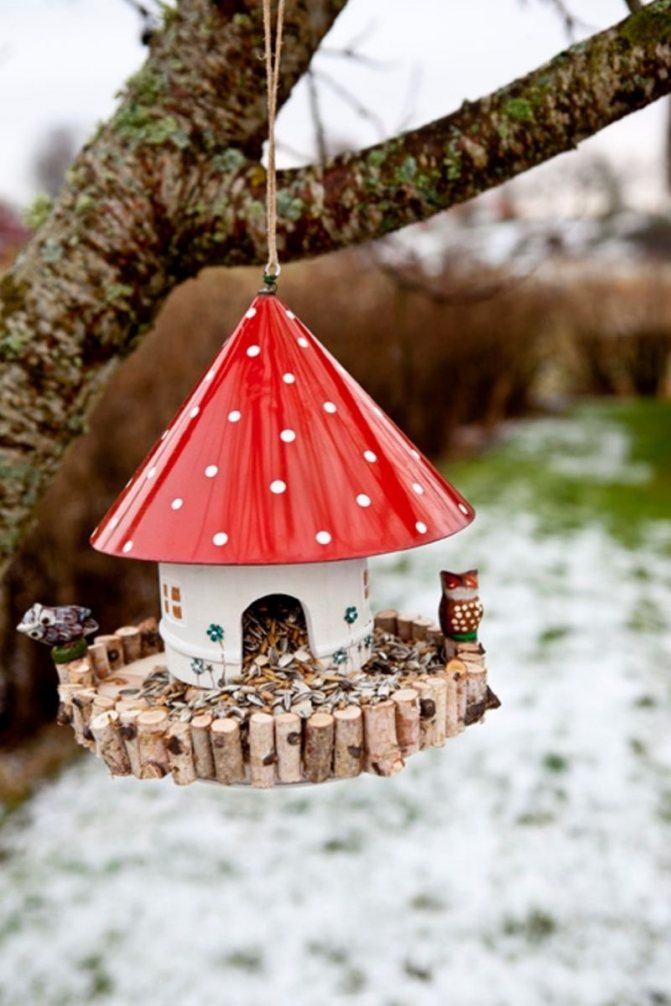
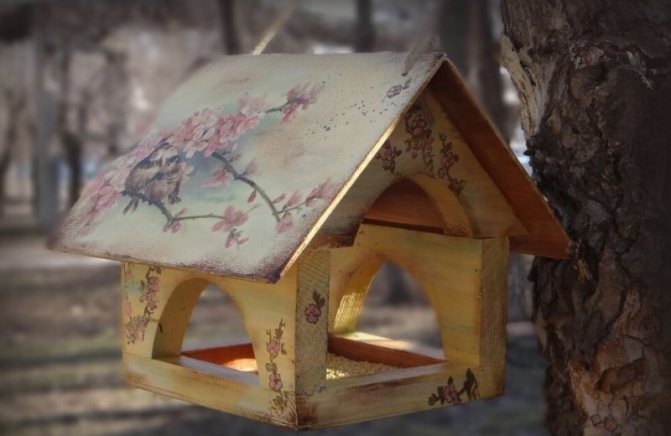
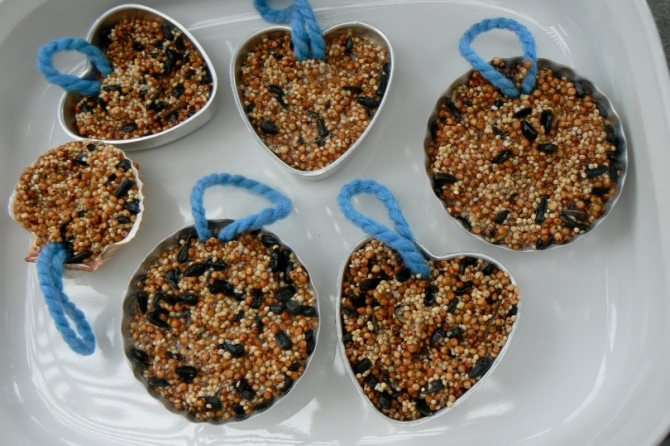
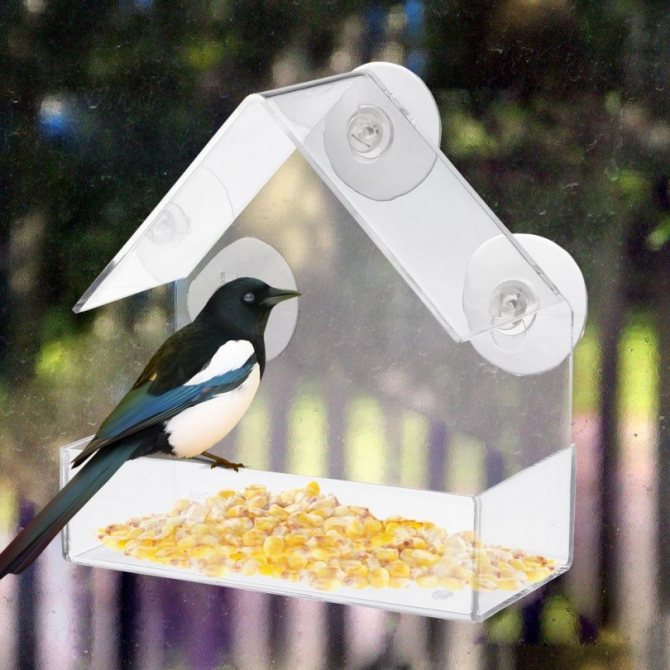
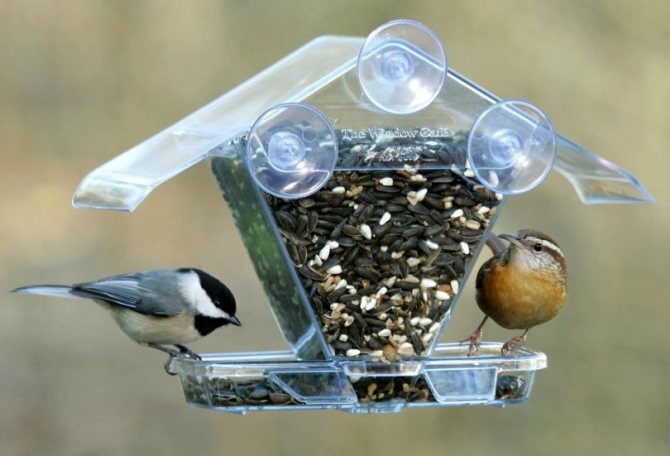
Photo of bird feeders with your own hands


Please repost
1+